
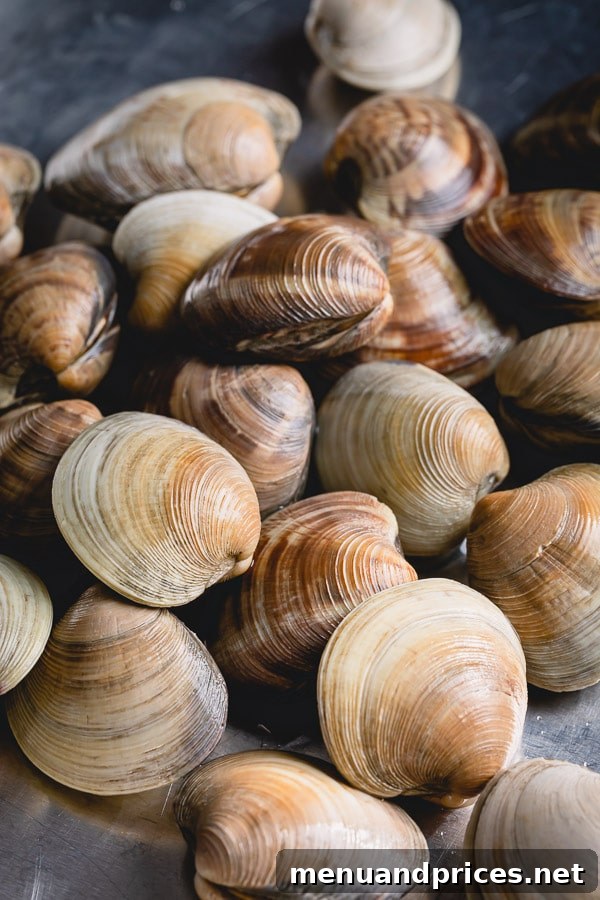
The Ultimate Guide to Cleaning Little Neck Clams: Say Goodbye to Gritty Bites!
There’s nothing quite like the delicate, briny flavor of fresh little neck clams – unless, of course, you bite into a mouthful of sand. That unpleasant crunch can instantly ruin an otherwise perfect culinary experience. But fear not! This comprehensive guide will equip you with the essential knowledge and techniques to meticulously clean and degrit little neck clams, ensuring every single bite is pure, oceanic bliss. Whether you’re planning a classic clam pasta, a hearty seafood soup, or a vibrant clam salad, starting with properly cleaned clams is the secret to success.
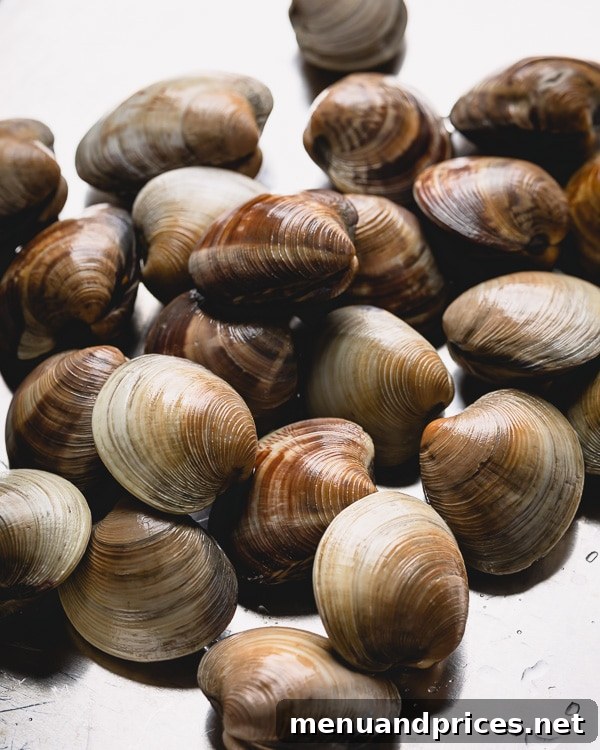
You’ve selected beautiful, fresh clams from your local market, and now the exciting part begins: preparing them for a truly memorable dish. The key to unlocking their tender texture and exquisite taste lies in proper cleaning. We’ll delve into everything from selecting the best clams to a fool-proof soaking method that eliminates sand and grit, transforming your cooking and dining experience.
Before we dive into the cleaning process, let’s ensure you’re starting with the highest quality seafood. Knowing how to choose the freshest little neck clams is the first crucial step towards a delicious meal.
How to Select the Freshest Little Neck Clams
Choosing fresh, healthy clams is paramount for both taste and food safety. Follow these essential tips when you’re at the seafood counter:
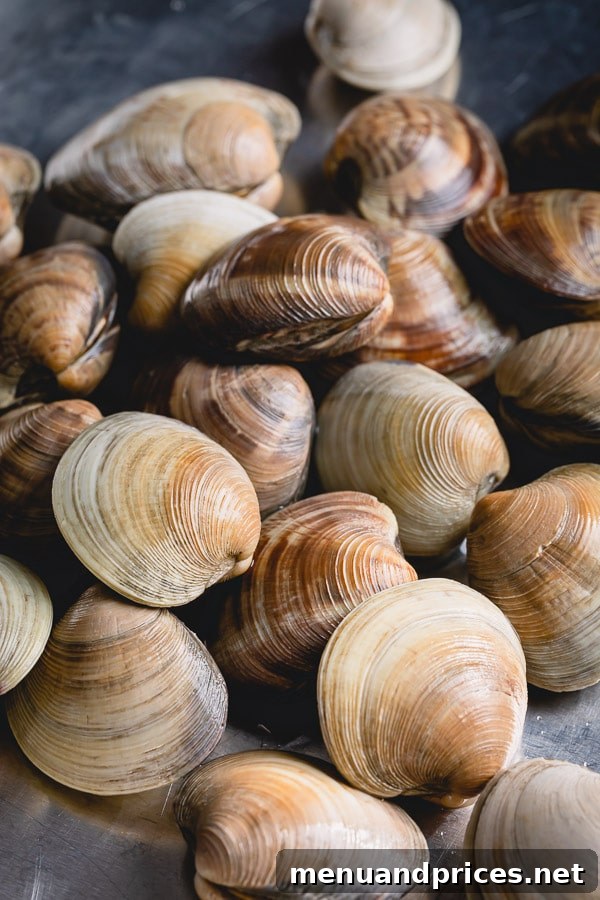
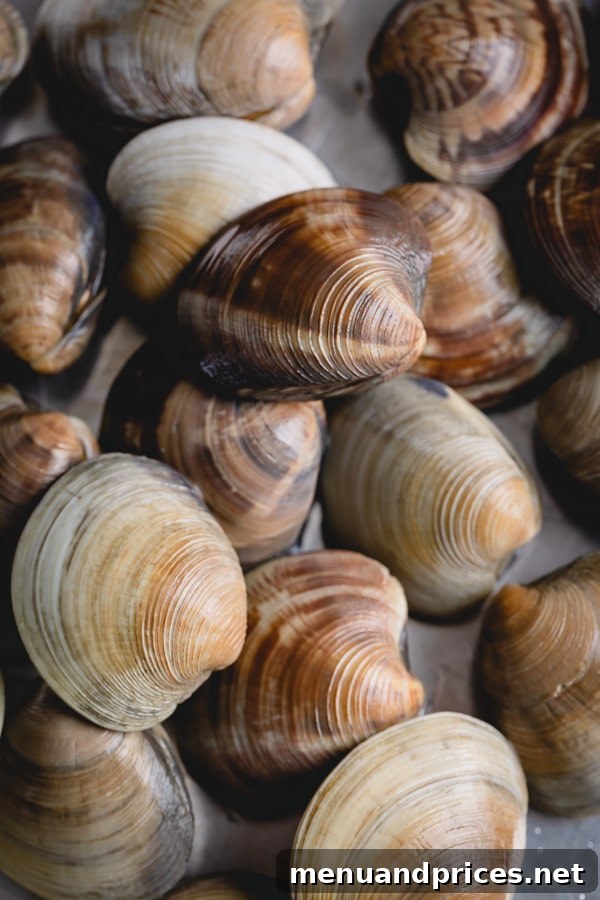
- Examine the Shells for Tightness: Always look for clams that are tightly closed. A gaping shell is a red flag, indicating the clam might be dead or compromised, making it an unwelcome host for sand, bacteria, or other contaminants. If you find any clams with slightly open shells, gently tap them. A healthy, live clam will quickly close its shell in response. Discard any clams that remain open after tapping, as they are likely dead and should not be consumed. Also, inspect for any cracked or broken shells, which should also be avoided.
- Assess the Aroma: Trust your nose! Fresh clams should smell clean, like the ocean, with a subtle brininess. They should never have an overpowering “fishy” odor, nor should they smell sour or like ammonia. Any off-putting or strong, unpleasant smell is a clear sign that the clams are past their prime and should be passed over.
- Check for Visual Integrity: Beyond tightness, look for clams with intact shells, free from chips or major damage. The shell color can vary, but generally, a consistent appearance is a good sign.
Expert Tip for Transporting Clams: If you have a considerable journey home from the market, it’s vital to keep your clams cool. Pack them nestled in ice, but ensure the ice is in a separate bag or container so that the clams don’t sit directly in melted fresh water, which can kill them. More importantly, never seal clams tightly in an airtight bag or container. Like all live shellfish, they need to breathe. An open container, or a bag with small perforations, is ideal for maintaining proper airflow and keeping them alive until you’re ready to clean and cook them.
The Essential Cleaning Process: How to Degrit Little Neck Clams
The secret to grit-free clams lies in a simple yet effective saltwater soak. This method mimics their natural environment and encourages them to expel any sand trapped within their shells. Here’s a detailed step-by-step guide:
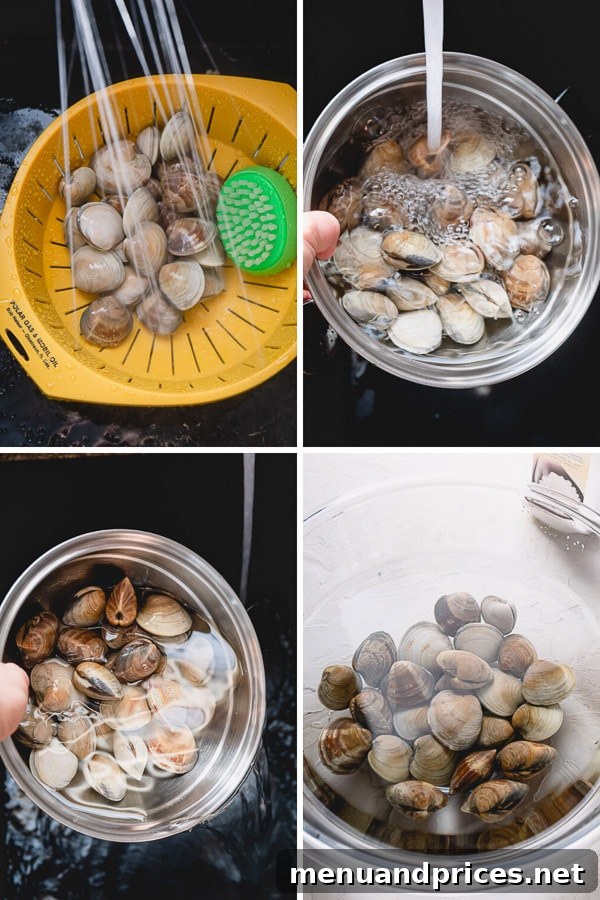
- Initial Rinse and Scrub: Begin by thoroughly scrubbing the exterior of each clam under cold running water. Use a stiff brush, like a vegetable brush, to remove any visible dirt, mud, or debris clinging to the shells. Rinse them several times until the water runs clear. This step is crucial for getting rid of surface impurities before the deeper degriting process.
- Prepare the Saltwater Solution: In a large, non-reactive bowl (glass or ceramic works best), dissolve 1/4 cup of sea salt in 4 cups of cold water. It’s important to use non-iodized salt, such as sea salt or kosher salt, as the iodine in table salt can impart an off-flavor. Stir the solution well until the salt is completely dissolved. The salinity of this solution is designed to mimic the clams’ natural habitat, encouraging them to open slightly and filter water, expelling sand in the process.
- The Saltwater Soak: Carefully add your pre-scrubbed clams to the saltwater solution. Ensure they are fully submerged. Place the bowl in the refrigerator for a minimum of 20 minutes, and ideally up to 2 hours. Soaking them in the refrigerator is important to keep the clams dormant and prolong their freshness while they degrit. During this time, the clams will naturally filter the saltwater, spitting out sand and impurities that have accumulated inside their shells. For very gritty clams, you might even notice a layer of sand at the bottom of the bowl after the soak.
- Final Rinse: After the soak, carefully remove the clams from the saltwater (leaving any settled sand behind) and give them one last quick rinse under cold running water. They are now ready for cooking!
Understanding the Science of Degriting: Clams are filter feeders, meaning they constantly pump water through their bodies to extract nutrients. When placed in clean saltwater, they continue this filtering action. The clean water prompts them to expel any sand or impurities they’ve ingested, effectively “cleaning” themselves from the inside out. This process is highly effective and simple, requiring minimal effort on your part.
How to Cook Little Neck Clams to Perfection
Once your little neck clams are sparkling clean and grit-free, they’re ready to be transformed into a delectable dish. Their delicate flavor makes them versatile for many culinary applications, from light salads to rich pasta dishes. Here’s a fundamental method for cooking them, ensuring they remain tender and succulent:
- Prepare for Steaming: In a large saucepan or pot, add about 5 cups of cold water. You can enhance the flavor by adding aromatics like a splash of white wine, minced garlic, a few sprigs of parsley, or a slice of lemon to the water. Bring this liquid to a rolling boil over high heat.
- Add Clams and Cook: Once the water is boiling vigorously, add the cleaned clams to the pot. Cover the pot tightly with a lid. The clams will steam rapidly. Keep a close eye on them.
- Skim and Serve: As the water boils and the clams begin to open, you might notice some foam forming on the surface. Use a spoon or a small ladle to skim off and discard this foam.
- The Opening Signal: Clams are cooked when their shells open wide. This typically happens very quickly, usually within a minute or two after the water returns to a boil. Remove them from the heat immediately as soon as they open.
Crucial Cooking Tip: Avoid Overcooking! This is perhaps the most important piece of advice when cooking clams. They cook incredibly fast, and even a minute too long can turn their tender meat tough and rubbery. As soon as a clam opens, it’s done. Discard any clams that do not open during the cooking process, as they were likely dead before cooking or otherwise compromised and are not safe to eat.
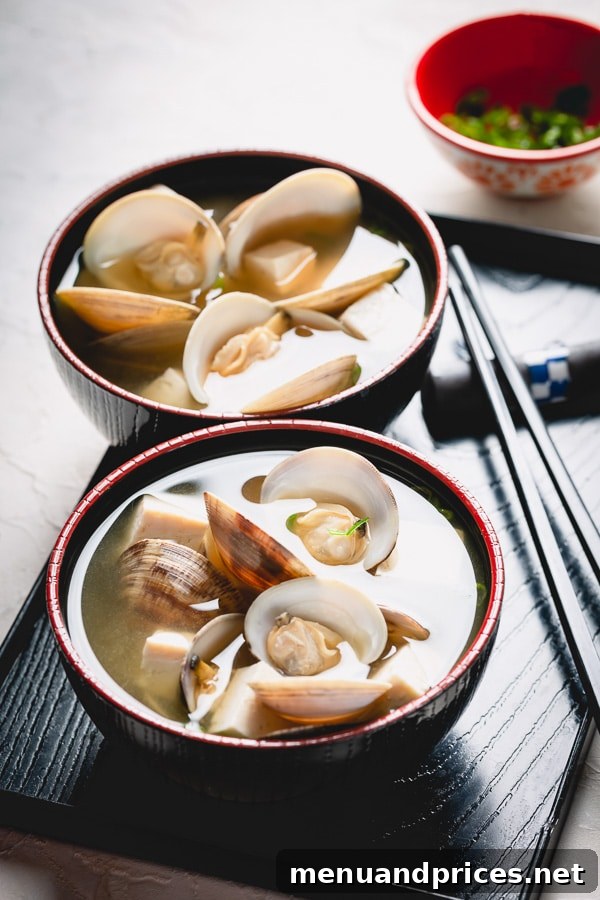
Once cooked, serve your clams immediately. They are wonderful in miso soup, steamed with butter and herbs for a fresh salad topping, or roasted and tossed with a rich pasta sauce for a truly elegant meal.
Frequently Asked Questions About Cleaning and Cooking Clams
Here are answers to some common questions to further assist you in your clam preparation journey:
Do clams open when they die?
- Yes, typically. Live clams keep their shells tightly closed or will close them quickly when disturbed. If you find clams with open shells after bringing them home and they do not close when tapped, they are likely dead and should be discarded to prevent foodborne illness. “When in doubt, throw it out” is a good rule of thumb for any shellfish.
How do you keep little neck clams alive before cleaning?
- Live little neck clams can be stored for up to two days in the refrigerator. The best way to store them is in an open container, such as a bowl covered with a damp cloth or paper towel. This allows them to breathe. Never store them in a sealed container or submerged in fresh water, as this will suffocate and kill them quickly. Avoid storing them in direct contact with ice, but a bowl of clams placed over a bowl of ice (without direct contact) in the fridge can help keep them cool.
How do you clean clam meat if shucking?
- For many preparations, such as steaming or serving clams in a clam bake where the shells are part of the presentation, you don’t need to shuck (remove from the shell) or further clean the clam meat after the initial degriting soak. However, if you’re incorporating clam meat into dishes like pasta sauces, salads, or fritters, you’ll want to shuck them first.
- To shuck and clean clam meat: After cooking, as the clams open, use a small, sharp shucking knife or a small spoon to carefully separate the clam meat from both the top and bottom shells. At this point, the meat itself is generally clean, having gone through the degriting process while still in the shell. Some people prefer to gently rinse the shucked meat in a bowl of clean cold water to remove any lingering tiny bits of sand, but this is often not necessary if the degriting soak was effective.
How do you effectively get sand out of clams?
- The most effective method for drawing out sand from clams is the saltwater soak described in the cleaning section above. The clams, being filter feeders, will naturally expel sand and grit when placed in a clean, properly salted water solution that mimics their natural ocean environment. Skipping this step almost guarantees a gritty dining experience.
What are the benefits of eating clams?
- Clams are not only delicious but also highly nutritious. They are an excellent source of lean protein, rich in essential minerals like iron, zinc, selenium, and manganese, and packed with B vitamins, including B12. They also contain beneficial omega-3 fatty acids, contributing to heart and brain health. Incorporating clams into your diet can be a delicious way to boost your nutrient intake.

How to Clean Little Neck Clams
By Shinee Davaakhuu
Here’s how to clean little neck clams, so you never bite into gritty clams again! A little bit of soaking in salt water will easily degrit clams for your next soup, salad, or pasta dish.
Servings: 4 servings
Ingredients
- 12 little neck clams in the shell
- ¼ cup sea salt
Instructions
- Scrub the clams under running cold water and rinse them with cold water a few times until water runs clear.
- In a large bowl, combine 4 cups of cold water and salt. Stir until salt is dissolved.
- Add the washed clams and soak the clams in the refrigerator for a minimum of 20 minutes or up to 2 hours. Soaking in salt water helps to draw out the sand.
⭐️ Did you make this recipe?
Please leave a review and let us know how you liked it!
⭐️ Did you make this recipe?
Please leave a review and let us know how you liked it!
Did you make this? Leave a rating and your feedback. Thank you!

Mastering the art of cleaning little neck clams is a small effort that yields tremendous rewards in the kitchen. By following these simple steps for selection, cleaning, and cooking, you can confidently prepare these oceanic treasures, transforming them into dishes that delight the palate and impress your guests. Say goodbye to gritty seafood, and hello to the pure, clean taste of perfectly prepared clams!
More Favorites from Sweet & Savory
- Cherry Chocolate Dump Cake
- Powdered Sugar Icing Recipe
- Best Cherry Pie
- Philly Cheesesteak Sandwich Recipe
- Jalapeno Poppers with Bacon