
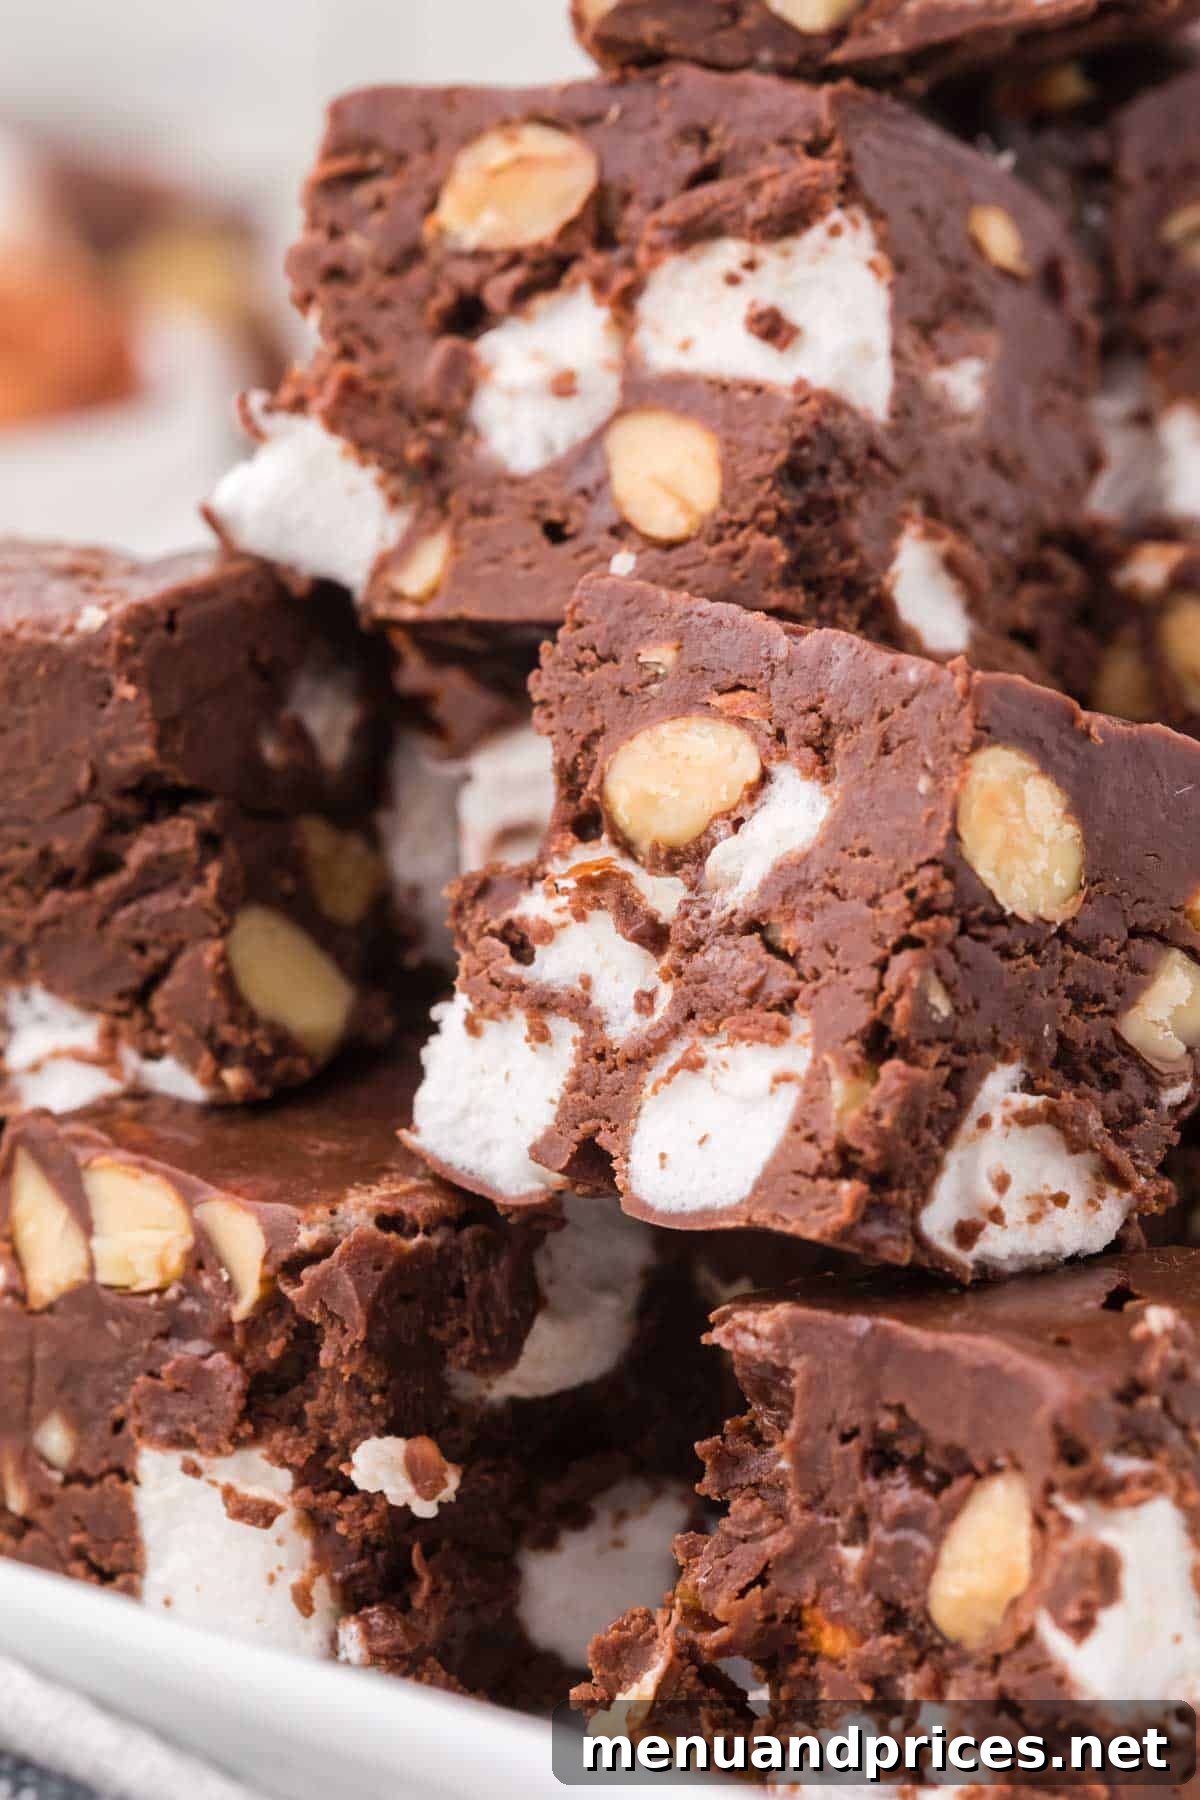
Easy Rocky Road Fudge: Your New Go-To Decadent Chocolate Treat
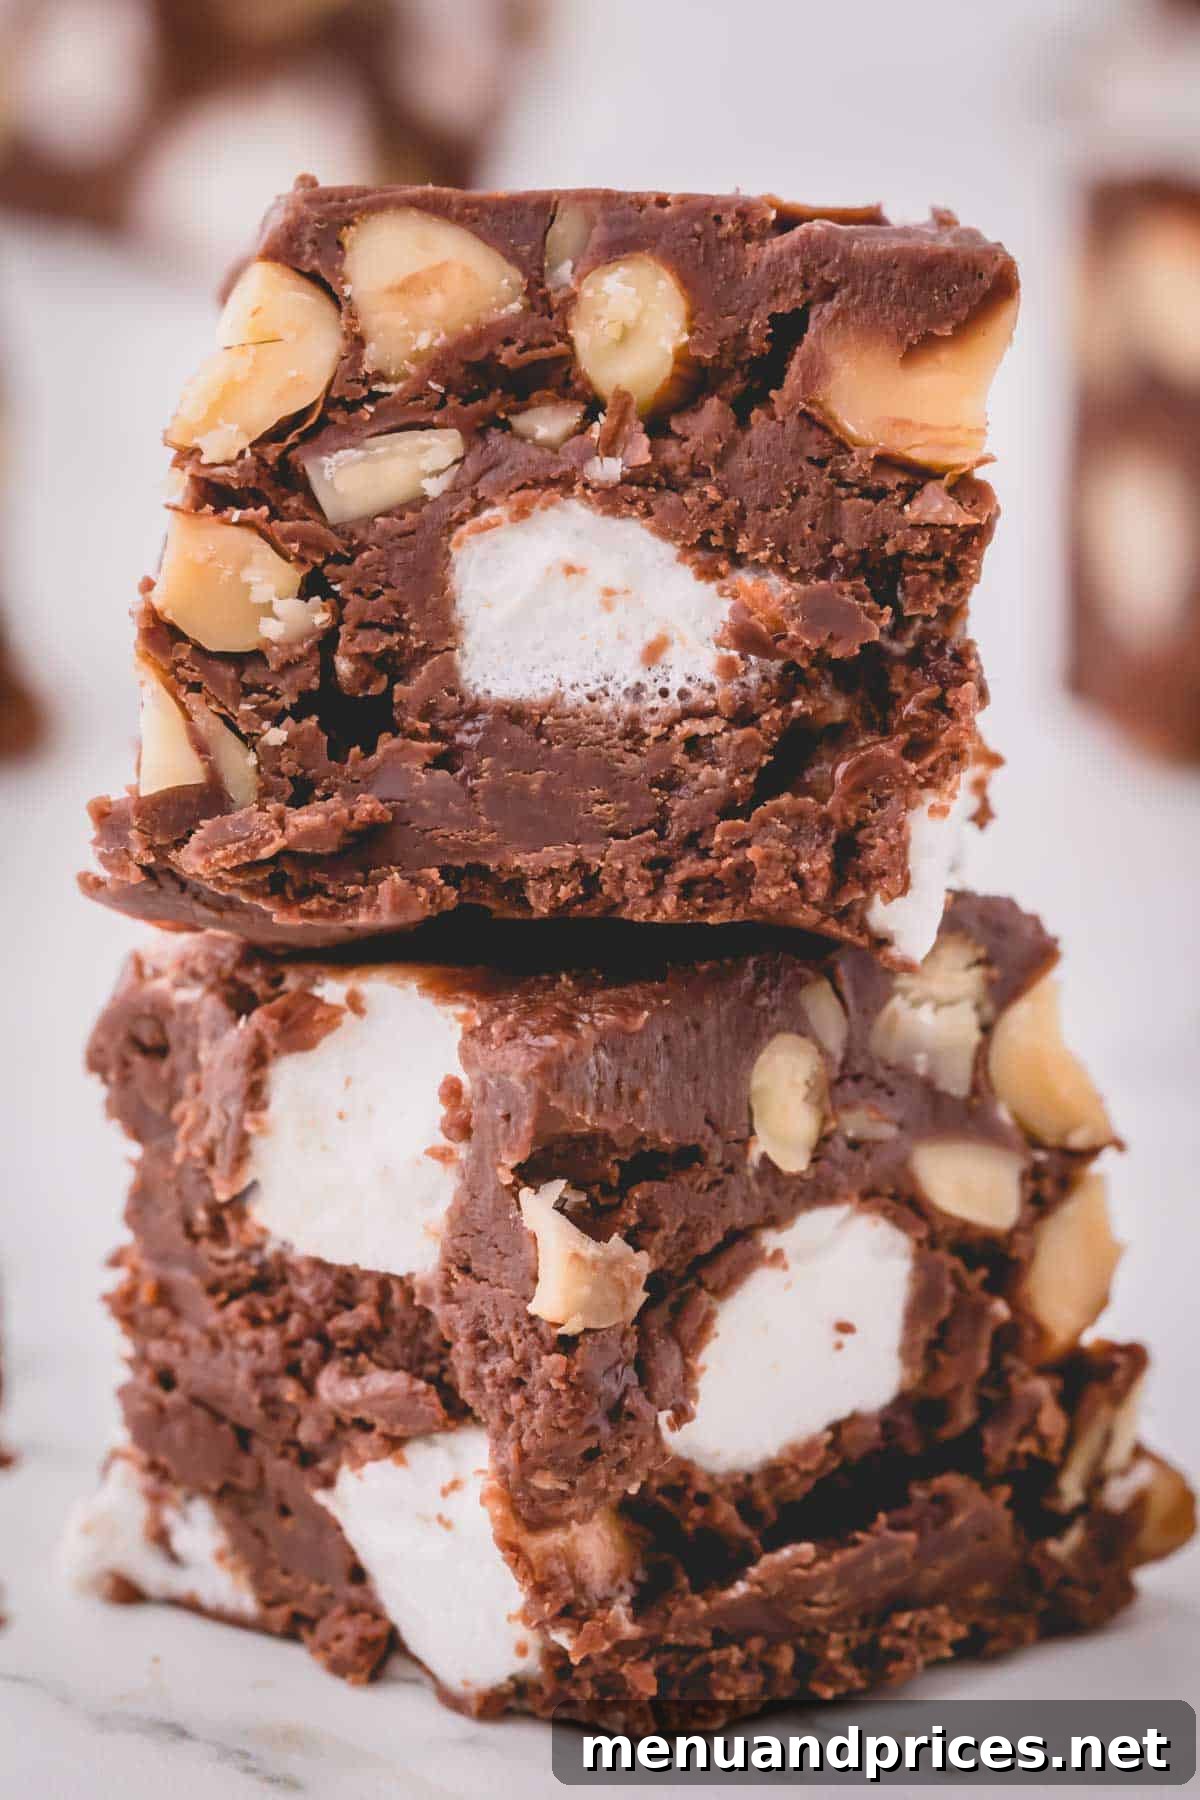
Prepare to fall in love with this incredibly easy Rocky Road Fudge recipe! Imagine a deep, rich chocolate fudge base, generously studded with fluffy mini marshmallows and perfectly crunchy, toasted almonds. This irresistible treat is not only decadently satisfying but also incredibly simple to make, requiring minimal effort and no special equipment. It’s the ultimate dessert for sharing during the holiday season, gifting to loved ones, or simply indulging in a moment of pure chocolate bliss.
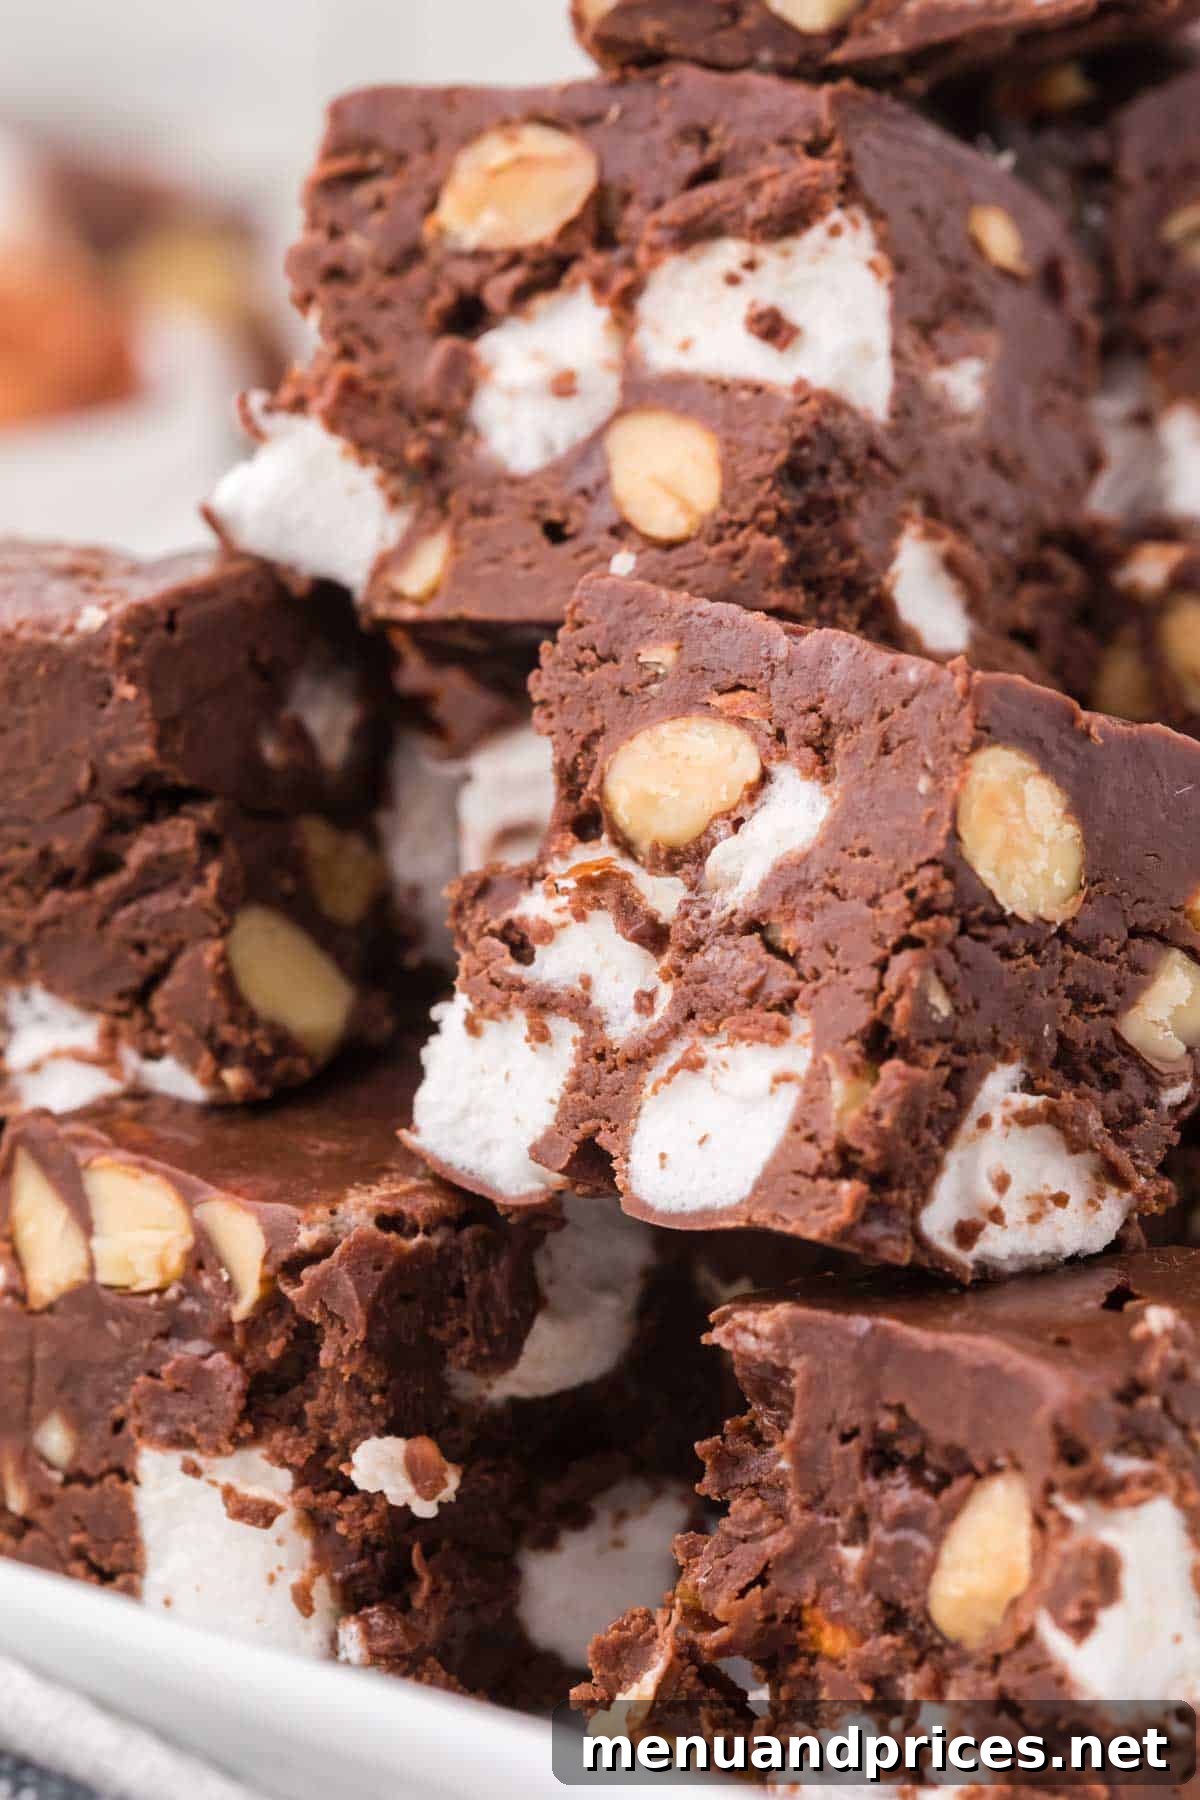
While classic desserts like vanilla or plain chocolate have their charm, my heart truly belongs to the delightful complexity of Rocky Road Fudge!
The harmonious blend of salty crunch from the almonds, combined with the sweet, pillowy softness of marshmallows, is enough to win anyone over. But when all of that is enveloped in a smooth, intensely rich chocolate fudge? It’s simply heavenly. This recipe captures that iconic flavor profile in a convenient, no-fuss format that will have everyone asking for more.
Why You’ll Adore This Rocky Road Fudge Recipe
This isn’t just another fudge recipe; it’s a game-changer! Here’s why this particular Rocky Road Fudge will quickly become a favorite in your kitchen:
- Authentic Classic Flavor: It perfectly mirrors the beloved taste of traditional rocky road ice cream, bringing that nostalgic joy to a delightful fudge form.
- Effortlessly Simple: Forget about complex candy-making techniques. There’s no candy thermometer required, making it accessible even for novice bakers.
- Minimal Hands-On Time: With only about 10 minutes of active preparation, this recipe is perfect for busy schedules, delivering maximum deliciousness with minimal fuss.
- Silky Smooth Texture: Thanks to a clever combination of high-quality chocolate and sweetened condensed milk, this fudge boasts an incredibly smooth, melt-in-your-mouth consistency that truly sets it apart.
- Perfect for Sharing & Gifting: Its rich flavor and appealing texture make it an ideal treat for holiday platters, potlucks, or thoughtful homemade gifts.
The absolute best part about this fudge, beyond its irresistibly smooth and creamy texture, is its remarkable ease. You won’t need to worry about precise boiling temperatures, constant monitoring, or intricate steps. It’s a straightforward recipe that delivers consistently amazing results every single time.
Essential Ingredients for Perfect Rocky Road Fudge
Achieving that perfect rocky road fudge flavor and texture starts with selecting the right ingredients. Here’s a closer look at what you’ll need and why each component is crucial:
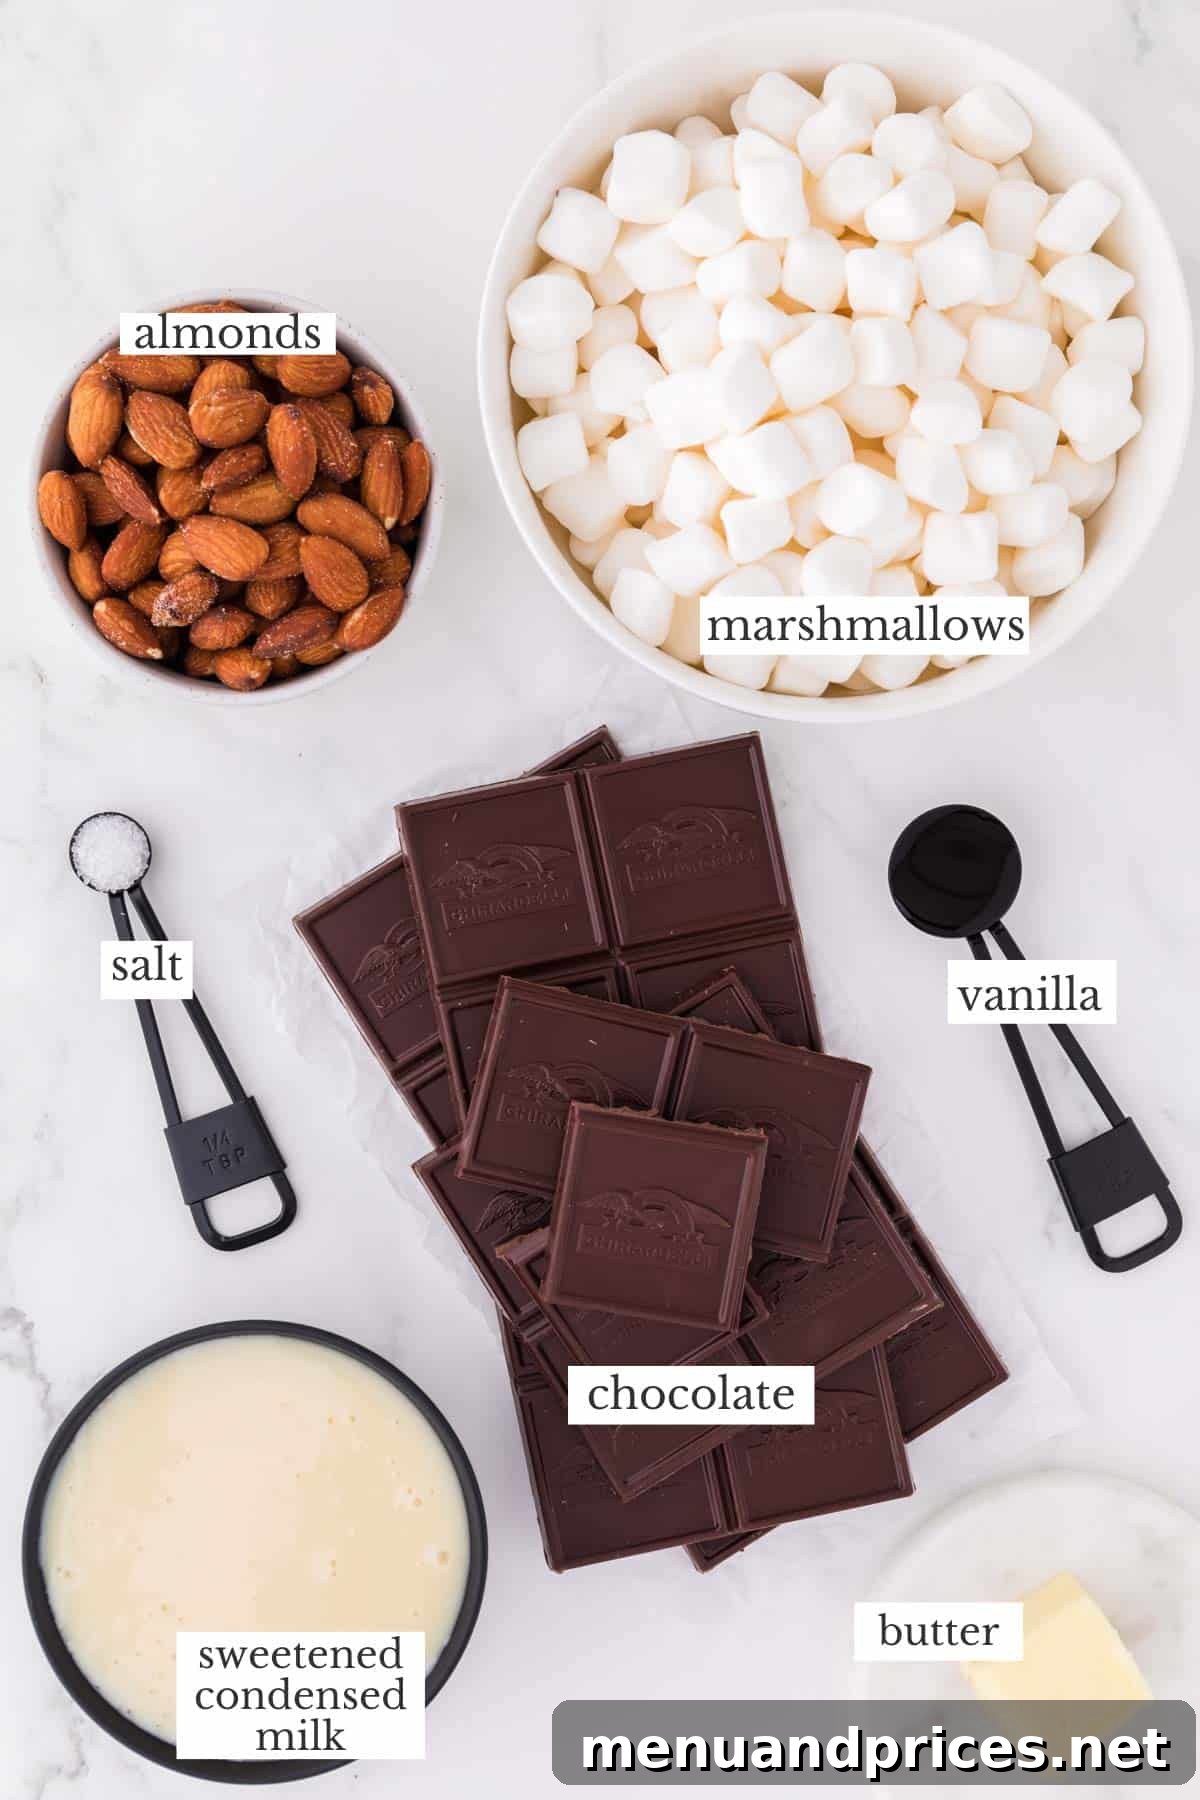
- Unsalted Butter: Using unsalted butter is always recommended for baking as it allows you to control the exact amount and quality of salt in your recipe. The addition of butter here contributes significantly to the fudge’s luscious, extra decadent texture and rich mouthfeel. Make sure it’s softened for easier melting.
- Almonds: What is rocky road without a delightful crunch? While almonds are my preferred choice for their subtle sweetness and firm texture, feel free to experiment with other nuts like walnuts, peanuts, or pecans—they all taste fantastic! For an unparalleled flavor and crunch, I highly recommend toasting your almonds. This simple step intensifies their nutty aroma and makes them even more irresistible.
- Semi-Sweet Chocolate: This type of chocolate offers a balanced sweetness and intensity, making it an excellent base for our fudge. If you crave a deeper, more intense chocolate flavor, opt for dark chocolate. For those who prefer a sweeter, milder profile, milk chocolate can be used. High-quality chocolate chips or finely chopped baking bars will melt smoothly and contribute to the fudge’s luxurious texture.
- Mini Marshmallows: These are essential for the signature “rocky” element. Crucially, always use fresh mini marshmallows. Old marshmallows tend to become stale, hard, and lose their delightful pillowy-soft texture, which is vital for the fudge. If your marshmallows are clumping together or feel stiff, it’s worth springing for a new bag – trust me, it makes all the difference!
- Sweetened Condensed Milk: This “miracle ingredient” is the backbone of this easy fudge recipe. It not only sweetens the fudge perfectly but also gives it that classic creamy, yet firm, texture without the need for a candy thermometer or tedious boiling. It’s imperative to use sweetened condensed milk, not evaporated milk, as they are entirely different products and cannot be substituted in this recipe.
- Pure Vanilla Extract: A touch of good quality vanilla extract is not just for flavor; it profoundly enhances and rounds out the rich chocolate notes, adding depth and complexity to the fudge.
- Kosher Salt: A small amount of salt is a secret weapon in sweet recipes. It doesn’t make the fudge taste salty, but rather balances the intense sweetness and harmonizes all the flavors, making the chocolate taste even more prominent and delicious.
Step-by-Step Guide: Crafting Your Easy Rocky Road Fudge
This rocky road fudge recipe is wonderfully straightforward, designed for ease and guaranteed deliciousness. Let’s get started!
Before you begin: Line an 8 x 11.5-inch baking pan with aluminum foil, ensuring enough overhang on the sides to easily lift the fudge out later. Lightly butter the bottom and sides of the foil-lined pan. This prevents sticking and makes removal a breeze.
1. Perfectly Toast the Almonds
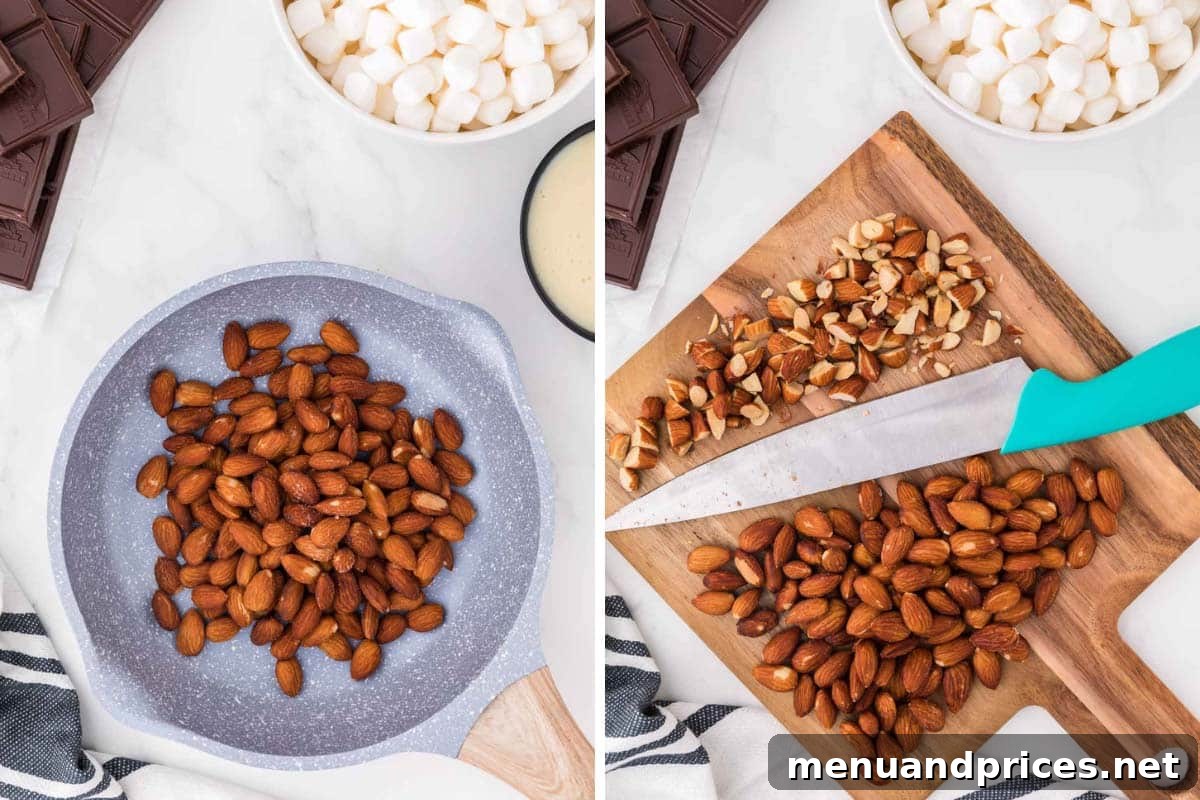
- In a dry skillet, spread the raw almonds in a single layer. Toast them over medium-low heat for approximately 3 to 4 minutes. You’ll know they’re ready when they turn a slightly deeper brown and release a fragrant, nutty aroma.
- It’s crucial to stir the almonds continuously throughout the toasting process to ensure even browning and prevent them from burning.
- Once toasted, immediately remove them from the hot skillet to a cutting board. Allow them to cool slightly, then roughly chop them. Set aside for later.
Pro Tip:
If your almonds are quickly developing dark brown spots or smelling burnt, your heat is too high! Adjust accordingly and keep stirring.
2. Craft the Decadent Fudge Base
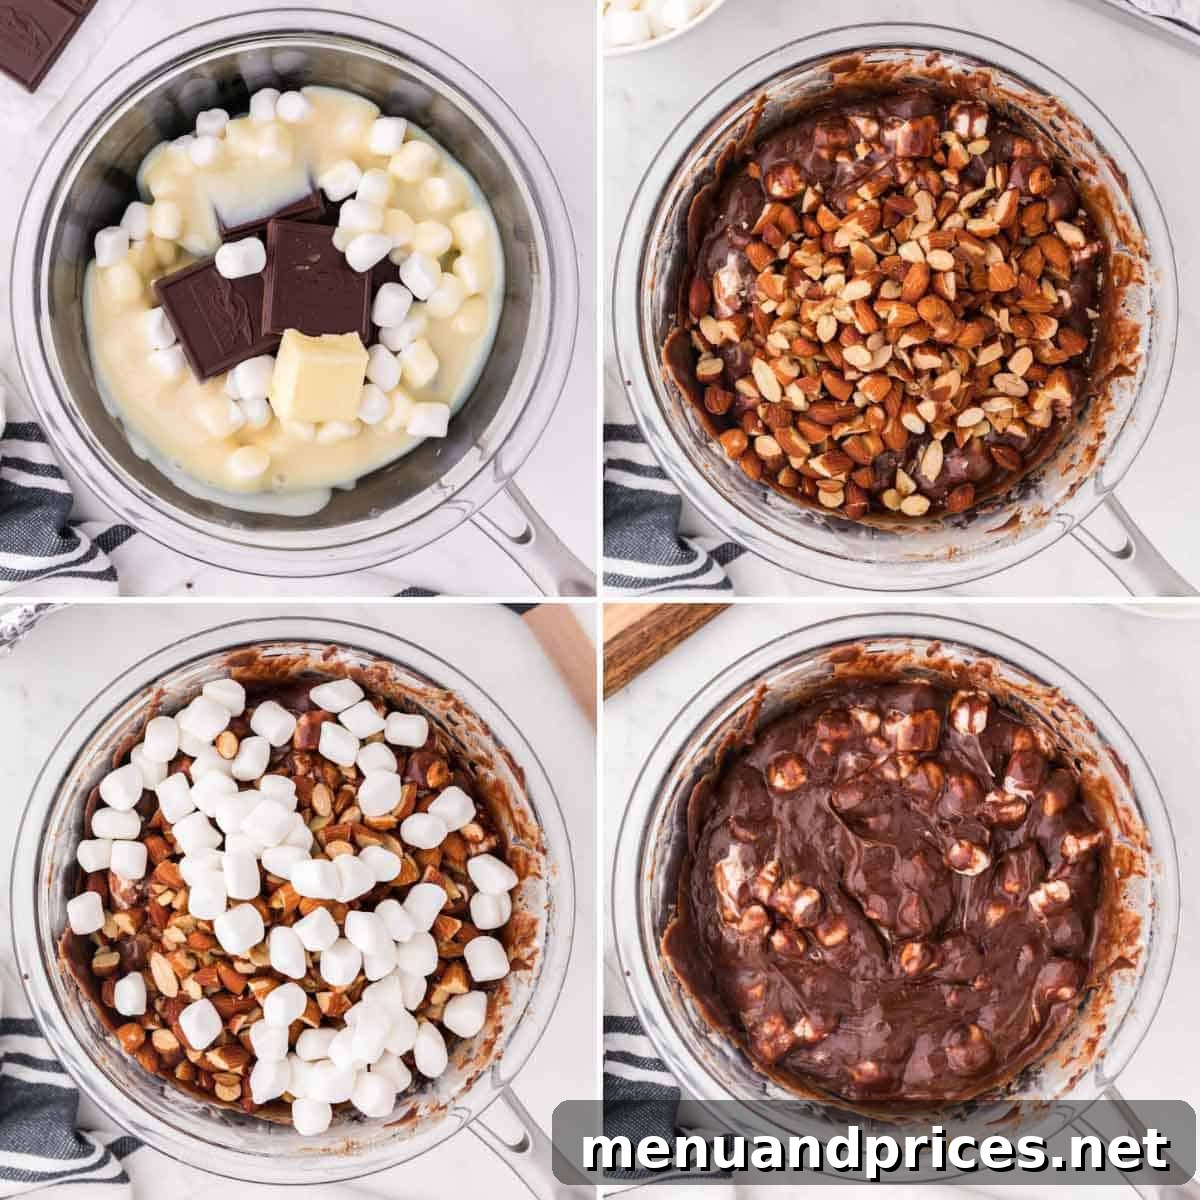
- In a large, heatproof bowl, combine the unsalted butter, broken chocolate pieces (or chocolate chips), 2 cups of the mini marshmallows, the can of sweetened condensed milk, pure vanilla extract, and kosher salt.
- Create a double boiler setup: Place the bowl over a saucepan containing about an inch or two of simmering water on medium heat. Ensure the bottom of the heatproof bowl does not touch the simmering water. Direct contact can cause the chocolate to scorch.
- Slowly and gently melt all the ingredients together, stirring frequently with a spatula or whisk, until the mixture is completely smooth and cohesive. This gentle melting method prevents the chocolate from seizing and ensures a silky texture.
- Once smooth, carefully remove the bowl from the heat. Stir in the remaining 1 cup of mini marshmallows and all of your freshly toasted and chopped almonds. Fold them in until just evenly distributed.
3. Assemble & Set for Sweet Perfection
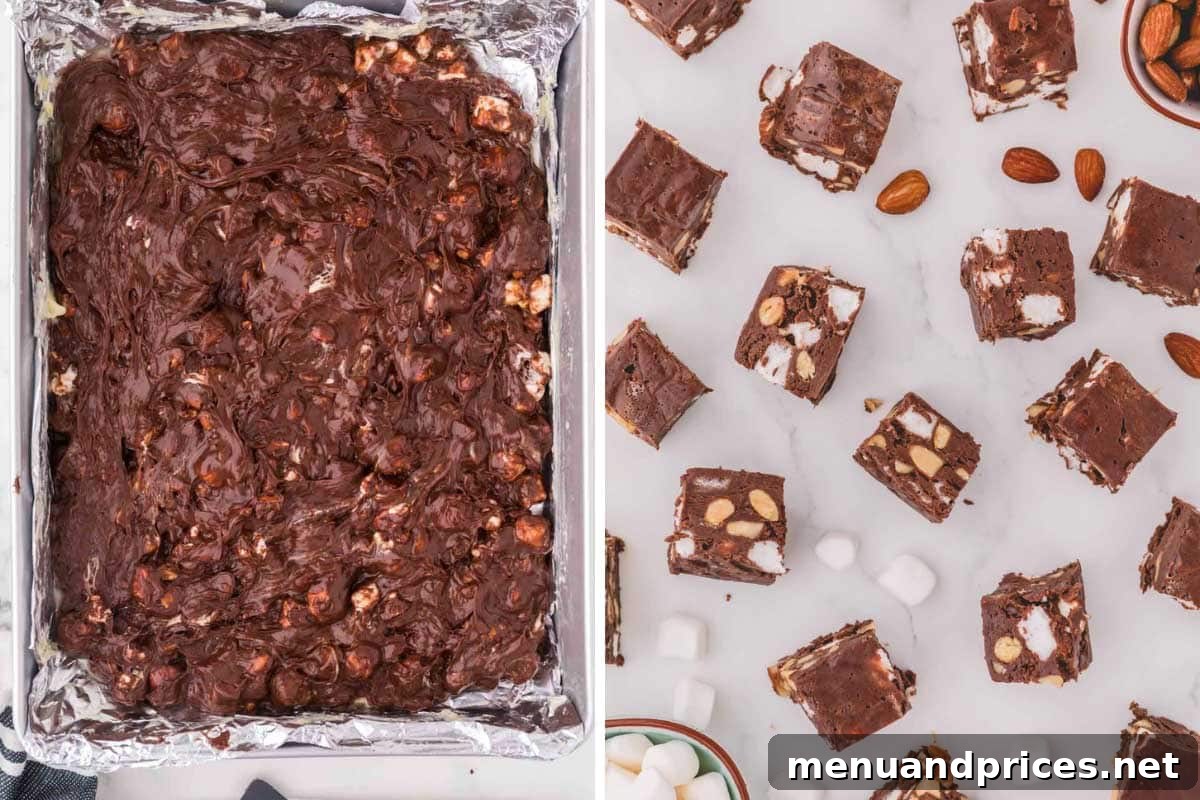
- Carefully pour the warm fudge mixture into your prepared 8 x 11.5-inch pan. Use a spatula to spread it evenly into all corners.
- Allow the fudge to set and harden. This will take at least 2 hours at room temperature, or preferably overnight for the best results. For faster setting, you can place it in the refrigerator for about an hour, but room temperature setting often yields a creamier texture.
- Once completely firm, use the foil overhangs to lift the entire block of fudge out of the pan. Place it on a cutting board.
- Cut the fudge into approximately 24 small squares. Remember, fudge is incredibly rich, so smaller pieces are often best for serving and savoring. For clean cuts, use a sharp knife warmed under hot water and wiped dry between slices.
Expert Tips for Fudge-Making Success
Even though this recipe is incredibly easy, a few expert tips can elevate your Rocky Road Fudge from delicious to absolutely divine:
- Choose Quality Ingredients: For the best results, always opt for good quality chocolate (like a reputable brand of baking chocolate or chips). When it comes to sweetened condensed milk, brands like Eagle Brand or Carnation are consistently reliable and contribute to the perfect thickness and creamy texture. Store brands can sometimes vary in quality and consistency.
- Don’t Skip Toasting the Almonds: This simple step makes a world of difference! Toasting nuts intensifies their natural flavor, bringing out a deeper nuttiness and adding an irresistible crunch that complements the soft marshmallows and rich fudge. It only takes a few minutes but is truly worth the effort.
- Master the Gentle Melt (Double Boiler): When melting the chocolate and other ingredients, ensure the bottom of your heatproof bowl does not touch the hot water in the saucepan below. This creates a gentle, indirect heat that melts the chocolate evenly without scorching it, preventing a grainy or seized texture.
- Microwave Method Alternative: If you prefer to use a microwave, combine the butter, chocolate, 2 cups of marshmallows, condensed milk, vanilla extract, and salt in a large, microwave-safe bowl. Heat in 30-second intervals, stirring thoroughly after each interval, until the mixture is completely melted and smooth. Be careful not to overheat. Once smooth, continue with the recipe by stirring in the remaining marshmallows and almonds.
- Portion Control is Key: Remember that fudge is very rich! For this reason, it’s best to cut it into small, bite-sized pieces. This allows everyone to enjoy its decadent flavor without feeling overwhelmed.
- Customize Your Mix-Ins: While almonds and marshmallows are classic, feel free to get creative! Consider adding a sprinkle of sea salt flakes on top for a sweet and salty contrast, or folding in other ingredients like chopped pretzels for extra crunch, dried cranberries for a touch of tartness, or even a different type of chopped candy bar.
- Clean Cuts: For perfectly neat squares, use a large, sharp knife. You can warm the knife blade under hot water and wipe it dry between cuts to prevent sticking and achieve cleaner lines.
Storing Your Rocky Road Fudge for Lasting Freshness
Proper storage ensures your homemade Rocky Road Fudge stays fresh and delicious for as long as possible. Here’s how to keep it at its best:
- Room Temperature: Store the fudge in an airtight container, lightly wrapped in parchment paper to prevent pieces from sticking together. When stored at a cool room temperature (away from direct sunlight or heat), it will remain fresh and delicious for up to 5 days.
- Refrigeration: To extend its shelf life, store the fudge in an airtight container in the refrigerator. This method will keep it fresh for up to two weeks! When serving, allowing it to come to room temperature for about 15-30 minutes can enhance its creamy texture.
- Freezing for Longer Storage: Rocky Road Fudge freezes exceptionally well, lasting for up to 3 months. To freeze, wrap the entire block or individual squares tightly in several layers of plastic wrap (saran wrap), then place them into a freezer-safe airtight container or heavy-duty freezer bag. This double layer of protection helps prevent freezer burn.
- Thawing Frozen Fudge: When you’re ready to enjoy frozen fudge, transfer it to the refrigerator overnight to thaw gradually. Once thawed in the fridge, you can bring it to room temperature for about an hour before serving for optimal texture and flavor.
Frequently Asked Questions About Rocky Road Fudge
While there’s some debate, and variations can include walnuts or peanuts, almonds are the most commonly found nut in traditional rocky road flavored treats, including ice cream and fudge. Their mild flavor and firm crunch make them an ideal complement to chocolate and marshmallows.
No, not necessarily. This easy rocky road fudge can be stored at cool room temperature for up to 5 days. However, for a longer shelf life and to maintain firmness, storing it in the refrigerator is recommended, where it can last up to two weeks. It can also be frozen for up to 3 months.
Absolutely not! You cannot substitute evaporated milk in this easy fudge recipe. Sweetened condensed milk is a key “miracle ingredient” that provides both sweetness and the thick, creamy texture characteristic of old-fashioned fudge, all without the need for a candy thermometer or tedious boiling. Evaporated milk is unsweetened and much thinner, and will not yield the correct results.
For traditional fudge recipes that involve boiling sugar, graininess can occur if the sugar crystallizes. However, for this no-boil, sweetened condensed milk fudge, graininess is typically not an issue if you melt the chocolate gently and thoroughly. Ensure you use a double boiler (bain-marie) method and stir frequently until completely smooth, avoiding direct high heat that could scorch the chocolate.
Yes, absolutely! This rocky road fudge is an excellent make-ahead dessert. You can prepare it several days in advance and store it at room temperature or in the refrigerator. It also freezes beautifully for up to three months, making it perfect for holiday preparations or future gatherings.
More Decadent Holiday & Anytime Treats You’ll Love:
- Double Chocolate Peppermint Fudge
- Cranberry Pistachio Biscotti
- Classic Linzer Cookies
- Hazelnut Coconut Cookies
- Spiced Shortbread Cookies

Rocky Road Fudge
By Shinee Davaakhuu
Rocky road fudge features a decadent chocolate fudge base, generously loaded with soft mini marshmallows and crunchy toasted almonds. It’s irresistibly rich, remarkably easy to make, and perfect for sharing during any festive occasion!
Prep Time: 10 mins
Set Time: 2 hrs
Total Time: 2 hrs 10 mins
Yields: 24 squares
Comment
Print Recipe
Ingredients
- 1 tablespoon unsalted butter (plus more for pan)
- 1 cup (150g) almonds, roughly chopped (Note 1)
- 12 ounces (340g) semi-sweet chocolate, broken into pieces (Note 2)
- 3 cups mini marshmallows, divided
- 1 can (400g) sweetened condensed milk (Note 3)
- 1 teaspoon pure vanilla extract
- ¼ teaspoon coarse kosher salt
Equipment
- 8 x 11.5-inch baking dish
- Skillet
- Large heatproof bowl
- Saucepan (for double boiler)
Instructions
- Line an 8×11.5 baking dish with aluminum foil, ensuring overhang. Lightly butter the bottom and sides of the foil.
- To toast almonds: In a skillet, toast the almonds over medium-low heat for 3-4 minutes, stirring frequently, until fragrant and lightly browned. Remove from heat, roughly chop, and set aside.
- To make the fudge: In a large heatproof bowl, combine the butter, chocolate, 2 cups of marshmallows, condensed milk, vanilla extract, and salt. Place the bowl over a saucepan of simmering water (making sure the bowl doesn’t touch the water). Slowly melt all ingredients until smooth, stirring frequently.
- Remove the bowl from the heat. Stir in the remaining 1 cup of mini marshmallows and the toasted almonds until just combined.
- To set the fudge: Pour the fudge mixture into the prepared pan and spread evenly. Allow to set for at least 2 hours at room temperature, or preferably overnight, until firm.
- Once set, lift the fudge from the pan using the foil overhang. Place on a cutting board and cut into 24 small squares.
⭐️ Made this delightful recipe?
Please leave a review and let us know how much you enjoyed it!
Tips & Notes
- Note 1: You can easily swap the almonds with other nuts like peanuts, pecans, or walnuts for a different flavor profile.
- Note 2a: You may use 3 cups (340g) of your preferred chocolate chips (semi-sweet, dark, or milk chocolate).
- Note 2b: For a rich, intense chocolate flavor, opt for dark chocolate chips. For a milder, sweeter fudge, use milk chocolate.
- Note 3: For best results, I highly recommend using a well-known brand of sweetened condensed milk, such as Eagle Brand or Carnation, due to their consistent quality and thickness.
- Storing Tips:
- Store in an airtight container, lightly wrapped in parchment paper.
- Lasts up to 5 days at room temperature, or up to two weeks in the refrigerator.
- Can be frozen for up to 3 months. Wrap tightly in plastic wrap, then place in a freezer-safe container or bag. Thaw overnight in the refrigerator before bringing to room temperature.
Nutrition
Calories: 141 kcal
Carbohydrates: 14 g
Protein: 2 g
Fat: 9 g
Sugar: 9 g
Sodium: 31 mg
Course: Dessert
Cuisine: American

Leave a rating and your feedback. Thank you!
This delightful recipe was originally published on December 4th, 2015, and has been updated for clarity and comprehensive detail.