
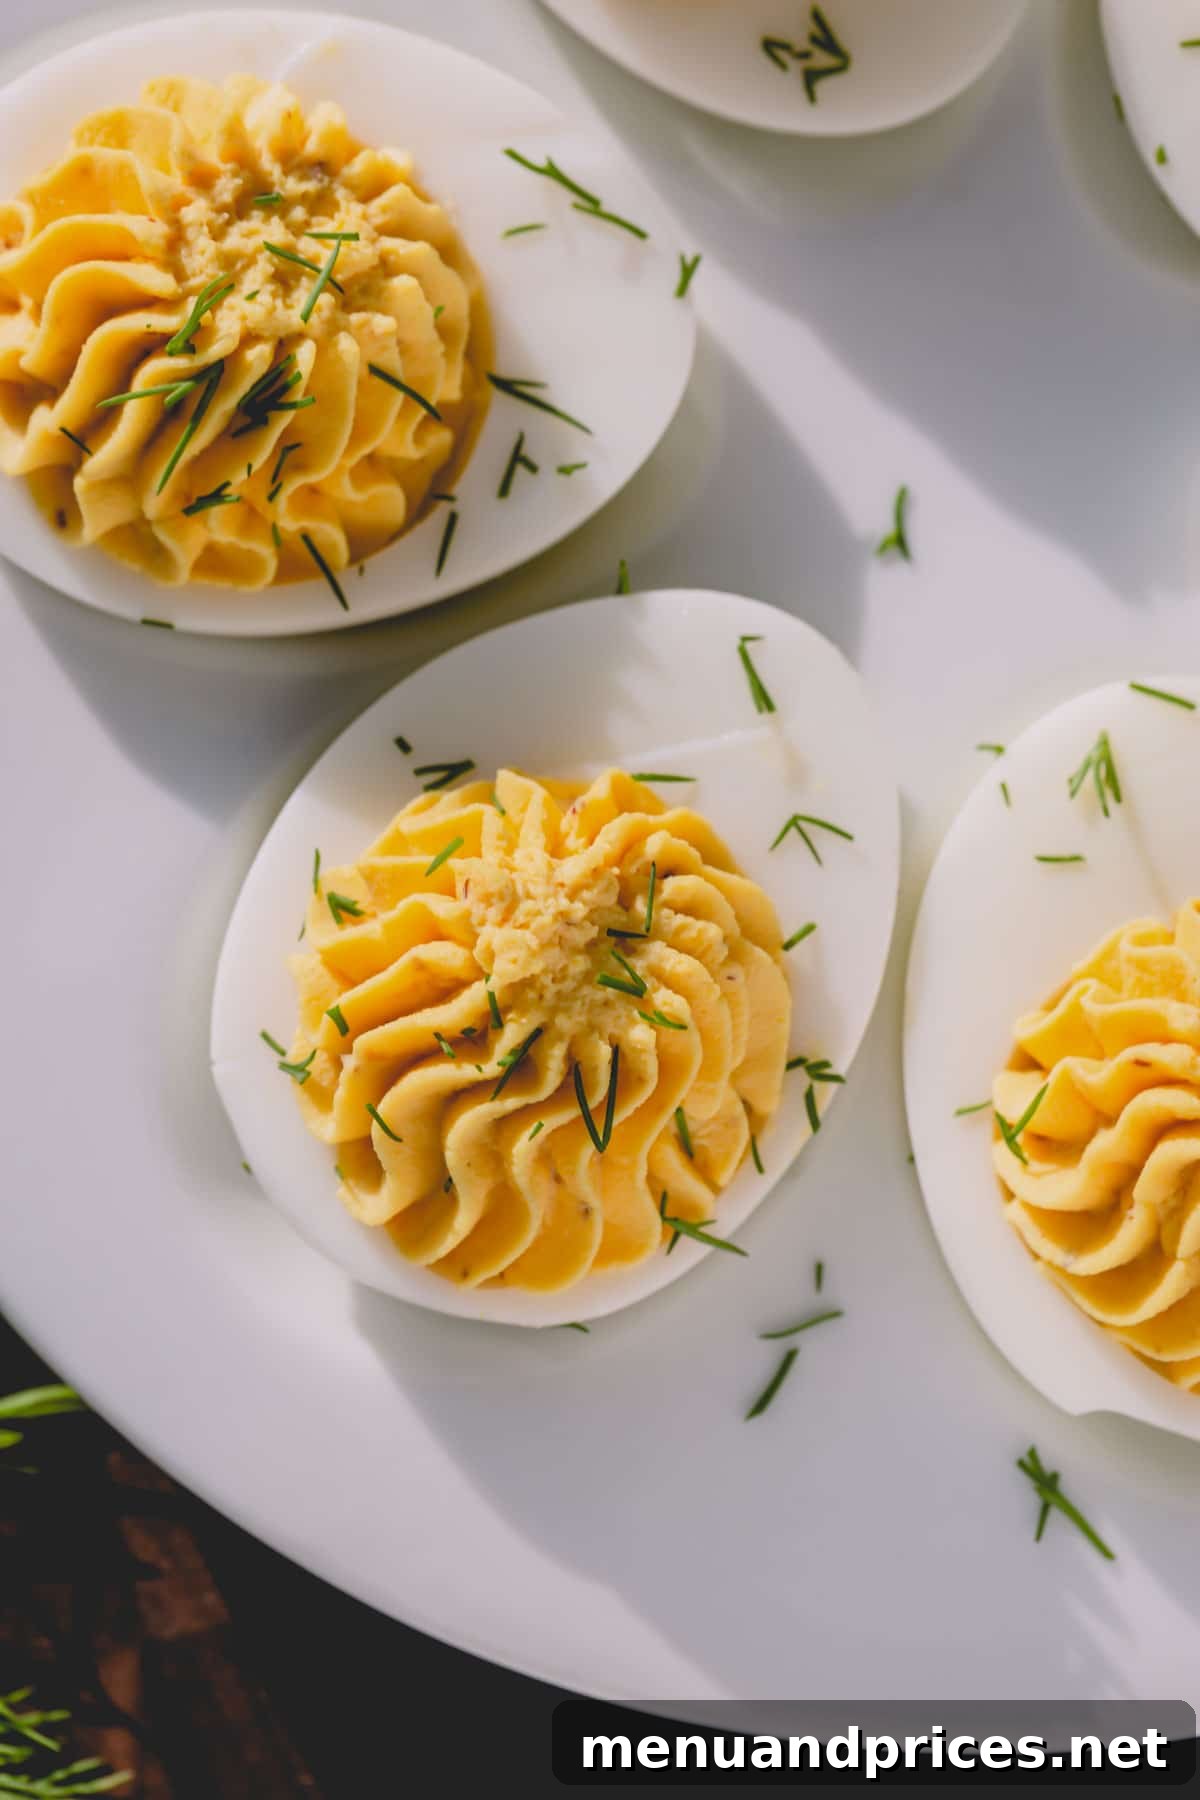
Classic Deviled Eggs: The Ultimate Guide to Perfect Party Appetizers
Deviled eggs are more than just a dish; they’re a timeless culinary tradition, a staple at gatherings, holidays, and picnics. Their humble origins belie a sophisticated flavor profile and an irresistible creamy texture that makes them a universally loved appetizer. While there are countless variations, from the subtly adventurous to the truly unique (like chicken liver pâté deviled eggs for the bold!), nothing quite captures the essence of comfort and celebration like the classic version.
This comprehensive guide will walk you through everything you need to know to create the most exquisite classic deviled eggs. We’ll cover how to achieve perfectly cooked, easy-to-peel hard-boiled eggs, craft a silky-smooth and incredibly flavorful filling, and offer invaluable tips for making them ahead of time so you can enjoy your event without last-minute stress. Prepare to impress your guests with this iconic appetizer, elevated to perfection!
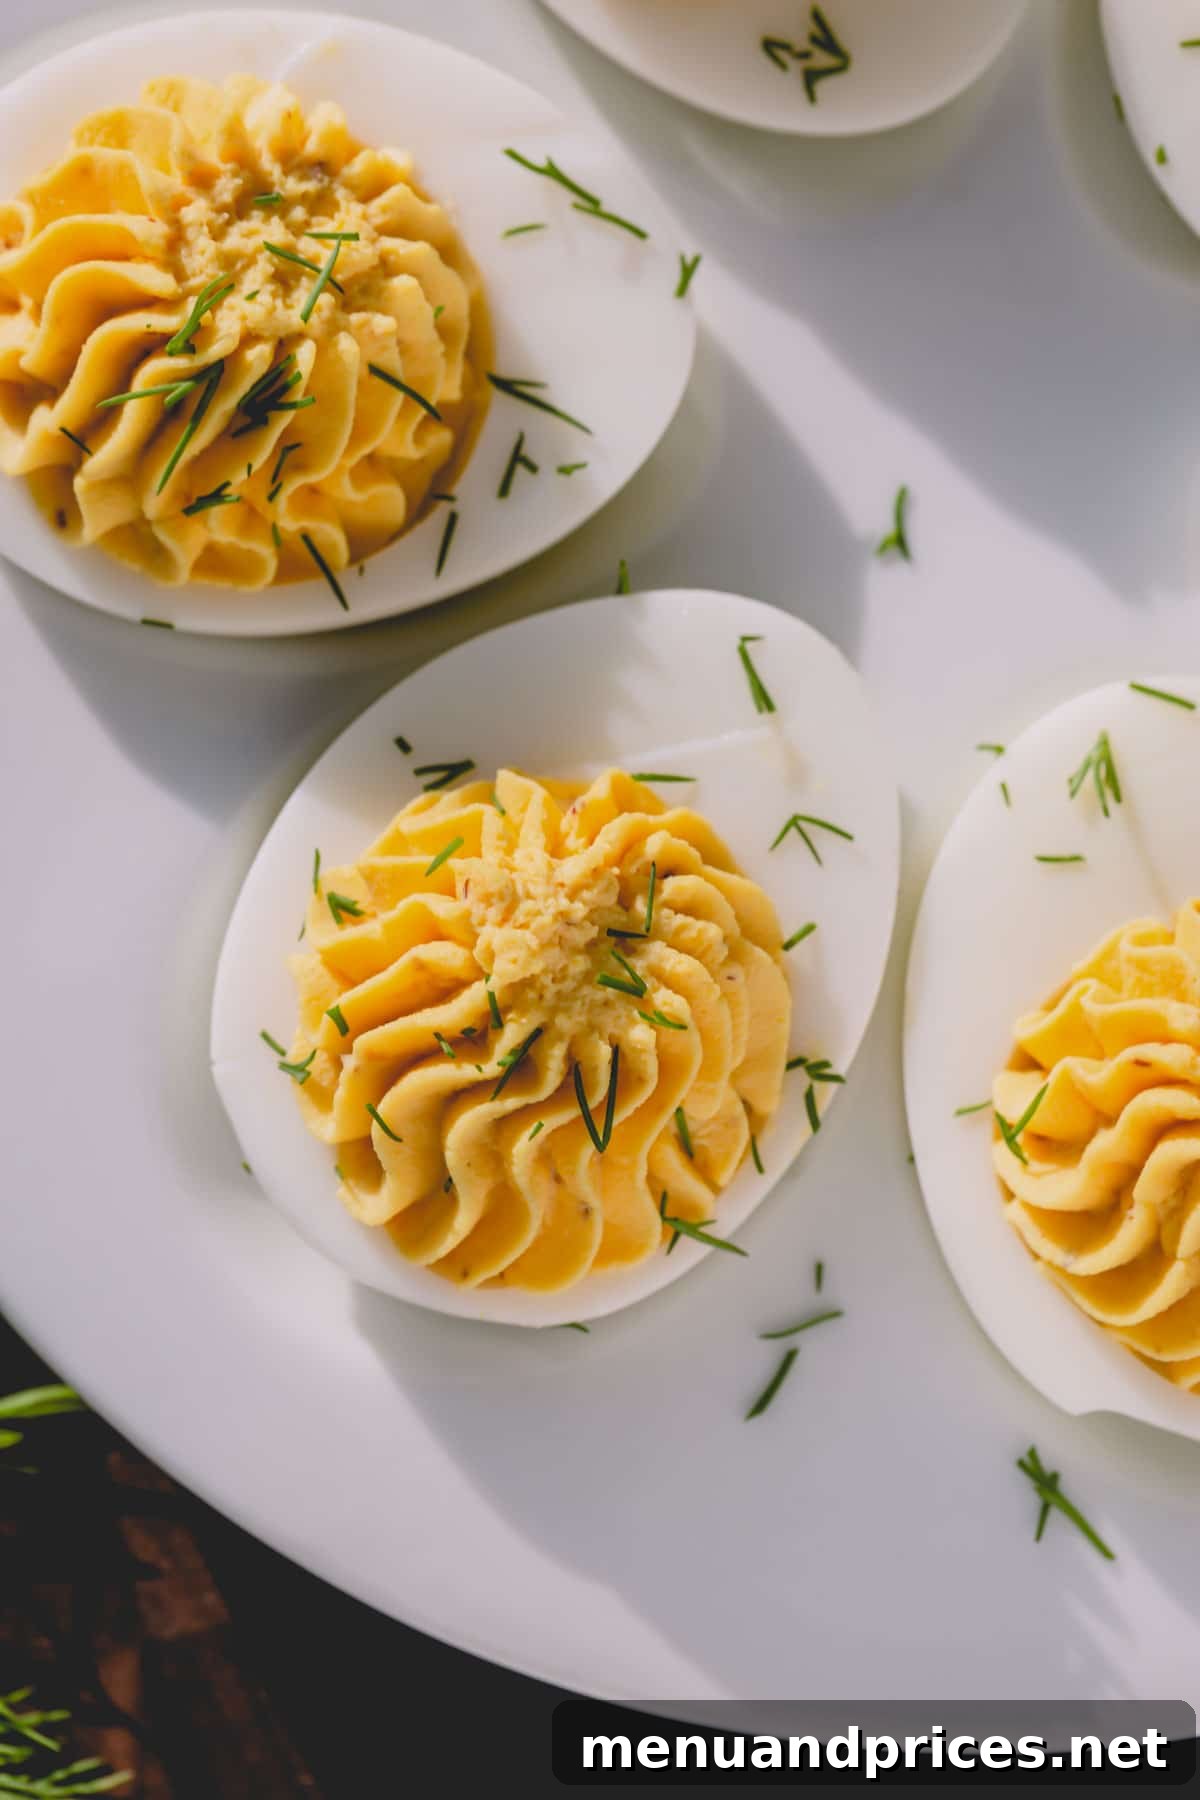
Why This Classic Deviled Egg Recipe Stands Out
Deviled eggs are indeed a classic crowd-pleaser, beloved for their simplicity and deliciousness. But what makes *this* recipe truly exceptional? It’s the culmination of years of testing and refining to ensure every bite is pure perfection. You’ll discover a recipe that consistently delivers:
- Silky Smooth & Tender Egg Whites: No rubbery whites here! Our method ensures the whites are firm enough to hold the filling yet wonderfully tender.
- Rich, Flavorful, and Velvety Filling: The star of the show! We achieve an incredibly smooth texture and a complex flavor balance that will have everyone asking for your secret.
- Perfectly Balanced Flavors: Each ingredient plays a crucial role in creating a harmonious blend of creamy, tangy, savory, and subtly spicy notes.
- Effortless Preparation: Despite their gourmet appeal, these deviled eggs are surprisingly quick and easy to assemble, making them ideal for any occasion, from casual get-togethers to elegant holiday feasts.
Get ready to transform simple ingredients into an unforgettable appetizer that will disappear from the platter in no time!
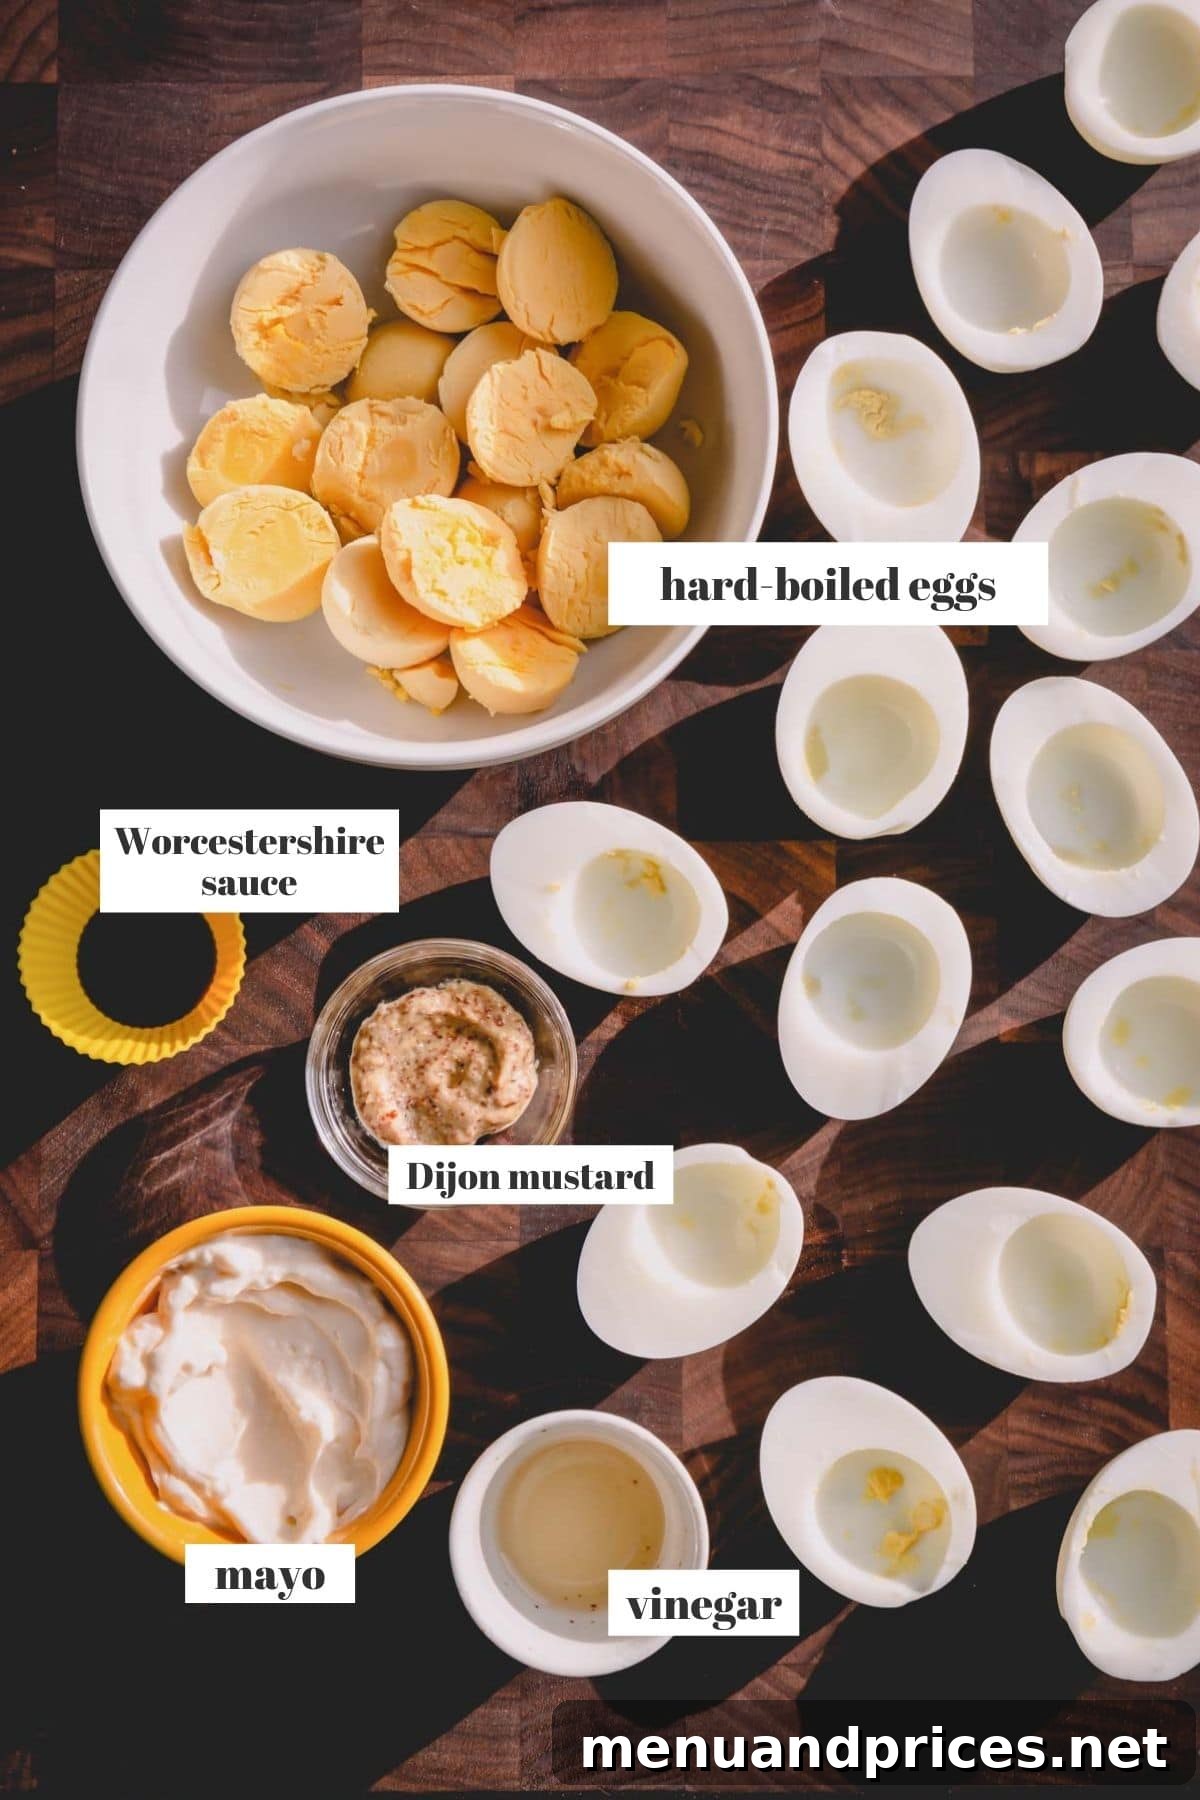
Essential Ingredients for Flawless Deviled Eggs
The beauty of classic deviled eggs lies in the simplicity and quality of their ingredients. Each component contributes to the overall texture and flavor, creating that unmistakable, satisfying bite. Here’s a detailed look at the key players:
- Eggs: The foundation of our dish! You might think specific egg handling is required, but thankfully, that’s not the case for deviled eggs. There’s no need to buy eggs weeks in advance or store them sideways to center the yolks. In fact, even farm-fresh eggs work beautifully with the right cooking technique. For optimal results and incredibly easy peeling, refer to our easy peel hard-boiled eggs tutorial, especially if you’re using fresh eggs!
- Mayonnaise: This is what gives the filling its signature creaminess and rich texture. Mayonnaise binds the mashed yolks, ensuring a smooth and luxurious consistency. If you have a strong preference for Miracle Whip, feel free to use it as a substitute, but for a true classic flavor, real mayonnaise is recommended.
- Dijon Mustard: A critical ingredient that provides a delightful tang and a subtle, characteristic spiciness. Dijon mustard adds depth and complexity, preventing the filling from tasting flat. Don’t skip it, as it’s quintessential to the deviled egg experience.
- Apple Cider Vinegar: A splash of apple cider vinegar brightens up the entire flavor profile. Its acidity cuts through the richness of the mayo and yolk, adding a pleasant zest. If apple cider vinegar isn’t on hand, you can substitute it with white wine vinegar or even a squeeze of fresh lemon juice for a similar brightening effect.
- Worcestershire Sauce: This savory powerhouse adds an incredible umami depth to the filling. Just a quarter teaspoon introduces a complex salty and savory note that elevates the overall taste, making your deviled eggs truly irresistible.
- Salt: Essential for seasoning and bringing out the best in all the other flavors. Always taste and adjust salt levels to your preference.
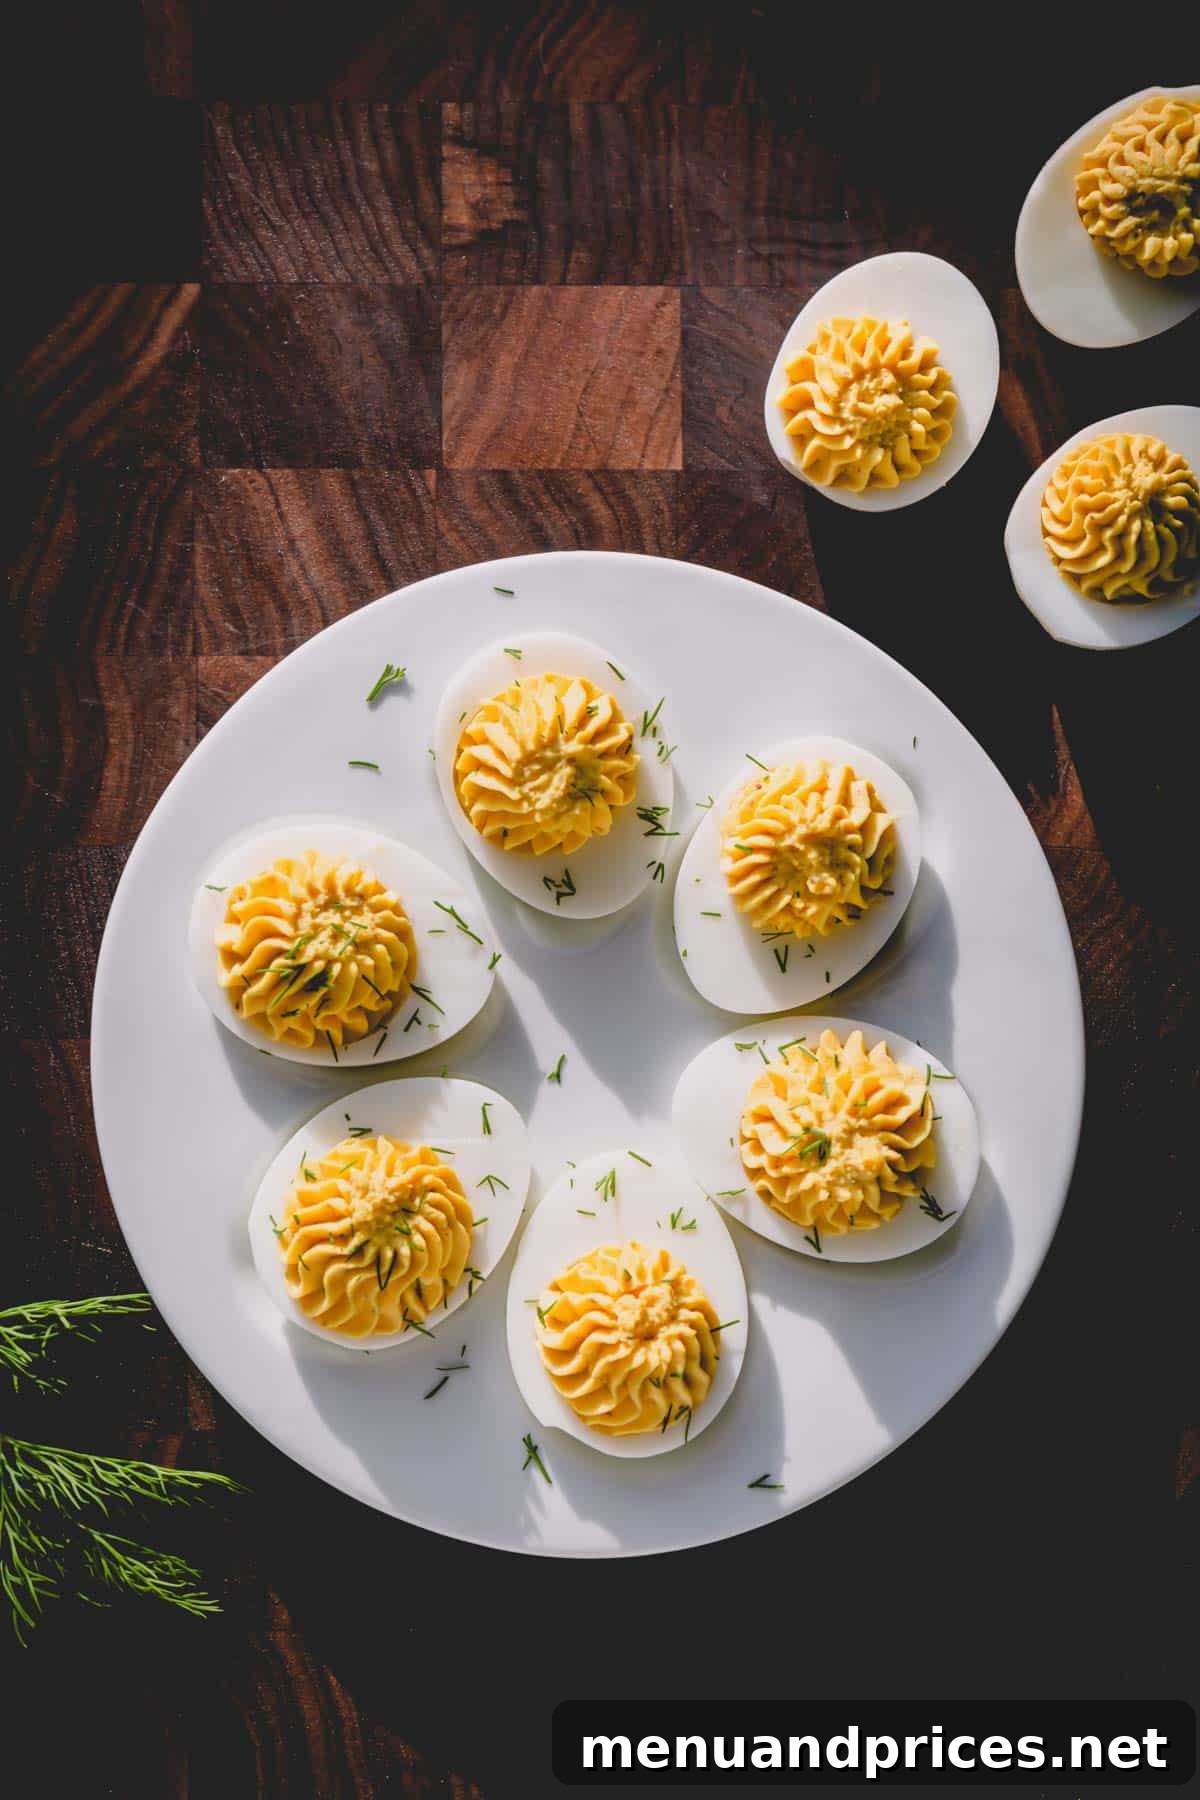
- Fresh Dill (for garnish, optional): While optional, a sprinkle of fresh dill not only adds a beautiful pop of color but also a fresh, aromatic finish that complements the eggs wonderfully. Smoked paprika is another fantastic traditional garnish.
Step-by-Step: Crafting Your Perfect Deviled Eggs
Making delicious deviled eggs is a straightforward process that yields impressive results. Follow these steps for a consistently perfect batch:
1. Achieving Perfectly Cooked & Easy-to-Peel Eggs
The secret to perfect deviled eggs begins with perfectly cooked and easily peelable hard-boiled eggs. While there are several methods, my preferred techniques ensure a smooth process:
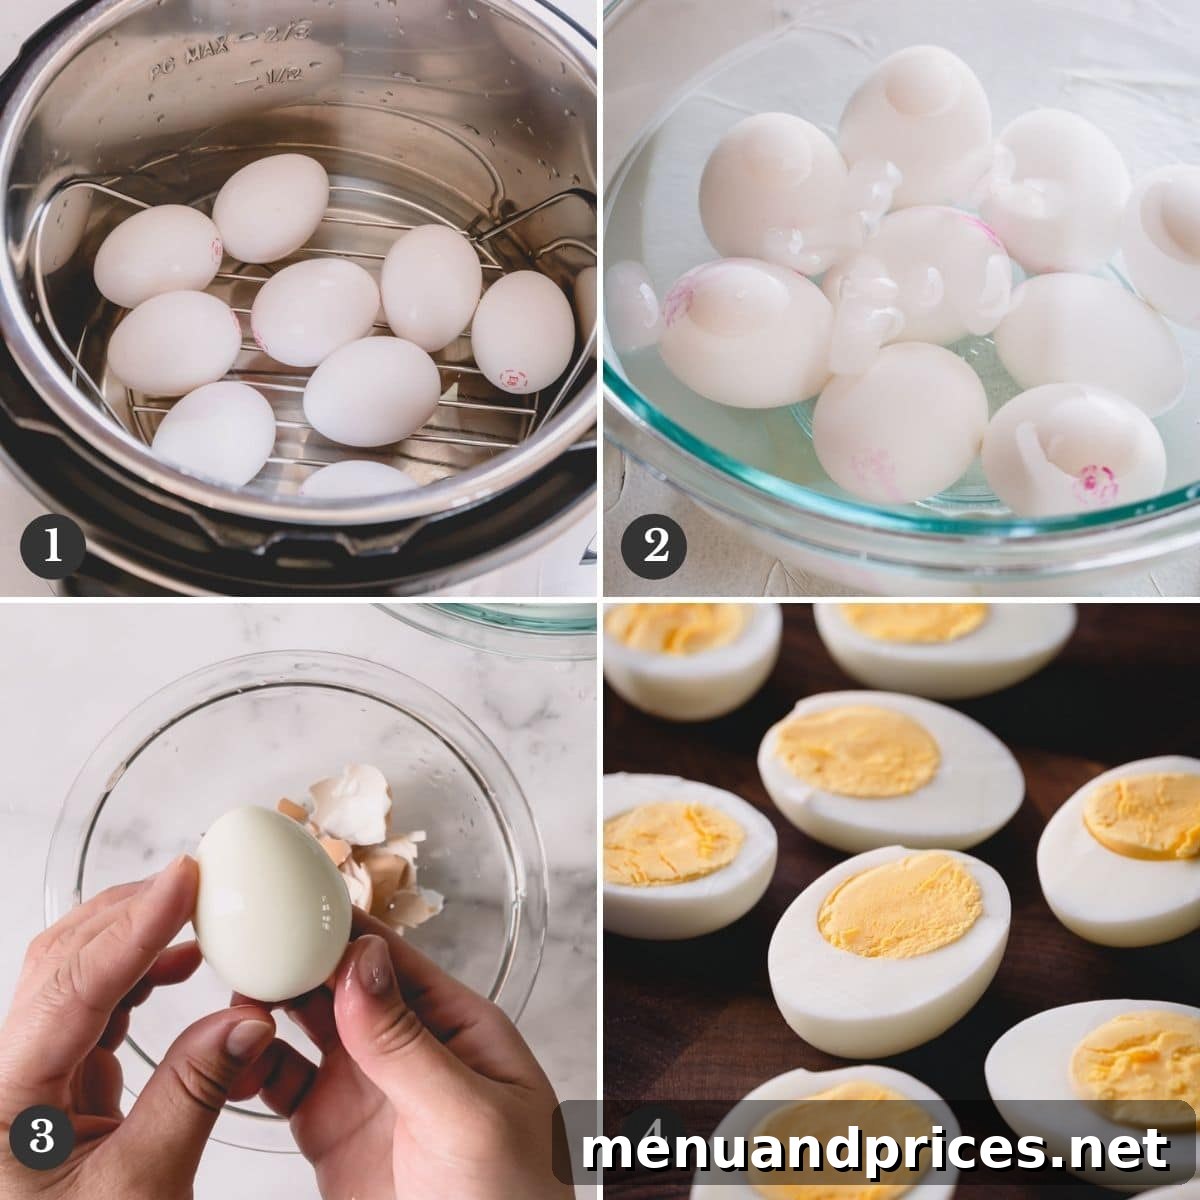
- Instant Pot Method: This is my go-to for store-bought eggs as it makes peeling incredibly easy. Simply place a trivet in your Instant Pot’s inner pot, add 1-2 cups of water (1 cup for 6qt, 2 cups for 8qt), and arrange your eggs on the rack. Set the Instant Pot to Manual/Pressure Cook on High for 8 minutes. Once the cooking time is up, allow the pressure to release naturally for 5 minutes before carefully turning the valve to venting. Once the pin drops, open the lid.
- Stovetop Steaming Method: For farm-fresh eggs, which can sometimes be notoriously difficult to peel, steaming on the stovetop is the best approach to ensure easy peeling. You can find a detailed tutorial on steaming hard-boiled eggs here.
Regardless of your cooking method, the next critical step is an ice bath. Immediately transfer the hot eggs into a large bowl filled with ice water and let them cool for at least 10 minutes. This rapidly stops the cooking process, preventing the dreaded green ring around the yolks, and helps the shell separate easily.
Once cooled, gently tap each egg on a counter to crack the shell all over, then carefully peel under cool running water. Finally, cut the peeled eggs in half lengthwise and carefully scoop out the yolks into a medium bowl, placing the egg white halves on a serving platter or storage container.
Tip
An ice bath is crucial not only for easy peeling but also to prevent overcooking, which can lead to an unappetizing green ring around the yolk. Don’t skip this step!
2. Preparing the Creamy, Flavorful Yolk Filling
With your egg whites neatly arranged, it’s time to create the irresistible filling:
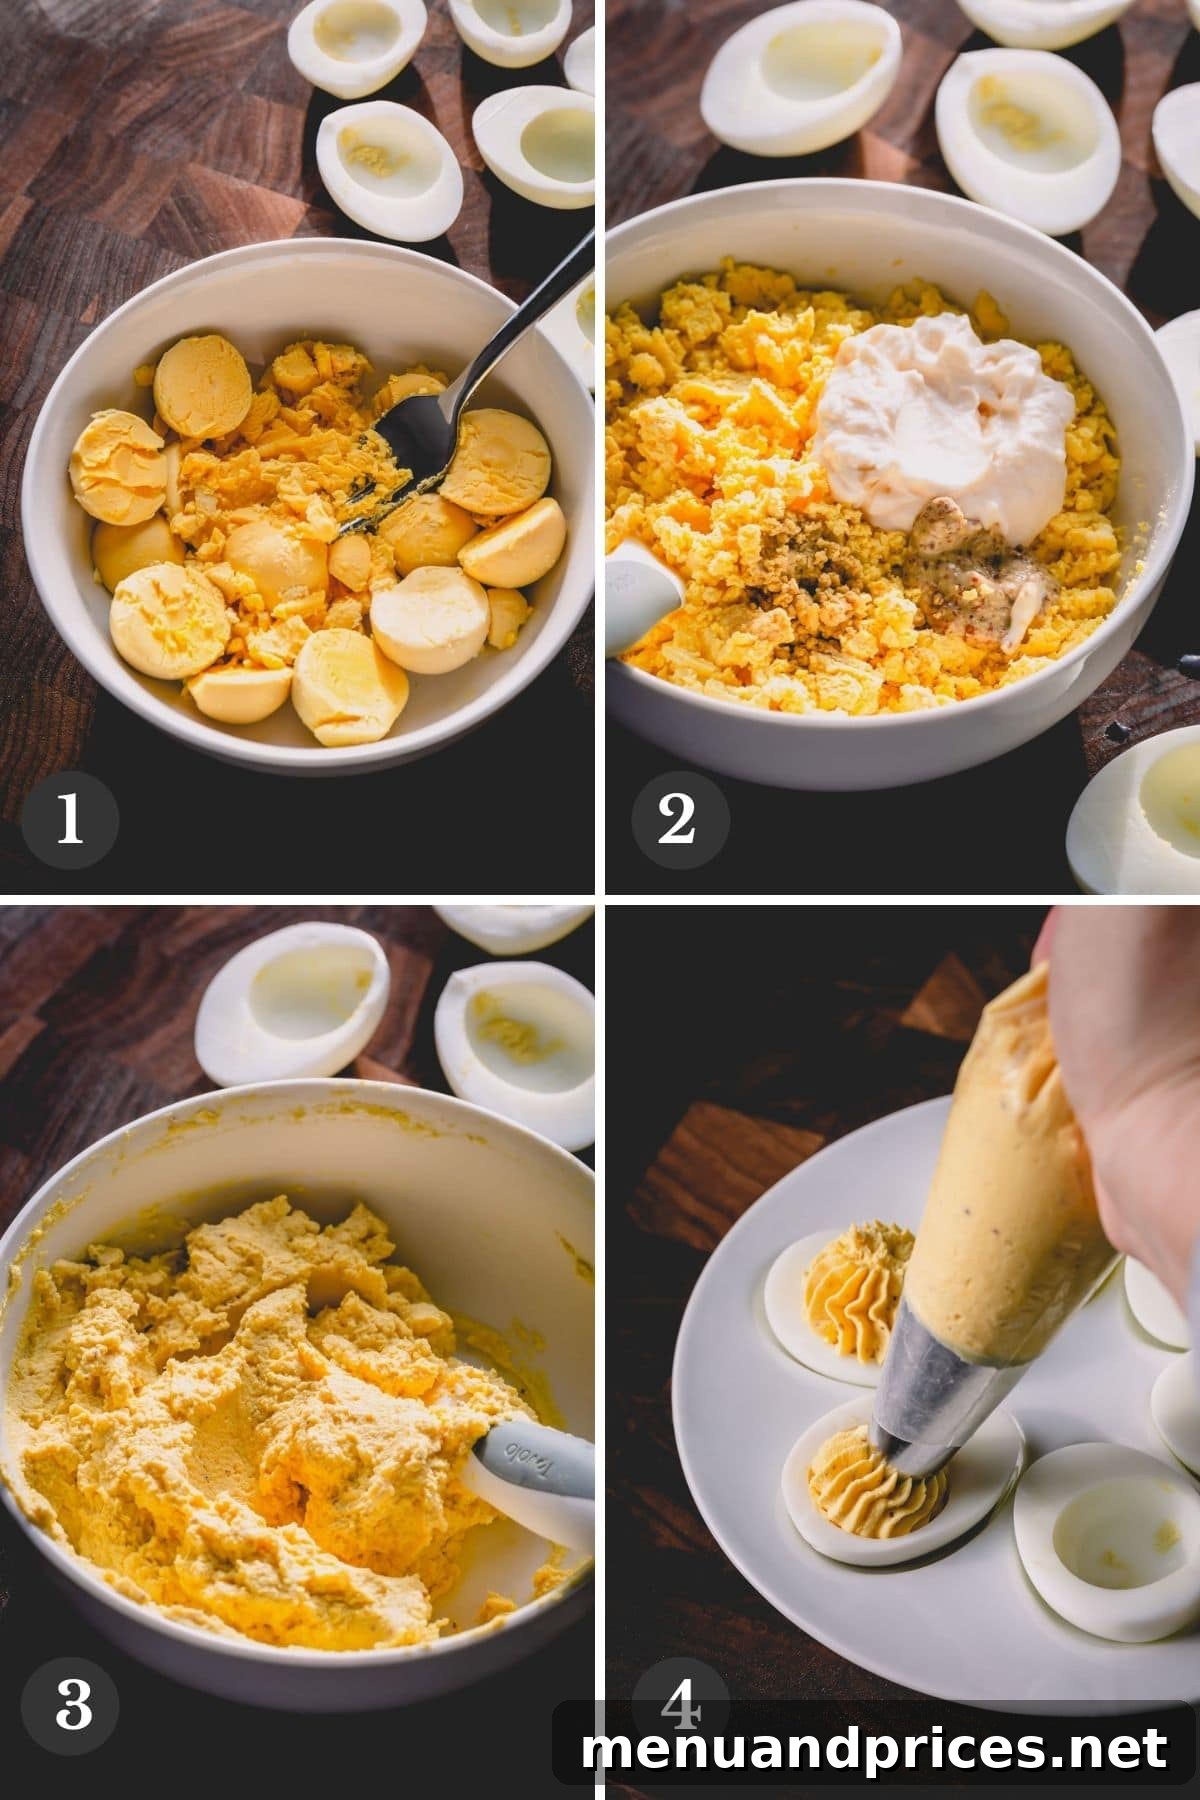
- Mash the Yolks: Place all the scooped-out egg yolks in a medium bowl. Using a fork, mash them thoroughly until they are completely smooth and free of any large chunks. A fine mash is key to a silky filling.
- Combine Ingredients: Add the mayonnaise, apple cider vinegar, Dijon mustard, Worcestershire sauce, and salt to the mashed yolks.
- Mix Until Smooth: Using a rubber spatula or spoon, mix all the ingredients together until the filling is perfectly smooth, creamy, and well combined. Taste and adjust seasonings if necessary.
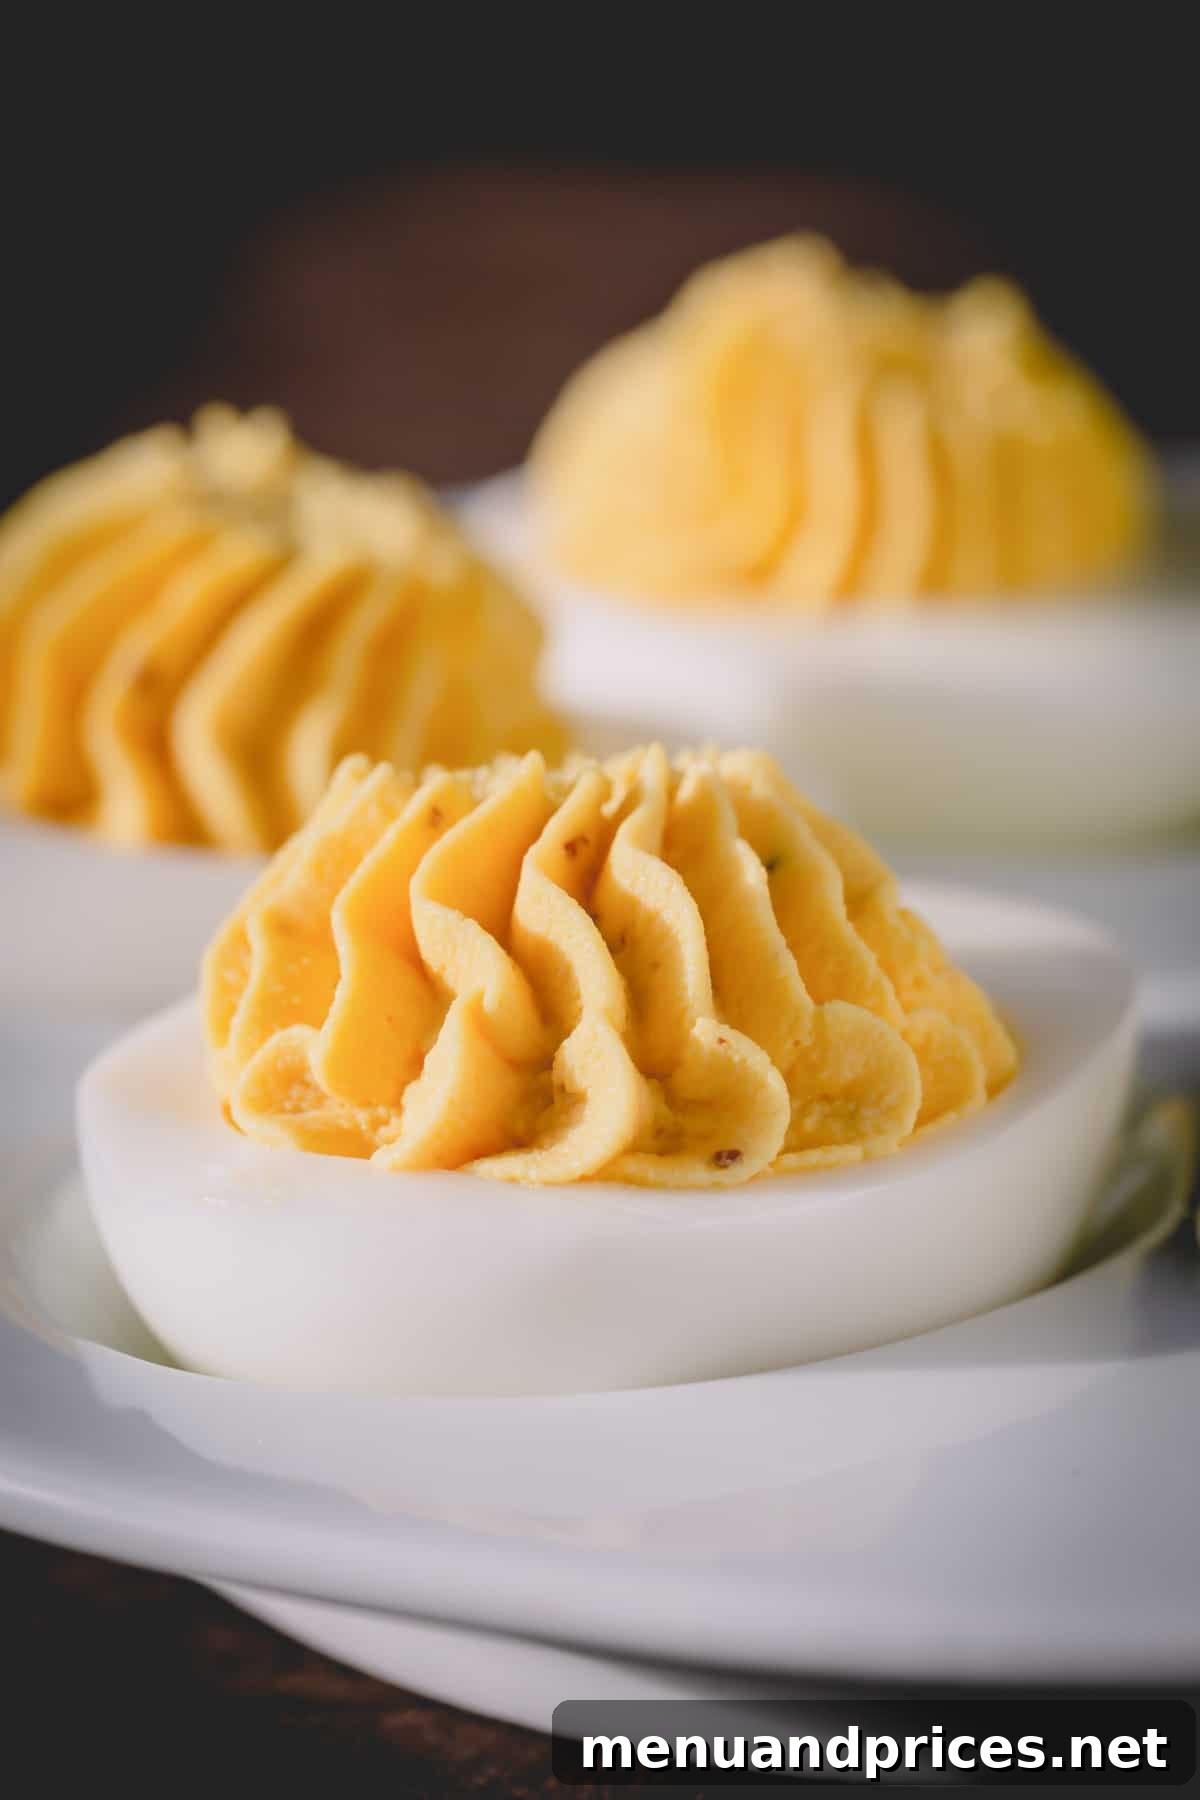
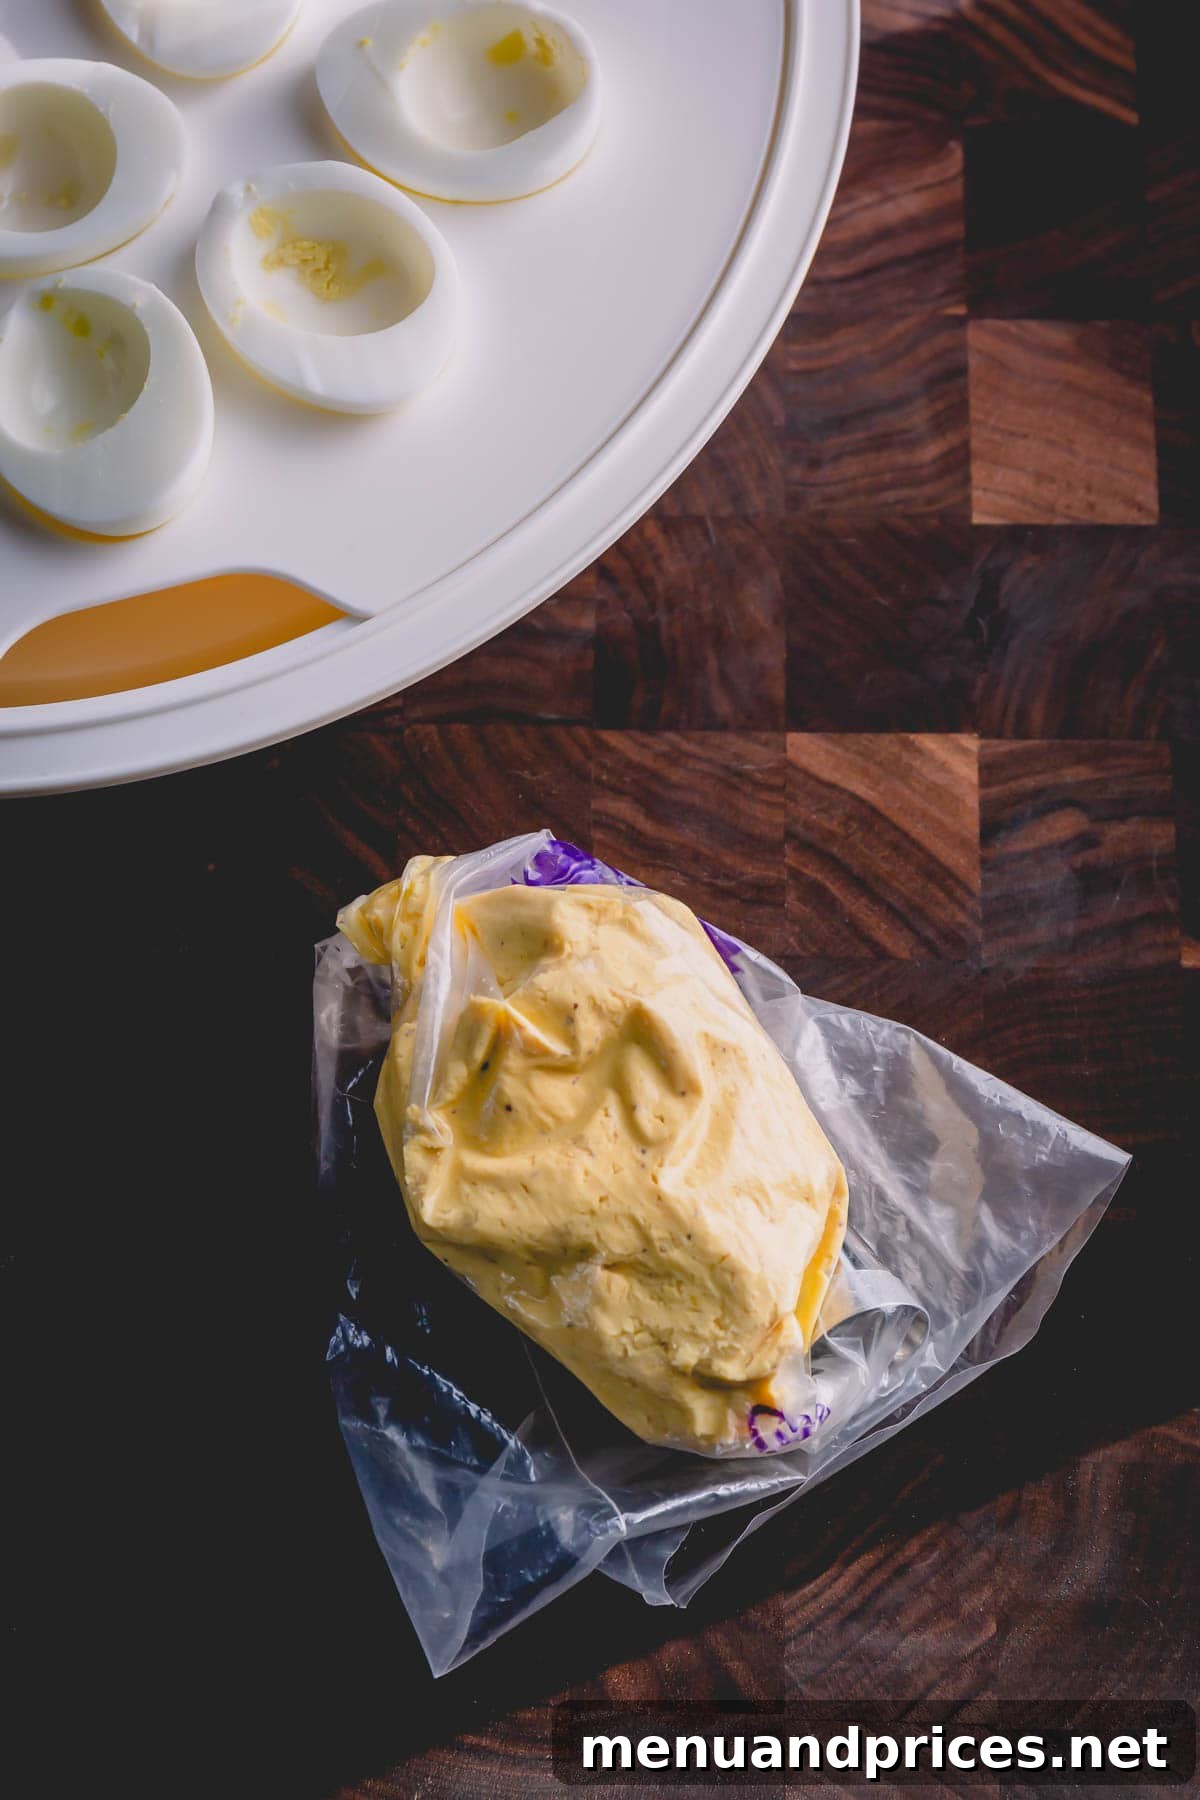
- Transfer to Piping Bag: For an elegant presentation, transfer the filling into a piping bag fitted with your desired tip (a French star tip works beautifully, but any star tip or even a round tip will do). If you don’t have a piping bag, a sturdy Ziploc freezer bag with a corner snipped off works just as well.
Now you’re ready to fill your egg whites!
Tip
For the freshest taste and best presentation, it’s always ideal to fill your deviled eggs right before serving, or at most, a few hours in advance.
3. Expert Tips for Filling Egg Whites
Filling the egg whites neatly is simple and adds to the visual appeal. Here are two easy methods:
- Using a Freezer Bag: This is a fantastic hack if you don’t own a pastry bag. Spoon the creamy yolk filling into a heavy-duty freezer bag. Push all the filling into one corner of the bag. Snip off a small piece of the corner with scissors. Twist the top of the bag to create pressure, then gently squeeze the filling into each egg white cavity. It truly functions just like a professional pastry bag!
- Using a Pastry Bag: If you have a pastry bag, fit it with a star tip (or any decorative tip you prefer) and fill it with the yolk mixture. Pipe the filling elegantly into each egg white half. This method offers the most control for a professional look.
Arrange your beautifully filled deviled eggs on a serving platter and get ready for compliments!
Pro Tips for Deviled Egg Success Every Time
Achieving consistently perfect deviled eggs is easy with a few insider tricks. These tips will help you navigate common challenges and ensure your appetizers are always a hit:
- For Effortless Peeling: As mentioned, steaming is truly the best method for cooking hard-boiled eggs that peel like a dream. Whether you use an Instant Pot for store-bought eggs or stovetop steaming for farm-fresh ones, prioritizing this method will save you frustration. The rapid temperature change and consistent cooking environment are key.
- The Importance of an Ice Bath: Don’t underestimate this step! Transferring eggs immediately to an ice bath halts the cooking process, preventing overcooked yolks (which results in that unsightly grayish-green ring around the yolk) and contributes significantly to easier peeling by shrinking the egg away from the shell.
- Dealing with the Green Ring: If, despite your best efforts, you end up with a slight green ring around the yolks, don’t despair! The dish isn’t ruined. Simply continue with the recipe. For a quick visual fix, you can add a tiny squeeze of yellow mustard to the yolk mixture; its vibrant yellow color will help mask the green hue.
- Always Cook Extra Eggs: It’s a culinary truth that some eggs, for reasons unknown, simply refuse to peel cleanly. To avoid coming up short for your platter, always cook an extra egg or two. This small buffer can save you from stress if one or two eggs don’t cooperate.
- Mash Yolks Thoroughly: For the creamiest filling, ensure you mash the yolks until absolutely no lumps remain. A potato masher or even pressing them through a fine-mesh sieve can help achieve ultimate smoothness.
- Taste and Adjust: Before piping, always taste your filling! Adjust salt, pepper, mustard, or vinegar to suit your preference. A perfectly seasoned filling makes all the difference.
Make-Ahead & Storage Solutions for Stress-Free Entertaining
Deviled eggs are the quintessential make-ahead appetizer, perfect for reducing stress when hosting! Proper preparation and storage ensure they remain fresh and delicious until serving time. Here’s a timeline to guide you:
- 1 Week in Advance: This is the ideal time to cook your hard-boiled eggs. Once cooked and cooled (via an ice bath), refrigerate the unpeeled eggs in their shells. They will stay fresh in the refrigerator for up to 7 days. This step alone can save you significant time on the day of your event.
- 1 Day in Advance: You can prepare the deviled egg filling and separate the egg whites. Store the yolk mixture in an airtight container or a sealed piping bag (if using) in the refrigerator. Store the egg white halves separately in an airtight container, perhaps lined with a lightly damp paper towel to maintain moisture, also in the fridge. Keeping them separate prevents the whites from becoming soggy and the filling from drying out.
- The Day of Serving: For maximum freshness and optimal presentation, fill the egg whites preferably right before serving. If that’s not possible, filling them a few hours in advance is perfectly fine. Once filled, garnish and keep them chilled until it’s time to enjoy.
Storing Tips:
- For Egg Whites: Place the cooked and peeled egg white halves in an airtight container, ideally lined with a lightly damp paper towel, and refrigerate. The paper towel helps maintain moisture and prevents them from drying out.
- For Egg Yolk Mixture: Transfer the prepared egg yolk filling into a Ziploc bag or a pastry bag. Make sure to twist both ends tightly to keep the bag airtight. This prevents the filling from oxidizing and keeps it fresh.
Tip
If you need to transport your deviled eggs, an inexpensive yet incredibly versatile egg carrier is a lifesaver! It keeps the eggs secure and prevents them from sliding around, ensuring they arrive looking perfect.
Elevate Your Deviled Eggs with Creative Garnishes
While the classic deviled egg filling is a star on its own, a thoughtful garnish can elevate both its visual appeal and flavor. Think of it as the final touch that makes your deviled eggs truly shine:
- Fresh Dill: The most classic choice, fresh dill offers a delicate, herbaceous note that beautifully complements the richness of the egg. A small sprig or a light sprinkle of chopped dill instantly adds elegance and freshness.
- Smoked Paprika: For a touch of warmth and subtle smokiness, a dusting of smoked paprika is excellent. It adds a lovely contrasting color and a hint of intriguing flavor. Sweet paprika can also be used for color without the smoky element.
- Chives: Finely chopped chives provide a mild oniony flavor and a vibrant green pop.
- Crispy Bacon Bits: For a truly indulgent twist, sprinkle some finely crumbled crispy bacon on top. The salty crunch is irresistible.
- Pickled Jalapeños: If you enjoy a bit of heat and tang, a tiny slice of pickled jalapeño can add an exciting kick.
- Caviar: For a luxurious presentation, a tiny dollop of fish roe or caviar transforms deviled eggs into an elegant gourmet treat.
- Sriracha Drizzle: A very thin, artful drizzle of Sriracha can add a modern, spicy edge for those who appreciate heat.
Feel free to experiment and find your favorite combination! The right garnish can truly make your deviled eggs memorable.
The Timeless Appeal of Deviled Eggs
Deviled eggs have a rich history, tracing their origins back to ancient Rome, where boiled eggs were seasoned with spicy sauces as a starter course. The term “deviled” itself emerged in the 18th century to describe spicy or highly seasoned food. Over centuries, this simple dish evolved, becoming a quintessential American appetizer, especially popular from the mid-20th century onwards. Their enduring popularity stems from a perfect blend of rich flavor, creamy texture, and easy portability, making them ideal for everything from casual potlucks to elegant holiday spreads. Whether it’s Easter brunch, a summer picnic, or a Thanksgiving appetizer, deviled eggs consistently evoke a sense of nostalgia and comfort, proving that some classics truly never go out of style.
Customizing Your Deviled Eggs: Variations to Explore
While our classic recipe is perfected, deviled eggs are incredibly versatile and invite creative experimentation. Once you’ve mastered the basic technique, consider these delightful variations:
- Herbs: Beyond dill, try chopped chives, parsley, cilantro, or tarragon mixed into the filling.
- Spices: Add a pinch of cayenne pepper for heat, a dash of curry powder for an exotic twist, or a hint of smoked paprika for depth.
- Cheeses: Finely grated Parmesan or a touch of cream cheese can add richness and a different texture.
- Mustards: Experiment with spicy brown mustard, whole grain mustard, or even honey mustard for varying flavor profiles.
- Acid: Substitute red wine vinegar, white wine vinegar, or fresh lemon juice for apple cider vinegar.
- Add-ins:
- Bacon: Crispy, crumbled bacon is a universally loved addition.
- Pickles: Finely minced sweet gherkins or dill pickles add a delightful crunch and tang.
- Hot Sauce: A few drops of your favorite hot sauce can give a subtle or fiery kick.
- Avocado: Mash in a quarter of an avocado for an extra creamy, healthy twist.
- Seafood: Flaked smoked salmon or a tiny bit of crab meat can elevate them to a gourmet level.
The possibilities are endless, allowing you to tailor your deviled eggs to any palate or occasion!
Frequently Asked Questions (FAQ) About Deviled Eggs
How long do deviled eggs last in the refrigerator?
Deviled eggs are best enjoyed within 2 days of preparation. While cooked eggs can last longer, the filling with mayonnaise is more perishable. Always store them in an airtight container in the coldest part of your refrigerator.
Can I freeze deviled eggs?
Unfortunately, no. Cooked egg whites become rubbery and watery when frozen and thawed, making deviled eggs unsuitable for freezing. It’s best to prepare them fresh or follow the make-ahead tips provided.
What causes the green ring around the yolk?
The greenish-gray ring around the yolk is caused by a chemical reaction between sulfur in the egg white and iron in the yolk, creating iron sulfide. This happens when eggs are overcooked or cooked too slowly. It’s harmless but aesthetically unappealing. An ice bath immediately after cooking helps prevent this.
My eggs are hard to peel. What can I do?
Fresh eggs are notoriously difficult to peel. For easier peeling, use eggs that are at least a week old. Steaming them (whether in an Instant Pot or stovetop) and then plunging them immediately into an ice bath are the most effective methods for achieving easy-to-peel hard-boiled eggs, even with fresh ones.
Can I make deviled eggs without a piping bag?
Absolutely! A sturdy Ziploc freezer bag works perfectly. Spoon the filling into one corner, snip off the tip, and squeeze. For a rustic look, you can simply spoon the filling into the egg white halves with a small spoon.
What’s the difference between mayonnaise and Miracle Whip in deviled eggs?
Mayonnaise is an emulsion of oil, egg yolk, and vinegar/lemon juice, offering a rich, creamy, and somewhat tangy flavor. Miracle Whip is a dressing with a tangier, sweeter, and spicier flavor profile, containing less oil and more sugar and spices. For classic deviled eggs, mayonnaise is traditional, but if you prefer the taste of Miracle Whip, it can be substituted.
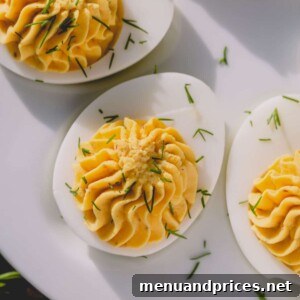
Classic Deviled Eggs
Classic deviled eggs with a perfectly creamy and well-rounded filling. Get the tested recipe, plus all the tips on how to make them ahead!
Comment
Print Recipe
Ingredients
- 6 large eggs (Note 1)
- 3 tablespoons mayo (Note 2)
- 1 ½ teaspoons apple cider vinegar (Note 3)
- 1 teaspoon Dijon mustard
- ¼ teaspoon Worcestershire sauce
- ¼ teaspoon salt
- Fresh dill for garnish (optional)
Instructions
To cook hard-boiled eggs:
- Place a trivet in the inner pot of your Instant Pot. Add 1-2 cups of water (1 cup for a 6qt Instant Pot, 2 cups for an 8qt) and place the eggs on the rack.
- Set the Instant Pot to Manual/Pressure Cook for 8 minutes on High.
- Once the time is up, allow the pressure to release naturally for 5 minutes, then carefully turn the valve to venting. Once the pin drops, carefully open the lid. (Alternatively, you can steam hard-boiled eggs on the stovetop).
- Meanwhile, prepare a bowl of water with ice. Immediately transfer the cooked eggs into the ice water to cool for about 10 minutes.
- Once the eggs are cooled, gently tap each egg on a counter to crack the shell all over, and then carefully peel.
- Cut the peeled eggs in half lengthwise and separate the yolks from the whites.
To make egg yolk filling:
- Place the yolks in a medium bowl and mash them very well with a fork until smooth, ensuring no chunks remain.
- Add the mayo, apple cider vinegar, Dijon mustard, Worcestershire sauce, and salt. Mix with a rubber spatula until the filling is completely smooth and creamy.
- Transfer the filling into a pastry bag fitted with a star tip (if desired) or simply into a sturdy Ziploc bag with a corner snipped off.
To assemble:
- Arrange the egg white halves on a serving platter and pipe the filling into each egg white cavity. It is best to fill the deviled eggs right before serving for maximum freshness.
- Garnish with fresh dill, smoked paprika, or other desired toppings. Serve immediately or keep chilled until ready to serve.
⭐️ Did you make this recipe?
Please leave a review and let us know how you liked it!
Tips & Notes
Note 1a: I don’t find it necessary to purchase eggs weeks in advance or place them sideways to center egg yolks. In fact, I often use farm-fresh eggs with my steaming method, and they peel easily. Cooking the eggs in an Instant Pot is also quick and easy, and it’s amazing how eggs peel super easily when pressure-cooked.
Note 1b: I suggest cooking an extra egg or two just in case one doesn’t peel well.
Note 2: If desired, substitute Miracle Whip for mayo. However, I personally love the classic taste achieved with mayonnaise.
Note 3: Any kind of vinegar can be used in place of apple cider vinegar, such as white wine vinegar or even a squeeze of fresh lemon juice.
Make-Ahead Tips:
– 1 week in advance: Cook the hard-boiled eggs. Refrigerate unpeeled eggs until ready to use.
– 1 day in advance: Prepare the filling. Store the filling and egg whites separately in airtight containers in the fridge.
– The day of serving: Fill the egg whites preferably right before serving (or a few hours in advance) for maximum freshness and best presentation.
Storing Tip:
– Place the egg whites in an airtight container, lined with a damp paper towel, and refrigerate.
– Transfer the egg yolk mixture into a ziplock bag or a pastry bag, making sure to twist both ends to keep the bag airtight.
– If you are transporting the eggs, this versatile (and inexpensive!) egg carrier is super convenient for keeping them secure and intact!
Nutrition

Did you make this?
Leave a rating and your feedback. Thank you!
We hope you enjoy this classic deviled eggs recipe as much as we do! It’s a testament to how simple ingredients, when prepared with care, can create truly memorable dishes. Perfect for any gathering, these deviled eggs are sure to become a cherished recipe in your culinary repertoire.