
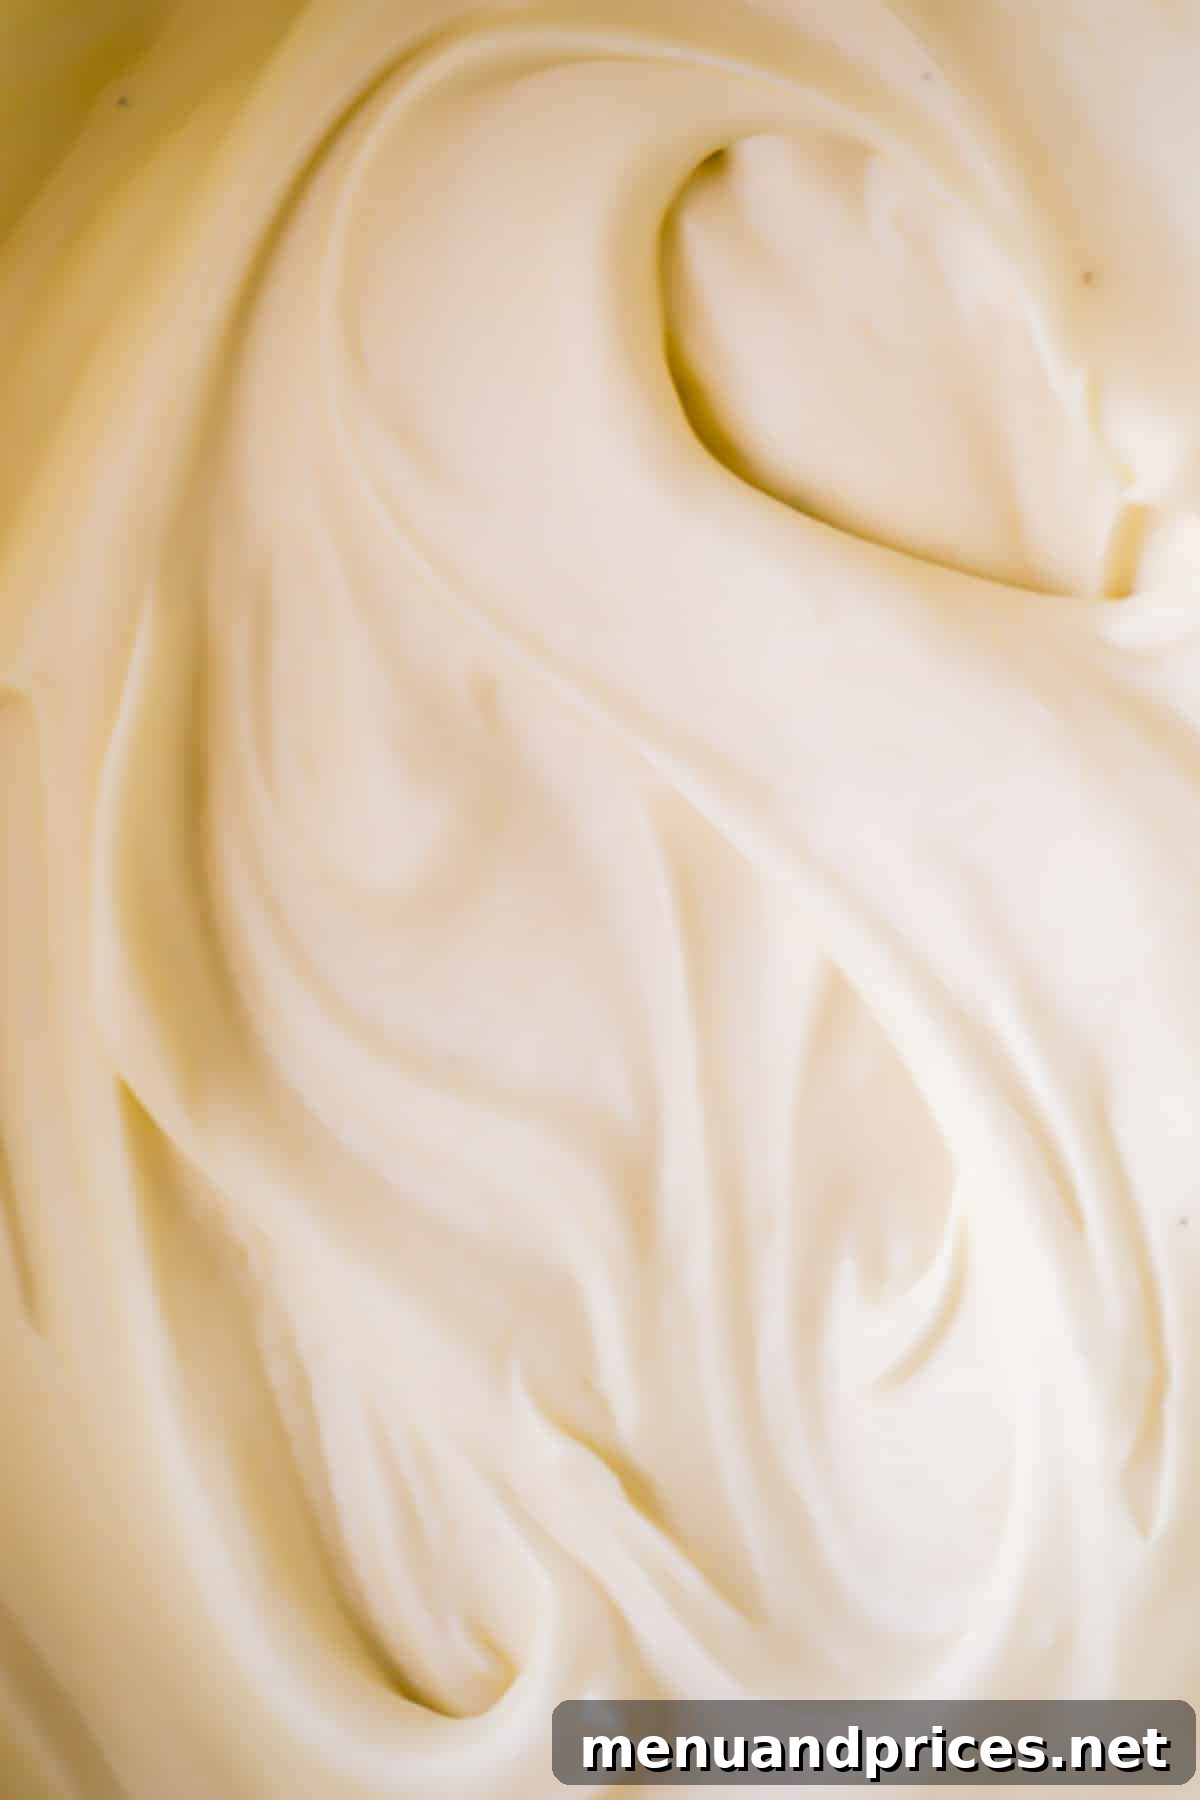
Welcome to your ultimate guide for crafting the perfect cream cheese frosting. Whether you’re a seasoned baker or just starting, this recipe and comprehensive troubleshooting guide will empower you to create a light, fluffy, and beautifully pipeable frosting that’s always thick enough for your decorating needs. Get ready to elevate your cakes and cupcakes with a truly exceptional cream cheese frosting! A helpful video tutorial is also included to walk you through each step.
Why You’ll Fall in Love with This Cream Cheese Frosting Recipe
This isn’t just any cream cheese frosting; it’s a game-changer! Beloved for its exquisite balance of texture and flavor, this recipe consistently delivers outstanding results that will make it your go-to for all your baking projects. Here’s why this recipe truly stands out from the rest:
- Irresistible Texture: Prepare for a frosting that is wonderfully smooth, incredibly creamy, and remarkably light and fluffy. It melts in your mouth, leaving a delicate finish that’s never heavy or greasy.
- Perfectly Balanced Flavor: Say goodbye to overly sweet frostings! This recipe is crafted to be delightful without being cloying, offering a subtle tang from the cream cheese that perfectly complements its sweetness. We use significantly less sugar than most traditional recipes, ensuring a refined taste that lets the cream cheese shine.
- Ideal Consistency for Piping: One of the biggest challenges with cream cheese frosting can be achieving a consistency that’s stable enough for intricate piping. This recipe guarantees a frosting that is thick, sturdy, and holds its shape beautifully, making it perfect for decorating cakes, cupcakes, and cookies with confidence.
Essential Ingredients for Your Perfect Cream Cheese Frosting
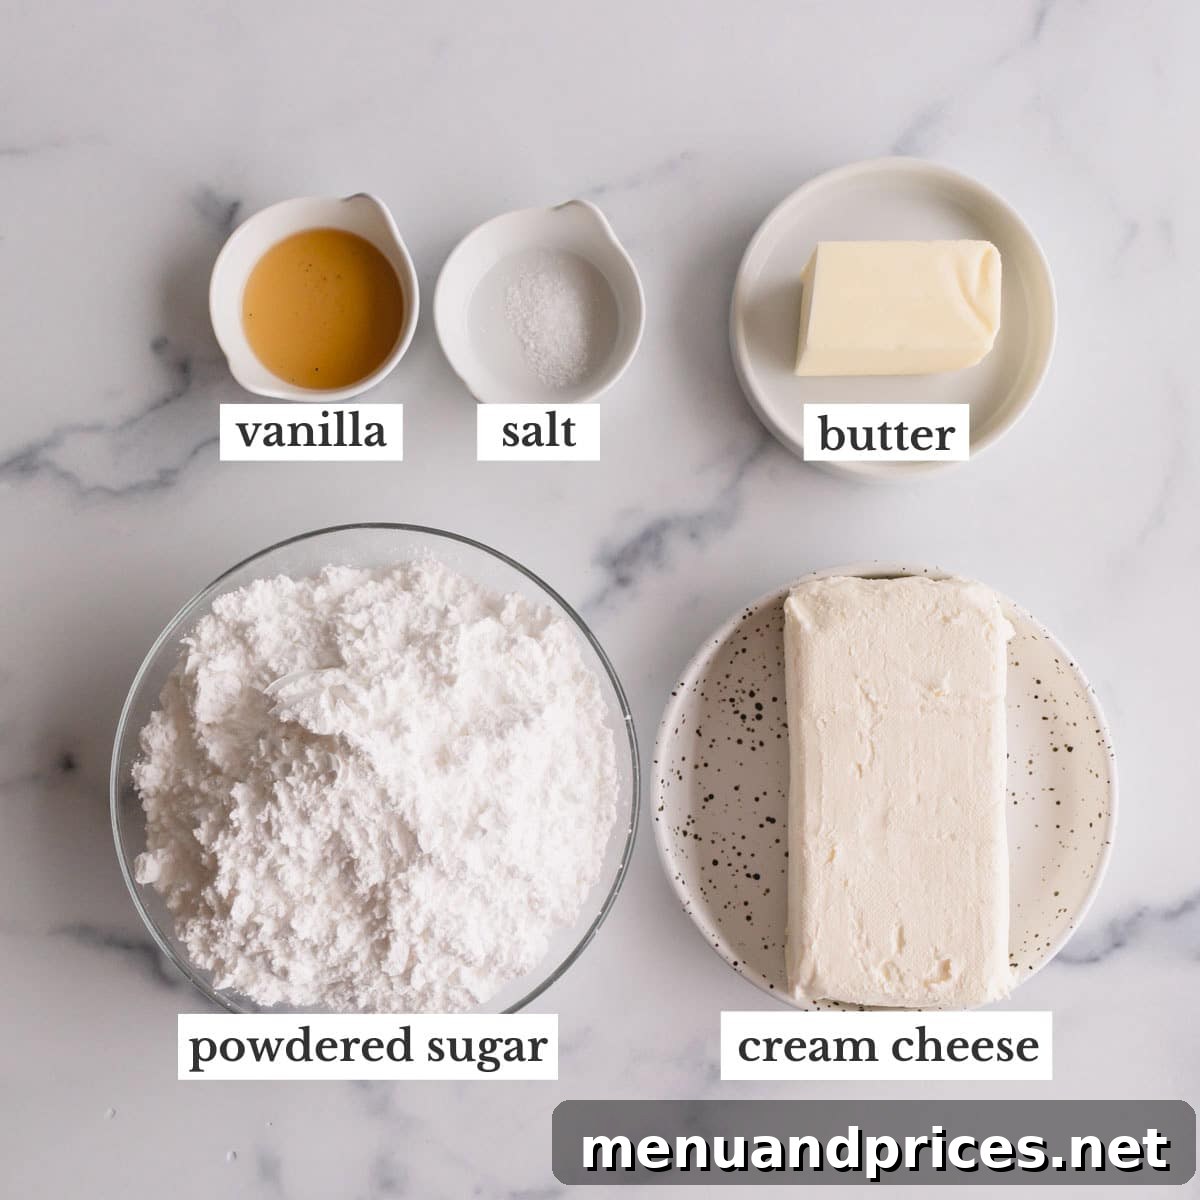
Crafting the perfect cream cheese frosting begins with selecting the right ingredients. Each component plays a crucial role in achieving that coveted smooth texture, balanced flavor, and stable consistency.
- Cream Cheese: The Foundation of Flavor and Structure – The type of cream cheese you choose is paramount for the frosting’s consistency. For the sturdiest, thickest, and most reliable frosting, always opt for a **brick-style, full-fat, plain block of cream cheese**. Avoid whipped, low-fat, or spreadable varieties, as their higher water content and softer texture can lead to a runny, unstable frosting. Full-fat brick cream cheese has less moisture, which is essential for a firm, pipeable consistency.
- Butter: For Creaminess and Stability – Unsalted butter is highly recommended, allowing you to control the overall saltiness of your frosting. If you find your frosting needs an extra boost in stability, especially in warmer climates or for more elaborate decorations, you can increase the butter amount up to 1.5 cups. This adjustment will result in a frosting closer to a cream cheese buttercream, offering enhanced structure without sacrificing deliciousness. Ensure your butter is at the correct room temperature – soft enough to indent with a finger but not melted or greasy.
- Powdered Sugar: The Sweetener and Thickener – Don’t be surprised by the comparatively lower amount of powdered sugar in this recipe. It’s a deliberate choice to achieve a frosting that’s sweet but not excessively so, letting the natural tang of the cream cheese truly shine. Despite the reduced sugar, you’ll still get an incredibly delicious and plenty sweet frosting. Powdered sugar (also known as confectioners’ sugar) also contains cornstarch, which aids in thickening the frosting and preventing it from becoming grainy.
- Vanilla Extract or Vanilla Bean Paste: The Flavor Enhancer – A good quality vanilla extract or vanilla bean paste is critical for adding depth and warmth to your frosting. Pure vanilla extract offers a classic aroma and taste, while vanilla bean paste provides visible specks of vanilla bean and a more intense flavor. Add it at the very end to prevent it from potentially thinning out the frosting prematurely.
- Pinch of Salt: The Flavor Balancer – A small amount of salt is essential, not to make the frosting salty, but to enhance and balance the sweetness and tartness, making all the flavors pop and preventing the frosting from tasting flat.
Achieving Perfect Consistency: The Golden Rule of Room Temperature Ingredients
The “secret” to achieving perfectly smooth, lump-free, and delightfully fluffy cream cheese frosting lies in one crucial step: **ensuring your cream cheese and butter are adequately softened to room temperature.** This isn’t just a suggestion; it’s a fundamental principle for success.
Cold cream cheese, straight from the refrigerator, will not cream properly with butter. It will resist blending, resulting in an unappealingly lumpy frosting that’s difficult to spread or pipe. Similarly, butter that is too cold will create a stiff mixture, while butter that is too warm or melted will result in a greasy, runny frosting.
To achieve the ideal softened state, simply take your brick-style cream cheese and unsalted butter out of the fridge and let them sit on your kitchen counter for approximately **1 to 2 hours** before you begin mixing. They should be pliable enough to gently indent with a finger but still hold their shape. This allows them to combine seamlessly, creating an emulsified base that’s perfectly smooth and ready to incorporate the powdered sugar.
Step-by-Step Guide: How to Make Fluffy Cream Cheese Frosting
Making this incredibly delicious and stable cream cheese frosting is surprisingly quick and easy. Follow these simple steps, paying close attention to ingredient temperature and mixing times, and you’ll be frosting like a pro in no time.
- Step 1: Cream the Cream Cheese and Butter. In the bowl of a stand mixer fitted with the paddle attachment (or using a hand mixer in a large bowl), combine your softened **full-fat cream cheese** and **unsalted butter**. Beat them together on medium-high speed for about 1 to 2 minutes. The goal here is to achieve a light, airy, and fluffy mixture that is completely smooth, with no lumps of cream cheese remaining. Scrape down the sides of the bowl midway through to ensure everything is thoroughly combined. This initial creaming step is vital for a lump-free base.
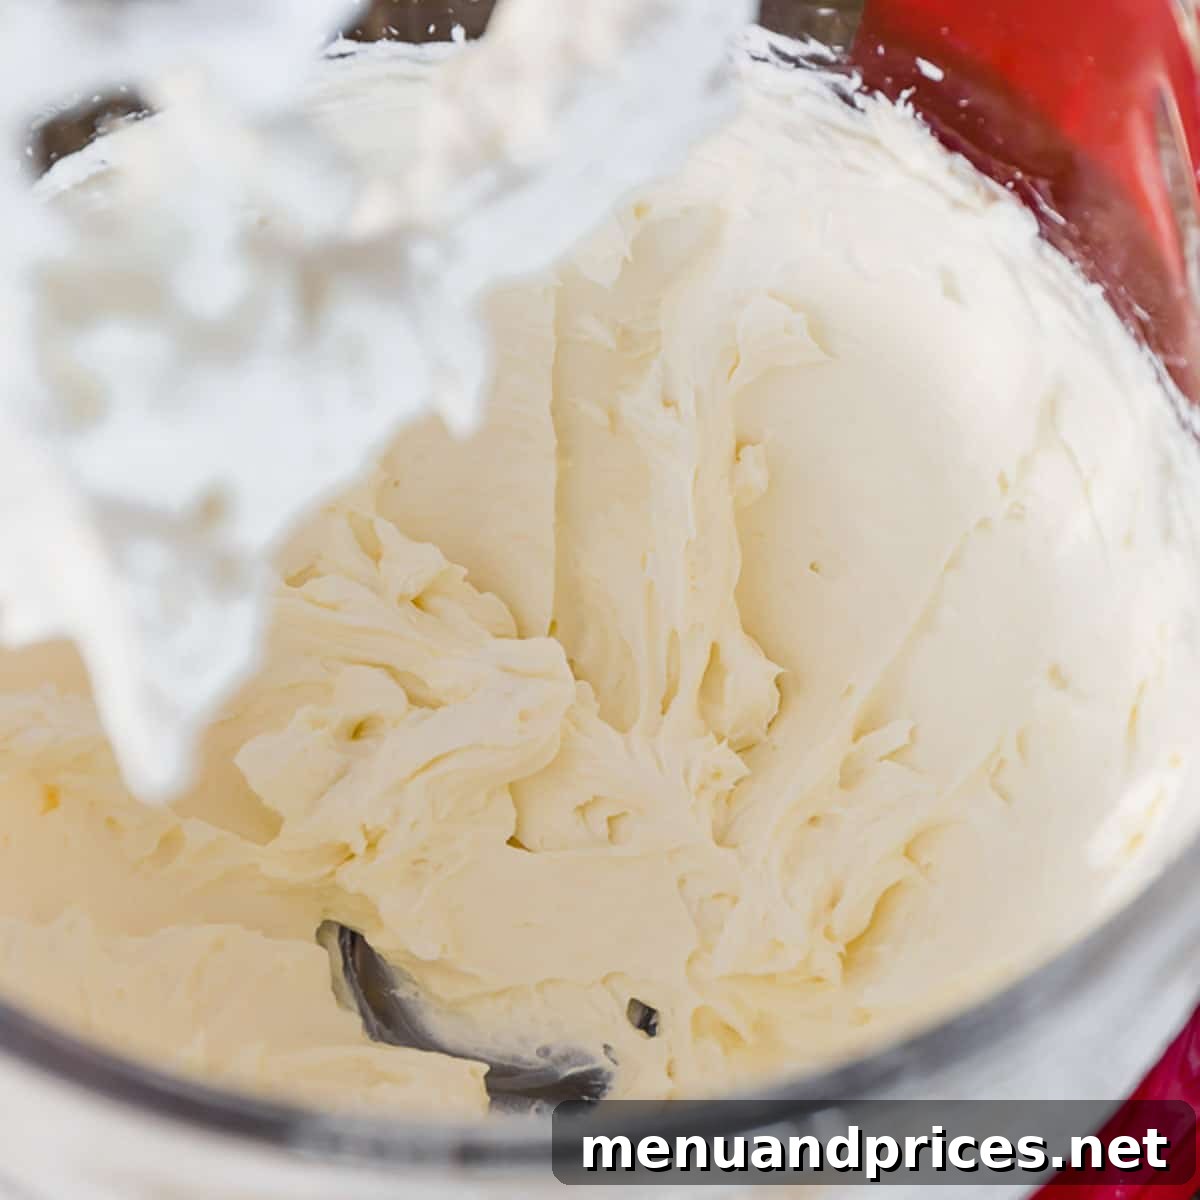
- Step 2: Incorporate Powdered Sugar. With the mixer on low speed, gradually add the **powdered sugar**, one cup at a time, allowing it to fully incorporate into the butter and cream cheese mixture. Start on low speed to prevent a “sugar cloud” from forming in your kitchen! Once all the sugar has been added and the mixture appears shaggy, increase the speed to medium-high. Continue to whip the frosting for another 2 to 3 minutes until it becomes beautifully smooth, visibly fluffy, and has increased in volume. This extended whipping helps to dissolve the sugar completely and lighten the texture.
- Step 3: Add Flavor and Balance. Finally, add your **pure vanilla extract** (or vanilla bean paste) and a **pinch of salt**. Whip for an additional 30 seconds or so, just until these ingredients are fully incorporated. Avoid over-mixing at this stage, as too much agitation can sometimes thin out the frosting. The vanilla will deepen the flavor, and the salt will balance the sweetness, bringing out the best in your frosting.
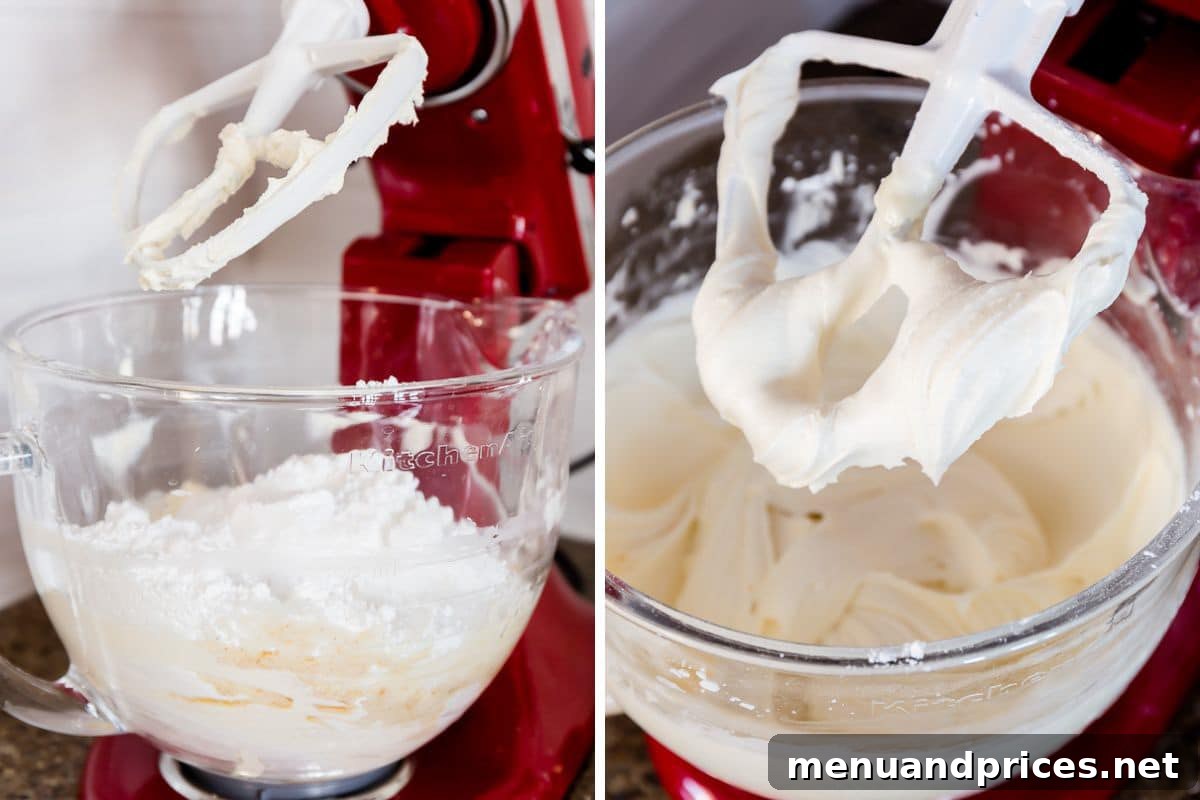
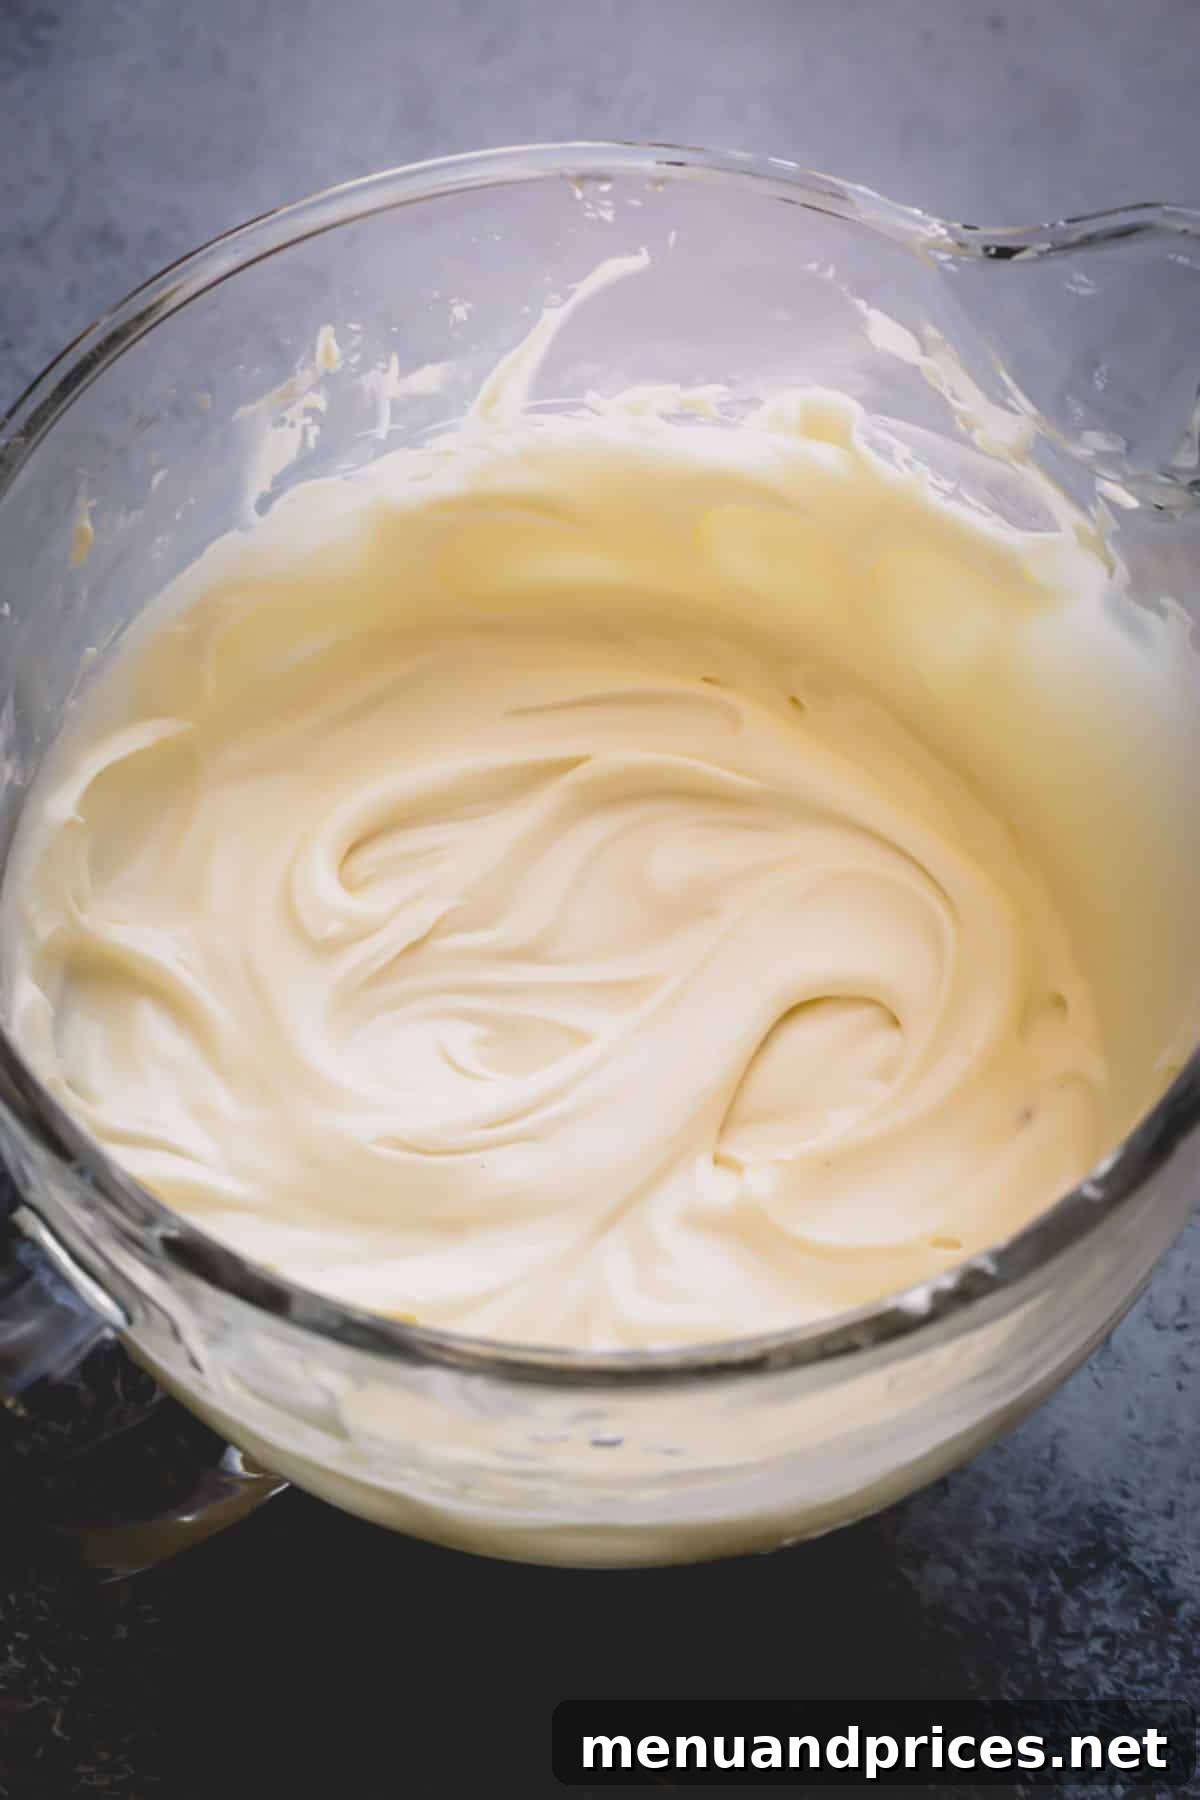
- Step 4: Ready to Enjoy! And voilà! Your perfect cream cheese frosting is ready. You can use it immediately to frost your favorite cakes, cupcakes, or cookies. If you’re not using it right away, simply transfer it to an airtight container and refrigerate until you’re ready to decorate. Remember to bring it back to room temperature and re-whip it slightly before use for the best consistency.
Cream Cheese Frosting Troubleshooting: Your Guide to Perfect Results
Even with the best recipe, sometimes things can go awry in the kitchen. Don’t let common frosting mishaps derail your baking efforts! This comprehensive troubleshooting guide will help you identify and fix issues, ensuring your cream cheese frosting is always picture-perfect.
What Causes Runny Cream Cheese Frosting?
Runny frosting is one of the most common and frustrating issues bakers face. Understanding the root causes is the first step to preventing it:
- Incorrect Cream Cheese Type: This is arguably the most common culprit. It is absolutely critical to use **full-fat, brick-style cream cheese**. “Light,” “reduced fat,” “low-fat,” or spreadable cream cheeses contain a significantly higher water content. This excess moisture will quickly melt the powdered sugar, turning your beautiful frosting into a soupy mess. Brick-style cream cheese has a denser, firmer texture with less water, which is crucial for a stable and thick frosting.
- Over-Softened or Melted Butter: While room-temperature butter is essential, butter that is too soft, greasy, or partially melted can make your frosting loose and oily. Room temperature butter should still be slightly cool to the touch and firm enough to hold its shape, yet soft enough to leave a small indent when gently pressed. If your butter is too warm, chill it slightly before use.
- Excess Liquid Flavorings: While extracts add wonderful flavor, adding too much liquid, such as extra vanilla extract, lemon juice, or other liquid flavorings, can destabilize the frosting. Powdered sugar is highly susceptible to moisture. Limit liquid additions to a maximum of 1 teaspoon, and always incorporate extracts at the very end of the mixing process.
- Over-Beating: Believe it or not, too much mixing can heat the ingredients, especially butter and cream cheese. This warmth can lead to the butter separating and the sugar dissolving excessively, resulting in a runny, greasy consistency. Beat only until ingredients are just combined and fluffy, then stop.
- Warm Environment: Making frosting in a very warm kitchen or using warm bowls can also contribute to a runny texture, as the heat directly affects the stability of the butter and cream cheese.
How to Fix Runny Cream Cheese Frosting: A Lifesaving Solution
If you’re facing a runny frosting disaster, don’t despair! While your instinct might be to add more powdered sugar or simply refrigerate it, these actions often won’t solve the problem. Adding more sugar will only introduce more material to melt in the existing excess moisture, and refrigeration alone won’t magically absorb the liquid. In fact, cold temperatures will just make a watery frosting stiffer but not thicker.
The most effective fix for runny cream cheese frosting is to strategically introduce an absorbent thickener. Try adding up to **1/2 cup of cornstarch** (or an equal amount of powdered milk) to the runny frosting. Cornstarch is a hero here because it absorbs excess moisture without significantly altering the flavor or texture. Add it gradually, a tablespoon at a time, mixing on low speed until fully incorporated, then increasing to medium speed to whip for another minute. You’ll notice the frosting begin to thicken as the cornstarch works its magic. If you still need more, you can add another tablespoon or two, but avoid adding too much at once.
Another option, though more advanced, is to melt 1-2 tablespoons of white chocolate or cocoa butter, let it cool slightly but remain liquid, then stream it slowly into the frosting while mixing. This can add fat and stability, but requires careful temperature control.
Too Sweet Frosting: The Simple Balance
If you taste your frosting and find it overwhelmingly sweet, there’s a quick and easy fix. A simple **pinch of salt** can dramatically balance out the sweetness. Salt works wonders by enhancing other flavors and counteracting excessive sugary notes, making your frosting taste much more nuanced and pleasant. Add a small pinch, mix well, taste, and adjust if necessary until you achieve your desired flavor balance.
Grainy Frosting: Smooth It Out
A grainy texture in cream cheese frosting typically occurs if there isn’t enough moisture to properly dissolve the powdered sugar, or if the sugar hasn’t been incorporated thoroughly enough. This can happen if you add the sugar too quickly or don’t whip for long enough after adding it.
FIX: To remedy grainy frosting, try adding **1 to 2 tablespoons of heavy cream or whole milk**. Add it one tablespoon at a time, then whip the frosting again on medium-high speed for another 1-2 minutes. The added liquid will help dissolve any undissolved sugar crystals, resulting in a silkier, smoother consistency. Be careful not to add too much liquid, as this could then lead to a runny frosting.
Lumpy Cream Cheese Frosting: A Temperature Matter
Lumpy cream cheese frosting is almost always a sign that your cream cheese (or sometimes butter) was too cold when you started mixing. Cold cream cheese is firm and won’t easily blend into a smooth emulsion with butter, leading to stubborn little pockets of unmixed cream cheese throughout your frosting.
FIX: Prevention is key here: always ensure your cream cheese and butter are softened to room temperature, typically by letting them sit on the counter for about 1 hour. If you’ve already got lumps, continue beating the frosting on medium speed, occasionally scraping down the bowl, to see if the lumps will eventually smooth out as the ingredients warm up from the friction of mixing. If your powdered sugar itself contained lumps, it’s advisable to **sift it** before adding it to the frosting to ensure a smooth result.

Expert Tips for Your Best Cream Cheese Frosting
Beyond the basic recipe and troubleshooting, these additional tips will help you perfect your cream cheese frosting for any occasion:
- Sift Your Powdered Sugar: While many powdered sugars are anti-caking, sifting it before adding ensures there are absolutely no lumps, contributing to the smoothest possible frosting.
- Flavor Variations: Don’t limit yourself to vanilla!
- **Citrus Zing:** Add 1-2 teaspoons of lemon, orange, or lime zest for a bright, fresh flavor.
- **Chocolate Lover’s Dream:** Sift in 1/4 to 1/2 cup of unsweetened cocoa powder along with the powdered sugar for a rich chocolate cream cheese frosting.
- **Spiced Delight:** Incorporate a pinch of cinnamon, nutmeg, or pumpkin pie spice for seasonal treats.
- **Fruit Infusion:** For a subtle fruit flavor, add a tablespoon or two of freeze-dried fruit powder (e.g., raspberry, strawberry).
- Adjusting Consistency for Piping vs. Spreading:
- For **piping**, a slightly thicker consistency is desired. If your frosting seems a little too soft, you can chill it in the refrigerator for 15-30 minutes, then re-whip briefly. This helps firm up the butter.
- For **spreading**, a slightly softer consistency might be easier. If your frosting is too stiff after chilling, let it sit at room temperature for a few minutes, then re-whip until spreadable.
- Don’t Over-Beat Once Sugar is Added: While you want to beat until fluffy, excessive beating after the powdered sugar is incorporated can sometimes introduce too much air, making the frosting less stable, or even begin to warm the mixture, causing it to thin. Beat just until it reaches the desired smooth and fluffy consistency.
Make-Ahead & Storing Tips for Cream Cheese Frosting
One of the best features of this cream cheese frosting is its flexibility for make-ahead preparation, saving you time and stress on baking day. Proper storage ensures your frosting remains fresh and delicious.
- Refrigeration (Short-Term Storage): You can absolutely make this frosting in advance and store it. Transfer the prepared frosting to an airtight container and keep it in the refrigerator for up to **3 days**. When you’re ready to use it, remove it from the fridge and allow it to come to room temperature for about 30-60 minutes. It will likely be quite firm. Before applying, give it a good re-whip with your mixer on medium speed for a minute or two until it regains its smooth, fluffy, and spreadable consistency. This re-whipping step is crucial for restoring its texture.
- Freezing (Long-Term Storage): For even longer storage, cream cheese frosting freezes beautifully! Place the frosting in a freezer-safe, airtight container, ensuring there’s minimal air space to prevent freezer burn. It can be stored in the freezer for up to **3 months**. To thaw, transfer the container to the refrigerator and let it thaw overnight. Once thawed, allow it to come to room temperature on the counter for about an hour, then re-whip thoroughly until it’s light, fluffy, and smooth again. This ensures any separation that might have occurred during freezing is fully emulsified back into a perfect frosting.
Watch How to Make This Below!

Ultimate Cream Cheese Frosting
Shinee Davaakhuu
5 minutes
12
servings
Comment
Print Recipe
Ingredients
-
8 oz
(225 g)
full-fat cream cheese
at room temperature -
¼ cup
(55 g)
unsalted butter
at room temperature -
2 cups
(260 g)
powdered sugar -
1 teaspoon
pure vanilla extract
or vanilla bean paste -
1/8 teaspoon
coarse kosher salt
Instructions
-
In a mixing bowl with a paddle attachment, beat cream cheese and butter on medium-high speed until fluffy, about 1 minute. Ensure no lumps remain.
-
Add powdered sugar gradually on low speed until incorporated. Then increase the speed to medium-high and continue to beat until smooth and fluffy, about 3 minutes.
-
Stir in vanilla extract and salt. Whip again until fully incorporated, about 30 seconds.
⭐️ Did you make this recipe?
Please leave a review and let us know how you liked it!
Video
Tips & Notes
Make-Ahead & Storage: For convenience, cream cheese frosting can be prepared in advance. Store it in an airtight container in the fridge for up to 3 days, or freeze it for up to 3 months. Always bring it to room temperature and re-whip until smooth and fluffy before using. If frozen, thaw overnight in the refrigerator before bringing to room temperature and re-whipping.
Nutrition
177
kcal
21
g
1
g
10
g
20
g
86
mg
Frosting
American

Did you make this?
Leave a rating and your feedback. Thank you!
Conclusion: Your Journey to Perfect Cream Cheese Frosting
Mastering cream cheese frosting is a rewarding skill for any baker. With this comprehensive guide, you now have all the tools, tips, and troubleshooting advice needed to create a consistently perfect frosting—one that’s light, fluffy, tangy, sweet, and firm enough to pipe with precision. From selecting the right ingredients to expertly fixing common mishaps, you’re well-equipped to tackle any cream cheese frosting challenge.
So, gather your ingredients, follow our steps, and get ready to transform your baked goods with a frosting that’s truly in a league of its own. Happy baking!
This recipe was originally published on March 26, 2013, and has been updated and expanded for clarity, improved results, and a more comprehensive baking experience.