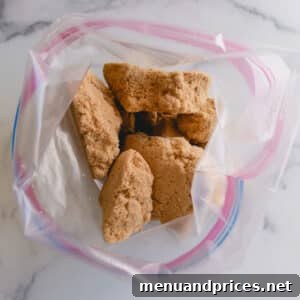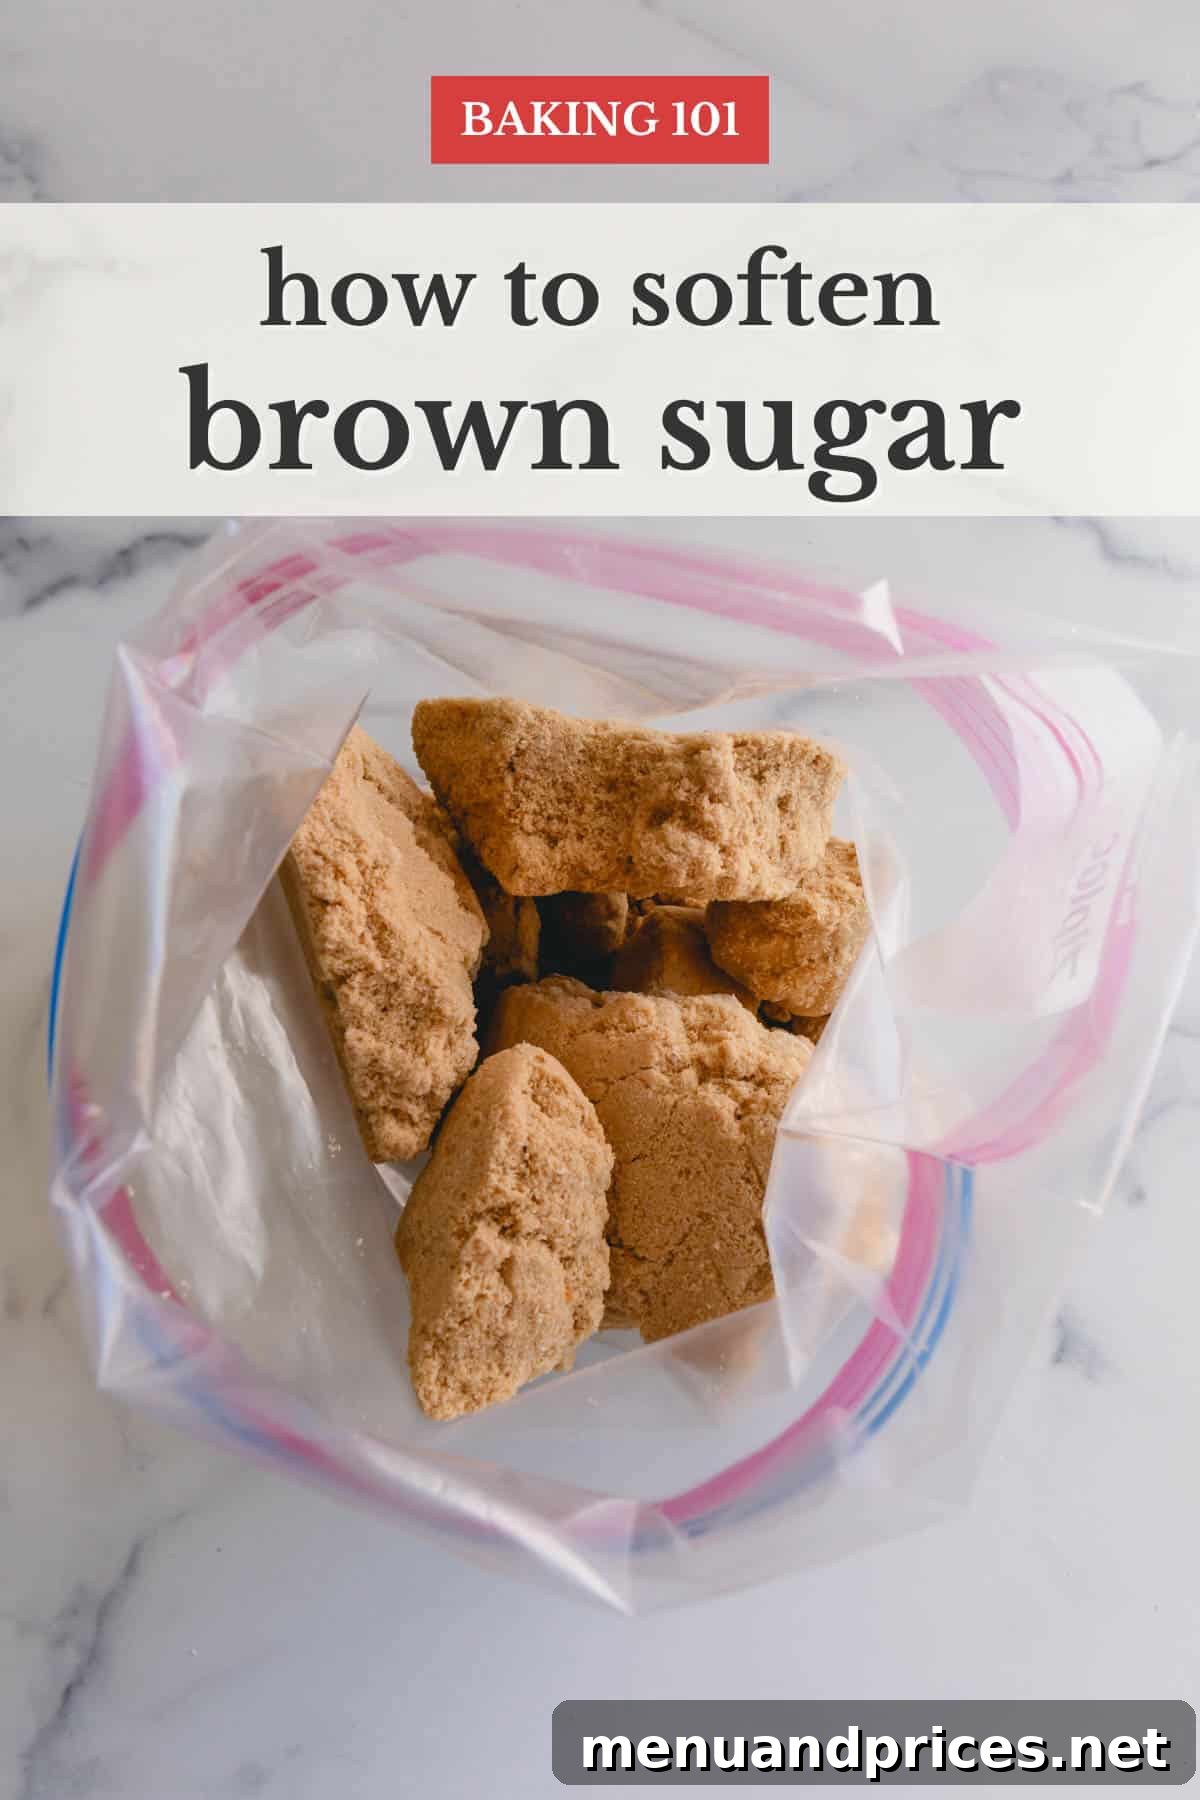
Have you ever reached into your pantry, eager to bake, only to find your brown sugar has transformed into an unyielding, rock-hard brick? It’s a common and incredibly frustrating scenario that can derail your baking plans. Brown sugar, with its unique moist texture and rich molasses flavor, is essential for countless recipes, contributing to their chewiness and depth. But when it hardens, it becomes nearly impossible to measure or incorporate properly. The good news is, you don’t have to throw it away! This comprehensive guide will walk you through the absolute best, most effortless method to restore your brown sugar to its perfectly soft, sand-like texture, ensuring your baking endeavors are always a sweet success.
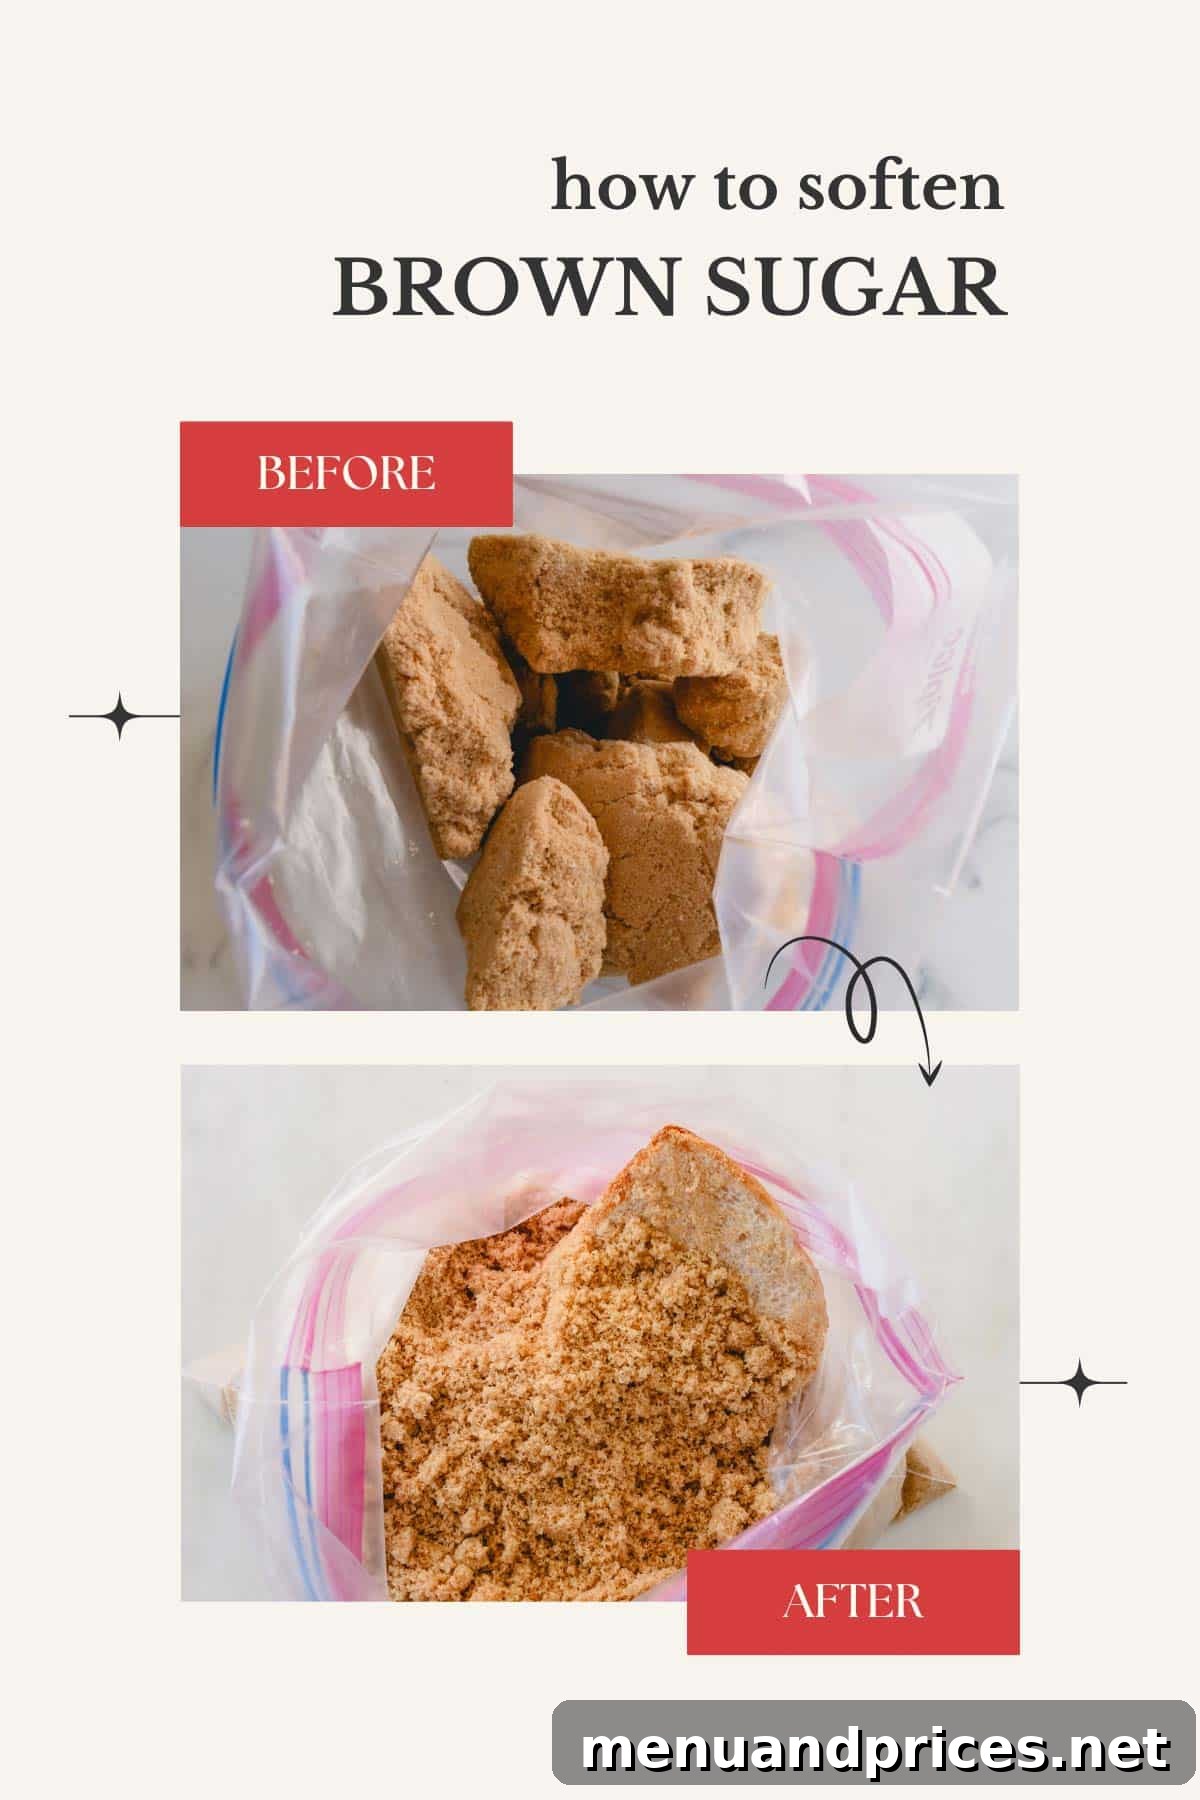
Finding a solidified mass of brown sugar can feel like a kitchen crisis, especially when a recipe calls for that distinctive soft, pliable texture. Over the years, I’ve personally experimented with numerous popular methods touted for softening brown sugar, from quick fixes to more elaborate techniques. Through trial and error, I’ve discovered that while many approaches exist, one method consistently delivers superior results with minimal fuss and maximum effectiveness. This article will not only share that winning technique but also review other common methods, explaining why they might fall short, and provide invaluable tips for preventing brown sugar from hardening in the first place.
Why Does Brown Sugar Get Hard? The Science Behind the Solid Lump
Understanding the root cause of the problem is the first step toward effective prevention and softening. Unlike its refined counterpart, white granulated sugar, brown sugar gets its characteristic light to dark brown color, rich caramel flavor, and moist, soft texture from molasses. Molasses is a natural syrup that is highly hygroscopic, meaning it has a strong tendency to absorb and retain moisture from the air. This moisture is precisely what keeps brown sugar soft, pliable, and easy to scoop.
However, when brown sugar is exposed to air—even for a short period—that precious moisture begins to evaporate. As the water content diminishes, the molasses dries out, causing the individual sugar crystals to bond together. This binding process transforms what was once loose, sandy sugar into a dense, unyielding block. Therefore, the key to softening hardened brown sugar, and preventing it from hardening again, lies in reintroducing and maintaining moisture within an airtight environment.
Common Methods to Soften Brown Sugar: What Works and What Doesn’t
As an avid home baker, I’ve often purchased brown sugar in bulk, only to realize later that some bags had turned into solid bricks in my pantry. This predicament inspired me to embark on a quest to find the most effective and practical ways to revive hardened brown sugar. Here’s an honest, detailed review of the most commonly suggested methods, outlining their processes, and my personal experience and verdict on each.
Apple Slice Method: A Fruitful Attempt?
HOW IT WORKS: The premise of this method is straightforward: you place the hardened brown sugar into an airtight container or zip-top bag along with a few slices of a fresh apple. The container is then sealed, and left to sit for a few hours, or preferably overnight. The theory is that the natural moisture from the apple slices will slowly transfer to the dry brown sugar, rehydrating it and restoring its soft texture.
MY VERDICT: This method undeniably works in terms of moisture transfer. Given enough time, the brown sugar does soften. However, the experience of using it is less than ideal. After the sugar has softened, you’re left with soggy, browned, and sugar-coated apple slices that need to be painstakingly fished out. This can be quite messy and unappealing. More significantly, the brown sugar often absorbs a noticeable apple flavor and scent, which can subtly, and sometimes overtly, alter the taste of your baked goods. For recipes where the pure, rich taste of brown sugar is paramount, this unwanted flavor infusion is a major drawback. While it’s a functioning emergency fix, the mess and potential flavor compromise make it far from a perfect solution.
Microwave Method: A Quick Fix or a Sticky Mess?
HOW IT WORKS: This method promises speed and ease. You transfer the hardened brown sugar to a microwave-safe container, cover it with a damp paper towel (or place the towel directly on the sugar), and then microwave it in very short increments, typically 10 to 20 seconds. After each burst, you’re supposed to break apart the sugar with a fork. Some variations suggest sealing the container tightly to create steam, allowing it to sit for a few minutes after microwaving.
MY VERDICT: I had high hopes for this method due to its promise of speed, but unfortunately, it fell short. Despite following instructions carefully, including attempts to create a steaming environment, I found it to be surprisingly time-consuming and cumbersome. The softening was often uneven, requiring constant re-microwaving and tedious chiseling with a fork. There’s a delicate balance; too little microwave time yields no results, while too much can actually melt the sugar, leading to a sticky, unusable mess or even crystallization upon cooling. The constant monitoring and manual effort involved make this method inefficient and far from the “easy and quick” solution it purports to be. It’s too much active work for a result that is often inconsistent.
Oven Method: Is It Worth the Preheat?
HOW IT WORKS: This technique involves spreading the hardened brown sugar out evenly on a baking sheet and placing it in a low-temperature oven, typically around 250°F (120°C). The sugar is warmed gently, and you’re instructed to check it frequently, breaking apart any clumps with a fork every few minutes until it softens. Once soft, it needs to cool down completely before it can be used in recipes.
MY VERDICT: Frankly, I decided not to even bother trying this method. The process sounds excessively laborious for a simple task. Preheating the oven, constantly supervising the sugar, repeatedly breaking it apart, and then enduring a cooling period before use seems like an enormous waste of time and energy. For the amount of effort and utility costs involved, I could easily drive to the grocery store and purchase a brand new bag of brown sugar in a fraction of the time and with far less hassle. This method is an impractical and inefficient solution for anyone looking for a quick and easy brown sugar revival.
Food Processor or Grater Method: Breaking Apart vs. Softening
HOW IT WORKS: This approach doesn’t aim to reintroduce moisture but rather to mechanically break down the hardened brown sugar. You would either pulse the solid block in a sturdy food processor or vigorously grate it using a box grater, effectively turning the large, hard clumps into smaller, more manageable granules.
MY VERDICT: I swiftly dismissed this method as well. While it might break the sugar into smaller pieces, it fundamentally misses the point of “softening.” The resulting sugar would still be dry and crumbly, lacking the essential moist and pliable texture that makes brown sugar so unique and desirable in baking. Furthermore, attempting to process a rock-hard block of sugar in a food processor poses a significant risk of damaging your appliance’s blades or motor, potentially leading to costly repairs. Grating it by hand sounds like a surefire way to create an immense sticky mess, not to mention the risk of scraped knuckles. This is a brute-force approach that fails to address the underlying issue of moisture loss and offers little in terms of true restoration.
The Bread Slice Method: The Ultimate Winner!
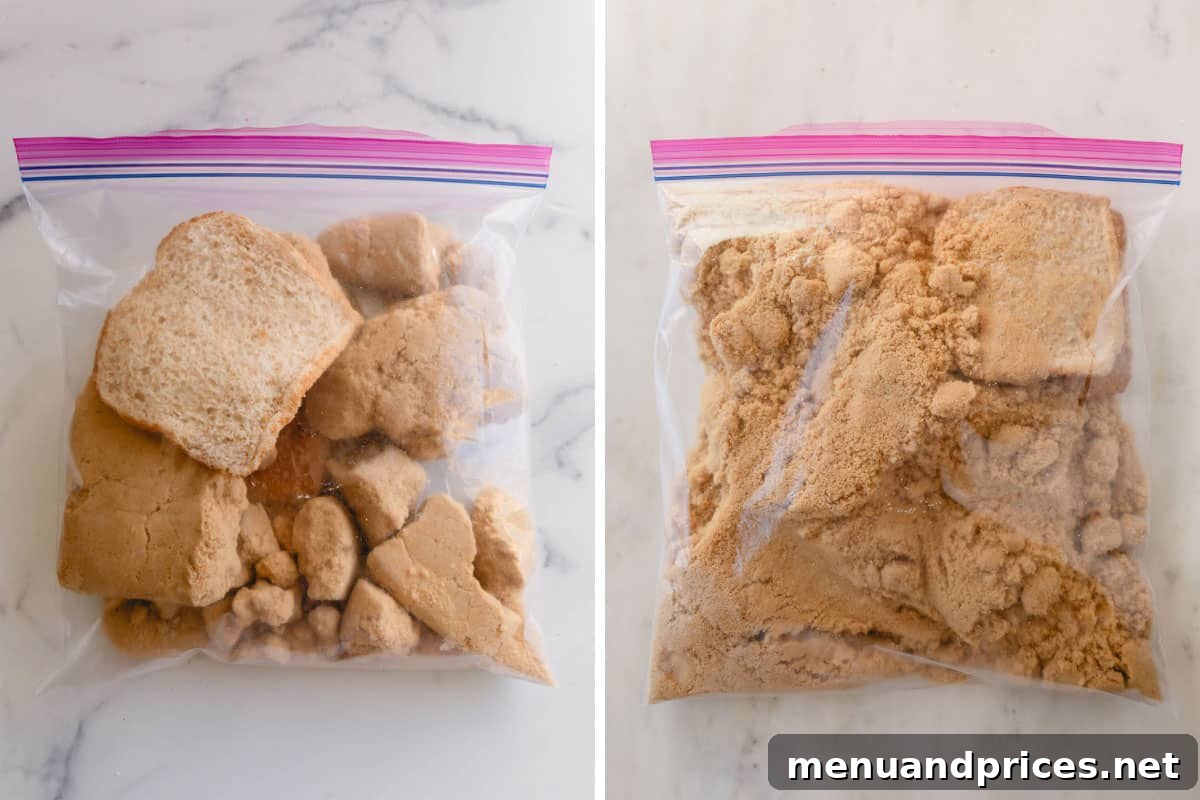
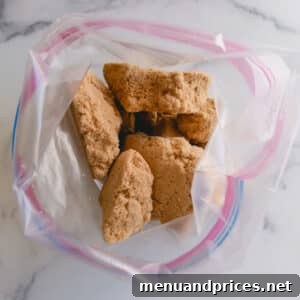
HOW IT WORKS: This brilliantly simple method involves placing your rock-hard brown sugar into a truly airtight container or heavy-duty zip-top bag, along with one or two slices of fresh bread. The container is then sealed tightly, and left undisturbed for a few hours, or ideally, overnight. The bread acts as a natural moisture donor, slowly releasing its internal moisture into the dry brown sugar over time.
MY VERDICT: Without a doubt, this method is the undisputed champion! It performed flawlessly and quickly became my go-to solution. The preparation is incredibly quick and requires minimal effort – it takes less than 5 minutes to combine the sugar and bread in a freezer bag. The magic happens passively, without any active intervention from you, while you sleep or go about your day. The next morning, I was consistently greeted by brown sugar that was wonderfully soft, moist, and perfectly resembled that “wet sand” texture it should have. There’s no mess, no unwanted flavor transfer, and absolutely no special equipment required. It’s the most effective, most convenient, and most foolproof way I’ve found to revive hardened brown sugar, and I wholeheartedly recommend it to every baker.
The Foolproof Method: How to Soften Brown Sugar Overnight (and Easily!)
Say goodbye to rock-hard brown sugar forever! This is the highly effective, low-effort method that will consistently bring your brown sugar back to its perfect, soft state. All you need are a few simple items, and a little bit of patience while nature (and science) does its work.
- Prepare Your Container: Carefully transfer your hardened brown sugar into a large, genuinely airtight container. A heavy-duty zip-top freezer bag is an excellent choice for this, as it creates a reliable seal that prevents any precious moisture from escaping. Alternatively, a plastic container with a locking lid or a glass jar with a rubber gasket will work equally well.
- Introduce the Moisture Source: Place 1 to 2 slices of fresh, or even slightly stale, sandwich bread directly into the container with the brown sugar. Standard sandwich bread is perfect for this task. To be more economical and reduce food waste, I often opt for the bread heels that might otherwise go unused. The bread’s natural moisture content is key to this process.
- Seal Tightly and Wait: Securely seal the container or zip-top bag, ensuring it is completely airtight. This tight seal is absolutely crucial as it traps the moisture released by the bread, allowing it to be absorbed by the sugar. Once sealed, simply set the container aside on your kitchen counter or in your pantry. For optimal results and guaranteed softness, allow it to sit undisturbed overnight, or for at least 8-12 hours.
- Reveal Your Soft Sugar: The following day, open your container to a delightful surprise: your brown sugar will be miraculously soft, moist, and perfectly pliable once more! It will have regained that desirable fine, sand-like texture, making it effortless to scoop and measure. At this point, simply remove and discard the bread slices (they will likely be hard and dry, having transferred all their moisture to the sugar) and enjoy your perfectly revived brown sugar in all your culinary creations.
The Science Behind the Bread Method: Osmosis at Work
The success of the bread method isn’t magic, but rather a clever application of a fundamental scientific principle known as osmosis. Brown sugar, being hygroscopic, constantly seeks to balance its moisture content with its surroundings. When you place a moist item like bread (which has a higher water concentration) into an airtight container with dry brown sugar (which has a lower water concentration), moisture naturally migrates from the area of higher concentration to the area of lower concentration. The sealed container ensures that this moisture exchange happens efficiently within the confined space, preventing the moisture from simply evaporating into the room air.
As the bread slowly releases its water, the molasses in the brown sugar eagerly reabsorbs this moisture. This rehydration process loosens the sugar crystals that had bonded together, effectively returning the sugar to its soft, moist, and pliable state. It’s a gentle, passive, and remarkably effective rehydration technique that harnesses the power of natural equilibrium.
Versatile Alternatives for Softening Brown Sugar (Including Gluten-Free Options)
While bread is my personal top recommendation for its sheer convenience and effectiveness, there are other excellent alternatives available. These options are particularly useful if you need a gluten-free solution, prefer a reusable tool, or simply don’t have bread on hand. All these alternatives work on the same principle of slowly releasing moisture within an airtight environment to rehydrate the brown sugar:
- Gluten-Free Bread: If you or someone you’re baking for has dietary restrictions, simply substitute regular sandwich bread with a slice of gluten-free bread. The cellular structure of gluten-free bread is still capable of holding and releasing moisture, making it just as effective as conventional bread for this purpose. The mechanism of moisture transfer remains identical, providing the same fantastic softening results.
- Large Marshmallows: A few large marshmallows (typically 2-3 marshmallows for a standard 1-pound bag of sugar) can work wonders. Marshmallows are primarily composed of sugar, corn syrup, and gelatin, and their soft, spongy texture means they contain a significant amount of moisture. Place them in the airtight container with your brown sugar; they will gradually release their moisture, becoming hard and dry themselves as the sugar softens up.
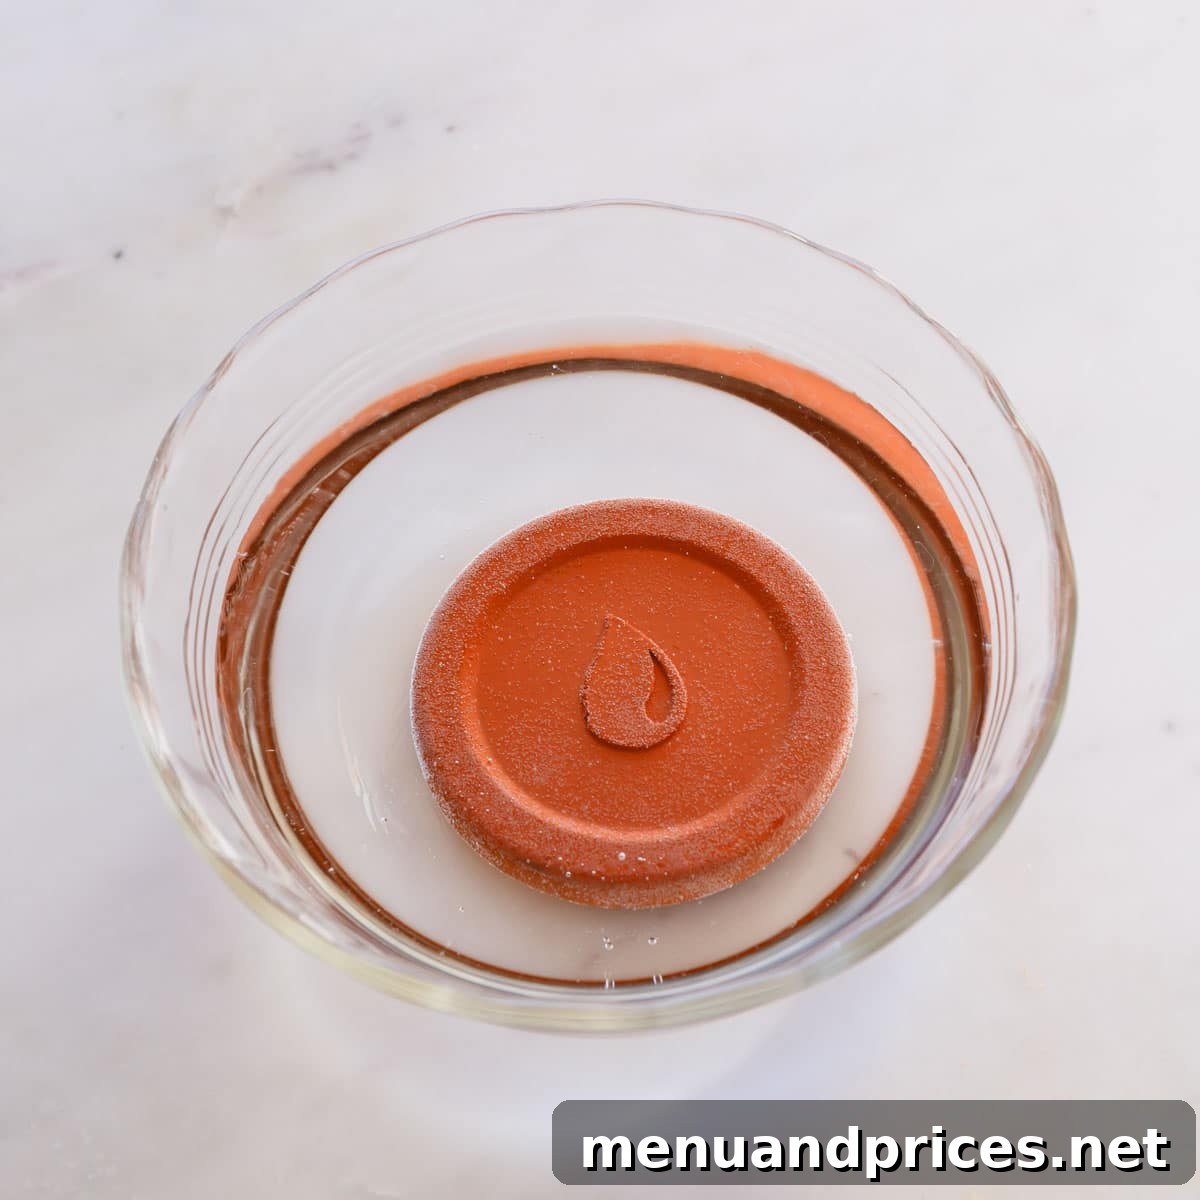
- Damp Terra Cotta Disk (Brown Sugar Saver): These unglazed, porous terra cotta disks are specifically designed for both softening and preventing brown sugar from hardening. To use one, submerge the disk in a bowl of water for at least 20-30 minutes until it is thoroughly saturated. Once soaked, gently pat it dry with a paper towel (it should be damp, not dripping wet) and then place it directly into your brown sugar container. The porous terra cotta will then slowly and steadily release moisture, keeping your brown sugar soft and clump-free for an extended period. They are completely reusable and an excellent long-term solution for maintaining ideal brown sugar consistency.
Proactive Prevention: How to Keep Brown Sugar Soft Indefinitely
While knowing how to soften hardened brown sugar is incredibly useful, the absolute best strategy is to prevent it from solidifying in the first place! As we’ve discussed, brown sugar hardens when the moisture from its molasses content evaporates due to exposure to air. By taking a few simple proactive steps and storing it correctly, you can ensure your brown sugar remains beautifully soft and ready for all your baking adventures, avoiding future kitchen emergencies.
Essential Storage Tips for Soft Brown Sugar:
- Invest in a Truly Airtight Container: This is the single most critical step. As soon as you open a new bag of brown sugar, transfer its contents into a container that forms an impenetrable seal. Excellent choices include glass jars with sturdy rubber gaskets, high-quality plastic containers with locking lids, or even robust, heavy-duty zip-top freezer bags. The primary goal is to minimize, if not entirely eliminate, air exposure to prevent moisture loss.
- Incorporate a Moisture-Retaining Element for Long-Term Storage: For extra insurance, especially if you don’t use brown sugar frequently or want to maintain its softness for months, consider adding a moisture-retaining element to your storage container:
- Marshmallows: Tucking two or three large marshmallows into your airtight container with the brown sugar is a simple and effective trick. The marshmallows will slowly release moisture, keeping the sugar soft. Just remember to replace them every few weeks, or once you notice they have hardened, indicating they’ve given up their moisture.
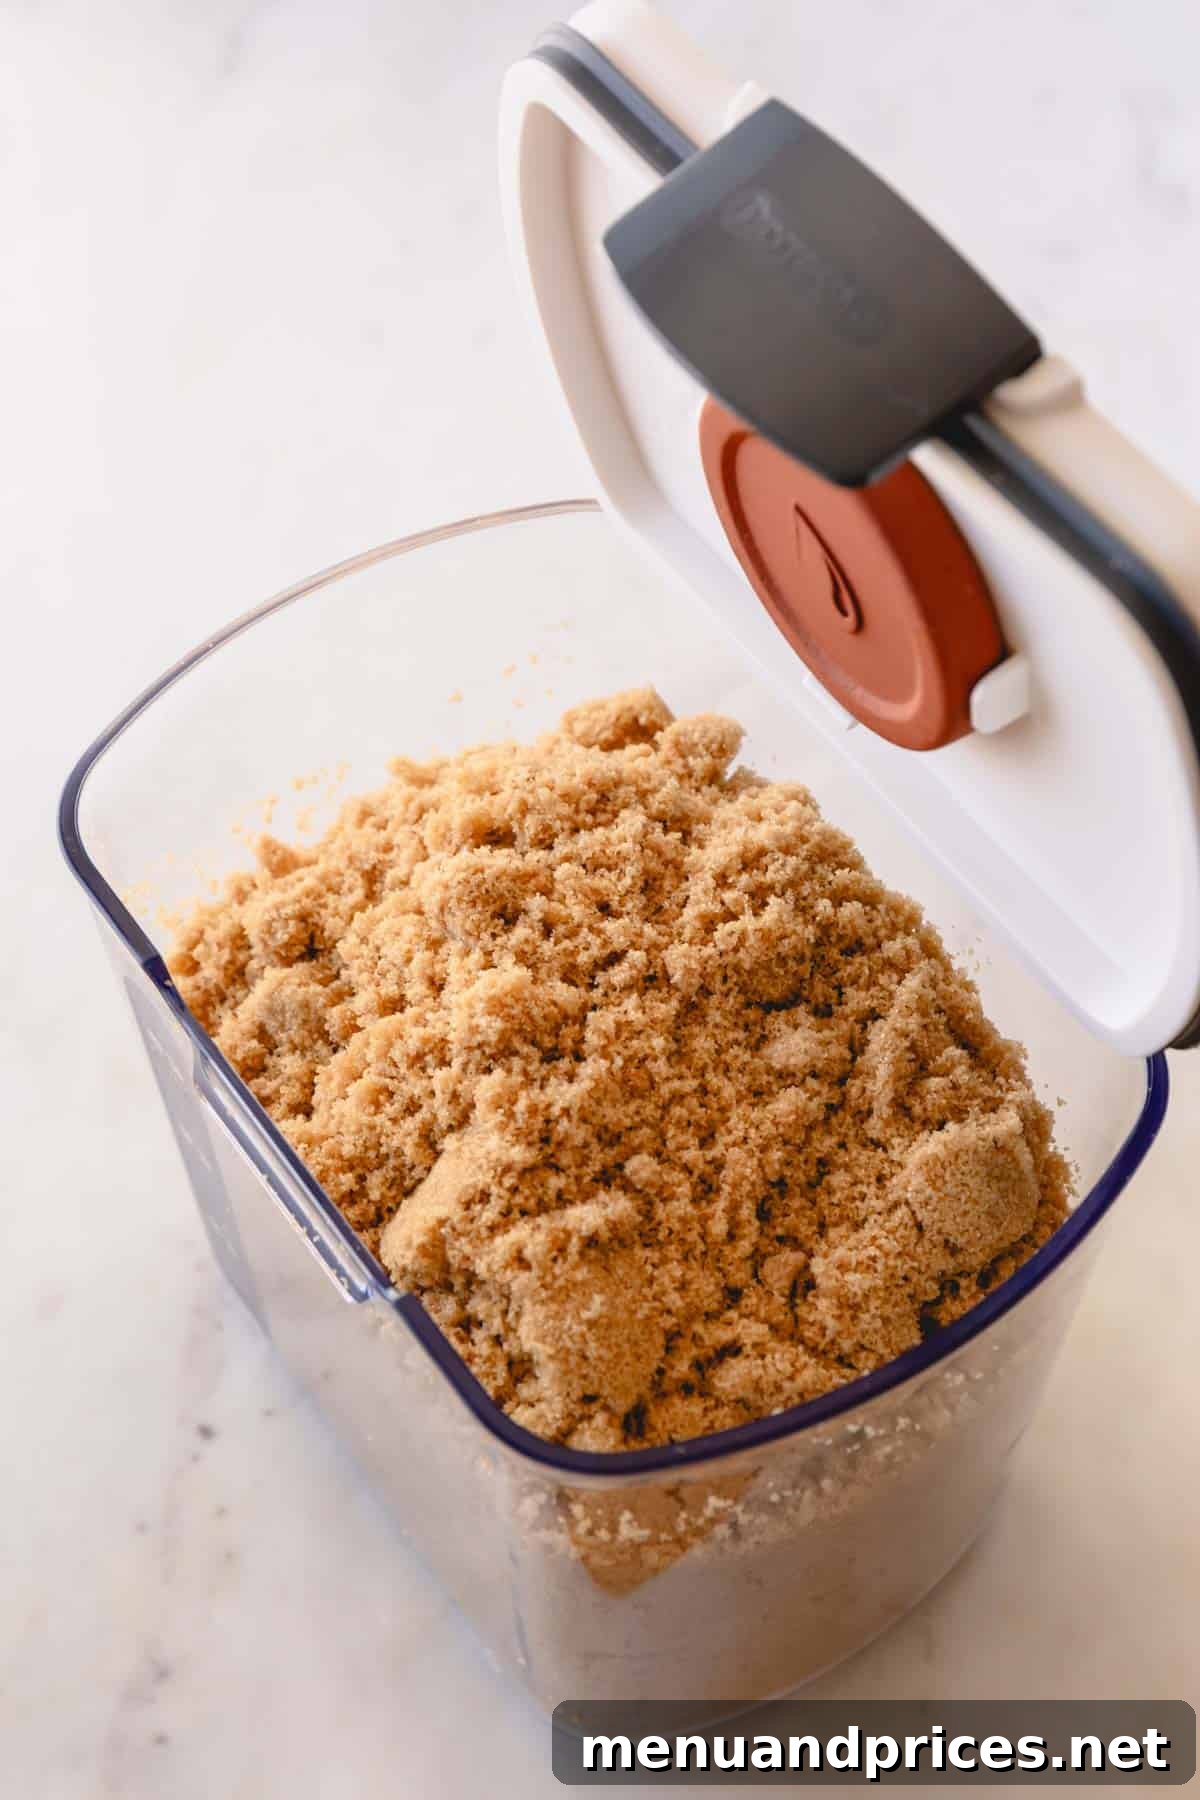
- Terra Cotta Disk (Brown Sugar Bear): As highlighted earlier, a properly soaked terra cotta disk is an outstanding, reusable solution for long-term storage. These specialized disks are designed to regulate moisture, keeping your brown sugar perfectly soft for months on end. Simply re-soak the disk every 1 to 2 months to refresh its efficacy.
- Choose the Right Storage Location: While moisture is key, avoid storing brown sugar in overly humid environments, which can lead to a different kind of clumping or even mold. Similarly, keep it away from direct sunlight or heat sources, as these can accelerate moisture evaporation. A cool, dry, and dark pantry or cabinet is the ideal environment to preserve your brown sugar’s soft texture.
My Favorite Brown Sugar Container Recommendation
After many years of baking and trying various storage solutions, I’ve discovered that investing in a dedicated brown sugar container significantly simplifies pantry management. My absolute favorite is a specialized brown sugar container that comes conveniently equipped with its own integrated terra cotta disk. It’s perfectly sized to accommodate a 2-pound bag of brown sugar, creating an optimal, self-regulating environment for long-term freshness and consistent softness. It’s a small, one-time investment that saves immense hassle and ensures your brown sugar is always ready when you are.
Baking with Soft Brown Sugar: Delicious Recipes to Try
Having perfectly soft, pliable brown sugar isn’t just about ease of measurement; it’s about unlocking the full potential of your baked goods. The unique molasses content in brown sugar contributes a rich, complex caramel-like flavor, a desirable golden-brown hue, and most importantly, an unparalleled chewiness and moisture that white granulated sugar simply cannot provide. Now that you’re equipped with the knowledge to soften and keep your brown sugar in its ideal state, here are some of my all-time favorite recipes where brown sugar truly shines and makes an indispensable contribution to the final delicious result:
- No-Spread Sugar Cookies: Achieve tender, perfectly shaped sugar cookies with a hint of warmth from brown sugar.
- Flourless Monster Cookie Bars: Irresistibly chewy, dense, and packed with flavor, these bars rely heavily on the moist richness of brown sugar.
- The Easiest Butterscotch Sauce: Brown sugar is the foundational ingredient that gives this rich, homemade sauce its distinctive sweet and buttery depth.
- Instant Oatmeal Cookies: For soft, delightfully chewy oatmeal cookies that boast a comforting flavor and texture, thanks to plenty of brown sugar.
- Spiced Caramelized Peaches: Brown sugar creates a beautiful, sticky, and deeply flavorful glaze that perfectly enhances the natural sweetness and aroma of fresh peaches.
How to Soften Brown Sugar – Quick Recipe Summary
Shinee Davaakhuu
Here is a foolproof method to soften rock-hard brown sugar and revive its soft, sand-like texture with minimal effort and without altering its flavor.
5 mins
8 hrs 5 mins
Print This Guide
Ingredients
- Hardened brown sugar (any desired amount)
- 1-2 slices of bread (regular or gluten-free), OR 2-3 large marshmallows, OR 1 pre-soaked terra cotta disk
Equipment
-
Airtight container or heavy-duty zip-top freezer bag
Instructions
-
Transfer your hardened brown sugar into a large, truly airtight container or a heavy-duty freezer bag.
-
Add 1 to 2 slices of bread (or your chosen moisture source, such as marshmallows or a soaked terra cotta disk) into the container with the brown sugar.
-
Seal the container or bag tightly, ensuring no air can escape. Allow it to sit at room temperature for at least 8 hours, or ideally overnight, for optimal moisture transfer.
-
The next day, your brown sugar will be wonderfully soft and pliable. Remove and discard the bread slices (or other moisture source) before using your revived brown sugar in your recipes.
⭐️ Found this method helpful?
Please leave a review and let us know how it worked for you!
Tips & Notes