
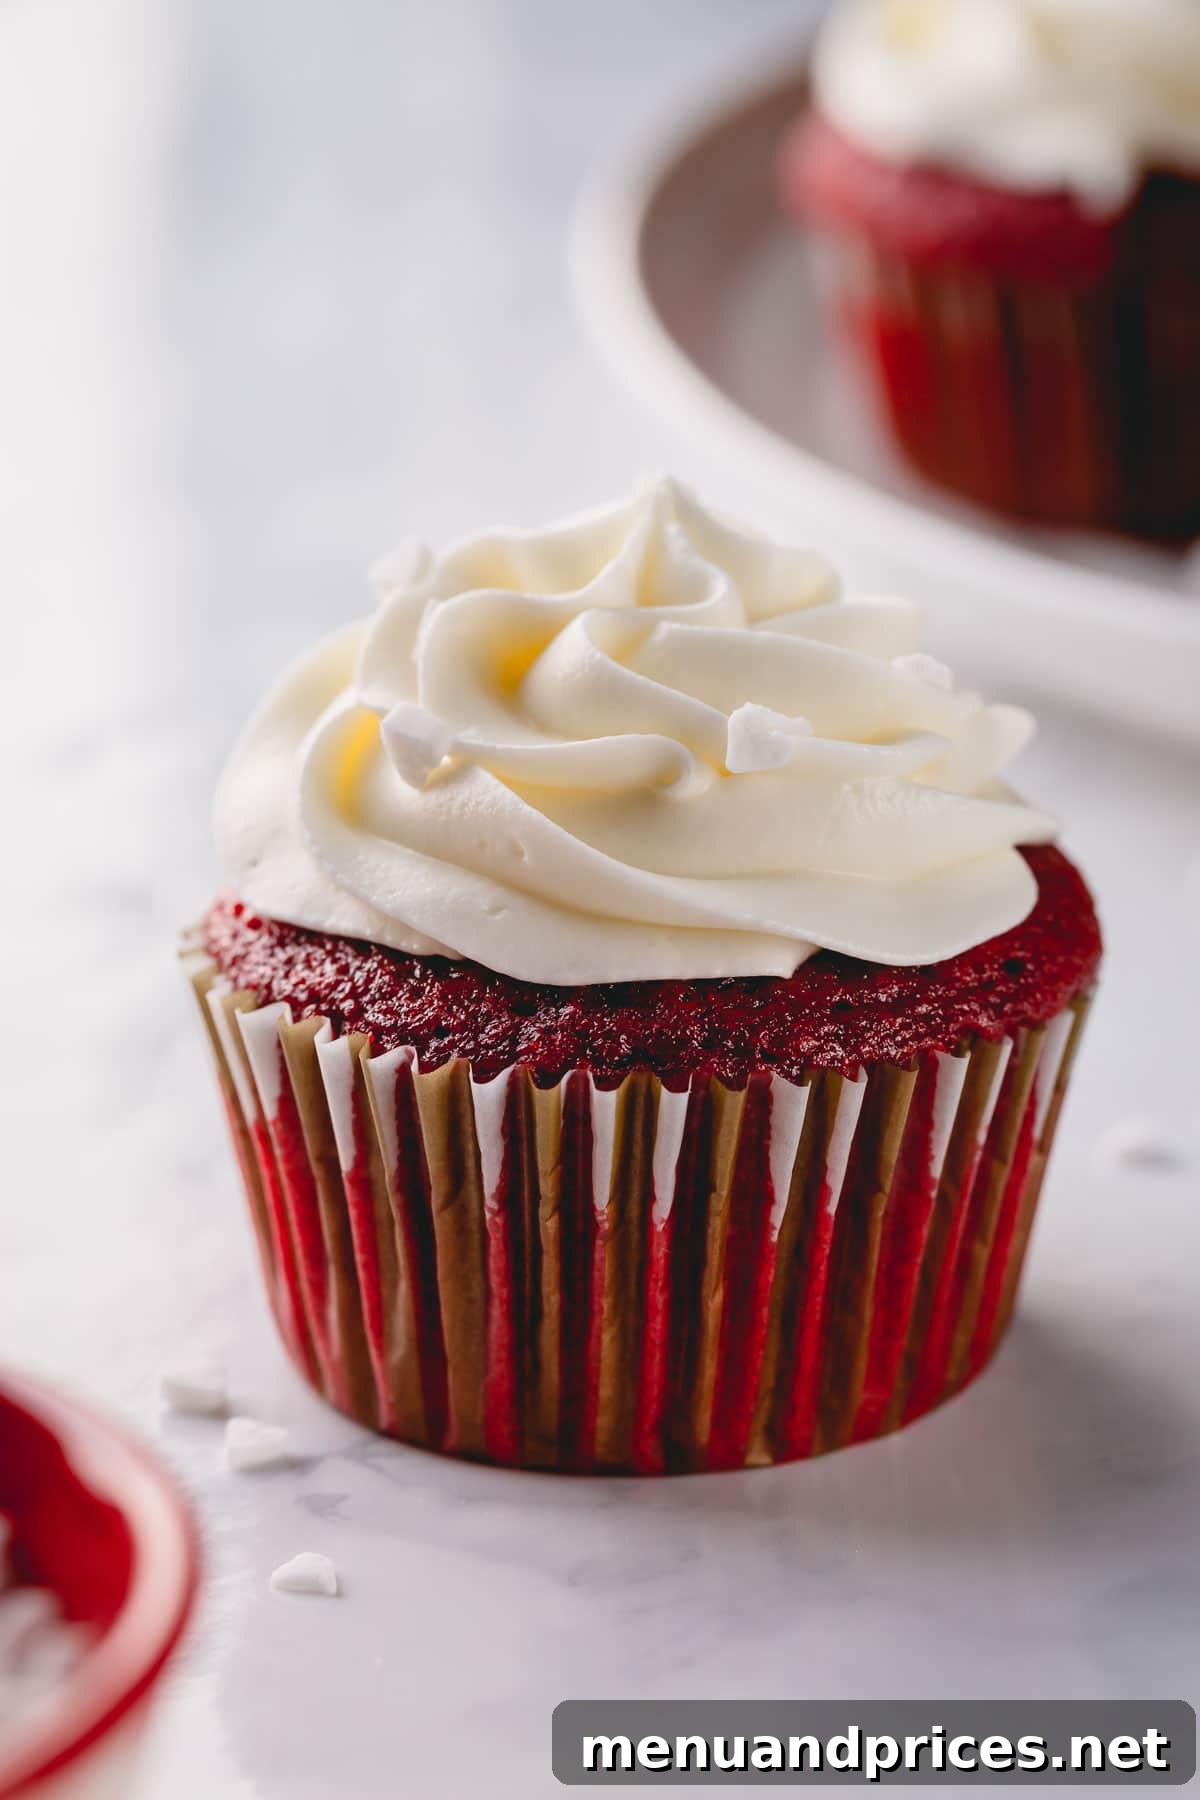
Indulge in the magic of homemade baking with these irresistible classic red velvet cupcakes. Boasting a uniquely velvety texture and buttery-soft crumbs, they are surprisingly easy to make and achieve perfection when crowned with a generous swirl of tangy cream cheese frosting!
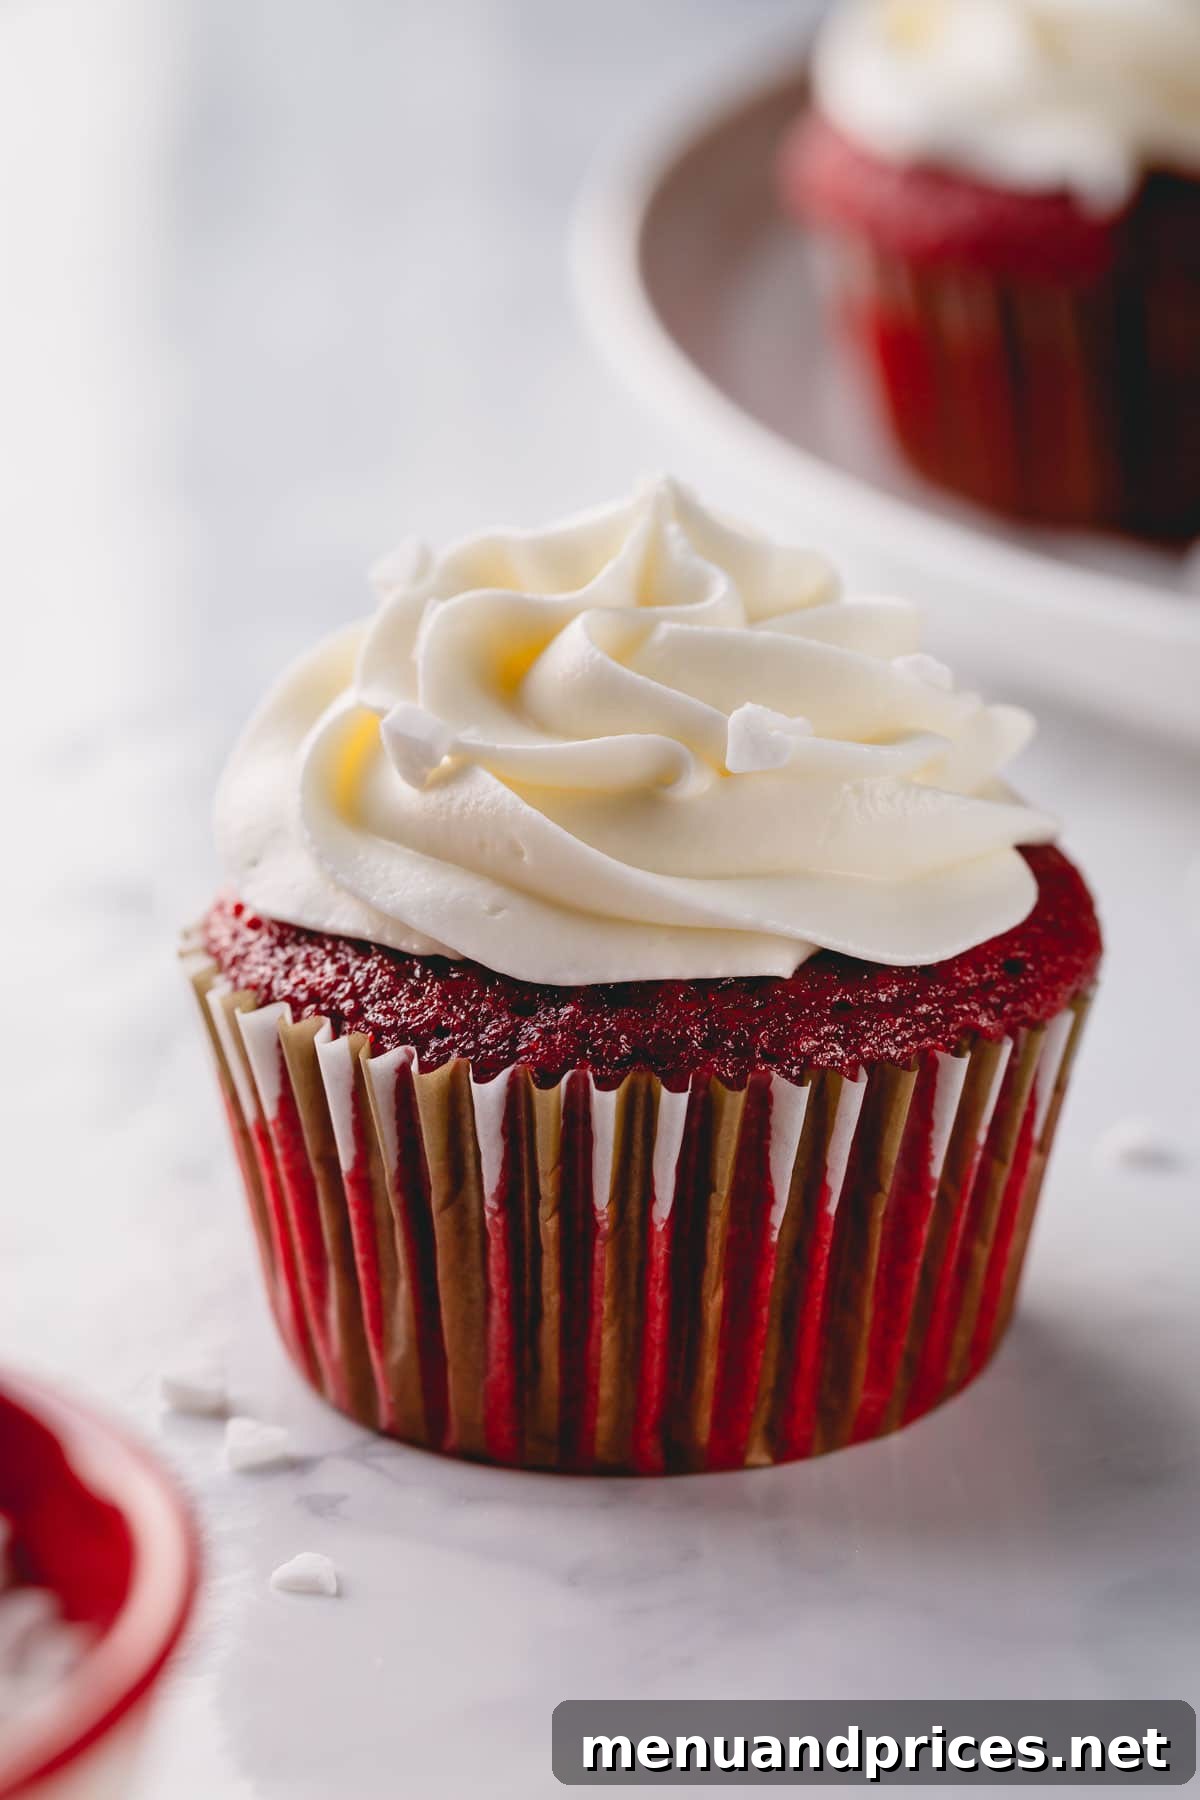
Why You’ll Fall in Love with This Red Velvet Recipe
Red velvet isn’t just about its striking crimson color; it’s a symphony of flavors and textures that captivates with every bite. Many mistakenly believe it’s merely a chocolate cake dyed red, but a true red velvet offers a much more nuanced experience. When crafted correctly, it stands in a class of its own.
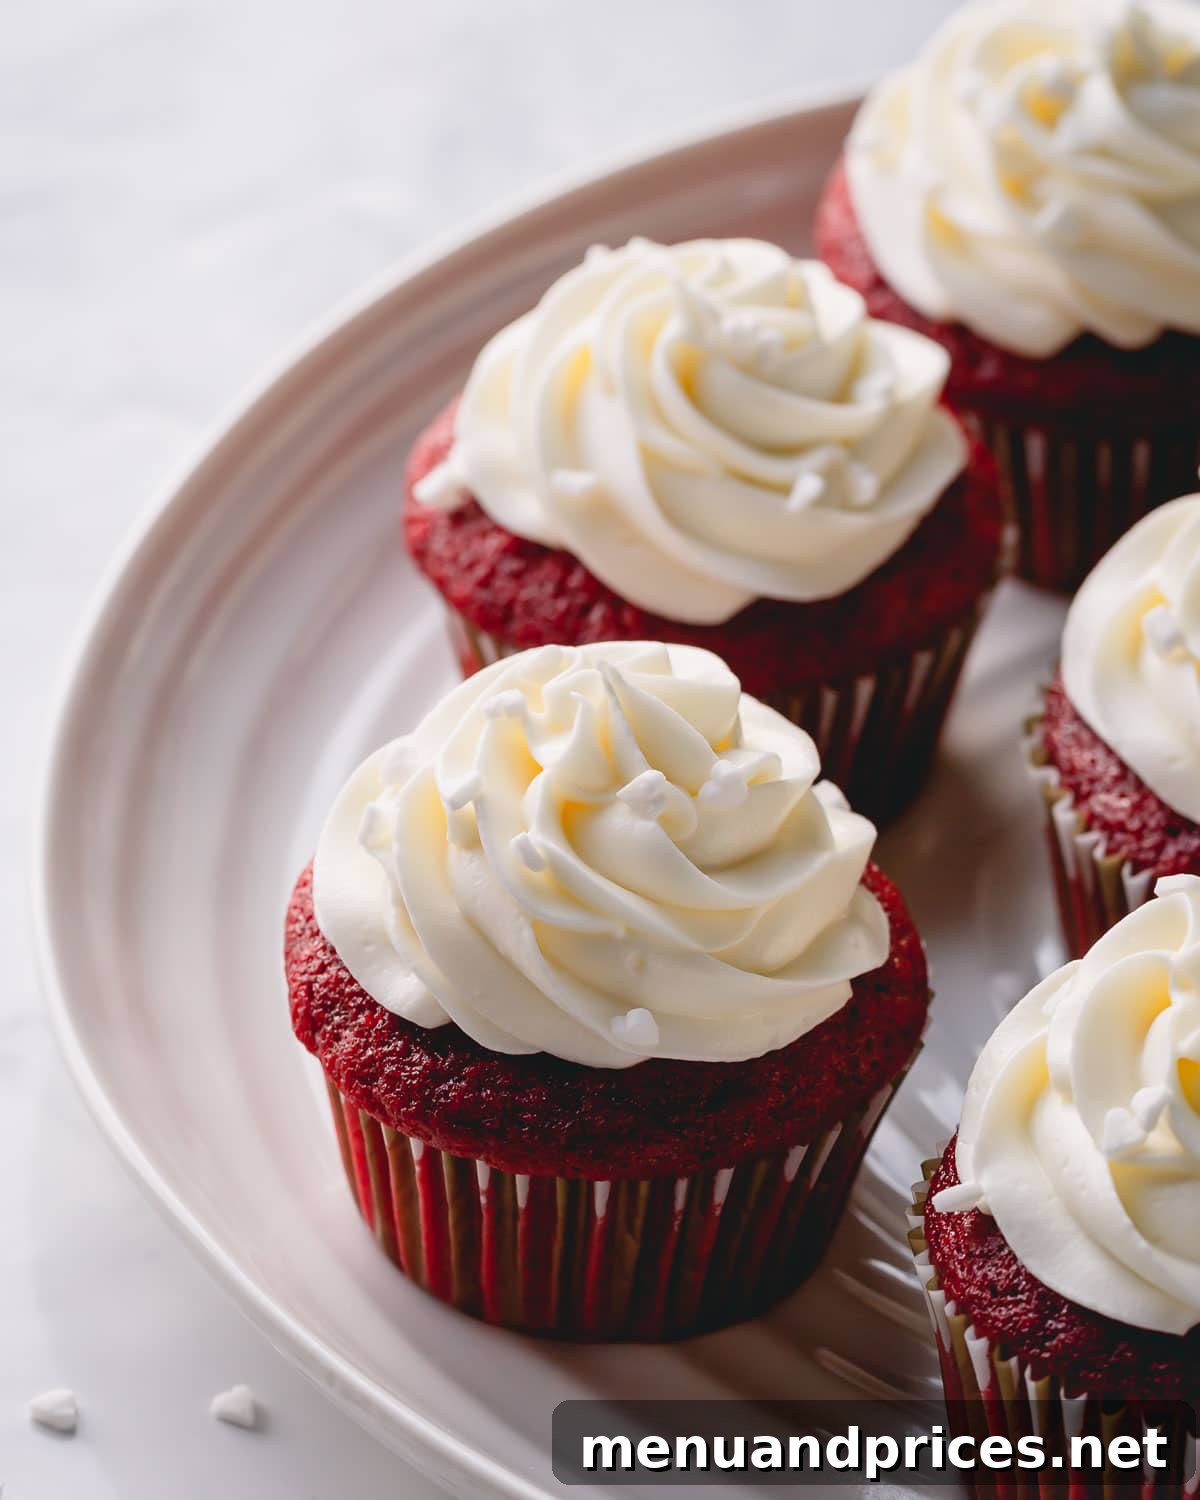
These homemade red velvet cupcakes deliver on every promise: a wonderfully smooth, tender, and moist crumb that melts in your mouth, a subtle hint of cocoa that doesn’t overwhelm but rather complements, and a distinctive mild tang. This unique flavor profile, combined with the signature fluffy texture, is what makes red velvet so beloved. And, of course, the vibrant red hue adds to its allure, making these cupcakes as visually appealing as they are delicious. Each bite, especially when paired with our rich and tangy homemade cream cheese frosting, is pure bliss and utterly irresistible!
The Fascinating Origin of Red Velvet’s Signature Color
The iconic red color of red velvet cakes and cupcakes has a surprisingly natural and historical origin. Historically, bakers didn’t rely on artificial food coloring to achieve that characteristic vibrant hue. Instead, the rich red tone was a delightful, natural byproduct of a chemical reaction between specific ingredients: vinegar and cocoa powder.
Cocoa powder, along with various fruits and vegetables like purple cabbage, plums, blueberries, and raspberries, contains natural pigments called anthocyanins. These anthocyanins are highly sensitive to pH levels, meaning their color can change depending on whether their environment is acidic or alkaline. In the past, when natural, non-Dutched cocoa powder was combined with acidic ingredients such as vinegar and buttermilk in cake batter, these anthocyanins would react. This reaction would naturally intensify the reddish-brown notes in the cocoa, yielding a beautiful, albeit often subdued, reddish tint to the cake.
However, modern cocoa powders are often processed with acid-neutralizing agents (a process known as “Dutch-processing”). This treatment makes the cocoa less acidic and, consequently, it doesn’t react with acidic ingredients like buttermilk or vinegar in the same way it used to. As a result, contemporary red velvet recipes typically require the addition of food coloring – either liquid or gel – to achieve the striking, deep red color that has become synonymous with this beloved dessert. While the natural reaction is now less prominent, the combination of specific ingredients still plays a crucial role in creating the unique flavor and texture of red velvet.
Now that we’ve delved into the history, let’s learn how to create these absolutely perfect red velvet cupcakes from scratch, ensuring both their exquisite taste and their captivating visual appeal.
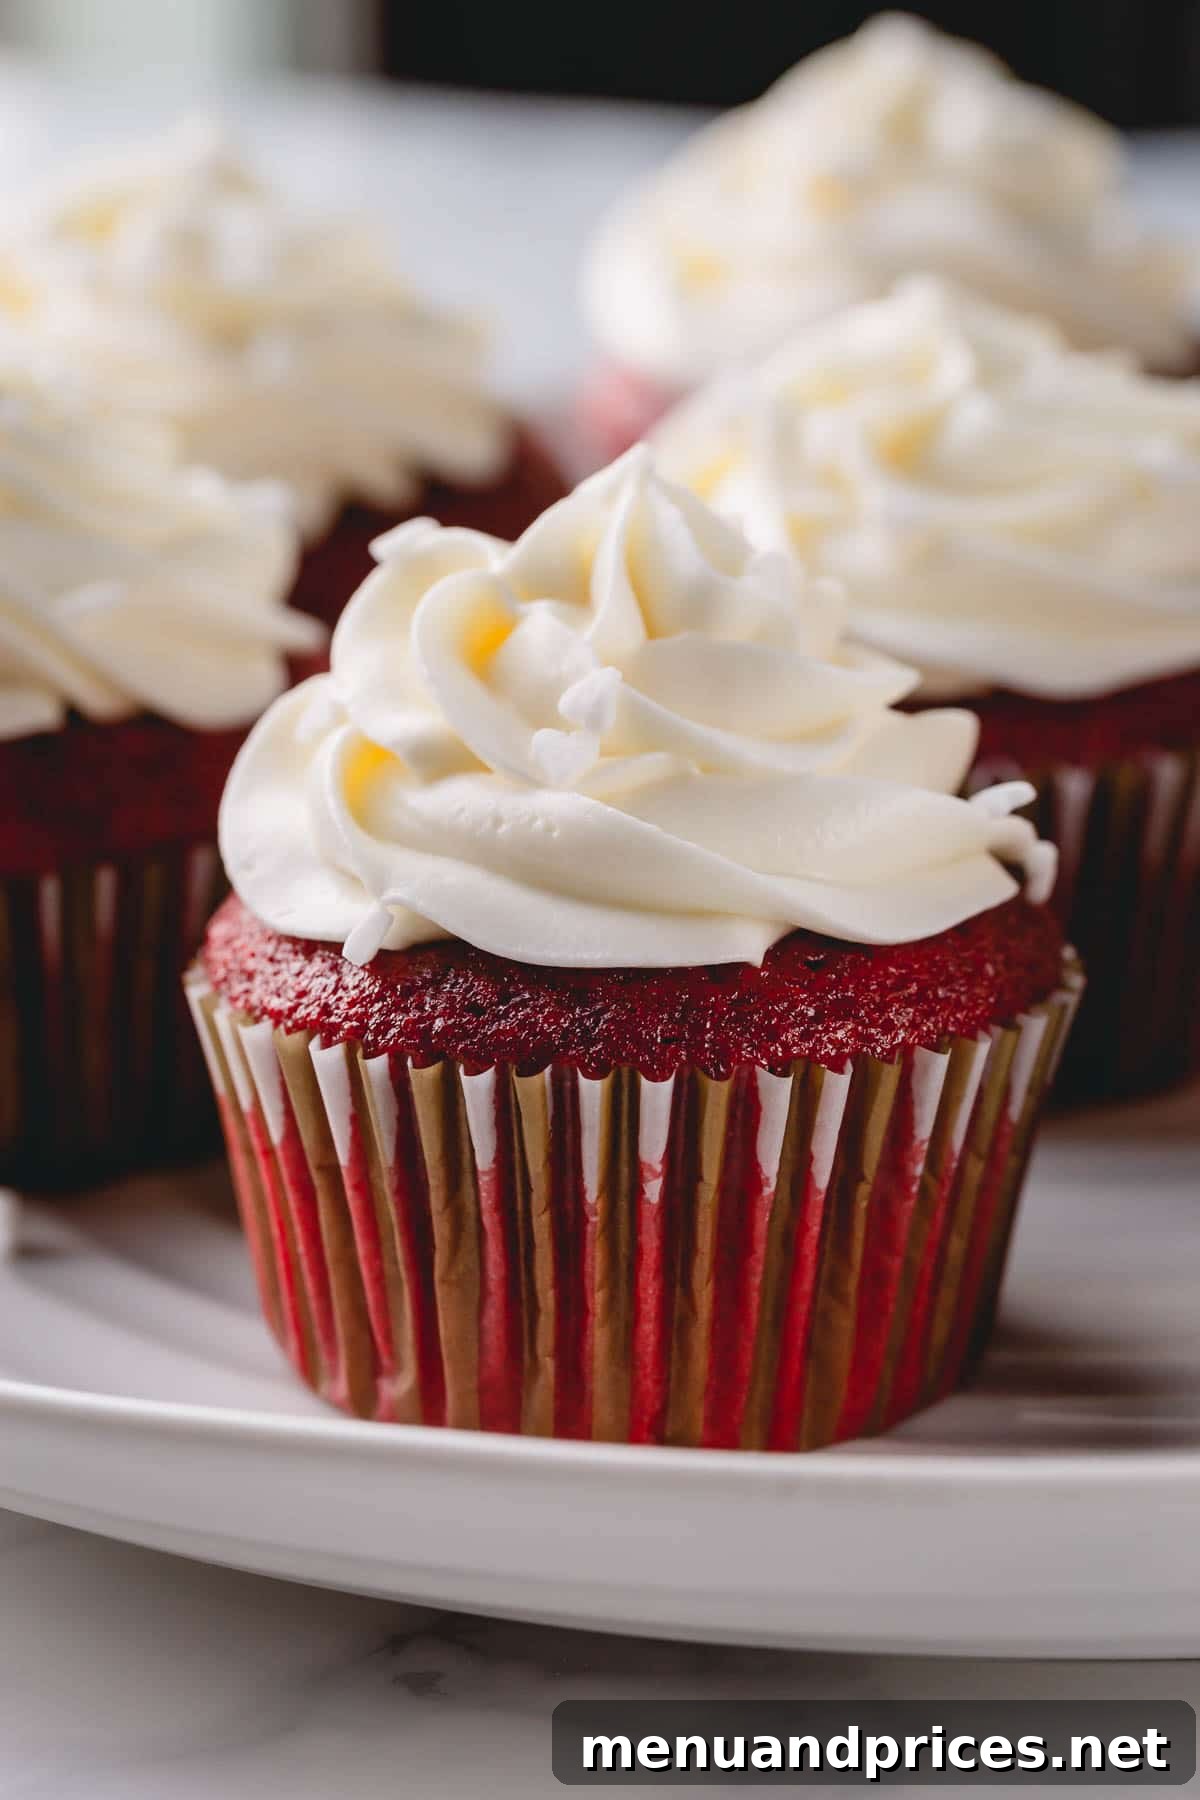
Essential Ingredients for Flawless Red Velvet Cupcakes
Crafting these soft, tender, and truly velvet-y cupcakes requires a handful of common pantry staples. Each ingredient plays a vital role in achieving the signature taste, texture, and color of this classic dessert.
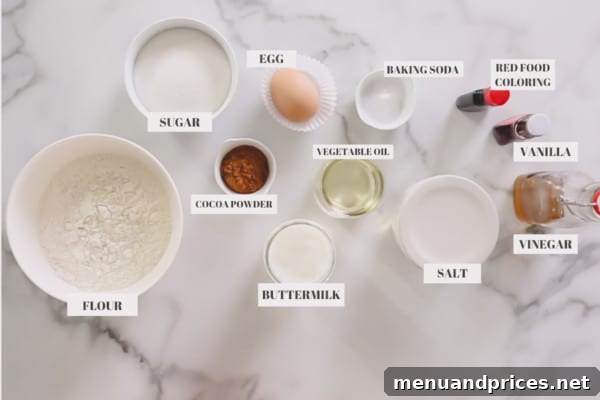
- All-Purpose Flour: Provides the structural backbone for our cupcakes, ensuring they hold their shape while remaining tender.
- Granulated Sugar: Not only sweetens the cupcakes but also contributes to their moistness and tender crumb.
- Natural Unsweetened Cocoa Powder: This is crucial for the delicate chocolate flavor that defines red velvet. We recommend using natural unsweetened cocoa powder rather than Dutch-processed. Dutch-processed cocoa powder has a darker color and a less acidic pH, which can result in darker cupcakes and a different chemical reaction with the leavening agents. For a deeper understanding, this excellent article explains the difference between natural and Dutch-processed cocoa powder.
- Salt: A pinch of salt is essential to balance the sweetness and enhance all the other flavors in the cupcake.
- Large Egg: Binds the ingredients together, adds richness, and contributes to the overall structure and moisture of the cupcakes. Ensure it’s at room temperature for better emulsion with other liquids.
- Vegetable Oil: Unlike butter, vegetable oil contributes to an incredibly moist and tender crumb that stays soft for longer. It’s key for that signature “velvet” texture.
- Buttermilk: This is arguably one of the most critical ingredients for authentic red velvet. Its acidity reacts with baking soda to create a light, airy crumb, while also imparting a distinct tang and incredible moisture. For the best results, we prefer store-bought buttermilk due to its consistent acidity and thickness, but a homemade version works well in a pinch.
- Red Food Coloring: To achieve that striking, vibrant red color characteristic of modern red velvet. Both liquid and gel food coloring will work. For the brightness seen in our photos, you’ll need about 1 tablespoon of liquid food coloring or 1 teaspoon of gel food coloring. Adjust according to your desired intensity.
- Pure Vanilla Extract: Enhances and complements the subtle cocoa flavor, adding a layer of warmth and complexity.
- Baking Soda: This leavening agent works in tandem with the acidic buttermilk and vinegar to create lift and that desirable tender, open crumb texture.
- White Distilled Vinegar: The final touch in the classic red velvet chemical reaction. It activates the baking soda, producing carbon dioxide bubbles that contribute to the velvet texture and a slight, pleasant tang.
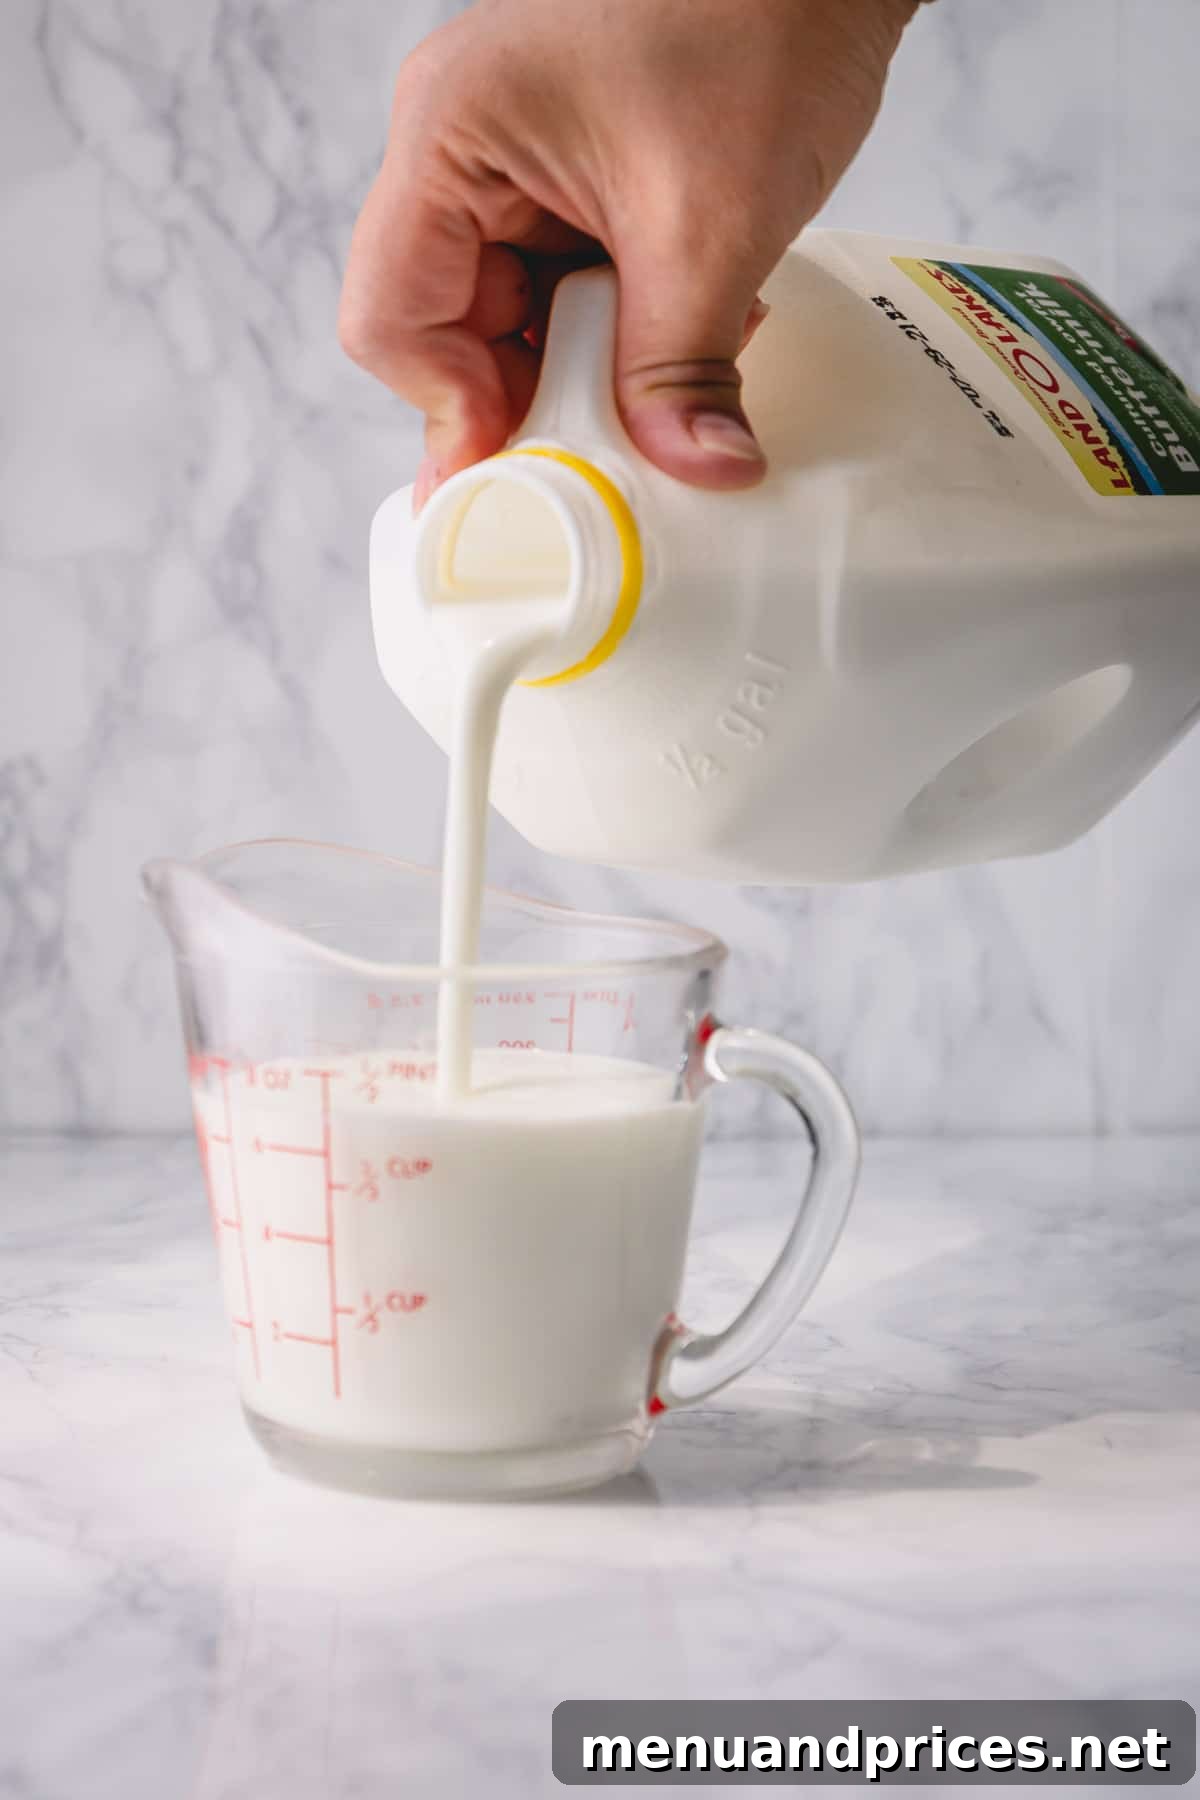
Quick Homemade Buttermilk Options
We understand that not everyone keeps buttermilk readily available in their fridge (though we highly recommend it, especially for our beloved buttermilk pancakes!). If you find yourself without, here are two simple and effective ways to create a quick homemade substitute:
- Option #1: Sour Cream or Greek Yogurt Method: Combine 1/3 cup of sour cream or plain Greek yogurt with enough regular milk (or even water) to reach a total volume of 1/2 cup. Stir this mixture thoroughly until smooth before incorporating it into your recipe. This method yields a thicker “buttermilk.”
- Option #2: Milk and Acid Method: Pour 1/2 cup of regular milk into a measuring cup. Add 1/2 tablespoon of lemon juice or white vinegar. Stir gently and let the mixture sit undisturbed for about 5 minutes. You’ll notice the milk beginning to curdle slightly, indicating that it’s ready to use as a buttermilk substitute.
Pro Tip for Best Results
While homemade buttermilk substitutes are perfectly adequate in a pinch, for the absolute best flavor and texture in these classic red velvet cupcakes, we highly recommend using high-quality store-bought buttermilk. Its consistent acidity and richness truly make a difference.
How to Bake These Velvety Cupcakes: A Simple Guide
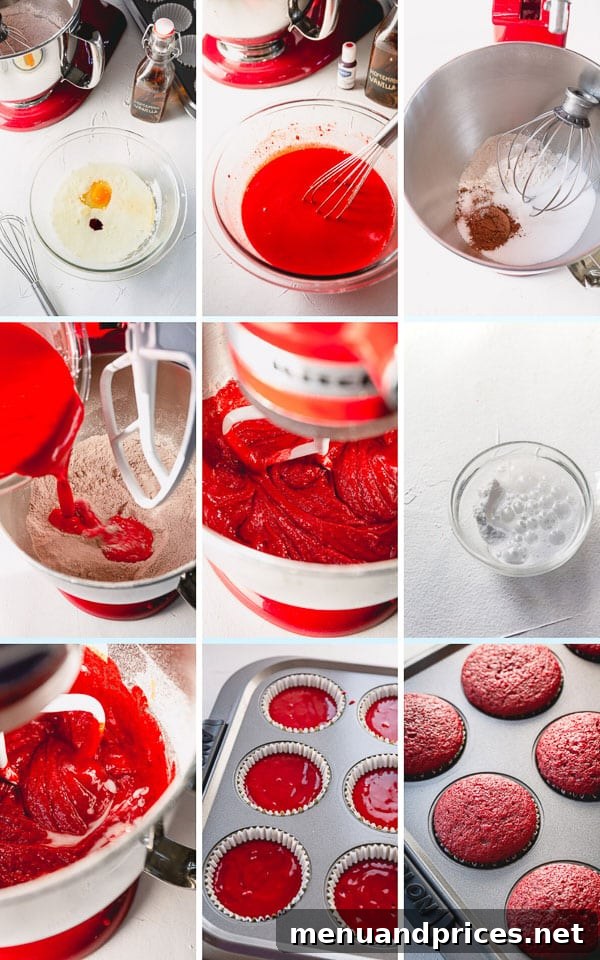
You’ll be delighted to know that making these sensational cupcakes is incredibly straightforward. You don’t even need a stand mixer; a simple whisk and mixing bowls are all it takes to achieve perfection, as demonstrated in many recipe videos!
- Prepare Dry Ingredients: Whisk together all your dry components.
- Combine Wet Ingredients: Mix all the liquid elements in a separate bowl.
- Unite Wet and Dry: Gently combine the two mixtures until just blended.
- Activate Leavening: Stir in the bubbling baking soda and vinegar mixture.
- Bake to Perfection: Fill your liners and bake until golden and springy.
For a perfect topping, find our detailed step-by-step cream cheese frosting recipe, complete with helpful troubleshooting tips, to ensure your frosting is always smooth and pipeable.
Make-Ahead and Storage Tips for Convenience
Planning ahead? Both the red velvet cupcakes and their delightful cream cheese frosting can be prepared in advance, making these a perfect dessert for parties or gatherings.
- Cupcake Storage: Once baked and completely cooled, store unfrosted cupcakes in an airtight container at room temperature for up to 2 days to maintain their freshness and moisture. For longer storage, you can freeze them for up to 3 months.
- Frosting Storage: Prepare the cream cheese frosting as directed, then transfer it to an airtight container and refrigerate until you’re ready to decorate your cupcakes. This can be done up to 3-4 days in advance. Before frosting, allow it to come to room temperature for about 30 minutes, then re-whip briefly until smooth and fluffy again.
Frosting Timing Tip
For the freshest taste and best presentation, we recommend frosting your cooled cupcakes preferably right before serving. If you need to frost them in advance, aim for no more than 2-3 hours prior to serving to prevent the frosting from drying out or becoming too soft at room temperature.
Detailed Storing Guidelines for Freshness
Proper storage is key to enjoying your red velvet cupcakes for as long as possible while maintaining their delightful texture and flavor.
- Unfrosted Cupcakes at Room Temperature: Store any unfrosted cupcakes in a sealed, airtight container at room temperature for 1-2 days. This helps to keep them moist and fresh.
- Freezing Unfrosted Cupcakes: For longer preservation, unfrosted cupcakes can be frozen. Place them in an airtight freezer-safe container or a heavy-duty freezer bag for up to 3 months. To thaw, simply transfer them to the refrigerator overnight or allow them to come to room temperature on the counter for a few hours before frosting and serving.
- Storing Leftover Frosted Cupcakes: Due to the cream cheese frosting, any leftover frosted cupcakes must be stored in the refrigerator. Keep them covered tightly with plastic wrap or in an airtight container for up to 3 days. The plastic wrap is particularly important to prevent the cake from drying out in the cold environment. For the best flavor, allow refrigerated frosted cupcakes to sit at room temperature for about 15-20 minutes before serving.
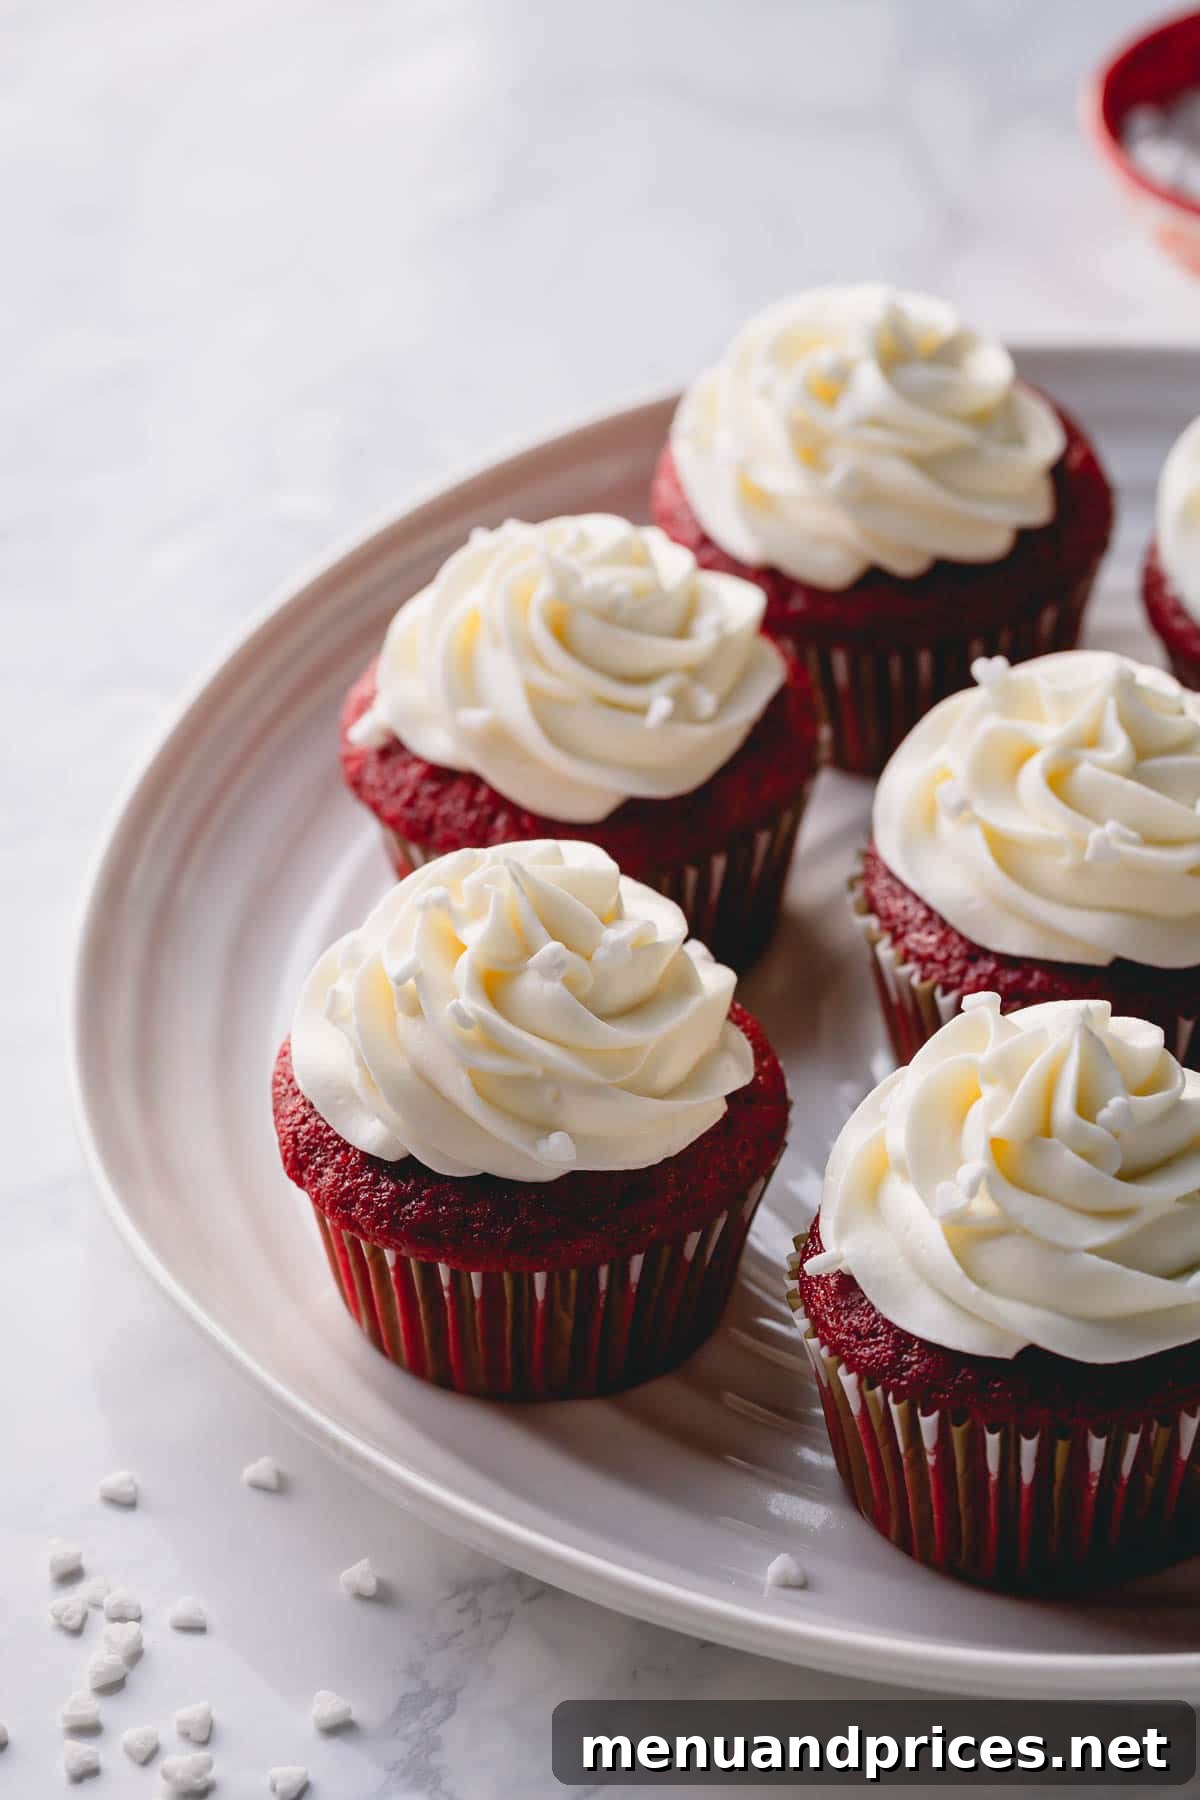
We hope you thoroughly enjoy this recipe for classic red velvet cupcakes. Please let us know your thoughts and how they turned out for you!

Red Velvet Cupcakes
Ingredients
For the Cupcakes:
- 1 ½ cups (190g) all-purpose flour
- 1 cup (200g) granulated sugar
- 1 tablespoon natural unsweetened cocoa powder (Note 1)
- ¼ teaspoon salt
- 1 large egg, at room temperature
- ½ cup (120ml) vegetable oil
- ¾ cup (180ml) buttermilk, at room temperature (Note 2)
- 1 tablespoon liquid red food coloring or 1 teaspoon gel food coloring (Note 3)
- 1 teaspoon pure vanilla extract
- ½ teaspoon baking soda
- ½ teaspoon white distilled vinegar
For the Cream Cheese Frosting:
- 8 oz (225g) cream cheese, softened at room temperature
- ¼ cup (55g) unsalted butter, softened at room temperature
- 2 cups (250g) powdered sugar (confectioners’ sugar)
- 1 teaspoon pure vanilla extract
- ⅛ teaspoon kosher salt
Instructions
To make the cupcakes:
- Preheat your oven to 350°F (175°C). Line a 12-cup muffin pan with paper cupcake liners.
- In a medium bowl, whisk together the flour, sugar, cocoa powder, and salt until well combined. Set aside.
- In a large mixing bowl, whisk the room temperature egg, vegetable oil, buttermilk, red food coloring, and vanilla extract until the mixture is smooth and fully combined.
- Gradually add the prepared dry ingredients to the wet ingredients. Mix until just smooth, being careful not to overmix the batter. Overmixing can lead to tough cupcakes.
- In a small separate dish, quickly mix together the baking soda and white distilled vinegar. As soon as the mixture starts to bubble vigorously, pour it into the cupcake batter and mix it in thoroughly but gently.
- Using a large cookie scoop or a spoon, divide the batter evenly among the 12 prepared muffin cups, filling each cup about 2/3 of the way full.
- Bake for 18-20 minutes, or until a toothpick inserted into the center of a cupcake comes out clean.
- Allow the cupcakes to cool in the muffin pan for about 5 minutes. Then, carefully transfer them to a wire rack to cool completely before frosting.
To make the frosting:
- In a mixing bowl fitted with a paddle attachment (or using a hand mixer), beat the softened cream cheese and butter on medium-high speed until the mixture is light and fluffy, usually about 1 minute.
- Gradually add the powdered sugar to the cream cheese mixture. Start beating on low speed for about a minute to prevent a sugar cloud, then increase the speed to medium-high and continue beating until the frosting is smooth, light, and fluffy, which typically takes about 3 minutes.
- Stir in the vanilla extract and kosher salt. Whip again for about 30 seconds until all ingredients are fully incorporated and the frosting is perfectly smooth.
- Transfer the prepared frosting into a pastry bag fitted with your desired decorative tip (a Wilton M1 piping tip works beautifully for tall swirls).
- Frost the completely cooled cupcakes. For best results, frost right before serving or up to a few hours prior.
⭐️ Made this delicious recipe?
We’d love to hear your feedback! Please leave a review and share how much you enjoyed it!
Video
Tips & Notes
Note 1: Cocoa Powder Choice: For these red velvet cupcakes, natural unsweetened cocoa powder is highly recommended. Dutch-processed cocoa powder has a darker color and a different acidity, which can result in a less vibrant red color for your cupcakes. The natural cocoa reacts better with the acidic ingredients to enhance the subtle red tones.
Note 2: DIY Buttermilk: If store-bought buttermilk is unavailable, you can easily make a homemade substitute. Simply stir 1 teaspoon of white vinegar or lemon juice into ¾ cup of regular milk. Let this mixture sit for 5 minutes until it slightly curdles, then use it as directed in the recipe.
Note 3: Adjusting Food Coloring: The amount of red food coloring specified is designed to achieve the vibrant red hue you see in our photos. However, feel free to adjust this quantity according to your personal preference for color intensity. Gel food coloring typically provides a more concentrated color than liquid food coloring, so you might need less of it.
Storing Tips:
- Unfrosted Cupcakes: Store unfrosted cupcakes at room temperature in an airtight container for 1-2 days to maintain freshness.
- Freezing Unfrosted Cupcakes: To store longer, freeze unfrosted cupcakes in an airtight container for up to 3 months. Thaw them overnight in the refrigerator before frosting and serving.
- Leftover Frosted Cupcakes: Due to the cream cheese frosting, store any leftover frosted cupcakes in the refrigerator. Cover them with plastic wrap or place them in an airtight container for up to 3 days to prevent them from drying out.
Nutrition
This recipe was originally published on December 3, 2013, and has been comprehensively updated on July 20th, 2021, to enhance clarity, detail, and SEO optimization.