

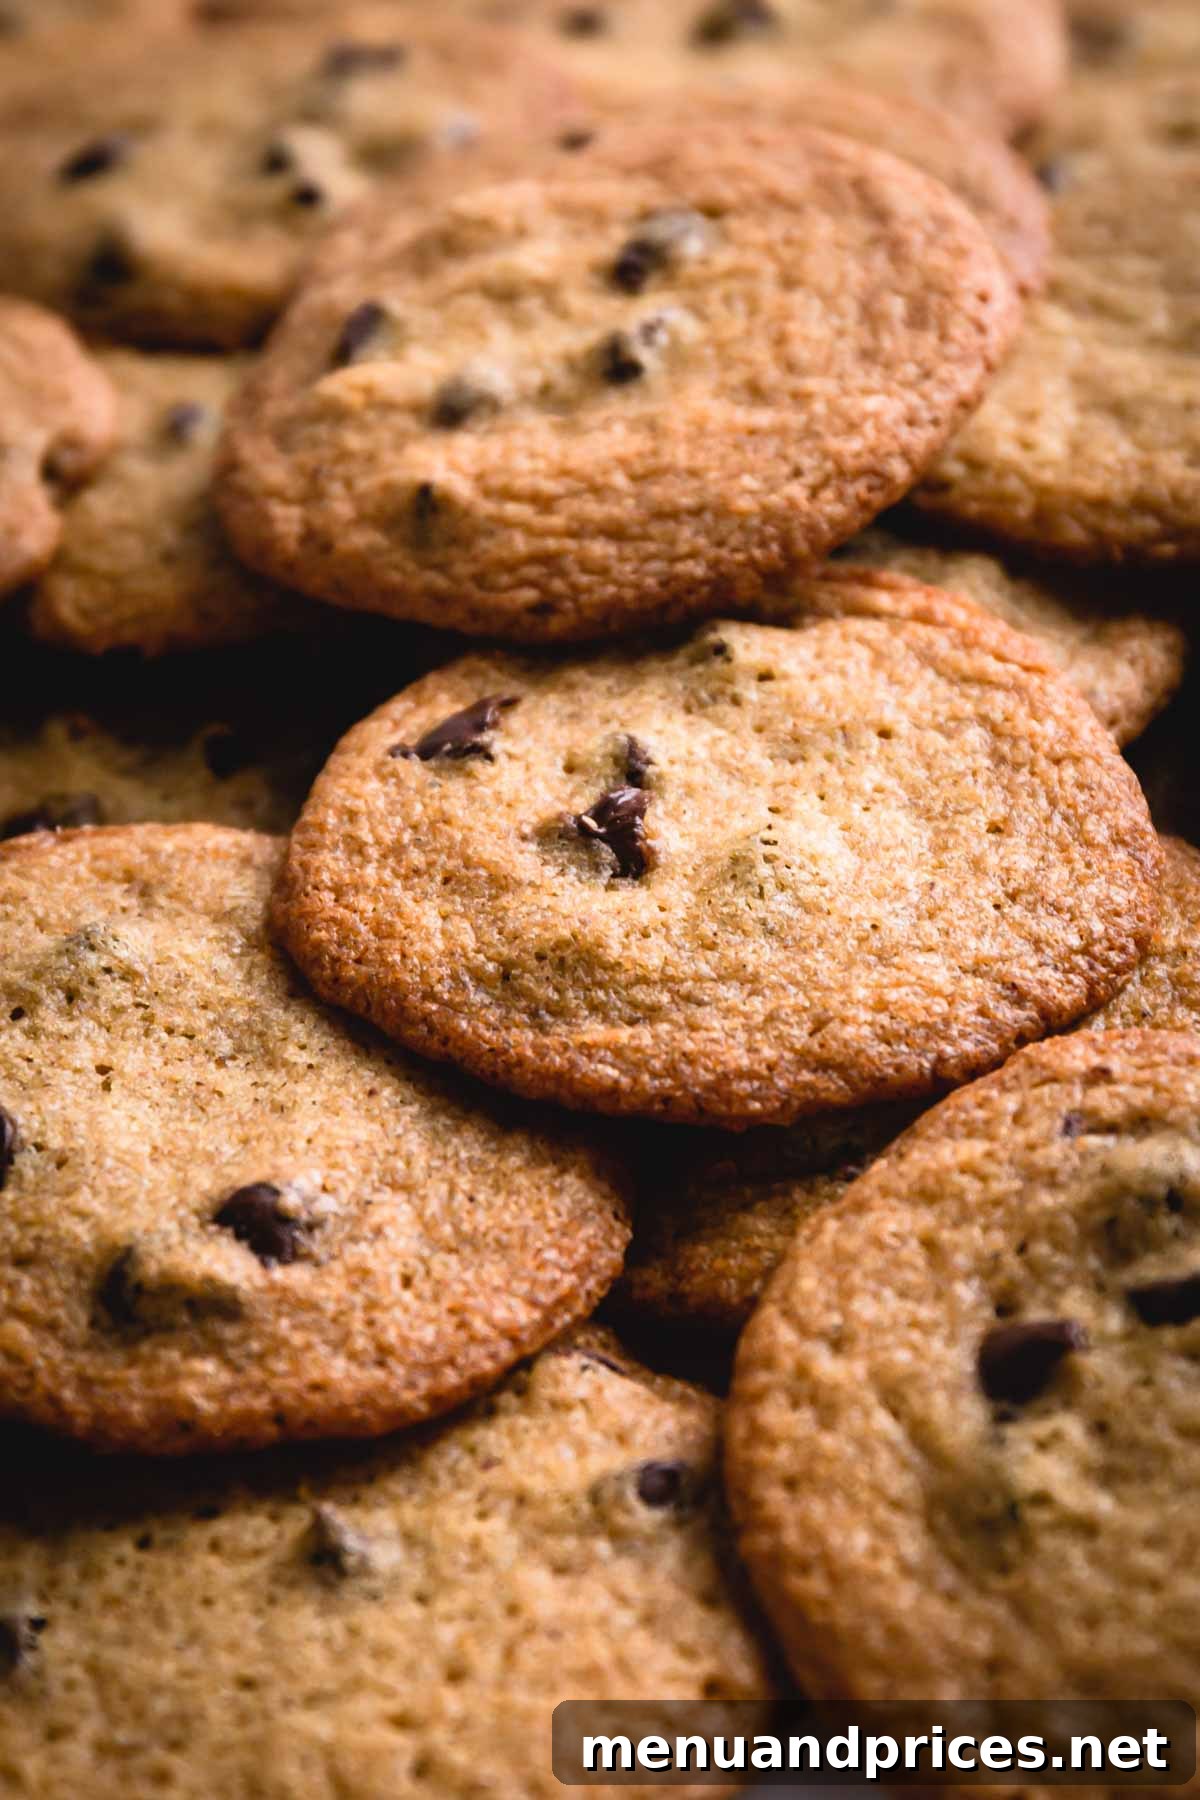
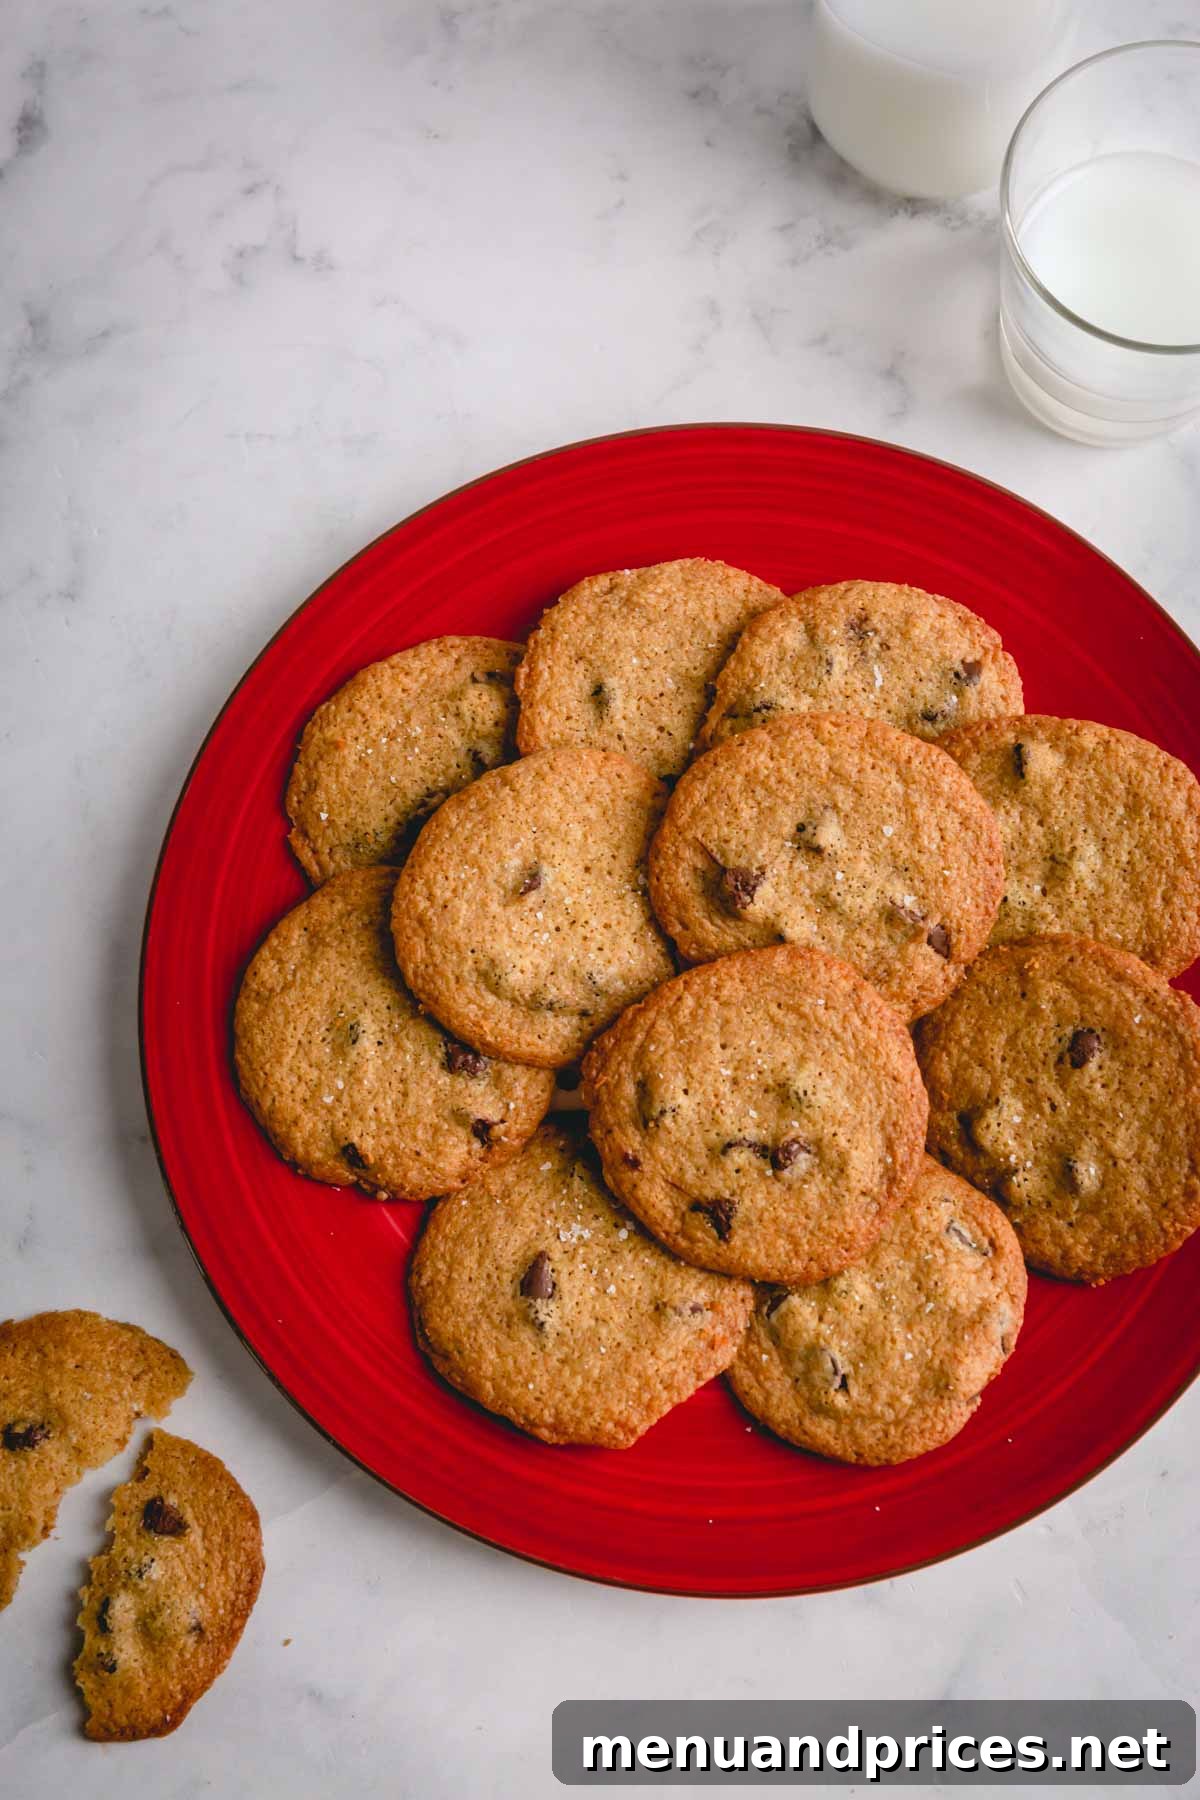
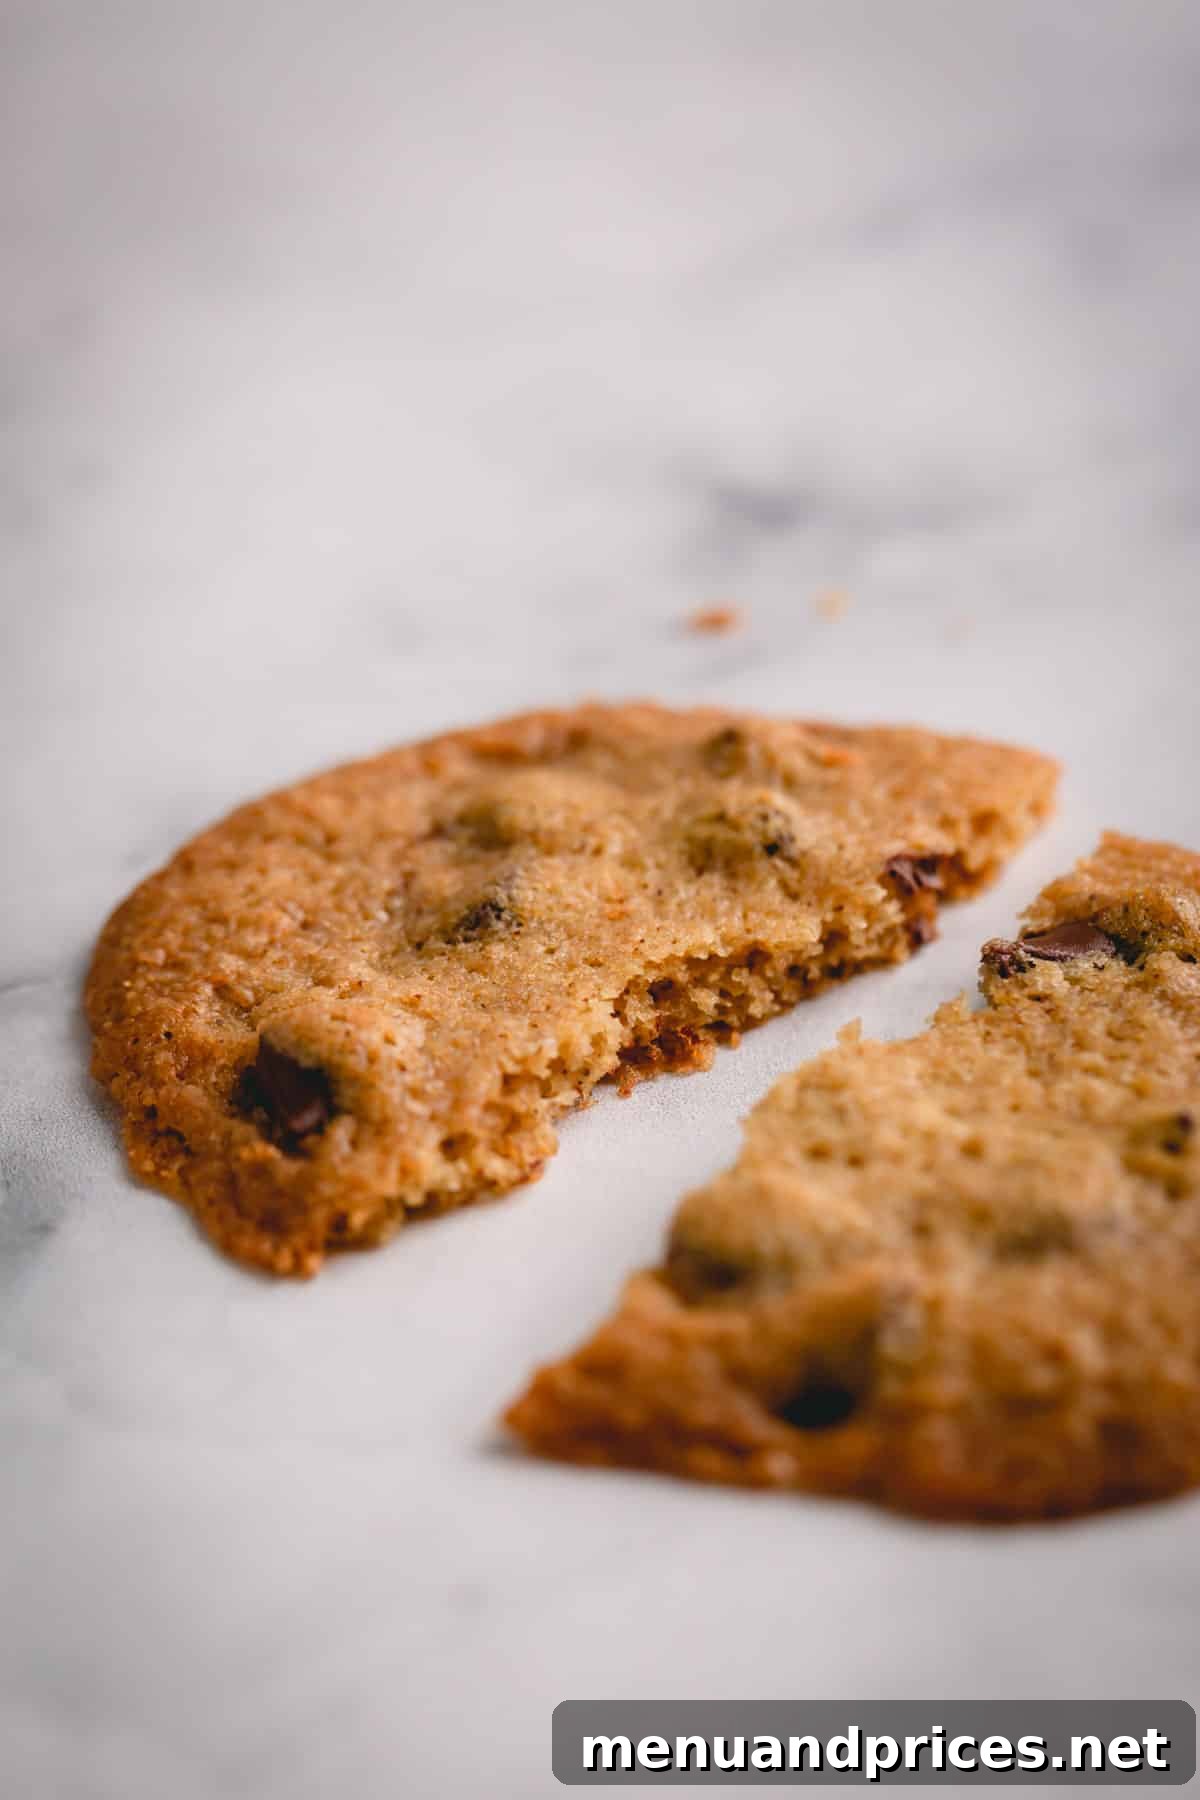
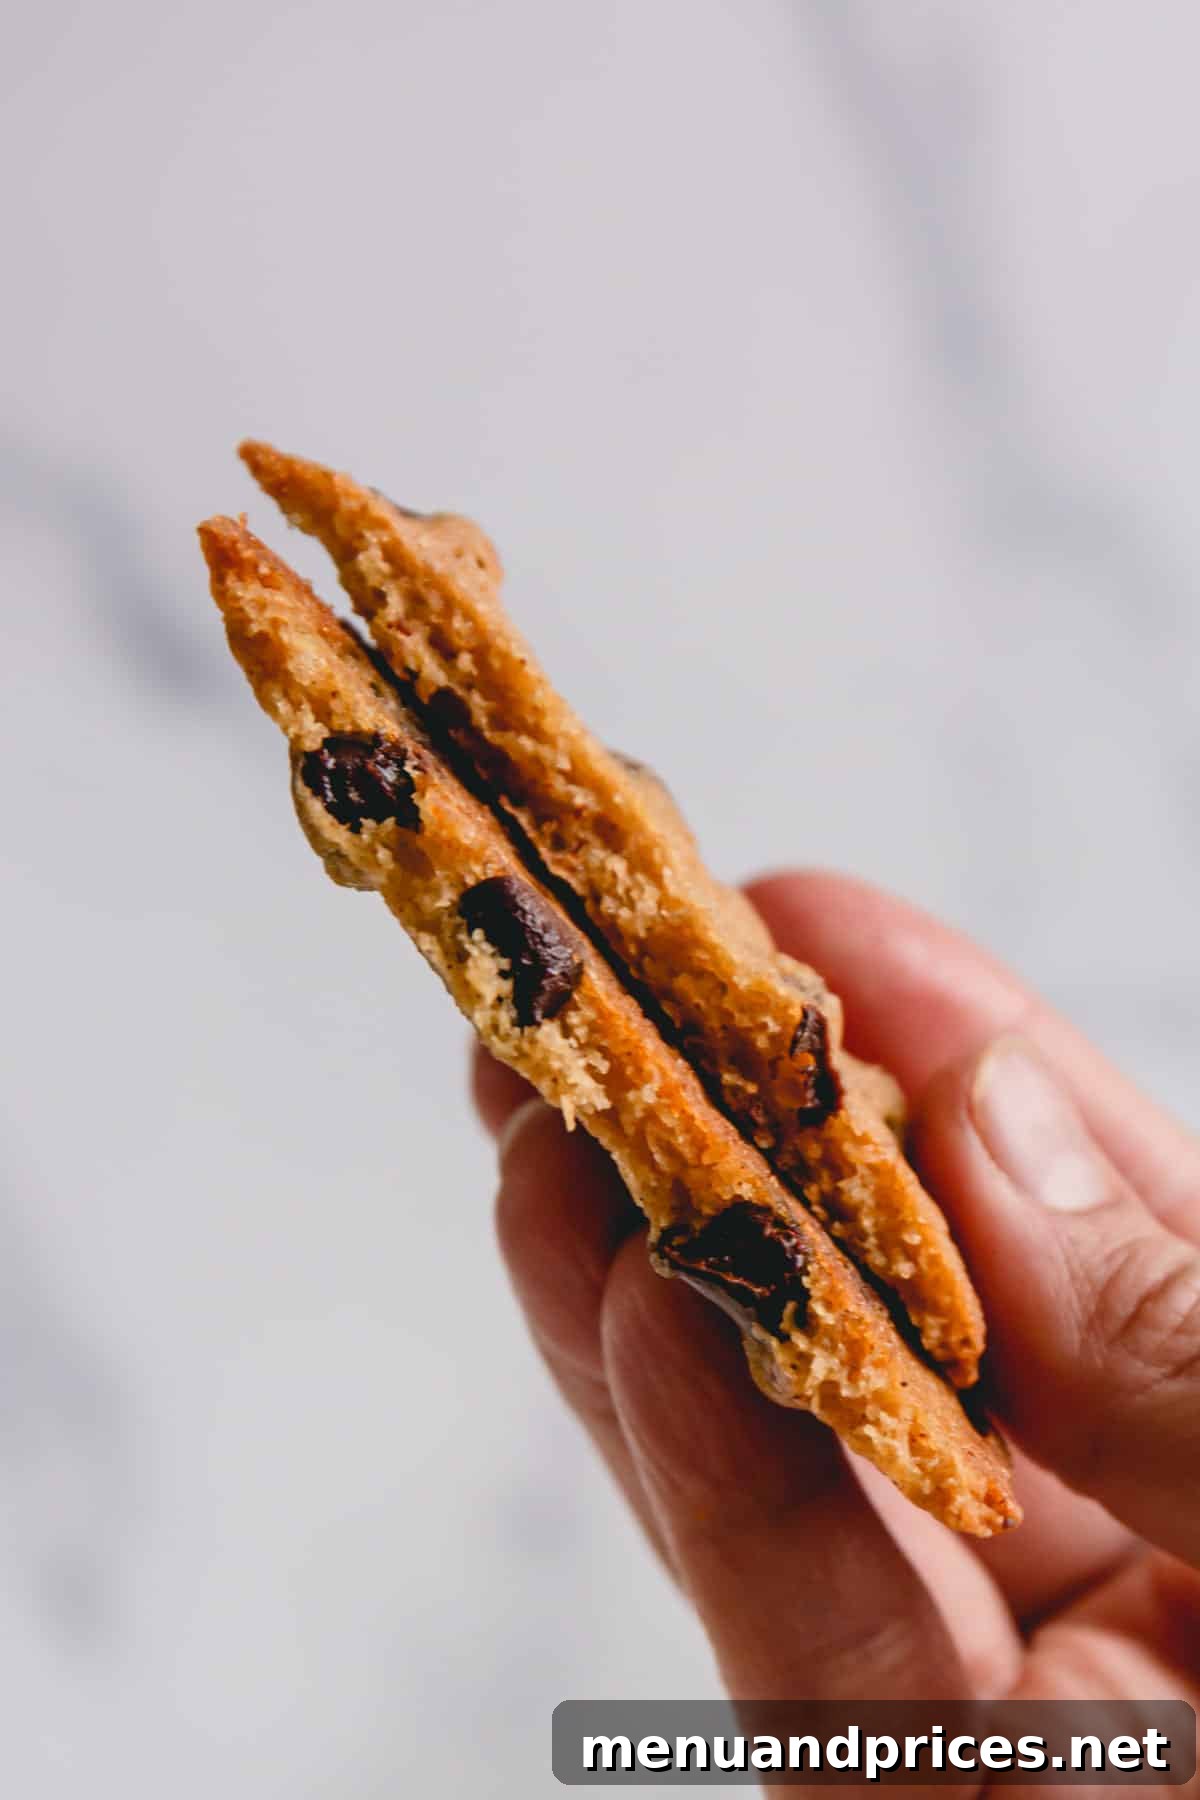
Prepare to discover your new favorite cookie! These one-bowl, crispy chocolate chip cookies are a true revelation, coming together with remarkable speed – often in less than 30 minutes from start to finish. Each bite offers a delightful journey: super thin, with beautifully caramelized edges that shatter delicately, leading to a subtly chewy center, all infused with an irresistible nutty depth from browned butter. If you’ve been dreaming of that perfect, utterly satisfying thin and crunchy chocolate chip cookie, your search ends right here.
Why You’ll Absolutely Adore These Crispy Chocolate Chip Cookies
If you, like many, have a deep appreciation for the iconic thin and crispy cookies reminiscent of Tate’s Bakeshop, then this recipe is tailor-made for your cravings. We’re talking about cookies where the edges achieve a delicate, buttery crunch, while the middles maintain just the slightest, most satisfying chew. They’re so incredibly moreish, it’s a genuine challenge to stop at just one – and many have confessed to eating an entire batch in a single sitting!
- Effortless One-Bowl Wonder: Simplify your baking routine! This recipe is designed to be mixed entirely in a single bowl, dramatically cutting down on cleanup time. It’s perfect for impromptu baking sessions when you want maximum deliciousness with minimum fuss.
- The Perfect Balance of Sweetness & Satisfaction: These cookies strike an exquisite balance of sweetness that perfectly complements the rich flavors without being overpowering. Each cookie offers a satisfying bite that leaves you craving another, but never feeling overwhelmed.
- Incredibly Easy, No Mixer Required: You don’t need any special equipment or complicated techniques here. Forget about stand mixers or lengthy creaming processes; a simple whisk and a spatula are all you need to create a flawless dough.
- Signature Brown Butter Flavor: This is the secret weapon! Browning the butter infuses the entire cookie with a deep, complex, and utterly irresistible nutty, caramel-like flavor. This simple step elevates the humble chocolate chip cookie to gourmet status.
- Guaranteed Crispy Texture: Say goodbye to sad, cakey cookies. This recipe is engineered for crispness, ensuring every cookie comes out perfectly thin, flat, and wonderfully crunchy.
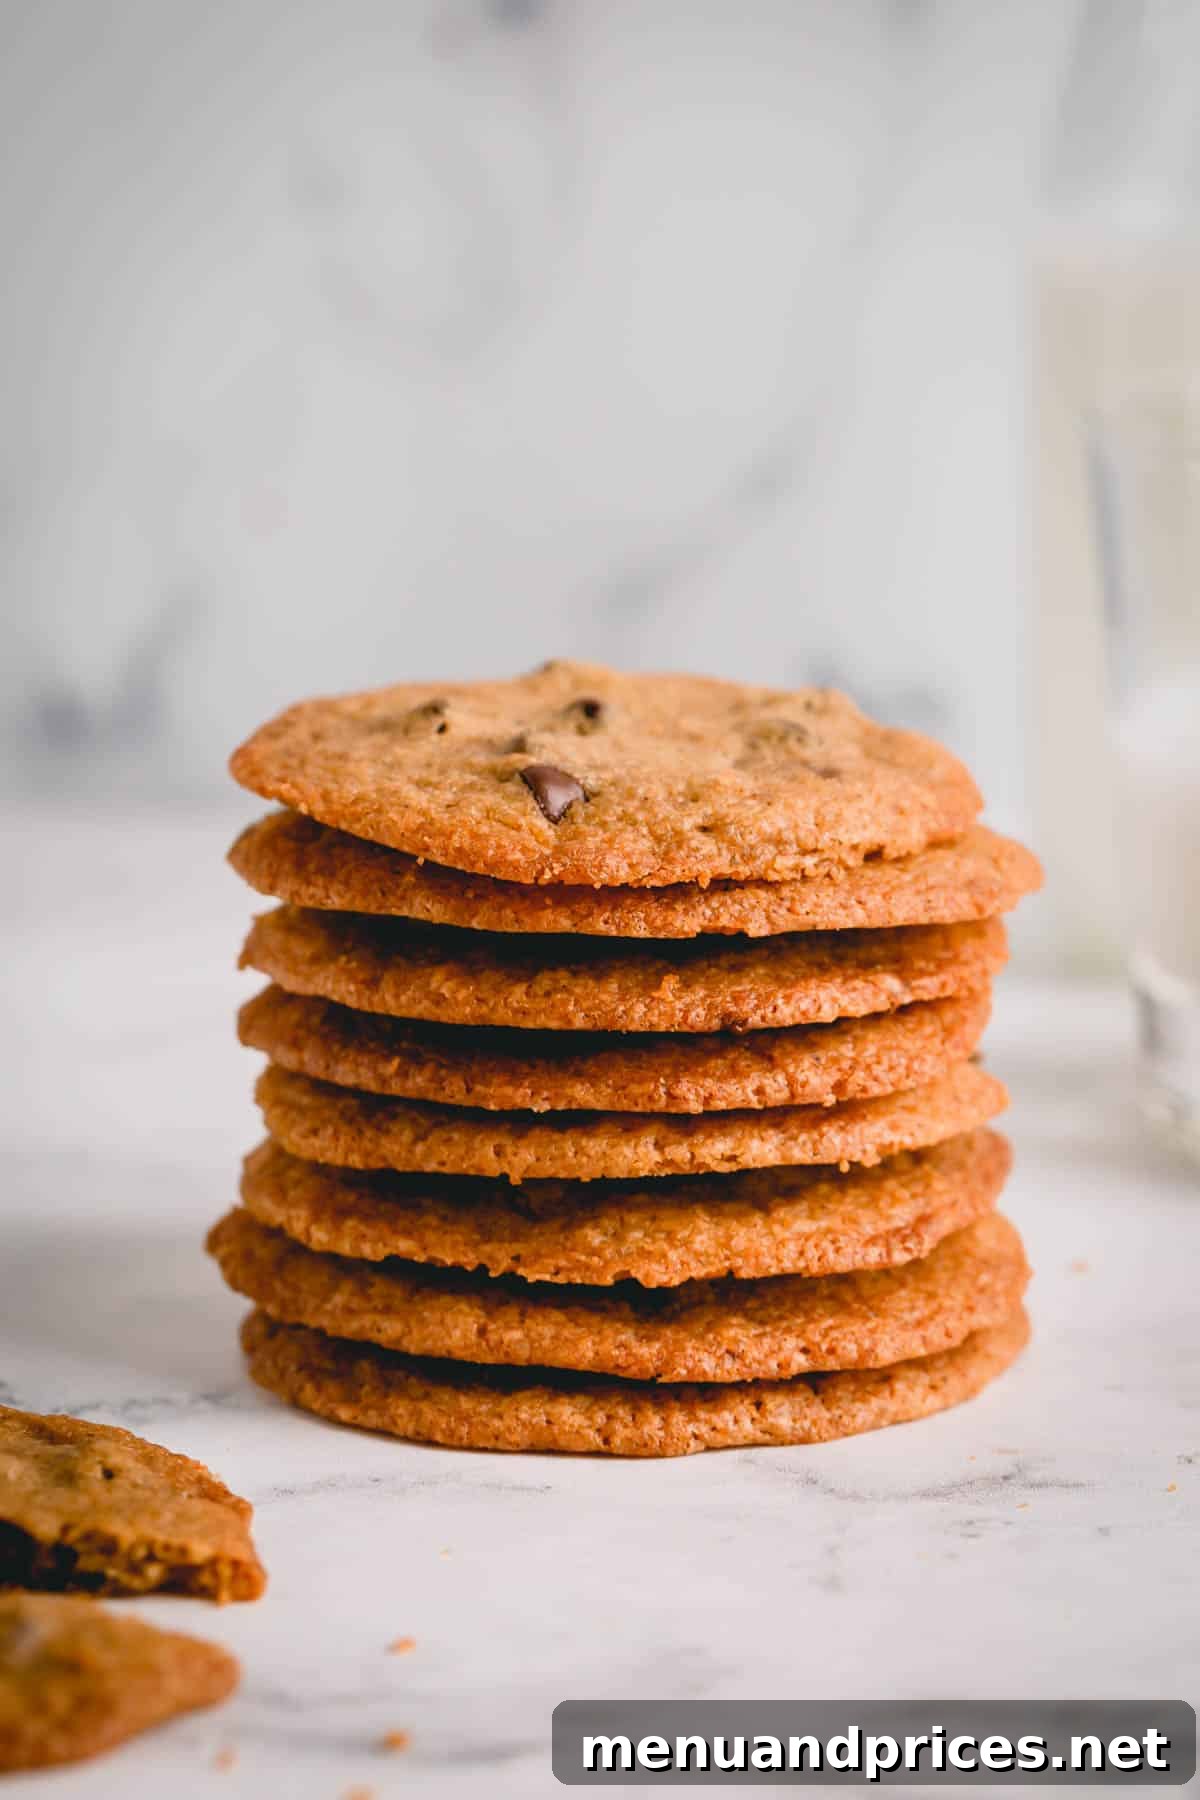
The culinary secret behind these exceptionally thin and crispy chocolate chip cookies lies in a carefully calibrated ratio of ingredients: specifically, a slightly lower proportion of flour combined with a generous amount of butter. This unique balance allows the cookie dough to spread out significantly during baking, leading to those gorgeous, paper-thin edges that caramelize beautifully and crisp up to perfection. What’s more, these cookies are incredibly forgiving; if you happen to leave them in the oven for an extra minute or two, it simply means an even crispier, more delightful cookie awaits!
Mastering the Flavor: Essential Ingredient Breakdown
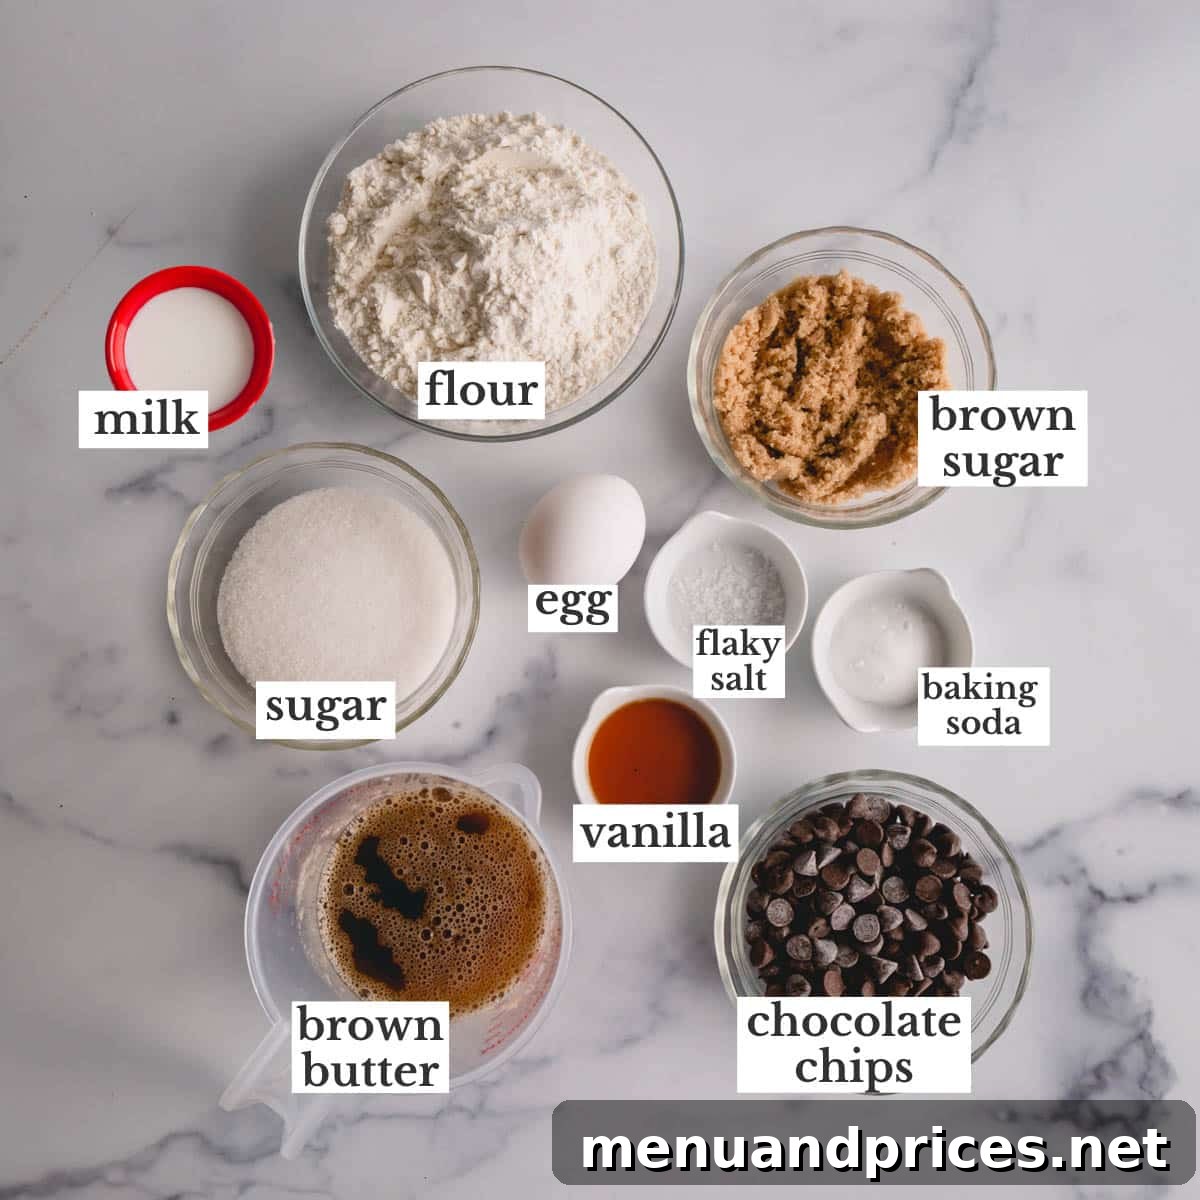
Each component in this recipe is crucial for achieving the desired texture and profound flavor. Understanding the role of each ingredient will empower you to bake perfect thin and crispy chocolate chip cookies every time.
- Brown Butter (Beurre Noisette): This isn’t just a fancy step; it’s a flavor transformation! To make it, you’ll gently melt and cook unsalted butter over medium heat until the milk solids separate, sink to the bottom, and turn a beautiful golden brown, releasing a rich, nutty aroma. This Maillard reaction creates an unparalleled depth of flavor – think toasted nuts and caramel – that elevates these cookies far beyond what regular melted butter could achieve. Be sure to let it cool slightly before adding other wet ingredients.
- All-Purpose Flour: The structural backbone of your cookies. For thin and crispy results, precise flour measurement is absolutely critical. These cookies rely on a specific, higher fat-to-flour ratio to achieve their characteristic spread and crispness. Too much flour will result in dense, cakey cookies instead of delicate, crisp ones. The best method for accuracy is using a digital kitchen scale (measuring 190 grams). If you don’t have a scale, always use the “spoon and level” technique: gently spoon flour into your measuring cup until it overflows, then level it off with the flat edge of a knife. Never scoop directly from the bag, as this compacts the flour.
- Baking Soda: This powerful leavening agent plays a dual role here. It provides a slight lift, contributing to the initial puff-then-spread of the cookies, and crucially aids in browning and crisping by reacting with the acidic brown sugar. Do not omit this ingredient.
- Salt (Kosher or Fine Sea Salt): A small but mighty flavor enhancer. Salt doesn’t just add its own taste; it brightens and balances the sweetness of the sugars and the richness of the butter and chocolate, ensuring a well-rounded and harmonious flavor profile.
- White (Granulated) & Brown Sugar: This dynamic duo is essential for the perfect texture. Granulated sugar primarily contributes to the cookie’s crispness and encourages it to spread thinly. Brown sugar, with its molasses content, adds moisture, a lovely caramel note, and helps to keep the center of the cookie just slightly chewy. The combination is key to our signature crispy-edge, soft-center balance.
- Large Egg: The binder and emulsifier of the cookie dough, a large egg provides crucial structure and adds richness. It helps hold all the ingredients together and contributes to a desirable chewiness in the cookie’s interior. Always use large eggs unless explicitly stated otherwise in a recipe, as egg size significantly impacts dough consistency.
- Milk (Any Type): The inclusion of a small amount of milk (whole milk is recommended for richness, but skim or plant-based milks work too) is a key factor in encouraging these cookies to spread effectively in the oven. This additional liquid helps create those beautifully thin, almost lacy edges that are characteristic of truly crispy cookies.
- Chocolate Chips: The classic choice is semi-sweet, providing a balanced and beloved chocolate flavor that pairs perfectly with the brown butter. However, don’t hesitate to experiment! Dark chocolate chips (60-70% cacao) will offer a more intense, sophisticated, and less sweet cookie, while milk chocolate chips will yield a sweeter, creamier, and milder chocolate experience. Opt for a high-quality brand like Ghirardelli for superior melting and flavor. For varied texture, consider chopping a chocolate bar instead of using pre-formed chips.
- Pure Vanilla Extract: A crucial aromatic that ties all the flavors together. A good quality pure vanilla extract adds warmth, depth, and a comforting sweetness that makes these cookies utterly irresistible.
Simplified Baking: How to Create These Amazing Cookies
You’ll be delighted by how easy it is to bake these thin and crispy masterpieces. Just follow these clear steps, paying a little attention to detail, and you’ll be enjoying warm, homemade cookies in no time!
1. Preparing the Perfect Cookie Dough
Before you begin mixing, preheat your oven to 375°F (190°C). Line a large baking sheet with parchment paper; this prevents sticking and helps with even baking.
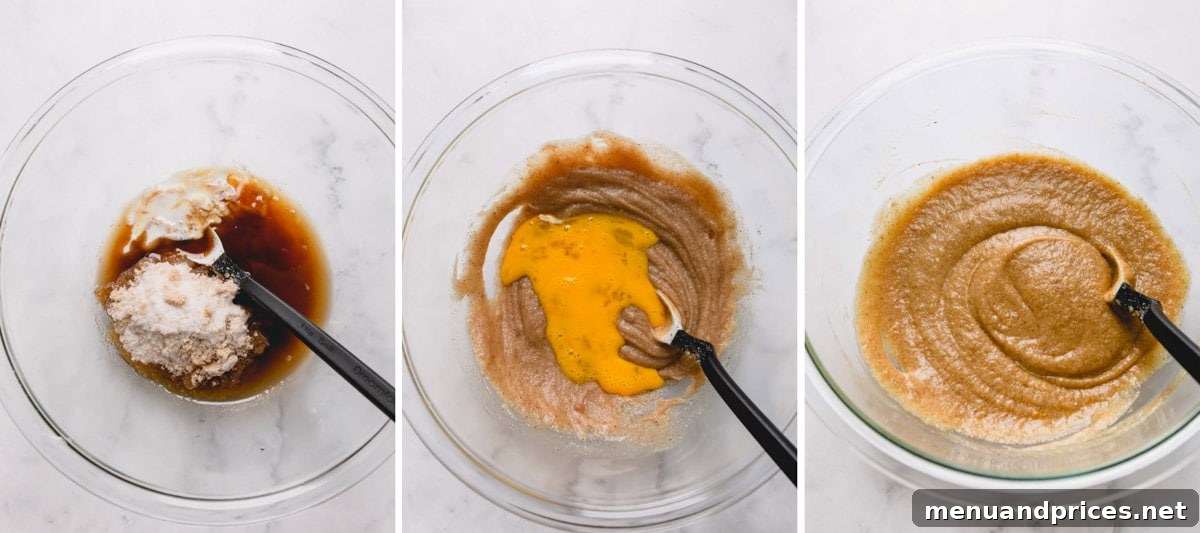
- Combine the Wet Essentials: In a generously sized mixing bowl (remember, this is a one-bowl recipe!), thoroughly whisk together the cooled brown butter, granulated sugar, and light brown sugar. Continue whisking vigorously until the mixture is smooth, creamy, and the sugars appear to be well dissolved and fully incorporated. This initial step creates a homogeneous base for your dough.
- Enrich with Egg, Milk, and Vanilla: Next, add the large egg, the measured milk, and the pure vanilla extract to the butter and sugar mixture. Whisk everything together until all these wet ingredients are completely combined and the mixture has a uniform consistency. Don’t forget to scrape down the sides of the bowl with your spatula to ensure everything is fully incorporated.
- Whisk Dry Ingredients (Separate Bowl): In a separate, medium-sized bowl, quickly whisk together the all-purpose flour, baking soda, and kosher salt. This ensures that the leavening agents and seasoning are evenly distributed throughout the dry mixture, preventing any pockets of unmixed ingredients in the final dough.
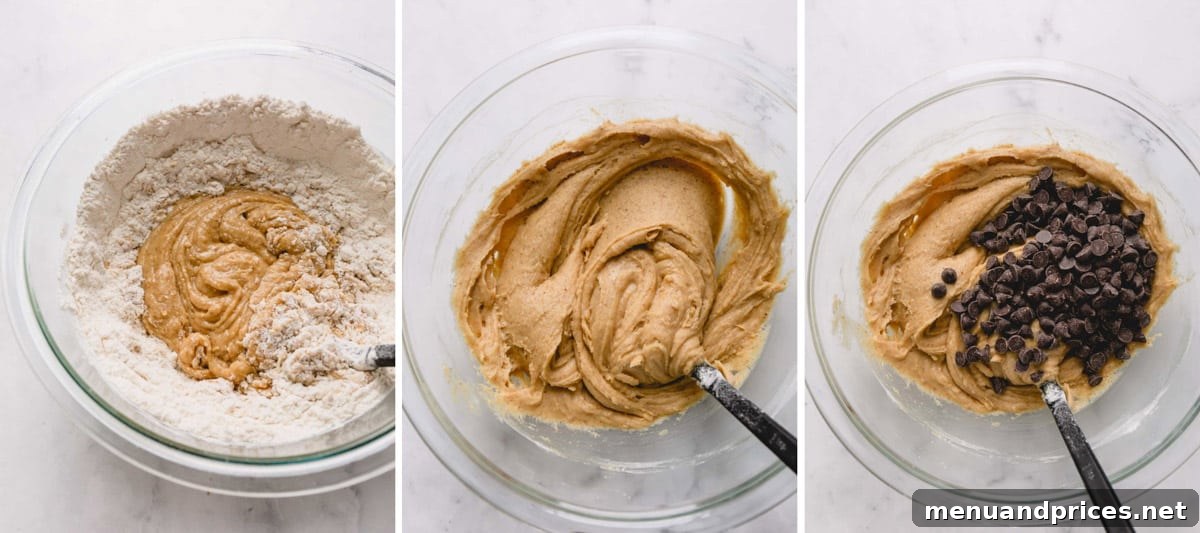
- Gently Combine Wet and Dry: Pour the wet butter mixture from the large bowl into the bowl containing your whisked dry ingredients. Using a silicone spatula, gently fold and mix the ingredients together. The key here is to mix *just* until no streaks of dry flour remain. Be extremely careful not to overmix the dough, as excessive mixing can develop the gluten in the flour, resulting in tougher cookies rather than the delicate, crispy texture we’re aiming for.
- Fold in the Chocolate Chips: Once your dough is just combined, gently fold in your chosen chocolate chips. Distribute them evenly throughout the dough without overworking it.
2. Shaping, Baking, and Cooling for Optimal Crispness
The final steps involve precise shaping and baking to achieve those perfectly flat, golden, and crispy cookies.
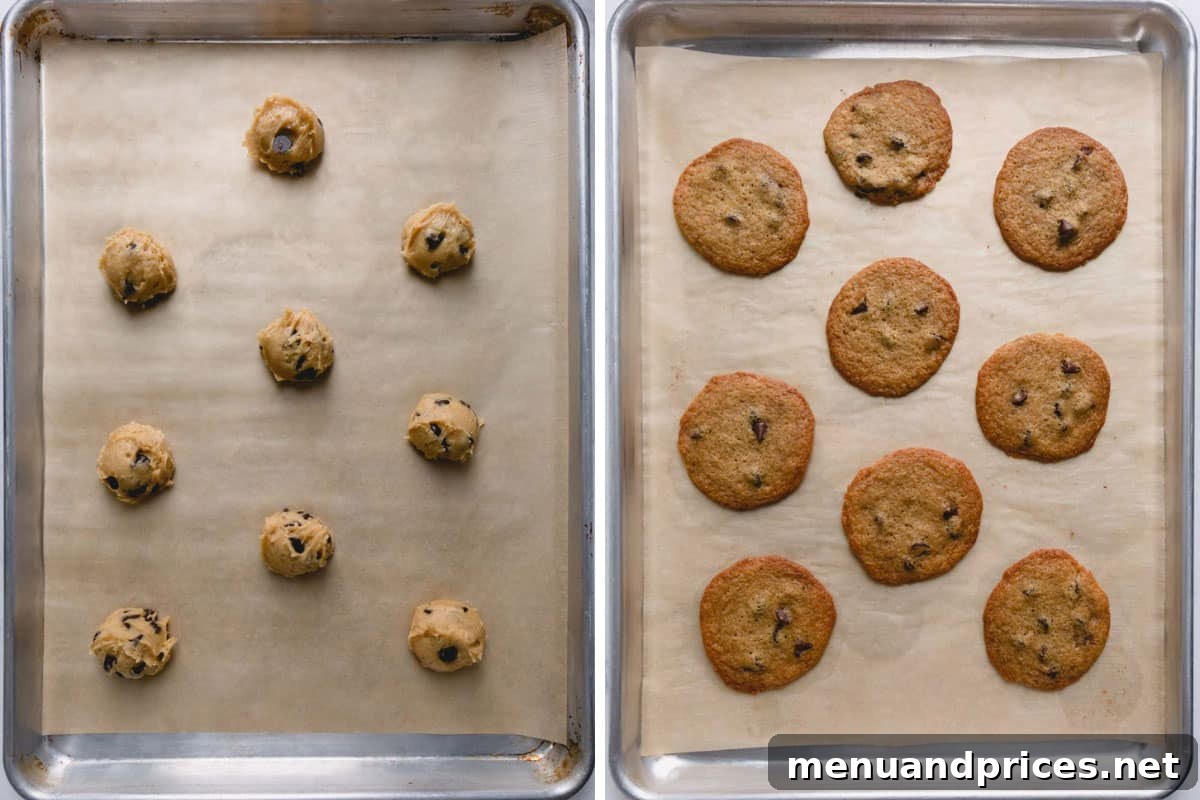
- Portioning the Dough Balls: Utilizing a medium cookie scoop (this usually equates to about 1 tablespoon of dough), form uniform 1-inch balls of cookie dough. Consistency in size is important for even baking.
- Arrange on Baking Sheet with Space: Carefully arrange the cookie dough balls onto your prepared baking sheet, ensuring they are spaced at least 2 inches apart from each other. These cookies will spread significantly during baking, and providing ample room is crucial to prevent them from fusing together.
- Bake to Golden Perfection: Place the baking sheet into your preheated oven and bake for approximately 10 to 12 minutes. You’re looking for cookies that have turned a beautiful golden brown around the edges and have flattened out considerably. Don’t worry if they appear slightly soft in the very center when you first remove them; they will continue to set and crisp up as they cool.
- Crucial Cooling Process: Allow the baked cookies to remain on the hot baking sheet for at least 5 to 7 minutes after removing them from the oven. This essential resting period allows them to firm up and become stable enough to handle without breaking. After this initial cooling, carefully transfer them to a wire cooling rack to cool completely. Cooling on a rack ensures proper air circulation, preventing moisture from being trapped and guaranteeing maximum crispness.
Mastering the Crisp: Expert Tips for Flawless Cookies
Achieving bakery-quality thin and crispy chocolate chip cookies is easily within reach with these proven tips and tricks. Pay attention to these details, and you’ll be baking like a pro in no time!
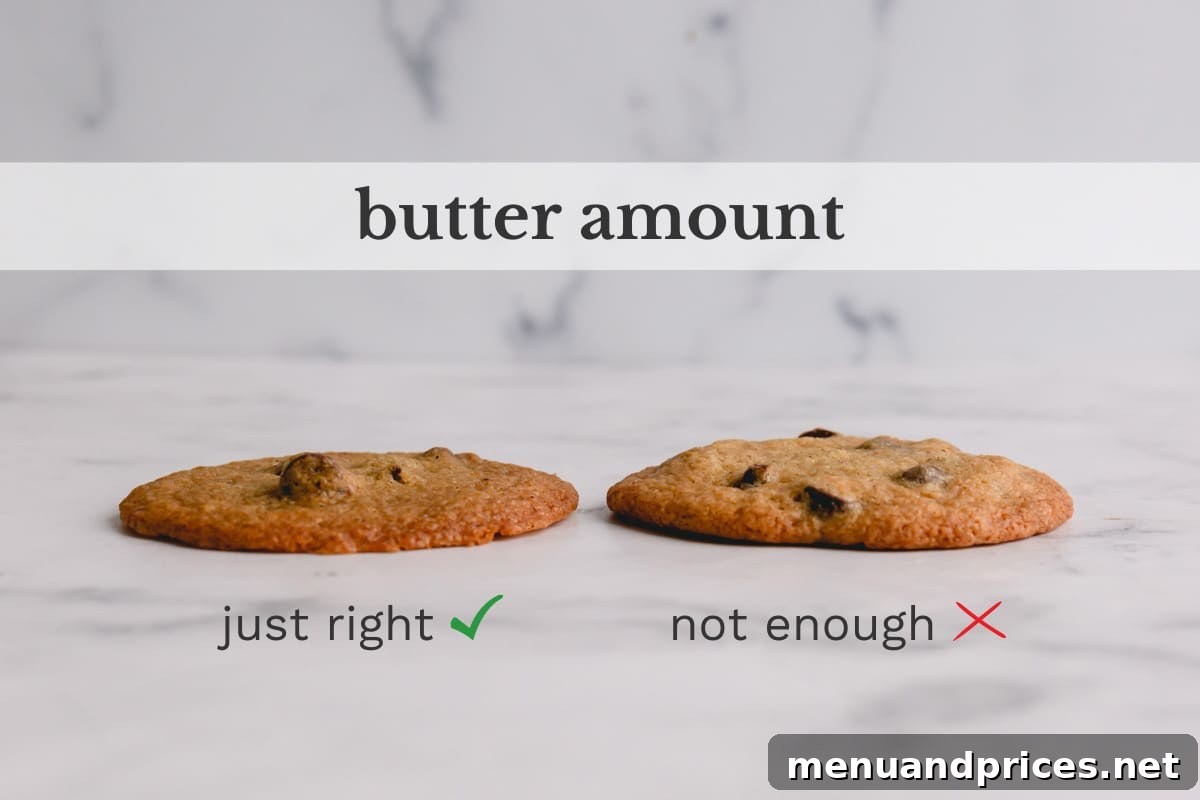
- Accurate Brown Butter Measurement: When browning butter, water content evaporates, reducing its overall volume. It’s imperative to measure the brown butter *after* the browning process is complete and it has cooled slightly. You need a full 12 tablespoons (170 grams) to achieve the perfect amount of spread and richness for these thin cookies. If you find yourself short, simply top it up with a little extra melted (but not browned) butter to reach the required volume.
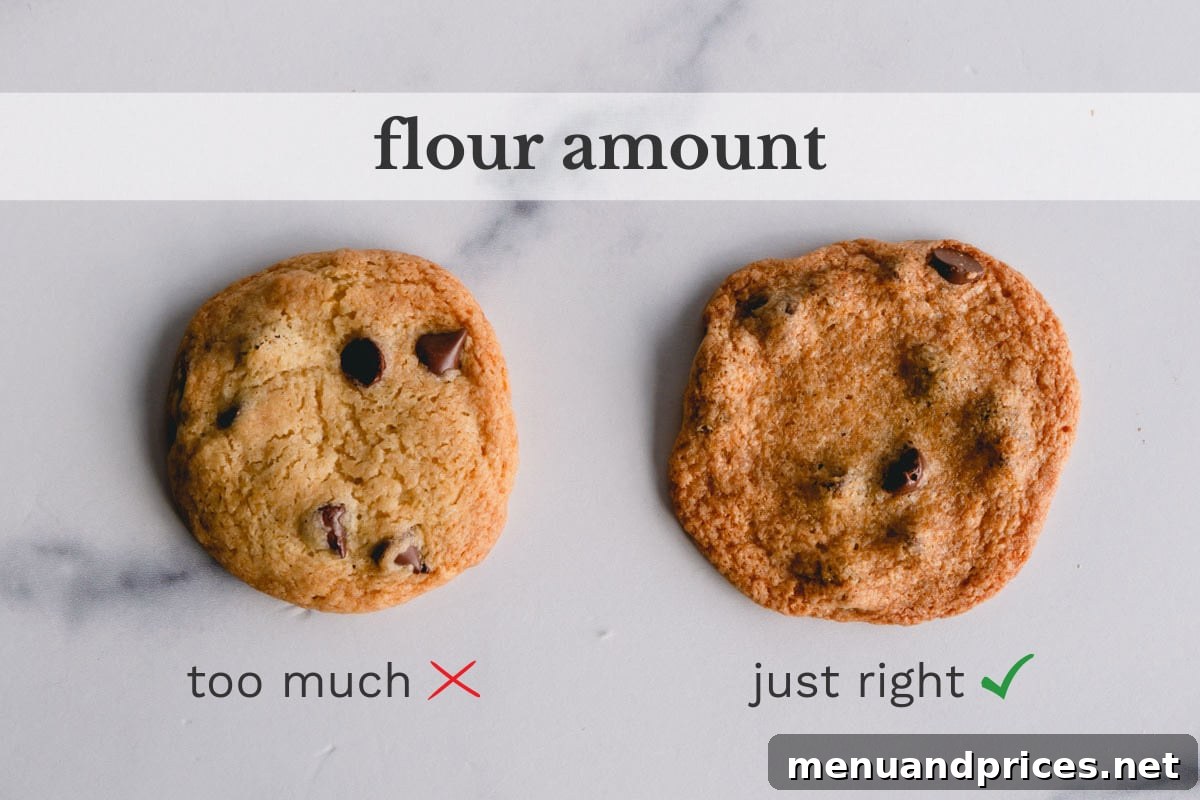
- Precision in Flour Measurement is Key: This cannot be stressed enough. Using too much flour is the number one reason cookies turn out soft and cakey rather than perfectly thin and crispy. For the most accurate and consistent results, invest in a kitchen scale and measure your flour by weight (grams). If you don’t have a scale, always use the “spoon and level” method: gently spoon the flour into your measuring cup until it’s overflowing, then level it off with the back of a knife. Never scoop flour directly from the bag with your measuring cup, as this compacts the flour and can add up to 25% more than intended.
- Allow Proper Cooling Before Transfer: Hot cookies are fragile cookies! If you attempt to transfer them from the baking sheet too soon, they are likely to break apart and lose their shape. Give your thin cookies a vital few minutes (at least 5-7) on the baking sheet to set and firm up before carefully moving them to a wire rack to finish cooling completely. This patience pays off for structurally sound, perfectly crisp cookies.
- Understand the Dough Consistency: Don’t be alarmed if this dough feels softer than traditional cookie dough recipes you might be used to. This is by design! The lower flour content and higher butter ratio are what contribute to the desired thinness and spread. A soft, somewhat pliable dough is a good sign you’re on the right track for exceptionally crispy results.
- Don’t Overcrowd the Pan: For optimal spread and even baking, ensure there’s ample space between each cookie dough ball. Place them at least 2 inches apart on the baking sheet. Overcrowding will cause the cookies to bake unevenly and potentially merge, affecting their crispness. Bake in batches if necessary.
- Parchment Paper is Your Best Friend: Always line your baking sheets with parchment paper. This simple step prevents sticking, promotes even browning across the bottom of the cookies, and makes cleanup incredibly easy. Silicone baking mats are also an excellent reusable alternative.
- Calibrate Your Oven: Oven temperatures can vary significantly from what the dial indicates, leading to inconsistent baking results. Consider using an inexpensive oven thermometer to verify your oven’s true temperature. A properly calibrated oven is vital for achieving the correct spread and crispness.
- The Chill Factor (Optional for Enhanced Flavor): While this recipe is designed for immediate baking, chilling the dough for 30 minutes to an hour can offer a slight advantage. It allows the flavors to meld further and the butter to firm up, which can sometimes lead to a slightly chewier center while still retaining those crispy edges. It’s not mandatory, but a great option if you have the extra time.
Smart Planning: Make-Ahead & Freezing Strategies for Cookies
These thin and crispy cookies are wonderfully adaptable and make for an excellent treat to prepare in advance! The flexibility of freezing them either before or after baking means you can always have a stash of these delightful cookies ready for any occasion or sudden craving.
- Freezing Unbaked Dough:
Start by scooping the cookie dough into uniform 1-inch balls, just as you would for immediate baking. Place these dough balls onto a parchment-lined baking sheet (or a platter if space is limited) and transfer the entire sheet to the freezer. Allow them to freeze for 1 to 2 hours, or until the dough balls are completely solid. Once frozen, transfer the solid dough balls to a freezer-safe Ziplock bag or an airtight container, ensuring you label it clearly with the date. For the best quality, aim to use the frozen dough within 3 months. When you’re ready to bake, you have two options: either defrost the dough balls in the refrigerator overnight, or let them sit at room temperature for approximately 30 minutes to an hour before baking as per the recipe. Defrosting helps the dough relax and achieve optimal spread for maximum crispness.
- Freezing Baked Cookies:
Bake the cookies following the recipe instructions, then allow them to cool completely to room temperature on a wire rack. This step is crucial, as any residual warmth can create condensation and lead to ice crystals in the freezer, affecting texture. Once fully cooled, carefully layer the crispy cookies in a freezer-safe airtight container, placing sheets of parchment paper between layers to prevent sticking. They can be frozen for up to 3 months. To enjoy, you can either savor them directly from the freezer (they offer a unique, delightful texture!) or let them thaw on your countertop for about 30 minutes until they reach room temperature.
Keeping Your Cookies Crisp: Optimal Storage Practices
To ensure these delightful thin and crispy chocolate chip cookies retain their signature texture and fresh flavor for as long as possible, proper storage is paramount. Follow these simple guidelines:
- Room Temperature Storage: It is absolutely essential that your crispy cookies have cooled completely to room temperature before you attempt to store them. Storing warm cookies will inevitably lead to condensation forming inside the container, turning your crisp creations soft and soggy. Once thoroughly cooled, place the cookies in an airtight container. Stored this way, they will maintain their excellent taste and satisfying crispness for up to 3 days on your kitchen countertop.
- Longer-Term Freezer Storage: For extended freshness and to always have a delicious treat on hand, chocolate chip cookies are wonderfully freezer-friendly. Once completely cool, transfer them to a freezer-safe container or a sturdy, heavy-duty plastic freezer bag. To prevent them from sticking together, you can layer them with sheets of parchment paper. They can be safely frozen for up to 3 months. To enjoy, simply allow them to thaw at room temperature for approximately 30 minutes. Alternatively, many find them surprisingly delicious enjoyed straight from the freezer for a different kind of treat!
Frequently Asked Questions About Thin & Crispy Cookies
Several key factors influence a cookie’s crispness. The most significant is the fat-to-flour ratio: recipes with higher fat content and proportionally less flour tend to spread more thinly during baking. This increased surface area allows more moisture to evaporate, resulting in a crispier texture. Ingredients like granulated sugar also promote spread and crispness, while baking soda can aid in browning and a slight initial lift before the cookie flattens. A longer baking time (without burning) will also naturally remove more moisture, leading to a crisper result.
The most common culprit for cookies that fail to spread flat is too much flour. When you have an excess of flour, the dough becomes too stiff and dense, preventing it from relaxing and spreading out as it bakes. This frequently occurs when flour is measured by volume (cups) and is accidentally compacted. For precision, always measure flour by weight using a kitchen scale. If measuring by volume, use the “spoon and level” method. Other factors that can inhibit spread include excessively cold dough, insufficient fat in the recipe, or sometimes, too much leavening agent.
The “best” type of chocolate chip is truly a matter of personal preference and the flavor profile you desire!
- Semi-sweet chocolate chips: These are the classic and most popular choice, offering a balanced sweetness that wonderfully complements the rich, buttery cookie base.
- Dark chocolate chips: For those who prefer a more intense, sophisticated chocolate flavor with less sweetness, dark chocolate (look for 60-70% cacao) is an excellent option.
- Milk chocolate chips: If you enjoy a sweeter, creamier, and milder chocolate experience, milk chocolate chips will deliver that indulgent taste.
Beyond the type, consider the quality. High-quality chocolate chips (like Ghirardelli, a popular choice) melt more smoothly and contribute significantly to the overall deliciousness of the cookie. For an artisanal touch, consider chopping a good quality chocolate bar into varying sizes for beautiful pockets of melted chocolate throughout.
While you technically can substitute regular melted butter for brown butter, be aware that the flavor profile of your cookies will be noticeably different. Brown butter undergoes a Maillard reaction, which develops profound nutty, toasty, and caramel-like notes that significantly enhance the complexity and depth of these cookies. Using regular melted butter will still result in thin and crispy cookies, but they will lack the unique, irresistible richness and nuanced flavor that browned butter imparts. For the full, intended experience of this recipe, the browning step is highly recommended.
Burning edges while the centers remain undercooked often indicates that your oven temperature is inaccurate or that you have uneven hot spots.
- Use an Oven Thermometer: Invest in an inexpensive oven thermometer to verify your oven’s actual temperature, and adjust your baking settings accordingly.
- Rotate Baking Sheets: Halfway through the baking time, rotate your cookie sheets 180 degrees to ensure all cookies receive even exposure to heat, preventing one side from browning too quickly.
- Opt for Light-Colored Baking Sheets: Dark-colored baking sheets absorb more heat, which can lead to faster, sometimes uneven, browning on the bottom and edges. Light-colored aluminum sheets are generally preferred for more even baking.
- Parchment Paper is Key: Always line your baking sheets with parchment paper; it provides a slight insulating layer and helps distribute heat more evenly.
- Know When to Remove: Pull cookies from the oven when their edges are visibly golden brown and the centers still appear slightly soft. They will continue to cook and crisp up from residual heat as they cool on the hot baking sheet.
Explore More Crave-Worthy Cookie Recipes
If you’ve thoroughly enjoyed mastering the art of these thin and crispy chocolate chip cookies, then you’re in for a delightful journey through our other beloved cookie creations. Expand your baking repertoire with these irresistible recipes:
- Comforting Apple Cinnamon Instant Oatmeal Cookies
- Rich & Buttery Egg Yolk Cookies
- Elegant Classic Linzer Cookies with Raspberry Jam
- The Easiest & Most Versatile Sugar Cookies for Any Occasion

Thin and Crispy Chocolate Chip Cookies
Crafted by hand in a single bowl, these irresistible thin and crispy chocolate chip cookies are ready in under 30 minutes. They feature super thin, caramelized edges and a rich, nutty depth from brown butter, making them utterly addictive.
Cook: 12 mins
Total: 22 mins
Print Recipe
Ingredients
- 12 tablespoons (170 g) brown butter
- 1 ½ cups (190 g) all-purpose flour
- 1 teaspoon baking soda
- ½ teaspoon kosher salt
- ½ cup (100 g) granulated sugar
- ⅓ cup (65 g) light brown sugar
- 1 large egg
- 3 tablespoons milk
- 1 tablespoon pure vanilla extract
- ¾ cup (130 g) semi-sweet chocolate chips
Instructions
- Preheat your oven to 375°F (190°C). Line a baking sheet with parchment paper.
- In a medium bowl, whisk together the all-purpose flour, baking soda, and salt until well combined. Set aside.
- In a large mixing bowl, whisk together the cooled brown butter, granulated sugar, light brown sugar, egg, milk, and pure vanilla extract until the mixture is smooth and thoroughly combined.
- Add the dry ingredients (flour mixture) to the wet mixture. Using a silicone spatula, gently fold and mix the dough until just combined. Be careful not to overmix, as this can lead to tougher cookies.
- Gently fold in the semi-sweet chocolate chips until they are evenly distributed throughout the dough.
- Using a medium cookie scoop (about 1-inch in diameter), form the cookie dough into uniform balls. Arrange the dough balls on the prepared baking sheet, ensuring they are spaced at least 2 inches apart to allow for proper spreading.
- Bake for 10-12 minutes, or until the cookies are beautifully golden brown around the edges and appear flat. They may still look slightly soft in the center, but will firm up as they cool.
- Allow the cookies to cool on the baking sheet for a few minutes (5-7 minutes) to set. Then, carefully transfer them to a wire cooling rack to cool completely, which helps them achieve maximum crispness.
⭐️ Did you make this recipe?
Please leave a review and let us know how you liked it!
Tips & Notes
Brown Butter Tip: It is crucial to measure brown butter *after* the browning process, as some water evaporates. You need precisely 12 tablespoons (170g) for the optimal spread and richness. If you’re short, top it off with regular melted butter. While regular melted butter can be substituted, the cookies will lack the distinctive nutty flavor brown butter provides.
Flour Accuracy: For truly thin and crispy cookies, accurate flour measurement is vital. Weighing your flour (190g) is the most precise method. If using measuring cups, always use the “spoon and level” technique to avoid over-measuring, which results in soft, cakey cookies instead of crisp ones.
Storing & Freezing:
- Room Temperature: Ensure cookies are completely cool before storing in an airtight container for up to 3 days to maintain crispness.
- Freezer-Friendly: For longer storage, freeze baked cookies in an airtight container or bag for up to 3 months. Thaw at room temperature for 30 minutes, or enjoy straight from the freezer. Unbaked dough balls can also be frozen for up to 3 months; thaw slightly before baking.
Nutrition Information (Approximate per Cookie)
Carbohydrates: 10 g
Protein: 1 g
Fat: 5 g
Sugar: 6 g
Sodium: 86 mg
Cuisine: American