
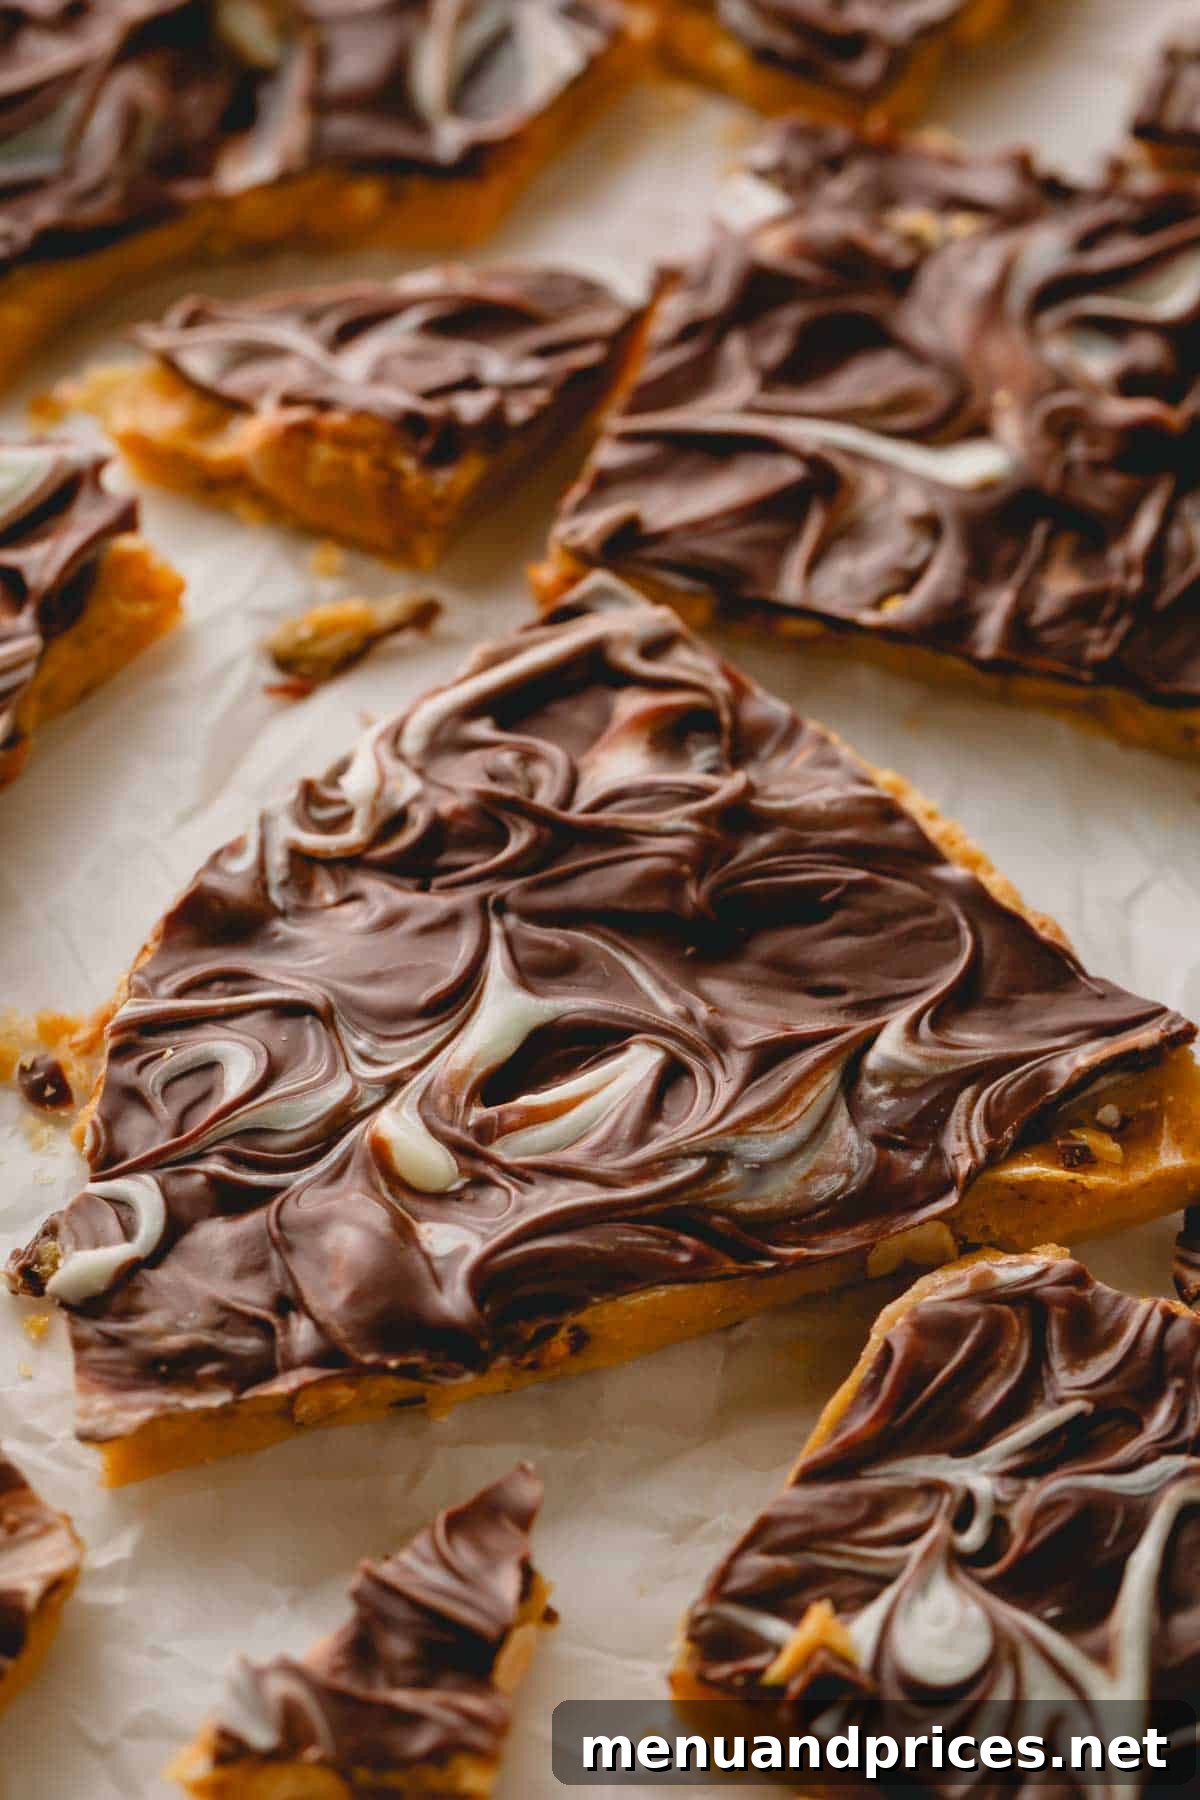
Prepare to fall in love with this extraordinary chocolate peanut brittle, a delightful twist on the classic candy that promises an even more decadent experience. This recipe delivers an irresistibly light and satisfyingly crunchy treat that is not only incredibly easy to make but also virtually failproof, thanks to the magic of your microwave. Forget about complicated candy thermometers or endless stirring over a hot stove; this method simplifies the process, making homemade peanut brittle accessible to everyone, even beginner candy makers.
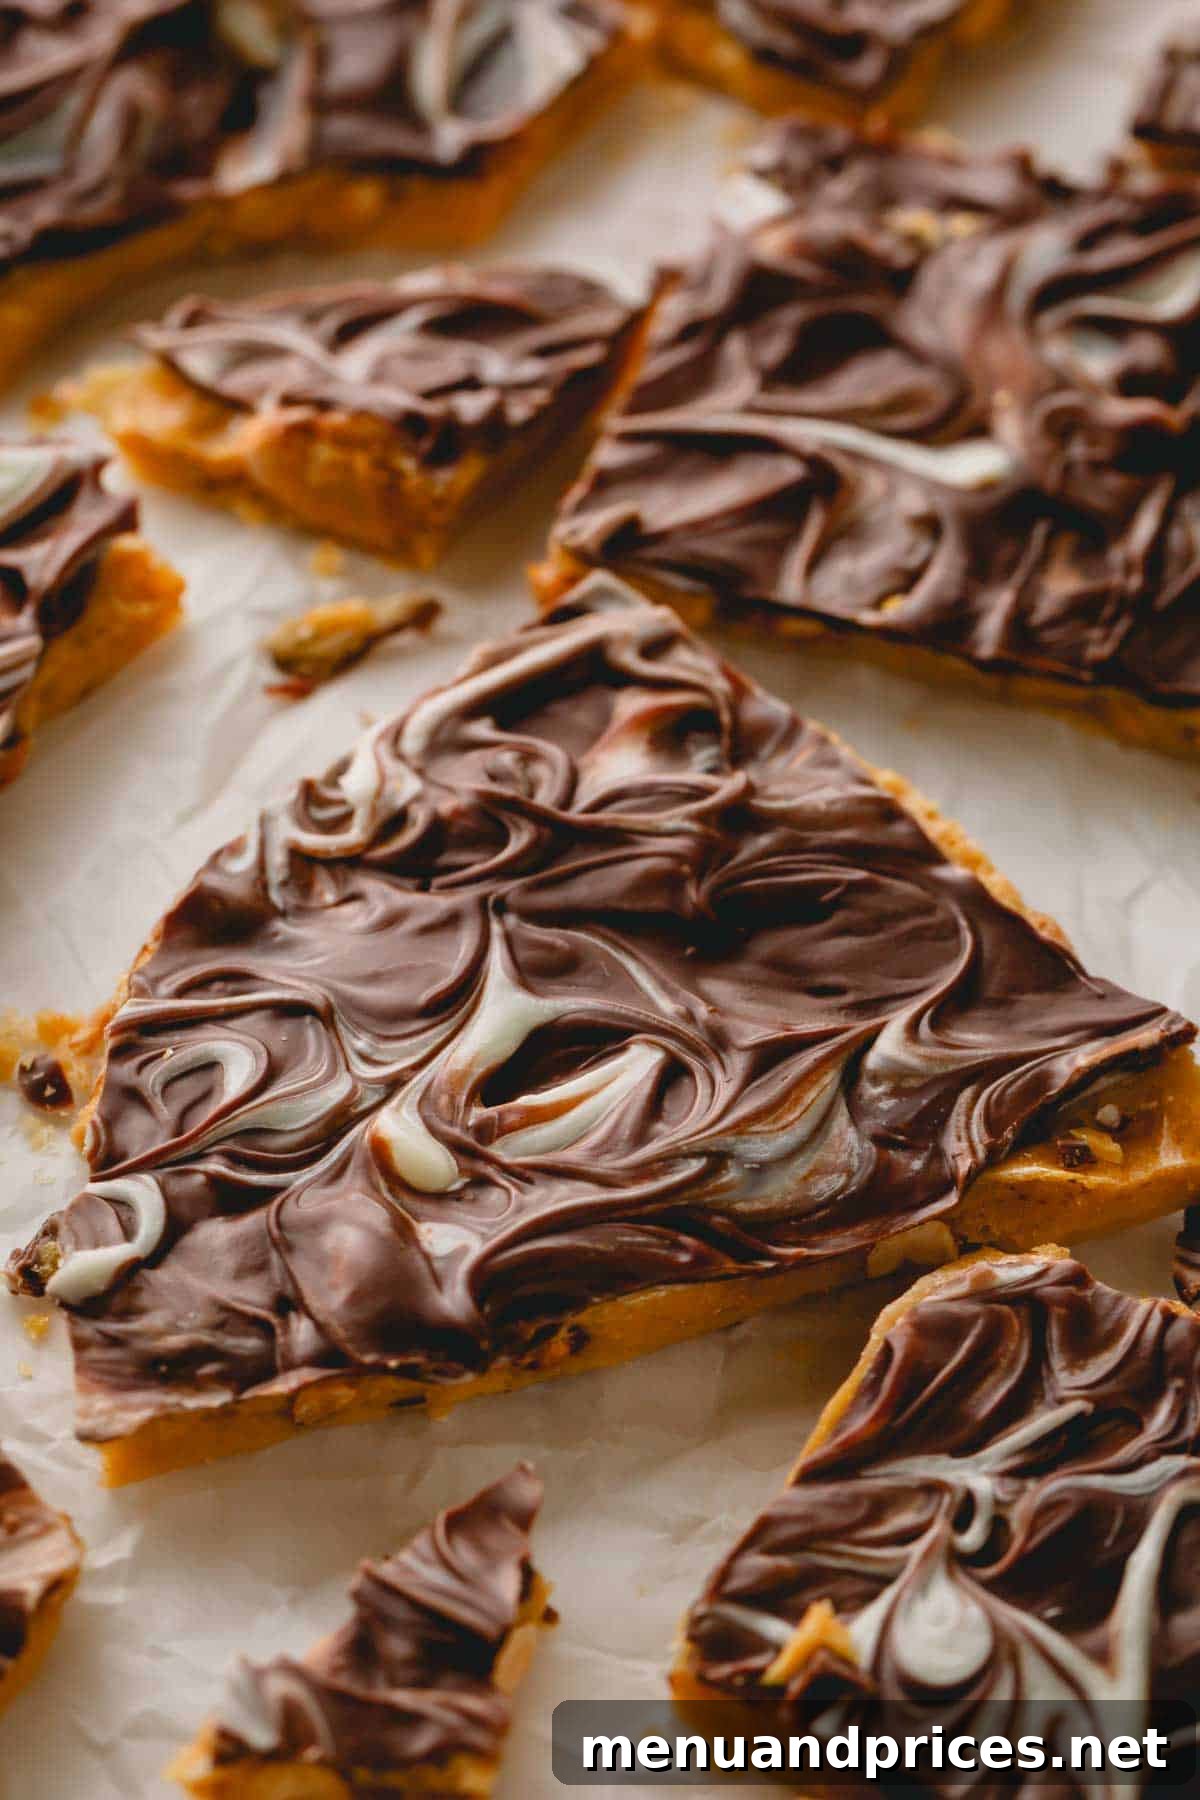
Pin this recipe now to save it for later!
Pin It
Why You’ll Adore This Chocolate Covered Peanut Brittle
My journey with peanut brittle began years ago, thanks to a dear family friend named Leo, who introduced this sweet confection to my family. From the very first bite, I was completely captivated. The harmonious blend of sweet, nutty, and satisfyingly crunchy textures made it incredibly addictive – a truly unforgettable treat that quickly became a household favorite.
Since then, I’ve been perfecting Leo’s incredibly simple microwave peanut brittle recipe. However, being a true chocolate lover, I couldn’t resist adding my own special touch: a rich layer of melted chocolate. The results were phenomenal! My father-in-law couldn’t stop raving about this elevated version, and my mother-in-law was so impressed that she requested four batches for her church’s annual holiday bake sale. This resounding success confirmed it – this chocolate-covered peanut brittle recipe is an absolute winner!
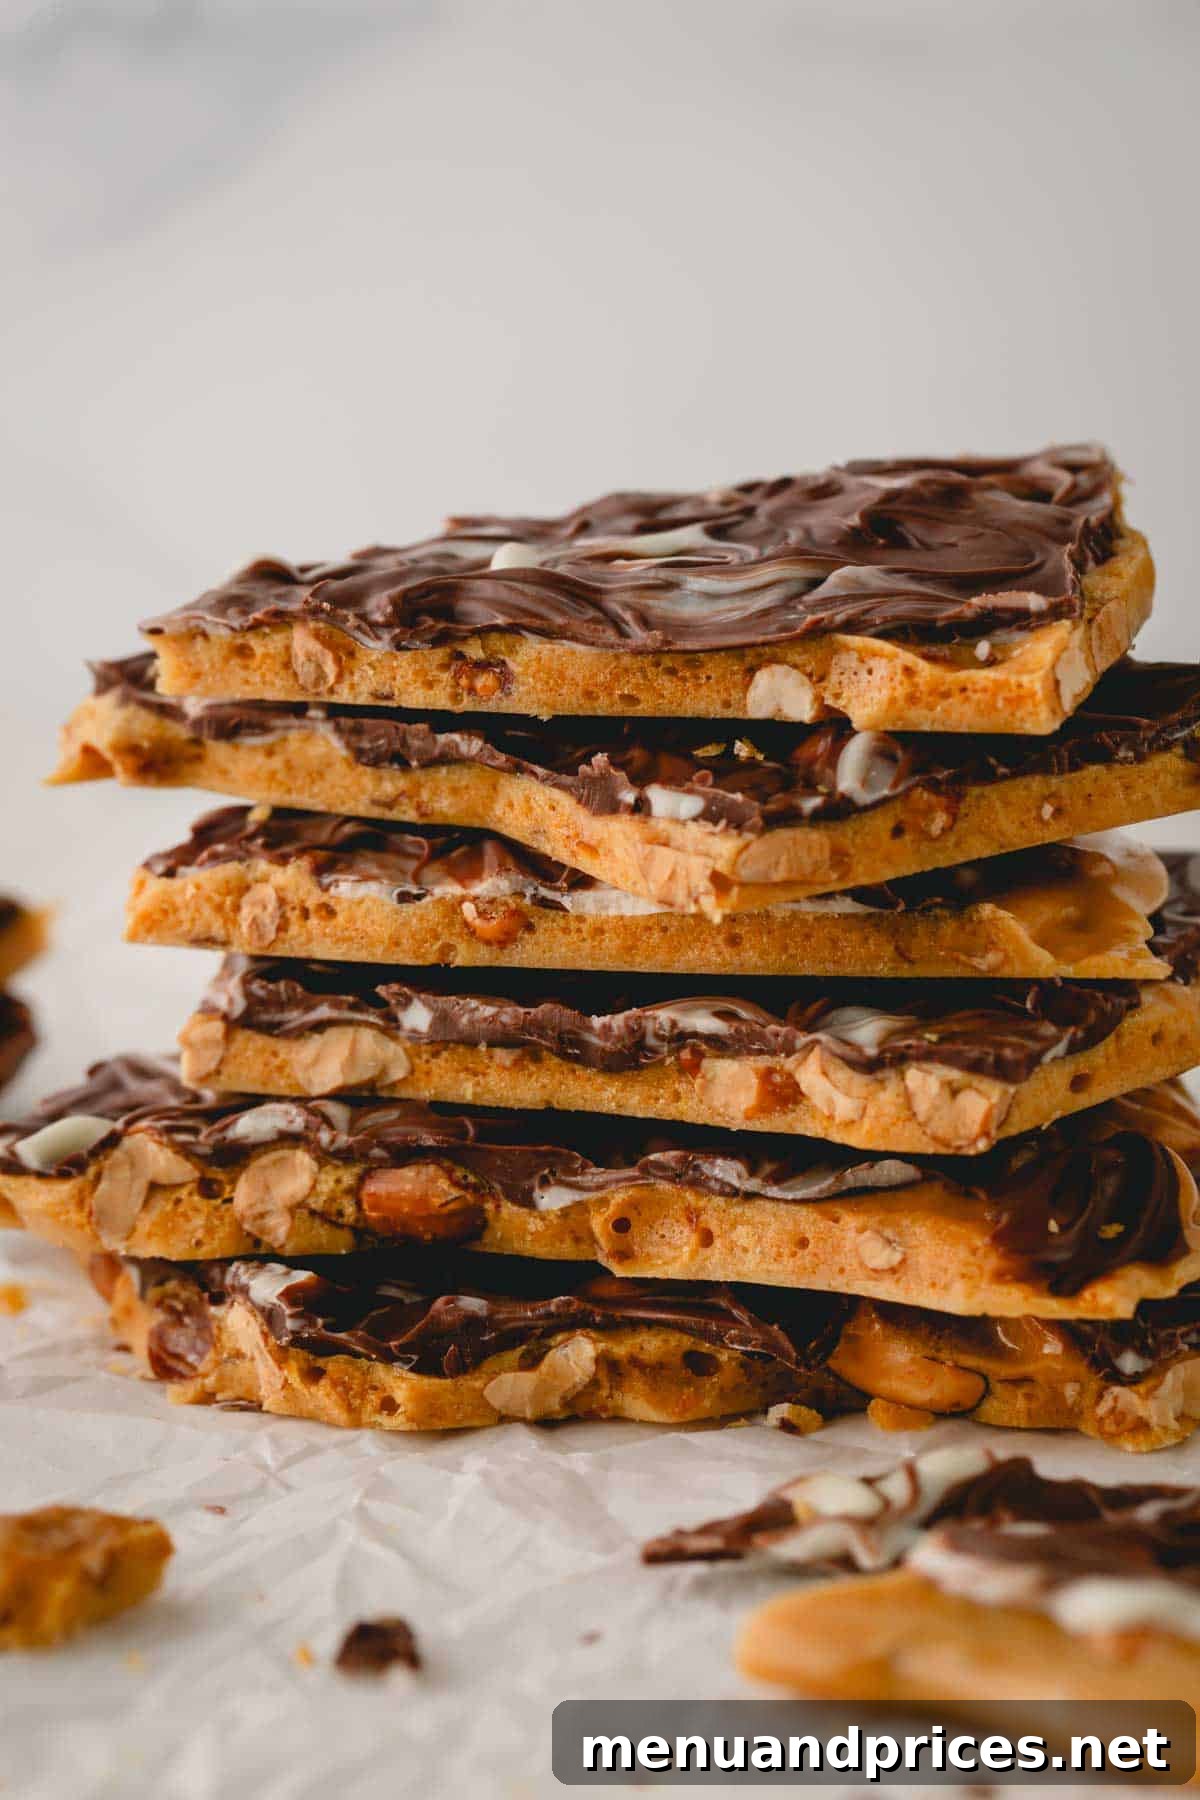
- A Symphony of Flavors and Textures: This chocolate covered peanut brittle perfectly balances nutty, chocolatey, crunchy, and airy elements. Each piece offers a multi-faceted experience, satisfying every possible craving for a sweet and crunchy indulgence.
- Effortless & Foolproof: With a minimal 10 minutes of active “cooking” time and absolutely no candy thermometer required, this recipe eliminates the usual stress associated with candy making. It’s designed for simplicity and success, making it the ultimate fuss-free sweet treat.
- Generous Yield & Versatility: A single batch yields enough for 12 generous servings, making it ideal for family gatherings or personal enjoyment. Plus, it can be effortlessly doubled or even tripled, making it the perfect candidate for holiday parties, thoughtful homemade gifts, or larger celebrations.
Fair warning: you might want to consider making extra batches from the start! This delightful peanut butter chocolate brittle has a notorious reputation for disappearing incredibly fast – it’s just that good!
Essential Ingredients for Perfect Chocolate Peanut Brittle
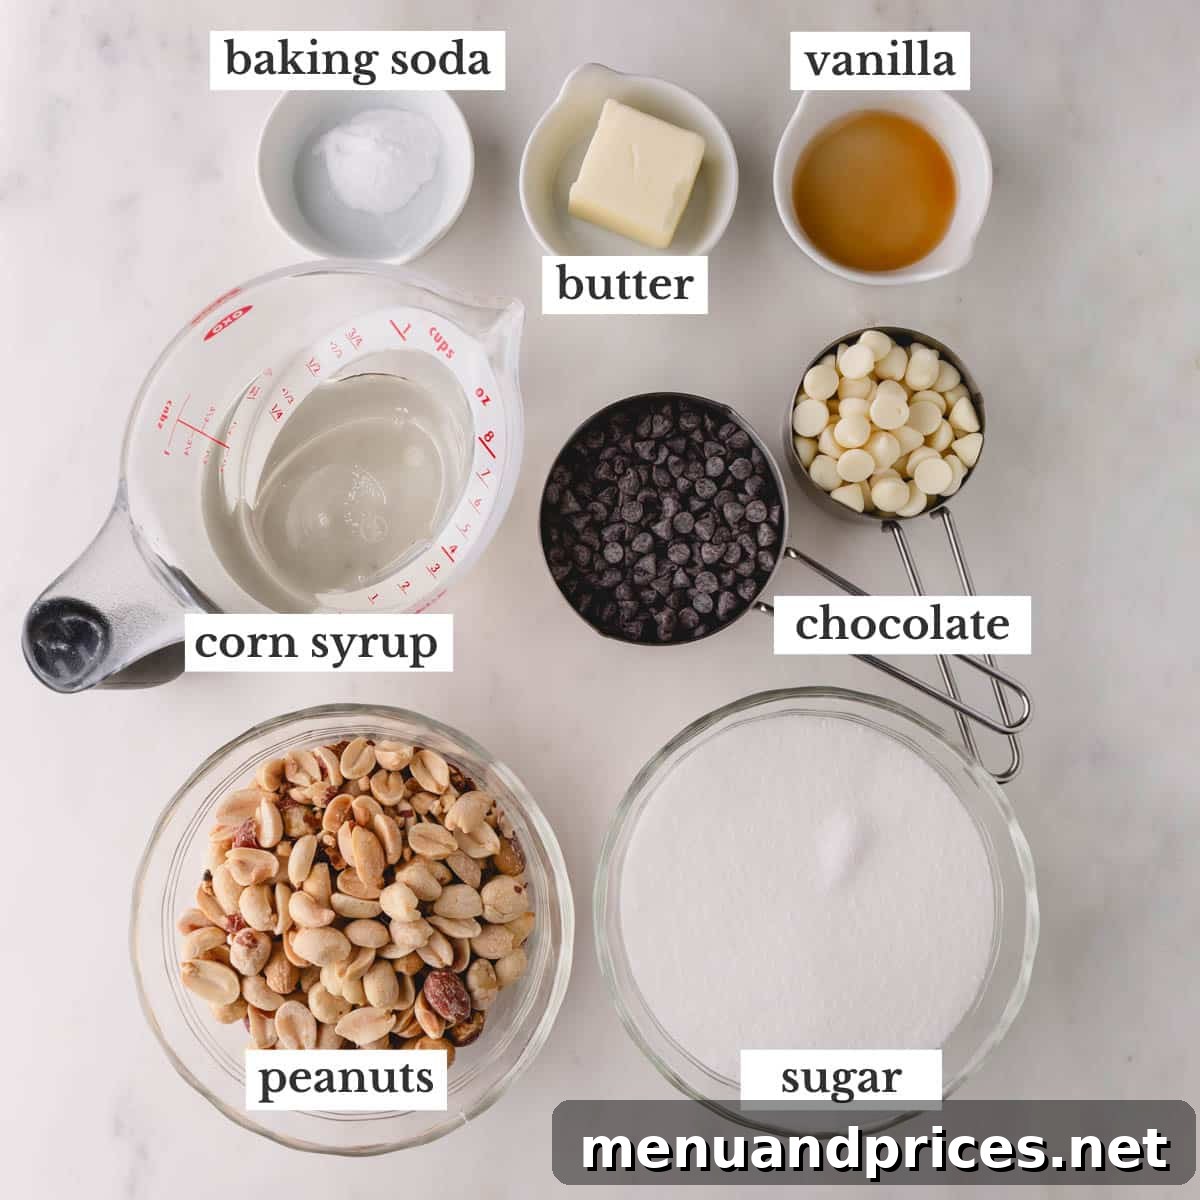
Creating truly exceptional homemade peanut brittle starts with understanding the role of each ingredient. Here’s a closer look at what you’ll need and why they’re important for achieving that signature taste and texture:
- Dry-Roasted Peanuts: Opt for unsalted, dry-roasted peanuts. It’s crucial that they are already roasted, as this process brings out their deep, nutty flavor that is essential for authentic brittle. Raw peanuts won’t deliver the same depth. If salted dry-roasted peanuts are all you have, they can be used successfully, just be mindful of adjusting the added salt slightly if you prefer less salinity.
- Granulated Sugar: This forms the foundational sweetness and crisp structure of the brittle. As it heats, the sugar caramelizes, developing that signature golden color and subtly complex caramel-like flavor. It’s the key component that solidifies to hold all the peanuts together.
- Salt: Just a small pinch of salt works wonders to enhance the overall flavor profile. It expertly balances the sweetness of the sugar and corn syrup, preventing the brittle from being overly cloying and making the nutty flavors of the peanuts truly shine.
- Light Corn Syrup: This is a secret weapon in candy making. Light corn syrup is vital for preventing crystallization, which can make your brittle grainy and sugary. It ensures a beautifully smooth, glassy texture that is characteristic of premium brittle. It also helps achieve the ideal snap when broken.
- Unsalted Butter: While many traditional peanut brittle recipes call for margarine, I’ve found that unsalted butter yields a richer, more superior flavor. Butter contributes to the brittle’s tenderness and adds a lovely depth. Feel free to use whichever you have readily available, but butter is highly recommended for taste.
- Pure Vanilla Extract: A touch of high-quality pure vanilla extract elevates all the other flavors. Whether you use your own homemade vanilla extract or a good store-bought option, ensure it’s pure and not imitation. Vanilla adds a warm, aromatic note that completes the candy.
- Baking Soda: This unassuming ingredient is absolutely critical for achieving the signature light, airy, and snappy texture of perfect peanut brittle. When added to the hot sugar mixture, it reacts to create tiny air bubbles, which aerate the candy and make it easy to break and chew. Without it, your brittle would be dense and hard.
- Chocolate Chips: For the decadent chocolate coating, I recommend using a combination of semi-sweet and white chocolate chips. Semi-sweet chocolate provides a rich, classic chocolate flavor that pairs wonderfully with peanuts, while white chocolate allows for beautiful swirled patterns. Dark chocolate chips are also an excellent choice if you prefer a deeper, less sweet chocolate experience.
Mastering Chocolate Peanut Brittle in Your Microwave: A Step-by-Step Guide
Making this incredible microwave chocolate peanut brittle is surprisingly straightforward. Before you dive in, ensure you’ve thoroughly greased a large baking sheet with non-stick cooking spray. This crucial step prevents the brittle from sticking and makes for easy removal later.
1. Craft the Perfect Peanut Brittle Base
- Combine Ingredients: In a 1-quart microwave-safe bowl (a sturdy glass bowl is ideal, avoid plastic as it can warp or melt), combine the dry-roasted peanuts, granulated sugar, salt, and light corn syrup. Give them a good stir to ensure they are well mixed.
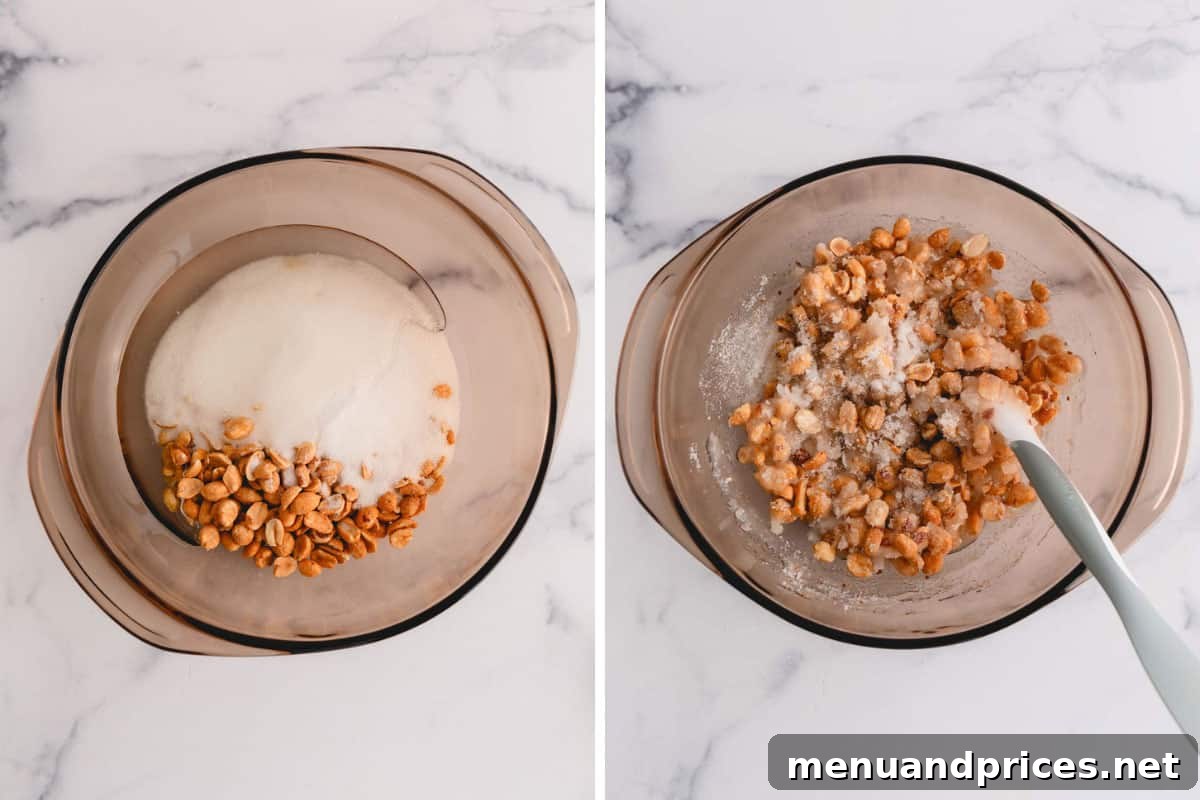
- First Microwave Cycle: Securely cover the bowl with a microwave-safe lid (again, no plastic lids). Microwave the mixture for precisely 3 minutes. Covering is essential to prevent burning and ensure even heating. After 3 minutes, carefully remove the bowl and stir the ingredients thoroughly.
- Second Microwave Cycle: Re-cover the bowl and microwave for an additional 3½ minutes. This second heating phase allows the sugar mixture to reach a higher temperature.
- Incorporate Flavor: Once the second cycle is complete, carefully remove the bowl. Quickly stir in the unsalted butter and pure vanilla extract until fully combined. The mixture will be hot, so work efficiently.
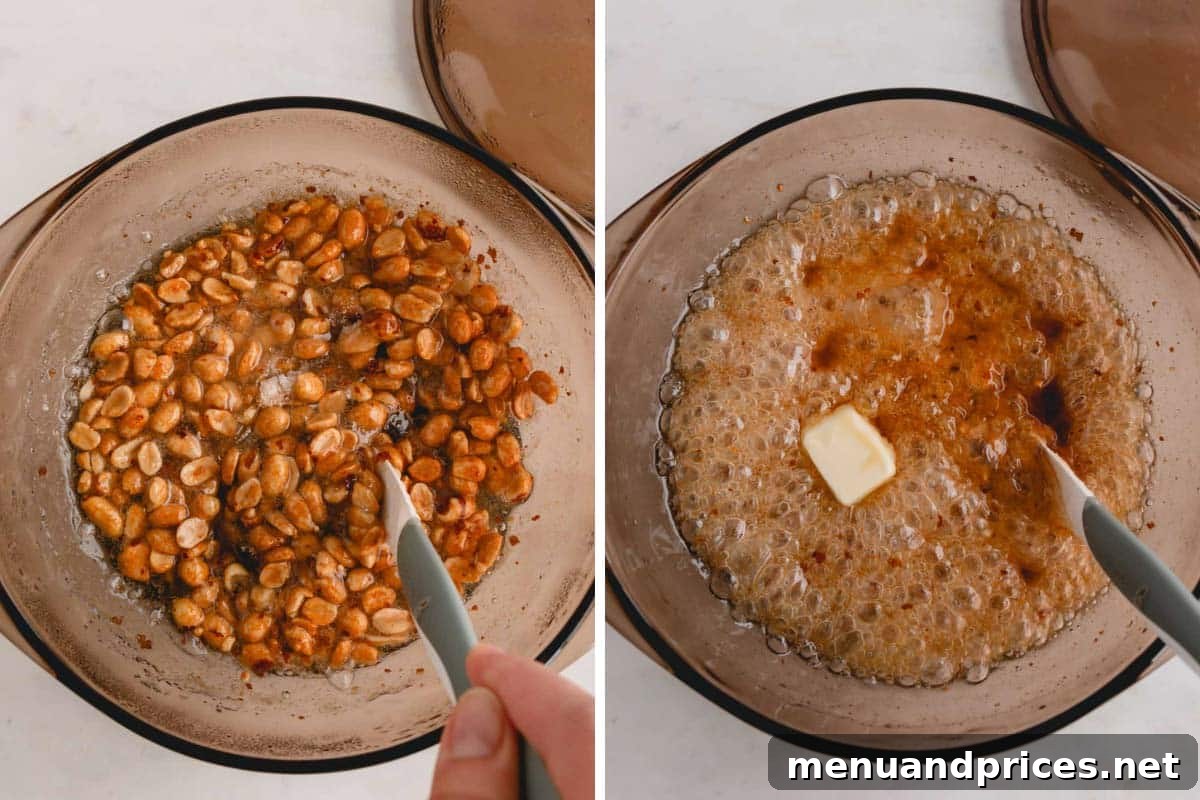
- Final Microwave Cycle: Cover the bowl for a third time and microwave for a final 2½ minutes. This brings the mixture to the optimal temperature for the baking soda reaction.
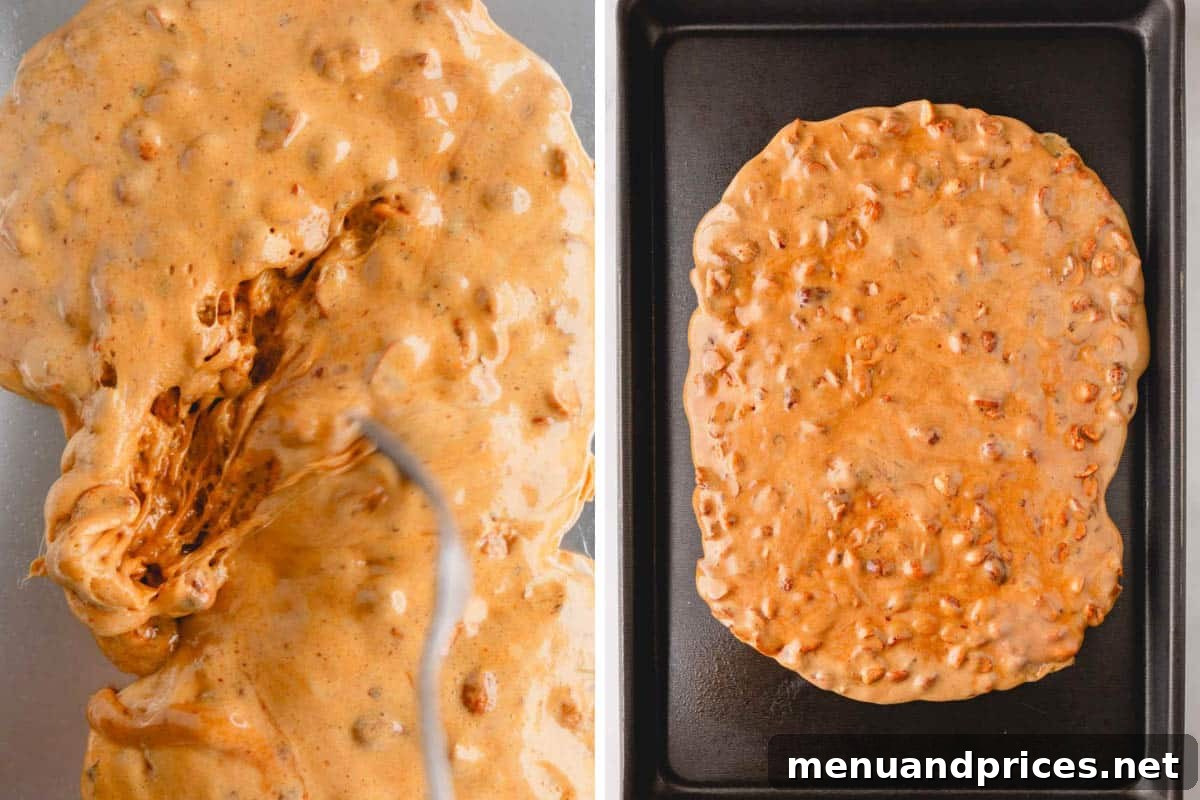
- Activate Airiness: Immediately after the final microwave cycle, remove the bowl and quickly add the baking soda. Stir vigorously and swiftly. You’ll observe the mixture expanding and foaming significantly – this is perfectly normal and a sign that the baking soda is creating those desired airy pockets. Don’t overmix; just enough to distribute the baking soda evenly.
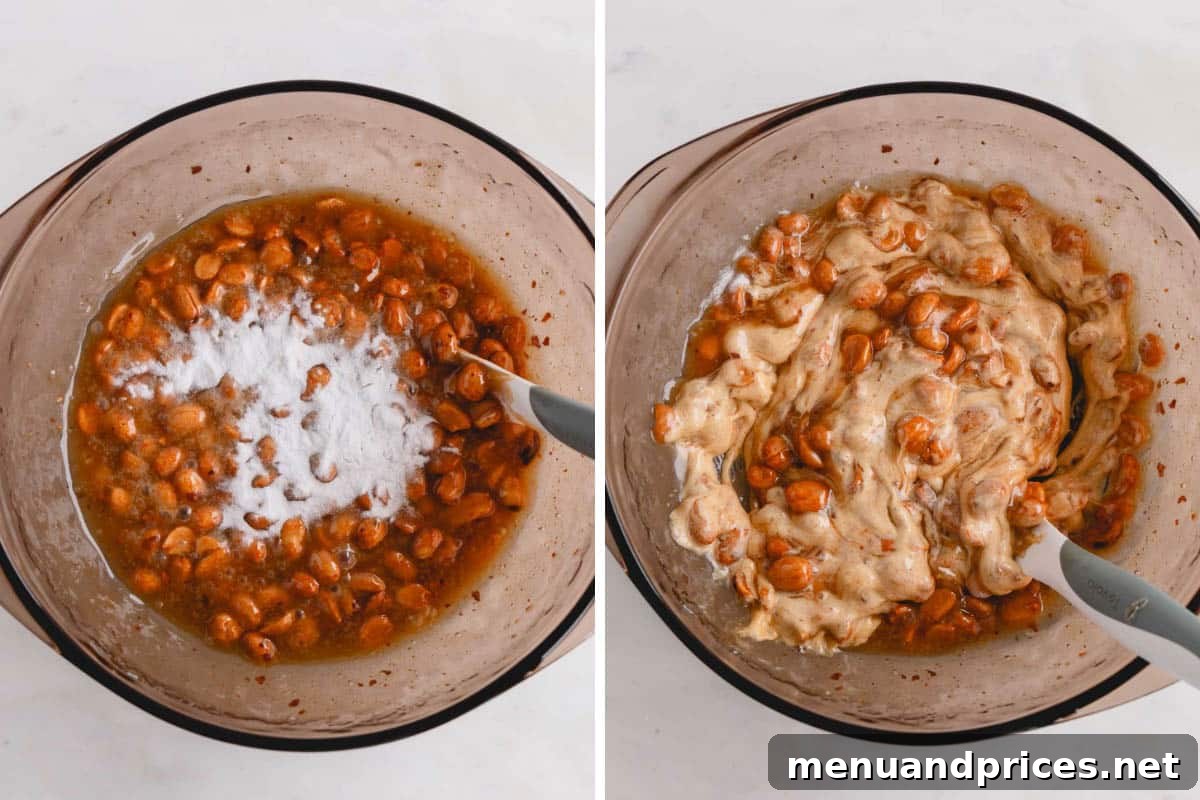
- Pour and Spread: Without delay, pour the hot, foamy peanut brittle mixture onto your prepared baking sheet. Using two forks, swiftly spread the mixture into a thin, even layer across the sheet. Work quickly, as the brittle will begin to set as it cools.
Important Microwave Power Check
Microwave wattages can vary significantly, which directly impacts cooking times. Before you begin, always check your microwave’s power level (it’s often found on the inside of the door or user manual). The timing instructions in this recipe are calibrated for a 1000-watt microwave. If your microwave has a different wattage, you may need to slightly adjust the cooking times – less time for higher wattage, a little more for lower wattage – to achieve the perfect consistency.
2. The Decadent Chocolate Swirl
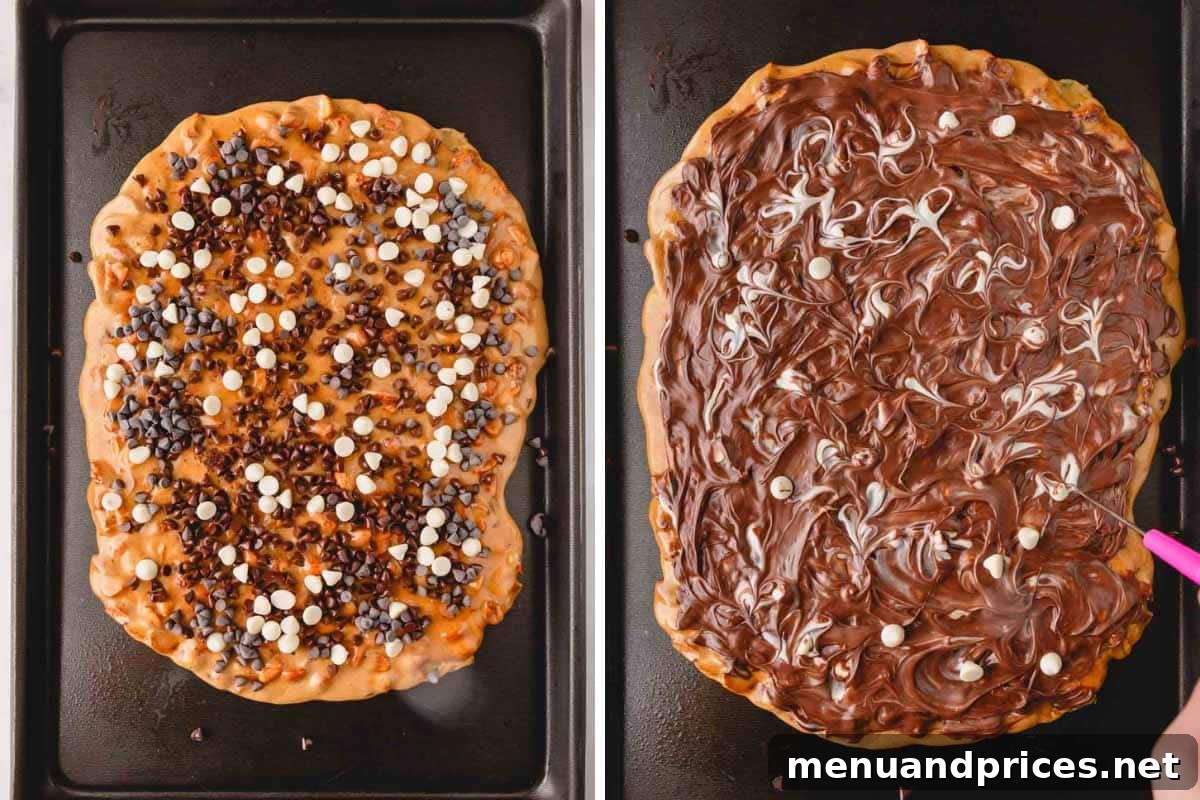
- Melt the Chocolate: As soon as the brittle is spread, immediately sprinkle the semi-sweet chocolate chips evenly over the hot brittle. Allow them to sit undisturbed for about 1 minute. The residual heat from the brittle will gently melt the chocolate chips, making them easy to spread.
- Smooth Chocolate Layer: Using a spatula, carefully and evenly spread the melted semi-sweet chocolate across the entire surface of the brittle. Aim for a smooth, consistent layer.
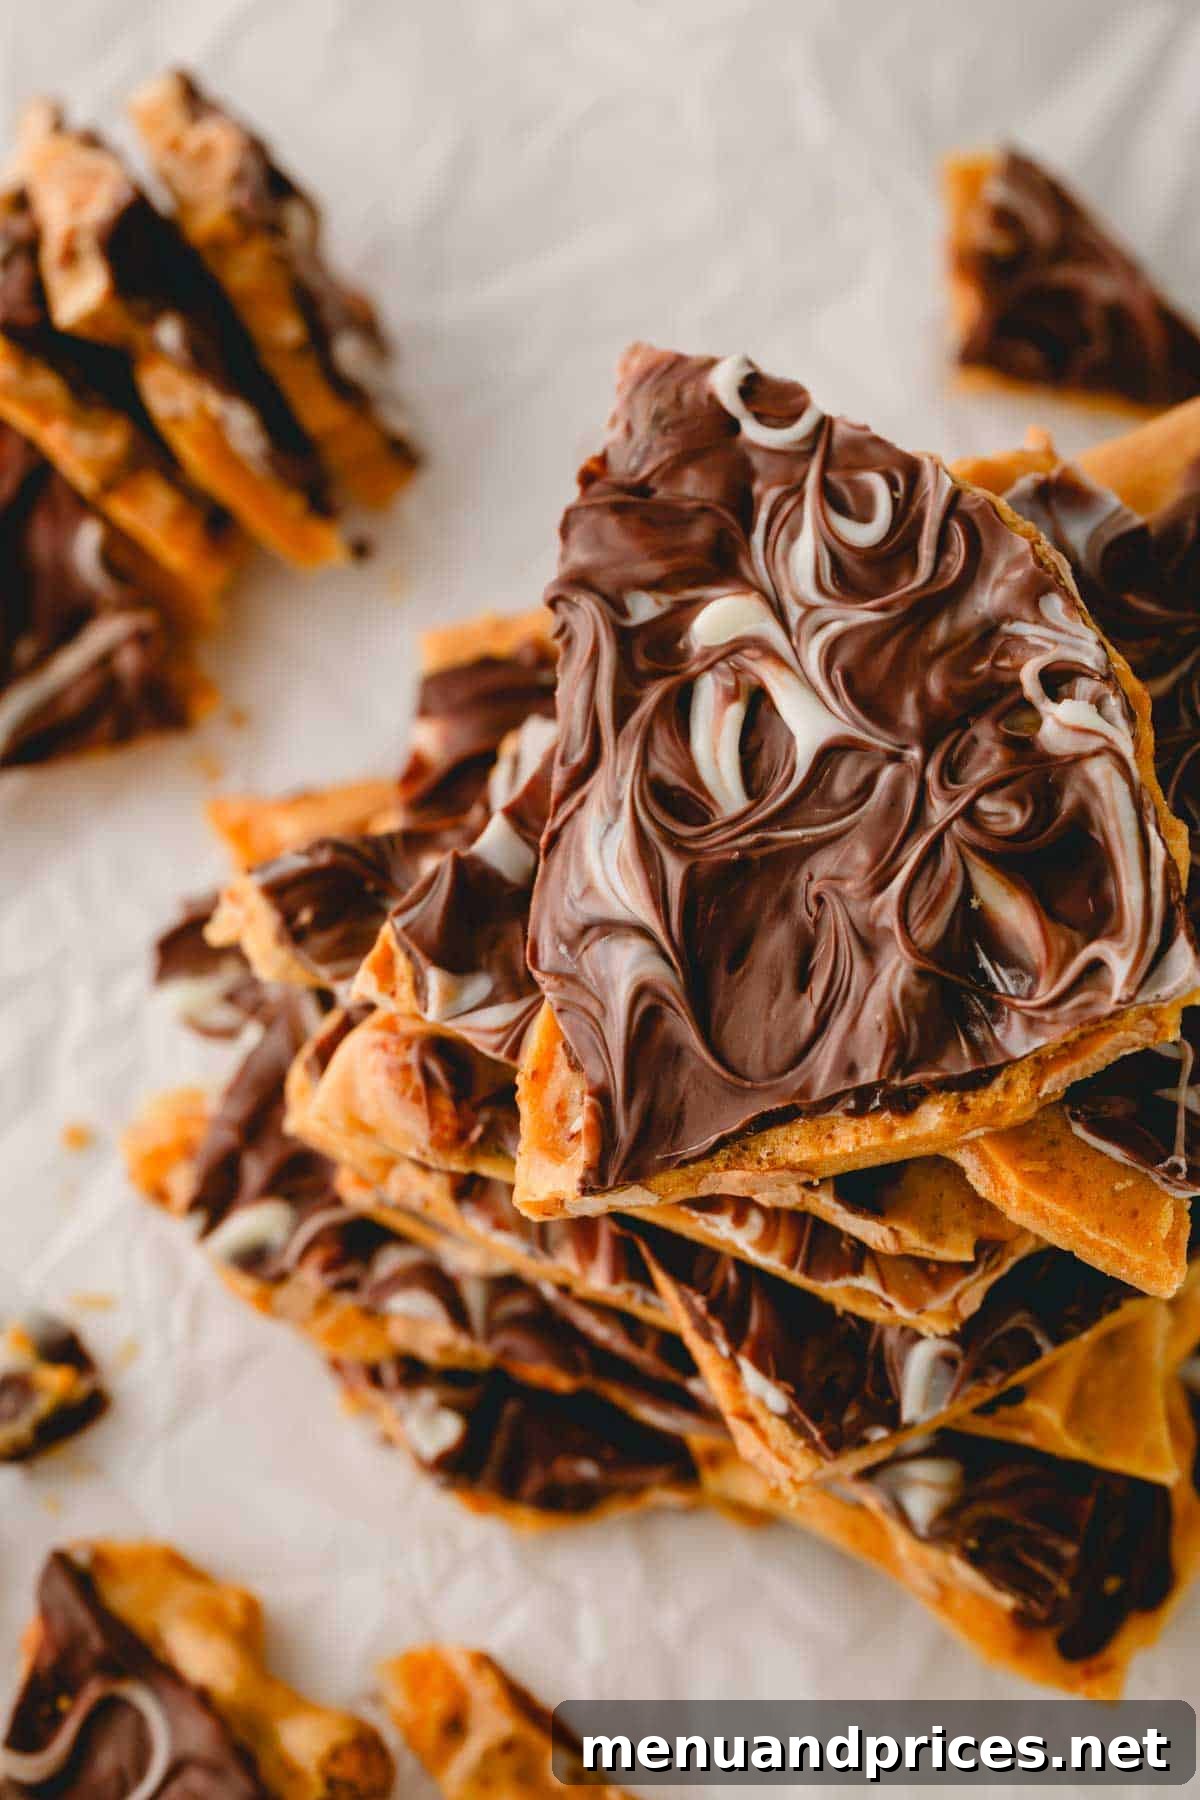
- Create a Swirl (Optional but Recommended): For that stunning swirled effect, sprinkle white chocolate chips on top of the semi-sweet layer. Let them stand for another minute or until they begin to soften. Then, using a toothpick or the tip of a small knife, gently swirl the melted white chocolate into the semi-sweet layer. Be careful not to overmix, as you want distinct swirls, not a fully blended color.
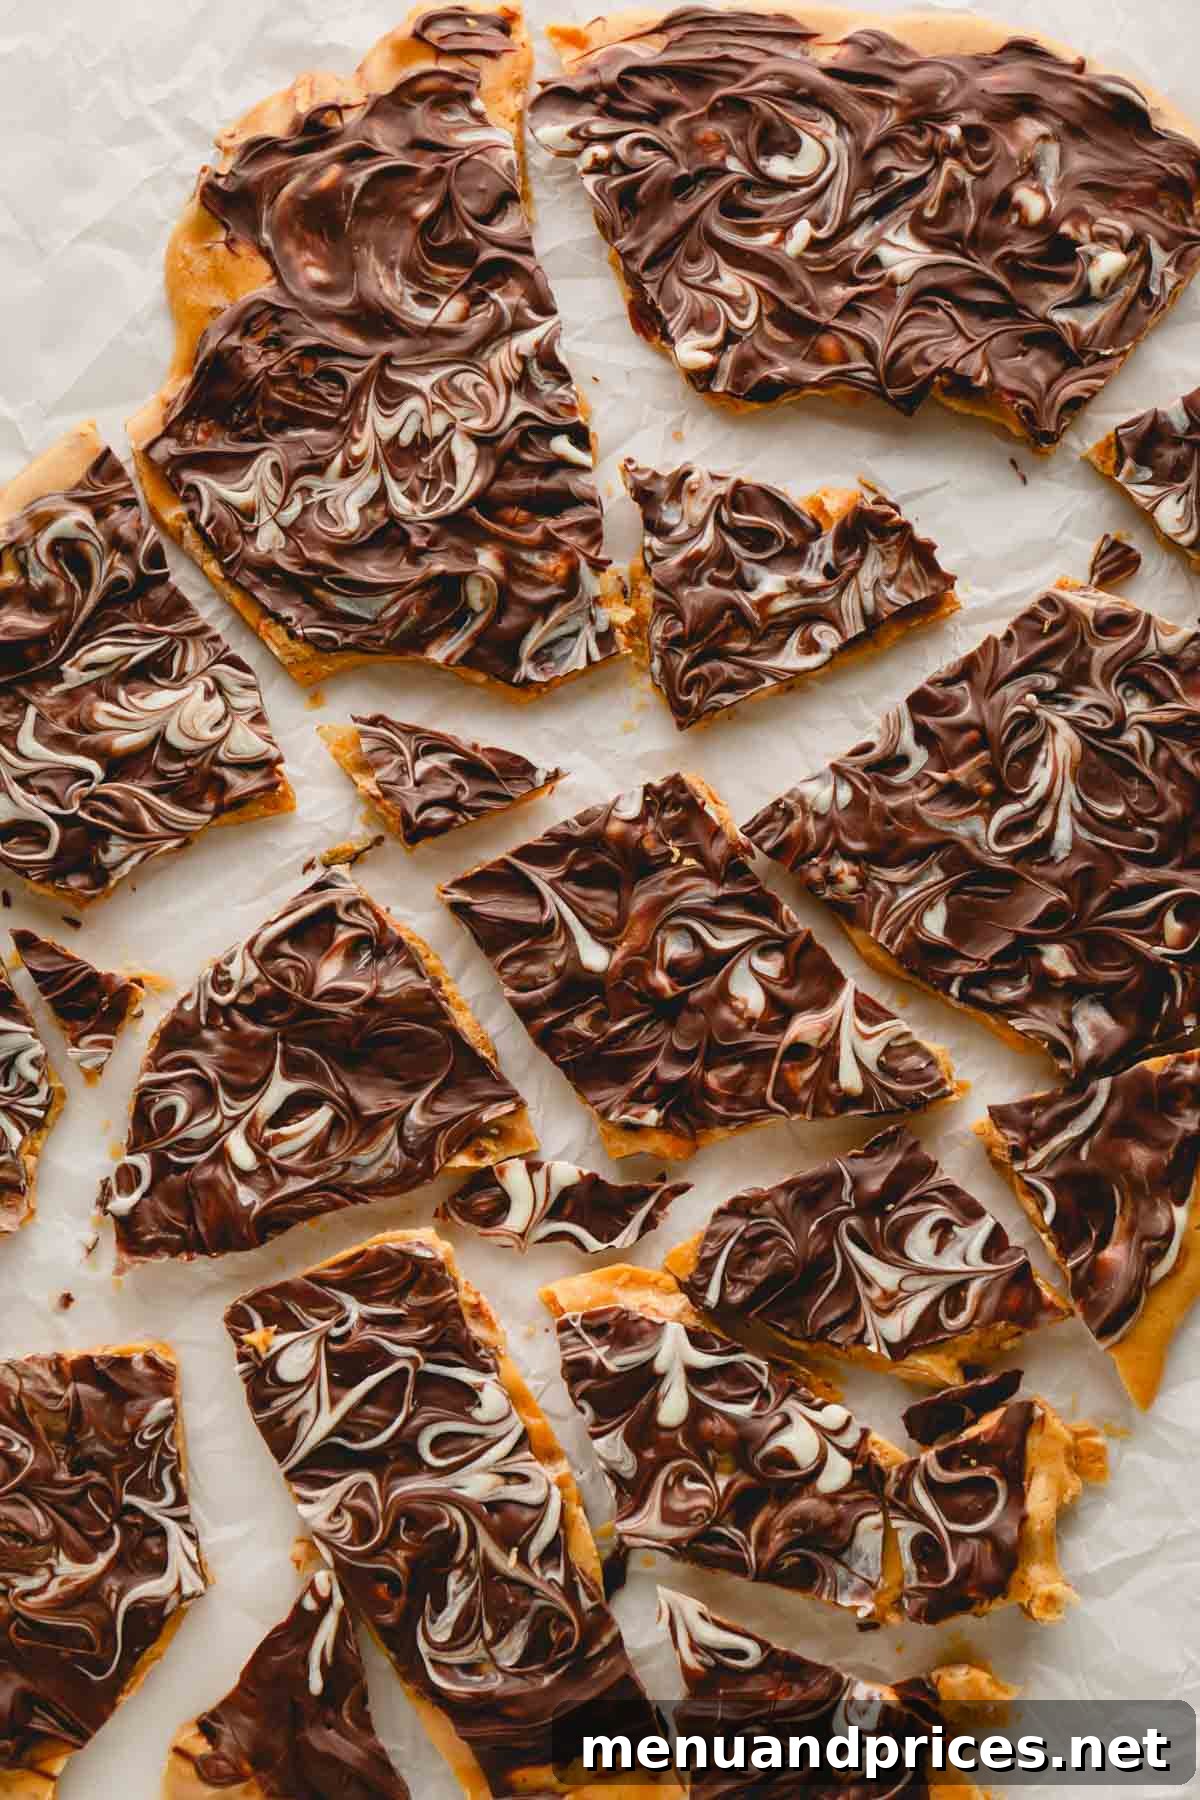
- Cool and Harden: Allow the chocolate peanut brittle to cool completely at room temperature until it is fully hardened. This typically takes about 30-45 minutes. Avoid rushing this step, as proper cooling is key to achieving the desired crisp texture.
- Break and Enjoy: Once firm, break the brittle into irregular, bite-sized pieces. It’s ready to enjoy immediately, or you can store it for later enjoyment.
Essential Tips for Perfect Chocolate Peanut Brittle Every Time
Achieving perfectly crisp and delicious homemade peanut brittle is simple when you follow these key tips:
- Mise en Place is Your Best Friend: This recipe moves very quickly once you start microwaving. To avoid a sticky situation or hardened brittle before you’re ready, measure and prepare all your ingredients *before* you begin. This allows for seamless transitions between steps.
- Choose the Right Microwave Bowl: A sturdy, 1-quart microwave-safe bowl with a tight-fitting, non-plastic lid is absolutely essential. Glass bowls are highly recommended as plastic can melt or warp at high temperatures. The lid is crucial for trapping steam and preventing the mixture from burning or drying out prematurely.
- Ensure Fresh Baking Soda: The light, airy texture of this microwave peanut brittle relies heavily on fresh, active baking soda. If your baking soda is old or expired, it won’t react properly, resulting in a denser, harder brittle. Don’t be alarmed by the vigorous foaming when you add it – that’s exactly what you want!
- Quick Stir After Baking Soda: Once the baking soda is added, stir quickly and just enough to ensure it’s evenly incorporated and the mixture is uniformly foamed. Overmixing at this stage can deflate some of those precious air pockets, impacting the final texture.
- Mindful Chocolate Swirling: When adding the white chocolate for the swirl, aim for artistic blending rather than full incorporation. Swirl just enough with a toothpick to create a beautiful pattern; excessive mixing will cause the white chocolate to blend completely with the semi-sweet, losing the distinct visual appeal.
Storing Your Delicious Chocolate Peanut Brittle
Proper storage ensures your brittle stays crisp and fresh, allowing you to enjoy its delightful crunch for longer.
- Room Temperature Storage: Store leftover chocolate peanut brittle in an airtight container at room temperature for up to 1 week. It’s generally not recommended to store brittle in the refrigerator, as the moisture can cause it to become sticky and lose its desirable crispness.
- Freezing for Long-Term: To extend its shelf life, allow the brittle to cool completely until rock hard. Then, transfer it to an airtight, freezer-safe container. For best results and to prevent sticking, separate layers of brittle with parchment paper. Freeze for up to 3 months. Thaw at room temperature before serving.

Frequently Asked Questions About Peanut Brittle
Adding baking soda to hot peanut brittle is a crucial step that initiates a foaming reaction. This reaction creates numerous tiny air pockets throughout the candy. These air pockets are what give the brittle its characteristic light, airy, and snappy texture, making it wonderfully crisp and easy to bite into. Without baking soda, the brittle would be much denser and significantly harder to break and chew. It’s the secret ingredient that truly makes peanut brittle live up to its name!
While both brittle and toffee are hard candies made primarily from sugar and butter, they have distinct differences in flavor, texture, and preparation. Brittle recipes, particularly this easy peanut brittle recipe, typically do not include cream and incorporate baking soda. This results in a much thinner, crispier, and more aerated candy with a sweeter, less rich taste. Toffee, on the other hand, often contains cream and is cooked to a higher temperature without baking soda, leading to a denser, richer, and typically chewier consistency that has a more pronounced caramel flavor.
There are a few common reasons why your chocolate covered peanut brittle might not achieve that perfect crunch. The most frequent culprit is not heating the sugar mixture to a sufficiently high temperature. For microwave methods, this means ensuring each microwave interval is completed to allow the sugar to fully melt and cook. The mixture needs to be nice and hot, thin and runny before adding the baking soda. Additionally, moisture is the enemy of brittle. If your brittle is exposed to humidity or stored incorrectly (e.g., in the fridge), it can absorb moisture and become sticky or chewy. Always allow it to cool completely in a cool, dry place and store it in an airtight container at room temperature.
Absolutely! While peanuts are traditional, this versatile brittle recipe works beautifully with other nuts. Pecans, almonds, or even cashews can be substituted for the dry-roasted peanuts. Just ensure they are also dry-roasted to bring out their best flavor before adding them to the sugar mixture. Adjustments to the quantity might be needed if the size of the nuts varies significantly, but the cooking process remains largely the same.
One of the greatest advantages of making microwave peanut brittle is the minimal equipment required. You’ll need a large, microwave-safe glass bowl with a lid (at least 1-quart capacity), a rubber spatula for stirring, two forks for spreading the brittle, and a greased baking sheet. No specialized candy thermometers or heavy-duty kitchen gadgets are needed, making it a perfect beginner-friendly candy recipe.
More Delightful Sweet Treats You’ll Love
- Easy Candied Pecans: A delightful, crunchy snack or topping.
- Cardamom Caramel Candies: Soft, chewy caramels with an aromatic twist.
- Chocolate Caramel Cups: Rich chocolate cups filled with luscious dulce de leche.
- Old-Fashioned Divinity Recipe: A classic, melt-in-your-mouth Southern confection.

Chocolate Peanut Brittle Recipe
Shinee Davaakhuu
Unbelievably easy to make, these chocolate covered microwave peanut brittles are irresistibly light with a satisfying crunch. No candy thermometer, no fuss! This recipe is a game-changer for anyone craving homemade candy with minimal effort.
5
10
45
1
12 servings
Approximately 1 lb brittle
Leave a Comment
Print Recipe
Ingredients
- 1 cup (125 g) dry-roasted peanuts
- 1 cup (200 g) granulated sugar
- 1/8 teaspoon salt
- ½ cup (150 g) light corn syrup
- 1 tablespoon (14 g) unsalted butter
- 1 teaspoon pure vanilla extract
- 1 teaspoon baking soda
- ½ cup (85 g) semi-sweet chocolate chips
- ¼ cup (50 g) white chocolate chips
Instructions
-
Before you begin, verify your microwave’s wattage. This recipe’s timings are based on a 1000-watt microwave. Adjust as necessary for your appliance.
-
Measure and prepare all ingredients (mise en place) to ensure a smooth, quick process once cooking starts.
-
Lightly spray a baking sheet with non-stick cooking spray and set aside.
-
In a 1-quart microwave-safe bowl with a lid (preferably glass, avoid plastic), combine the peanuts, granulated sugar, salt, and light corn syrup. Stir to mix well.
-
Cover the bowl and microwave the mixture for 3 minutes. (Important: Do not skip covering the mixture, or it may burn.) Carefully remove the bowl and stir the mixture well.
-
Re-cover and microwave for another 3.5 minutes. Remove the bowl and quickly stir in the unsalted butter and pure vanilla extract until fully incorporated.
-
Cover again and microwave for a final 2.5 minutes. Immediately remove the bowl and add the baking soda.
-
Stir quickly and vigorously as the mixture will foam and expand. As soon as it’s evenly foamed, pour the entire mixture onto the prepared baking sheet.
-
Using two forks, swiftly spread the brittle mixture into a thin, even layer across the baking sheet. Work quickly before it hardens.
-
Immediately sprinkle the semi-sweet chocolate chips over the hot brittle. Let them stand for about 1 minute to melt from the residual heat. Then, use a spatula to spread the melted chocolate into an even layer.
-
For a decorative swirled look, sprinkle white chocolate chips on top of the semi-sweet layer. Let them soften for a minute. Then, use a toothpick to gently swirl the white chocolate into the semi-sweet layer, being careful not to overmix.
-
Allow the chocolate peanut brittle to cool completely and harden at room temperature for 30-45 minutes. Once firm, break into irregular pieces and enjoy!
⭐️ Did you make this recipe?
Please leave a review and let us know how you liked it!
Tips & Notes
Microwave Power: All timings in this recipe are for a 1000-Watt microwave. Adjust cooking times if your microwave’s wattage differs.
Storing Tips:
– Store leftover chocolate peanut brittle in an airtight container at room temperature for up to 1 week. Avoid refrigerating, as moisture can make it sticky.
– To freeze, ensure the brittle is fully cooled and hardened. Transfer to an airtight freezer-safe container, separating layers with parchment paper. Freeze for up to 3 months. Thaw at room temperature before enjoying.
Nutrition Facts (Per Serving)
Serving Size: 1.25 oz
- Calories: 251 kcal
- Carbohydrates: 36 g
- Protein: 4 g
- Fat: 11 g
- Sugar: 33 g
- Sodium: 180 mg
(Nutritional information is an estimate and may vary based on specific ingredients and preparation methods.)
Dessert, Snack, Candy
American

Did you make this? Leave a rating and your feedback. Thank you!
This recipe was originally published on November 8th, 2016, and has been updated for clarity and enhanced instructions.