
Effortless Instant Pot Strawberry Jam: Your Guide to Homemade Sweetness
Making homemade strawberry jam has never been easier, thanks to the magic of the Instant Pot. Forget complicated methods, constant stirring, and the need for a candy thermometer. This recipe transforms a bounty of fresh, seasonal strawberries into a vibrant, sweet, and perfectly set jam with minimal fuss. It’s an ideal solution for anyone looking to preserve the taste of summer without spending hours over a hot stove.
Why the Instant Pot is Your New Best Friend for Jam Making
Homemade strawberry jam is truly in a league of its own, far surpassing the flavor and freshness of any store-bought variety. While traditional jam-making can be a significant undertaking, especially when processing large quantities for canning, the Instant Pot simplifies the entire process, making it accessible even for smaller batches.
Imagine effortlessly turning a few pounds of ripe strawberries into luscious jam in under an hour, with most of that time being hands-off. This method is particularly fantastic for those moments when you have a couple of pounds of berries to use up quickly, perhaps after a trip to the local farm or a generous harvest from your own garden. It’s a quick, convenient way to enjoy the delightful taste of summer strawberries all year round, transforming them into a versatile freezer jam with minimal attention required.
The Instant Pot offers several advantages:
- Speed and Efficiency: Drastically reduces cooking time compared to traditional stovetop methods.
- Hands-Off Cooking: Once pressure is reached, the Instant Pot handles the cooking, freeing you up for other tasks.
- Consistent Results: The sealed environment of a pressure cooker ensures even cooking and consistent jam texture.
- Less Mess: Contains splatters and steam, making cleanup a breeze.
- No Thermometer Needed: The pressure cooking process combined with a sauté reduction simplifies the setting point, eliminating the need for precise temperature readings.
Essential Ingredients for Perfect Strawberry Jam
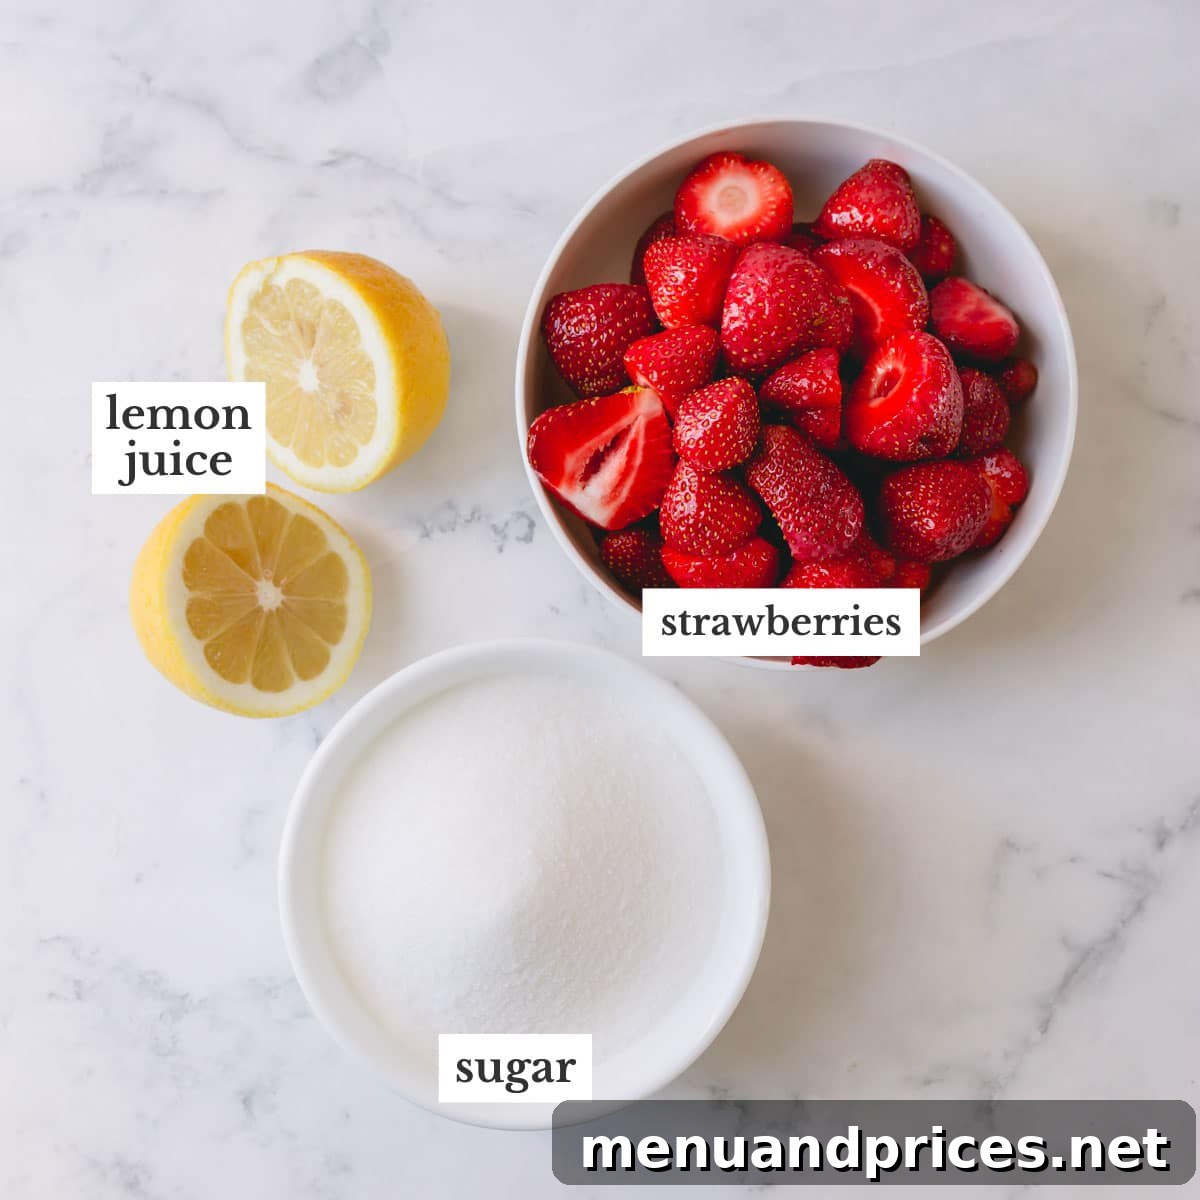
Remarkably, you only need three core ingredients to craft this exquisite strawberry jam from scratch. Each plays a vital role in achieving that perfect balance of sweetness, tang, and texture.
- Strawberries: The star of the show! For the most vibrant flavor and color, always opt for ripe, deeply red strawberries that are in season. Peak-season berries are naturally sweeter and more aromatic, yielding a jam with unparalleled taste. If fresh berries aren’t available, frozen strawberries work wonderfully too – simply thaw them before use. When stocking up, look for sales when grocery store shelves are overflowing with these juicy gems, making it economical to preserve their goodness.
- Granulated Sugar: Beyond its role as a sweetener, sugar is crucial for the jam’s structure and preservation. It interacts with the pectin naturally present in the fruit (even without added pectin) to help the jam set and achieve its characteristic thick consistency. Additionally, sugar acts as a natural preservative, inhibiting bacterial growth and extending the jam’s shelf life. It’s important not to significantly reduce the sugar amount, as it can affect both the texture and preservation qualities.
- Fresh Lemon Juice: Do not skip the lemon juice! This often-underestimated ingredient is a game-changer. The acid in lemon juice brightens the strawberry flavor, making it pop, and is absolutely crucial for a proper set. Strawberries are relatively low in natural pectin, and the acidity from lemon juice helps activate any inherent pectin, ensuring your jam thickens beautifully. Whenever possible, use freshly squeezed lemon juice over bottled varieties for a superior taste.
Step-by-Step Guide: How to Make Instant Pot Strawberry Jam
1. Prepare the Strawberries for Maceration
The journey to perfect jam begins with proper preparation and a crucial maceration step.
- Start by thoroughly rinsing your fresh strawberries under cold water. Remove the green caps (hull) and any bruised spots.
- Depending on their size, slice or quarter the strawberries. For a chunkier jam, larger slices are fine; for a smoother consistency, dice them smaller.
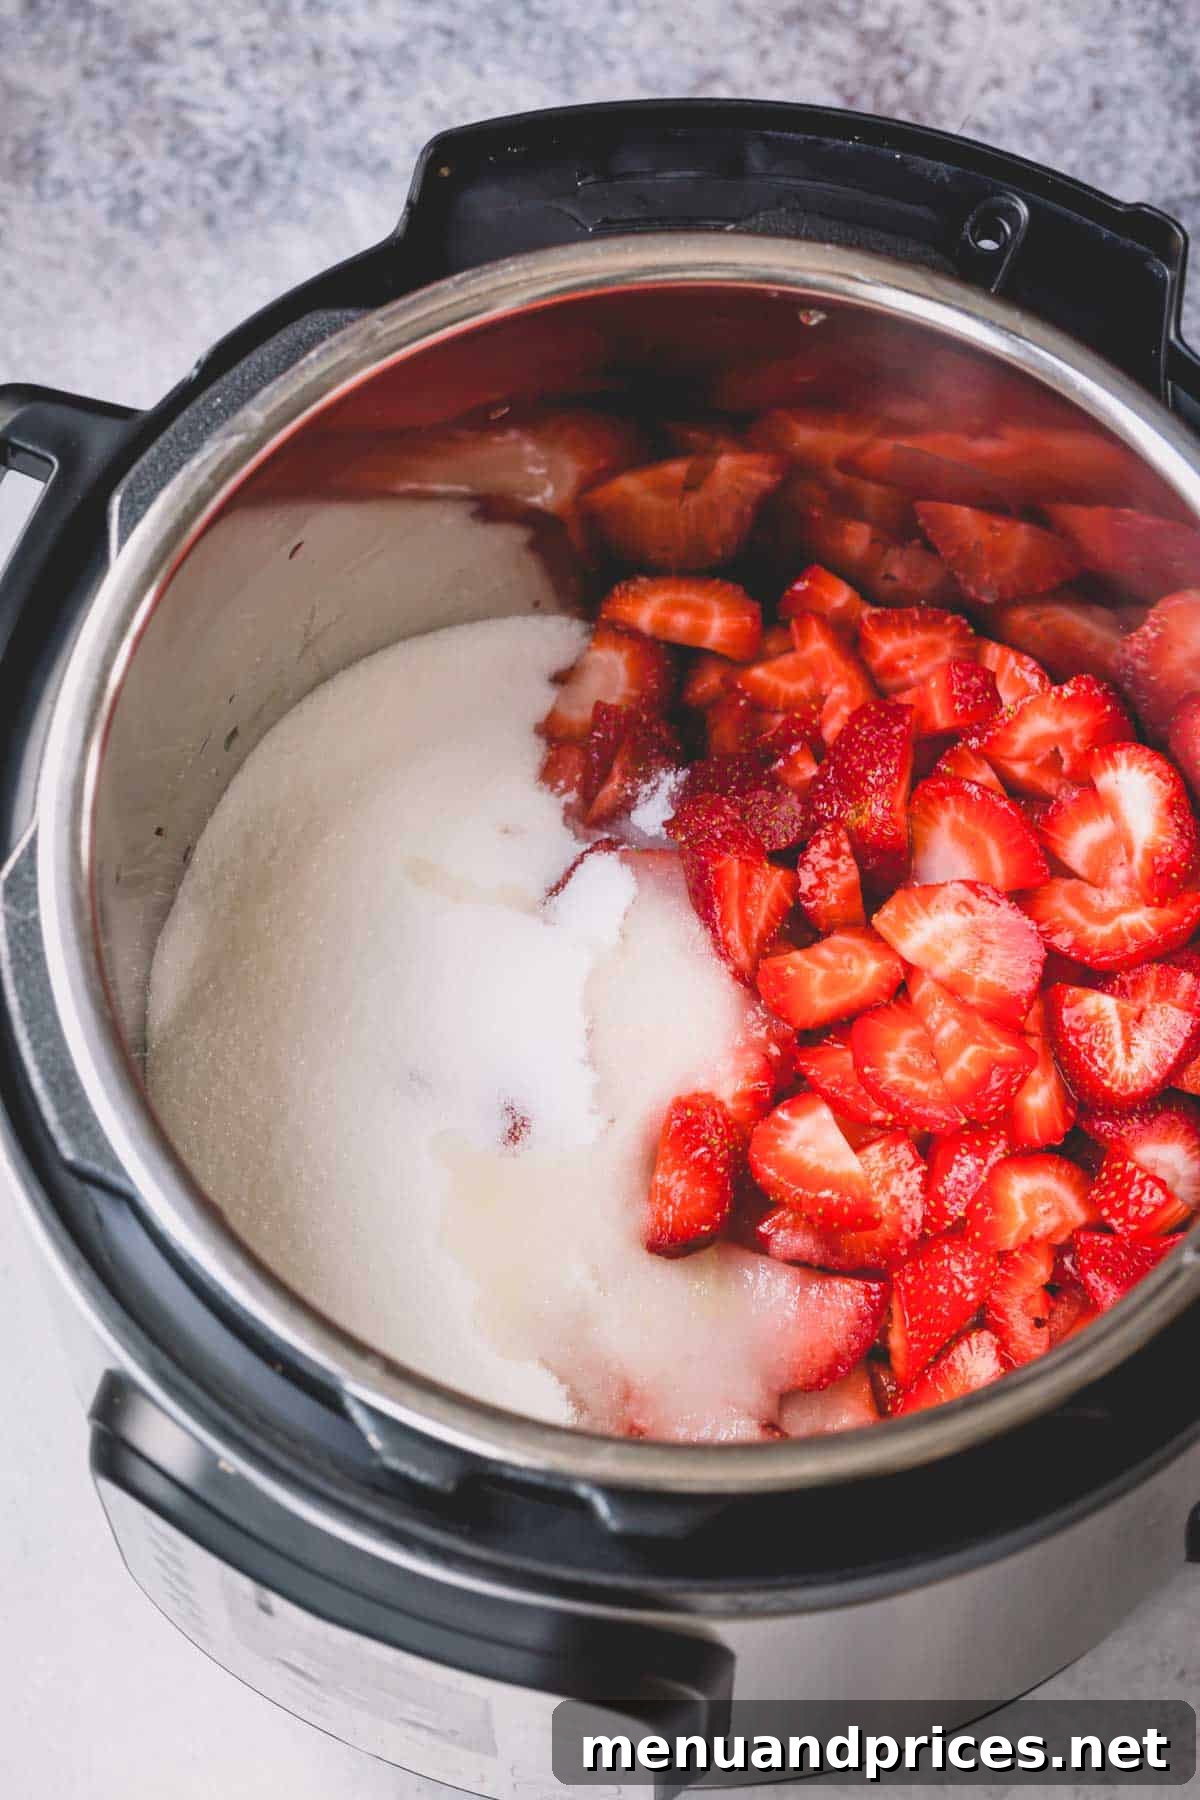
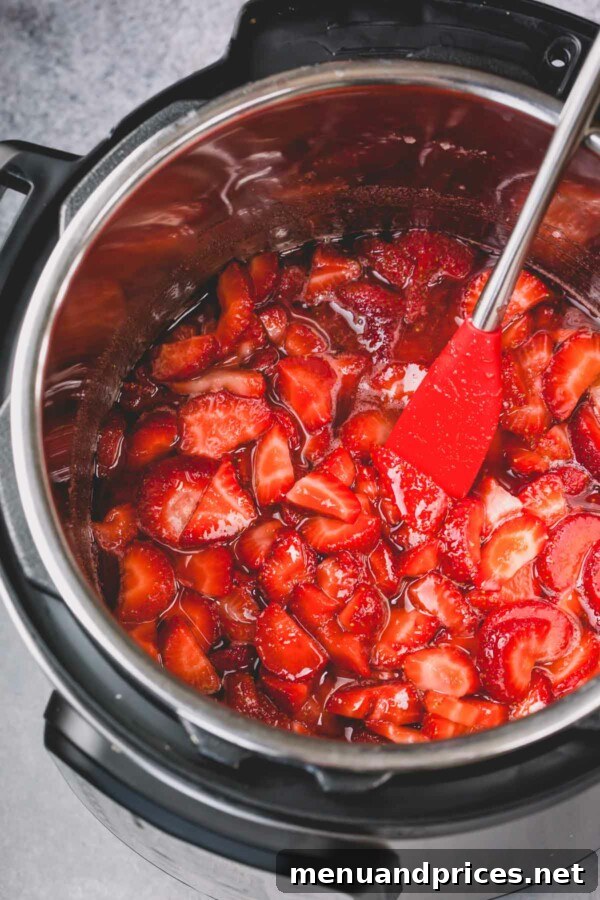
- Transfer the prepared strawberries into the inner pot of your Instant Pot. Add the granulated sugar and fresh lemon juice.
- Stir the mixture gently to ensure the sugar and lemon juice evenly coat the berries.
- Allow the strawberry mixture to sit and macerate for at least 30 minutes at room temperature. This process draws out the natural juices from the strawberries, creating a wonderful saucy liquid that will prevent scorching when the Instant Pot comes to pressure.
- After 30 minutes, you’ll notice the strawberry mixture has become beautifully saucy, a clear indication it’s ready for the next step without needing any additional water.
2. Pressure Cook and Thicken the Jam
Now for the exciting part – letting your Instant Pot do the heavy lifting!
- Secure the lid on your Instant Pot and ensure the sealing valve is in the “Sealing” position.
- Set the Instant Pot to HIGH pressure for just 1 minute. Yes, one minute is all it takes for this initial cook!
- Once the pressure cooking cycle is complete, allow for a natural pressure release. This means you do absolutely nothing and let the pressure come down on its own. This natural release is crucial as it prevents the jam from boiling over and allows the fruit to continue cooking gently, deepening its flavor. The entire natural release process typically takes about 20 minutes, depending on the volume of ingredients.
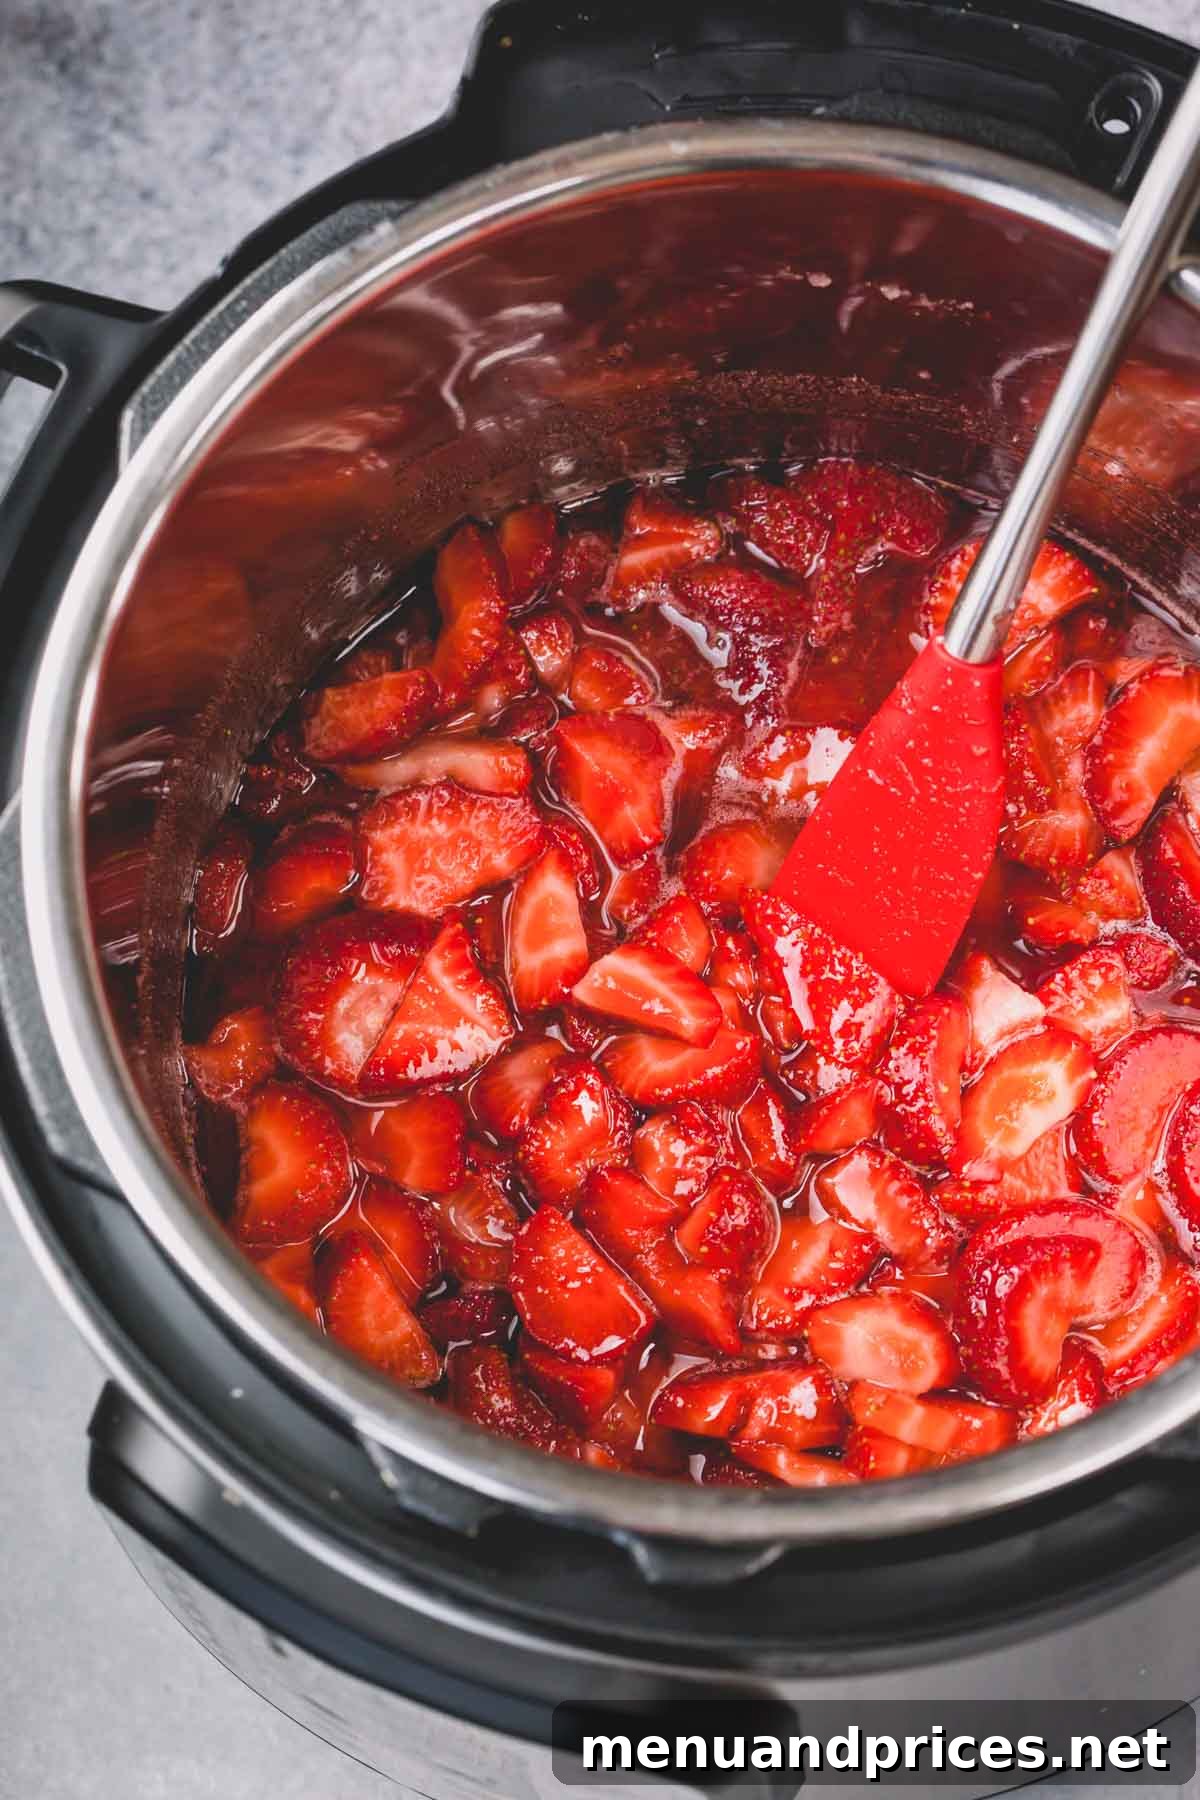
- When the float valve (pressure pin) drops, indicating all pressure has been released, carefully open the lid away from your face.
- At this stage, the jam will appear very runny, almost like a thin syrup with cooked strawberries. Do not worry – this is perfectly normal and exactly what you want!
- Press the CANCEL button on your Instant Pot, then select the SAUTÉ function (on the “Normal” setting if options are available).
- Cook the jam on SAUTÉ, stirring frequently to prevent sticking and burning. As the jam simmers, the liquid will reduce, and the jam will begin to thicken. This step usually takes around 15-20 minutes.
- While the jam is simmering, you can use a potato masher or a sturdy spoon to mash the berries to your desired consistency. For a chunkier jam, mash lightly; for a smoother jam, mash more thoroughly.
- To test for doneness, spoon a small amount of hot jam onto a chilled plate and place it in the freezer for 1-2 minutes. If the jam wrinkles when pushed with your finger, it’s ready. If it’s still too thin, continue simmering for a few more minutes and retest.
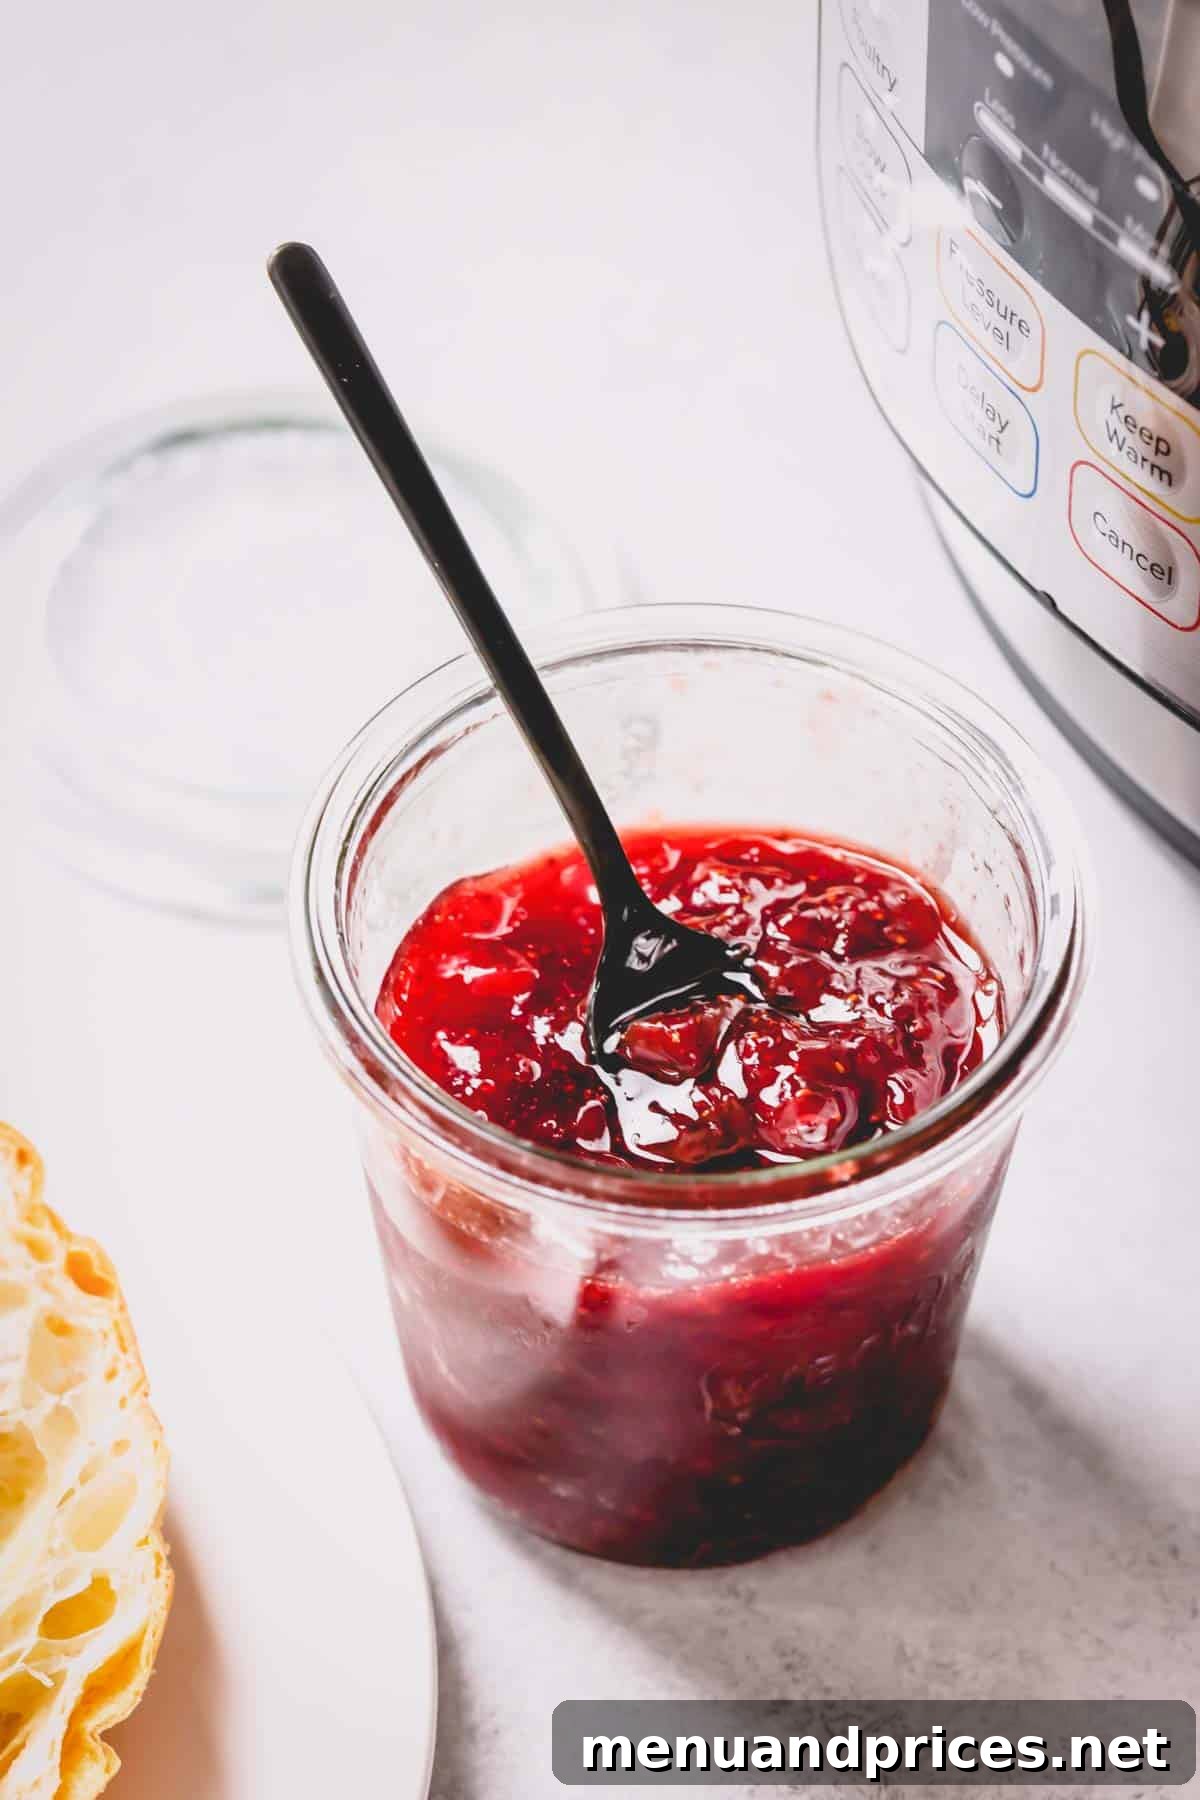
- Once the jam has reached your desired thickness, carefully turn off the Instant Pot and transfer the hot jam into clean, sterilized jars.
- Allow the jam to cool completely at room temperature. As it cools, it will continue to thicken significantly, reaching that perfect spreadable consistency.
Storing Your Delicious Homemade Strawberry Jam
Proper storage is key to enjoying your Instant Pot strawberry jam for weeks or even months to come. This recipe is designed for freezer jam, but options for refrigeration and traditional canning are also available.
- Refrigerator Storage: For uncanned (unprocessed) jars of jam, store them in the refrigerator for up to 1 month. Always ensure you use clean utensils each time you scoop out jam to prevent contamination and prolong its freshness. While many people report keeping open jars longer without issues, following recommended guidelines is always best for food safety.
- Freezer Storage: This jam is wonderfully freezer-friendly! Once the jam has cooled completely, transfer it into airtight, freezer-safe containers, leaving a little headspace (about 1/2 inch) for expansion. Label with the date and freeze for up to 3 months. Thaw in the refrigerator before use.
- Sealed/Canned Jars: If you wish to store your jam at room temperature for an extended period, you will need to process it using a water bath canning method. This creates a vacuum seal, making the jam shelf-stable. Properly canned jars can be stored in a cool, dark place for up to one year for optimal quality. After a year, the quality may begin to diminish, though it often remains safe to consume. For detailed instructions on how to can strawberry jam in a water bath, refer to reliable canning guides like the one here.
Creative Ways to Enjoy Your Jam
While classic toast and scones are always a hit, homemade strawberry jam is incredibly versatile. Here are a few ideas to inspire you:
- Breakfast Staples: Spread generously on toast, English muffins, bagels, croissants, or pancakes and waffles.
- Baking: Use it as a filling for thumbprint cookies, layered cakes, tarts, or even swirl it into muffin batter.
- Savory Pairings: Serve alongside a cheese board, particularly with creamy cheeses like brie or goat cheese. It also makes a wonderful glaze for pork or chicken.
- Desserts: Dollop over vanilla ice cream, plain yogurt, or blend into milkshakes.
- Beverages: Stir a spoonful into sparkling water for a refreshing drink, or into hot tea for a fruity twist.

Common Questions & Troubleshooting
- My jam is too runny: Don’t panic! This is a common issue that’s easily fixed. Simply return the jam to the Instant Pot and continue simmering on the SAUTÉ setting, stirring frequently, until it reaches your desired thickness. Remember, it will thicken further as it cools.
- My jam is too thick: If your jam becomes too thick, you can thin it out by stirring in a small amount of hot water (1-2 tablespoons at a time) until it reaches the desired consistency.
- Can I reduce the sugar? While it might be tempting, it’s generally not recommended to significantly reduce the amount of sugar in this recipe. Sugar plays a critical role in both the jam’s texture (helping it set) and its preservation. Reducing sugar too much can result in a thinner jam with a shorter shelf life.
- Can I use a different type of sugar? Granulated sugar is standard. While some recipes use brown sugar for a deeper flavor, it can alter the color and sometimes the set of the jam. For this specific recipe, granulated sugar provides the best results for clarity and traditional flavor.

Instant Pot Strawberry Jam
Shinee Davaakhuu
Discover how simple it is to make fantastic homemade strawberry jam in your Instant Pot. This fuss-free method uses fresh strawberries and requires no thermometer for a perfect sweet spread!
45 mins
20 mins
15-20 mins
1 hr 20 mins
3 cups (approx. 48 servings of 1 tablespoon)
Comment
Print Recipe
Ingredients
- 2 lbs fresh strawberries (ripe, deep-red)
- 2 cups granulated sugar (Note 1: Do not reduce for consistency and preservation)
- ¼ cup fresh lemon juice (preferably fresh-squeezed)
Instructions
Prepare the Strawberries:
- Slice the strawberries after rinsing and hulling them. Place them into the inner pot of your Instant Pot along with the granulated sugar and fresh lemon juice. Mix well to combine.
- Allow the mixture to sit and macerate for 30 minutes. This step draws out the juices, creating a saucy liquid that is essential for pressure cooking without adding extra water.
- After 30 minutes, the strawberries will have released plenty of liquid, appearing saucy and ready for the next phase.
Pressure Cook the Jam:
- Secure the lid on your Instant Pot and set the valve to “Sealing.” Cook on HIGH pressure for 1 minute.
- Once the cooking cycle is complete, allow a natural pressure release (NPR). Do not manually release the pressure; let it release on its own, which typically takes about 20 minutes.
- After the pressure pin drops, carefully open the lid. The jam will appear very liquidy at this stage, which is completely normal.
- Press the “CANCEL” button, then select the “SAUTÉ” function. Cook the jam, stirring frequently, for 15-20 minutes, or until the jam thickens to your desired consistency. You can use a potato masher to break down the fruit further if you prefer a smoother jam.
- To test for set: place a small spoonful of hot jam on a chilled plate. Let it cool for a minute, then push your finger through it. If it wrinkles, it’s ready. If not, continue to sauté for a few more minutes and retest.
- Carefully pour the hot jam into clean jars and allow it to cool completely at room temperature. The jam will continue to thicken significantly as it cools.
⭐️ Did you make this recipe? Please share your feedback and let us know how you liked it!
Tips & Notes
Yields: Approximately 3 cups of finished jam.
Note 1 on Sugar: It is highly recommended not to reduce the amount of sugar in this recipe, as it is crucial for achieving the correct consistency (set) and ensuring proper preservation of the jam.
Storage Instructions:
- Refrigerated: Store uncanned (unprocessed) jams in the fridge for up to 1 month.
- Frozen: Once completely cooled, transfer to airtight, freezer-safe containers and freeze for up to 3 months.
- Canned: For long-term, room-temperature storage (up to 1 year for best quality), process sealed jars using a water bath canning method.
Nutrition Information
Servings: 1 tablespoon
Calories: 38 kcal
Carbohydrates: 10 g
Protein: 0.1 g
Fat: 0.1 g
Sugar: 9 g
Sodium: 0.3 mg
Course: Jam
Cuisine: American

Did you make this?
Leave a rating and your feedback. Thank you!