
Irresistible Peanut Butter Oatmeal Monster Cookie Bars: Flourless & One-Bowl Wonder!
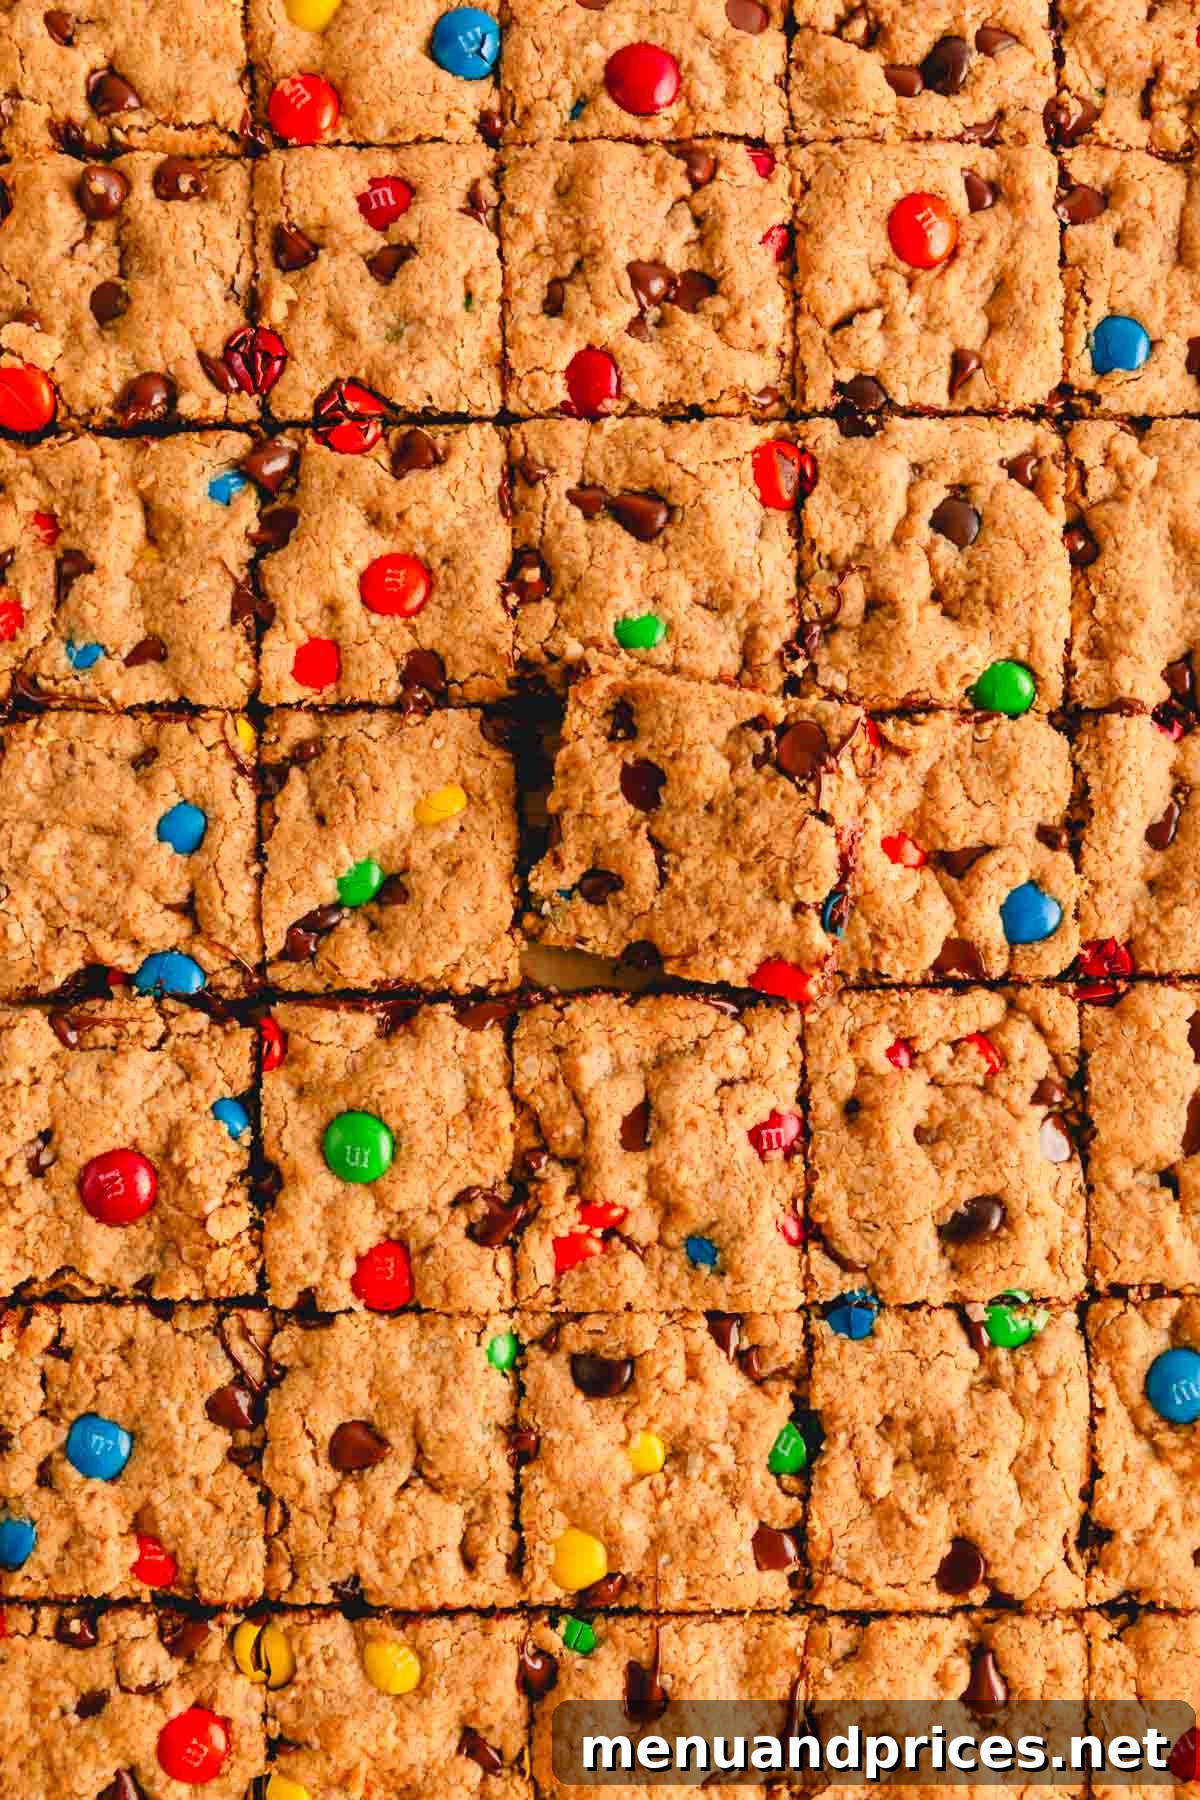
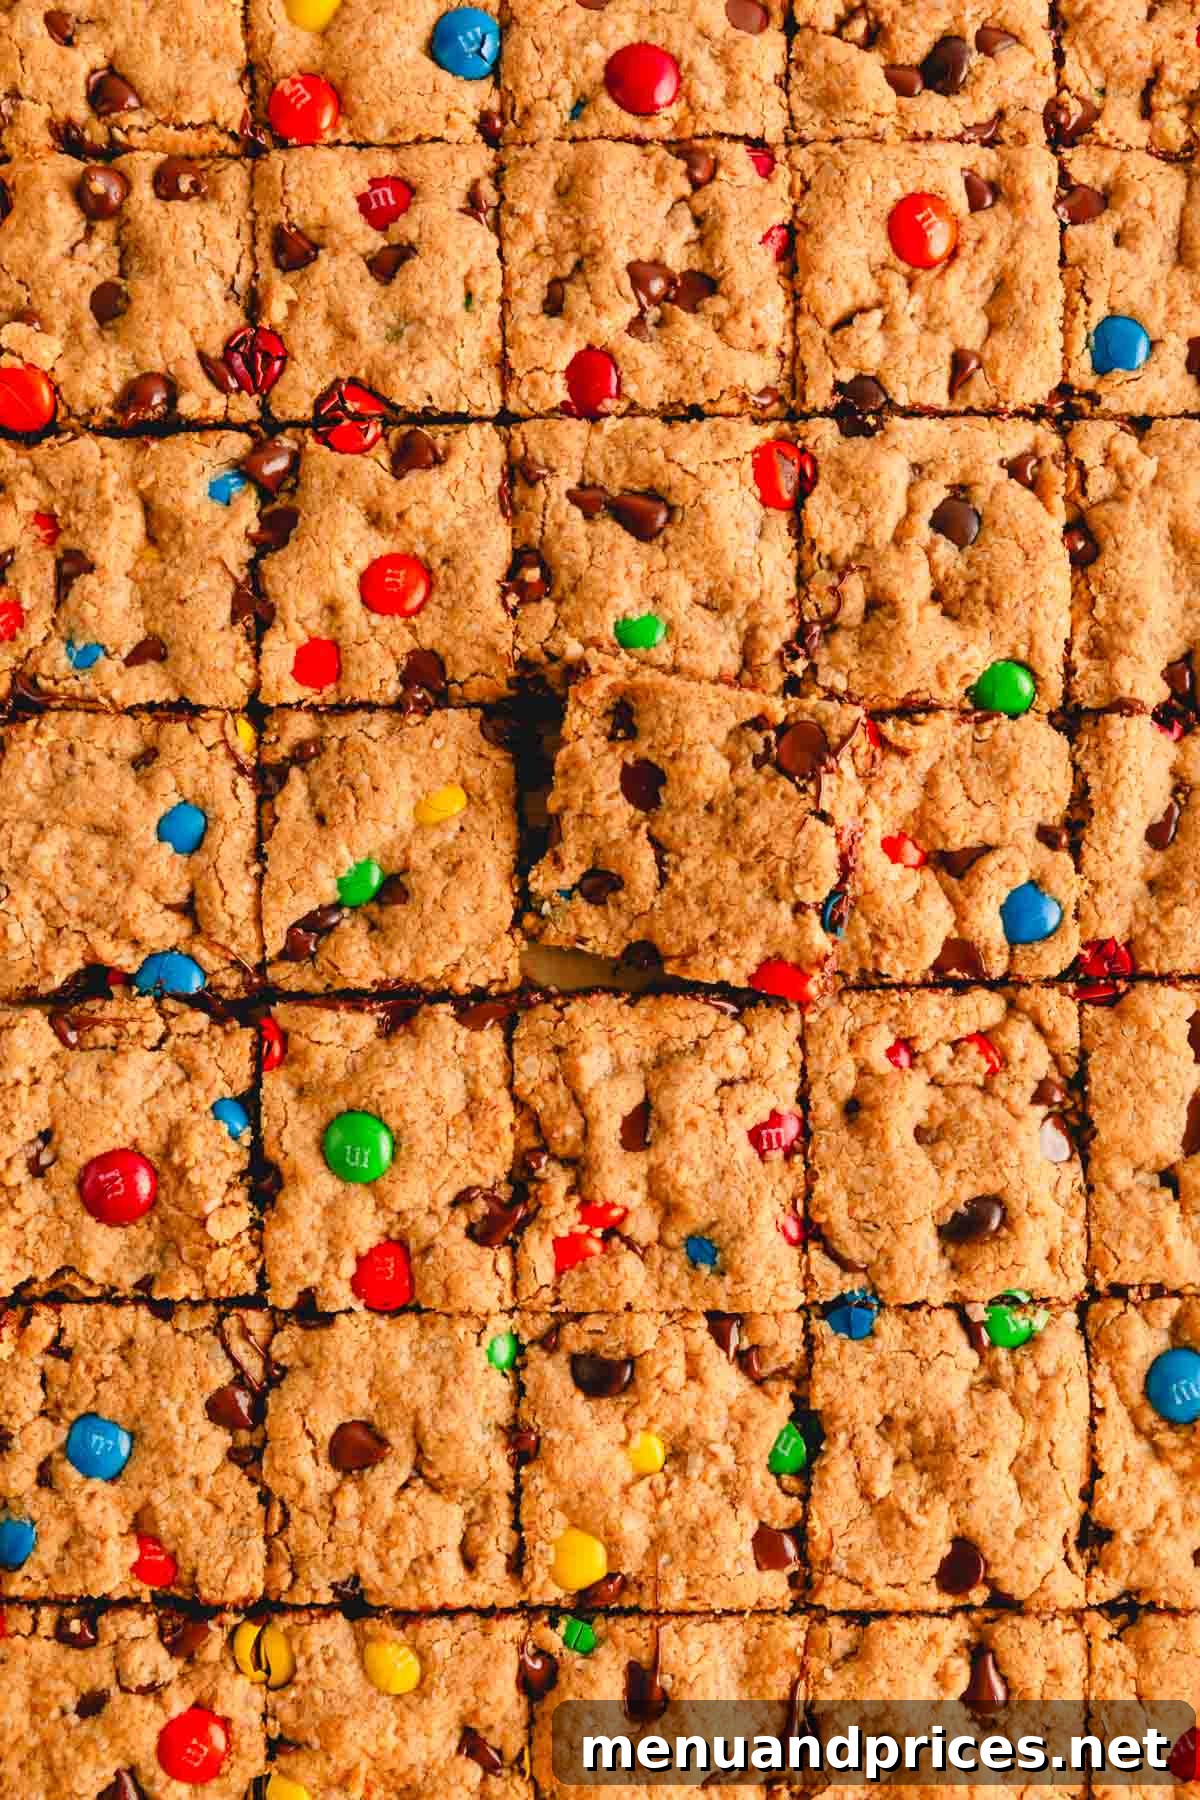
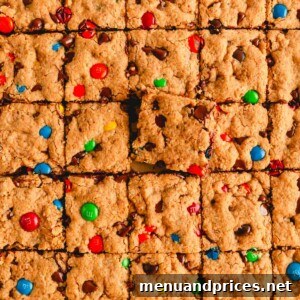
Prepare yourself for a truly irresistible treat! These delightful peanut butter oatmeal monster cookie bars are bursting with a colorful medley of chocolate chips and classic M&Ms. What makes them even better? They’re completely flourless and incredibly simple to whip up, requiring just a single bowl from start to finish. Perfect for satisfying a sweet craving or feeding a hungry crowd, these chewy bars are guaranteed to be a hit!
Don’t lose this amazing recipe! Pin it now for later!
Pin It
Why You’ll Fall in Love with These Monster Cookie Bars
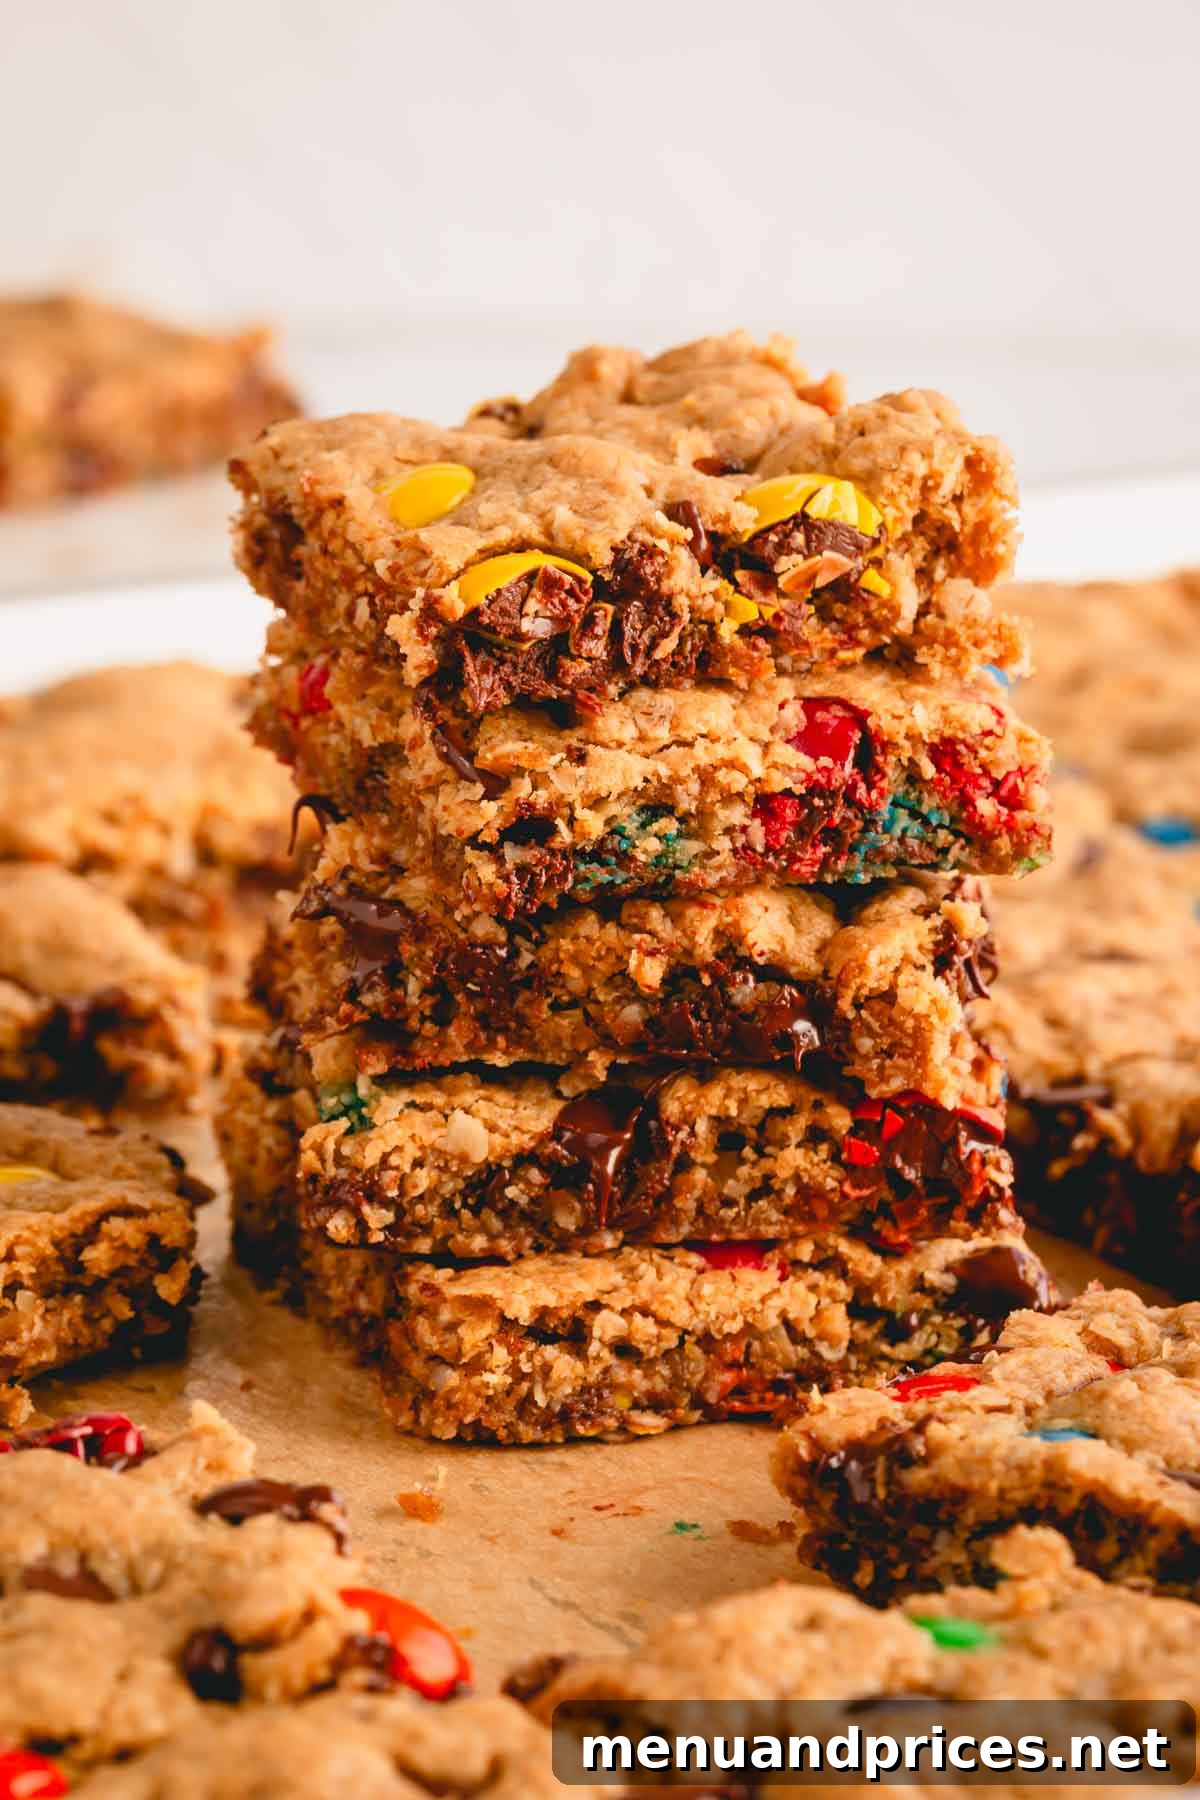
Monster cookie bars are my ultimate secret weapon for quick, crowd-pleasing desserts. Whether it’s a last-minute school treat, a potluck contribution, or a party spread, this recipe delivers big on flavor and convenience. This generous batch yields an impressive 4 dozen bars, making it perfect for sharing, and it comes together in just about 30 minutes of active prep and bake time. The resulting soft, chewy, and delightfully moist texture is truly to die for!
- Kid-Friendly Fun: The vibrant and colorful M&Ms make these bars an instant hit with children (and adults!).
- Endless Customization: While the classic combination is fantastic, don’t hesitate to get creative! Swap in holiday-themed M&Ms for seasonal celebrations, experiment with different chocolate chip flavors (milk, dark, white chocolate), or even add other mix-ins like pretzels or nuts.
- Effortlessly Gluten-Free: Simply choose certified gluten-free old-fashioned oats to make this recipe suitable for those with gluten sensitivities without compromising on taste or texture.
- One-Bowl Wonder: Minimize cleanup! The entire dough comes together in a single mixing bowl, making baking day much simpler.
- Quick & High-Yield: From prep to bake, these bars are ready in about 30 minutes and produce a large batch, perfect for feeding many mouths or stocking up.
If you’re looking for another rich and decadent treat, you absolutely must try my Salted Caramel Chocolate Chip Cookie Bars!
Essential Ingredients for Perfect Monster Cookie Bars
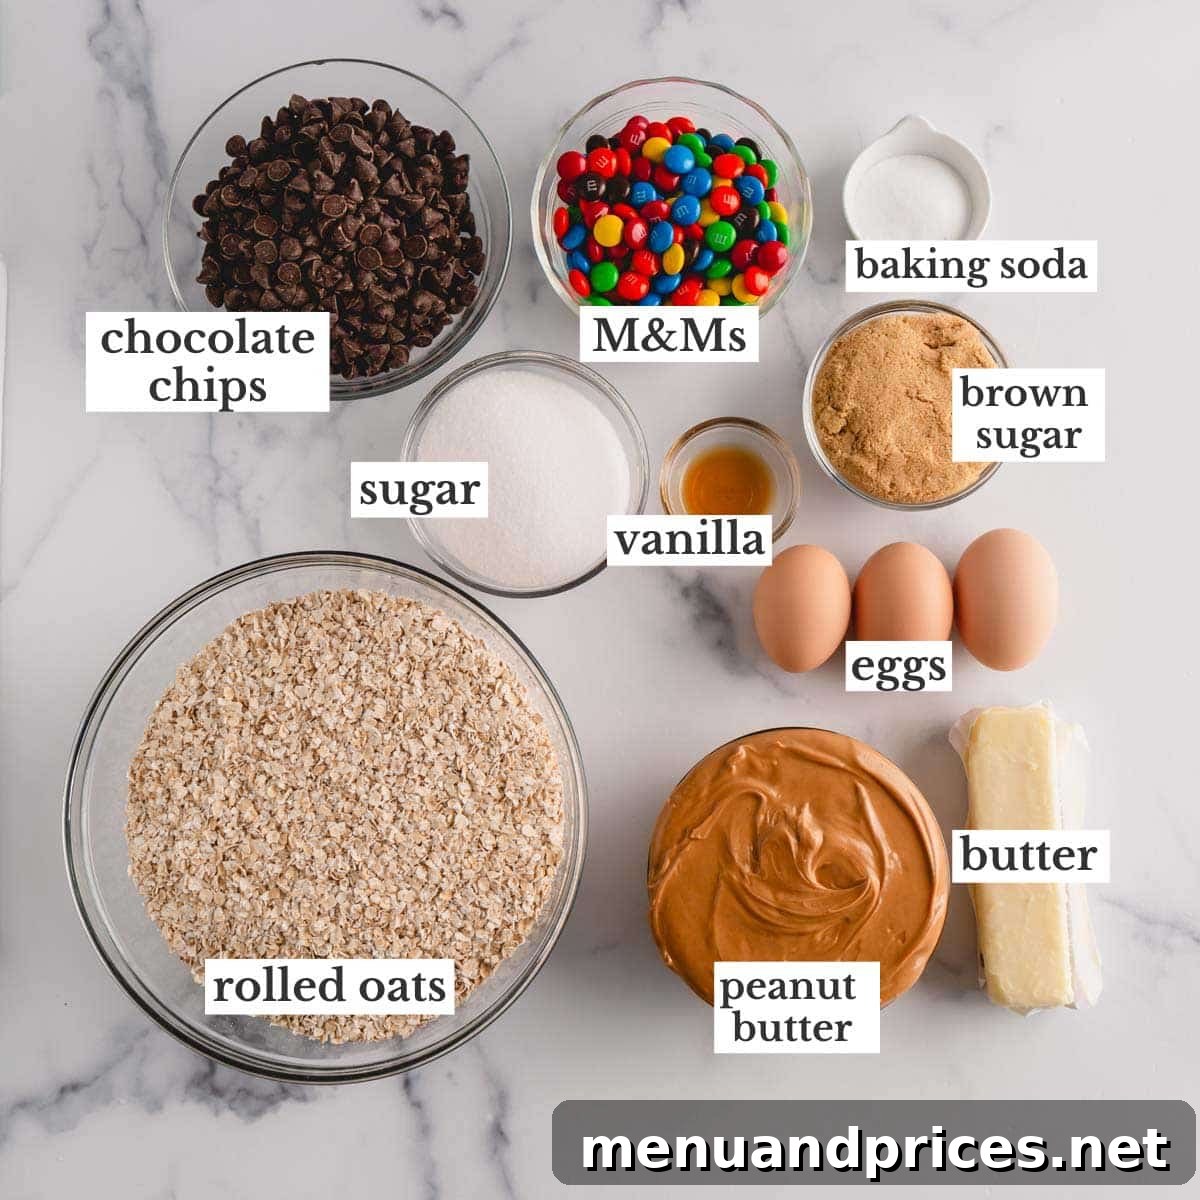
Each ingredient in this recipe plays a crucial role in achieving the perfect soft, chewy, and flavorful monster cookie bar. Here’s a closer look at what you’ll need and why it’s important:
- Unsalted Butter: Using unsalted butter allows you to control the overall saltiness of the bars. At room temperature, it creams beautifully with the sugars, creating a rich foundation for the dough. The butter also provides essential moisture, which is especially important for the rolled oats to soak up, ensuring they become tender and soft during baking.
- Brown Sugar and Granulated Sugar: The combination of both sugars is key! Brown sugar adds a deeper, molasses-rich flavor and contributes significantly to the bars’ moistness and chewiness. Granulated sugar provides a classic sweetness and helps with spread and crispness around the edges. You can use either light or dark brown sugar based on your preference for a milder or more robust molasses flavor.
- Eggs: Large, room-temperature eggs are ideal for this recipe. When eggs are at room temperature, their proteins are more relaxed, allowing them to emulsify more easily with the fats and sugars in the dough. This creates a smoother, more uniform batter and ultimately results in a better texture in your baked goods.
- Creamy Peanut Butter: Smooth, creamy peanut butter is a non-negotiable ingredient here. It’s not just for flavor; peanut butter acts as a vital binding agent, helping to hold the flourless dough together and contributing significantly to the bars’ signature soft and chewy texture. Avoid natural peanut butter that separates easily, as its oil content can make your dough too runny and affect the final consistency.
- Old-Fashioned Rolled Oats: These provide the necessary structure for these flourless bars, giving them a delightful chewiness and a wholesome, hearty texture. They absorb moisture from the butter and peanut butter, becoming tender as they bake. Ensure you use old-fashioned (rolled) oats, not quick oats or steel-cut, as they have different textures and absorption rates.
- Baking Soda: This leavening agent is essential for giving the cookie bars a slight lift and creating a tender crumb. Make sure your baking soda is fresh for optimal results; old baking soda loses its potency.
- Semi-Sweet Chocolate Chips: With the sweetness from the sugars and M&Ms, semi-sweet chocolate chips provide a balanced chocolate flavor without making the bars overly sugary. They melt beautifully, creating pockets of rich chocolatey goodness throughout.
- M&Ms: The iconic M&Ms bring vibrant color, a satisfying candy shell crunch, and an extra boost of sweetness. They are simply plain fun! Regular-sized M&Ms work perfectly, but mini M&Ms can also be used for a slightly different visual appeal.
Step-by-Step Guide: How to Make Irresistible Monster Cookie Bars
Making these monster cookie bars is incredibly straightforward, perfect for bakers of all skill levels. Follow these simple steps for a delicious outcome:
Before you begin, make sure to preheat your oven to 350°F (177°C). Then, line a standard baker’s half baking sheet (approximately 17.9 x 12.9 inches) with parchment paper. Leaving a slight overhang on the sides will make it much easier to lift the bars out later.
1. Craft the Perfect Monster Cookie Dough
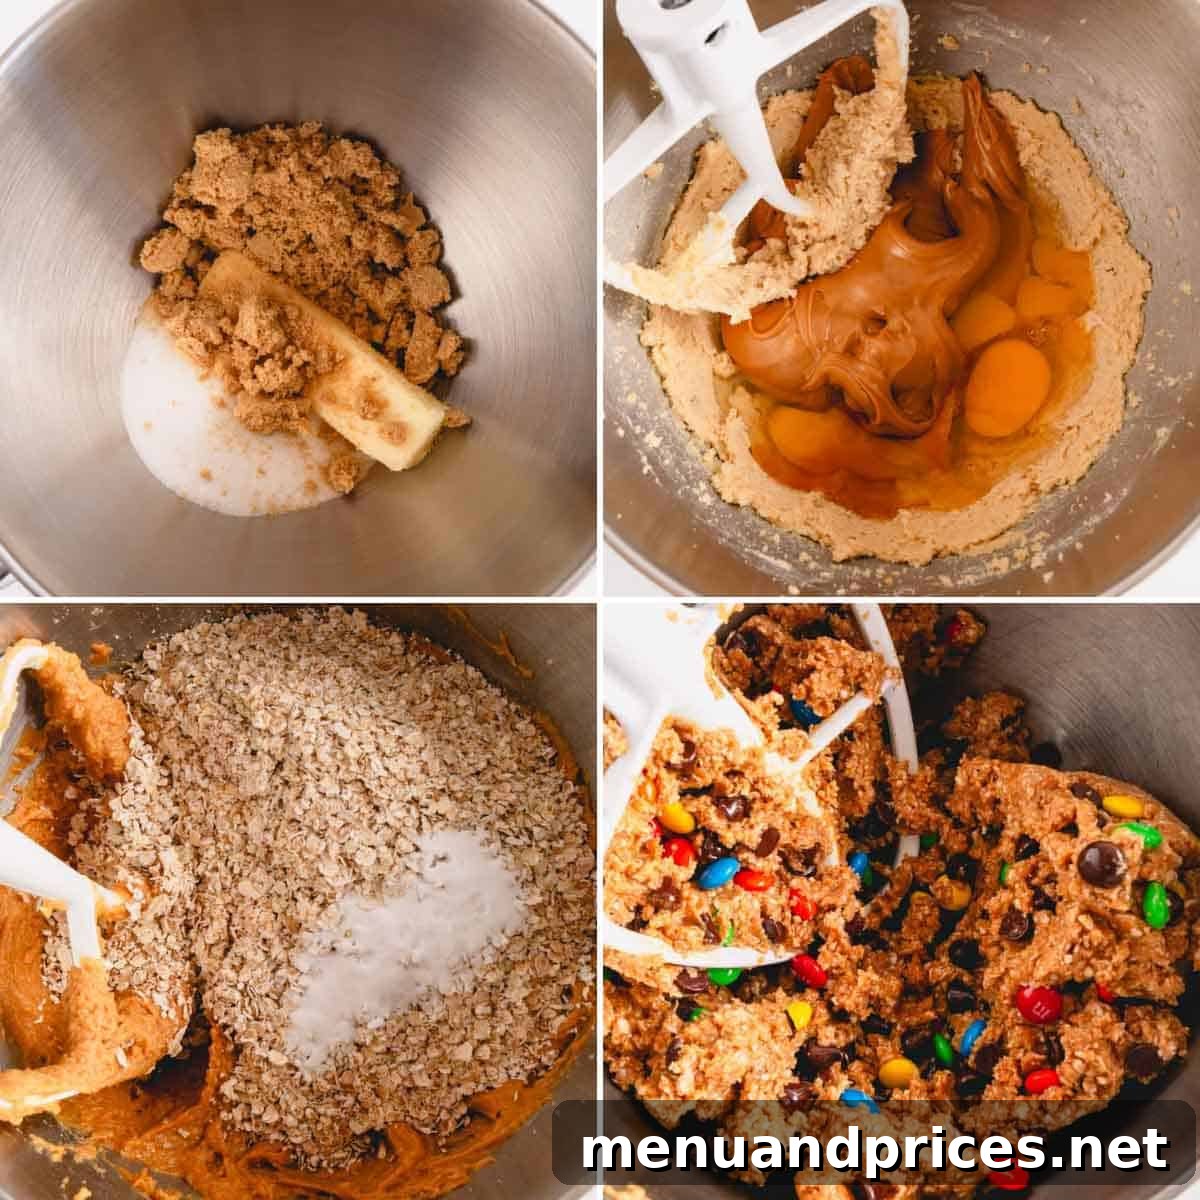
- Cream the Wet Ingredients: In a large electric mixing bowl fitted with the paddle attachment, cream together the room-temperature unsalted butter, brown sugar, and granulated sugar. Beat on medium-high speed for about 3 minutes until the mixture is light, fluffy, and pale in color. This aeration is crucial for a tender bar.
- Incorporate Eggs and Flavor: Add the room-temperature eggs, creamy peanut butter, and pure vanilla extract to the creamed mixture. Continue mixing on medium-high speed for another 2 minutes, scraping down the sides of the bowl as needed, until all ingredients are thoroughly combined and the mixture is smooth.
- Add Dry Ingredients: Reduce the speed to low and gradually add the old-fashioned rolled oats and baking soda. Mix until just combined, about 1 minute. Be careful not to overmix, as this can develop the gluten in the oats (even though there’s no flour), leading to a tougher texture.
- Fold in the Fun: Finally, gently fold in the semi-sweet chocolate chips and colorful M&Ms using a spatula. Mix until evenly distributed throughout the dough, ensuring every bite will be packed with goodies.
2. Prepare the Monster Cookie Bars for Baking
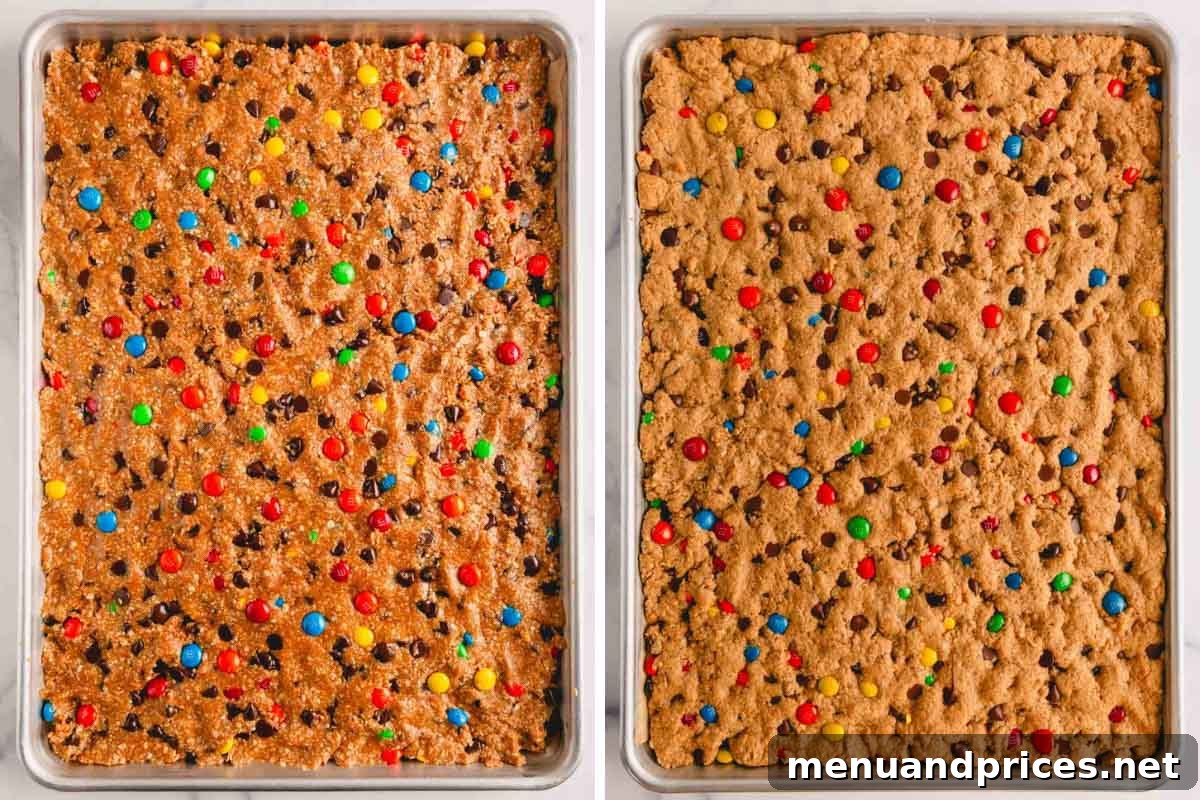
- Transfer the Dough: Carefully transfer the thick, rich monster cookie dough to your prepared baking sheet.
- Evenly Spread: Using a silicone spatula or your clean hands, gently but firmly press and spread the mixture out into an even layer across the entire baking sheet. Aim for uniform thickness to ensure consistent baking and texture in every bar.
3. Bake and Perfectly Slice Your Bars
- Bake to Perfection: Place the baking sheet in your preheated oven and bake for approximately 15 minutes. The bars are ready when the edges are golden brown and the center appears just set, perhaps still looking slightly soft.
- Resist Overbaking: This is crucial! Do not overbake these bars. They will continue to set and firm up significantly as they cool down. Overbaking will result in dry, crumbly bars rather than the desired soft and chewy texture.
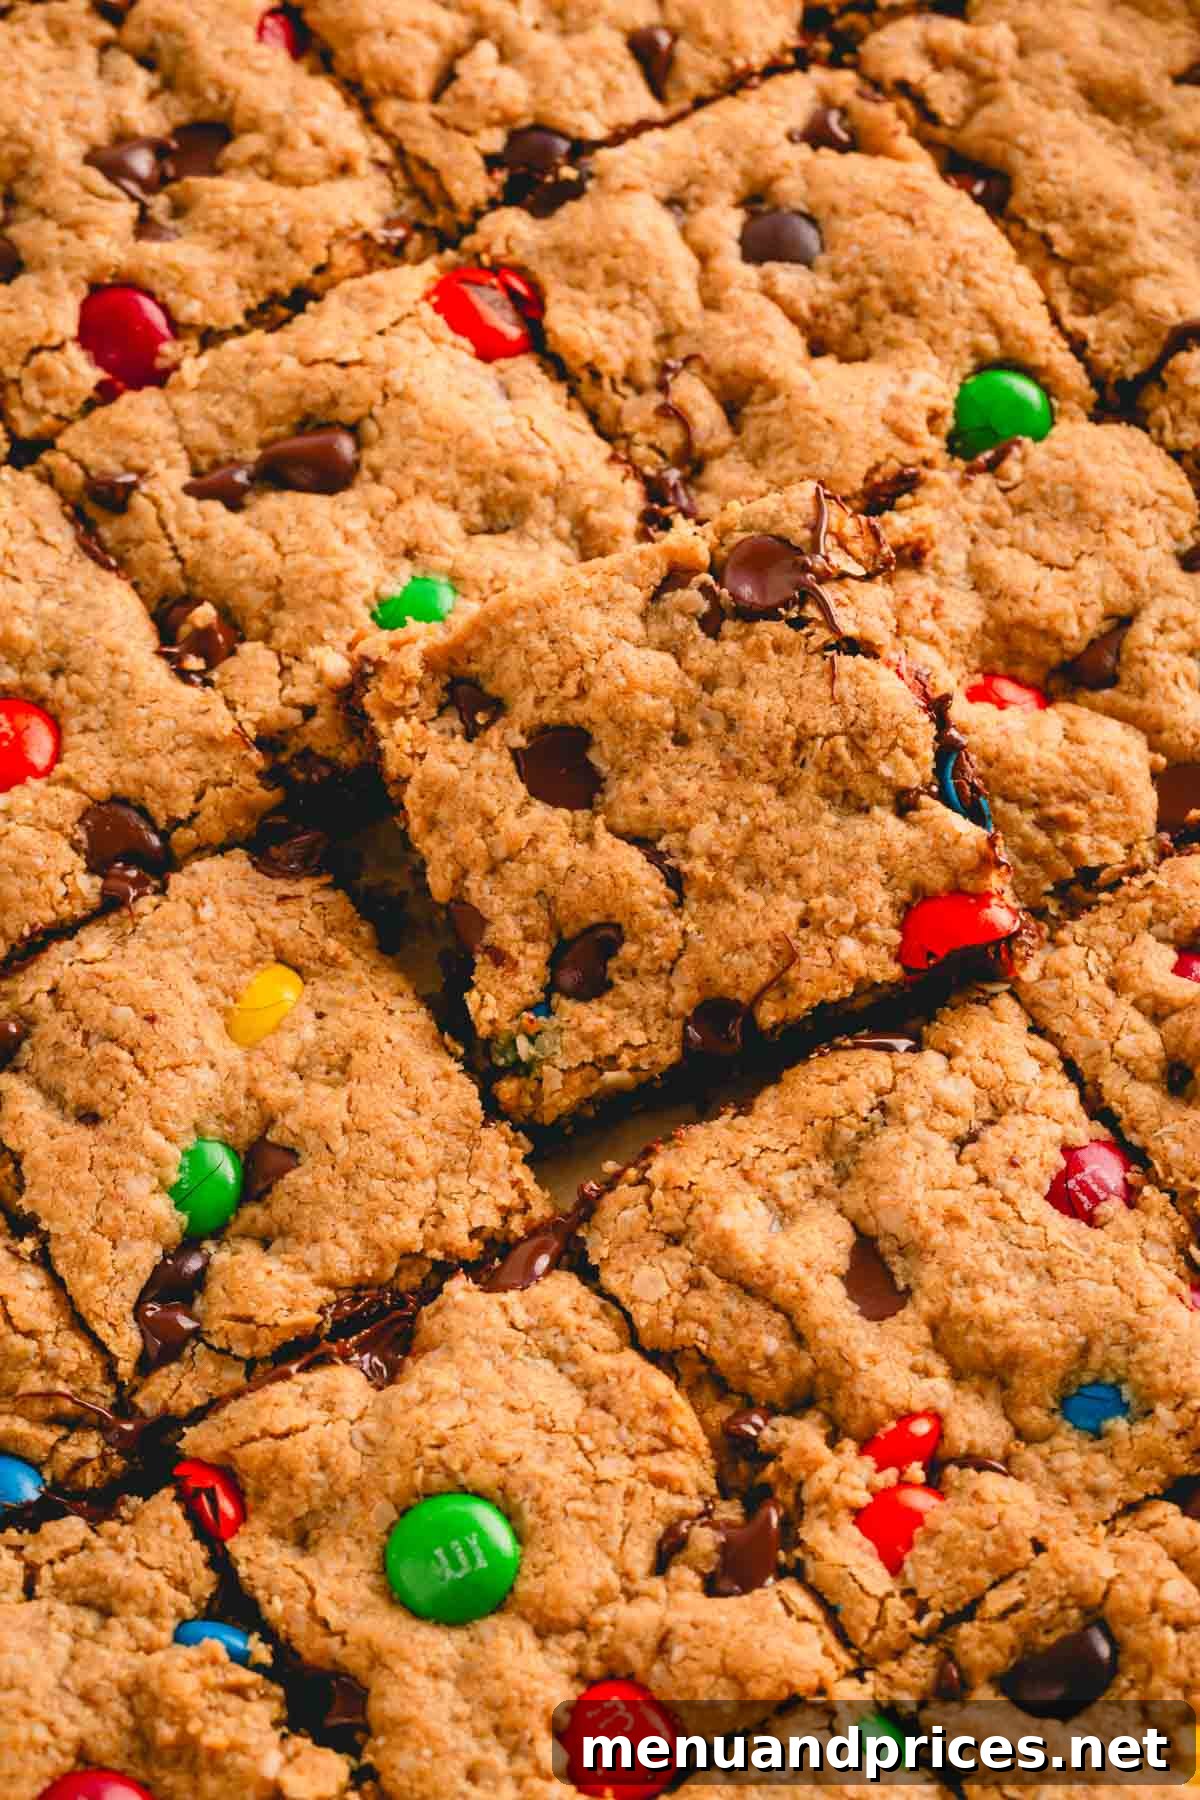
- Cool Completely: Allow the bars to cool completely in the pan on a wire rack before attempting to slice them. This will take at least one hour, possibly more. Patience is key here; slicing warm bars will lead to a gooey, messy outcome. Once fully cooled, lift the parchment paper to remove the entire slab and slice into 48 equal-sized squares.
Optional: Decorate for Extra Flair!
If you’re looking to elevate these monster cookie bars for a special occasion, feel free to add a decorative touch! Top them with a drizzle of royal icing or a simple powdered sugar icing. You can also sprinkle on extra mini M&Ms, sprinkles, or even a light dusting of cocoa powder for added visual appeal and flavor.
Mastering Your Monster Cookie Bars: Expert Tips for Success
Achieving perfectly chewy and delicious monster cookie bars every time is easy with these insider tips:
- Adjust Thickness with Pan Size: For thicker, more substantial cookie bars, opt for a smaller 9×13-inch baking pan instead of a half baking sheet. Keep in mind that a smaller pan will result in fewer but chunkier bars and will require a slightly longer baking time, typically around 18 minutes, to ensure they are cooked through.
- Parchment Paper is Your Best Friend: Always line your baking sheet with parchment paper, and leave a generous overhang on the long sides. These “handles” make it incredibly easy to lift the entire slab of cooled cookie bars out of the pan, allowing for cleaner cuts and less mess.
- Evenly Spread the Dough: Take a moment to ensure the dough is spread into an even thickness across the entire baking sheet. A consistent layer guarantees that all parts of the bars bake uniformly, preventing burnt edges and raw centers. Use a silicone spatula or even lightly floured hands to firmly press the dough into the pan.
- Trust the Timing (Don’t Overbake!): This is perhaps the most critical tip for chewy bars. Monster cookie bars will appear slightly soft or even underbaked in the center when they first come out of the oven. This is normal! They will continue to set and firm up as they cool. Pull them out right at 15 minutes (or 18 minutes for a smaller pan) to avoid dry, crumbly bars.
- Patience During Cooling: As tempting as it is to dig in immediately, resist! For perfectly structured, hand-held cookie bars that don’t fall apart, it is absolutely essential to wait until they are completely cooled to room temperature before cutting them into squares. This typically takes at least an hour.
- Room Temperature Ingredients: Ensure your butter and eggs are at room temperature. This allows them to emulsify properly with the sugars, creating a smooth, homogenous dough that bakes more evenly and results in a better overall texture.
Make-Ahead and Storage Solutions for Convenience
These monster cookie bars are incredibly versatile and can easily be prepared in advance, saving you time and effort on busy baking days. Here’s how to plan ahead:
- Prepare the Dough in Advance: Follow the recipe instructions to prepare the cookie dough up to the point of adding the chocolate chips and M&Ms.
- Refrigerate Unbaked Dough: Tightly cover the prepared dough with plastic wrap, ensuring it’s sealed to prevent it from drying out. Store the dough in the refrigerator for up to 2-3 days. This is a fantastic option if you’re hosting or need a fresh batch of cookies on demand.
- Bring to Room Temperature Before Baking: Before spreading the chilled dough into your baking pan, allow it to sit at room temperature for at least 30 minutes. This will soften the dough slightly, making it much easier to spread evenly in the pan without too much effort.
- Bake When Ready: Once the dough has softened, proceed with the remaining recipe steps by stirring in your mix-ins (if not already added), spreading the dough, and baking as directed.
Storing Your Monster Cookie Bars to Maintain Freshness
Proper storage ensures your delicious monster cookie bars remain fresh and chewy for as long as possible:
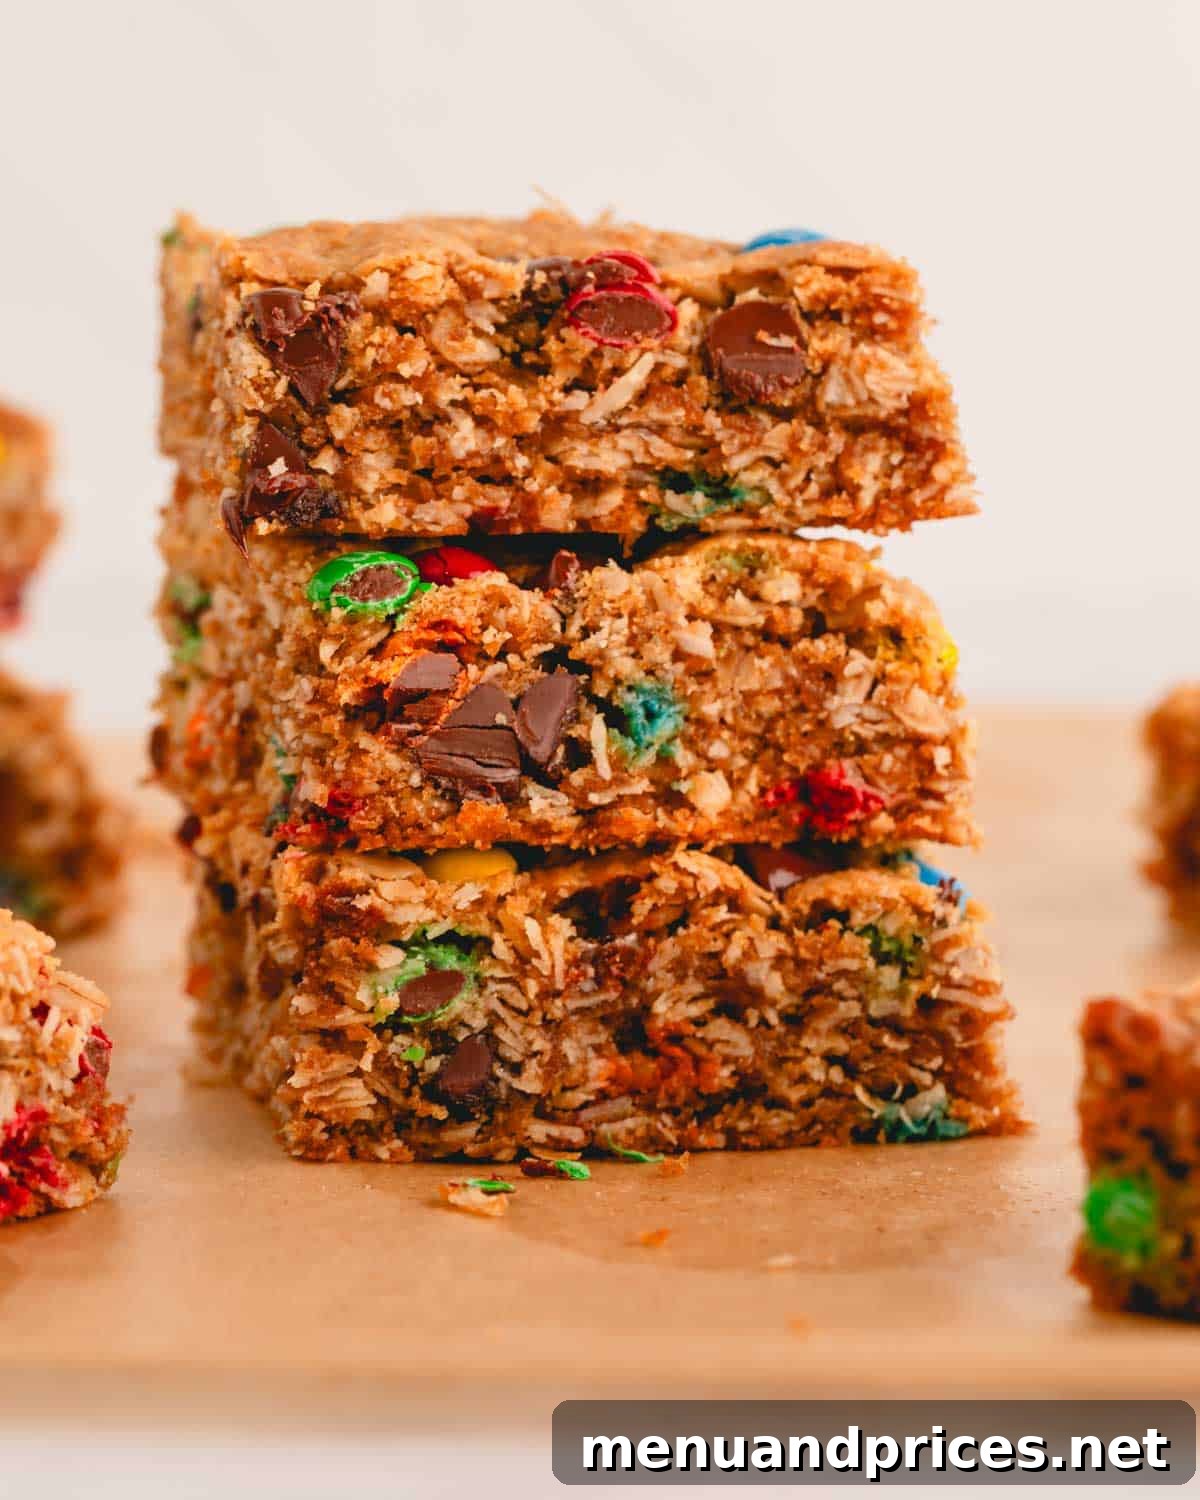
- Countertop Storage (Short Term): Store cooled monster cookie bars in an airtight container at room temperature for up to 1 week. While they rarely last that long, this method will keep them wonderfully fresh and soft.
- Freezer-Friendly (Long Term): Monster cookie bars freeze exceptionally well, making them perfect for future cravings or unexpected guests. To freeze, wrap each individual cookie bar tightly in plastic wrap. This crucial step prevents freezer burn and helps maintain their moisture. Then, place the wrapped bars into a heavy-duty plastic freezer bag or an airtight freezer-safe container for an extra layer of protection. They can be frozen for up to 3 months.
- Thawing Instructions: When you’re ready to enjoy a frozen bar, simply remove it from the freezer and let it thaw at room temperature for about 30-60 minutes before serving. For a quick warm-up, you can also microwave a single bar for 10-15 seconds.
Frequently Asked Questions About Monster Cookie Bars
Most cookie bars, including these monster cookie bars, are perfectly baked on a standard baker’s half baking sheet, which typically measures around 17.9 x 12.9 x 1 inches. It’s important to use a baking sheet with a rim to contain the dough as it rises slightly during baking. Alternatively, if you prefer thicker, chewier bars, a 9×13-inch baking dish works wonderfully, though you’ll end up with fewer bars, and they will require an additional 3 minutes or so in the oven (18 minutes total).
The beauty of monster cookie bars lies in their adaptability! Beyond the classic M&Ms and chocolate chips, feel free to get creative with your mix-ins. Popular additions include pretzel pieces for a salty crunch, chopped walnuts or pecans for nutty flavor, mini peanut butter cups for extra peanut butter goodness, or even leftover Halloween candy chopped into pieces. The possibilities are truly endless, so have fun experimenting with your favorite treats!
Yes, absolutely! When your monster cookie bars are fresh out of the oven, they may appear quite soft, almost gooey, especially towards the center of the pan. This soft appearance is perfectly normal and does not indicate that they need a longer baking time. As they cool, the bars will continue to set and firm up, transforming into that wonderfully soft and chewy texture you’re aiming for. Resist the urge to bake them longer!
Yes, you can easily adapt this recipe to be nut-free! The creamy peanut butter can be swapped out for any other nut or seed butter of your choice. Excellent alternatives include almond butter, cashew butter, or sunflower butter (like SunButter). Be aware that using a different butter will subtly alter the flavor profile of the bars, but they will still be incredibly delicious and maintain their fantastic chewy texture. Ensure all other ingredients (like M&Ms and chocolate chips) are also certified nut-free if severe allergies are a concern.
The most common culprit for dry cookie bars is overbaking. Keep a close eye on the clock and remove the bars from the oven as soon as the edges are golden and the center is just set. They will continue to cook as they cool. Additionally, ensuring your butter is at room temperature and accurately measuring your ingredients, especially the oats and peanut butter, helps maintain the perfect moisture balance for a soft, chewy result.
Explore More Irresistible Dessert Bar Recipes
If you’ve loved these monster cookie bars, be sure to check out these other fantastic dessert bar recipes that are perfect for any occasion:
- Salted Caramel Chocolate Chip Cookie Bars
- Pumpkin Cheesecake Bars
- Lemon Raspberry Cheesecake Bars
- Triple Chocolate Cheesecake Bars
Ultimate Monster Cookie Bars Recipe
Shinee Davaakhuu
15
15
30
48 servings
48 squares
Pin Recipe
Comment
Print Recipe
Ingredients
-
1 stick
(113 g) unsalted butter at room temperature -
¾ cup
(150 g) brown sugar (light or dark) -
¾ cup
(150 g) granulated sugar -
3
large eggs at room temperature -
1 ½ cups
(400 g) creamy peanut butter (not natural, for best texture) -
1 teaspoon
pure vanilla extract -
4 ½ cups
(400 g) old-fashioned rolled oats (use certified gluten-free for GF option) -
2 teaspoons
baking soda (ensure it’s fresh) -
¾ cup
(120 g) semi-sweet chocolate chips -
1 cup
(200 g) M&Ms (regular or mini)
Equipment
-
Baker’s Half Baking Sheet (approx. 17.9 x 12.9 inches) or a 9×13-inch baking pan
-
Stand mixer fitted with a paddle attachment (or large mixing bowl with hand mixer)
-
Parchment paper
Instructions
-
Preheat your oven to 350°F (177°C). Line a baker’s half baking sheet with parchment paper, leaving some overhang on the sides for easy removal. (Alternatively, use a 9×13-inch baking pan for thicker bars.)
-
In a large mixing bowl with a paddle attachment, cream the room-temperature unsalted butter, brown sugar, and granulated sugar on medium-high speed. Beat until the mixture is light, fluffy, and pale, which should take about 3 minutes.1 stick unsalted butter,
¾ cup brown sugar,
¾ cup granulated sugar -
Add the room-temperature eggs, creamy peanut butter, and pure vanilla extract to the creamed mixture. Continue mixing on medium-high speed for approximately 2 minutes until all ingredients are thoroughly combined and smooth. Remember to scrape down the sides of the bowl as needed.3 large eggs,
1 ½ cups creamy peanut butter,
1 teaspoon pure vanilla extract -
Gradually add the old-fashioned rolled oats and baking soda to the bowl. Mix on low speed until they are just incorporated into the dough, about 1 minute. Be careful not to overmix.4 ½ cups old-fashioned rolled oats,
2 teaspoons baking soda -
With a spatula, gently stir in the semi-sweet chocolate chips and M&Ms until they are evenly distributed throughout the dough.¾ cup semi-sweet chocolate chips,
1 cup M&Ms -
Transfer the monster cookie dough to your prepared baking sheet. Using a silicone spatula or your hands, spread the mixture out into an even, uniform layer across the entire pan.
-
Bake for 15 minutes. If using a 9×13-inch baking pan for thicker bars, bake for 18 minutes. Do not overbake; the bars will look slightly soft in the center but will firm up as they cool. Allow the bars to cool completely in the pan on a wire rack before slicing into 48 equal squares. This can take at least 1 hour.
⭐️ Did you make this recipe?
Please leave a review and let us know how you liked it!
Notes & Expert Tips
Nut-Free Option: To make this recipe peanut-free, feel free to substitute the peanut butter with any other nut or seed butter, such as almond butter, cashew butter, or sunflower butter.
Gluten-Free: For a gluten-free friendly version, ensure you use old-fashioned rolled oats that are specifically certified gluten-free.
Baking Sheet Size: A standard baker’s half baking sheet measures approximately 17.9 x 12.9 x 1 inches.
Storing Tips:
– Store leftover monster cookie bars in an airtight container at room temperature for up to 1 week.
– To freeze for longer storage (up to 3 months), wrap each bar tightly in plastic wrap, then place them in a ziplock freezer bag for extra protection.
– Thaw frozen bars at room temperature before serving for the best texture.
Nutrition Information (per serving)
1 serving
144kcal
18g
4g
7g
11g
89mg
Dessert
American
Did you make this?
Leave a rating and your feedback. Thank you!