
Unlock a world of rich, nutty flavor with brown butter – a simple yet transformative ingredient. This comprehensive tutorial will guide you through the effortless process of creating exquisite buerre noisette, perfect for enhancing everything from decadent desserts to savory main courses. Prepare to elevate your culinary creations with this golden liquid gold!
What is Brown Butter (Buerre Noisette)?
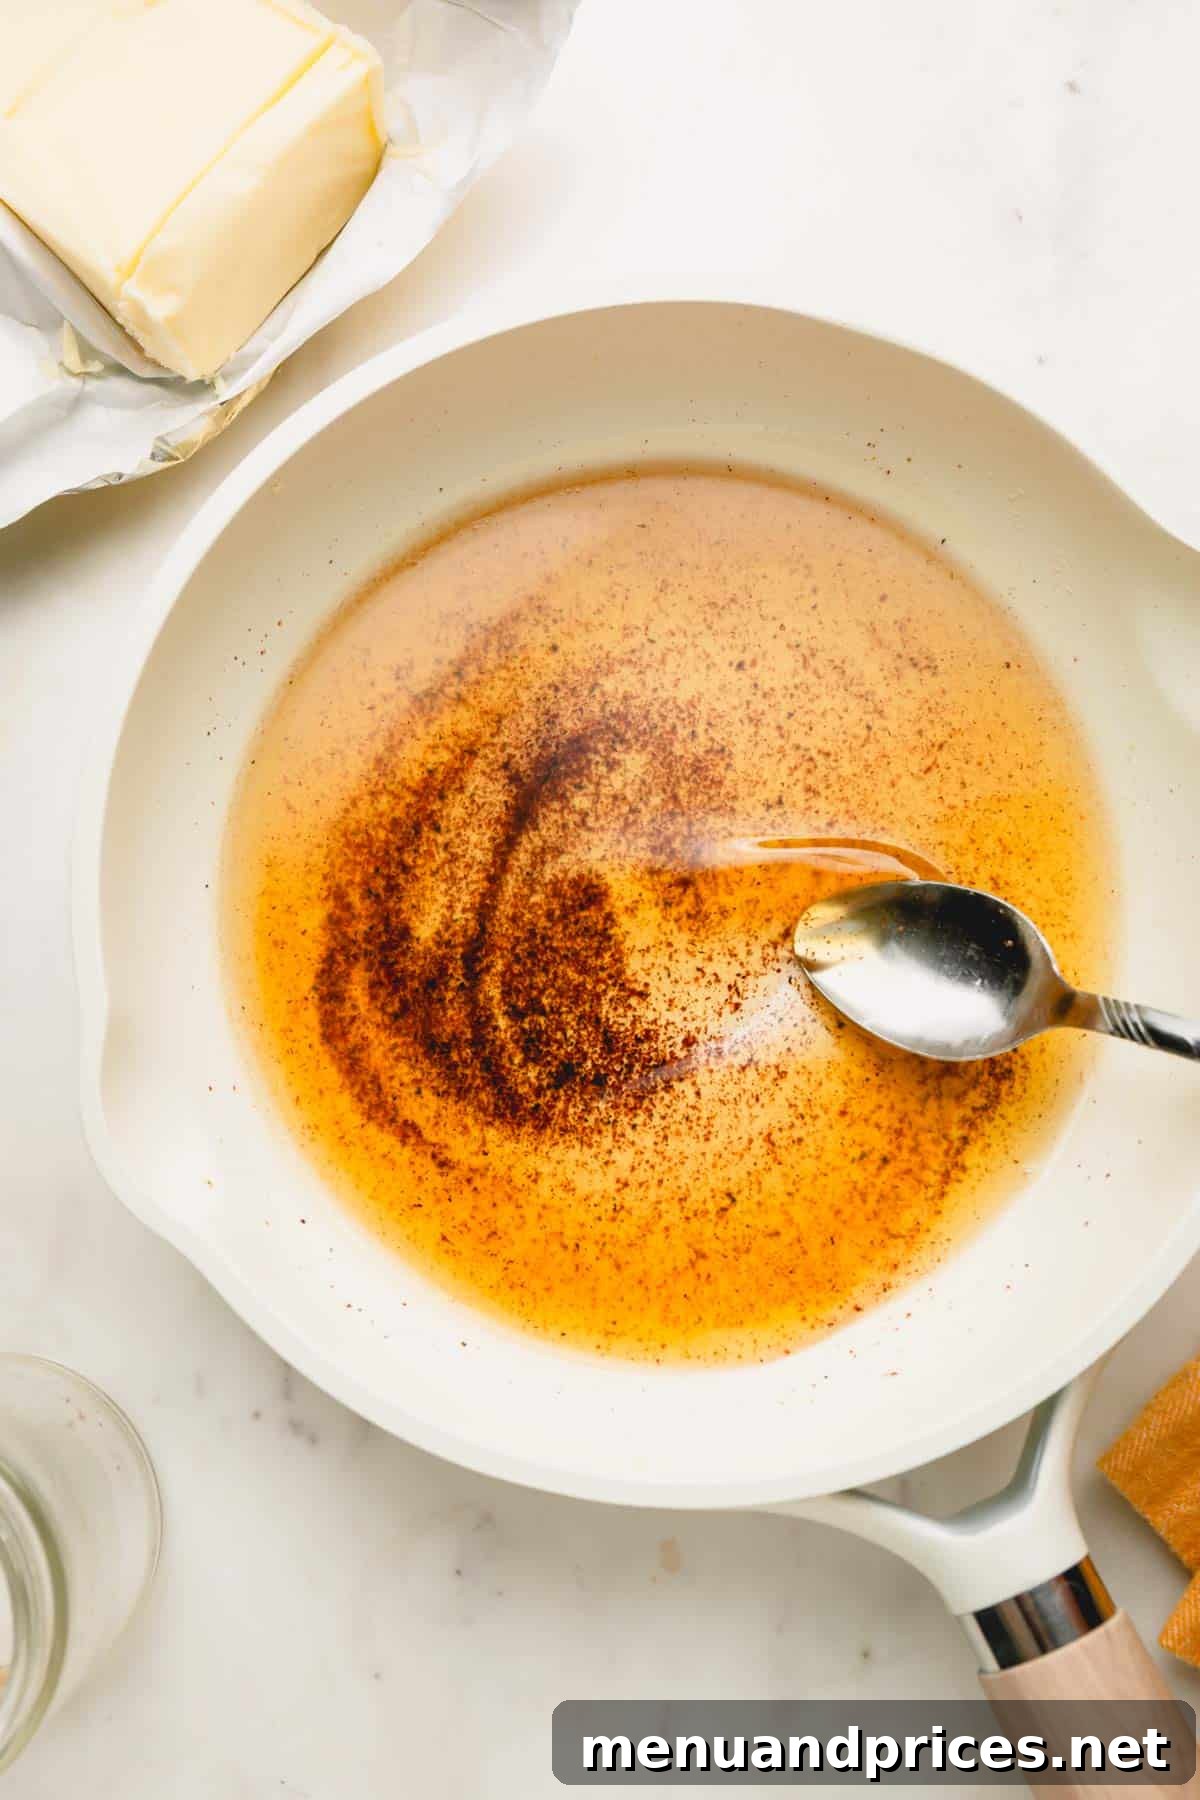
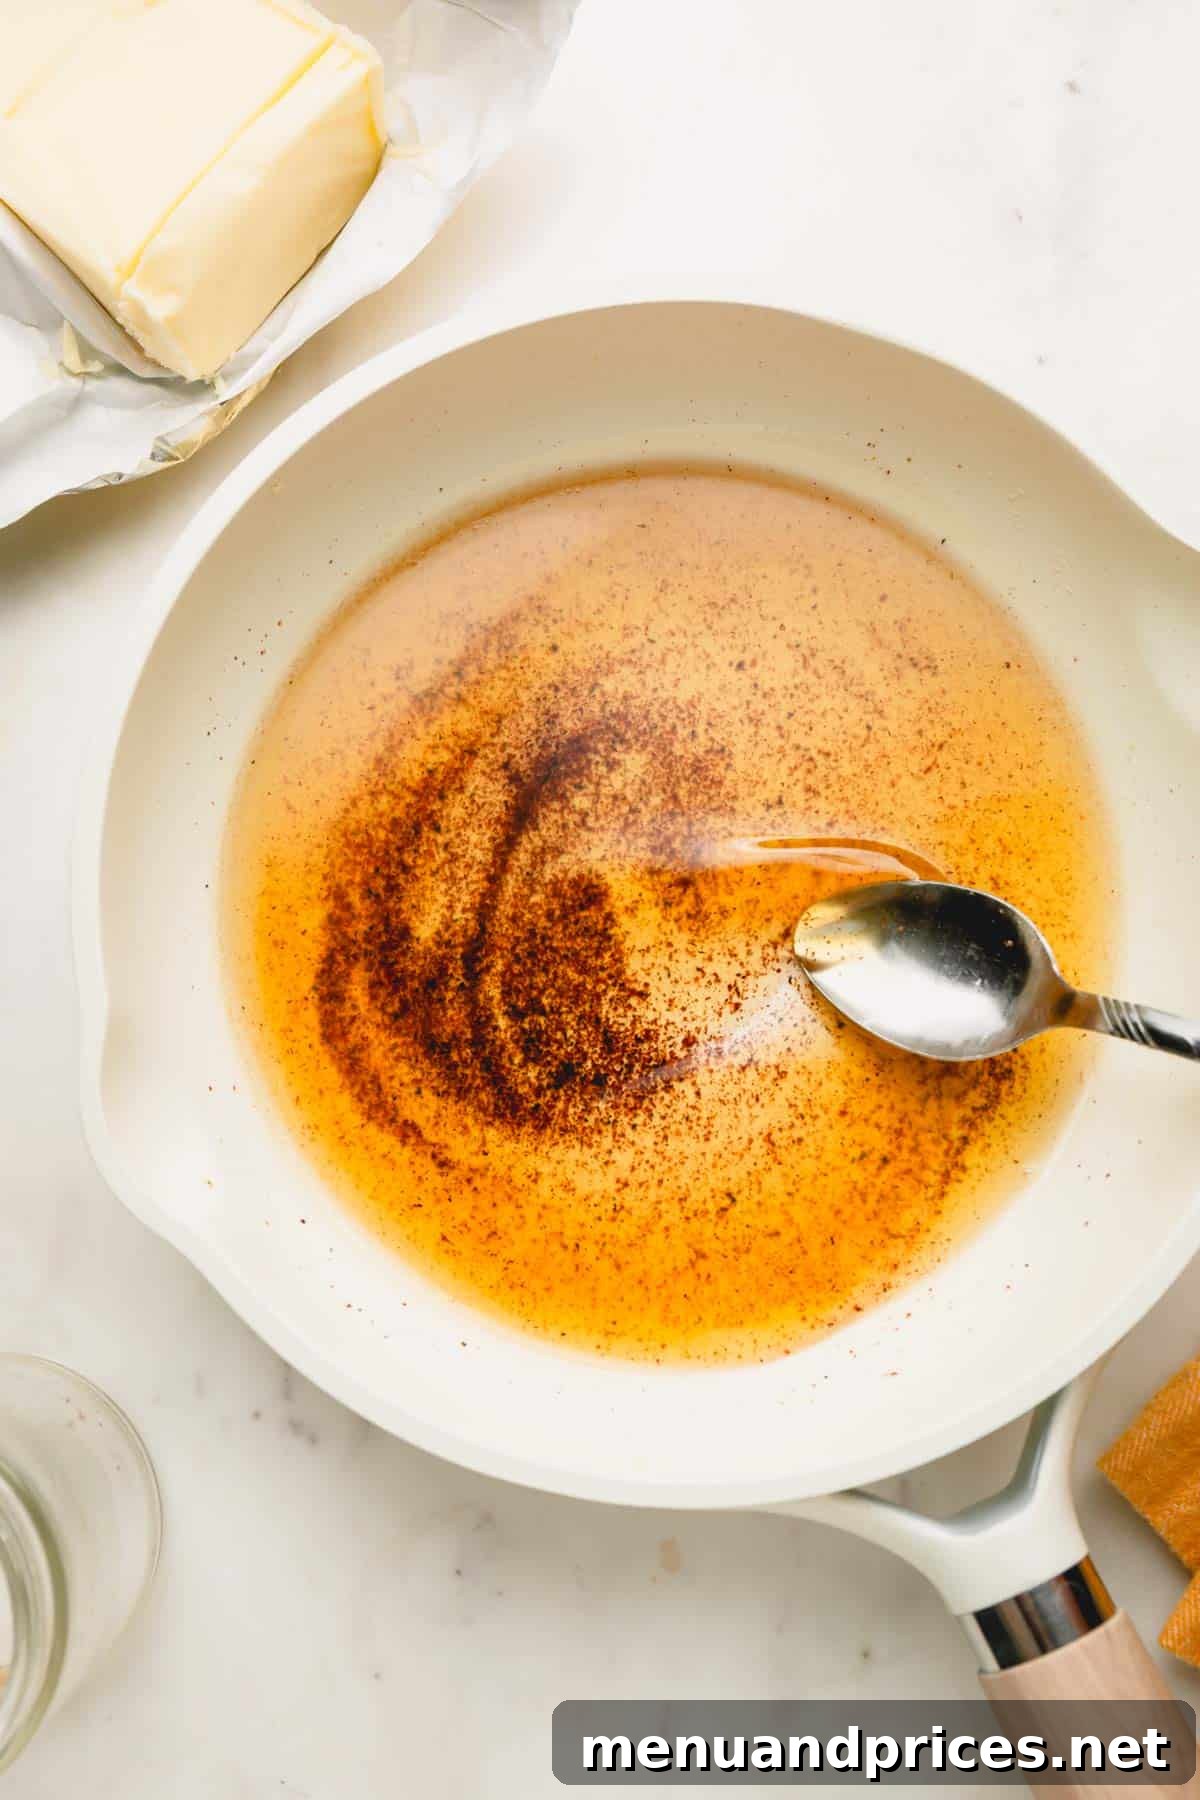
Brown butter, known in French as buerre noisette (meaning “hazelnut butter”), is simply unsalted butter that has been gently cooked over heat until its milk solids caramelize. This process develops a deep, rich, and incredibly nutty flavor profile, far more complex and aromatic than plain melted butter.
As butter melts and heats, its water content evaporates, allowing the milk solids to separate and cook. These tiny proteins and sugars undergo the Maillard reaction, transforming from white to a beautiful golden-amber, eventually settling into deep brown flecks at the bottom of the pan. This caramelization is what imparts brown butter its distinctive toasted, often hazelnut-like, aroma and unparalleled taste. It’s a fundamental technique in French cooking and a secret weapon for home cooks looking to add depth and sophistication to their dishes.
Beyond its mesmerizing color and captivating scent, browned butter boasts a profound, toasty flavor that can elevate virtually any recipe. Imagine the depth it adds to your favorite chocolate chip cookies, the savory richness it brings to pasta sauces, or the gourmet touch it lends to fluffy pancakes and delicate fish dishes. It’s a versatile ingredient that truly transforms ordinary into extraordinary.
Why You’ll Love Mastering This Simple Technique
Learning how to brown butter is one of those kitchen skills that feels incredibly gourmet but is surprisingly easy to achieve. It requires minimal effort and transforms a basic ingredient into something truly magical. The entire process typically takes less than 15 minutes, making it an accessible enhancement for even busy weeknight meals or spontaneous baking projects.
You don’t need fancy equipment – just a stick of butter, a light-colored saucepan, and a reliable spatula. The beauty of this technique lies in its simplicity: it’s essentially just melting butter, but with a few extra minutes of attention and a bit of gentle stirring. This small investment of time yields huge returns in flavor.
- Adds a **bold, complex, and nutty flavor** that is unparalleled, enriching everything from everyday cookies, cakes, and brownies to sophisticated savory dishes.
- Serves as a **quick and elegant brown butter sauce** for a myriad of applications, including tossing with pasta, drizzling over roasted vegetables, or basting pan-seared meats and seafood.
- It’s **remarkably quick and easy to make**, requiring only one core ingredient and minimal active cooking time.
- The process itself is a **delightful sensory experience**, filling your kitchen with an enticing aroma reminiscent of toasted hazelnuts.
When an ingredient as simple as butter can be so profoundly transformed, it truly highlights the power of fundamental cooking techniques. The French didn’t call it “hazelnut butter” for nothing; its fragrance alone is enough to inspire culinary creativity.
Key Ingredient & Equipment Notes
- Unsalted Butter: This is the cornerstone of perfect brown butter. As butter cooks, its water content evaporates, concentrating the flavors. Using unsalted butter gives you complete control over the final saltiness of your dish. Salted butter can become overly salty once browned and concentrated, potentially overpowering the delicate nutty notes you’re trying to achieve.
- Light-Colored Pan: A stainless steel or other light-colored saucepan is highly recommended. The pale interior allows you to clearly monitor the butter’s color transformation, from golden yellow to amber and finally to a deep brown. Dark-bottomed or non-stick pans can obscure these crucial visual cues, making it much easier to accidentally burn the butter.
- Heat-Resistant Spatula or Whisk: Constant stirring is key to even browning and preventing scorching. A silicone spatula or a whisk works best for scraping the bottom of the pan to ensure milk solids don’t stick and burn.
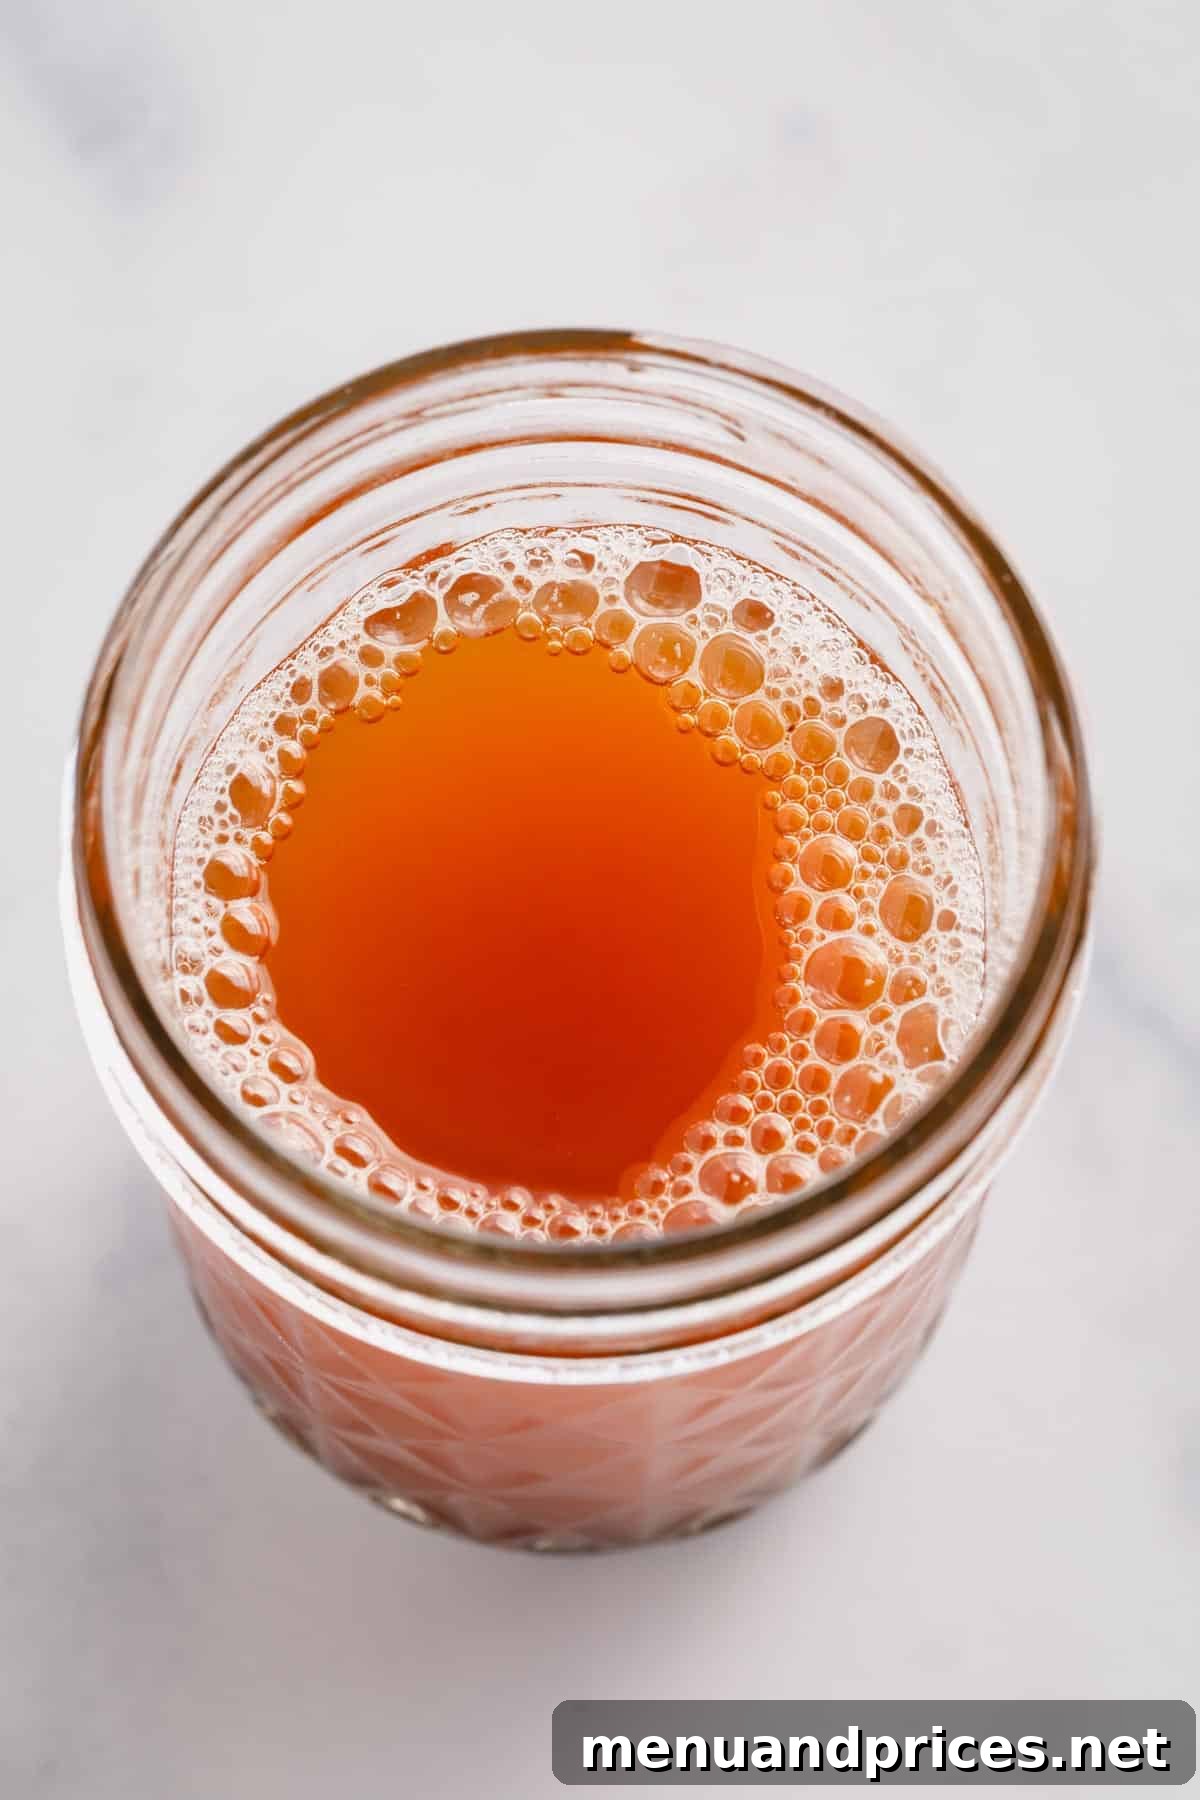
- Heat-Resistant Container: Have a jar or bowl ready to immediately transfer the browned butter once it reaches your desired color. This stops the cooking process instantly, preventing it from burning.
How to Brown Butter: A Step-by-Step Guide
Achieving perfectly browned butter is a straightforward process when you know what to look for. Follow these steps for consistently delicious results:
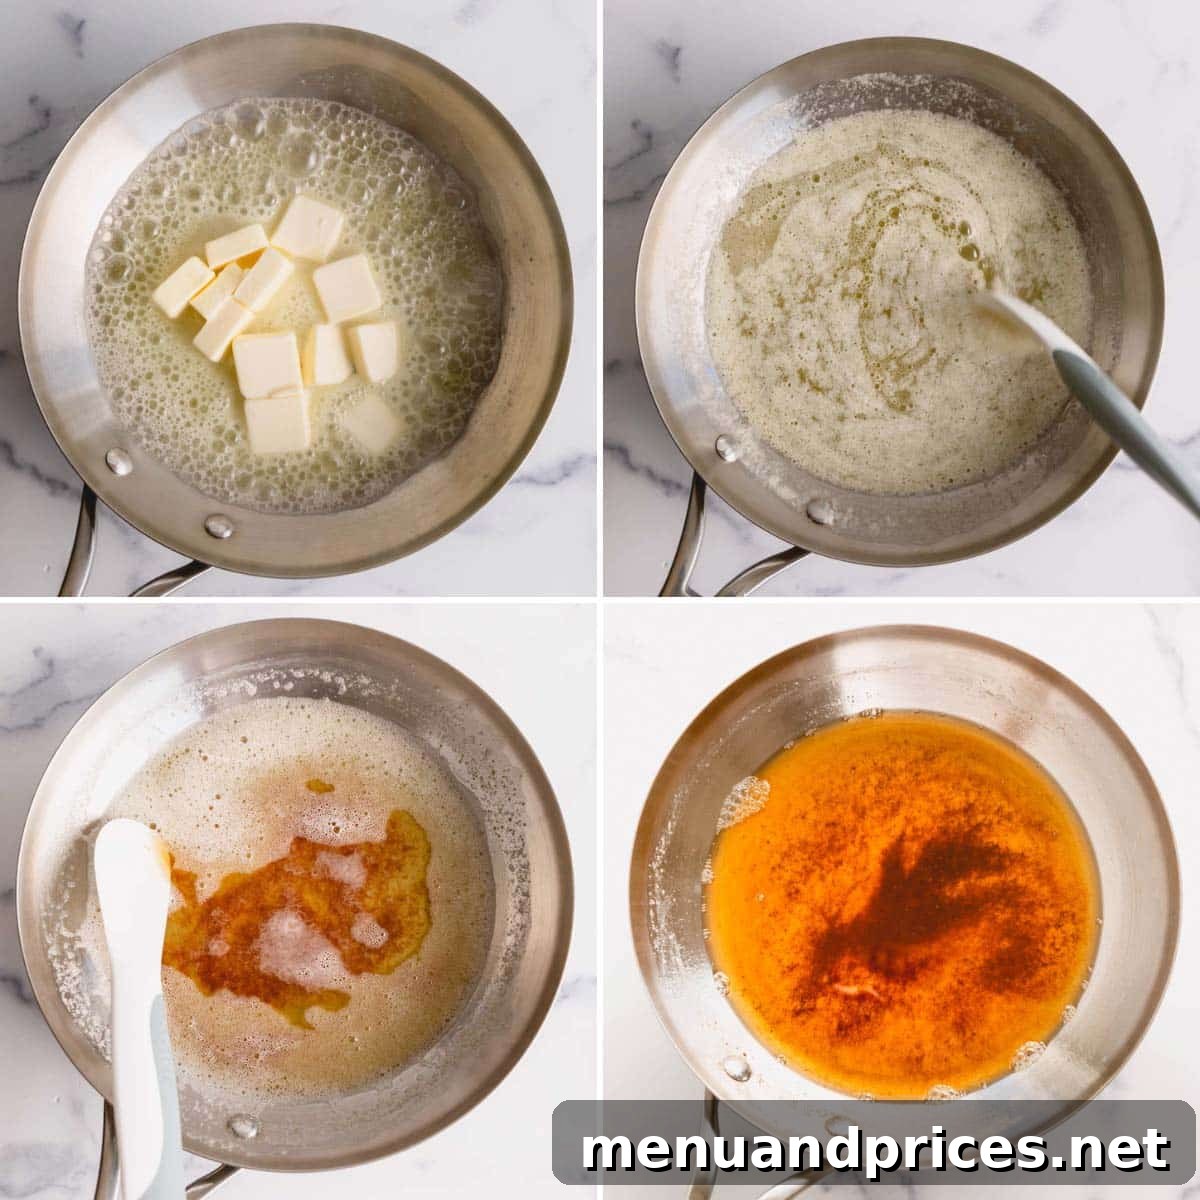
- Prepare the Butter: Begin by slicing your unsalted butter into roughly 1-tablespoon sized pieces or chunks. This helps the butter melt more quickly and evenly, ensuring all parts heat at a similar rate, which is crucial for uniform browning. Place these butter pieces into your chosen light-colored saucepan.
- Melt Over Medium Heat: Place the saucepan over medium heat. As the butter begins to melt, start stirring continuously with a heat-resistant silicone spatula or whisk. This constant agitation is vital for even cooking and prevents the milk solids from sticking and burning at the bottom of the pan.
- Observe the Transformation – Foam and Sizzle: Initially, the butter will fully melt into a clear liquid. Soon after, it will begin to foam and bubble vigorously. This is a crucial stage where the water content in the butter is actively evaporating. Don’t be alarmed by the foam; simply continue stirring through it. You might notice the color slowly starting to change from bright yellow to a pale golden hue beneath the foam.
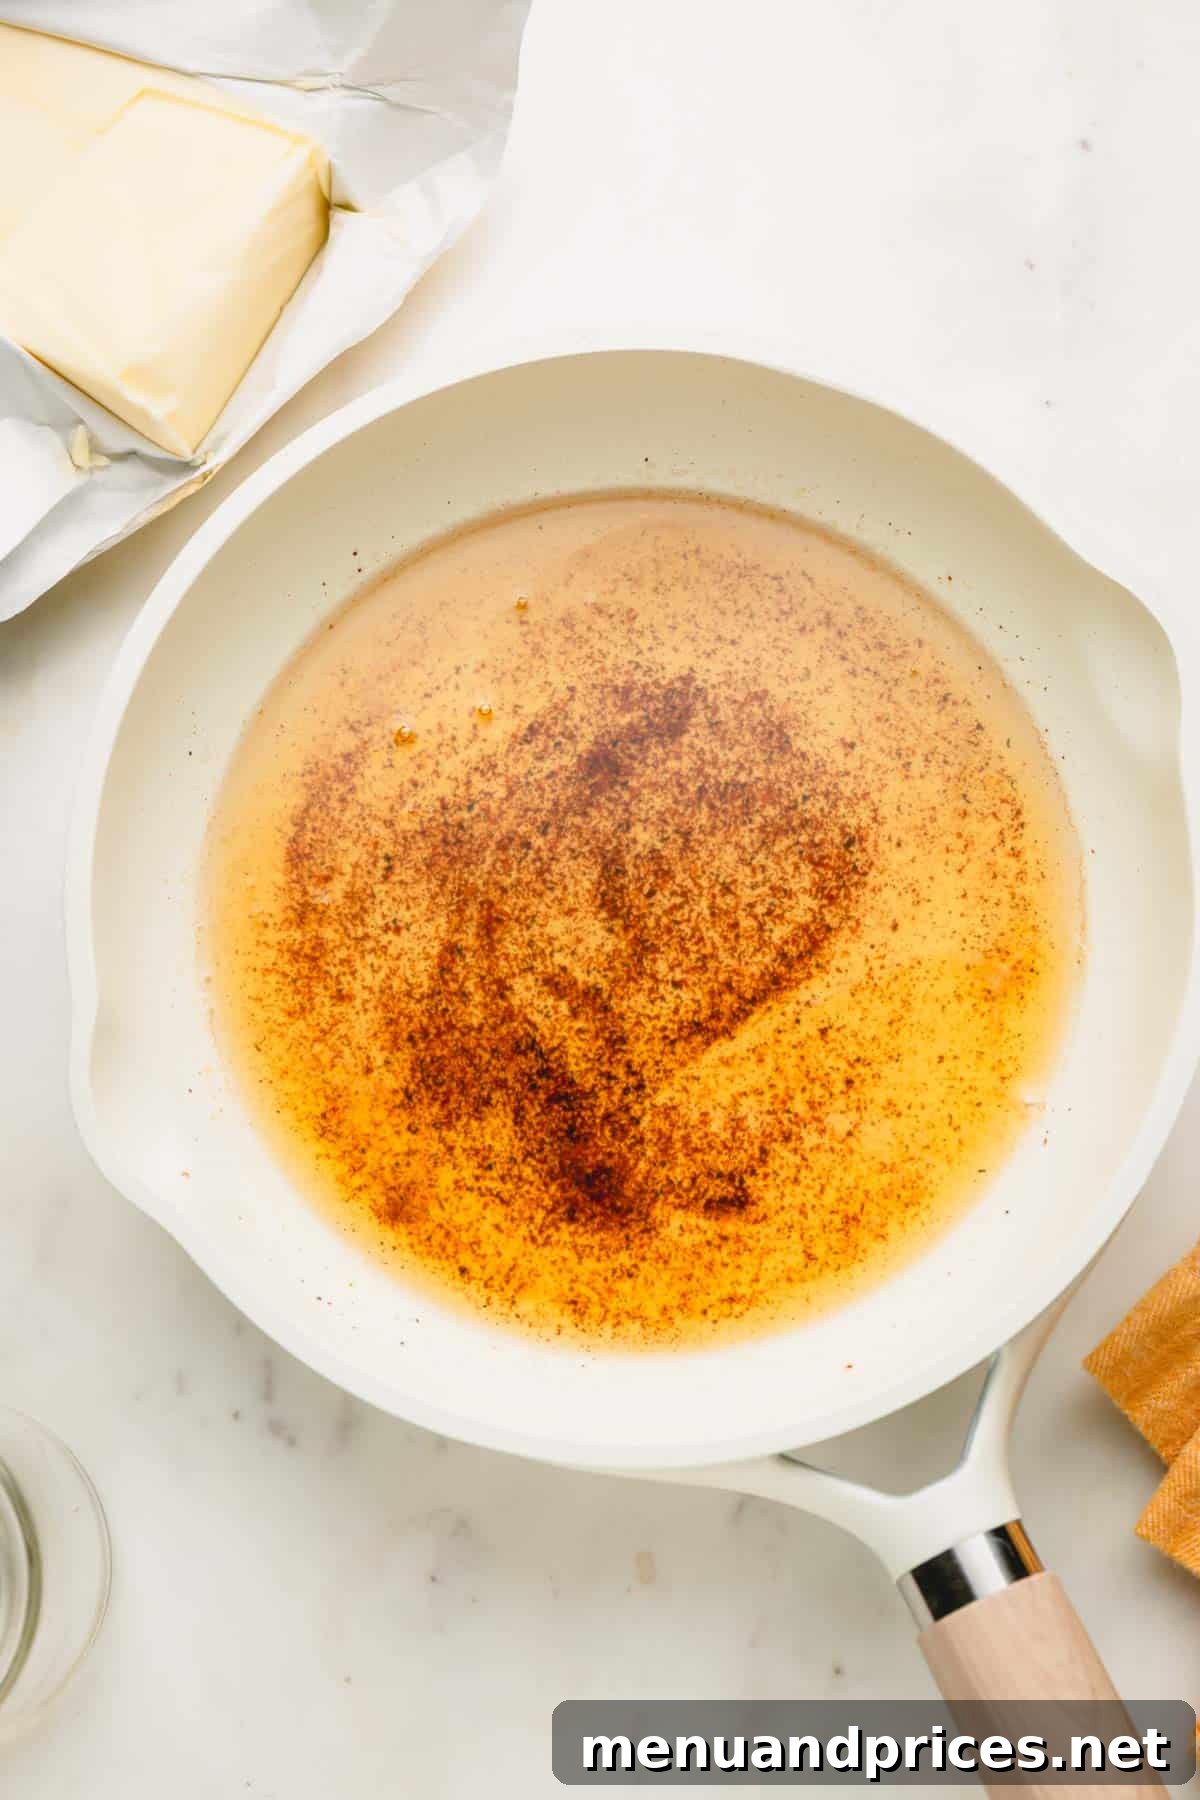
- Look for Golden Hues and Brown Specks: After approximately 5-8 minutes (depending on the amount of butter and heat intensity), the foaming will often subside slightly, and the butter will turn a beautiful golden color. More importantly, you’ll start to see tiny, dark brown speckles forming and collecting at the bottom of the pan. These are the caramelized milk solids, the very essence of brown butter’s flavor. The aroma will also change dramatically, evolving from a creamy dairy scent to a rich, nutty, and toasted fragrance, akin to roasted hazelnuts.
- Immediate Transfer is Key: The moment you achieve your desired golden-amber color and observe those delightful brown flecks, immediately remove the pan from the heat and pour the entire contents (butter and milk solids) into a separate heat-resistant jar or bowl. The residual heat in the pan can quickly burn the butter, so swift transfer is critical to halt the cooking process and preserve that perfect nutty flavor.
Pro Tips for Perfect Brown Butter Every Time
While browning butter is straightforward, a few expert tips can ensure you achieve consistently perfect results and avoid common pitfalls:
- Always Use a Light-Colored Pan: This cannot be stressed enough. A stainless steel or light-bottomed pan is your best friend here. It allows you to clearly see the subtle color changes in the butter, making it easier to gauge when it’s perfectly browned and preventing accidental burning, which can happen in a flash in dark pans.
- Start with Room Temperature Butter (Optional but Recommended): While you can technically brown cold butter, it’s more prone to splattering as the cold water content hits the hot pan. Using softened, room-temperature butter reduces splatter and promotes more even melting, leading to a less messy and more predictable browning process.
- Stay Present and Stir Constantly: Browning butter is not a “set it and forget it” task. It requires your full attention. Butter can go from perfectly golden to burnt in a matter of seconds. Continuously stir the butter, especially scraping the bottom of the pan, to ensure the milk solids brown evenly and don’t stick and scorch. This is not the time for multitasking!
- Embrace the Brown Specks: Those tiny, dark brown flecks at the bottom of the pan are not burnt bits to be discarded. They are the highly flavorful caramelized milk solids that give brown butter its signature nutty aroma and rich taste. Do not strain them out unless a specific recipe explicitly calls for clarified brown butter (which is rare).
- Account for Evaporation: During the browning process, the water content in the butter evaporates, meaning you’ll end up with slightly less liquid brown butter than the amount of solid butter you started with. If a recipe calls for a specific amount of melted butter and you’re substituting brown butter, it’s best to measure the butter *after* browning. As a general rule of thumb, start with 1-2 tablespoons more butter than the recipe requires to compensate for this loss. For example, if a recipe calls for 1/2 cup (113g) melted butter, start with 1/2 cup + 1-2 tablespoons (approx. 125-140g) unsalted butter to brown.
- Maintain Medium Heat: Resist the urge to crank up the heat to speed things up. High heat dramatically increases the risk of burning the butter, often unevenly. Medium heat takes a minute or two longer but provides more control, allowing the butter to brown gradually and develop a richer, more nuanced flavor without scorching.
- Use Your Senses: Beyond sight, your nose is a powerful tool. The aroma will shift from creamy to popcorn-like, then to a distinct nutty, toasted smell (like hazelnuts or pecans). Once you smell that beautiful nutty aroma, and see those golden flecks, it’s usually ready!
Storage and Longevity of Brown Butter
Once you’ve made your batch of glorious brown butter, proper storage ensures you can enjoy its unique flavor for an extended period. The caramelized milk solids are shelf-stable and contribute to its longevity.
- Refrigerator Storage: Store liquid brown butter in an airtight container or a glass jar with a tight-sealing lid. It will solidify in the refrigerator, much like regular butter, but retain its nutty flavor. It can be kept fresh for up to two weeks in the fridge. When ready to use, you can gently reheat it until melted, or use it in its solid state for recipes calling for cold butter.
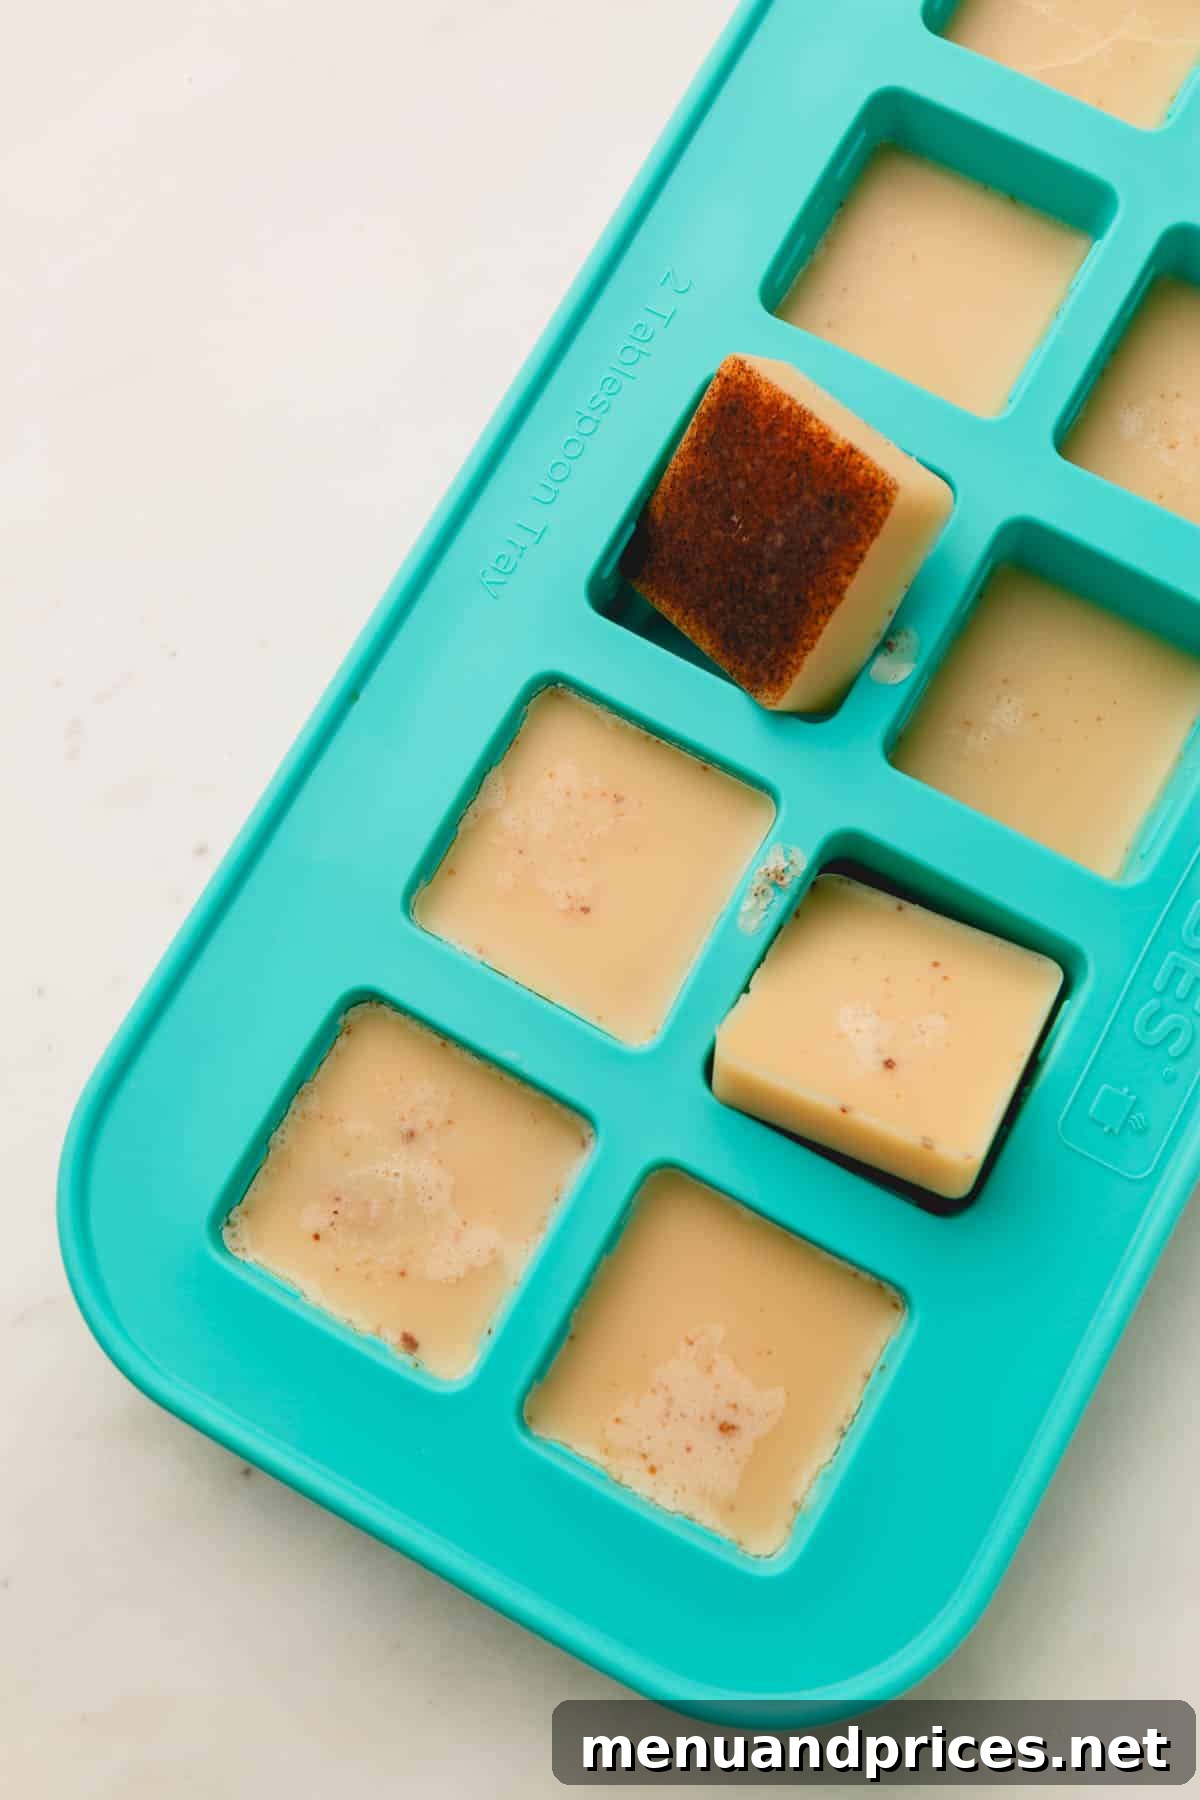
- Freezer Storage: For longer storage, brown butter freezes beautifully. You can pour the liquid brown butter into ice cube trays or silicone molds (like those for making candy or mini muffins) to create pre-portioned servings. Once frozen solid, transfer the brown butter portions to a freezer-safe bag or container. It will last for up to 3 months in the freezer. Thaw in the refrigerator or gently melt when needed.
Frequently Asked Questions About Brown Butter:
To brown butter, heat unsalted butter in a heavy-bottomed, light-colored saucepan over medium heat. It will first melt, then sizzle as its water content evaporates, and finally foam. As the cooking continues, the milk solids at the bottom of the pan will begin to caramelize, turning a deep golden-amber and eventually forming tiny brown specks. A rich, nutty aroma will also develop. Once the desired color is reached, immediately transfer it from the hot pan to stop the cooking.
The time it takes to brown butter can vary based on the quantity of butter, the pan’s heat retention, and your stovetop. For approximately 8 ounces (one stick) of unsalted butter over medium heat, it typically takes about 8 to 10 minutes. Using more butter may take a little longer, while smaller amounts could brown faster. Always prioritize visual cues and aroma over a strict timer.
Yes, absolutely! Stirring the butter continuously while it browns is crucial for several reasons. It ensures that the milk solids cook and caramelize evenly, preventing them from sticking to the bottom of the pan and burning. Constant stirring also helps you monitor the color change more effectively, allowing you to achieve that perfect nutty flavor without overcooking.
The delightful brown specks you see in brown butter are the caramelized milk solids. These are the proteins and sugars present in butter that undergo the Maillard reaction when heated, resulting in deep, complex, and savory-sweet flavors. These specks are essential to brown butter’s unique character and fragrant, toasty flavor profile. Do not discard or strain them out!
You can generally substitute equal parts brown butter for regular melted butter in most recipes, particularly in baking and sauces. Remember that brown butter loses some water during cooking, so it’s important to measure the butter *after* it has been browned. If a recipe calls for cold, solid butter (like in pie crusts or certain cookies), simply brown the butter, then chill it in the refrigerator until it solidifies and reaches the desired cold temperature before incorporating it into your recipe.
Absolutely! While often associated with baking, brown butter is a phenomenal addition to savory dishes. Drizzle it over steamed or roasted vegetables, toss it with pasta, use it to sauté mushrooms, baste chicken or fish, or whisk it into pan sauces for an instant depth of flavor. Its nutty notes complement a wide range of ingredients beautifully.
How to Brown Butter
Shinee Davaakhuu
2 mins
8 mins
10 mins
7 tablespoons
Ingredients
-
1 stick
(113 g)
unsalted butter
softened, Note 1
Instructions
-
Slice the butter into 1-tablespoon sized pieces and place it in a light-colored skillet over medium heat.
-
Melt the butter, stirring continuously with a heat-resistant silicone spatula or whisk.
-
Once the butter melts, it will begin to foam and bubble. Keep stirring through the foam to promote even cooking and prevent scorching.
-
After approximately 8 minutes, you’ll observe brown speckles collecting at the bottom of the pan, and the butter will turn a rich golden-amber color. Simultaneously, a fragrant, nutty aroma will fill your kitchen. (Note: For smaller quantities of butter, this may take less than 8 minutes.)
-
Immediately pour the brown butter, including all the brown specks, into a heat-resistant jar or bowl to halt the cooking process and prevent burning.
⭐️ Did you make this recipe?
Please leave a review and let us know how you liked it!
Tips & Notes
Note 1b: Starting with softened or room-temperature butter helps prevent excessive splattering during the melting phase, resulting in a cleaner and safer cooking experience.
Storing Tips: Store the brown butter in an airtight container or glass jar with a secure lid. It remains fresh for up to two weeks in the refrigerator or can be frozen for up to 3 months for longer preservation.
Nutrition
1 tablespoon
116kcal
0.01g
0.1g
13g
0.01g
104mg
Condiments
French
Did you make this?
Leave a rating and your feedback. Thank you!