The Ultimate Red Velvet Crepe Cake: An Elegant & Easy Valentine’s Day Dessert
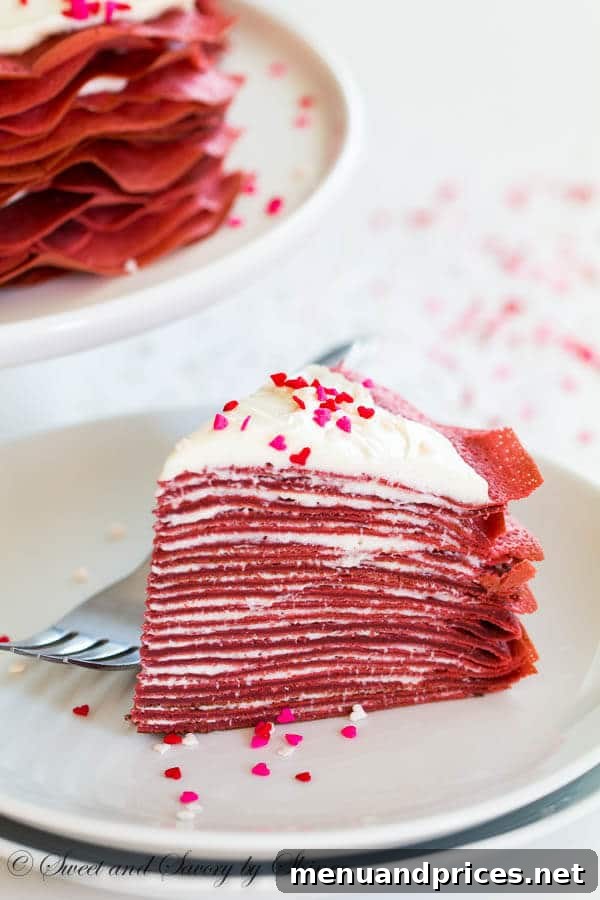
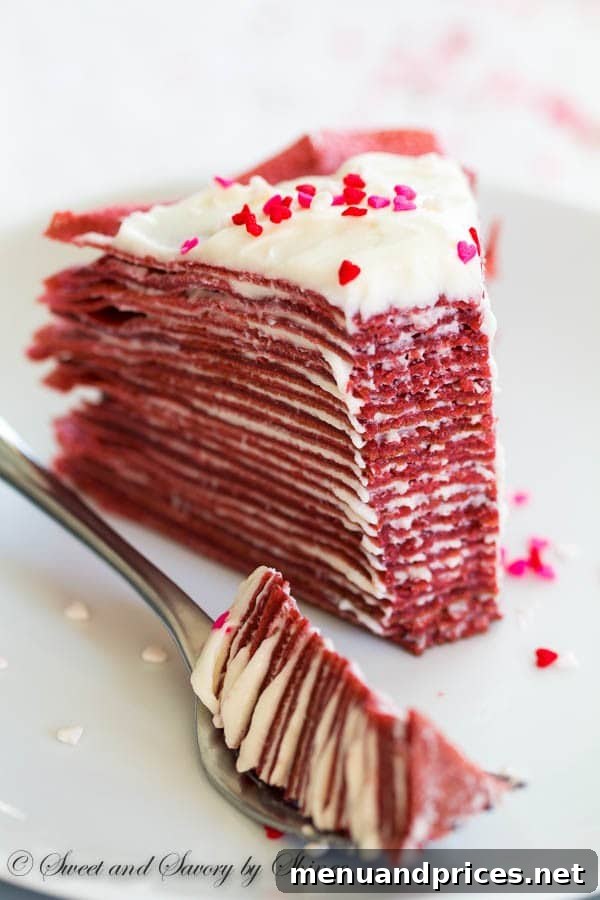
Prepare to be enchanted by this breathtaking Red Velvet Crepe Cake, a dessert that is as captivating to behold as it is delightful to taste. Featuring delicate layers of tender red velvet crepes generously filled with a luscious, tangy cream cheese frosting, this cake is an absolute masterpiece. While its sophisticated appearance might suggest otherwise, this stunning creation is surprisingly simple to assemble, making it the perfect showstopper for Valentine’s Day or any special celebration. If you’re looking to truly wow your guests or surprise a loved one, look no further than this exquisite dessert.
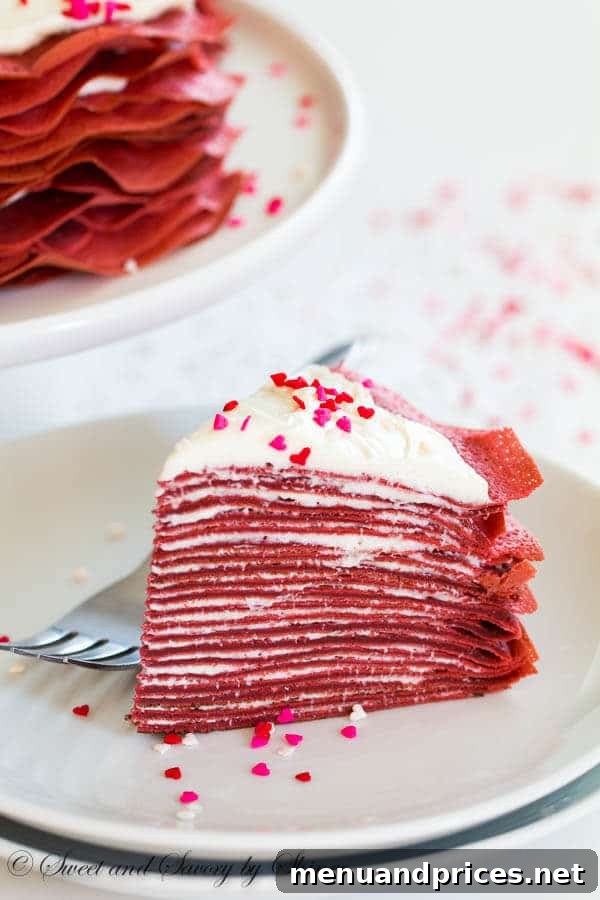
Every year, as February approaches, my thoughts drift towards desserts that embody romance, elegance, and indulgence. And what could be more fitting than the timeless allure of red velvet? This Red Velvet Crepe Cake isn’t just a dessert; it’s an experience, a labor of love that promises a truly memorable treat. The moment I first envisioned this cake – with its vibrant red hues and creamy white layers – I knew it was destined to be a favorite. Seeing it come to life, exactly as I had pictured, was incredibly satisfying. It’s a rare joy when a culinary vision translates perfectly into reality, and this cake certainly delivered.
Why a Crepe Cake? The Elegance of Layers Unveiled
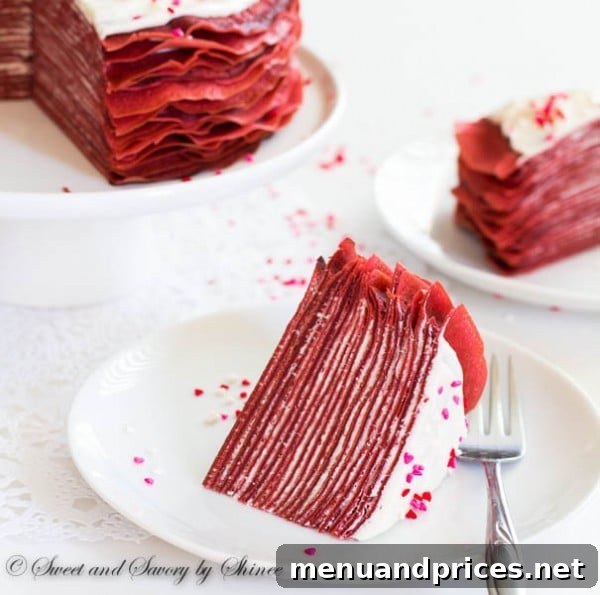
My journey into the world of crepe cakes began with a simple chocolate mousse version, and I’ve been utterly captivated ever since. There’s something inherently magical about a cake built from dozens of thin, delicate crepes, each layer contributing to a soft, ethereal texture that’s unlike any traditional baked cake. The beauty of a crepe cake lies in its effortless elegance. You don’t need intricate frosting techniques or elaborate decorations. The sheer volume of layers, subtly ruffled around the edges, creates a natural artistry that is truly impressive. This makes it an ideal choice for home bakers who want to create a stunning dessert without the pressure of perfection.
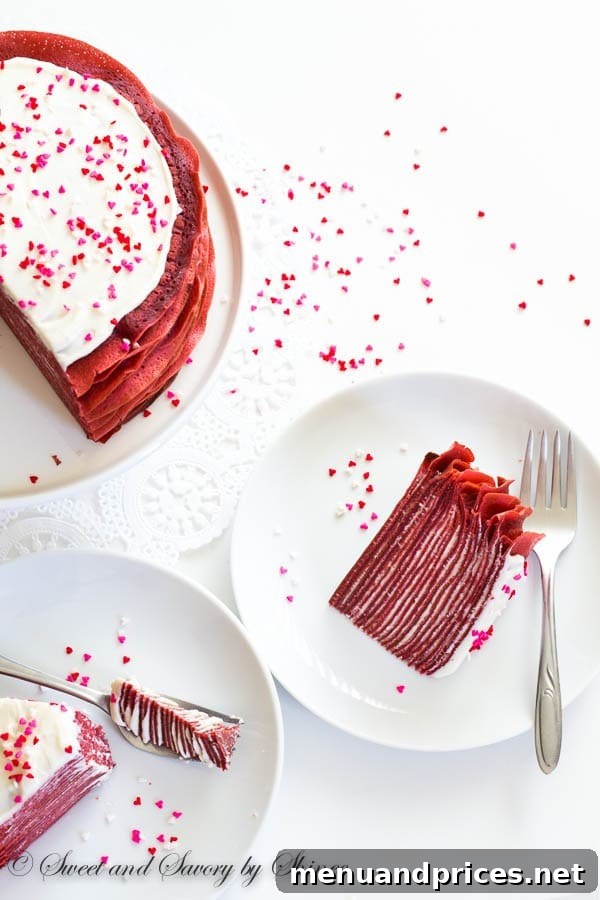
Often, people are intimidated by the appearance of a multi-layered crepe cake, assuming it must be incredibly difficult to construct. Let me assure you, this couldn’t be further from the truth! Assembling a crepe cake is surprisingly straightforward and incredibly forgiving. Unlike heavily frosted cakes that demand smooth sides and sharp edges, a crepe cake embraces its natural, slightly uneven beauty. Each crepe, even if not perfectly round, contributes to the overall charm, creating a rustic yet refined dessert. So, cast aside any apprehension and dive into the delightful process of making this show-stopping Red Velvet Crepe Cake.
Crafting the Perfect Red Velvet Crepes
The foundation of this exceptional dessert lies in its thin, tender red velvet crepes. Typically, you’ll aim for around 20 layers, each providing a soft counterpoint to the rich filling. To achieve that signature red velvet flavor, we start with a classic crepe batter and elevate it with a hint of unsweetened cocoa powder and a generous splash of pure vanilla extract. The cocoa adds depth and richness without overpowering the vanilla, while the vanilla enhances the overall sweetness and aroma.
A crucial element in traditional red velvet recipes is the use of buttermilk, and it plays a vital role here too. Adding buttermilk to the crepe batter not only contributes to the distinct tangy flavor profile of red velvet but also helps create incredibly tender crepes. The acidity in the buttermilk reacts with the baking soda (if used, though less common in crepes) and tenderizes the gluten, resulting in a wonderfully soft texture. When preparing the batter, remember this golden rule: do not overmix once the flour is added. Overmixing develops too much gluten, which can lead to tough, rubbery crepes. A gentle whisk or mixing on low speed until just combined is all you need for perfectly delicate results.
The Irresistible Tangy Cream Cheese Filling
What is red velvet without its iconic cream cheese frosting? For this crepe cake, we’ve crafted a luxurious, tangy cream cheese filling that perfectly complements the subtle cocoa notes of the crepes. This filling is a delightful blend of softened cream cheese, unsalted butter, powdered sugar, milk, and a generous amount of pure vanilla extract. The cream cheese provides a lovely tang and richness, while the butter adds a creamy texture and structure. Powdered sugar sweetens it to perfection, and a touch of milk ensures a smooth, spreadable consistency. Beat these ingredients together until light, fluffy, and utterly irresistible – it’s the perfect creamy counterpoint to each crepe layer.
Assembling Your Red Velvet Masterpiece
Assembling the Red Velvet Crepe Cake is the most rewarding part of the process, watching it transform from individual crepes into a magnificent tiered dessert. The trick is to spread a generous tablespoon of the cream cheese filling evenly over each cooled crepe, working your way up from the bottom. Don’t worry about being overly precise; the slight imperfections add to the cake’s charming, handmade aesthetic. Continue layering until all your crepes and filling are used, creating a beautiful stack of vibrant red and creamy white. Once assembled, a brief chilling period allows the cake to firm up, making it easier to slice and allowing the flavors to meld beautifully. Garnish with a sprinkle of your favorite decorations – perhaps some festive sprinkles for Valentine’s Day, or a dusting of cocoa powder for a more classic look.
Expert Tips for Crepe Cake Success
- Room Temperature Ingredients: Ensure eggs, milk, buttermilk, cream cheese, and butter are at room temperature. This helps create a smooth batter and a perfectly emulsified, lump-free filling.
- Rest the Batter: Don’t skip the 30-minute resting period for the crepe batter. This allows the flour to fully hydrate and the gluten to relax, resulting in more tender and less prone-to-tear crepes.
- Even Heating: Use a good quality non-stick skillet for frying crepes. Consistent medium-high heat is key. The first crepe is often a “tester” to adjust temperature and batter amount.
- Thin is In: Aim for truly thin crepes. A little less than a quarter cup of batter per 7-inch crepe should be sufficient. Swirl the pan quickly to distribute the batter evenly.
- Cool Completely: Stack cooked crepes on a plate and allow them to cool completely before assembling. Warm crepes will melt the filling. You can even make them a day ahead and refrigerate them, wrapped tightly.
- Don’t Overfill: While a “heaping tablespoon” is suggested, adjust based on the size of your crepes and desired filling thickness. Too much filling can make the cake unstable.
- Chill for Stability: Chilling the assembled cake for at least an hour (or longer) before serving makes slicing much easier and cleaner.
This Red Velvet Crepe Cake is more than just a dessert; it’s a celebration of flavor, texture, and visual appeal. It’s an ideal way to express affection and create lasting memories with its rich red hue and exquisite taste. Whether for a romantic dinner, a special brunch, or simply a treat to brighten your day, this cake promises to deliver an unforgettable culinary experience.
Ready to create this spectacular dessert? Here’s the detailed recipe to guide you through each step.
Red Velvet Crepe Cake
Shinee Davaakhuu
40 mins
20 mins
1 hr
6 -8 servings
Comment
Print Recipe
Ingredients
For crepes:
- 1 ¼ cups 155gr all-purpose flour
- 2 tablespoons 15gr unsweetened cocoa powder
- ½ teaspoon salt
- ¼ cup 50gr sugar
- 3 large eggs at room temperature
- 1 ½ cup 360ml milk, at room temperature
- ½ cup 120ml buttermilk, at room temperature
- 1 tablespoon pure vanilla extract
- ¼ teaspoon red gel food coloring
- 2 tablespoons vegetable oil
For cream cheese filling:
- 8 oz 225gr cream cheese, at room temperature
- ¼ cup 55gr unsalted butter, at room temperature
- 1 ½ cups 190gr powdered sugar
- 1-2 tablespoons milk
- 2 teaspoons pure vanilla extract
- Sprinkles for decoration if desired
Instructions
-
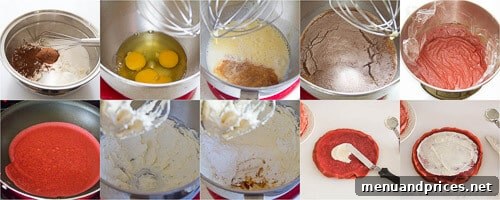
To make the crepes, in a medium bowl, whisk together flour, cocoa powder, salt and sugar.
-
In a mixing bowl with whisk attachment, or using a handheld electric mixer, or with a whisk, beat the eggs for 1 minute.
-
Add milk, buttermilk, vanilla extract and gel coloring. Beat the mixture for 3 minutes.
-
Add the flour mixture and beat on medium low speed just until combined, 1-2 minutes. Don’t overmix, or the batter will get tough and rubbery! Cover with plastic wrap so it touches the surface of the batter. Let it sit for 30 minutes. When ready to fry the crepes, whisk in the vegetable oil.
-
Heat 10-inch non-stick skillet over medium high heat. (The bottom of my 10-inch pan measures 7 inches, which means the crepes will be 7-inch round.) Place a little less than ¼ cup of batter into the hot pan, quickly swirl the pan so the batter evenly covers the bottom of the pan. In about 1 minute, when the edges of the crepe start to pull away, flip it over using a spatula. Cook for about 30 seconds or so and stack the crepes on a plate. You’ll get about 20 crepes. Cool the crepes completely. You can wrap the crepes with a plastic wrap and refrigerate for up to a day.
-
To make the cream cheese filling, beat the cream cheese and butter in a medium mixing bowl with paddle attachment, or using handheld electric mixer. Add powdered sugar, vanilla extract and milk and mix until smooth, starting on low speed and slowly increasing the speed to medium high.
-
To assemble the cake, spread a heaping tablespoon of cream cheese filling on a crepe. Place another crepe on top and spread another heaping tablespoon of the filling. Repeat until all crepes are used. Top with sprinkles, if desired. Serve immediately, or store in airtight container in the fridge. Bring the cake to room temperature before serving.
⭐️ Did you make this recipe?
Please leave a review and let us know how you liked it!
Nutrition

Did you make this?
Leave a rating and your feedback. Thank you!