

The Ultimate Guide to Flawless Chocolate Covered Strawberries
Chocolate covered strawberries are a timeless indulgence, simple yet undeniably elegant. They are the quintessential treat for special occasions, a delightful garnish for cakes and cupcakes, or simply a luxurious snack to brighten any day. While the concept seems straightforward, achieving that flawlessly smooth, shiny chocolate finish without undesirable gray streaks or a sticky mess requires a few insider secrets. This comprehensive guide will equip you with all the tips and tricks you need to master the art of making perfect chocolate dipped strawberries at home, transforming humble berries into gourmet delights.

Why You’ll Fall in Love with This Easy Recipe
There’s an unparalleled joy in biting into a fresh, succulent strawberry enveloped in rich, velvety chocolate. This combination is a classic for a reason – the tartness of the berry perfectly complements the sweetness of the chocolate, creating a symphony of flavors and textures. Beyond being a fantastic stand-alone dessert, these elegant treats also serve as a beautiful garnish, elevating the presentation of other confections like Strawberry Chocolate Cupcakes or a lavish dessert platter.
- Effortless Elegance: You only need two primary ingredients and a handful of straightforward techniques to achieve impressive results. This recipe proves that sophistication doesn’t have to be complicated.
- Universally Adored: Chocolate covered strawberries are a guaranteed crowd-pleaser, making them ideal for a wide array of occasions. From romantic holidays like Valentine’s Day and anniversaries to festive gatherings, birthday parties, or even a spontaneous weeknight indulgence, they always hit the spot.
- Irresistibly Delicious: Experience the exquisite blend of sweet, juicy strawberries and silky-smooth chocolate that boasts the perfect amount of “snap” when you take a bite. The contrast in textures and harmonious flavors will leave you craving more.
Once you master this incredibly simple yet rewarding recipe for homemade chocolate covered strawberries, you’ll find yourself reaching for store-bought varieties less and less. The superior taste, texture, and the satisfaction of creating them yourself are unmatched, making this a staple in your dessert repertoire.

Selecting Your Key Ingredients for Success
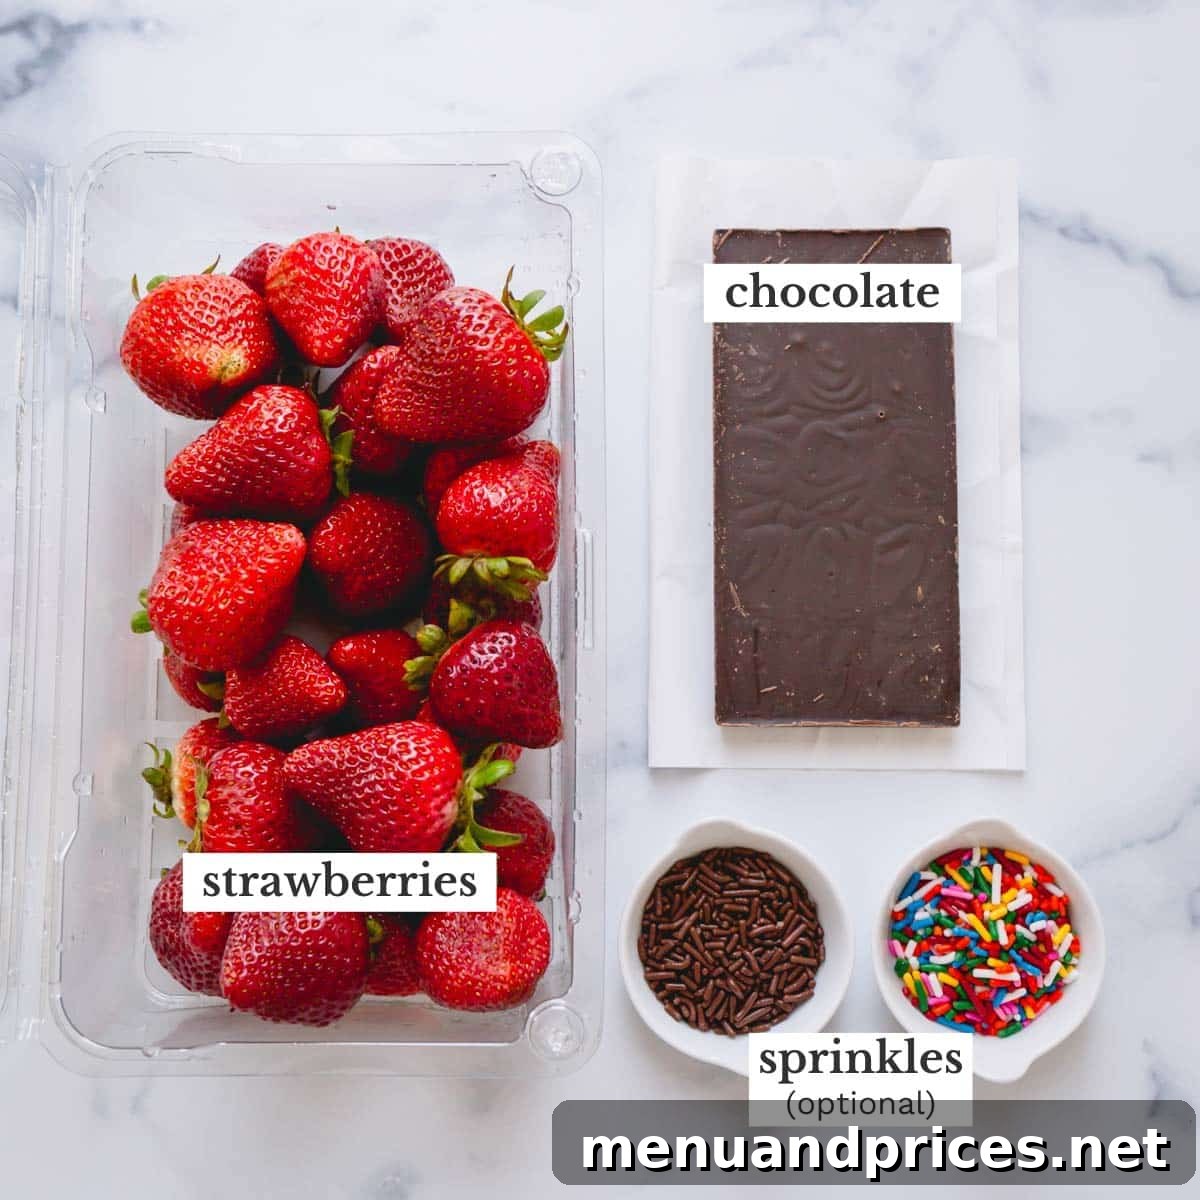
When a recipe features only a few ingredients, the quality of each component becomes paramount. For chocolate covered strawberries, investing in high-quality produce and chocolate will significantly elevate the taste and texture of your final creation. Here’s what you need to know:
- Strawberries: The foundation of this treat. Opt for fresh, perfectly ripe, and firm strawberries with their vibrant green stems still intact. The stems not only provide a natural handle for dipping but also add to the visual appeal. Avoid any berries that are overly ripe, mushy, or have soft spots, as these will not hold up well to dipping. Crucially, never use frozen strawberries for this recipe, as their high water content will lead to a watery, unappealing result once thawed.
- Chocolate: This is where the magic happens. For the absolute best flavor, shine, and snap, I highly recommend using high-quality couverture chocolate. Couverture is a premium chocolate known for its high percentage of cocoa butter, which makes it flow beautifully when melted and creates a superior, stable coating. However, if couverture isn’t readily available, a good quality baking chocolate bar from your local grocery store, such as Ghirardelli, also yields fantastic results. You can choose dark, milk, or white chocolate based on your preference.
- Toppings (Optional, but Recommended!): While perfectly delicious on their own, toppings add an extra layer of texture, flavor, and visual appeal. Get creative! Popular choices include finely crushed nuts (pecans, almonds, pistachios), colorful sprinkles, shredded coconut, delicate chocolate shavings, or even an elegant drizzle of contrasting chocolate (e.g., white chocolate drizzle on dark chocolate).
Remember, the simpler the recipe, the more each ingredient shines. Don’t compromise on quality, and your taste buds will thank you!
Step-by-Step Guide to Crafting Chocolate Covered Strawberries
Creating these delightful treats is surprisingly simple when you follow these clear, easy steps. Pay close attention to the details, and you’ll achieve a professional-looking and tasting result every time.
1. Prepare Your Strawberries with Precision
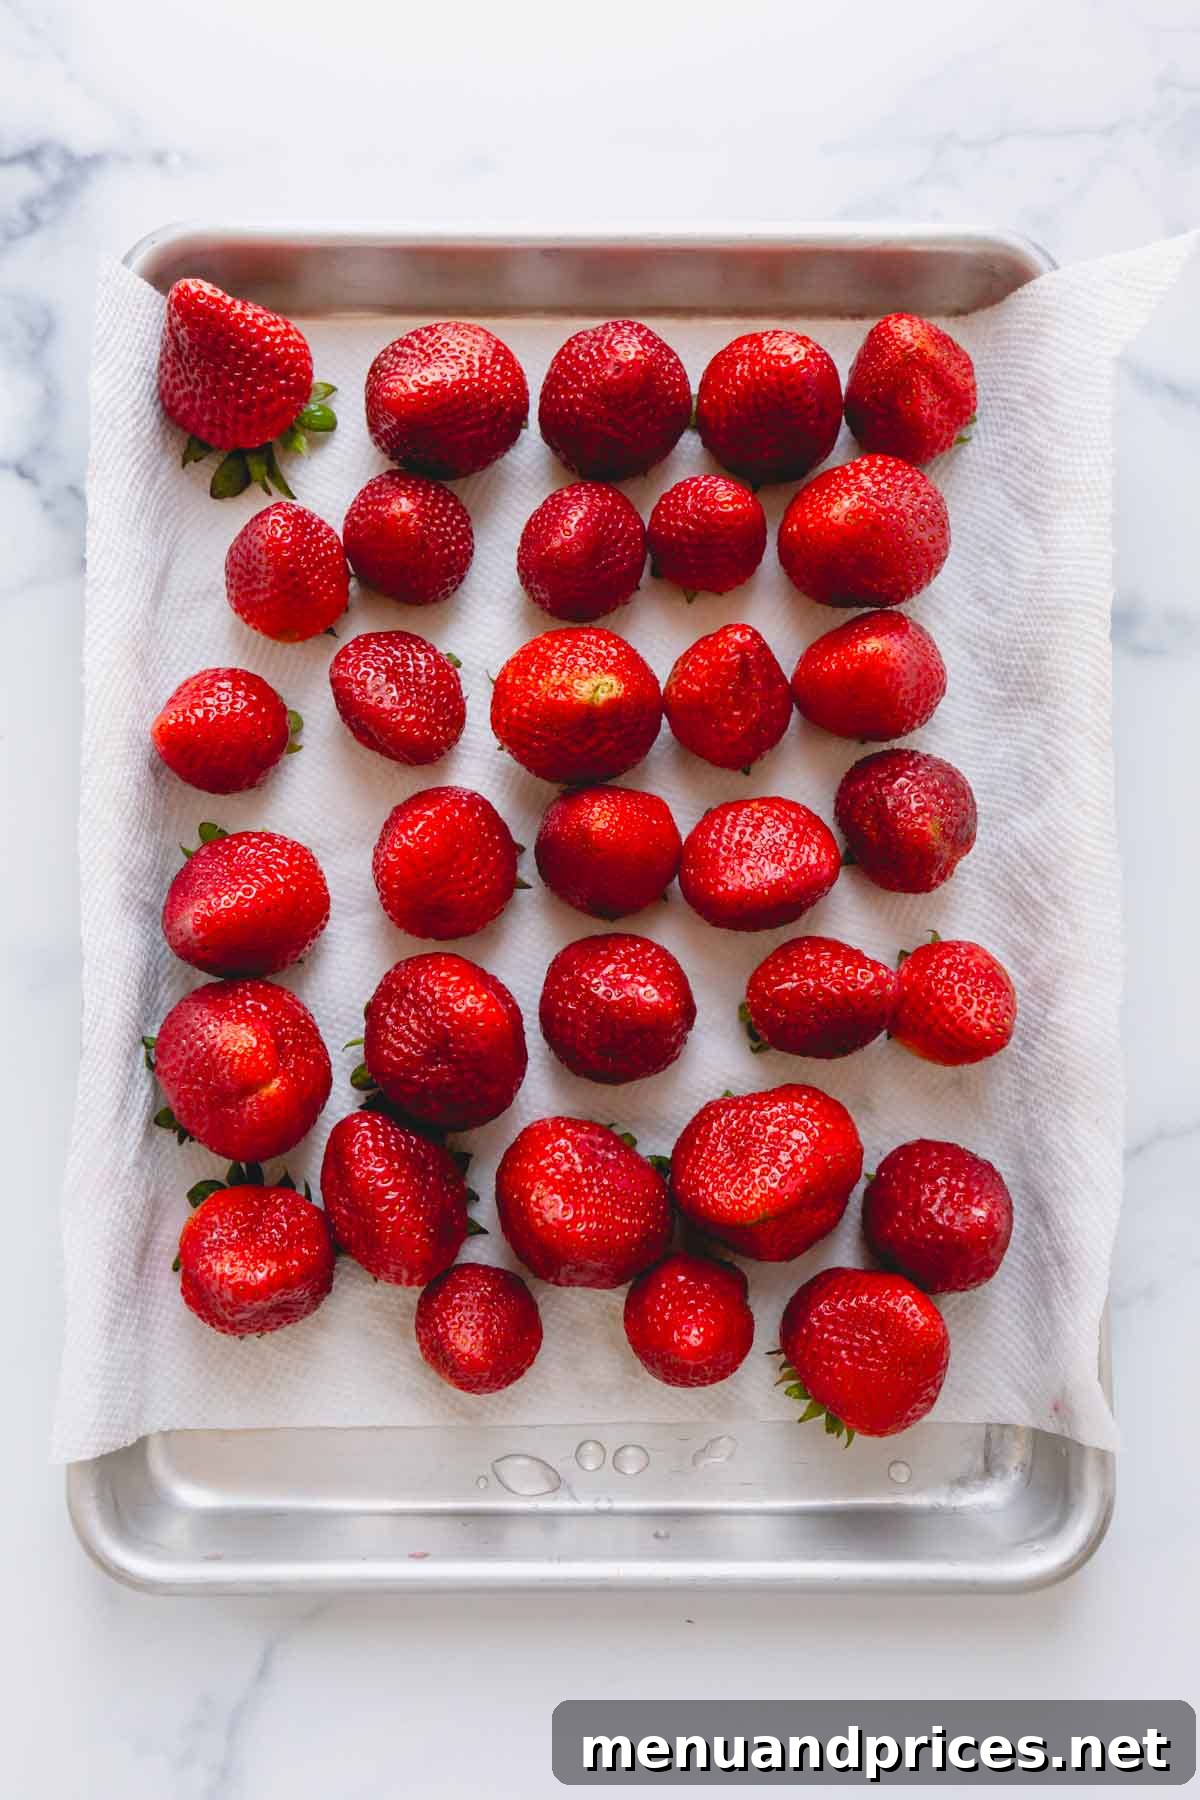
Before any chocolate melting begins, proper strawberry preparation is crucial for ensuring the chocolate adheres perfectly. Start by thoroughly washing your fresh strawberries under cool running water. Gently pat them dry with paper towels. Then, arrange them in a single layer on a baking sheet lined with fresh paper towels. Allow them to air dry completely at room temperature. This step is non-negotiable – any residual moisture on the strawberries will cause the chocolate to seize or create streaks, preventing a smooth finish. While the strawberries are drying, prepare a second baking sheet by lining it with either a silicone mat or wax paper. This will be where your dipped strawberries will cool and set without sticking.
The Golden Rule: Dry & Room Temperature!
This cannot be stressed enough: ensure your strawberries are *completely dry* and have reached *room temperature* before they ever touch the melted chocolate. Cold, damp strawberries will cause the chocolate to bloom (develop gray streaks) and prevent it from sticking properly, leading to a frustrating and messy outcome.
2. Expertly Melt Your Chocolate
Melting chocolate requires a gentle approach to prevent scorching and to maintain its smooth, luxurious texture. Here’s the best way to do it:
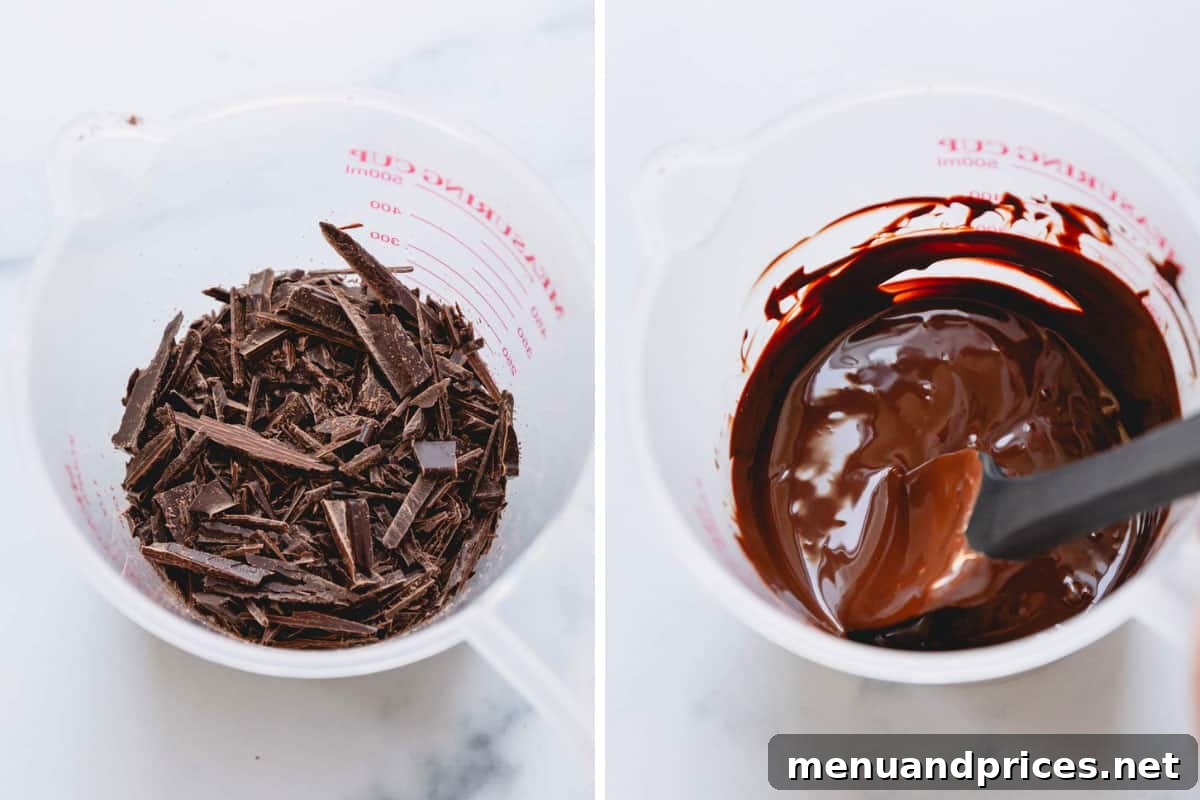
- Chop: Begin by finely chopping your high-quality chocolate bar into small, uniform pieces. Smaller pieces melt more evenly and quickly, reducing the risk of overheating. Place the chopped chocolate into a plastic or silicone bowl. Avoid using a glass bowl, as it retains heat for longer, making it harder to control the melting process and increasing the chance of scorching.
- Microwave with Care: Place the bowl of chopped chocolate into the microwave. Heat it for 1 minute at 100% power (this timing is based on a standard 1000-watt microwave; adjust slightly for higher or lower wattage).
- Stir and Repeat: After the initial minute, remove the bowl and stir the chocolate thoroughly with a rubber spatula, even if it doesn’t look fully melted. The residual heat will continue to melt the chocolate. Return the bowl to the microwave and heat for an additional 10 seconds at 100% power. Stir well again. Continue this process of microwaving in 10-second increments, stirring vigorously after each, until the chocolate is fully melted and beautifully smooth, with no lumps remaining. This gradual melting method helps to “cheat” the tempering process, giving you a shiny, stable coating without the complex traditional method.
3. Dip, Decorate, and Set Your Masterpieces
With your perfectly melted chocolate and prepared strawberries, it’s time for the fun part: dipping and decorating!
- Dip the Strawberries: Once your chocolate is completely melted and impeccably smooth, grasp a clean, dry strawberry by its stem. Dip it into the luscious melted chocolate, covering approximately 75% of the berry. Avoid submerging it entirely; leaving a portion of the red berry visible adds to its charm and provides a handle. Gently lift the strawberry, allowing any excess chocolate to drip back into the bowl. You can lightly tap the stem against the rim of the bowl to encourage drips and achieve a clean line.
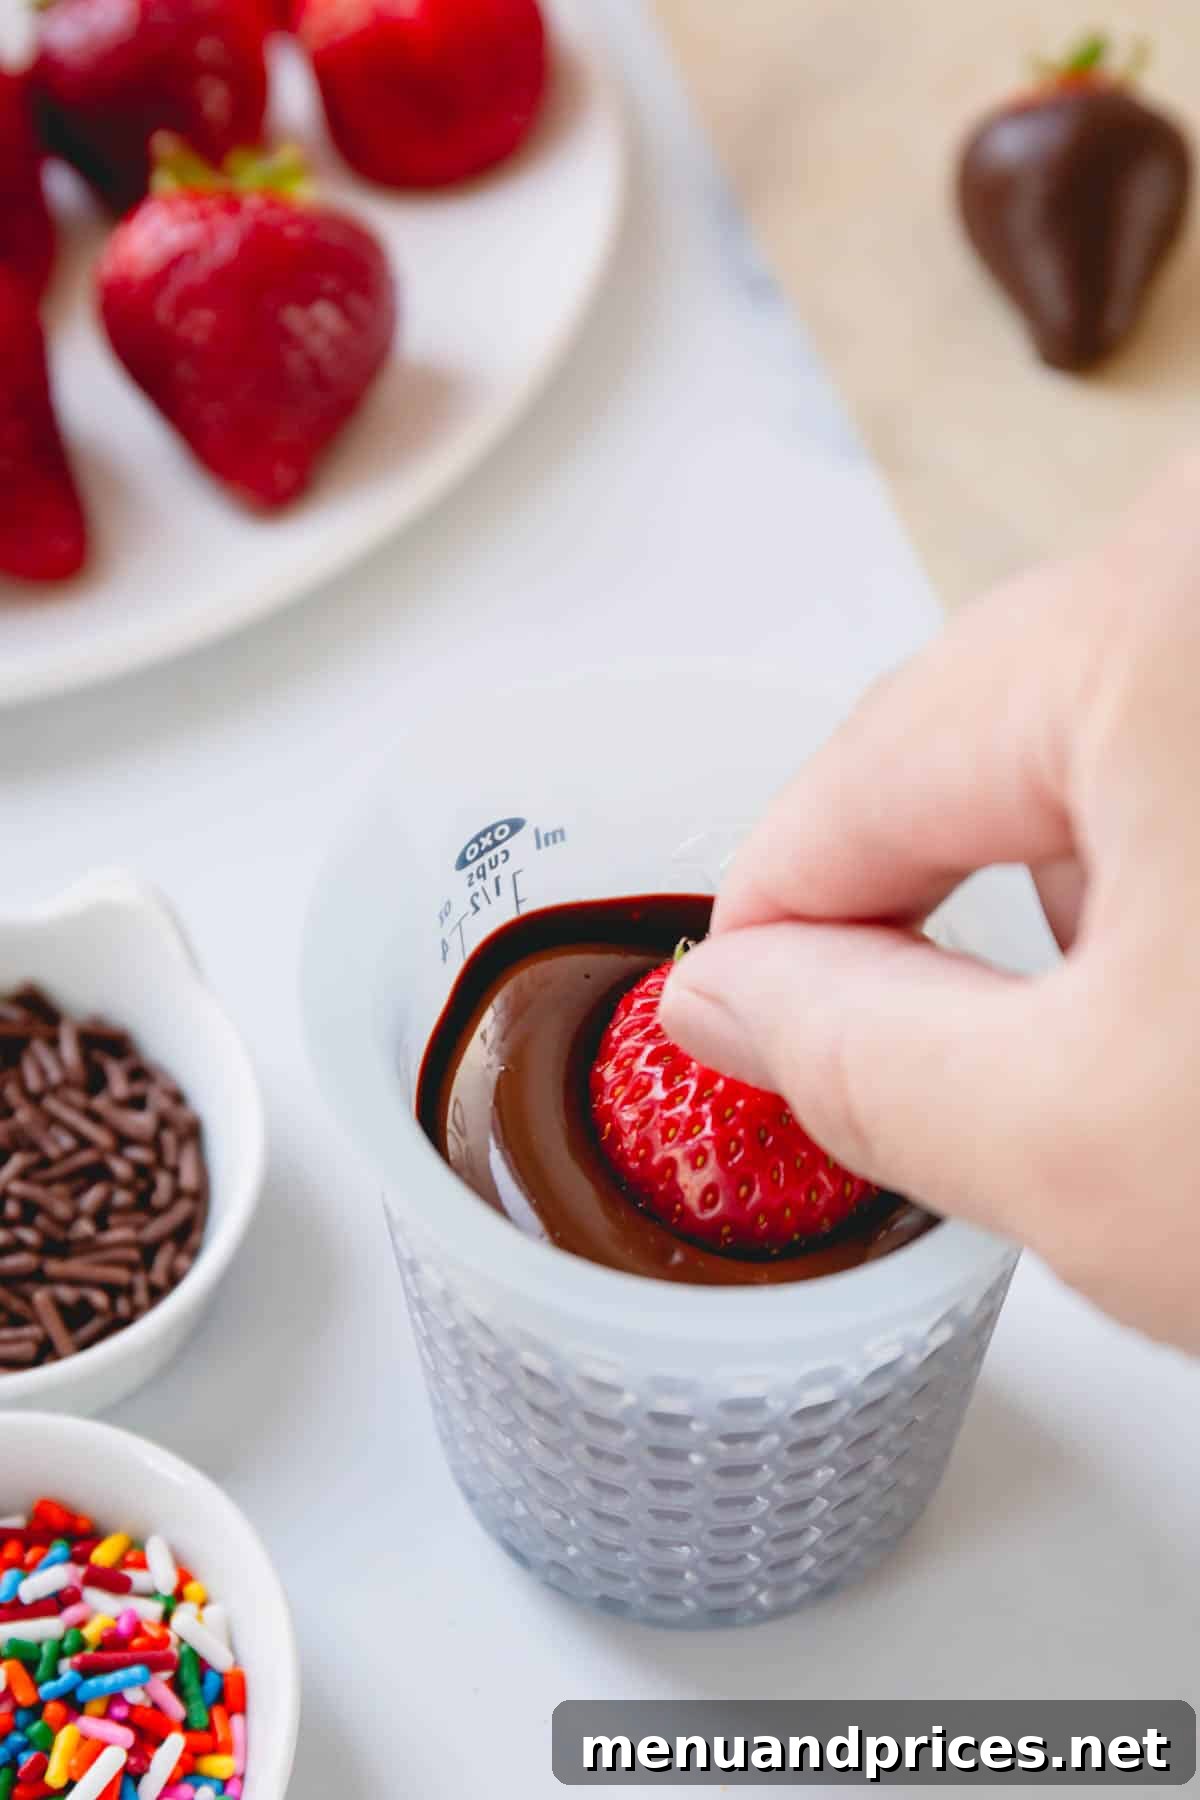
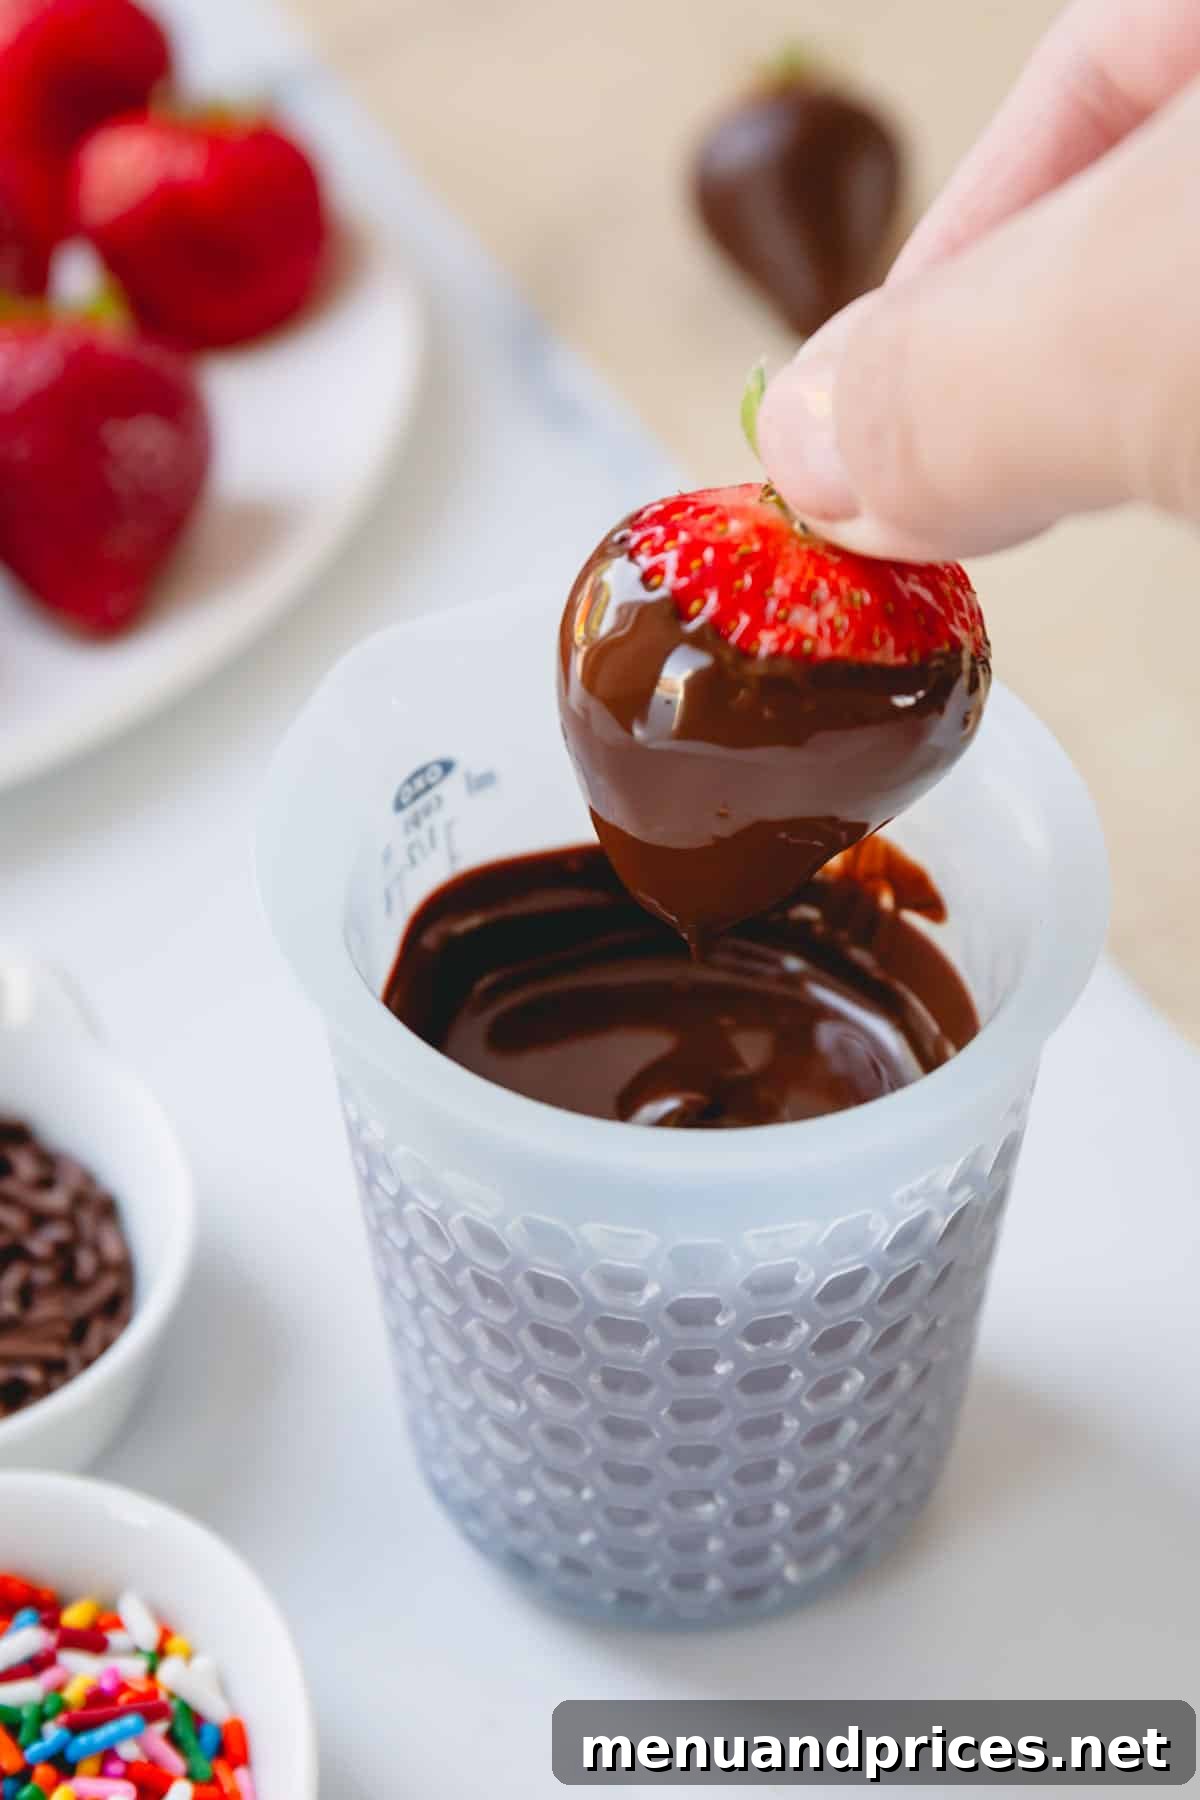
- Add Any Toppings: This is your moment to get creative! While the chocolate is still glistening and wet, roll the dipped fruit in your chosen toppings or lightly sprinkle them on top. The chocolate will act as a natural adhesive, securing your decorations.
- Transfer and Cool: Carefully transfer the dipped and decorated strawberry to your prepared baking sheet (lined with a silicone mat or wax paper). Ensure there’s enough space between each strawberry so they don’t touch. Repeat this delightful process with all your remaining strawberries.
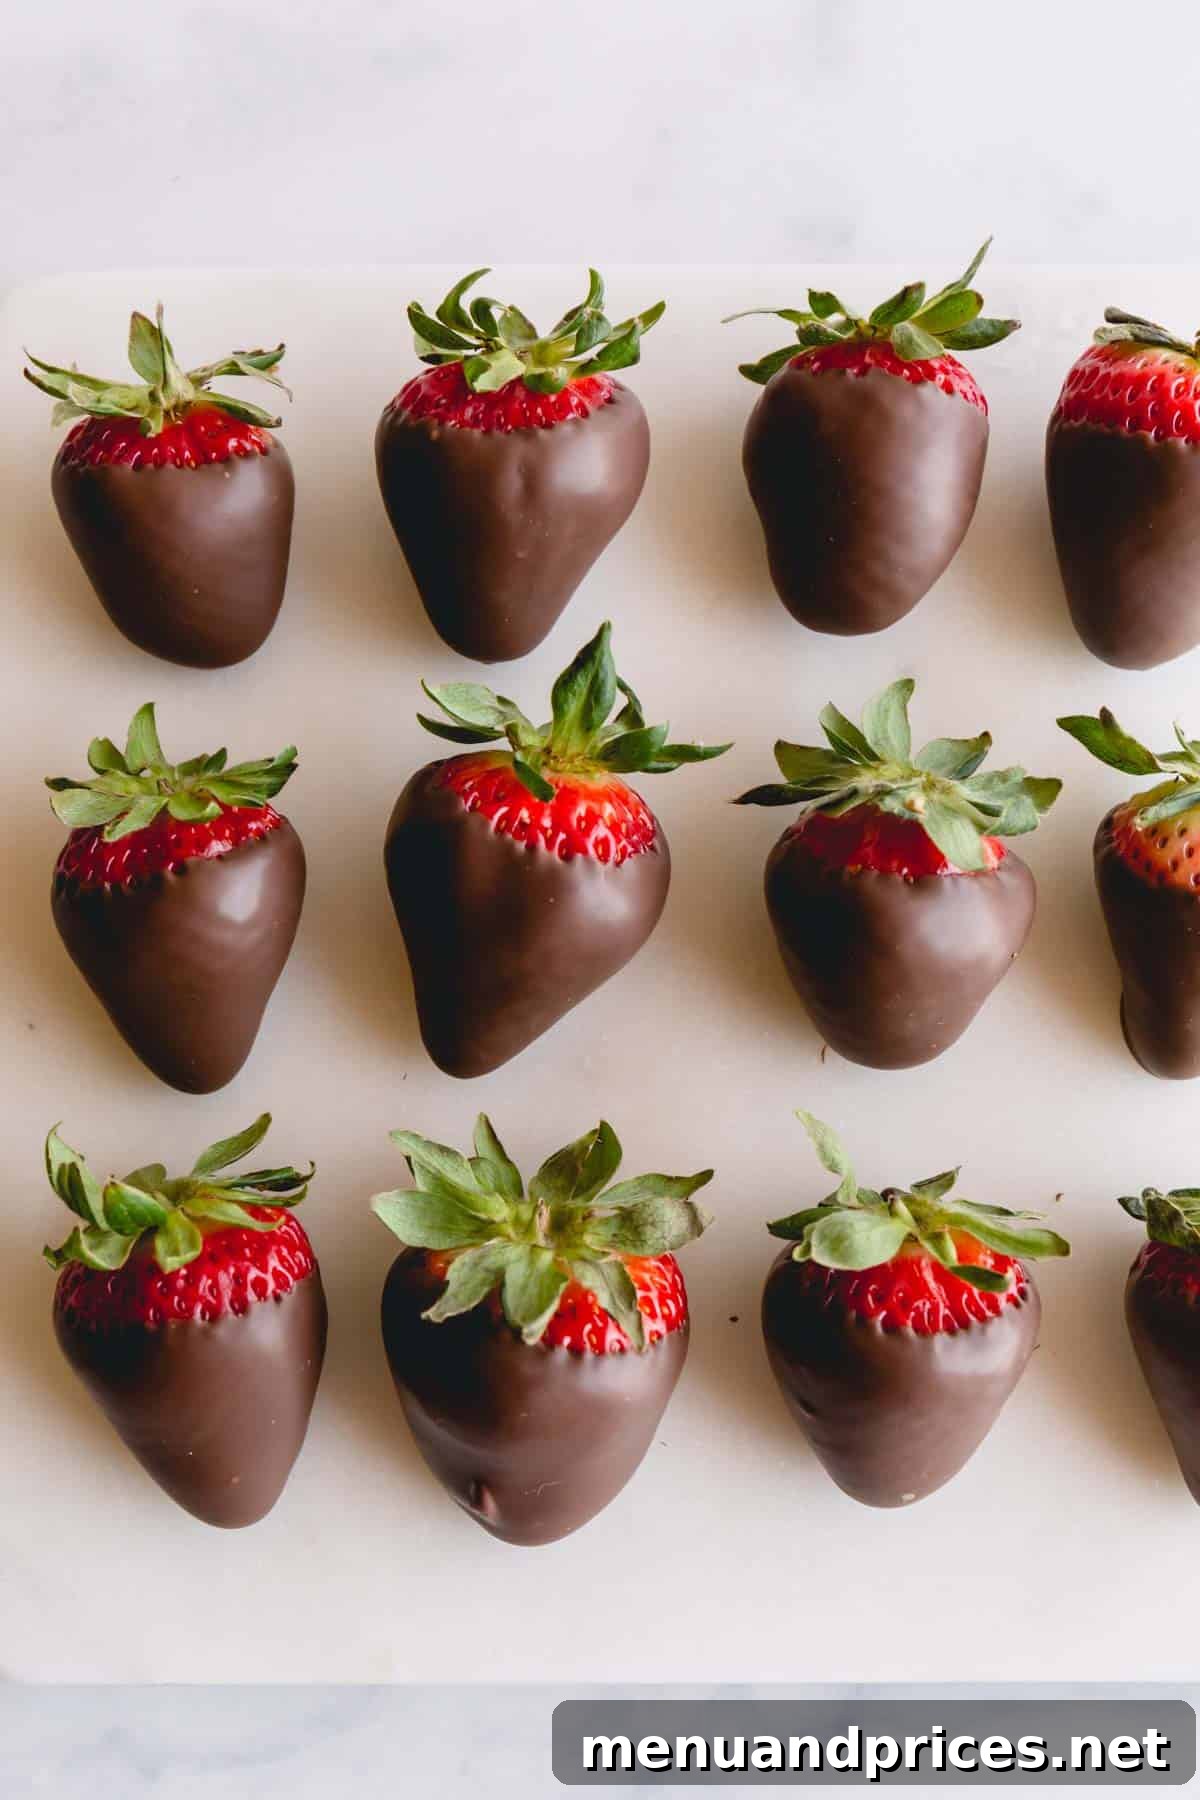
- Set at Room Temperature: Allow the chocolate strawberries to cool undisturbed at room temperature until the chocolate has fully set. This usually takes about 5-15 minutes, depending on the ambient temperature and chocolate type. Avoid the temptation to refrigerate them immediately, as this can cause condensation and affect the chocolate’s texture and appearance. Once set, they are ready to be enjoyed! For an extra touch of elegance, consider drizzling a contrasting type of melted chocolate (e.g., white chocolate over dark) for a beautiful finish.

Mastering the Art: Expert Tips for a Flawless Finish
Achieving perfectly smooth, shiny, and non-sticky chocolate covered strawberries is easier than you think when you keep these key tips in mind:
- Room Temperature is Key: As mentioned, always allow your washed strawberries to dry completely and come to room temperature. Cold strawberries will cause the warm chocolate to cool too rapidly, leading to condensation, which results in a dull, streaky, or “bloomed” appearance. The chocolate also won’t adhere properly to a cold, potentially sweating, surface.
- Steer Clear of Chocolate Chips: While convenient, standard chocolate chips contain stabilizers (like soy lecithin) designed to help them hold their shape during baking. This means they don’t melt as smoothly or evenly as a high-quality chocolate bar and are more prone to seizing or becoming grainy. For the best results, always opt for baking chocolate bars, couverture chocolate, or even melting wafers specifically formulated for dipping.
- The “Cheater’s Temper”: For truly professional-looking chocolate with a beautiful snap and resistance to blooming, tempering is essential. Traditional chocolate tempering is a nuanced process involving precise temperature control. However, our gentle microwave method acts as a “cheater’s temper” by slowly and carefully melting the chocolate without breaking its crystalline structure. This helps ensure a glossy, firm set without a sticky mess. If you’re curious about the full tempering process, you can explore resources like How to Temper Chocolate.
- Water is the Enemy: When melting chocolate, it is absolutely critical to prevent any water from coming into contact with it. Even a single drop can cause the chocolate to “seize,” turning it into a thick, clumpy, unworkable mess. Ensure your bowls and utensils are perfectly dry, and be mindful of steam if using a double boiler method (though the microwave is generally safer for beginners).
- Embrace Melting Wafers or Almond Bark: If you’re looking for the easiest, most foolproof method, melting wafers or chocolate almond bark are excellent alternatives. These products are formulated to melt smoothly, set quickly, and provide a shiny finish without the need for tempering, making them perfect for stress-free dipping.
Planning Ahead: Make-Ahead Tips
While chocolate covered strawberries are best enjoyed fresh, you can certainly prepare some elements in advance to make your dipping process smoother and quicker. You can wash, thoroughly dry, and allow your strawberries to come up to room temperature a day or two before dipping. Store them in a single layer on a paper towel-lined baking sheet, loosely covered, on your kitchen counter (not in the refrigerator). This ensures they are perfectly primed for dipping when you’re ready to melt your chocolate.
Storing Your Delicious Creations
Proper storage is crucial to maintain the quality and appearance of your chocolate covered strawberries. Here are the best practices:
- Room Temperature is Preferred: Surprisingly, chocolate covered strawberries generally do not need to be refrigerated. Storing them in a cool, dark place in your kitchen, such as a pantry or on a countertop away from direct sunlight, is often ideal.
- Avoid Condensation: Refrigeration can cause condensation to form on the surface of the chocolate, especially when taken out into a warmer room. This moisture can lead to a dull, sticky finish and alter the chocolate’s texture and taste. If you must refrigerate, place them in an airtight container to minimize exposure to moisture, but be aware of potential condensation when they come out.
- Enjoy Fresh: Ideally, chocolate covered strawberries are at their absolute best when consumed on the same day they are made. The strawberries are freshest, and the chocolate retains its perfect snap and shine. While they can last for 1-2 days at room temperature (or slightly longer in the fridge), the berries will eventually start to soften and weep.

Frequently Asked Questions About Chocolate Covered Strawberries
The secret to chocolate sticking flawlessly is ensuring the strawberries are completely dry and at room temperature. Any moisture or coldness on the berry’s surface will prevent proper adhesion and can lead to a messy, uneven coating.
No, quite the opposite! Strawberries should be brought up to room temperature before dipping them into chocolate. Cold berries cause the chocolate to bloom (turn gray/dull) and create condensation, making it difficult for the chocolate to adhere.
While you technically can freeze chocolate covered strawberries, they are not ideal for thawing and eating later as a fresh dessert. The strawberries will become very mushy upon thawing due to their high water content. However, they make a delightful frozen treat if you enjoy them straight from the freezer!
For optimal taste and texture, store chocolate covered strawberries at room temperature in a cool, dark place in your kitchen. They are best enjoyed on the day they are made.
Explore More Delicious Strawberry Recipes
If you’re a fan of fresh strawberries, don’t stop at just chocolate covered! Here are more fantastic ways to enjoy this versatile fruit:
- Easy Instant Pot Strawberry Jam
- Berry Chantilly Cake
- Mini Strawberry Pies
- Chocolate Strawberry Shortcakes

Chocolate Covered Strawberries
Shinee Davaakhuu
12
3
5
20
14 strawberries
Ingredients
-
8 oz
(225 g)
fresh strawberries -
4 oz
(115 g)
chocolate bar
(high-quality, not chips)
Optional toppings:
-
crushed nuts, sprinkles, shredded coconut, chocolate shavings, etc.
Equipment
-
2 baking sheets
-
1 silicone mat or wax paper
-
1 plastic or silicone bowl
Instructions
-
Wash fresh strawberries and arrange them in a single layer on a baking sheet lined with a paper towel. Let them air dry thoroughly at room temperature. Ensure they are completely dry before proceeding.8 oz fresh strawberries
-
Prepare a second baking sheet or tray by lining it with a silicone mat or wax paper.
-
Chop the chocolate bar into small, uniform pieces. Place the chopped chocolate into a plastic or silicone bowl. (Avoid glass bowls as they retain heat too much.)4 oz chocolate bar
-
Microwave the chocolate for 1 minute at 100% power (for a 1000W microwave).
-
Stir the chocolate well, then microwave for an additional 10 seconds at 100% power. Continue microwaving in 10-second increments, stirring after each, until the chocolate is fully melted and smooth.
-
Once the chocolate is melted and smooth, hold a strawberry by the stem and dip it into the chocolate, covering about three-quarters of the way. Allow any excess chocolate to drip off.
-
If desired, roll the chocolate-covered strawberry in your chosen toppings while the chocolate is still wet.crushed nuts, sprinkles, shredded coconut, etc.
-
Place the dipped strawberry onto the prepared baking sheet or tray.
-
Repeat this process with all remaining strawberries.
-
Allow the chocolate-covered strawberries to cool and set at room temperature for about 3-5 minutes, or until the chocolate is firm.
⭐️ Did you make this recipe?
Please consider sharing your experience!
Notes & Tips
Chocolate Choice: High-quality chocolate bars (like Ghirardelli or couverture) are recommended over chocolate chips, which contain stabilizers that make them harder to melt smoothly. Melting wafers or almond bark are easy alternatives if you want to avoid tempering.
Storage: Chocolate covered strawberries are best enjoyed on the day they are made. Store them at room temperature in a cool, dark place in an airtight container if not consumed immediately. Refrigeration can cause condensation and alter texture.
Nutrition
1 strawberry
51kcal
7g
0.1g
2g
7g
3mg
Dessert
American

Did you make this?
We’d love to hear your feedback!