
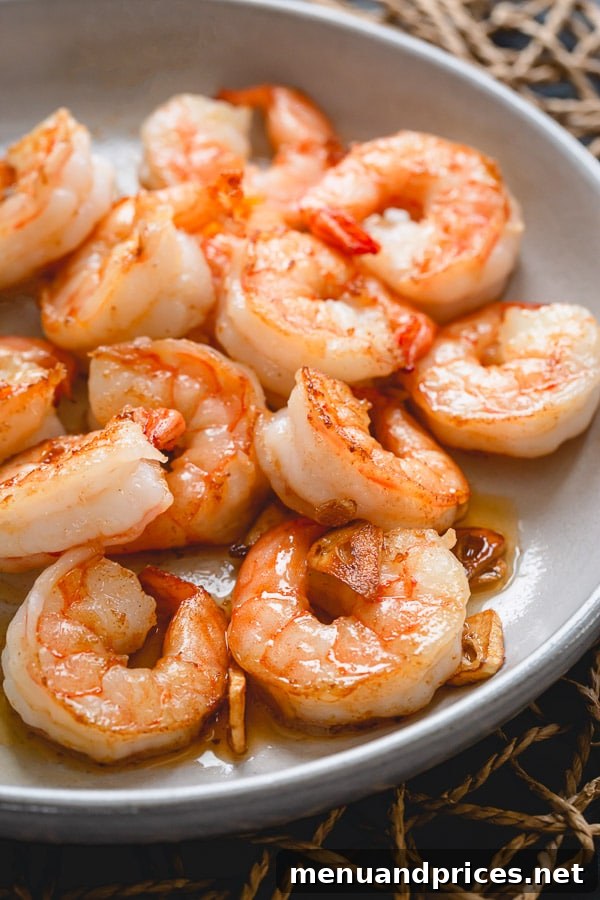
The Ultimate Garlic Butter Shrimp Recipe: Quick, Easy, and Perfectly Succulent
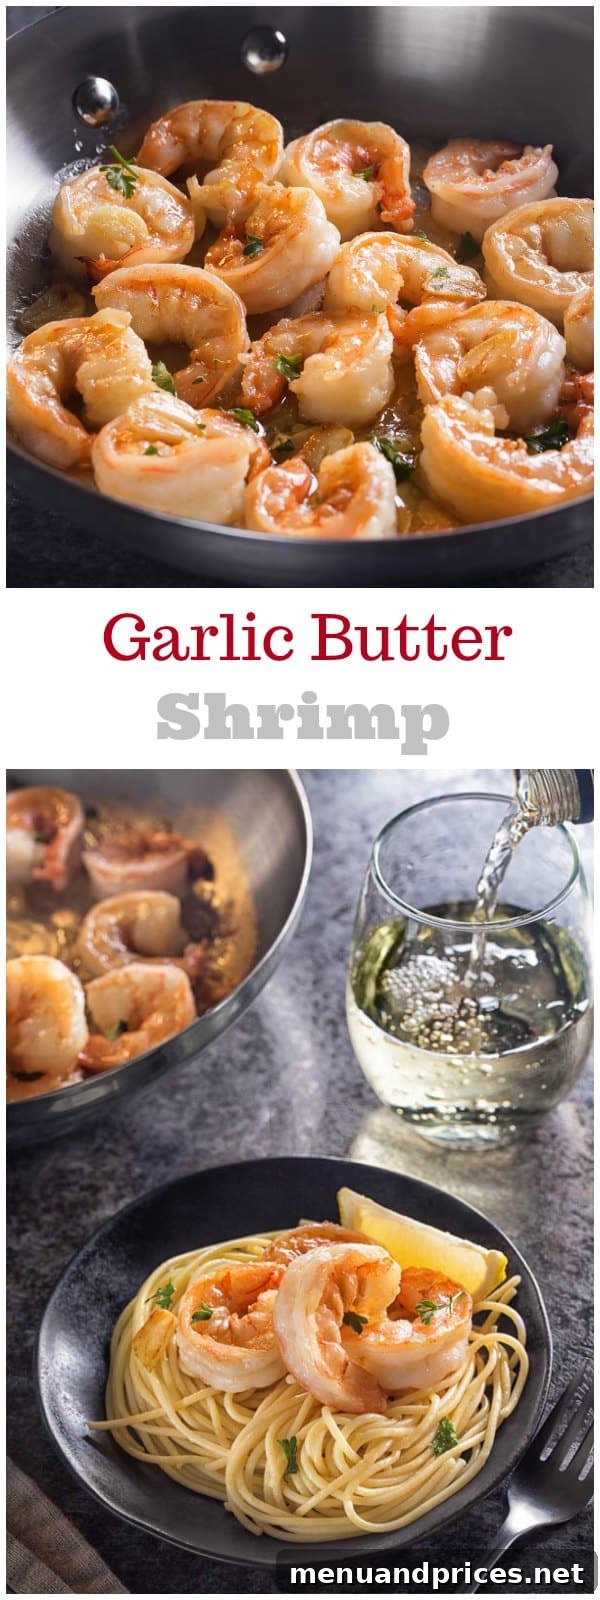
Imagine tender, plump shrimp, kissed with golden garlic, sizzling in a rich, aromatic butter sauce. This isn’t just a dream; it’s what you can create in your kitchen in mere minutes with our ultimate Garlic Butter Shrimp recipe. It’s truly one of the quickest and most rewarding seafood dishes you’ll ever master, perfect for a busy weeknight or an impressive last-minute appetizer.
Forget bland, rubbery shrimp. Our straightforward method ensures every piece is infused with incredible flavor and cooked to absolute perfection. We’ll guide you through crucial visual cues, so you can confidently achieve succulent results every single time. Get ready to elevate your dinner game with this unbelievably simple yet utterly delicious creation!
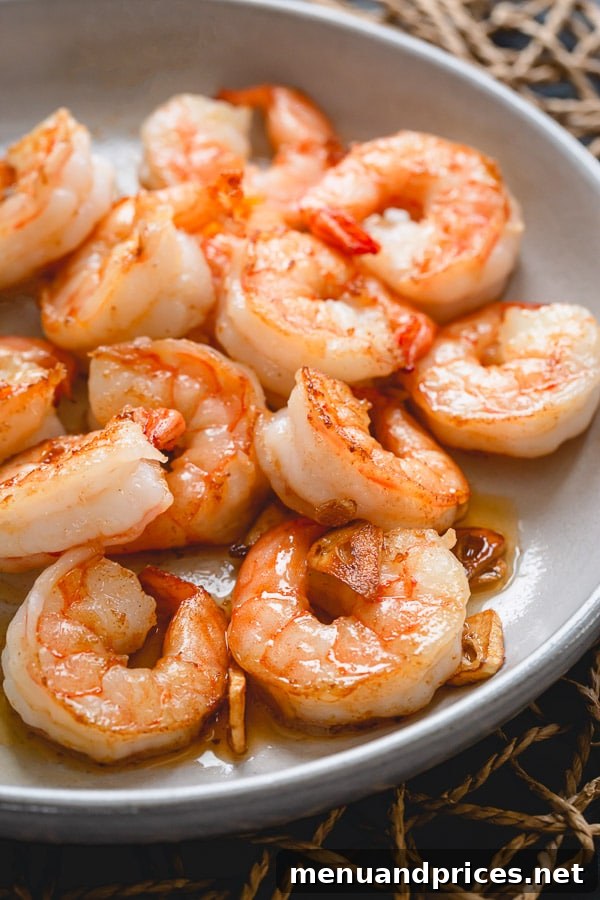
Why This Garlic Butter Shrimp Recipe is a Must-Try
Among the countless seafood options, Garlic Butter Shrimp stands out as a true culinary gem, and our version is designed for maximum impact with minimal effort. Here’s why this will become your new go-to recipe:
- Unbeatable Speed: Life is busy, and dinner shouldn’t be a chore. This entire dish, from prep to plate, takes under 15 minutes. It’s faster than takeout and infinitely more satisfying.
- Effortless Elegance: Despite its quick preparation, this dish feels wonderfully gourmet. The rich garlic butter coats each shrimp, creating a luxurious flavor profile that’s sure to impress anyone at your table.
- Simple Ingredients, Incredible Flavor: You only need a handful of staple ingredients—shrimp, butter, garlic, and a touch of salt. Yet, the synergy of these components creates a depth of flavor that’s truly extraordinary. It’s a testament to how simple cooking can be profoundly delicious.
- Perfectly Cooked Shrimp, Every Time: The key to delectable shrimp is not overcooking them. We provide precise timing and visual cues to ensure your shrimp remain tender, juicy, and never rubbery. This foolproof method guarantees success for even novice cooks.
This recipe isn’t just about feeding yourself; it’s about treating yourself to a restaurant-quality meal without the fuss or the hefty price tag. It’s an accessible, flavorful, and incredibly versatile dish that you’ll want to make again and again.
Mastering the Art of Garlic Butter Shrimp: A Step-by-Step Guide
Creating this spectacular Garlic Butter Shrimp is remarkably straightforward. The magic truly lies in the timing and a few simple techniques. Follow these steps for an unforgettable meal:
- Infuse the Butter with Garlic: Begin by melting your unsalted butter in a large skillet over medium-low heat. Once melted, add the thinly sliced garlic cloves. Sauté them gently for about 1-2 minutes, stirring occasionally, until they become fragrant and lightly golden. Be vigilant here – the goal is to unlock their sweet, nutty aroma, not to burn them. Burnt garlic can turn bitter and ruin the dish. If you notice them browning too quickly, slightly reduce the heat. This step is crucial for building the foundational flavor of your garlic butter sauce.
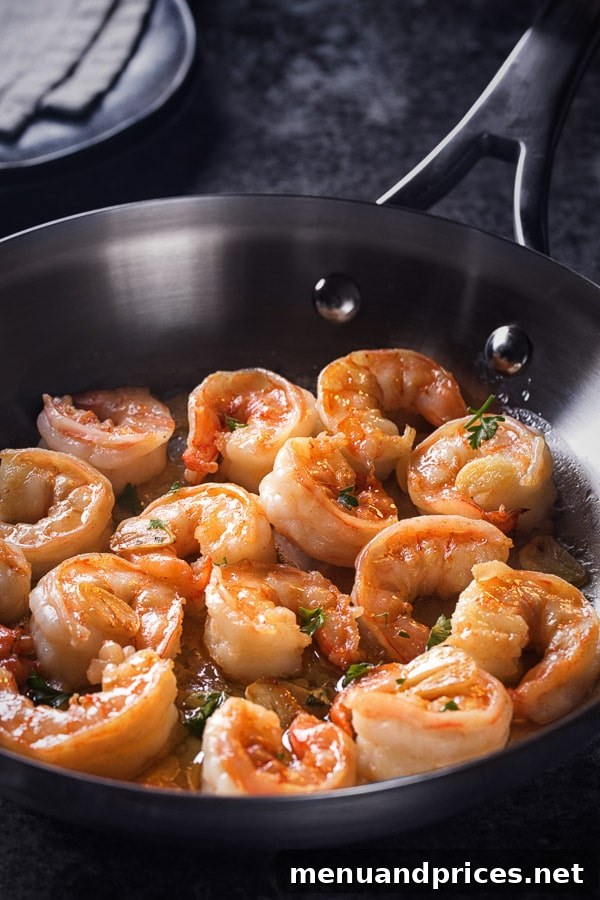
- Quick-Cook the Shrimp: Increase the heat slightly to medium. Arrange your shelled and deveined shrimp in a single layer in the skillet. This ensures even cooking. Cook for approximately 1 minute on the first side, or until the shrimp just begin to turn opaque and develop a delicate pink hue. Then, flip each shrimp to the other side and cook for another minute. Shrimp cook very quickly, so precise timing is essential to avoid overcooking.
- Season and Finish: Sprinkle the shrimp with salt to taste. Continue to cook for another minute or so, stirring frequently, until all the shrimp are fully opaque and have turned a vibrant pink. This final minute allows the flavors to meld beautifully. Once they reach the perfect color and shape, immediately remove the skillet from the heat to prevent them from becoming tough or chewy.
That’s it! In less than 10 minutes of active cooking, you’ve created a dish that’s bursting with flavor. This quick Garlic Butter Shrimp will undoubtedly become your go-to weeknight meal when you need a delicious dinner on the table in a flash.
Visual Cues for Perfectly Cooked Shrimp
Knowing when shrimp are perfectly cooked is the secret to their tender, succulent texture. Keep an eye out for these key indicators:
- Opaque Transformation: Raw shrimp are typically translucent and grayish. As they cook, they will turn completely opaque, losing their transparency.
- Vibrant Pink Color: The most obvious sign is a change to a bright, vibrant pink or reddish-orange color.
- The “C” Shape: Perfectly cooked shrimp will gently curl into a loose “C” shape. If your shrimp are tightly curled into an “O” shape, they are likely overcooked and may be rubbery. A gentle “C” means they are just right.
Trust these visual cues, and you’ll achieve flawlessly cooked shrimp every time!
Serving Suggestions and Variations for Your Garlic Butter Shrimp
This versatile Garlic Butter Shrimp is fantastic on its own, but it also shines in numerous presentations. Here are some ideas to inspire your next meal:
- Classic Shrimp Scampi with Pasta: Serve the sautéed shrimp generously over a bed of al dente angel hair pasta or linguine. The rich garlic butter sauce beautifully coats the noodles, creating a complete and satisfying meal reminiscent of a gourmet Italian dish. Garnish with a sprinkle of fresh parsley for color and an added herbaceous note.
- Elegant Appetizer: Double the batch and arrange the shrimp on a platter for a sophisticated party appetizer. Provide toothpicks for easy serving, or serve alongside crusty bread for dipping into the exquisite garlic butter sauce. It’s a crowd-pleaser for game days, holidays, or any social gathering.
- Healthy Main Course: Pair your garlic butter shrimp with a light green salad, steamed asparagus, or roasted broccoli for a low-carb, high-protein meal. The flavors are robust enough to stand alone.
- Shrimp Tacos or Wraps: Add a zesty twist by tossing the cooked shrimp with a squeeze of lime juice and serving them in warm tortillas with your favorite toppings like avocado, salsa, and shredded cabbage.
- Creamy Garlic Butter Shrimp: For an even richer sauce, stir in a splash of heavy cream or a tablespoon of cream cheese at the very end of cooking.
- Spicy Kick: Add a pinch of red pepper flakes along with the garlic for a subtle heat, or a dash of cayenne for a bolder spice.
- Herbaceous Freshness: Experiment with other fresh herbs. Dill, chives, or a mix of Italian herbs can add different dimensions to the flavor profile.
No matter how you choose to enjoy it, we sincerely hope you’ll try this recipe soon and savor the irresistible sizzling aroma and incredible taste of our BEST Garlic Butter Shrimp!
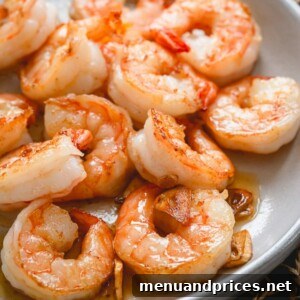
Garlic Butter Shrimp
Shinee Davaakhuu
5 minutes
5 minutes
10 minutes
3
-4 servings
Comment
Print Recipe
Ingredients
-
1
lb
large raw shrimp
shelled and deveined -
4
garlic cloves
sliced -
2
tablespoons
unsalted butter -
½
teaspoon
salt
-
Chopped parsley for garnish
optional -
Angel hair pasta
cooked according to box directions, for serving
Instructions
-
Melt butter in a large skillet over medium-low heat.
-
Add garlic and sauté for 1-2 minutes, or until nice and fragrant. Do not let the garlic burn; if it starts to brown too quickly, reduce the heat immediately to avoid bitterness.
-
Increase heat to medium. Add shrimp in one even layer and cook for about 1 minute, or until they just turn opaque and pink. Then, flip them over and cook for another minute on the other side.
-
Sprinkle with salt and cook for another minute or so, stirring frequently, until all shrimp are fully opaque, vibrant pink, and curled into a gentle “C” shape. Ensure you don’t overcook them, as this will result in tough, chewy shrimp.
-
Garnish generously with chopped fresh parsley, if desired, and serve immediately. These shrimp are excellent with pasta, rice, or as a standalone appetizer.
⭐️ Did you make this recipe?
Please leave a review and let us know how you liked it!
Nutrition
180
kcal
3
g
21
g
9
g
1
g
1245
mg
Main Course, Appetizer
American, Seafood

Did you make this?
Leave a rating and your feedback. Thank you!
Frequently Asked Questions About Garlic Butter Shrimp
What kind of shrimp should I use?
For the best results, use large or jumbo raw shrimp that are already shelled and deveined. You can use fresh or frozen shrimp. If using frozen, ensure they are fully thawed and patted dry before cooking. This helps them sear nicely and prevents excess water from diluting the sauce.
Can I use pre-minced garlic?
While pre-minced garlic is convenient, fresh garlic cloves, sliced as recommended, provide a superior aroma and flavor that’s hard to beat. The subtle sweetness released from freshly sliced garlic during the butter infusion phase is crucial for this recipe’s distinct taste. If you must use pre-minced, use about 1-1.5 tablespoons and watch it carefully as it can burn faster.
How can I prevent my shrimp from becoming rubbery?
Overcooking is the primary culprit for rubbery shrimp. Shrimp cook very quickly, often in just 2-3 minutes total. Follow the visual cues: cook until they turn opaque, pink, and curl into a gentle ‘C’ shape. As soon as they hit this stage, remove them from the heat. It’s better to slightly undercook them (they’ll continue to cook slightly from residual heat) than to overcook.
What if my garlic burns?
If your garlic turns dark brown or black, it has burned and will taste bitter. It’s best to discard the garlic-infused butter, clean your skillet, and start fresh with new butter and garlic. This initial step sets the flavor foundation for the entire dish, so it’s important to get it right by keeping the heat medium-low.
Can I make this recipe spicier?
Absolutely! For a gentle heat, add a pinch of red pepper flakes along with the garlic in the butter. For more intensity, a dash of cayenne pepper can be incorporated with the salt. Adjust to your personal preference.
How should I store and reheat leftover Garlic Butter Shrimp?
Leftover garlic butter shrimp can be stored in an airtight container in the refrigerator for up to 2-3 days. To reheat, gently warm them in a skillet over low to medium heat for a few minutes until just heated through. Be careful not to reheat them for too long, as this can cause them to become tough. You can also microwave them briefly, but the skillet method yields better texture.
This recipe was originally published on September 12th, 2017, and last updated on April 28th, 2020. This version was further updated for SEO and clarity in [Current Year].