
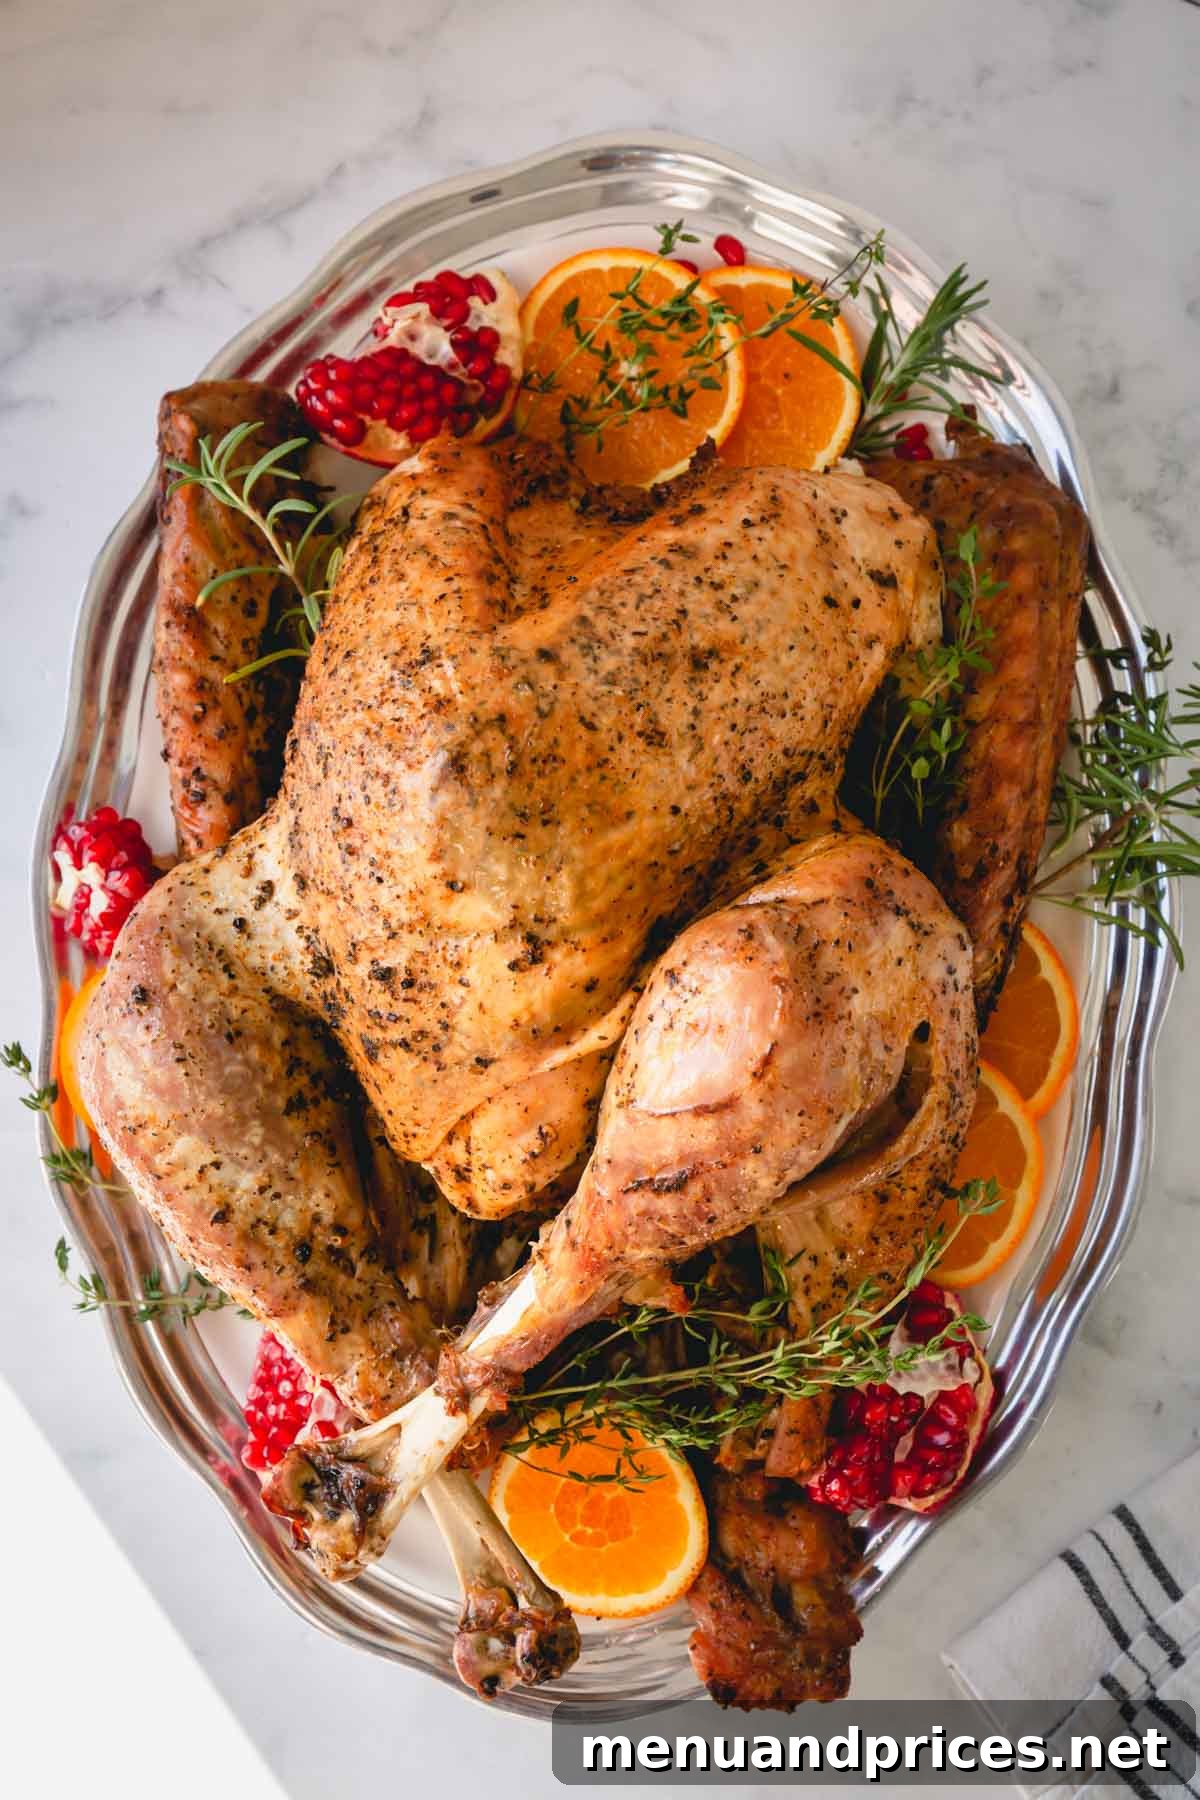
Unlock the secrets to cooking a truly perfect turkey in your electric roaster, ensuring beautifully golden skin and incredibly juicy, tender meat every single time. Say goodbye to dry, bland birds and hello to your most delicious holiday centerpiece yet!
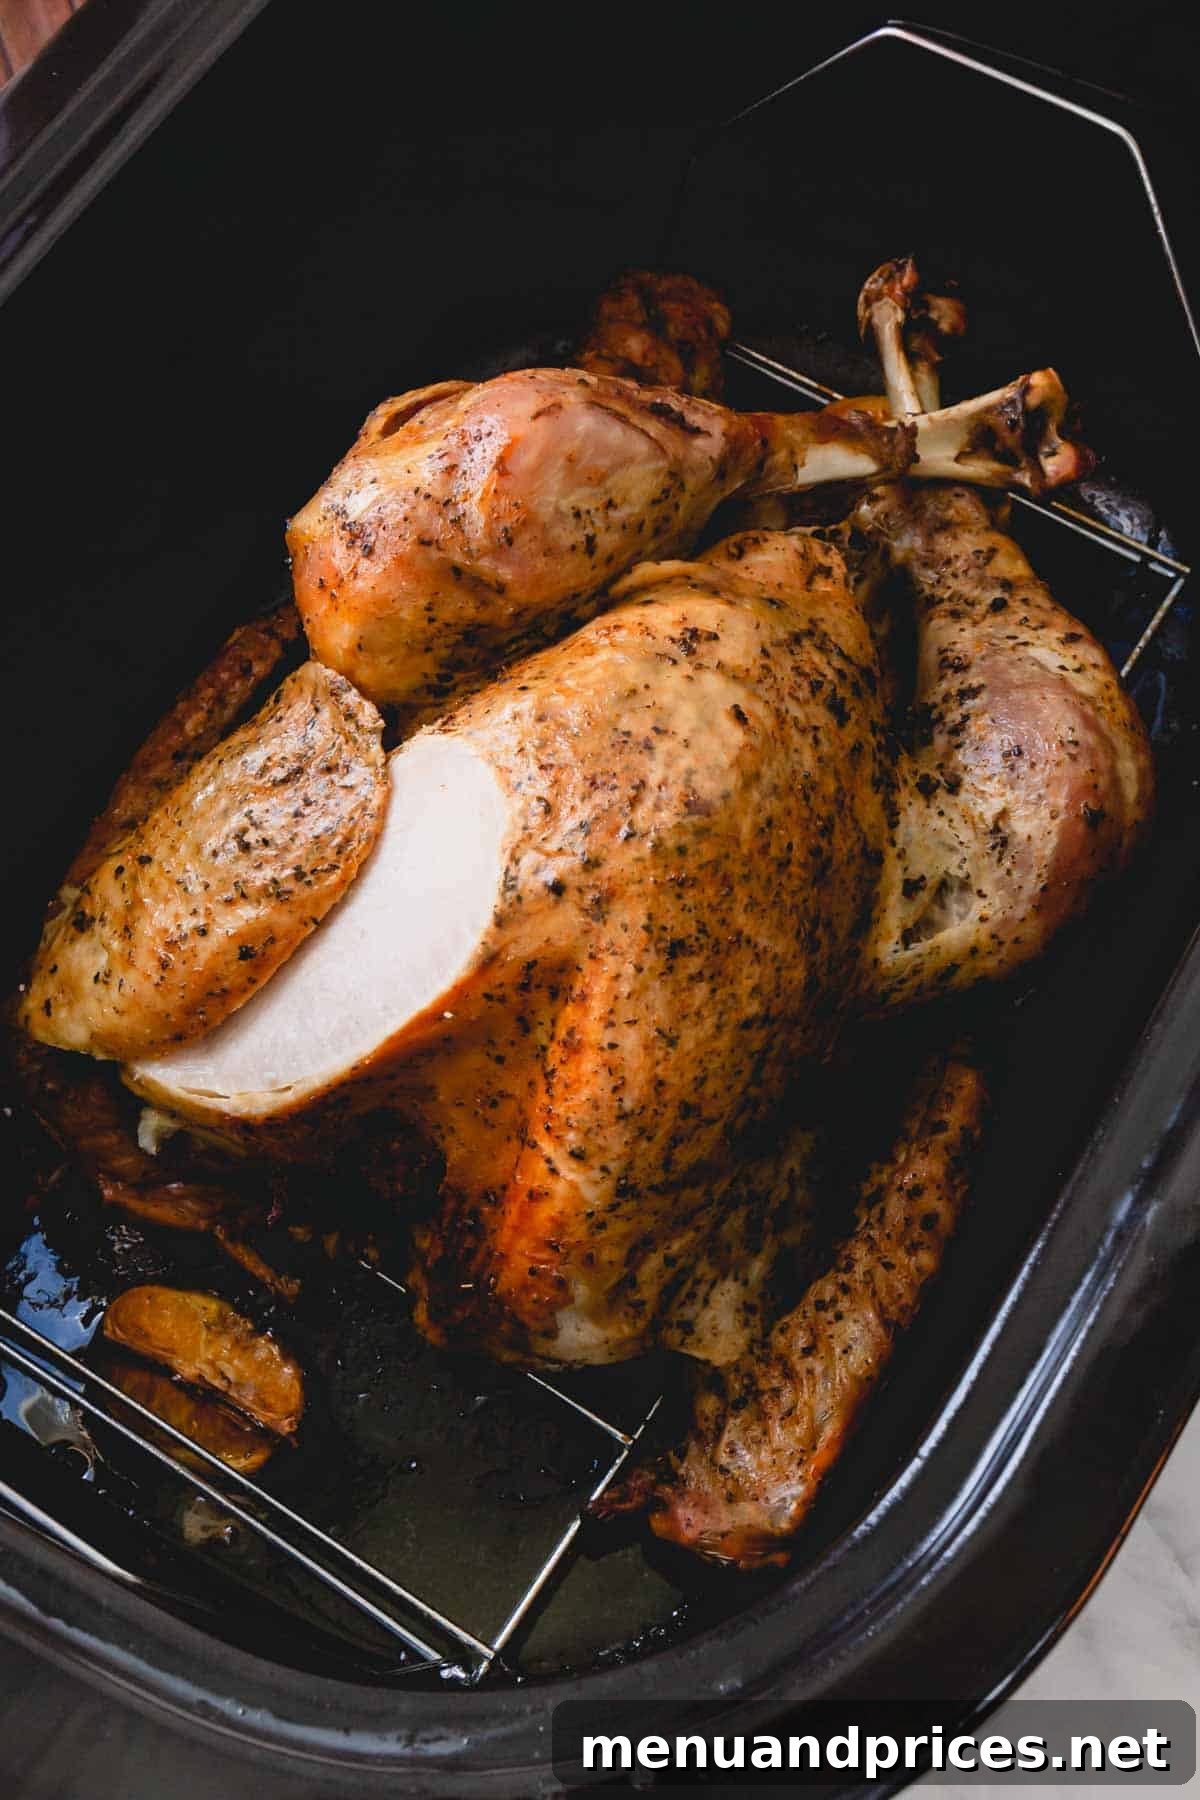
The holiday season, especially Thanksgiving, often brings a flurry of activity, from extensive shopping and meticulous prep work to endless dishes and multi-course cooking. It’s no wonder that preparing the main event – the turkey – can feel incredibly daunting for many home cooks.
Having hosted countless family Thanksgiving dinners over the past decade, I’ve gathered a collection of invaluable, stress-reducing strategies that simplify holiday meal preparation. Among these, one tip stands out as a true game-changer, transforming the way I approach cooking my Thanksgiving turkey:
My absolute favorite tip? Cooking the turkey in an electric roaster!
This method not only delivers consistently delicious results but also streamlines the entire cooking process, allowing you more time to enjoy with loved ones and less time fussing over a hot oven.
Why an Electric Roaster is Your Thanksgiving Hero
Discover why cooking your holiday turkey in an electric roaster oven is a brilliant move that will revolutionize your Thanksgiving preparations. This method offers several compelling advantages, making it the preferred choice for countless seasoned cooks and beginners alike:
- Frees Up Crucial Oven Space: Let’s be honest, holiday dinners demand every inch of oven space. An electric roaster allows you to cook your turkey outside of your main oven, leaving it free for all those essential side dishes like casseroles, roasted vegetables, and pies. It’s like having an extra oven without the costly renovation!
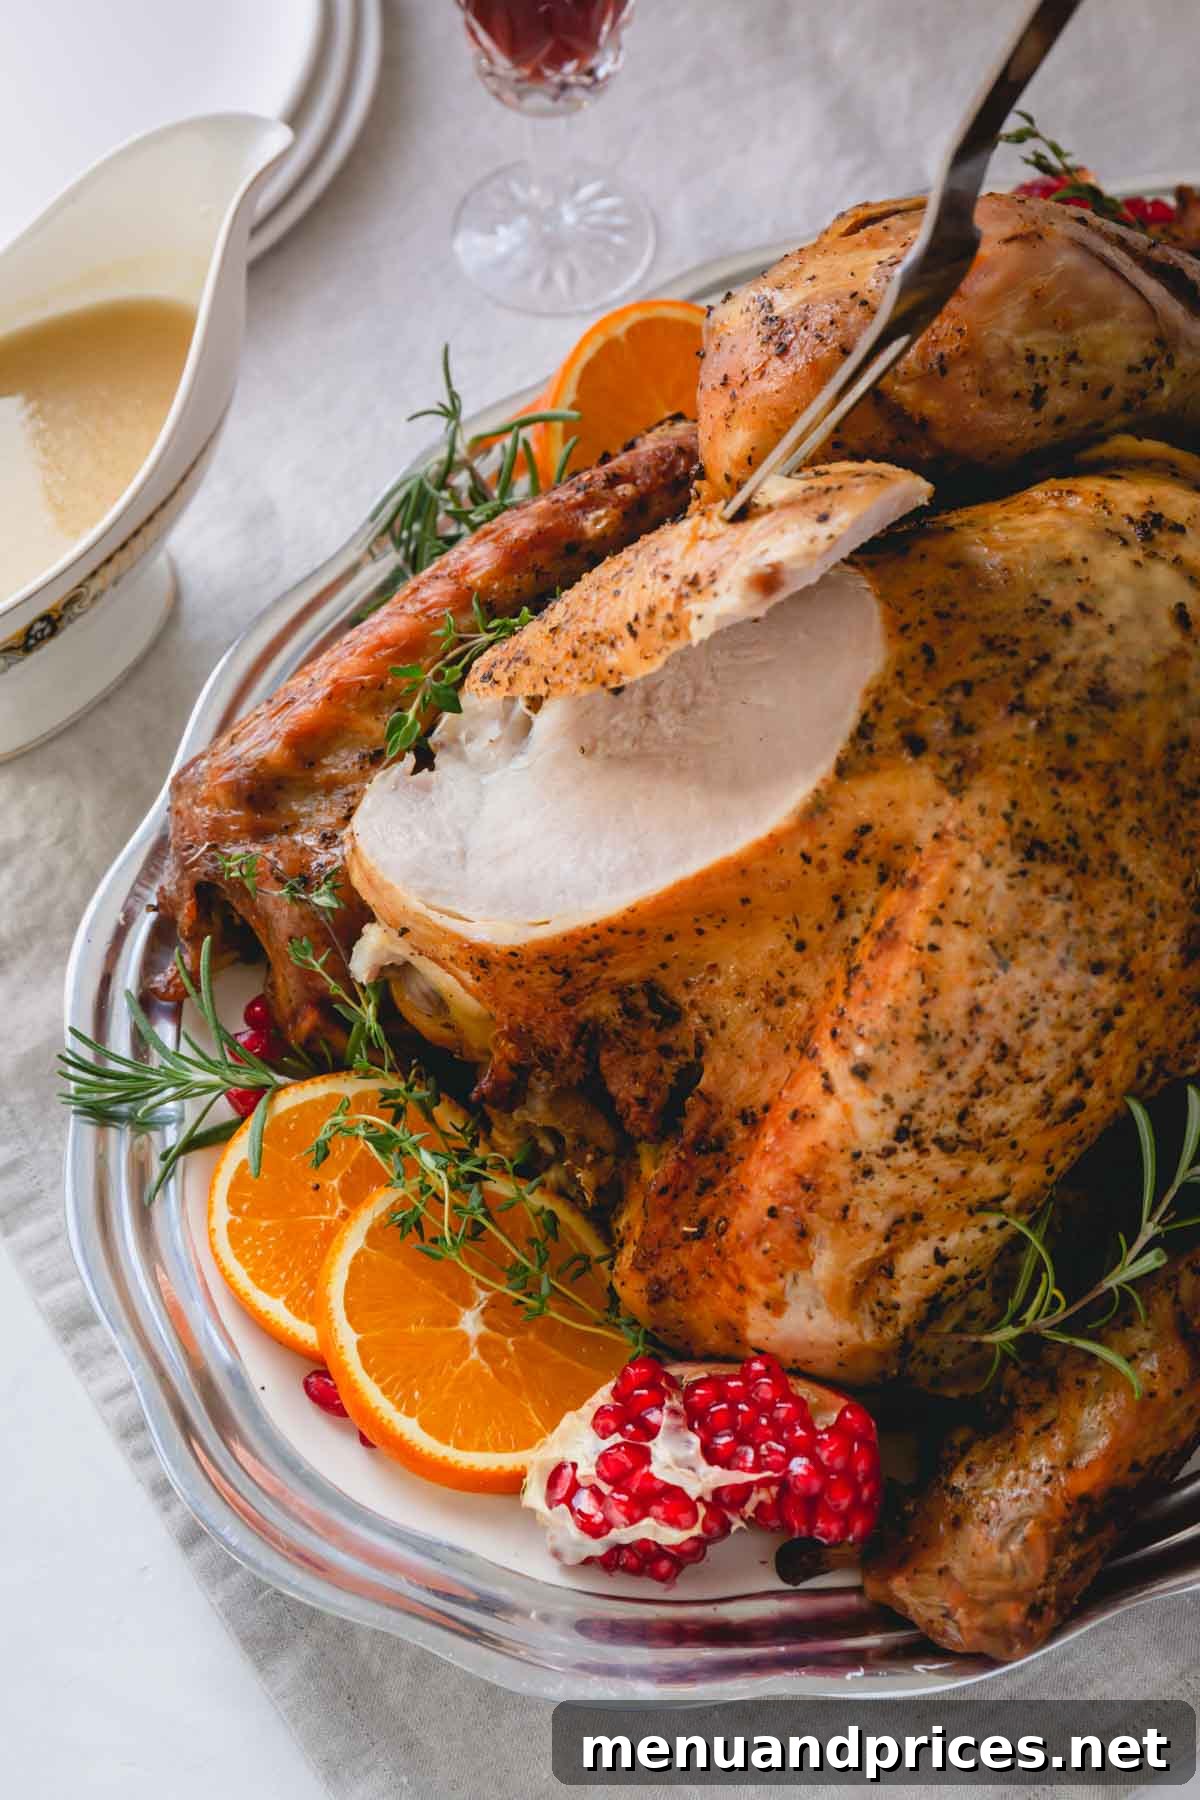
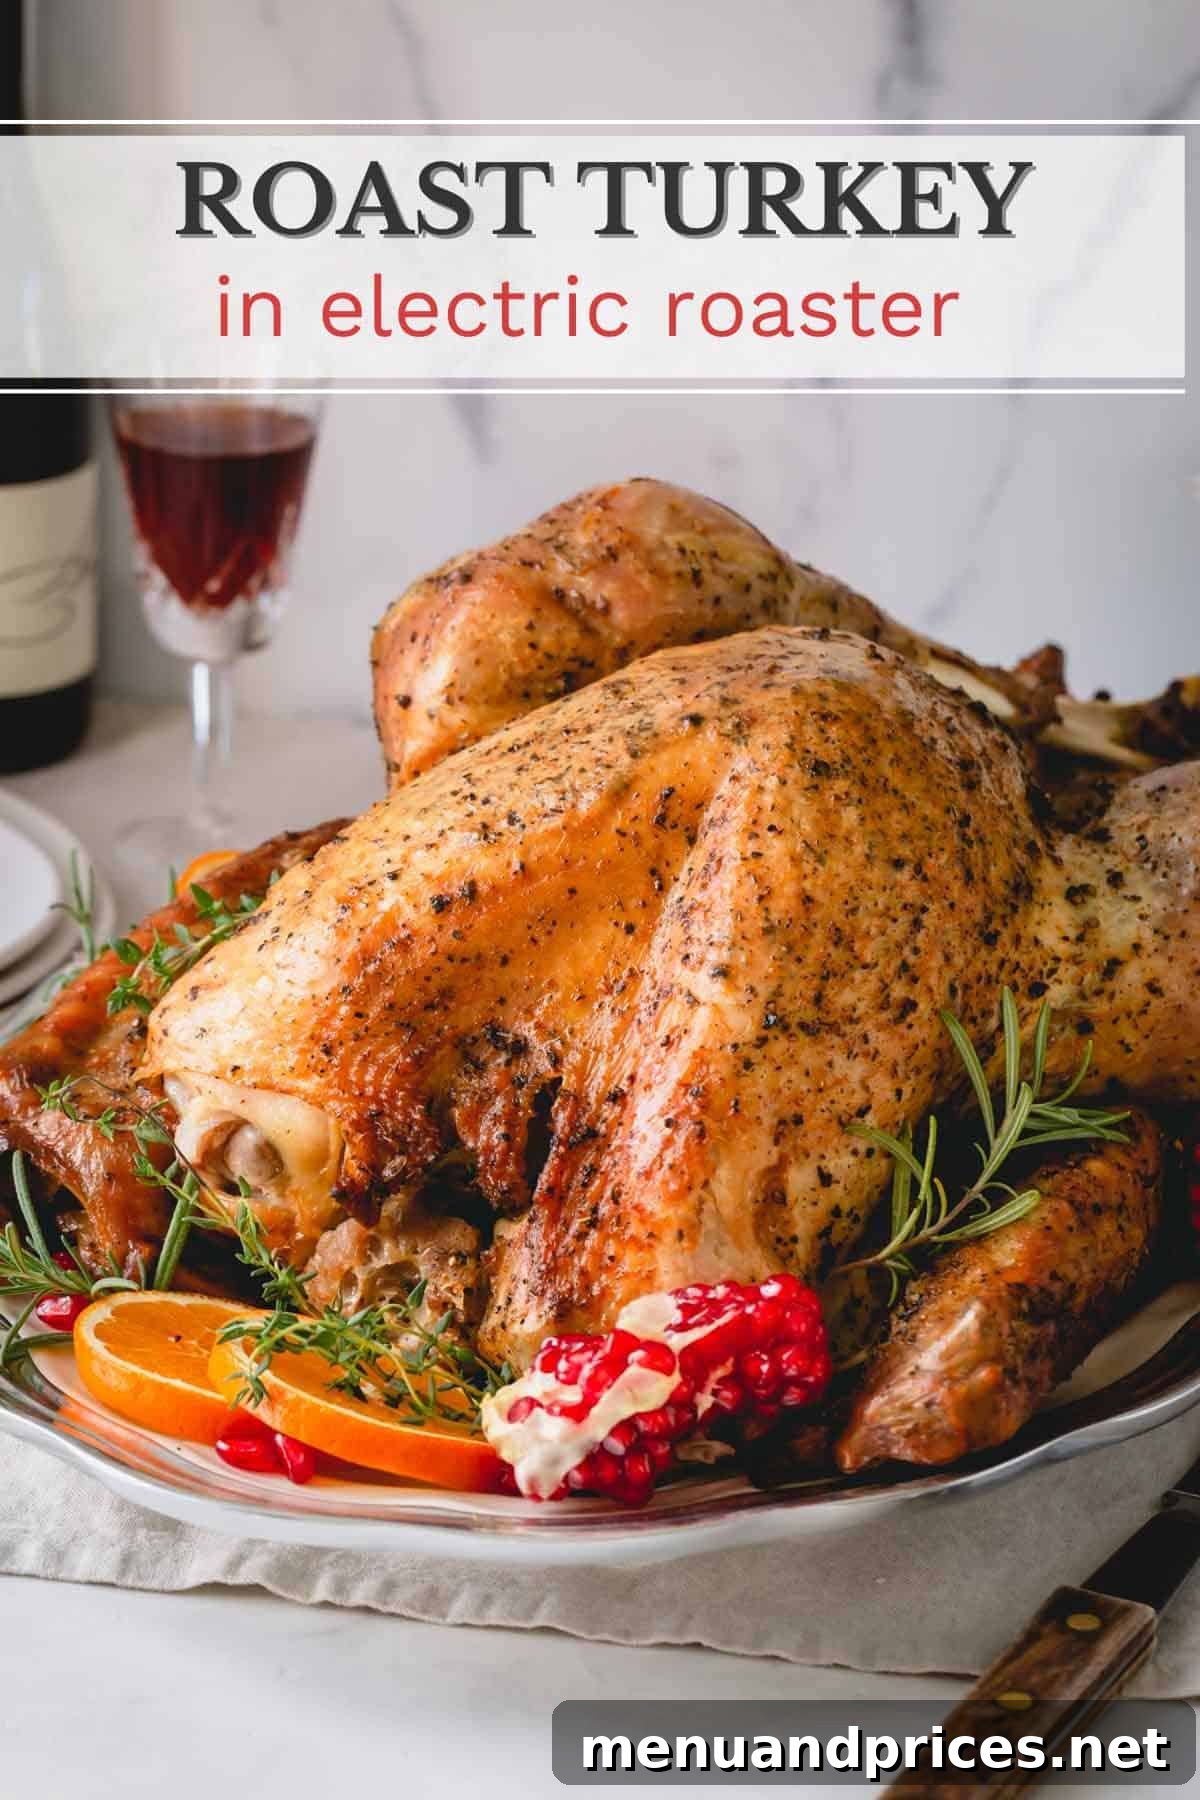
- Achieve Golden Brown Skin Every Time: With the right technique, an electric roaster can create an enviably crispy, golden-brown skin that crackles with flavor. Our method ensures the skin browns beautifully, adding visual appeal and incredible texture to your bird.
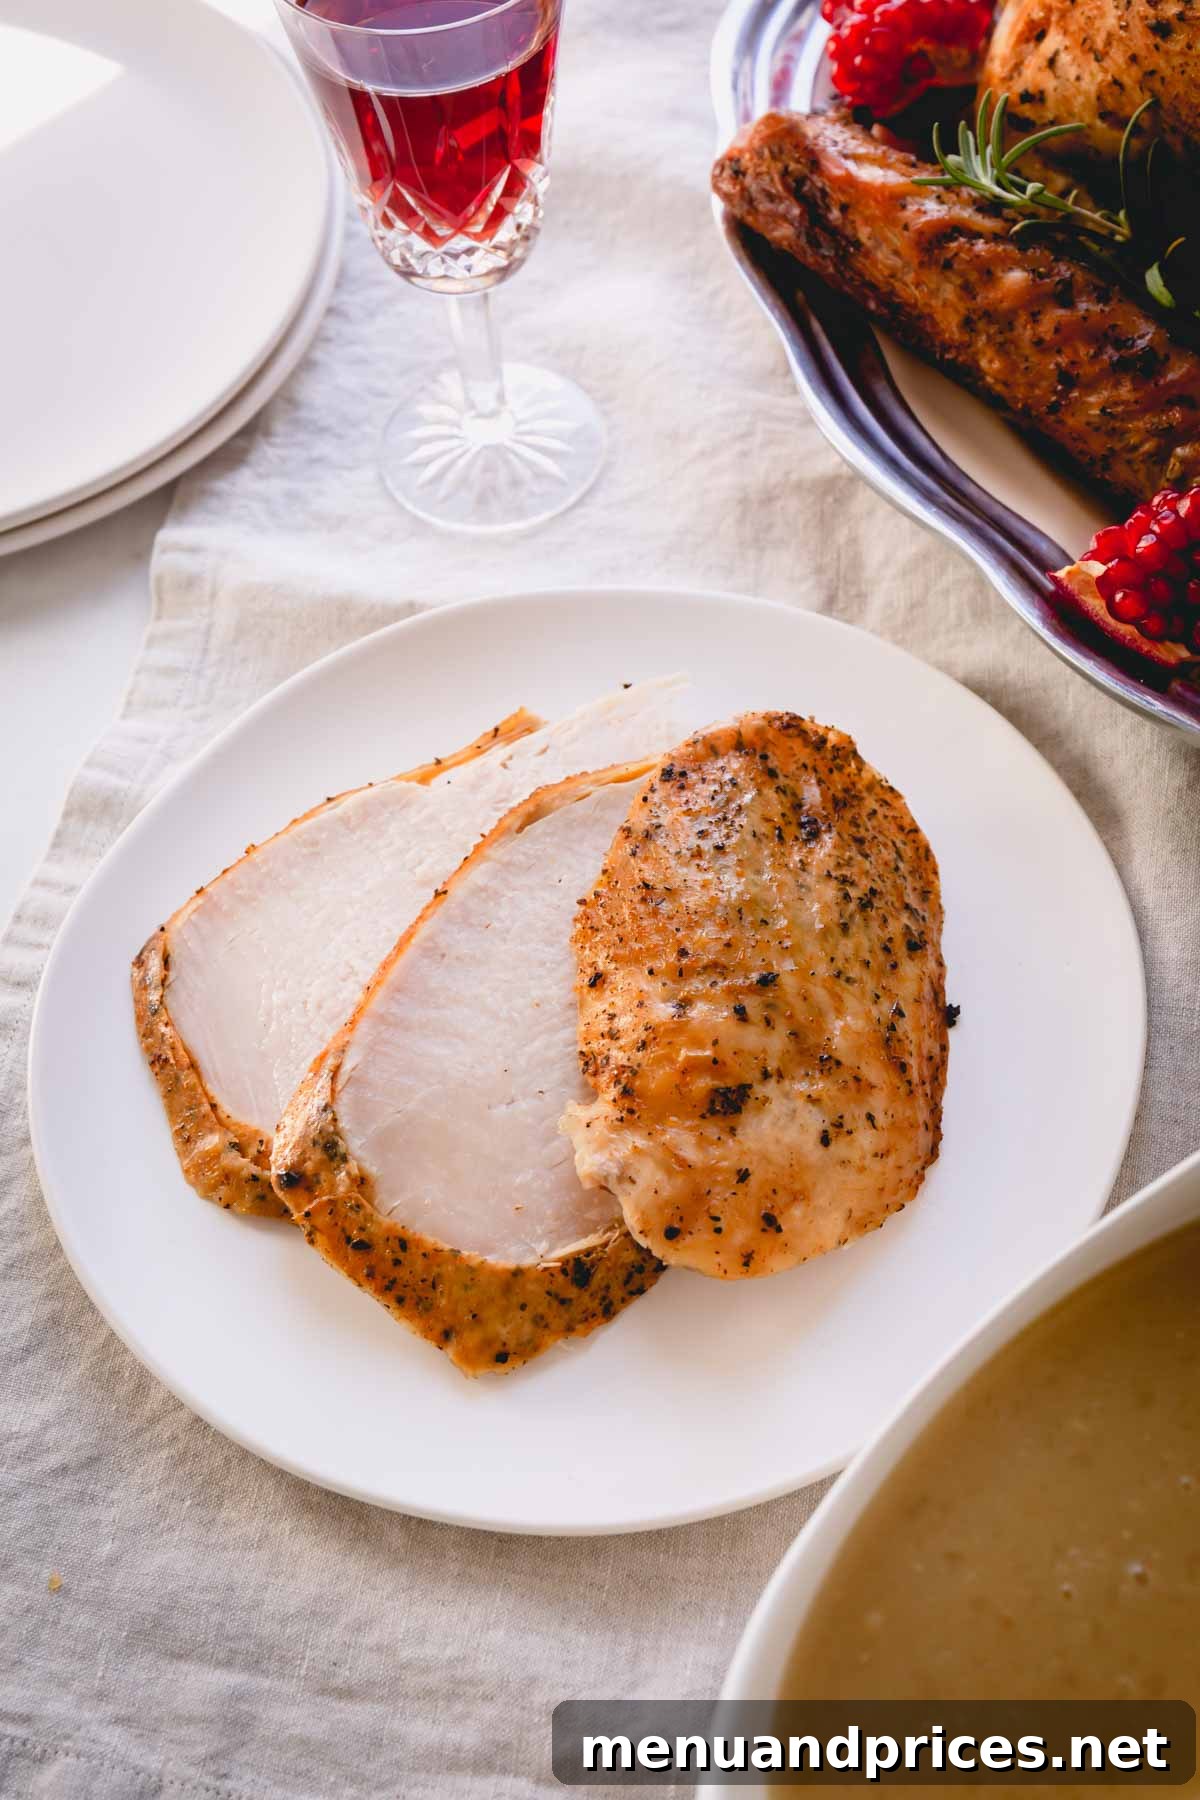
- Guaranteed Moist and Juicy Meat: Electric roasters are designed to trap moisture effectively, creating a self-basting environment. This constant circulation of juices means your turkey meat, from breast to thigh, will remain incredibly moist and tender, preventing the dry, chalky texture often associated with oven-roasted turkeys.
- Consistent Temperature Control: Roaster ovens maintain a consistent temperature throughout the cooking process, which is vital for even cooking and food safety. This reliability reduces the guesswork and stress, leading to a perfectly cooked bird without hot spots or undercooked areas.
- Easy Cleanup: Many electric roaster pans are removable and non-stick, making cleanup much simpler than scrubbing a large, grease-splattered conventional oven.
Simplify your Thanksgiving this year, reduce holiday stress, and delight your guests with a perfectly cooked turkey by embracing the convenience and effectiveness of an electric roaster.
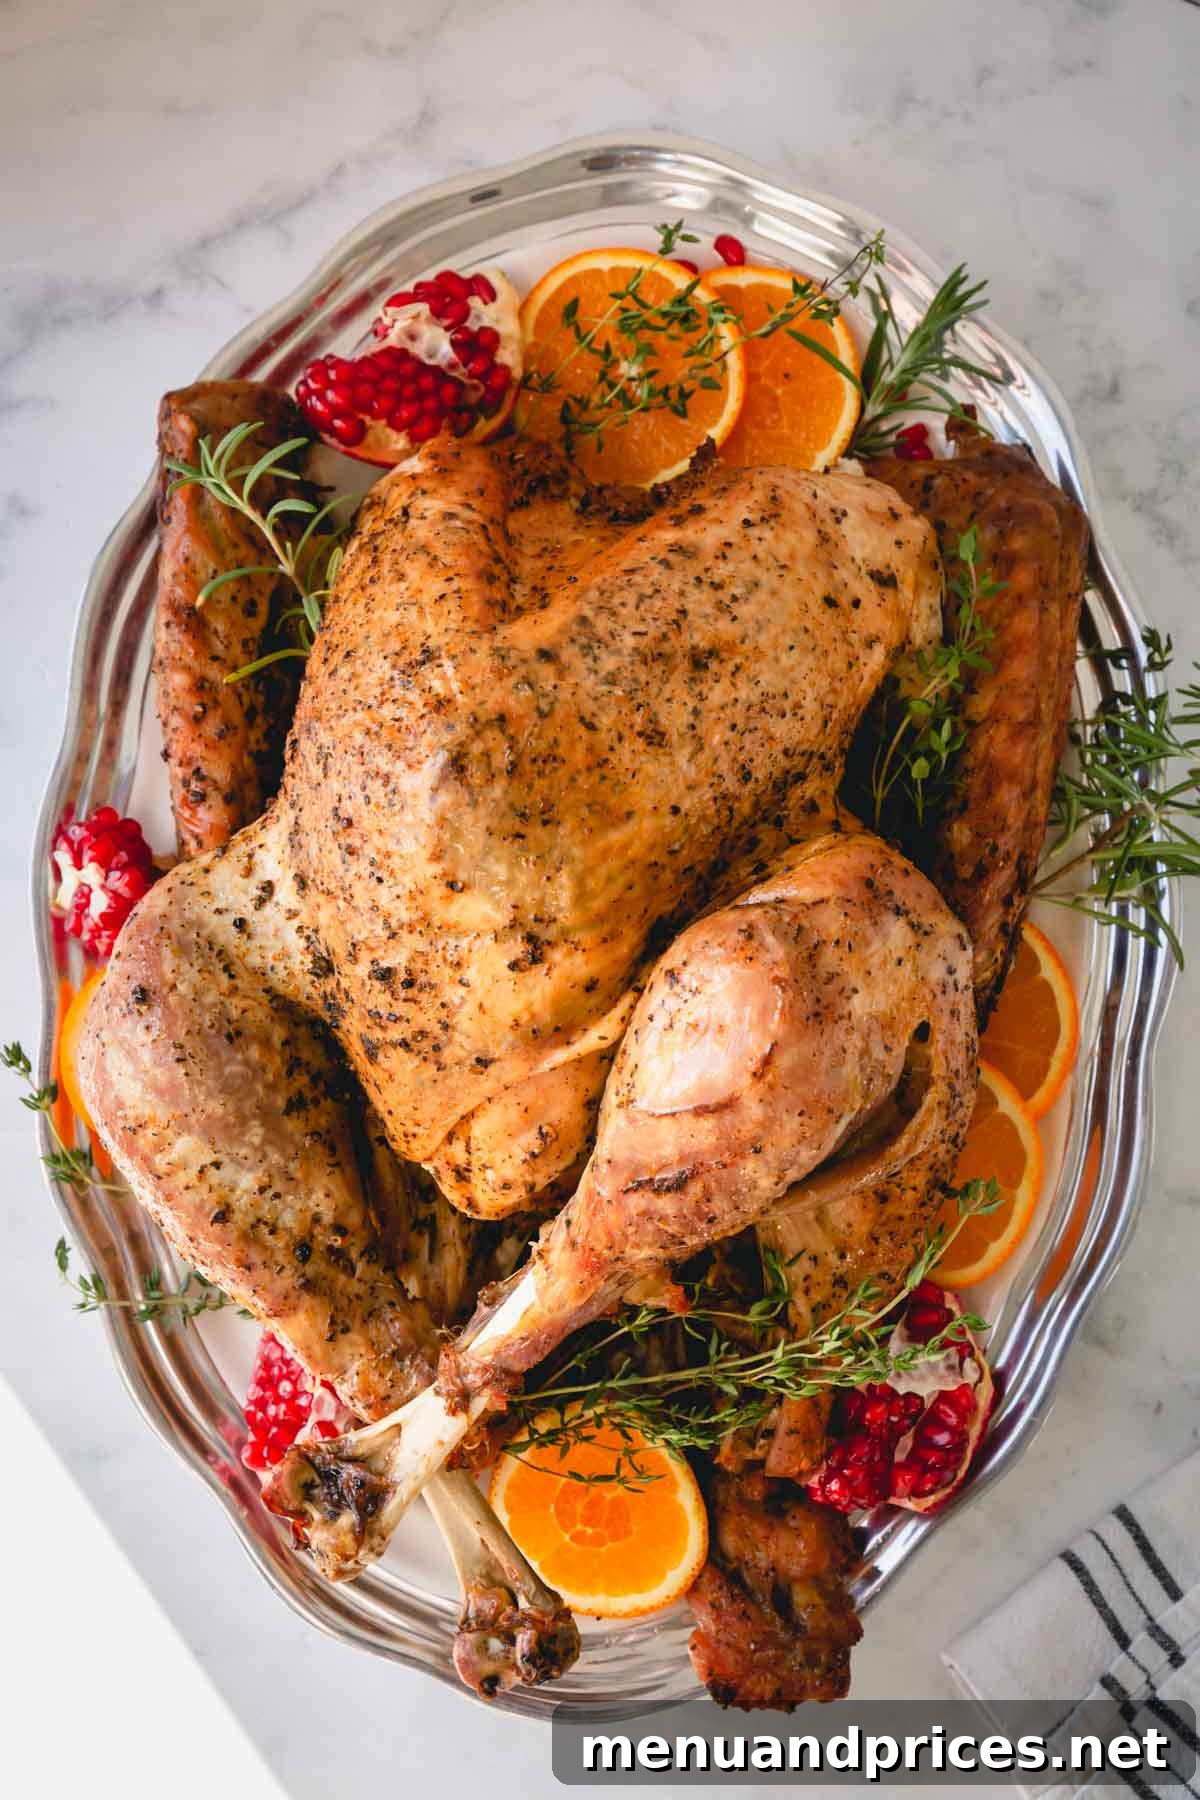
Essential Ingredients for a Spectacular Turkey
Crafting the perfect roast turkey begins with selecting the right ingredients. Here’s a detailed look at what you’ll need and why each component plays a crucial role in achieving that sought-after golden skin and succulent meat:
- Whole Turkey: The star of the show! When choosing your turkey, consider its type. Unless you have a kosher turkey or one that’s pre-injected with a saline solution (often labeled as “self-basting”), I wholeheartedly recommend brining your turkey. Brining is a game-changer; it infuses the meat with flavor and moisture, ensuring a tender and juicy result. My preferred method is dry brining a turkey, which also helps achieve extra crispy skin. For fresh turkeys, brining is almost a necessity.
- Olive Oil (or Butter): Oil is essential for promoting a beautiful, crispy, and golden-brown skin. It helps conduct heat evenly across the turkey’s surface. If you’re a devout butter fan and prefer its rich flavor, feel free to swap olive oil with an equal amount of softened, unsalted butter. Both will contribute to that irresistible crust.
- Baking Powder: This is a secret weapon for achieving truly crispy skin! Don’t worry, you won’t taste it. The baking powder works by slightly raising the pH level of the turkey’s skin, which in turn encourages more efficient browning and a crisper texture as it cooks. It draws moisture from the skin, leading to a perfect crackly finish.
- Aromatics (Oranges & Fresh Herbs): While we don’t recommend stuffing the turkey cavity for food safety reasons, filling it with aromatics is a fantastic way to infuse the bird with incredible flavor from the inside out. Quartered oranges, apples, onions, and garlic cloves are excellent choices. Pair them with fresh herbs like rosemary, sage, and thyme for a fragrant and festive aroma that permeates the meat. These aromatics contribute depth and complexity without overcooking the cavity’s contents.
- Salt and Pepper: Don’t forget the basics! A generous seasoning of salt and freshly cracked black pepper on the exterior of the turkey, especially if you’re not brining, is crucial for flavor. Brining will take care of most of the salt, but a final sprinkle before roasting enhances the crust.
With these simple yet powerful ingredients, you’re well on your way to roasting a turkey that will be the highlight of any holiday feast.
Step-by-Step Guide to Roasting Your Turkey in an Electric Roaster
Follow these detailed steps to ensure your turkey comes out perfectly cooked, with a golden-brown exterior and incredibly moist interior.
1. Prepare and Preheat Your Electric Roaster
Begin by setting up your electric roaster. Ensure it’s on a stable, heat-safe surface. Place the roasting rack inside the roaster, making sure the handles are facing upwards for easy removal later. Preheat the electric roaster to its highest temperature setting, which for most models is typically 450°F (232°C). Allow it to preheat for at least 20-30 minutes to ensure it reaches and maintains the target temperature.
2. Prepare the Turkey for Roasting
- Thaw and Pat Dry: Ensure your turkey is completely thawed (refer to our thawing guide below). Remove the turkey from its packaging, carefully take out the giblets and neck from both cavities, and pat the entire exterior thoroughly dry with paper towels. A dry surface is crucial for crispy skin.
- Create the Crispy Skin Mixture: In a small bowl, combine 2-3 tablespoons of olive oil (or softened butter) with 1 teaspoon of baking powder. Whisk these two ingredients together until they form a uniform, slightly pasty mixture.
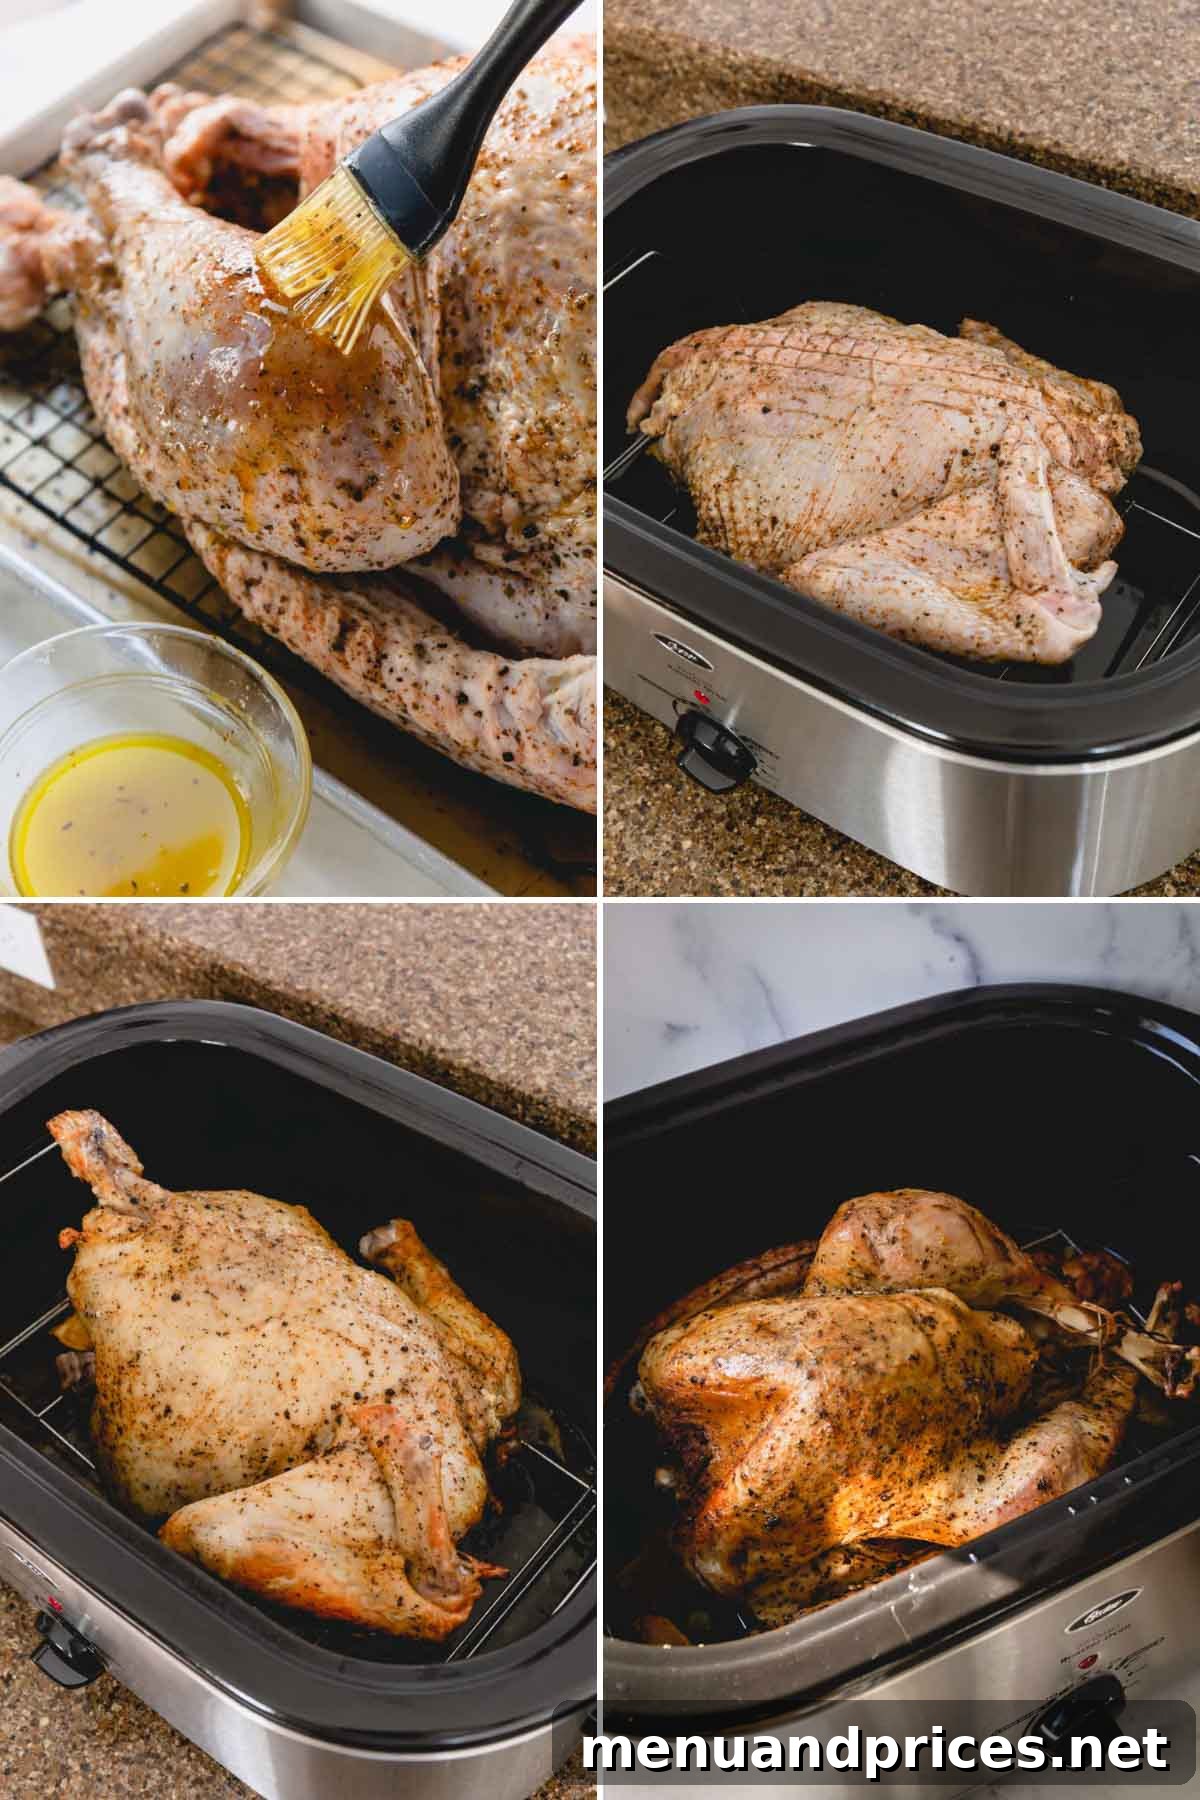
- Brush the Turkey: Using a basting brush, generously apply the olive oil and baking powder mixture evenly all over the turkey’s skin. Ensure every part of the skin is coated for optimal browning and crispness. If you didn’t brine, now is also the time to lightly season the turkey’s exterior with salt and pepper.
- Fill with Aromatics: Loosely fill the turkey’s cavity with your chosen aromatics. Quartered oranges, apples, onion, garlic cloves, and fresh sprigs of rosemary, sage, and thyme will infuse the meat with wonderful flavor and aroma. Remember, do not “stuff” the cavity tightly with traditional bread stuffing, as this can prevent even cooking and pose food safety risks.
3. Roast the Turkey to Perfection
- Initial High-Heat Roast (Breast Side Down): Carefully place the prepared turkey onto the rack inside the preheated roaster. Position the turkey breast-side down. This initial high-heat blast with the breast closer to the bottom heat source helps jumpstart the browning process on the breast, ensuring crispy skin there, and allows the juices to flow into the breast meat, keeping it incredibly moist.
- Cover and Cook: Immediately cover the roaster with its lid. Cook the turkey at 450°F (232°C) for the initial 30 minutes. This high temperature helps to sear the skin and lock in moisture.
- Flip and Reduce Temperature: After 30 minutes, carefully remove the lid. Using two pairs of sturdy kitchen tongs or heat-resistant gloves, gently flip the turkey breast-side up. Be extremely cautious as the turkey will be hot and heavy. Once flipped, quickly replace the lid and immediately lower the roaster’s temperature to 325°F (163°C).
- Continue Roasting to Internal Temperature: Continue roasting the turkey at 325°F until it reaches the safe internal temperatures. The thickest part of the thigh (without touching bone) should register 180°F (82°C), and the thickest part of the breast should reach 165°F (74°C). Use a reliable meat thermometer for accuracy. Resist the urge to lift the lid frequently, as this causes significant heat loss and extends cooking time.
- Allow it to Rest: Once the turkey reaches the target temperatures, carefully use the rack handles to lift the entire bird out of the electric roaster and transfer it to a large cutting board or platter. Cover the turkey loosely with aluminum foil and let it rest for at least 30 minutes (ideally 45-60 minutes for larger birds) before carving. This crucial resting period allows the juices to redistribute throughout the meat, resulting in an even more tender and flavorful turkey.
- Make Gravy: Don’t forget to strain the delicious drippings left in the bottom of the roaster pan. These are the foundation for an incredible, rich homemade turkey gravy!
Estimated Turkey Cooking Times in an Electric Roaster
While an internal meat thermometer is your most reliable guide, these estimated cooking times can help you plan your schedule. Remember, these are approximate, and actual times may vary depending on your specific roaster oven, turkey temperature before cooking, and how often the lid is opened.
- 7 to 8 pounds: 1 hour to 1 hour 30 minutes
- 12 to 13 pounds: 1.5 to 2 hours 30 minutes
- 15 pounds: 3 to 3.5 hours
- 18 to 20 pounds: 4 to 4.5 hours
- 20+ pounds: 4.5 to 5.5 hours
Always cook until the internal temperature reaches 180°F (82°C) in the thigh and 165°F (74°C) in the breast. The pop-up timers often found in turkeys are notoriously inaccurate; rely on a trusted digital meat thermometer instead.
Expert Tips for Achieving Golden-Brown Turkey Skin in an Electric Roaster
The quest for perfectly golden, crispy turkey skin is a common goal for holiday cooks. With an electric roaster, it’s entirely achievable. Here are my top strategies to ensure your turkey skin is irresistibly golden and crisp:
- Thoroughly Dry the Turkey’s Exterior: Moisture is the enemy of crispy skin. Before applying any oil or seasoning, use paper towels to meticulously pat the entire surface of the turkey dry. For best results, consider dry brining your turkey for 1-3 days prior to roasting. This process not only flavors the meat but also significantly dries out the skin, setting the stage for unparalleled crispness.
- Apply Olive Oil (or Butter) with Baking Powder: This combination is your secret weapon. Brushing the turkey all over with olive oil (or softened butter) provides a fat layer that promotes browning and conducts heat. The addition of baking powder is a scientific trick; it slightly alters the skin’s pH, encouraging the Maillard reaction (the browning process) and helping the skin become extra crispy and beautifully browned. Do not skip this step!
- Preheat the Roaster to its Highest Temperature: Start with a hot environment. Ensure your electric roaster is thoroughly preheated to its maximum temperature (usually 450°F / 232°C) for at least 30 minutes before the turkey goes in. A high initial temperature helps to quickly sear the skin, locking in juices and kickstarting the browning process effectively.
- Begin Roasting Breast-Side Down: This technique is crucial for both juicy meat and crispy skin. By starting the turkey breast-side down for the first 30 minutes, the delicate breast meat is shielded from direct high heat, preventing it from drying out. Simultaneously, the fat on the back and thighs renders, basting the breast meat. When you flip the turkey breast-side up, the breast is then closer to the heat, allowing its skin to get a significant head start on browning and crisping up beautifully.
How to Determine the Right Turkey Size for Your Gathering
Choosing the correct size turkey is essential for a successful holiday meal. You want enough to feed everyone comfortably, with potential for leftovers, but not so much that you’re overwhelmed. A good rule of thumb is to aim for 1.5 pounds of turkey per person. This calculation accounts for the weight of the bones and ensures a generous serving of meat for each guest.
For example, if you’re hosting ten people, you’ll need a 15-pound turkey (10 guests x 1.5 lbs/person = 15 lbs). If you have particularly hearty eaters, or if you’re like most families and cherish Thanksgiving leftovers for sandwiches, soups, and more, you might consider increasing the amount to 2 pounds per person. This slight increase guarantees plenty of delicious turkey for days after the feast.
Always consider your guests’ appetites and your desire for leftovers when making your final decision. When in doubt, it’s often better to go slightly larger than smaller.
The Importance of Thawing and Brining Your Turkey
Proper thawing and brining are foundational steps for a tender, flavorful turkey. Planning ahead is key, as both processes require significant time.
How Long Does It Take to Thaw a Turkey?
The safest and most effective method for thawing a frozen turkey is in the refrigerator. This method requires foresight but guarantees even thawing and minimizes bacterial growth.
- Refrigerator Thawing: Plan for approximately one day of thawing for every five pounds of turkey. So, if you have a 12-pound turkey, it will take roughly three days to thaw completely in the refrigerator. A 20-pound bird will need about four days. Place the turkey in its original wrapper on a rimmed baking sheet or in a large pan to catch any drips as it thaws.
- Cold Water Thawing (Faster Method): If you’re pressed for time, cold water thawing is an option. Ensure the turkey is in its original, unopened, leak-proof plastic bag. Submerge the wrapped turkey in a sink or large container filled with cold tap water. Change the water every 30 minutes to keep it cold. Allow about 30 minutes per pound. A 12-pound turkey would take approximately 6 hours. Cook the turkey immediately after it’s thawed using this method.
Never thaw a turkey at room temperature on the counter, as this can lead to dangerous bacterial growth.
Brining for Flavor and Moisture
Once your turkey is thawed, consider brining it. Brining adds incredible flavor and, more importantly, ensures the meat stays juicy and moist. This is especially true for lean turkey breast, which can easily dry out.
- Dry Brining: My preferred method. This involves rubbing the turkey with a salt-based mixture and letting it sit in the refrigerator for 1-3 days. It penetrates the meat, tenderizes it, and helps create crispy skin. If you opt for dry brining, plan for at least 24-48 hours once the bird is completely thawed.
- Wet Brining: This involves submerging the turkey in a solution of salt, sugar, herbs, and spices for several hours or overnight. This method requires a very large container and ample refrigerator space, but it also yields incredibly moist results.
Factor in this brining time after thawing, typically an additional 24 hours, to allow the flavors to properly penetrate the meat. Proper preparation truly makes all the difference for an unforgettable holiday turkey!
Pro Tips for a Flawless Turkey in Your Electric Roaster
To ensure your turkey is nothing short of magnificent, keep these expert tips in mind. They address common challenges and enhance your overall cooking experience:
- Invest in a Wired Digital Thermometer: This is arguably the most crucial tool for perfect turkey. A wired probe thermometer allows you to continuously monitor the internal temperature of your turkey without constantly opening the roaster lid. Unlike a conventional oven, an electric roaster loses heat much more rapidly when the lid is removed, significantly extending cooking time. A wired thermometer helps maintain consistent heat and ensures accurate doneness.
- Skip the Basting – The Lid Does the Work: Forget the traditional, time-consuming basting process. Electric roasters are designed with self-basting lids that effectively trap and recirculate moisture within the cooking cavity. This means the turkey is continuously basted with its own flavorful juices, resulting in a naturally moist bird without you having to lift the lid and lose heat.
- Never Forget to Thaw Your Turkey (and Brine): A partially or fully frozen turkey will dramatically increase cooking time and may result in uneven cooking. Ensure your turkey is completely thawed before it goes into the roaster. As mentioned, allow one day per five pounds for refrigerator thawing, plus an additional 24-48 hours if you plan to dry brine. Proper thawing is non-negotiable for food safety and optimal results.
- Do NOT Skip the Baking Powder: Trust me on this one! The small amount of baking powder mixed with olive oil is a game-changer for crispy, evenly browned skin. It’s a culinary secret that works wonders without affecting the flavor of the meat. It draws out surface moisture and promotes better browning.
- Calibrate Your Thermometer: Before the big day, test your meat thermometer’s accuracy. Place the probe in a glass of ice water (should read 32°F / 0°C) and then in boiling water (should read 212°F / 100°C at sea level). Adjust if necessary or note the discrepancy. An accurate thermometer is your best defense against an undercooked or overcooked turkey.
- Use a Roasting Rack: Always cook your turkey on a roasting rack inside the roaster. This elevates the bird, allowing hot air to circulate all around it and ensuring even cooking and browning on the bottom. It also prevents the turkey from sitting in its own juices, which would prevent crispy skin.
Storing and Reheating Leftover Turkey
Once the feast is over, knowing how to properly store and reheat your leftover turkey ensures you can enjoy its deliciousness for days to come.
- Refrigeration: For best quality and safety, remove the meat from the turkey bones as soon as it has cooled sufficiently (within 2 hours of cooking). Store the carved turkey meat in an airtight container in the refrigerator for up to 3-4 days. This prevents the meat from drying out and maintains freshness.
- Freezing for Longer Storage: If you have a substantial amount of leftovers, freezing is an excellent option. Transfer the carved turkey meat to freezer-safe containers or heavy-duty Ziploc bags, pressing out as much air as possible to prevent freezer burn. Frozen turkey can be stored for up to 3-6 months. It’s perfect for future soups, chilis, enchiladas, or pot pies.
- Thawing Frozen Turkey: To use frozen turkey, transfer it to the refrigerator overnight to thaw safely. Once thawed, it’s ready for use in all your favorite recipes.
- Reheating Leftover Turkey: To reheat turkey without drying it out, place the desired amount in a baking dish. Add a splash of chicken broth, turkey broth, or water to the dish. Cover it tightly with aluminum foil to trap moisture. Bake in a preheated oven at 300°F (150°C) until thoroughly heated through, usually 15-25 minutes depending on the quantity. For smaller portions, you can gently reheat in a microwave with a splash of broth.
Frequently Asked Questions About Roasting Turkey in an Electric Roaster
Cooking time largely depends on the turkey’s size and whether it’s thawed and brined. Generally, plan for about 8-10 minutes per pound. However, the most accurate way to determine doneness is by using a meat thermometer. The turkey is ready when the internal temperature in the thickest part of the breast reaches 165°F (74°C) and the thickest part of the thigh reaches 180°F (82°C).
You’ll start by cooking the turkey at the roaster’s highest setting, typically 450°F (232°C), for the first 30 minutes. This high heat helps to crisp the skin. After this initial blast, you’ll reduce the temperature to 325°F (163°C) and continue cooking until the turkey reaches the safe internal temperatures mentioned above.
No, you should not add water to the bottom of an electric roaster when cooking turkey. The design of the electric roaster, with its tight-fitting lid, traps and recirculates moisture and juices during the cooking process. Adding water can steam the turkey, preventing the skin from crisping up beautifully, which is a key goal for a delicious roast.
While it’s technically possible, it is not recommended to stuff a turkey with traditional bread stuffing when cooking in an electric roaster (or any oven). Stuffing can significantly extend the cooking time and often doesn’t reach a safe internal temperature (165°F / 74°C) by the time the turkey meat is done. This can lead to food safety issues. Instead, cook your stuffing separately and fill the turkey cavity with aromatics like oranges, onions, garlic, and fresh herbs for flavor infusion, as outlined in the recipe.
The size of your roaster depends on the size of your turkey. A 16-quart roaster can typically accommodate a turkey up to 18-20 pounds. For larger turkeys (20-24 pounds), a 22-quart or 24-quart roaster would be more suitable. Always check the manufacturer’s recommendations for maximum turkey size for your specific model.
More Thanksgiving Turkey Recipes & Guides
- Instant Pot Turkey Breast with Stuffing and Mashed Potatoes
- Lemon Herb Roast Turkey
- Foolproof Turkey Gravy Recipe
- Turkey 101: The Ultimate Guide to Thanksgiving Turkey
- Super Juicy No Brine Roast Turkey
Perfect Turkey in an Electric Roaster
Shinee Davaakhuu
10 minutes
3 hours
3 hours 10 minutes
12 servings
Saved Recipe
Pin Recipe
Comment
Print Recipe
Ingredients
-
1 whole brined turkey Note 1 -
2-3 tablespoons olive oil -
1 teaspoon baking powder -
1-2 oranges and fresh herbs Note 2
Equipment
-
electric roaster
-
basting brush
-
kitchen tongs
-
wired digital meat thermometer
Instructions
-
Preheat the electric roaster to its highest temperature. (Most roasters go up to 450°F / 232°C. Allow at least 20-30 minutes for proper preheating.)
-
In a small bowl, combine the olive oil and baking powder until well mixed. Thoroughly pat the turkey dry with paper towels, then brush the oil mixture evenly all over the turkey’s skin.
-
Place the quartered oranges and fresh herbs, such as thyme, rosemary, and sage, into the cavity of the turkey. Do not pack tightly.
-
Carefully place the rack in the roaster with handles up. Then, place the prepared turkey onto the rack, breast side down. (Be extremely careful, as the roaster is super hot!)
-
Cover the roaster with its lid and cook the bird for 30 minutes at 450°F (232°C). This initial high heat and breast-down position helps achieve a crispier skin and juicier breast.
-
Using two pairs of sturdy kitchen tongs or heat-resistant gloves, carefully flip the turkey breast side up. Quickly replace the lid and immediately lower the temperature to 325°F (163°C).
-
Continue roasting until the internal temperature reaches 180°F (82°C) in the thickest part of the thigh and 165°F (74°C) in the thickest part of the breast. (Avoid opening the lid too often or for too long, as the roaster oven will lose its heat and extend the cooking time. A wired thermometer is ideal here.)
-
Once cooked, carefully lift the bird from the roaster oven using the handles of the rack. Transfer it to a large cutting board or platter. Cover loosely with foil and let it rest for at least 30 minutes (up to 60 minutes for larger birds) before slicing and serving.
-
Strain the delicious drippings from the roaster pan for an amazing homemade turkey gravy!
⭐️ Did you make this recipe?
Please leave a review and let us know how you liked it!
Tips & Notes
Note 2: While traditional bread stuffing is not recommended to be cooked inside the turkey cavity for food safety reasons, I highly endorse adding various fruits and vegetables inside for aromatic flavoring. Excellent choices include quartered oranges, apples, whole or halved onions, garlic cloves, and fresh sprigs of herbs like rosemary, sage, and thyme. These release wonderful aromas and flavors that infuse into the turkey meat.
Storing Tips:
– To maximize freshness, remove all meat from the turkey bones once it has cooled (within 2 hours). Store the carved meat in an airtight container in the refrigerator for up to 3-4 days.
– For longer storage, freeze the leftover turkey meat! It’s perfect for future dishes like soups, chilis, casseroles, or enchiladas. Transfer the meat to a freezer-safe container or heavy-duty Ziplock bag, removing as much air as possible, and freeze for up to 3-6 months.
– To use frozen turkey, thaw it safely in the refrigerator overnight, then incorporate it into your favorite recipes.
– To reheat, place leftover turkey in a baking dish, add a splash of chicken broth or water to keep it moist, cover tightly with aluminum foil, and bake in a 300°F (150°C) oven until hot throughout.
Nutrition
323kcal
0.1g
46g
14g
0.1g
276mg
Main Course
American

Did you make this?
Leave a rating and your feedback. Thank you!