
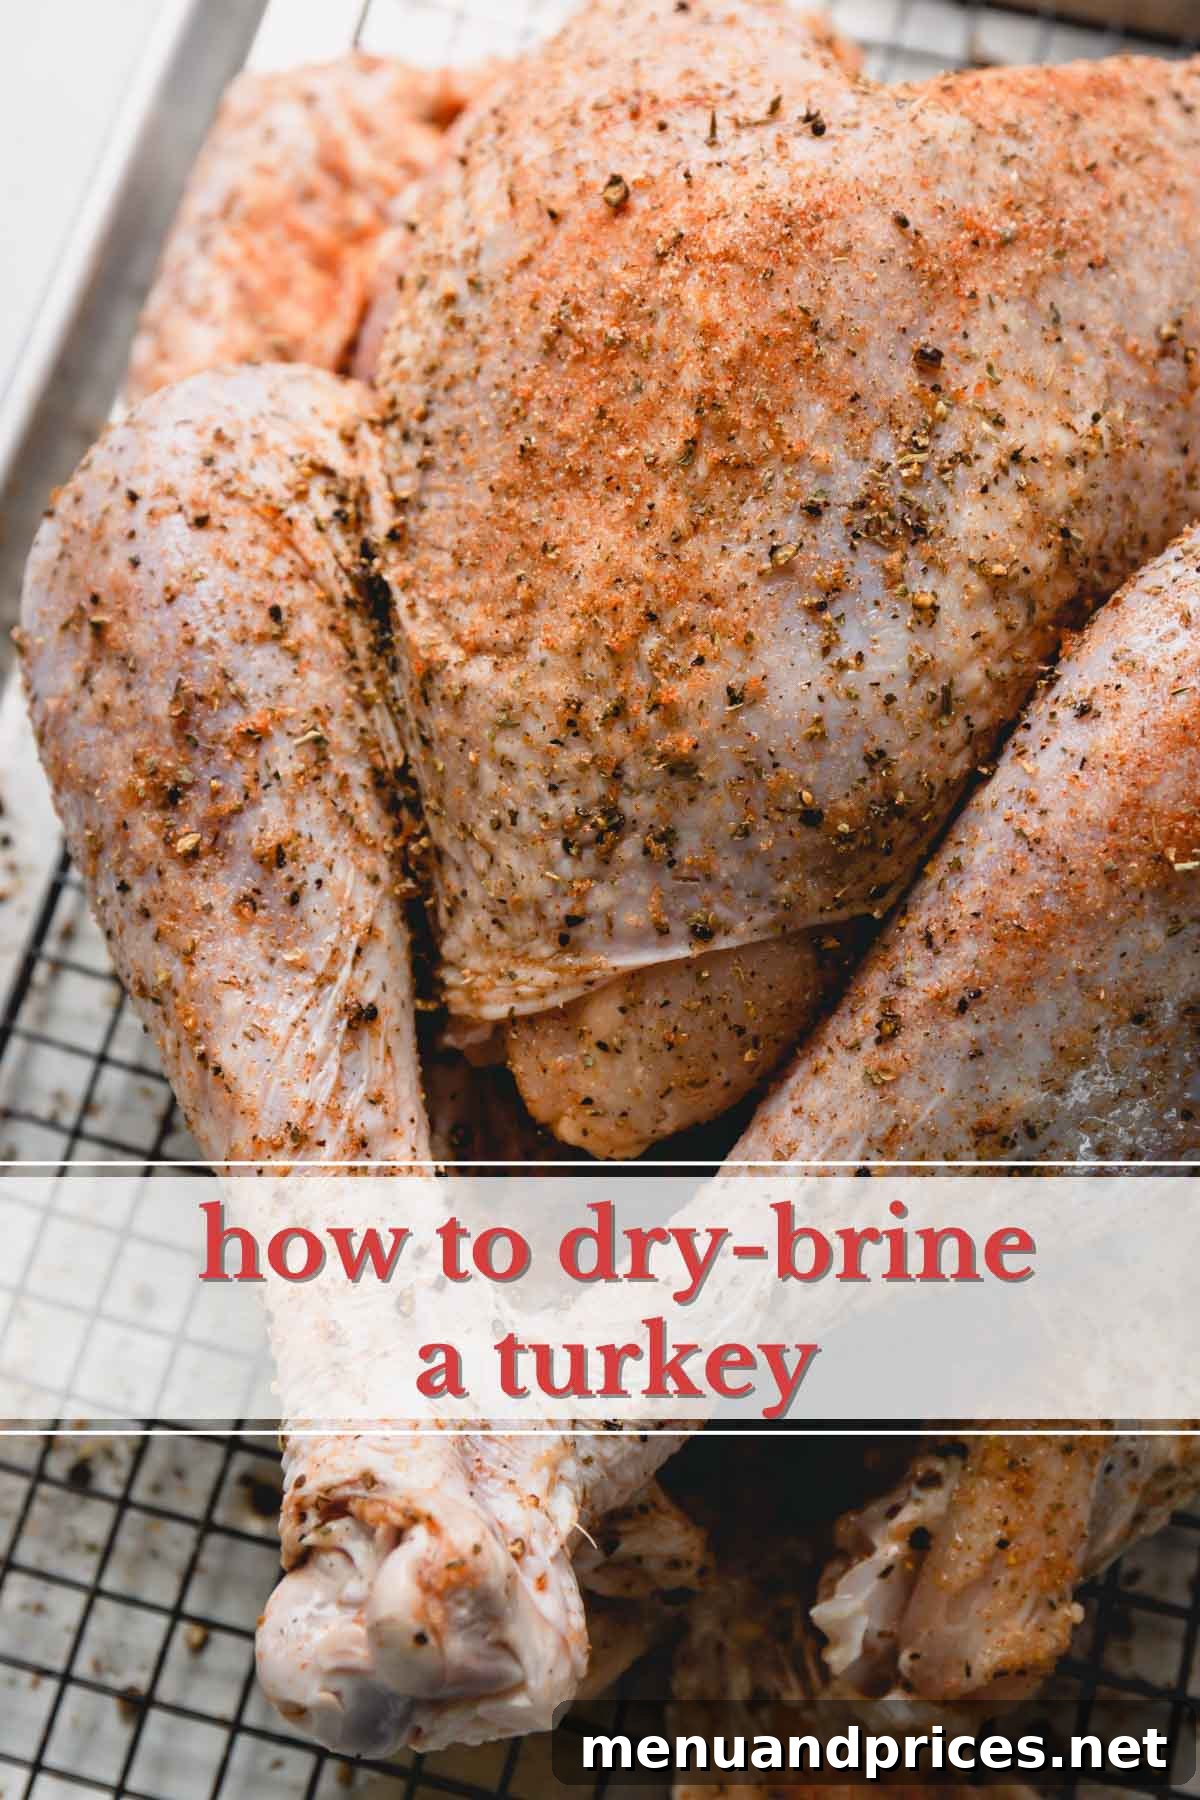
For many, Thanksgiving conjures images of a magnificent golden-brown turkey gracing the center of the dining table. But how often does that picture-perfect bird live up to its promise of juicy, tender meat and irresistibly crispy skin? The answer often lies in one simple, yet incredibly effective technique: dry brining. This method is the secret weapon for achieving the juiciest, most flavorful holiday turkey imaginable, transforming an ordinary roast into an extraordinary culinary experience. Forget complicated wet brines and messy buckets; dry brining offers a streamlined approach with superior results. Here’s everything you need to know to master the art of dry brining and ensure your next holiday turkey is truly unforgettable.
Unlocking Flavor: What is Dry Brining?
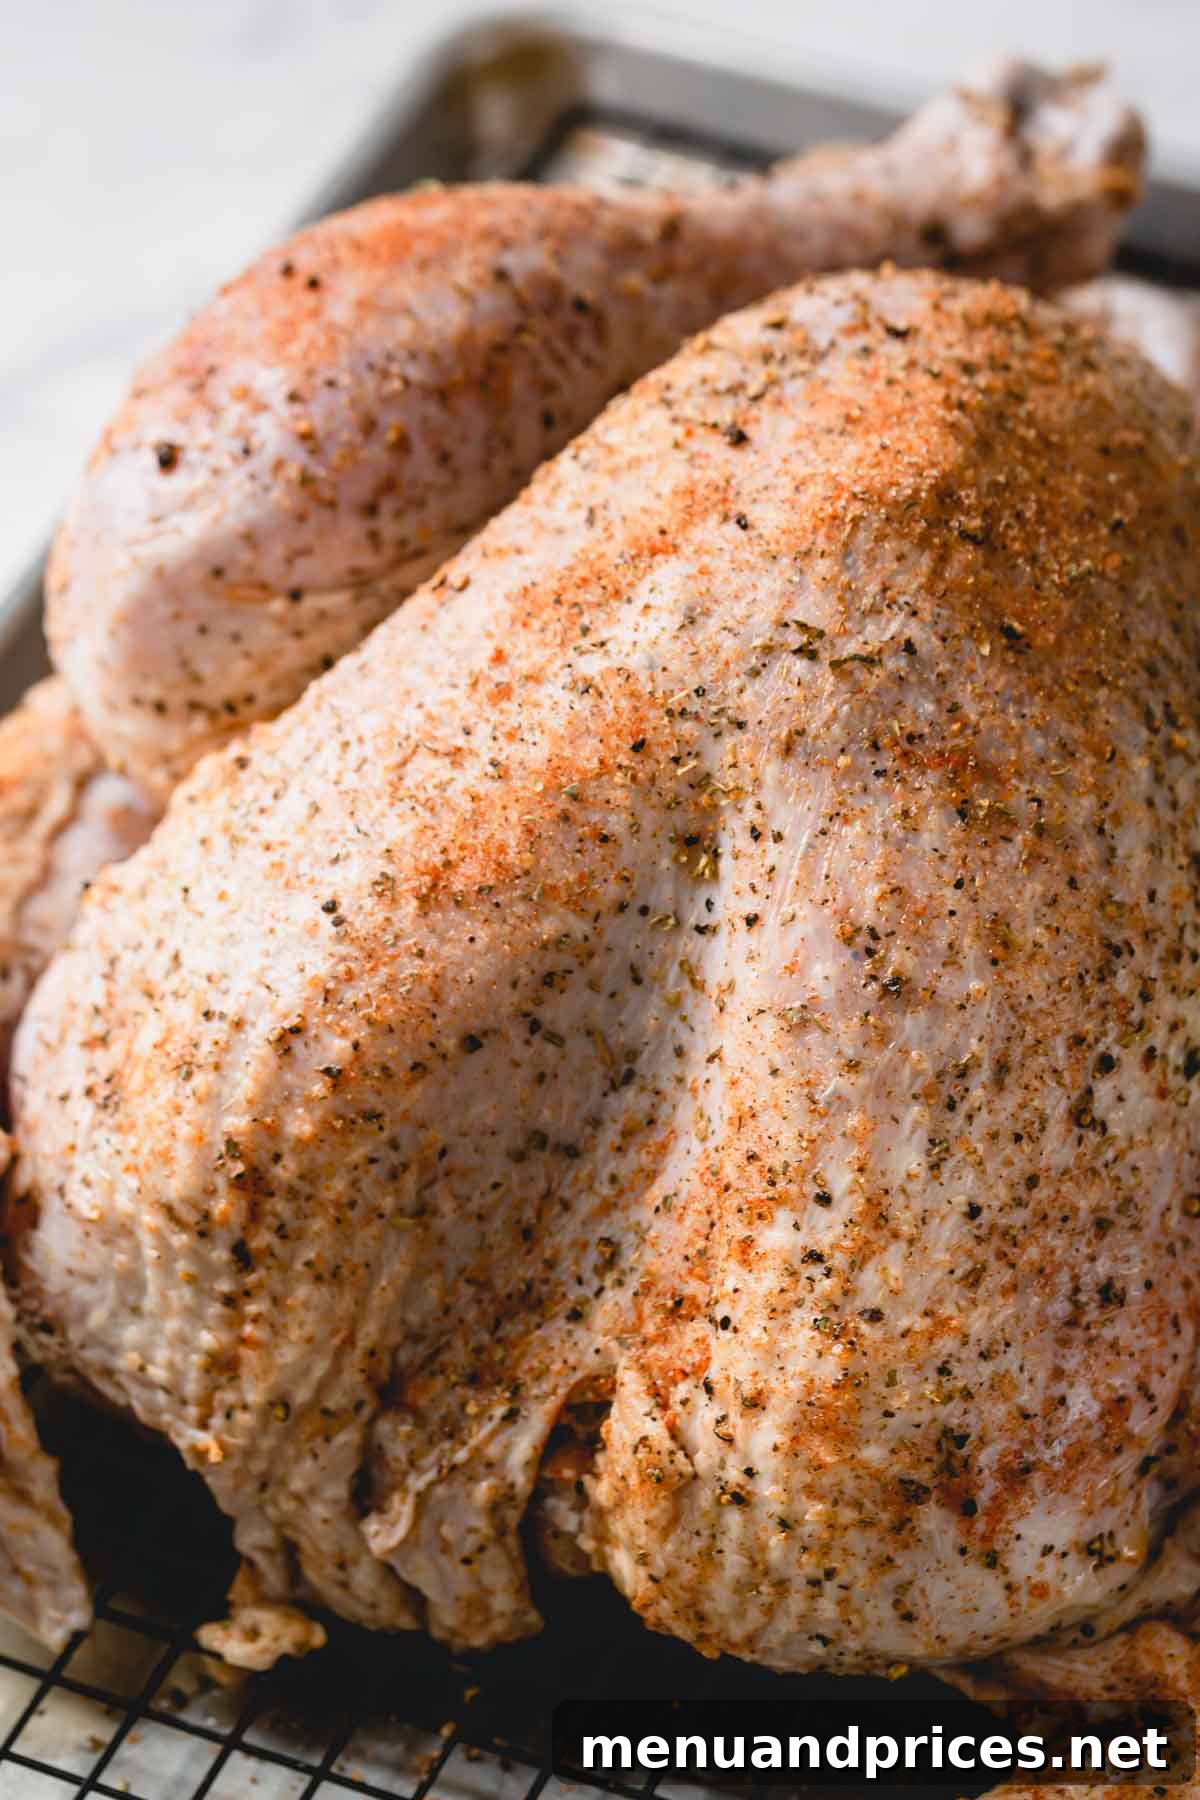
At its core, dry brining is an ancient and elegant method of seasoning and tenderizing meat, particularly poultry, by applying salt directly to its surface. Unlike traditional wet brining, which submerges the turkey in a saltwater solution, dry brining involves simply rubbing a generous amount of salt (often mixed with herbs and spices) onto the turkey’s skin and allowing it to rest, uncovered, in the refrigerator for one to three days before cooking. This process allows the salt to work its magic directly on the meat’s proteins.
The science behind dry brining is fascinating. Initially, the salt draws out moisture from the turkey’s flesh through osmosis. This creates a highly concentrated salty liquid on the surface. Over time, as the salt begins to dissolve and the turkey’s cellular structure responds, the moisture, now carrying the dissolved salt and spices, is reabsorbed back into the meat. This salty solution penetrates deep into the muscle fibers, effectively seasoning the turkey from the inside out, not just on the surface. Furthermore, the salt helps to break down muscle proteins, leading to a more tender texture and significantly improving the meat’s capacity to retain moisture during the high-heat roasting process. The result is a profoundly flavorful, exceptionally juicy turkey that cooks evenly and boasts an incredible texture.
Dry Brining vs. Wet Brining: Why Dry Brining is the Superior Choice
While both brining methods aim to deliver a juicy and flavorful turkey, dry brining offers distinct advantages that make it a clear winner for convenience, taste, and texture:
- Unrivaled Crispy Skin: This is arguably the biggest differentiator. Wet brining introduces a significant amount of moisture into the turkey, making it challenging to achieve that coveted crispy skin. Dry brining, by resting the turkey uncovered in the refrigerator, actively air-dries the skin. This reduction in surface moisture is crucial for rendering fat and developing a beautifully crisp, crackling exterior that will impress every guest.
- Intensified Flavor, Not Diluted: Wet brines can sometimes dilute the natural turkey flavor as water permeates the meat. Dry brining, however, concentrates the turkey’s natural savory essence while infusing it with the rich flavors of your chosen herbs and spices. The salt penetrates the meat without adding excess water, leading to a richer, more profound taste experience.
- Superior Texture: Dry brining results in incredibly juicy meat without the slightly spongy or “hammy” texture that can sometimes occur with wet brining due to excessive water absorption. The salt tenderizes the muscle fibers, yielding a consistently moist and tender bite.
- Space-Saving and Mess-Free: Traditional wet brining requires a very large container, often a cooler or a specialized brining bag, to fully submerge a large turkey in gallons of liquid. This takes up considerable refrigerator space and can be incredibly messy to manage. Dry brining, on the other hand, only requires a baking sheet with a wire rack, making it far more practical for home cooks with limited space. There are no heavy liquids to contend with, minimizing spills and cleanup.
- Simplicity and Convenience: With no need to boil large quantities of water for a brine solution, chill it down, or wrestle a large bird into a liquid-filled container, dry brining significantly streamlines your holiday prep. It’s a “set it and forget it” method that allows you to focus on other dishes without the added stress of a messy brining operation.
For these compelling reasons, once you try dry brining, you’ll likely agree it’s the smarter, easier, and ultimately more rewarding path to a spectacular holiday turkey.
Essential Ingredients for Your Perfect Dry Brine
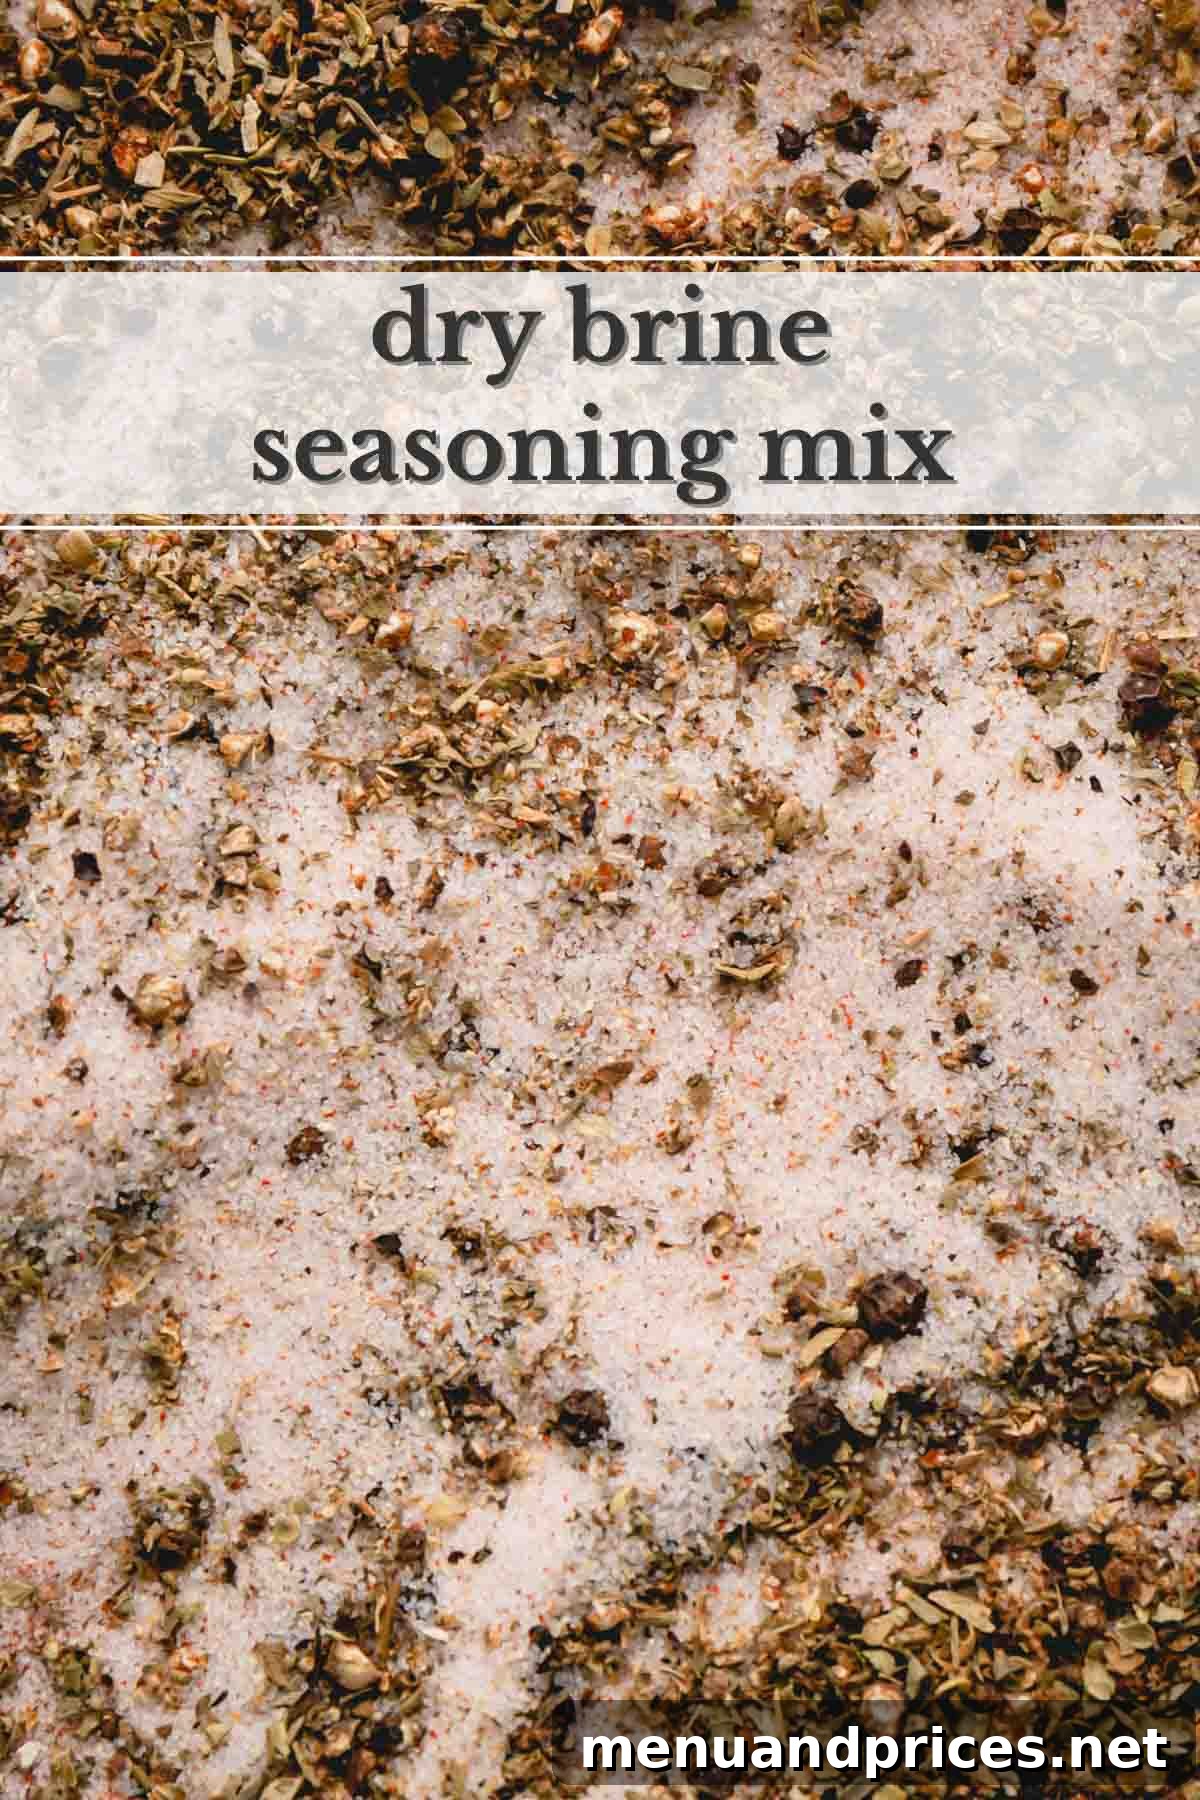
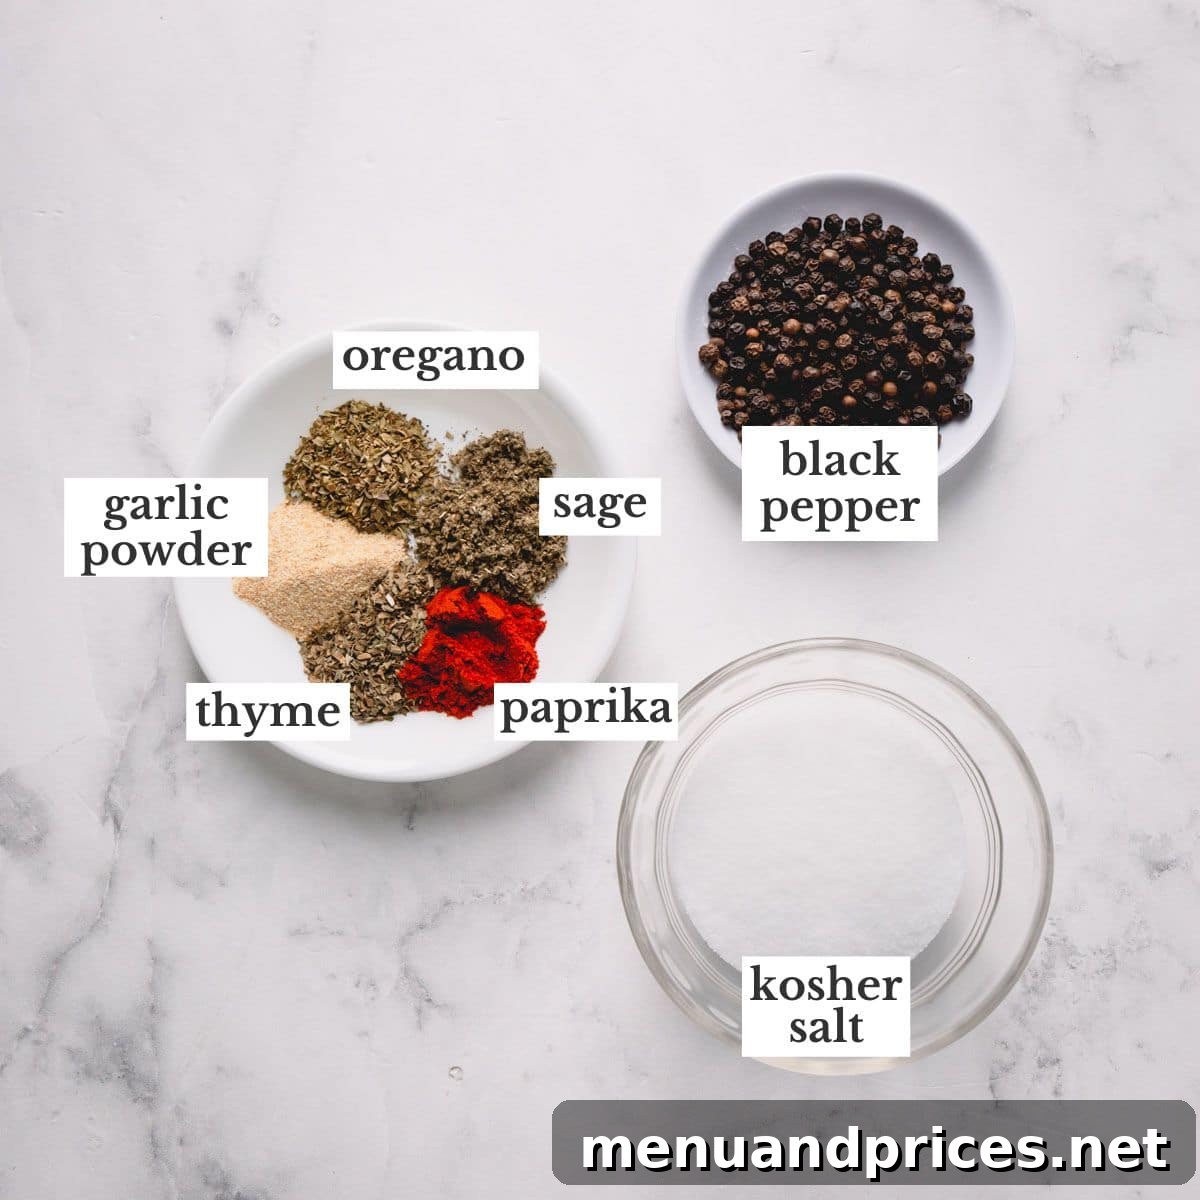
While the fundamental ingredient for any effective dry brine is salt, the addition of carefully selected herbs and spices can elevate your turkey from simply juicy to truly extraordinary. The beauty of dry brining is that it infuses these flavors directly into the meat during the brining process, eliminating the need for extensive seasoning later.
- Kosher Salt: The Cornerstone of Dry Brining. Not all salts are created equal, especially for brining. Kosher salt is highly recommended due to its larger, coarser granules and unique crystalline shape. These properties allow it to distribute more evenly over the turkey’s surface, adhere better to the meat, and dissolve at an optimal rate for consistent penetration. The absence of anti-caking agents found in some table salts also contributes to a cleaner flavor. If you must substitute with fine-grained table salt, reduce the amount by half, as it is much denser and saltier by volume. A good rule of thumb for dry brining is approximately 1 tablespoon of Kosher salt per 4-5 pounds of turkey.
- Freshly Ground Black Peppercorns: For an unparalleled aroma and a subtle kick, always opt for whole black peppercorns and crush them just before mixing your brine. A mortar and pestle or a spice grinder will yield the freshest, most potent flavor compared to pre-ground pepper. The pungent, woody notes of fresh black pepper beautifully complement poultry.
- Aromatic Herbs and Spices: These additions transform a basic brine into a symphony of flavors. The following are classic choices that meld beautifully with turkey, offering an earthy, savory depth:
- Dried Oregano: Offers a warm, aromatic, slightly bitter note.
- Dried Sage: An iconic turkey pairing, sage brings a woody, peppery, and slightly minty flavor that is indispensable for holiday roasts.
- Dried Thyme: With its delicate, earthy, and floral undertones, thyme adds complexity and freshness.
- Paprika (Smoked or Sweet): Paprika not only adds a beautiful reddish hue to the skin but also contributes a mild, sweet, or smoky flavor depending on the variety, enhancing the overall savoriness.
- Garlic Powder: A staple for adding a mellow, pungent garlic flavor without the risk of fresh garlic burning during roasting.
Feel free to customize this blend with your favorite herbs like rosemary, marjoram, or even a touch of onion powder. The goal is to create a flavor profile that excites your palate and complements your holiday menu.
- The Whole Turkey: Crucially, select a turkey that has not been pre-brined or treated with saline solutions. Check the label carefully for terms like “enhanced,” “pre-salted,” “basted,” or “contains a solution.” Fresh or untreated frozen turkeys are ideal canvases for your dry brine.
Step-by-Step: How to Dry Brine a Turkey for Ultimate Tenderness and Taste
Mastering the dry brining process is straightforward, but attention to detail in each step ensures a truly spectacular result. Follow these instructions for a perfectly seasoned and incredibly juicy turkey:
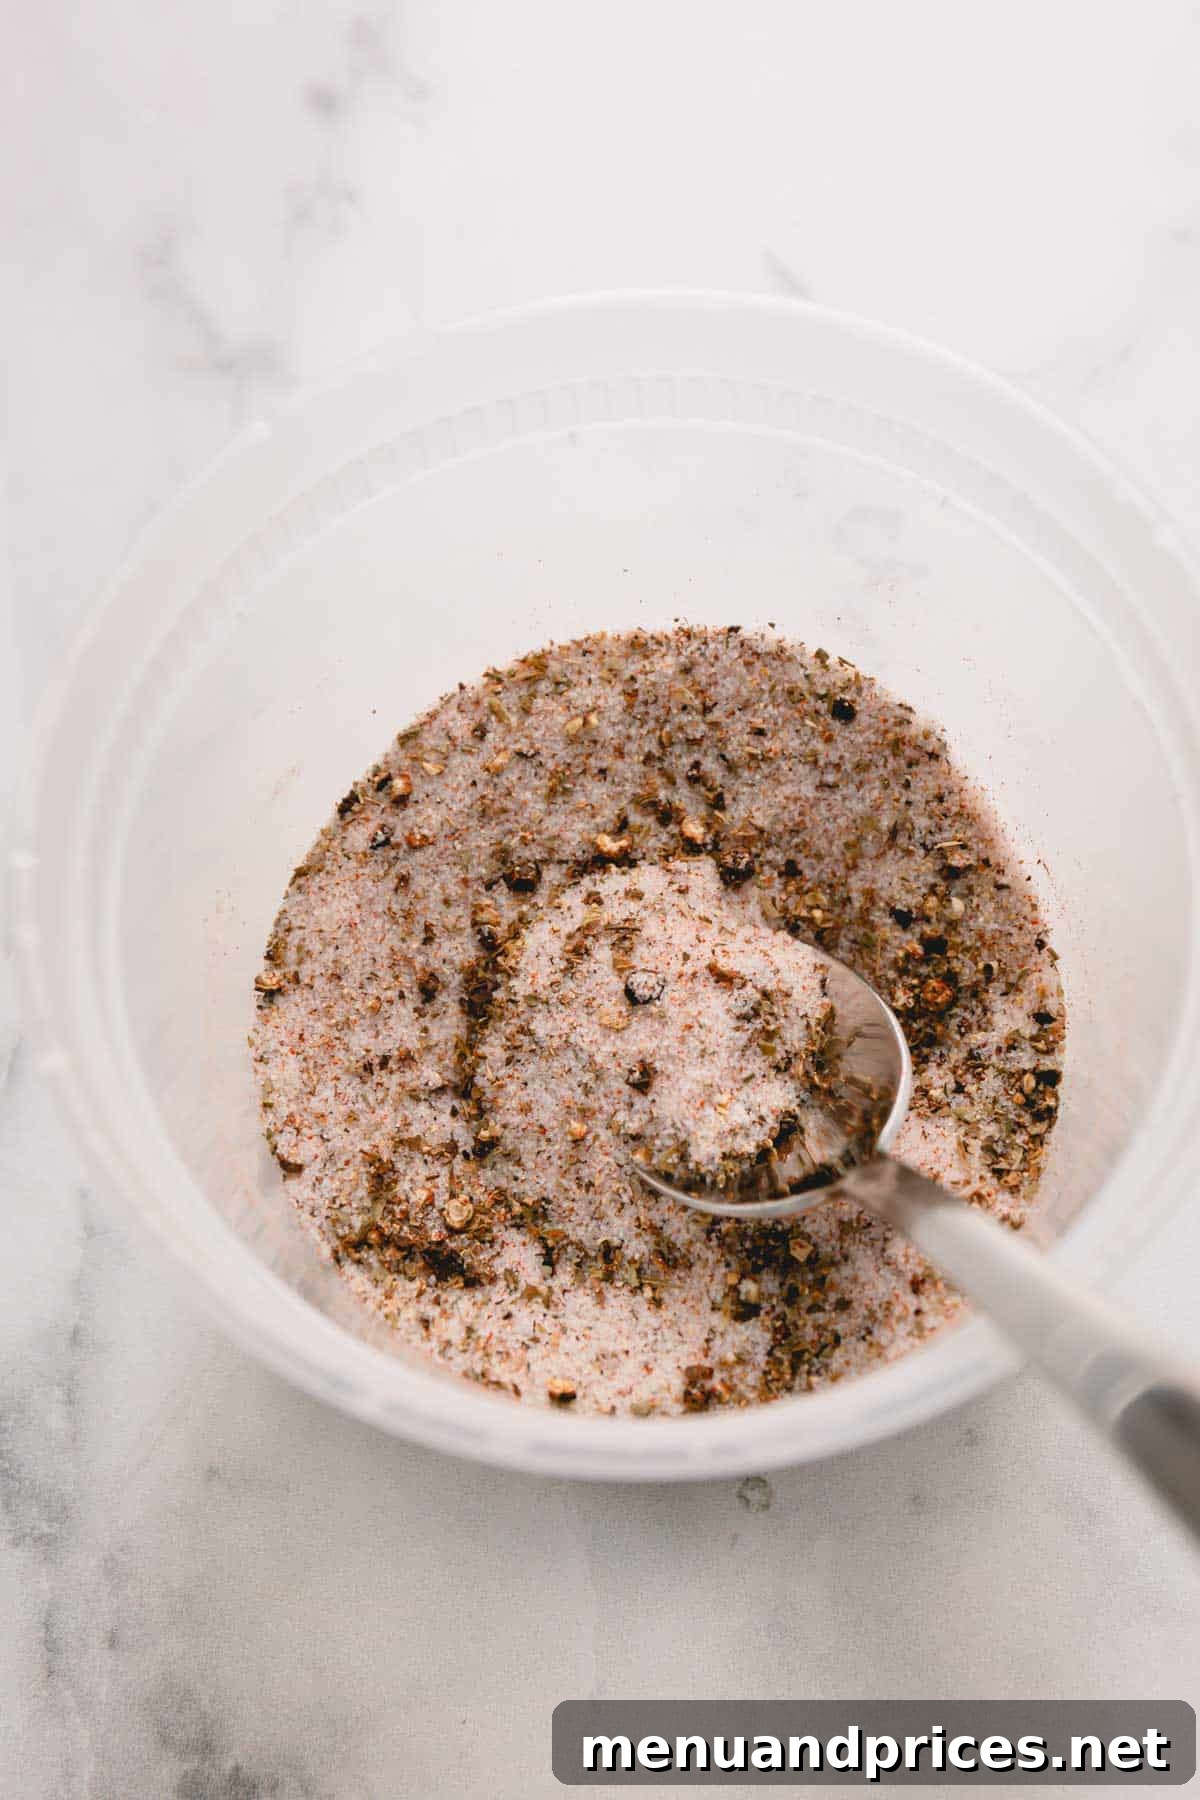
- Prepare Your Dry Brine Mixture: In a small bowl, combine all your chosen dry seasoning ingredients: Kosher salt, freshly crushed black peppercorns, dried oregano, garlic powder, dried sage, dried thyme, and paprika. Stir them together thoroughly to ensure an even distribution of flavors. If using whole peppercorns, crush them in a mortar and pestle just before mixing to unleash their aromatic oils for maximum impact.
- Prepare the Turkey for Brining: First, ensure your turkey is fully thawed or at least mostly thawed. Place the turkey on a sturdy baking sheet fitted with a wire rack. This setup is essential as it allows air to circulate around the entire bird and catches any moisture that drains off during the brining process. Using paper towels, meticulously pat the entire surface of the turkey – inside and out – until it is completely dry. This step is critical for both the salt’s effectiveness and the ultimate crispiness of the skin. Next, gently slide your hand under the breast skin, starting from the cavity opening, to carefully separate the skin from the breast meat, creating a pocket without tearing the skin. This allows the brine to directly reach the most important part of the turkey.
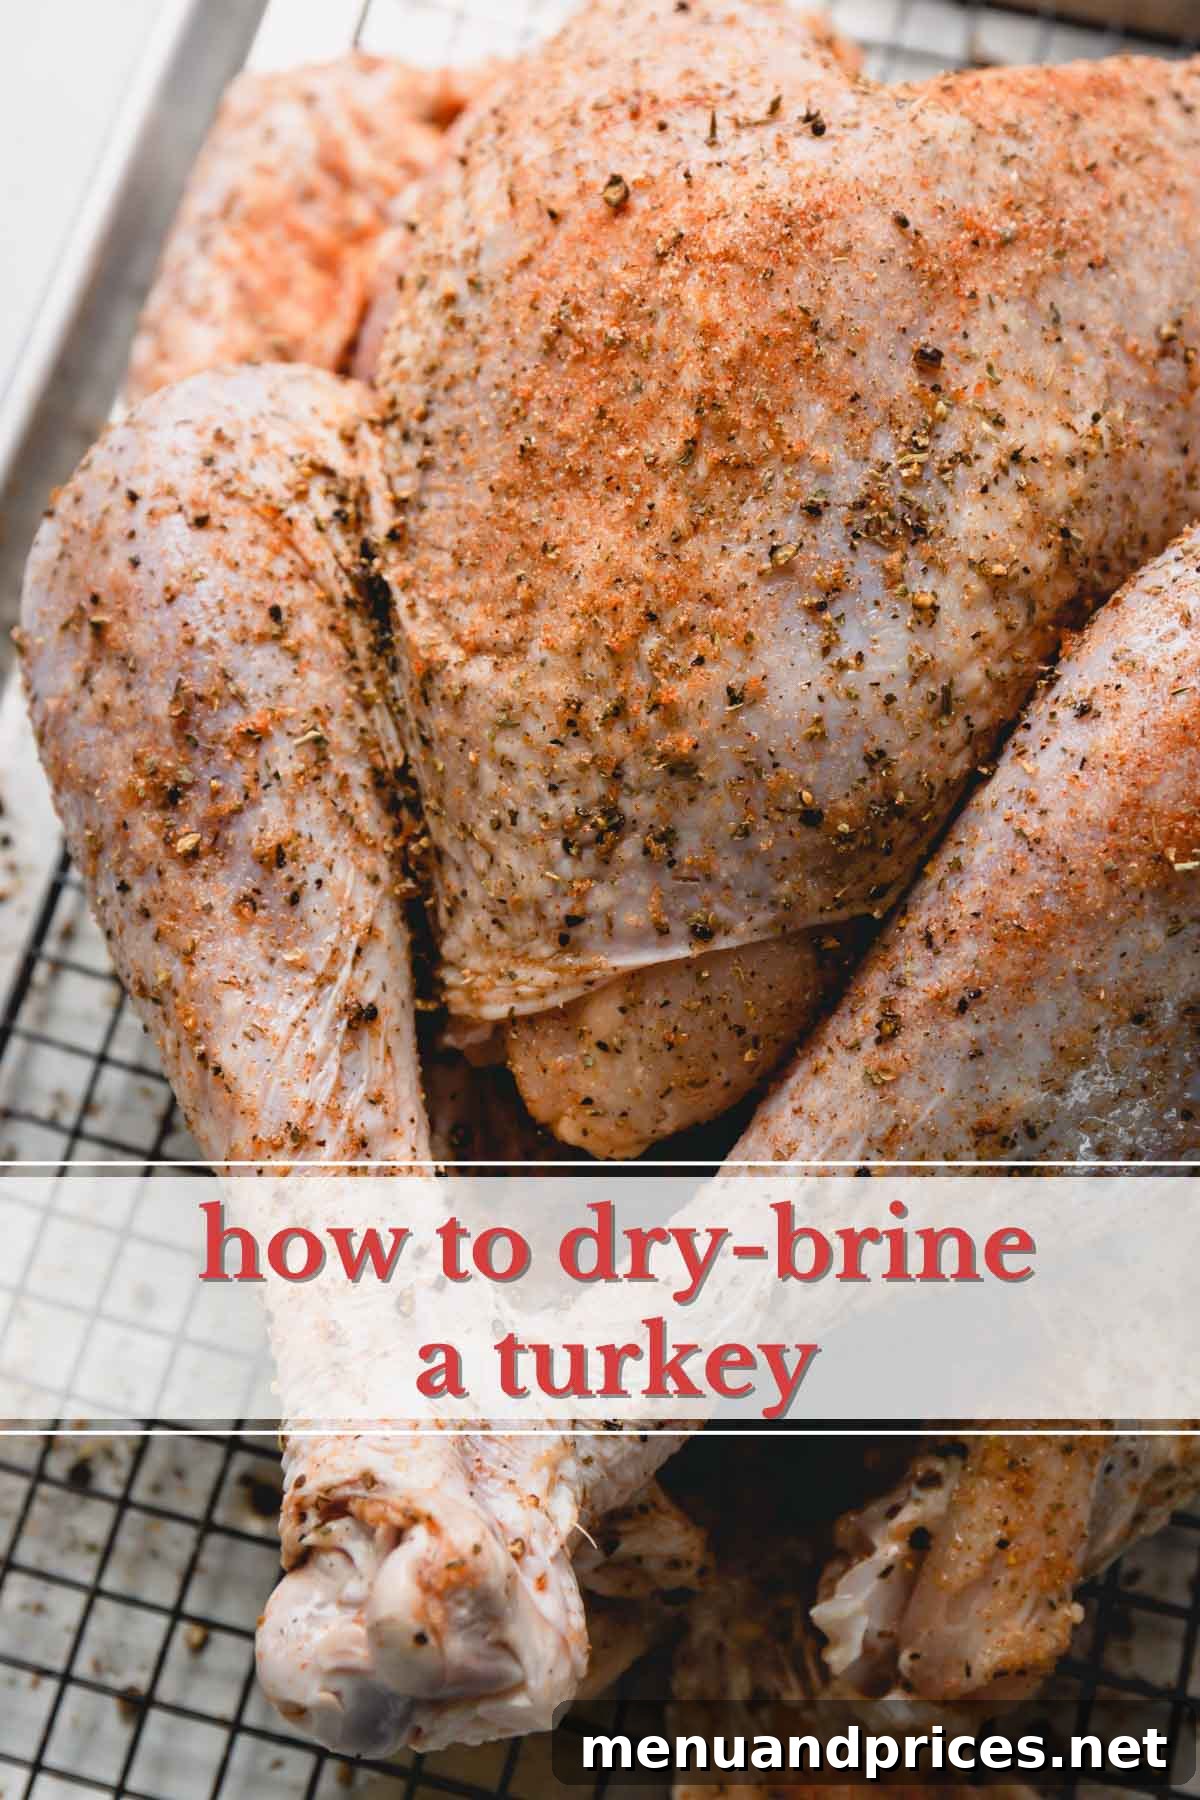
- Apply the Dry Brine Evenly: Take your prepared seasoning mix and generously rub it all over the turkey. Be thorough: apply a good portion underneath the breast skin, directly onto the breast meat, as this is where deep seasoning is most beneficial. Also, rub it thoroughly over the exterior skin, ensuring good coverage on the legs, thighs, and back. Don’t forget to sprinkle some inside the cavity as well. The goal is an even coating across all surfaces.
- Refrigerate, Uncovered, for Optimal Results: Once seasoned, place the turkey, still on its wire rack and baking sheet, into your refrigerator. Leave the turkey uncovered throughout the brining period. This is a crucial step! Allowing the turkey to air dry in the cold environment of the fridge will significantly reduce moisture on the skin’s surface, which is the secret to achieving that wonderfully crispy skin during roasting. Brine the turkey for at least 24 hours, but for the most profound flavor and moisture retention, aim for 48 to 72 hours.
- Prepare for Roasting (No Rinsing Needed!): When the brining period is complete and you’re ready to roast your turkey, there is absolutely no need to rinse it. Rinsing would not only wash away the delicious accumulated flavor but also reintroduce moisture, undoing all your hard work towards crispy skin. Furthermore, the USDA strongly advises against washing raw poultry to prevent the spread of bacteria. Simply remove the turkey from the refrigerator, pat it dry one last time if there’s any surface moisture, and then you may rub it lightly with olive oil or compound butter if desired before proceeding with your favorite roasting method. Your perfectly seasoned, juicy, and crispy-skinned turkey is now ready for the oven!
Expert Tips for a Flawless Dry-Brined Turkey
Achieving the perfect dry-brined turkey involves a few key considerations and expert techniques. Keep these tips in mind to ensure your holiday bird is nothing short of magnificent:
- Start with the Right Turkey: The success of your dry brine begins with selecting the appropriate turkey. It is paramount that your turkey has NOT been pre-brined, enhanced, or treated with any saline or sodium solution. Labels indicating “contains solution,” “basted,” “self-basted,” or “enhanced” mean the turkey already has salt added, and brining it further will likely result in an excessively salty bird. Kosher turkeys are also pre-salted, so avoid brining them. Always read the ingredient label carefully; if salt or sodium solution is listed, choose a different turkey.
- Thawing is Key: While a semi-thawed turkey can work, a fully thawed turkey allows for the most even and effective salt penetration. If your turkey is still partially frozen, be sure to use a deep baking pan to catch any melting ice and water, and allow extra time for thawing in the refrigerator. Never thaw at room temperature. The safest method is slow thawing in the refrigerator (about 24 hours per 4-5 pounds).
- Embrace Uncovered Refrigeration: This cannot be stressed enough. Leaving the turkey uncovered in the refrigerator for the duration of the brining process is fundamental to developing that coveted crispy skin. The cold, circulating air works to draw moisture out of the skin, creating a dry surface that will crisp up beautifully in the oven. Covering the turkey with plastic wrap would trap moisture, negating this crucial benefit.
- The Power of Kosher Salt: As discussed, Kosher salt is ideal for dry brining due to its larger crystal size, which facilitates even distribution and adheres well to the turkey. It allows for a gradual and controlled absorption of salt, preventing over-salting and ensuring deep seasoning. If you absolutely must use regular table salt, reduce the amount by half, as it is much denser and saltier by volume. This adjustment is critical to avoid an unpalatably salty turkey.
- The Importance of Resting: After your beautifully dry-brined turkey comes out of the oven, resist the urge to carve it immediately. Resting the turkey for at least 20-30 minutes (or even up to an hour for a very large bird) is crucial. This allows the juices, which have been driven to the center of the bird during cooking, to redistribute throughout the meat. Carving too early will result in dry meat, as all the delicious juices will simply run out onto your cutting board. Cover it loosely with foil to keep it warm.
- Achieving Perfect Doneness: Always use a meat thermometer to ensure your turkey is cooked to a safe internal temperature. The thermometer should read 165°F (74°C) in the thickest part of the thigh (without touching bone), the breast, and the wing joint. While dry brining helps retain moisture, overcooking can still lead to dryness, so monitoring the temperature is vital.
Frequently Asked Questions About Dry Brining Turkey
Many home cooks have questions when venturing into dry brining for the first time. Here are answers to some of the most common inquiries:
How long should you dry brine a turkey?
For optimal results, it is best to dry brine a turkey for 2 to 3 days (48 to 72 hours). This duration allows sufficient time for the salt and seasonings to penetrate deeply into the meat, tenderize the proteins, and draw out surface moisture for crispy skin. A minimum of 24 hours is acceptable if you’re short on time, but extending it to the full 3 days truly makes a difference in flavor and texture.
Do you rinse off dry brine on turkey?
Absolutely not! There is no need to rinse off the dry brine. Rinsing would reverse the crucial air-drying process that contributes to crispy skin. It would also wash away the concentrated seasonings that have worked their way into the meat. Furthermore, the USDA does not recommend washing raw turkey or other poultry, as it can spread bacteria around your kitchen. Just pat the turkey dry again with paper towels if any surface moisture has accumulated before roasting.
What kind of turkey should you brine?
The best turkeys for dry brining are fresh or frozen turkeys that have not been pre-treated or injected with any solutions. Look for labels that simply say “turkey” or “all natural” with only turkey listed in the ingredients. Avoid turkeys labeled as “kosher,” “pre-salted,” “basted,” “self-basted,” or “enhanced,” as these already contain added salt or sodium solutions. Brining an already-salted turkey will result in an unpleasantly salty bird.
Will my dry-brined turkey be too salty?
When done correctly, following the recommended salt ratios (approximately 1 tablespoon of Kosher salt per 4-5 pounds of turkey) and brining duration, your turkey will not be too salty. The salt primarily penetrates the meat to season and tenderize, not to make it overtly salty. The process is self-regulating; the meat will only absorb the necessary amount of salt. Problems typically arise when using too much salt, particularly table salt without reducing the quantity, or when brining an already pre-salted turkey.
Can I dry brine a frozen turkey?
It is best to dry brine a turkey that is fully thawed or at least mostly thawed. While salt can theoretically penetrate frozen meat, the process is significantly slower and less efficient. For optimal results, ensure your turkey is thawed in the refrigerator before applying the dry brine. A semi-thawed turkey can work, but you’ll need to account for extra thawing time during the brining period and ensure a deep pan is underneath to catch any meltwater.
The Best Dry Brine Turkey Recipe for Thanksgiving
This simple yet incredibly effective dry brine recipe ensures your holiday turkey is the star of the show – consistently juicy, bursting with rich savory flavor, and boasting that coveted, perfectly crispy skin. Prepare to impress your family and friends with a truly unforgettable holiday feast!
Recipe Overview
- Prep Time: 10 minutes
- Brining Time: 2 to 3 days (48 to 72 hours)
- Servings: 8-10 people (for a 14-16 lb turkey)
Ingredients
- 3 tablespoons Kosher Salt: (Use approximately 1 tablespoon per 4-5 lbs of turkey. Diamond Crystal Kosher Salt is recommended for its ideal granule size. If substituting with fine table salt, use half the amount to avoid over-salting.)
- 2 tablespoons Whole Black Peppercorns: (For the freshest aroma and flavor, crush these in a mortar and pestle just before mixing. Alternatively, use 1 tablespoon of pre-ground black pepper.)
- 1 teaspoon Dried Oregano: (Adds an earthy, aromatic note.)
- 1 teaspoon Garlic Powder: (Provides a mellow, savory garlic flavor.)
- 1 teaspoon Dried Sage: (A classic, essential herb for turkey, offering a savory, slightly peppery flavor.)
- 1 teaspoon Dried Thyme: (Contributes delicate, earthy, and slightly floral notes.)
- 1 teaspoon Smoked Paprika: (Lends a beautiful color and a subtle smoky depth to the skin and meat.)
- 1 whole turkey (approximately 14-16 lbs): Ensure it is thawed or semi-thawed and explicitly *not* pre-brined, basted, or enhanced with a saline solution. Adjust dry brine quantity for larger birds.
Instructions
- Combine Seasonings: In a medium bowl, thoroughly mix the Kosher salt, freshly crushed black peppercorns, dried oregano, garlic powder, dried sage, dried thyme, and smoked paprika. Stir until all ingredients are well combined.
- Prepare the Turkey: Place the thawed or semi-thawed turkey on a sturdy baking sheet fitted with a wire rack. This setup facilitates air circulation and catches any drips. Using paper towels, meticulously pat the entire turkey, inside and out, until it is completely dry. Then, gently slide your hand under the breast skin to separate it from the meat, creating a pocket for seasoning without tearing the skin.
- Apply the Brine: Generously rub the prepared seasoning mix evenly all over the turkey. Pay special attention to applying a good portion underneath the breast skin, directly onto the breast meat, and ensure full coverage on the exterior, including legs, thighs, and back. Sprinkle some inside the cavity as well.
- Refrigerate Uncovered: Transfer the seasoned turkey on its wire rack and baking sheet to your refrigerator. Leave it uncovered. This crucial step allows the skin to air-dry, which is essential for achieving exceptional crispiness during roasting. Refrigerate for a minimum of 24 hours, but ideally for 48 to 72 hours for the best flavor penetration and skin texture.
- Prepare for Roasting: When you are ready to roast, there is absolutely no need to rinse the turkey. Rinsing would undo the air-drying process and wash away the delicious briny flavors. Instead, remove the turkey from the refrigerator, and if desired, rub a thin layer of olive oil or softened compound butter over the skin just before placing it in the oven. Roast the turkey according to your preferred method until a meat thermometer inserted into the thickest part of the thigh (without touching bone) registers 165°F (74°C).
Chef’s Notes & Variations
- Salt Measurement: The exact amount of Kosher salt can vary slightly depending on your turkey’s size and your preference. The general guideline of 1 tablespoon per 4-5 pounds of turkey works well. For a 14-16 lb turkey, 3 tablespoons is a good starting point. Adjust slightly for smaller or larger birds.
- Customizing Spices: This recipe offers a classic blend, but don’t hesitate to personalize it. Consider adding dried rosemary for a more robust herbal note, onion powder for additional savoriness, or a pinch of cayenne pepper for a subtle hint of heat.
- Larger Turkeys: For turkeys larger than 16 lbs, it’s recommended to double the dry brine mixture to ensure adequate coverage and seasoning saturation across the larger surface area and thicker meat.
- Why No Rinsing? Beyond preserving the crispy skin, rinsing raw poultry can spread bacteria (like Salmonella) around your kitchen sink and countertops, posing a food safety risk. Trust the dry brine process to season and clean; no rinse is needed.
⭐️ Did you master this dry brine turkey recipe? We’d love to hear about your success! Please consider leaving a review and sharing your feedback below. Your insights and tips are invaluable to fellow home cooks!