
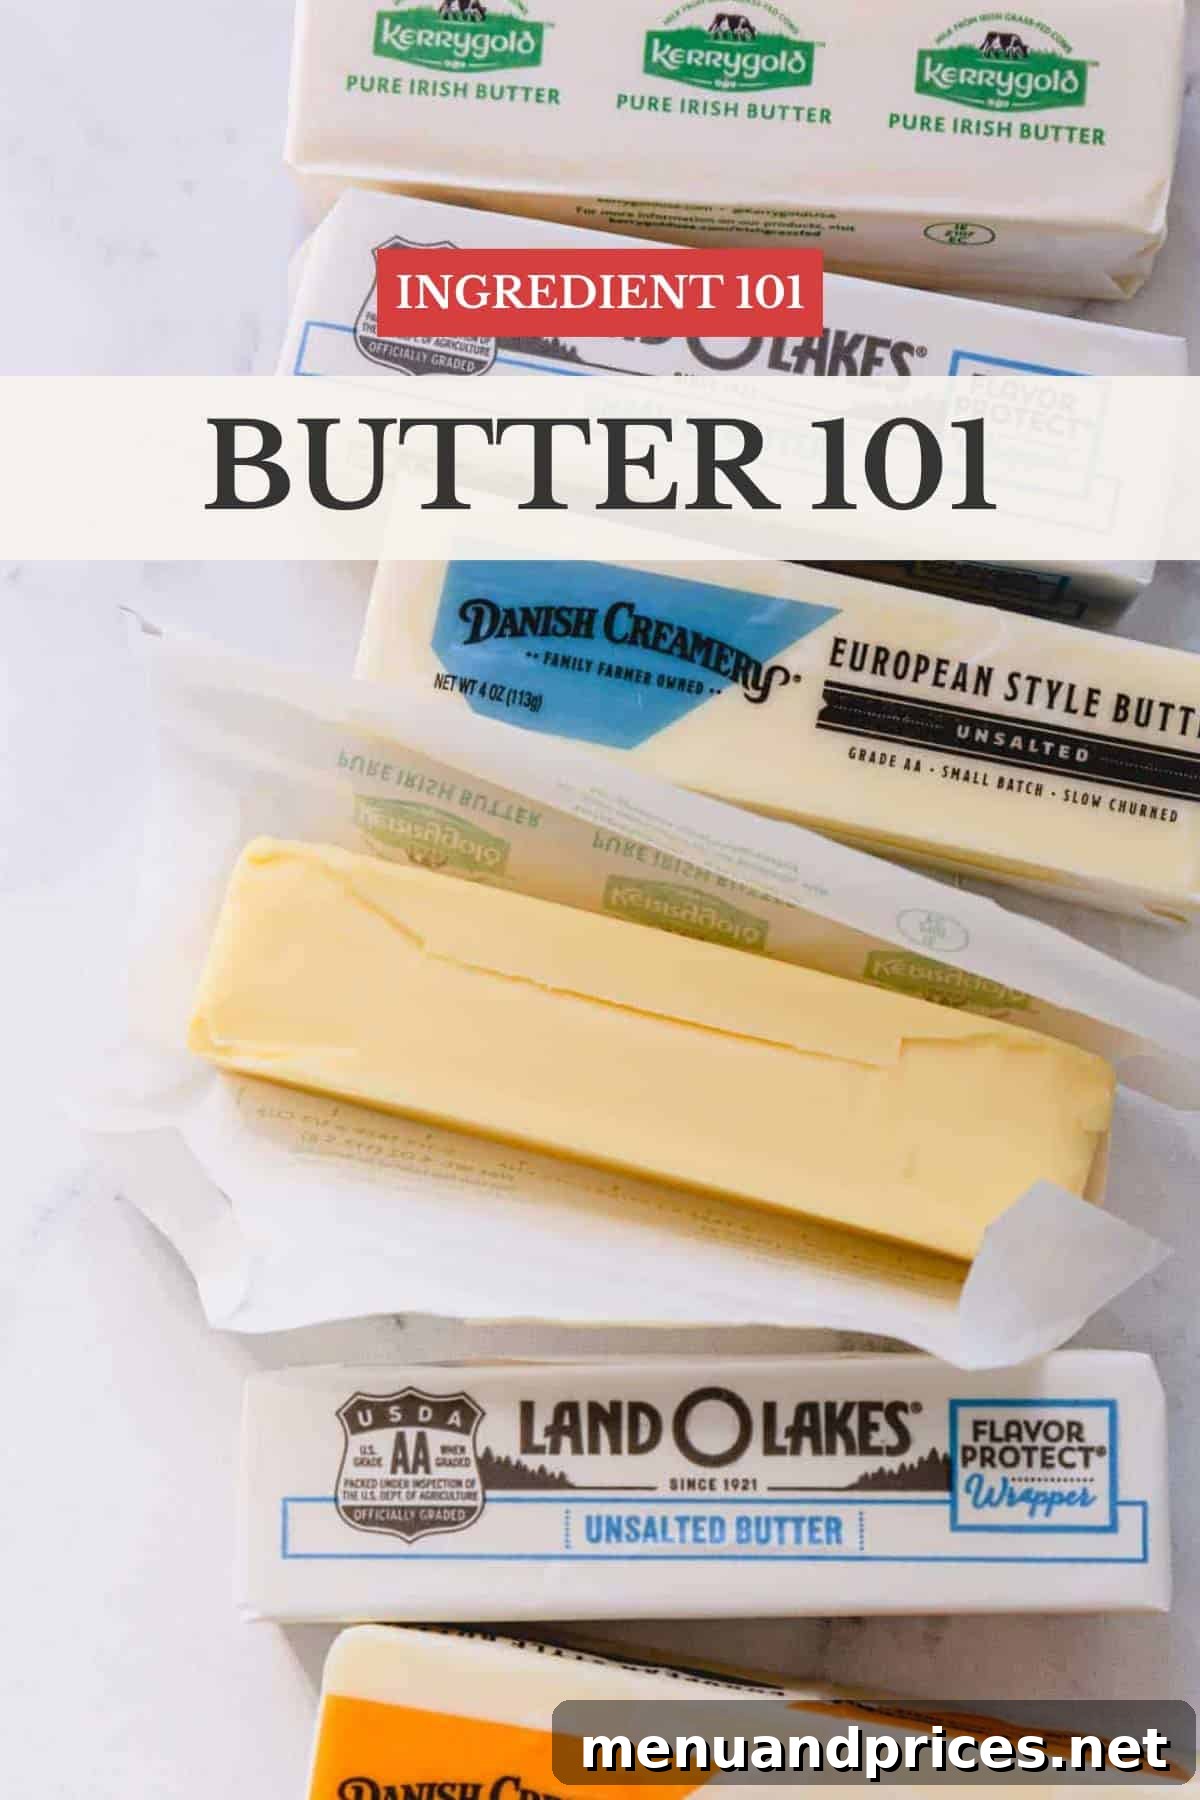
Welcome to the ultimate guide to butter! This comprehensive resource will teach you everything you need to know about this beloved culinary staple – from its humble origins to advanced cooking techniques. Discover how butter is made, explore its diverse varieties, master storage tips, and unlock its full potential in your kitchen. Get ready to elevate your cooking and baking with “Butter Unveiled: The Essential Guide”!
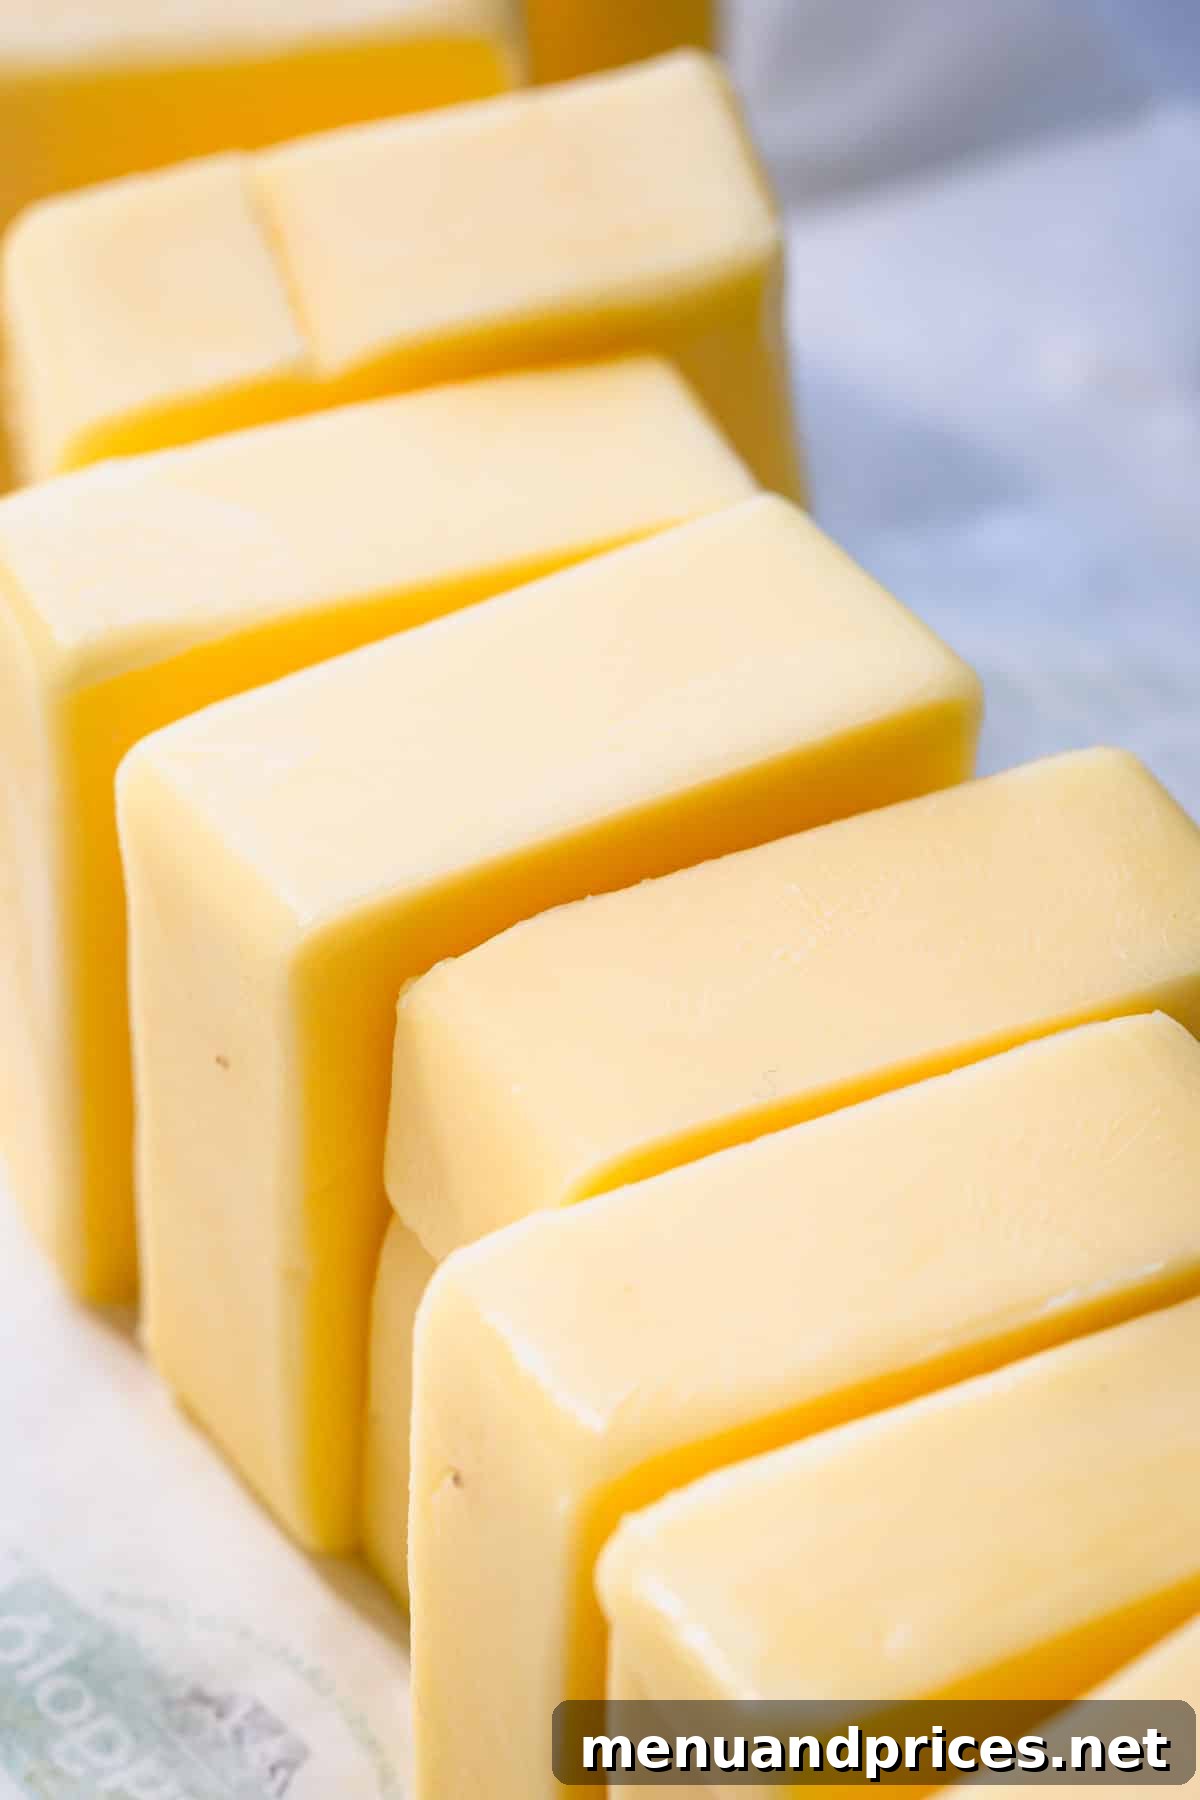
Few ingredients possess the same universal appeal and versatility as butter. More than just a simple dairy product, butter is a culinary cornerstone, revered by chefs, adored by home cooks, and essential to countless recipes across the globe. Scientifically, butter is a solid emulsion primarily composed of milk fat, with a small percentage of water and milk solids. It’s produced by churning fresh or fermented cream, causing the fat globules to separate from the buttermilk and coalesce into a solid mass.
From the ancient civilizations that first discovered the magic of churning cream to modern Michelin-starred kitchens, butter has graced tables for millennia. It’s the secret behind the flakiest pastries, the richness of a perfectly seared steak, the creamy texture of a classic sauce, and the irresistible chewiness of a homemade cookie. Bakers depend on its structure, chefs crave its nuanced flavor, and home cooks appreciate its ability to transform simple ingredients into extraordinary dishes.
In this extensive guide, we’ll delve deep into the world of butter, offering insights, tips, and techniques to help you master this indispensable ingredient. Whether you’re a seasoned chef or a curious beginner, prepare to discover new facets of butter that will inspire your next culinary adventure. Let’s begin our journey into “Butter Unveiled”!
American vs. European Butter: Understanding the Difference
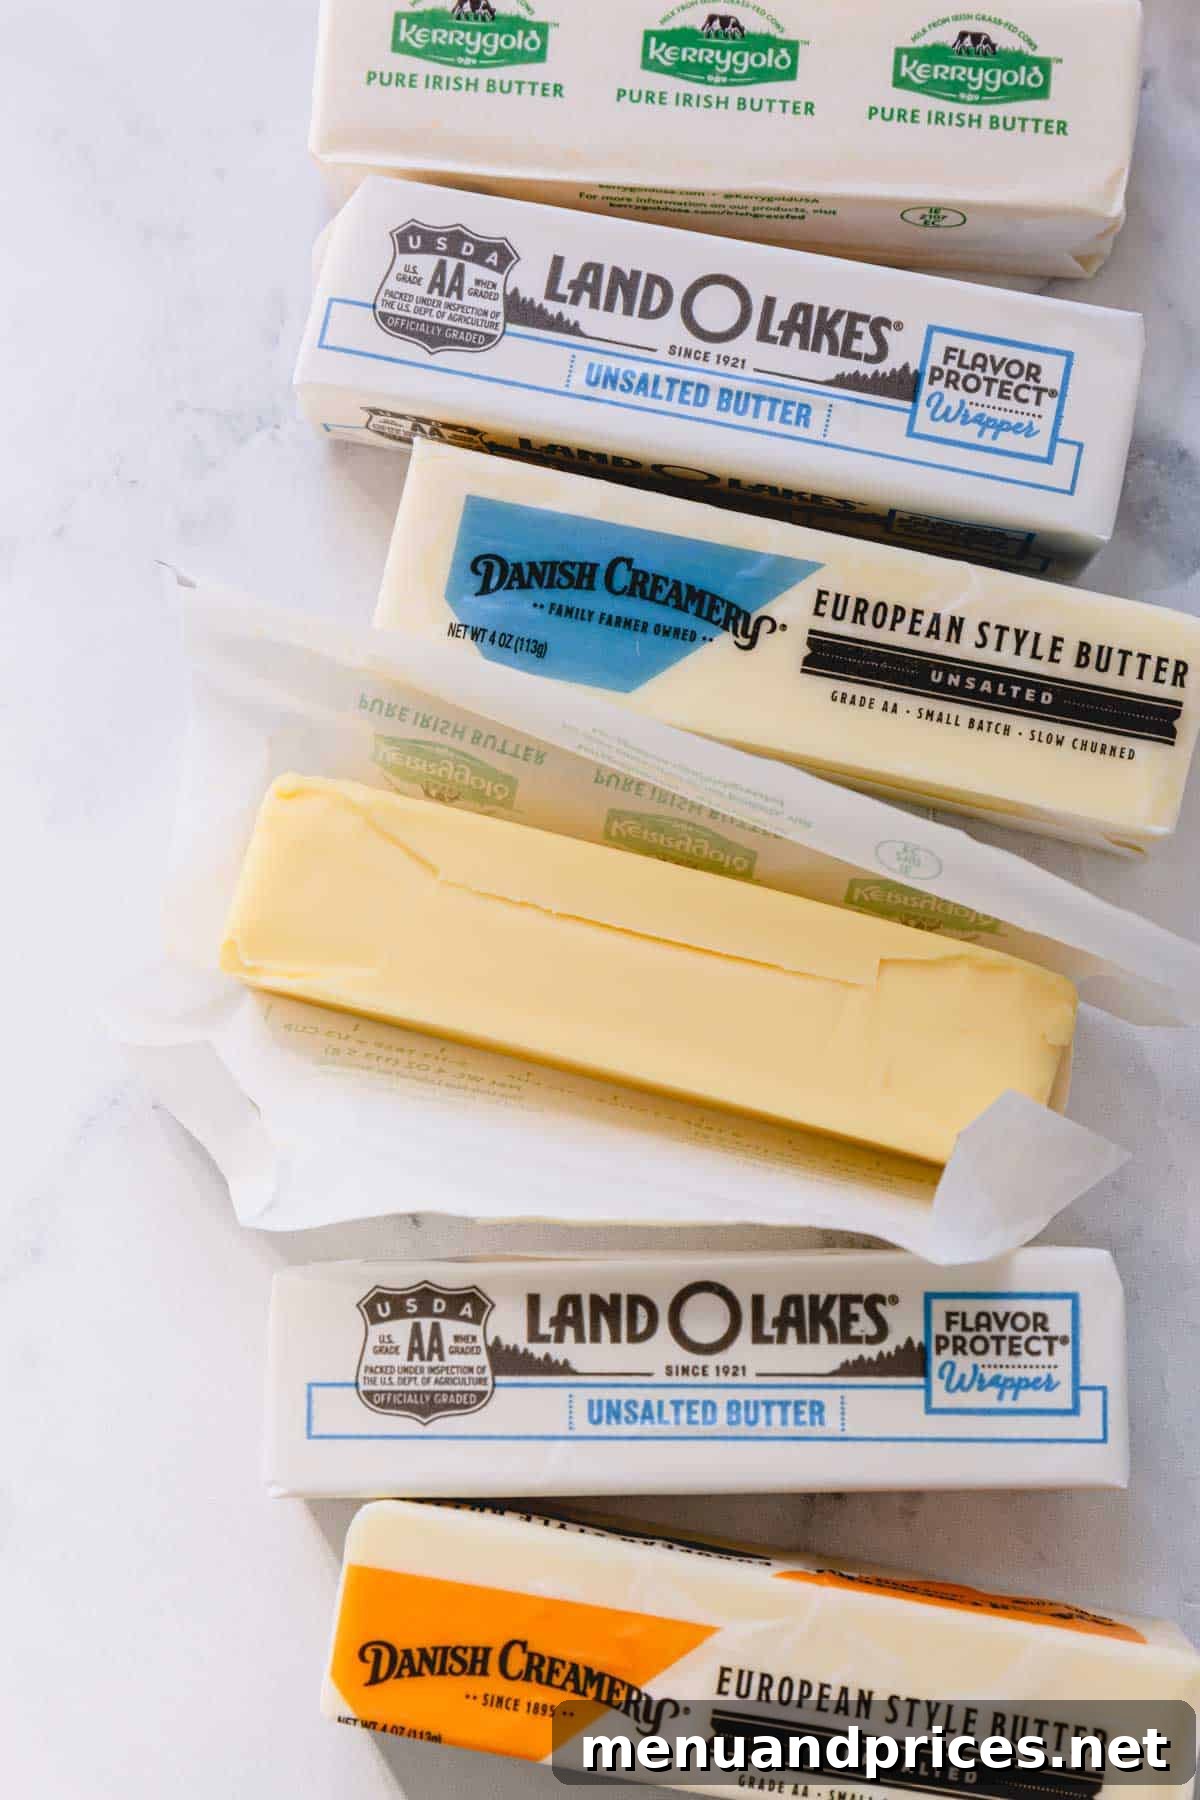
The debate between American and European butter styles is a passionate one among culinary enthusiasts. Many swear by the superior taste and texture of European varieties, claiming they bring an unparalleled richness to dishes. But what truly sets them apart, and is one objectively “better” than the other? The answer, as with many things in cooking, depends entirely on your desired outcome. Let’s explore the distinct characteristics of each.
American Butter: Characteristics and Uses
In the United States, butter production is meticulously regulated by the USDA. This strict oversight ensures that any product labeled “butter” must contain a minimum of 80 percent butterfat. American butter is typically uncultured, meaning the cream is not fermented with live bacterial cultures before churning. This results in a mild, relatively neutral, and subtly creamy flavor profile that makes it incredibly versatile. Its higher water content (around 20%) can be advantageous in certain baking applications where steam creation is desired for texture, such as in lighter cakes or cookies that require a softer crumb. Its widespread availability and consistent quality make it a staple in most American kitchens for everyday cooking and baking.
European Butter: Characteristics and Uses
European butter, as the name suggests, adheres to regulations set forth in Europe, primarily requiring a minimum of 82 percent butterfat for unsalted varieties. The hallmark of many European butters, particularly French and Irish, is that they are often cultured (fermented) before churning. This culturing process, involving the addition of live bacterial cultures to the cream, contributes to its distinctive tangy, complex, and intensely rich flavor profile. The higher butterfat content also means a lower water content, resulting in a silkier texture and a richer mouthfeel. This makes European butter an excellent choice for applications where its bold flavor and superior richness can truly shine.
Which Butter is Better for Your Culinary Needs?
While the higher fat content of European butter might seem like the obvious superior choice, the “best” butter truly depends on the specific dish you are preparing.
- For Flaky Pastries: The slightly higher water content in American butter can actually work in your favor when making delicate, flaky pastries like croissants, puff pastry, or biscuits. As the water evaporates during baking, it creates steam, which helps separate the layers and contributes to an airy, tender texture.
- For Richness and Flavor: European-style butter is undoubtedly a superb choice when you desire a pronounced, rich, and slightly tangy butter flavor. It excels when slathered simply on a warm piece of toast, swirled into a pan sauce to emulsify and add depth, or used in frostings and baked goods where its distinct character can stand out. Many bakers prefer it for shortbreads or cookies where a melt-in-your-mouth richness is paramount.
- For Everyday Cooking and Control: American butter, with its neutral flavor, provides excellent control over the final taste of your dish, especially when other strong flavors are present. It’s often the go-to for general sautéing, baking, and cooking where you want the butter to provide richness without dominating the palate.
Ultimately, both styles of butter have their place in the kitchen. Experimentation is key to discovering which type you prefer for various culinary creations.
Salted vs. Unsalted Butter: A Culinary Dilemma
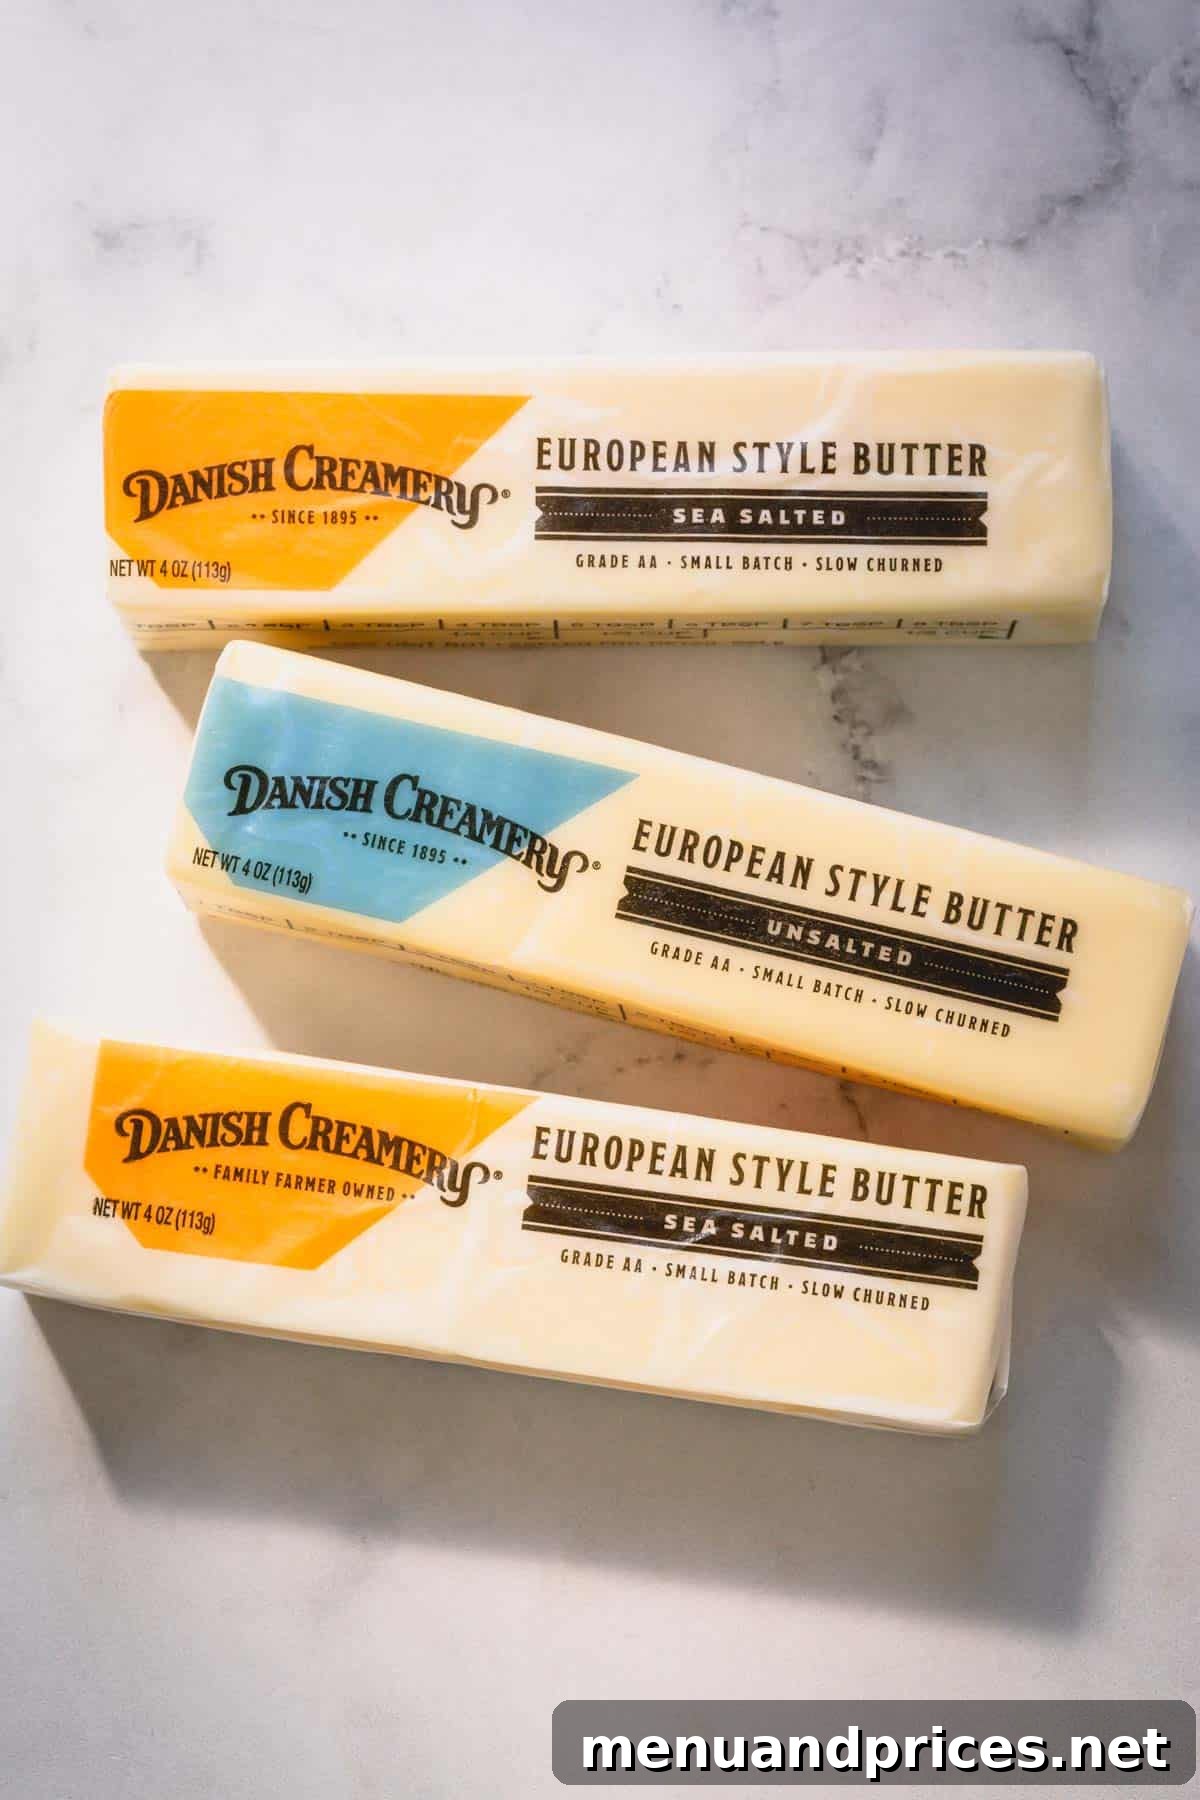
One of the most frequent questions in the kitchen revolves around the choice between salted and unsalted butter. While the primary distinction is simply the addition of salt, the implications for your cooking and baking can be significant. Understanding when and why to use each type is crucial for achieving optimal results.
Unsalted Butter: The Baker’s Choice
Unsalted butter is precisely what it sounds like: pure churned cream, with no added sodium. This makes it the preferred choice for most professional and home bakers. The main advantage of unsalted butter is that it allows you complete control over the amount and type of salt in your recipes. Different brands of salted butter contain varying amounts of salt, which can lead to unpredictable results in delicate baked goods. Imagine a perfectly balanced cake suddenly tasting too salty – an unwelcome surprise! When using unsalted butter, you can meticulously adjust the salt content to complement the other flavors, ensuring your sweet treats are perfectly balanced, not overly saline (unless, of course, you’re intentionally drizzling it with a luscious salted caramel). It’s also ideal for butter-forward recipes where you want the pure, creamy taste of butter to shine without any salty interference.
Salted Butter: Flavorful and Convenient
Salted butter, containing added salt, offers a convenient and flavorful option for many culinary applications. The salt not only enhances the butter’s natural taste but also acts as a preservative, extending its shelf life slightly compared to unsalted varieties. It’s an excellent choice when used as a flavorful spread or as a finishing touch where you want an immediate boost of savory richness.
- Spreading: Perfect for slathering on morning toast, warm bagels, or freshly baked bread.
- Finishing Dishes: A dollop melted over steamed vegetables, grilled fish, or a baked potato adds instant flavor and sheen.
- Popcorn: The classic choice for buttered popcorn, providing that irresistible salty-buttery goodness.
- Corn on the Cob: A generous coating of salted butter enhances the sweetness of fresh corn.
- Everyday Cooking: For quick sautéing or pan-frying savory dishes where you’re not concerned about precise salt control, salted butter can be a convenient option. Just remember to taste your dish and adjust any additional salt accordingly.
While salted butter can be used in some savory baking (like biscuits or savory scones), it’s generally best to stick to unsalted for most baking to maintain flavor integrity and consistency. When in doubt, always reach for unsalted butter for precision.
How to Make Butter at Home: A Simple Guide
The idea of making your own butter might sound daunting, conjuring images of old-fashioned churns and laborious effort. However, crafting homemade butter is surprisingly simple and requires minimal equipment. The result is a fresh, flavorful butter that often surpasses store-bought varieties, and as an added bonus, it’s a single-ingredient marvel! Here’s a step-by-step guide to making fresh butter in your own kitchen.
What You Need:
- High-quality cold heavy cream (at least 36% milk fat). Organic or grass-fed cream often yields the best flavor.
- A stand mixer with a whisk attachment, or a hand mixer, or even a jar with a tight-fitting lid for manual shaking.
- A fine-mesh strainer or colander.
- A large bowl.
- Ice-cold water (for washing the butter).
- Spatula or clean hands.
The Butter-Making Process: Step-by-Step
- Whip the Cream: Pour two cups of very cold heavy cream into the bowl of a stand mixer fitted with a whisk attachment (or use a large bowl with a hand mixer). Begin whipping on medium-high speed. The cream will go through several distinct stages:
- First, it will thicken into soft peaks, resembling lightly whipped cream.
- Continue whipping, and it will progress to firm peaks, like standard whipped cream.
- Next, the texture will change again, becoming slightly grainy or curdled, almost like over-whipped cream. Don’t stop! You’re getting closer.
- Separation and Formation: Keep whipping! The fat solids will begin to separate dramatically from the liquid (buttermilk). You’ll notice yellow clumps of butter forming and sloshing around in the milky liquid. This stage can be a bit messy, so consider covering your mixer with a kitchen towel to prevent splatters. Continue until the butter forms a solid mass and the buttermilk has fully separated.
- Drain the Buttermilk: Place a fine-mesh strainer over a large bowl. Carefully pour the butter mixture into the sieve, allowing the liquid buttermilk to drain into the bowl below. This buttermilk is a valuable byproduct – don’t discard it! It’s fantastic for baking, especially in pancakes, biscuits, or dressings.
- Wash the Butter: This is a crucial step for preventing your homemade butter from spoiling quickly. Transfer the butter solids to a clean bowl. Pour several splashes of ice-cold water over the butter and knead it with a spatula or clean hands, squeezing and pressing to work out any remaining buttermilk. The water will turn cloudy. Drain the cloudy water and repeat this washing process several times (usually 3-4 times) until the water runs clear. This ensures all residual buttermilk, which can cause rancidity, is removed.
- Shape and Store: Once thoroughly washed, press the butter to remove any excess water. You can shape it into a log or block using a spatula, butter molds, or simply wrap it tightly in parchment paper or plastic wrap. Store your fresh homemade butter in the refrigerator.
Enjoy your incredibly fresh, rich, and delicious homemade butter in all your favorite recipes, or simply spread it on warm bread!
How to Soften Butter Perfectly Every Time
Many baking recipes specifically call for “softened butter” or “room temperature butter” – and for good reason. The temperature of your butter significantly impacts the final texture and outcome of baked goods. Softened butter is easier to cream with sugar, a process that incorporates air into the mixture, creating a light, fluffy, and tender crumb in cakes, cookies, and other pastries. Cold butter won’t cream properly, resulting in dense, tough baked goods, while melted butter can lead to greasy, flat results.
What is “Softened Butter”?
Softened butter isn’t melted or greasy. It should be pliable enough to leave a slight indentation when pressed gently with a finger, but still hold its shape. Its ideal temperature is typically between 65-70°F (18-21°C). At this temperature, the fat is soft enough to emulsify properly with other ingredients and trap air, but still firm enough to provide structure.
Reliable Ways to Soften Butter:
- The Countertop Method (Ideal):
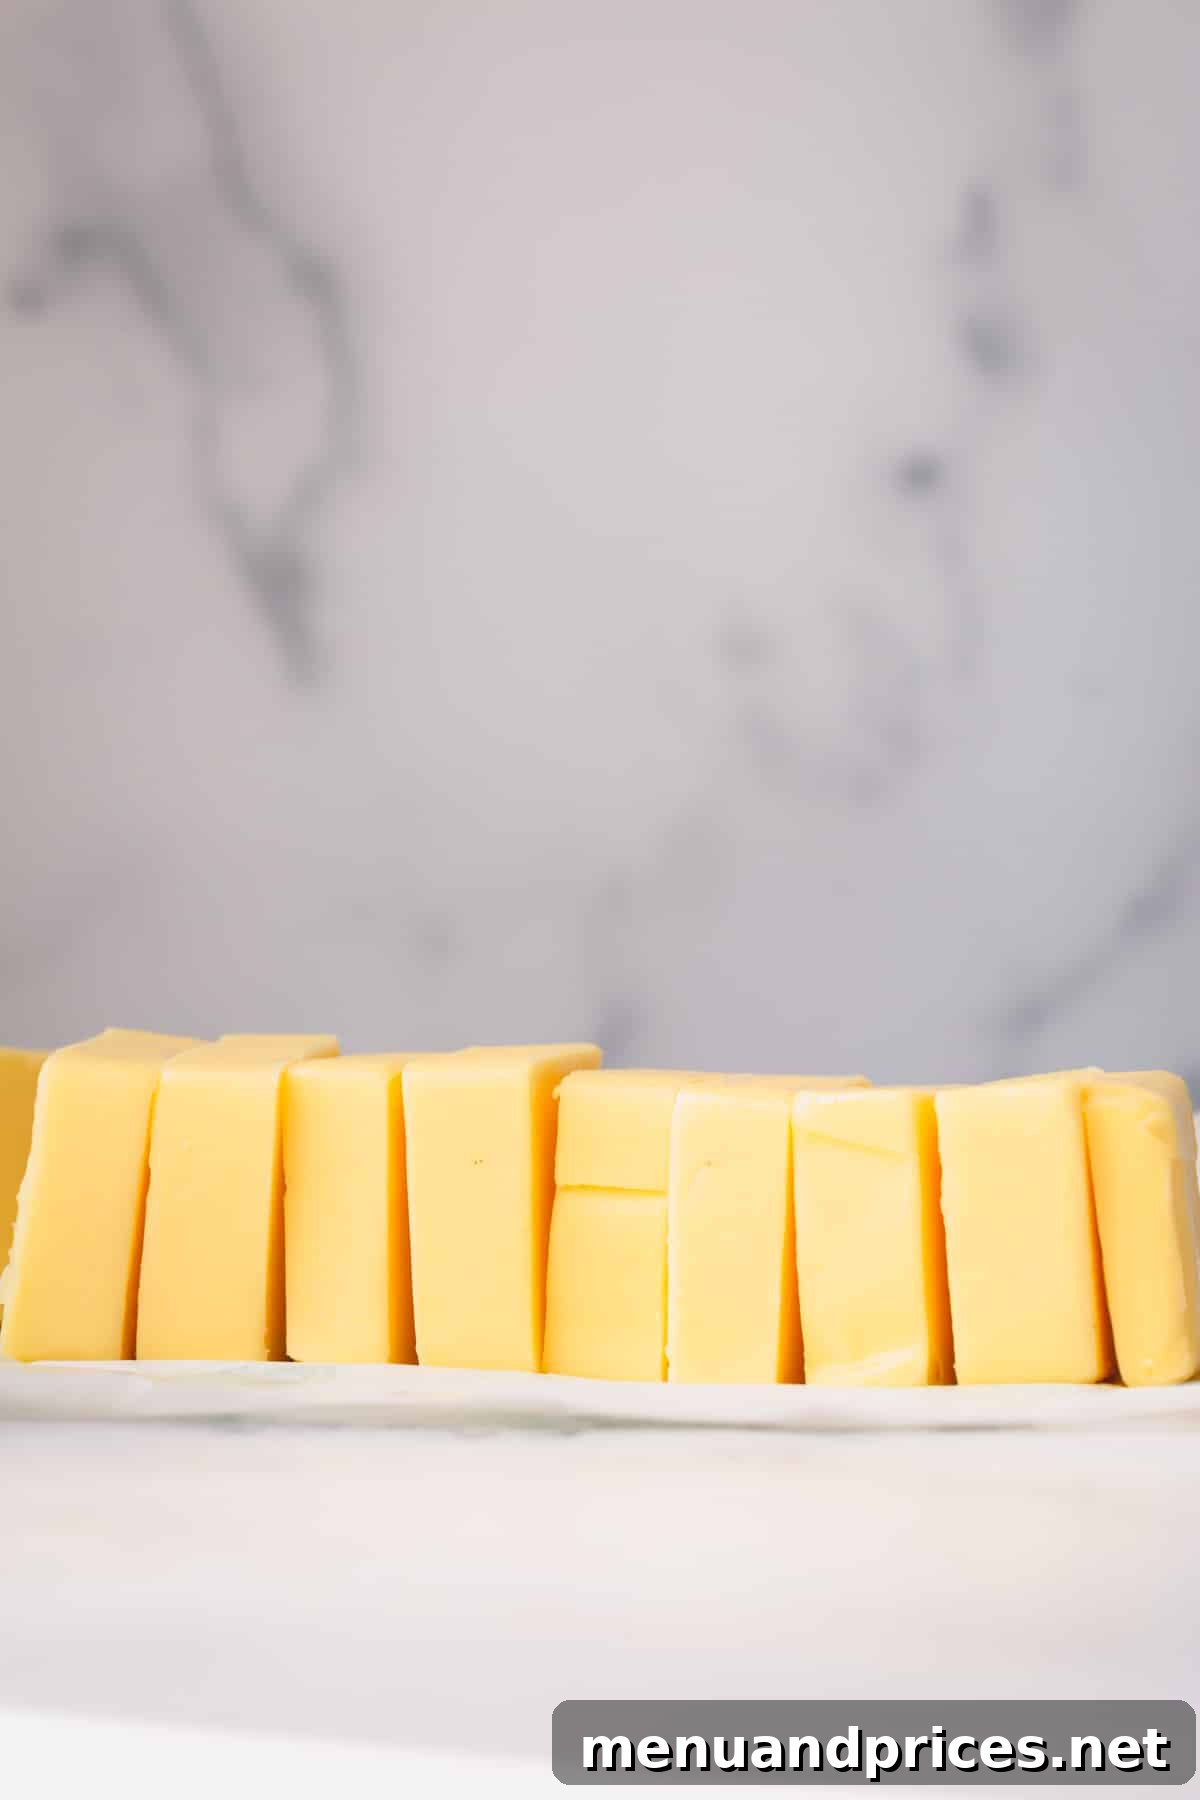
This is the preferred method as it softens the butter evenly without compromising its texture. Simply remove the butter from the refrigerator and let it sit on your kitchen counter for at least one to two hours, depending on your room temperature and the size of the butter block. For best results, cut the butter into smaller pieces (about 1-inch cubes) to expose more surface area, which will speed up the process. Test for readiness by gently pressing it – it should yield slightly without collapsing.
- The Microwave Method (Quick, but Cautious):
If you’re short on time and forgot to soften your butter, the microwave can be a helpful tool, but it requires extreme caution. Butter melts quickly and unevenly in a microwave, and even slightly melted butter will not perform as desired in baking.
How to do it: Place unwrapped butter on a microwave-safe plate. Microwave on low power (20-30%) in 5-second increments. After each increment, flip the butter over and gently press it with your finger. Stop as soon as it feels slightly pliable. It’s better to under-microwave and let it finish softening on the counter for a few minutes than to over-microwave and melt it. If you walk away and leave it too long, you’ll end up with a pool of melted butter, which is not suitable for creaming. - The Grating Method (Fast):
For almost instant softened butter, grate cold butter using the large holes of a box grater. The thin strands will come to room temperature very quickly. This method is excellent for recipes like quick breads or muffins where you want butter evenly distributed without waiting hours.
- The Pounding Method (Physical):
Place cold butter between two sheets of parchment paper or plastic wrap. Use a rolling pin or a meat mallet to gently pound and flatten the butter. This increases the surface area and warms it up quickly through friction and contact with the warmer air. Once flattened, you can quickly cut it into smaller pieces and it will soften within minutes.
- The Warm Water Bath (Indirect):
Cut butter into cubes and place them in a sealed plastic bag. Submerge the bag in a bowl of warm (not hot!) water for about 5-10 minutes. The warm water will gently heat the butter, but the bag prevents it from getting watery. This method works well for even softening.
No matter which method you choose, ensuring your butter is properly softened is a small but critical step that can make a significant difference in the quality of your baked goods.
How to Store Butter: Maximizing Freshness and Shelf Life
Proper butter storage is essential for maintaining its fresh flavor, preventing spoilage, and ensuring it’s always ready for use. Different storage methods cater to varying needs, from short-term countertop access to long-term preservation.
Refrigeration: Standard Storage
- Store-Bought Butter: Unopened, store-bought butter can typically last up to three months in the refrigerator, especially if kept in its original, airtight packaging. Once opened, it’s best to consume it within two to three weeks for optimal flavor. Always store it in an airtight container or tightly wrapped in plastic wrap or foil to prevent it from absorbing odors from other foods in the fridge.
- Homemade Butter: Due to its lack of preservatives and potential residual buttermilk, homemade butter has a shorter shelf life. It should be stored in an airtight container in the refrigerator and consumed within two weeks.
Freezing: For Extended Shelf Life
If you purchase butter in bulk or want to keep it fresh for longer periods, the freezer is your best friend.
- Preparation: Keep butter in its original packaging, then wrap it in an additional layer of aluminum foil, plastic wrap, or place it inside a freezer-safe bag to protect it from freezer burn and odors.
- Duration: Properly wrapped butter can last in the freezer for up to one year without significant loss of quality or flavor.
- Thawing: When ready to use, simply transfer the frozen butter to the refrigerator and let it thaw overnight. For quicker thawing, you can cut off a portion and let it sit at room temperature, or use the microwave method (with caution) as described in the “How to Soften Butter” section.
Countertop Storage: For Soft, Spreadable Butter
For those who enjoy soft, spreadable butter readily available for toast or cooking, countertop storage is an option, but it comes with caveats.
- Butter Dish or Bell: If you plan to use butter within a day or two, keeping a small amount (one stick or less) on the counter in a covered butter dish or a traditional French butter bell can keep it perfectly soft and spreadable.
- Conditions: Ensure your kitchen is relatively cool (below 70°F or 21°C) and out of direct sunlight. In warmer climates or during summer, refrigeration is always the safer choice to prevent rancidity. Salted butter tends to hold up slightly better at room temperature than unsalted due to the preservative qualities of salt.
- Risks: Butter can go rancid if exposed to air, light, and heat for too long. If it develops an off-smell, taste, or a yellowish-darker hue, it’s best to discard it.
By choosing the appropriate storage method, you can ensure your butter always tastes its best, enhancing every dish it touches.
How to Cook with Butter: Techniques and Tips
Butter is more than just a fat; it’s a flavor enhancer, a texturizer, and a finishing touch that can transform good food into extraordinary cuisine. Mastering how to cook with butter in its various forms can elevate almost any recipe.
Understanding Butter’s Forms and Functions
- Temperature Matters: Always respect the recipe’s call for specific butter temperatures. Melted, softened, and cold butter each play a distinct role and yield different results.
- Cold Butter: Essential for flaky pastry doughs (pies, biscuits) where it creates pockets of steam.
- Softened Butter: Key for creaming with sugar in cakes and cookies to incorporate air and tenderize.
- Melted Butter: Used for binding ingredients, adding moisture, or making sauces.
- Finishing Touch: A tablespoon or two of cold butter swirled into a pan sauce, soup, or risotto just before serving (known as “monté au beurre”) will emulsify the sauce, adding incredible richness, gloss, and a velvety texture. This technique is a hallmark of classical French cuisine.
- Browning Butter (Beurre Noisette): This simple technique creates a depth of flavor that is nutty, toasted, and incredibly aromatic. Melt butter over medium heat, swirling occasionally. It will foam, then turn clear, and finally, the milk solids at the bottom will turn golden brown. Remove from heat immediately to prevent burning. Brown butter is fantastic in baked goods, savory sauces for pasta or fish, or drizzled over vegetables.
- Clarified Butter and Ghee: Butter has a relatively low smoke point (around 302-325°F or 150-163°C) because of its milk solids and water content. These solids burn easily, leading to a bitter taste. Clarified butter (ghee in Indian cuisine, with longer simmering) is butter from which the milk solids and water have been removed, leaving pure butterfat. This significantly raises its smoke point (around 485°F or 252°C), making it ideal for high-heat cooking like searing, frying, or sautéing without burning. It also offers a pure, rich butter flavor.
- Smoke Point Awareness: For high-heat cooking where clarified butter isn’t an option, consider using oils with higher smoke points (like avocado, grapeseed, or canola oil) and adding butter at the end for flavor, or simply use oil only. Avoid burning butter, as it develops an unpleasant acrid taste.
- Balancing Richness with Acidity: Butter’s rich, often fatty flavor is beautifully complemented and balanced by bright, acidic ingredients. If a butter-heavy dish tastes a bit flat or heavy, a squeeze of fresh lemon juice, a splash of vinegar, or a pinch of fresh herbs can cut through the richness and enhance the overall flavor profile, adding zest and complexity.
- Basting: Butter is a superb basting liquid for roasted meats, poultry, or vegetables. As it melts and coats the food, it adds flavor, helps create a crispy exterior, and keeps the food moist. Infuse it with herbs like thyme, rosemary, or garlic for an extra layer of flavor.
By understanding these techniques and principles, you can confidently use butter to enhance the flavor, texture, and aroma of nearly any dish you create.
Butter Recipes: Culinary Inspiration
Ready to put your newfound butter knowledge to the test? These flavor-packed recipes highlight butter as the star, showcasing its versatility in both sweet and savory applications. Dive in and discover how butter transforms simple ingredients into unforgettable dishes.
Sweet Butter Creations:
- Salted Caramel Swiss Meringue Buttercream: A silky, stable buttercream with the perfect balance of sweet caramel and a hint of salt, made rich and smooth with butter.
- Chocolate Swiss Meringue Buttercream: Indulge in this light, airy, and intensely chocolatey frosting, where butter provides a luxurious base.
- American Buttercream Recipe: A classic, easy-to-make frosting that relies on butter for its creamy texture and sweet flavor, perfect for cakes and cupcakes.
- Foolproof All-Butter Pie Crust Recipe: Learn the secrets to a tender, flaky pie crust made exclusively with cold butter for unparalleled flavor and texture.
Savory Butter Delights:
- Garlic Butter Shrimp: A quick and incredibly flavorful dish where shrimp are sautéed in aromatic garlic butter, perfect for a weeknight meal.
- Pan-Seared Ribeye Steaks with Herb Butter: Elevate your steak game with a perfectly seared ribeye finished with a melting pat of fragrant herb butter.
- How to Make Compound Butter: Discover how to infuse butter with various herbs, spices, and aromatics to create versatile flavor bombs for meats, vegetables, and bread.
- Roasted Butternut Squash: Simple yet satisfying, this recipe showcases how butter caramelizes and tenderizes butternut squash, bringing out its natural sweetness.
Nutritional Information of Butter
As a concentrated source of milk fat, butter is indeed energy-dense and high in calories. However, it also contains important fat-soluble vitamins and can be part of a balanced diet when consumed in moderation. The nutritional content can vary slightly depending on the type of butter (e.g., European vs. American, or butter from grass-fed cows).
Per Tablespoon of Unsalted Butter (Approximate Values):
- Calories: 100-102 kcal
- Total Fat: 11-12 grams
- Saturated Fat: 7-8 grams (accounts for about 60-70% of total fat)
- Monounsaturated Fat: ~2.5-3 grams
- Polyunsaturated Fat: ~0.5 grams
- Cholesterol: 30-31 mg
- Sodium: 0-2 mg (for unsalted butter; salted butter typically contains 90-100 mg per tablespoon)
- Carbohydrates: 0 grams
- Protein: 0 grams
- Vitamins:
- Vitamin A: Approximately 10-12% of the Daily Value (essential for vision, immune function, and skin health)
- Vitamin E: Small amounts (an antioxidant)
- Vitamin K2: Trace amounts, particularly higher in butter from grass-fed cows (important for bone and heart health)
- Beta-carotene: Responsible for butter’s yellow color, converted to Vitamin A in the body.
While butter is high in saturated fat and cholesterol, modern dietary science often emphasizes the overall dietary pattern rather than individual nutrients. When consumed as part of a varied diet, butter can contribute to the flavor and nutrient density of meals. Opting for butter from grass-fed cows can offer a slightly higher concentration of beneficial nutrients like Omega-3 fatty acids and Vitamin K2.