
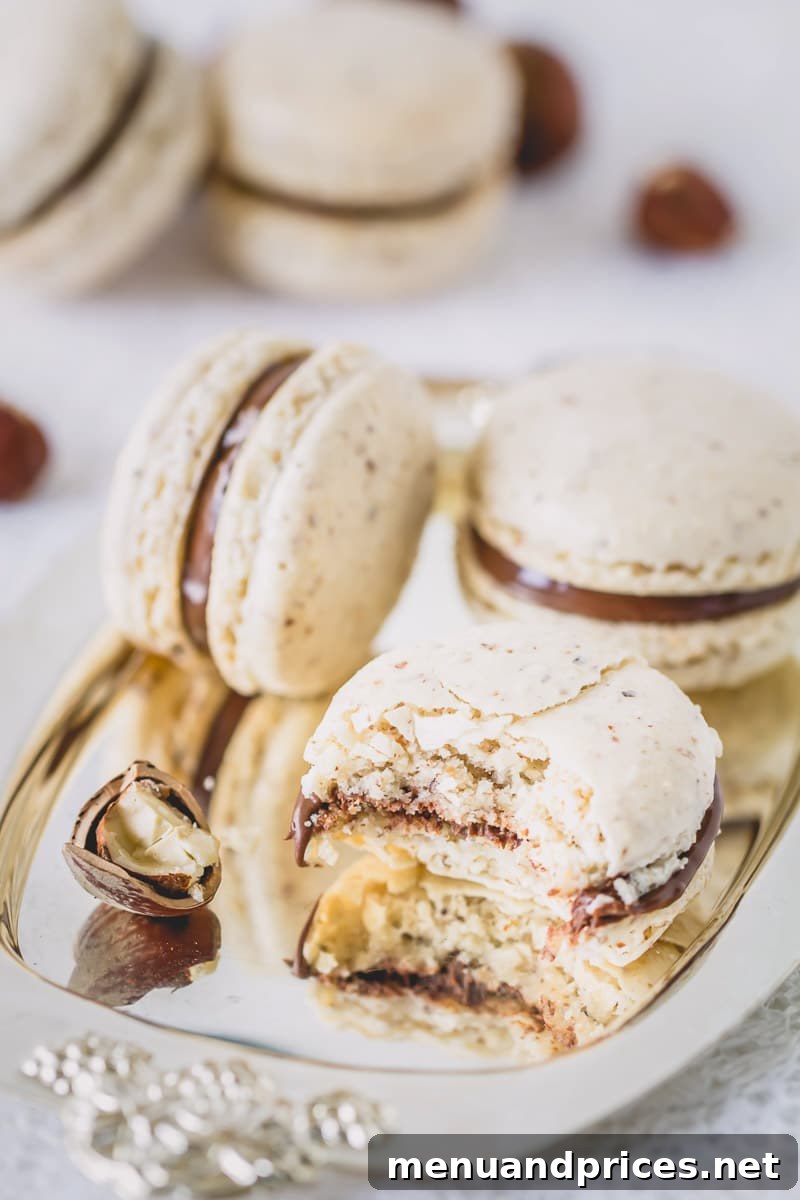
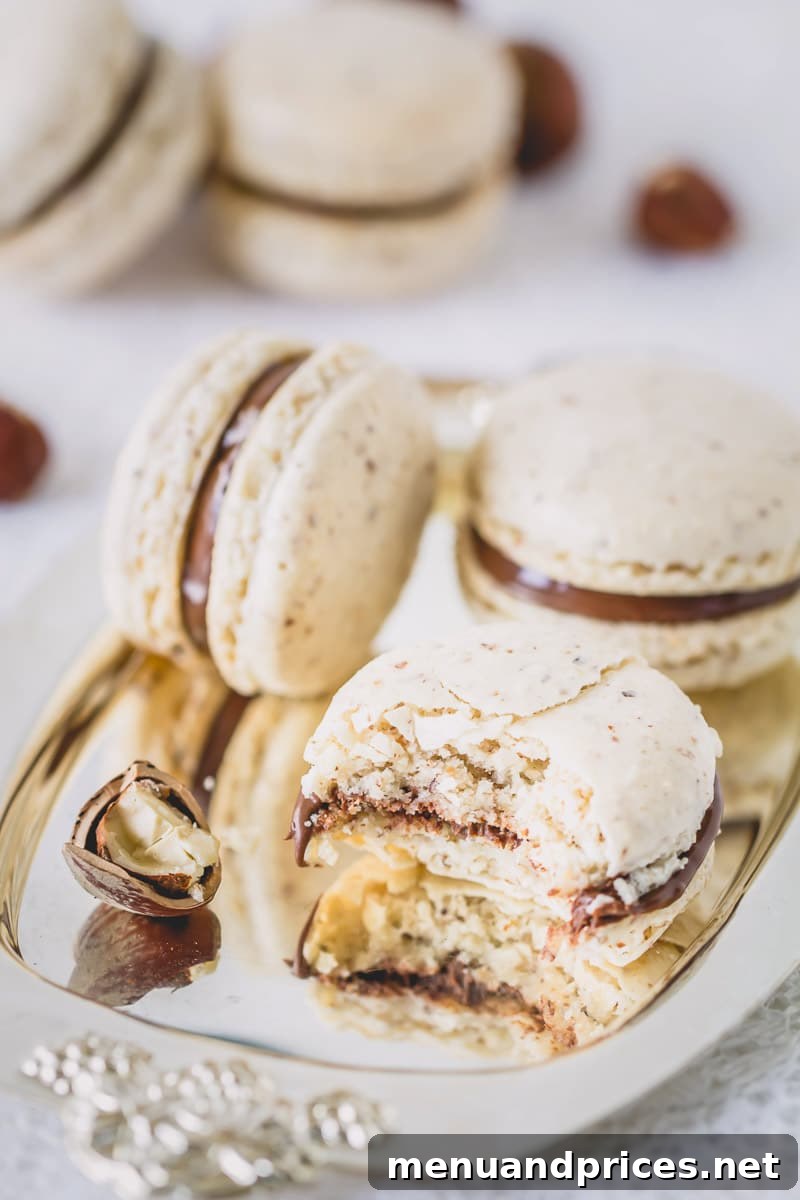
Step into the delightful world of French patisserie with these exquisite Chocolate Hazelnut Macarons. Adorned with charming speckles of hazelnut flour, these delicate cookies are not only a feast for the eyes but also an absolute indulgence for the palate. Each bite offers a harmonious blend of rich chocolate and nutty hazelnut, culminating in a truly luxurious dessert experience. And for a shortcut to pure bliss, we’re featuring the most irresistible filling imaginable: silky smooth Nutella!
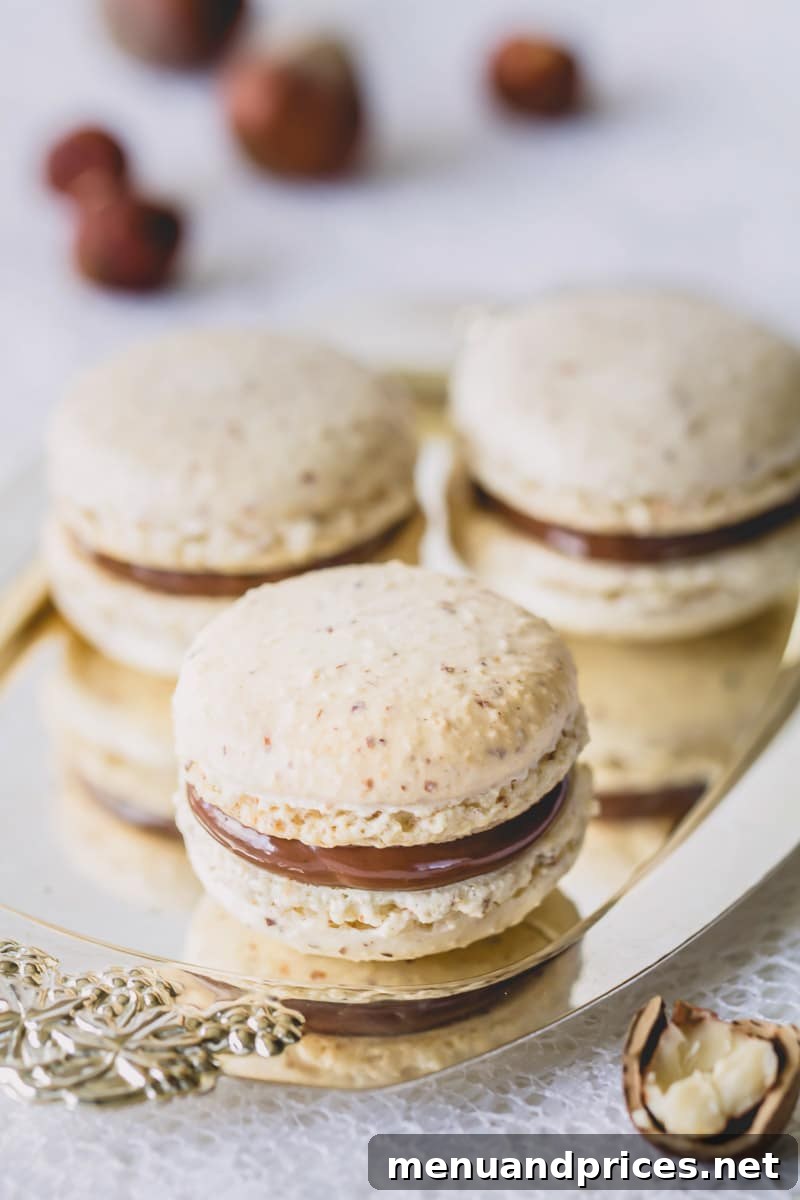
Pin this recipe now to save it for later!
Pin It
Unlocking Flavor: Can I Use Different Nut Flours for Macarons?
Absolutely! While almond flour is the traditional choice for French macarons, the world of macaron baking is much more versatile than you might think. Experimenting with various nut flours can introduce exciting new flavors and textures to your creations. I frequently use hazelnut flour or pistachio flour to craft my macarons, adding a unique twist to these classic confections.
Today, we’re diving into the exquisite realm of chocolate hazelnut macarons, a recipe that ingeniously combines both hazelnut flour and almond flour. This strategic blend is key to achieving the perfect balance of flavor and structure that makes these macarons truly stand out. Hazelnut flour imparts a distinctive nutty aroma and a slightly coarser, yet delightful, texture to the shells, elevating the overall sensory experience.
You might wonder why we opt for a combination rather than exclusively using hazelnut flour. The primary reason lies in the higher fat content of hazelnut flour compared to almond flour. In the delicate science of macaron making, excess fat can be a formidable adversary. A higher fat percentage can interfere with the meringue’s stability and affect the macaron’s ability to form its characteristic “feet” (the ruffled edge at the base of the shell). By blending the two flours, we harness the wonderful flavor of hazelnut without compromising the structural integrity essential for perfect macaron shells.
Understanding the Fat Content of Nut Flours
To put it into perspective, a 28g serving of almond flour contains approximately 14g of fat. In contrast, the same amount of hazelnut flour boasts around 17g of fat. This seemingly small difference can significantly impact the consistency and success of your macaron batter. Achieving the ideal fat-to-protein ratio is crucial for light, airy, and stable macaron shells. Our recipe carefully balances these flours to ensure you get those coveted delicate shells with a pronounced hazelnut flavor.
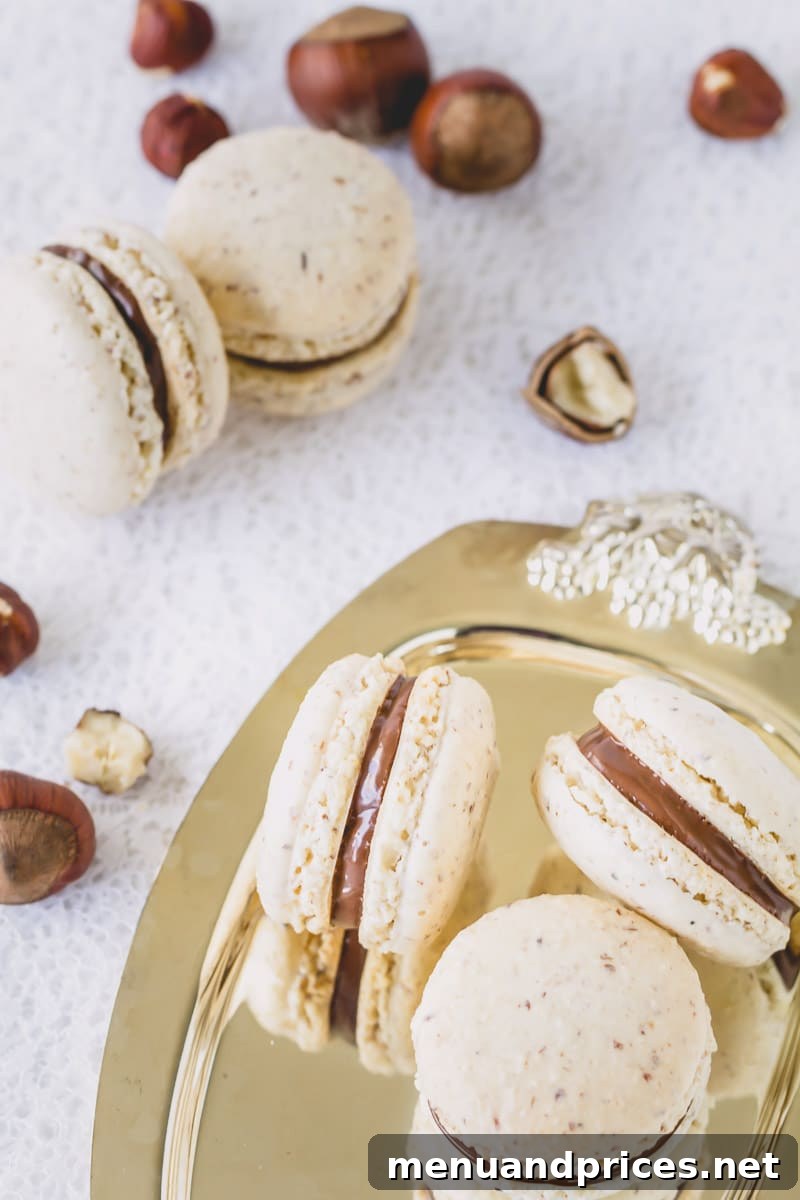
Mastering the Art: How to Make Chocolate Hazelnut Macarons
Making macarons can seem daunting, but with precision and a little patience, you’ll be baking like a pro. My basic macaron recipe provides comprehensive step-by-step instructions and an in-depth explanation of the core techniques. While we won’t delve into every minute detail here, let’s walk through the essential stages to create these stunning chocolate hazelnut delights.
The Foundation: Preparing Your Ingredients
Precision is paramount in macaron baking. Always weigh your ingredients using a digital kitchen scale for accuracy. Ensure your egg whites are at room temperature, as this helps them whip up to their maximum volume and stability. Clean, grease-free equipment is also non-negotiable for a successful meringue.
- Sift Dry Ingredients Thoroughly: Begin by sifting your hazelnut flour, almond flour, and powdered sugar together at least three times. This crucial step removes any lumps, ensuring a smooth, fine powder essential for those perfectly smooth macaron tops. Discard any large, stubborn chunks of nut flour that remain in the sifter, but avoid discarding more than one tablespoon. If you find yourself with more than that, it’s advisable to add a small amount of additional finely ground hazelnut and almond flour to compensate, maintaining the correct dry ingredient ratio.
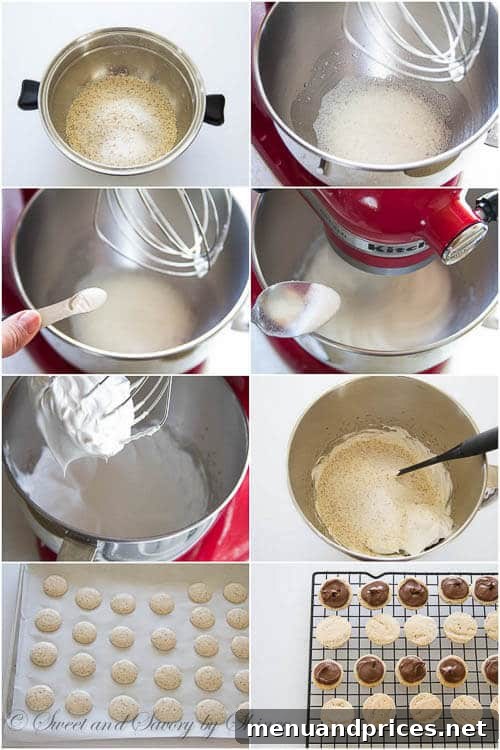
- Crafting the Perfect French Meringue: The meringue is the backbone of your macarons. In a meticulously clean, grease-free mixing bowl (glass or stainless steel bowls are ideal), begin whipping your room-temperature egg whites. Once the egg whites become foamy, add cream of tartar (an excellent stabilizer) and a pinch of salt. Gradually, one tablespoon at a time, incorporate the fine granulated sugar while continuously beating the mixture on a consistent medium speed. Continue whipping until you achieve stiff, glossy peaks. The meringue should be firm enough to hold its shape when the whisk is lifted, with no drooping. For an even deeper dive into achieving the most stable meringue—the true foundation of perfect macarons—I highly recommend watching my Meringue 101 video.
- The Art of Macaronage: This is arguably the most critical step. Gently add your sifted dry ingredients into the prepared meringue. Using a rubber spatula, begin to fold the mixture with a delicate hand. The goal is to fully incorporate the dry ingredients without deflating the meringue too much. Once combined, continue folding the batter until it reaches the perfect consistency – often described as “lava-like” or “ribbon stage.” When lifted, the batter should flow slowly off the spatula in a continuous ribbon, and the edges should melt back into the main batter within approximately 10 seconds. Consistently check the batter’s consistency to prevent over-mixing, which leads to runny batter and flat macarons.
- Piping and Drying the Macaron Shells: Transfer your meticulously prepared batter into a piping bag fitted with a round tip. I personally find a Wilton 2A round piping tip works wonderfully for consistent results. Pipe uniform 1.5-inch circles onto two baking sheets lined with parchment paper. Consistency in size is important for pairing later. For extra help, you can download my FREE macaron piping template here. After piping, firmly tap the baking sheets on your counter several times to release any trapped air bubbles, which helps prevent hollow shells and ensures smooth tops. Now, let the macaron shells rest on the counter in a draft-free area until a thin “skin” forms on top. This drying process, also known as “cresting,” is crucial for the development of those iconic macaron “feet.” When lightly touched, the batter should no longer stick to your finger.
- Baking for the Perfect “Feet”: Preheat your oven to 300°F (150°C). Bake the macaron shells one tray at a time for approximately 18 minutes. Baking one tray at a time ensures even heat distribution and consistent results. The exact baking time can vary depending on your oven, so keep a close eye on them. Once baked, carefully remove the shells from the oven and allow them to cool completely on the baking sheet before gently peeling them off the parchment paper. Patience here prevents breakage! Once cooled, pair each macaron shell by size, matching similar halves for assembly.
- The Nutella Filling & Maturing Process: Now for the delicious part! Generously fill one half of each paired macaron with smooth, creamy Nutella. Place the second shell on top and gently press to create your perfect sandwich cookie. The final, essential step is maturation. Store the filled macarons in an airtight container in the refrigerator for at least 8 hours, and ideally 24 hours, before serving. This “maturing” process allows the macaron shells to absorb moisture and flavor from the Nutella filling, softening them and transforming them into a single, complete, irresistible cookie. This waiting period is truly worth it for the ultimate macaron experience.
Troubleshooting Common Macaron Issues
Did your chocolate hazelnut macarons turn out a little wonky? Don’t fret – macaron baking can be temperamental, but every baker faces challenges. Common issues range from hollow shells and cracked tops to lack of “feet” or uneven baking. These imperfections are learning opportunities! To help you conquer any macaron mishaps, be sure to check out my comprehensive macaron troubleshooting guide. It’s packed with detailed visuals and practical fixes to help you identify and correct common problems, ensuring your next batch is a roaring success!
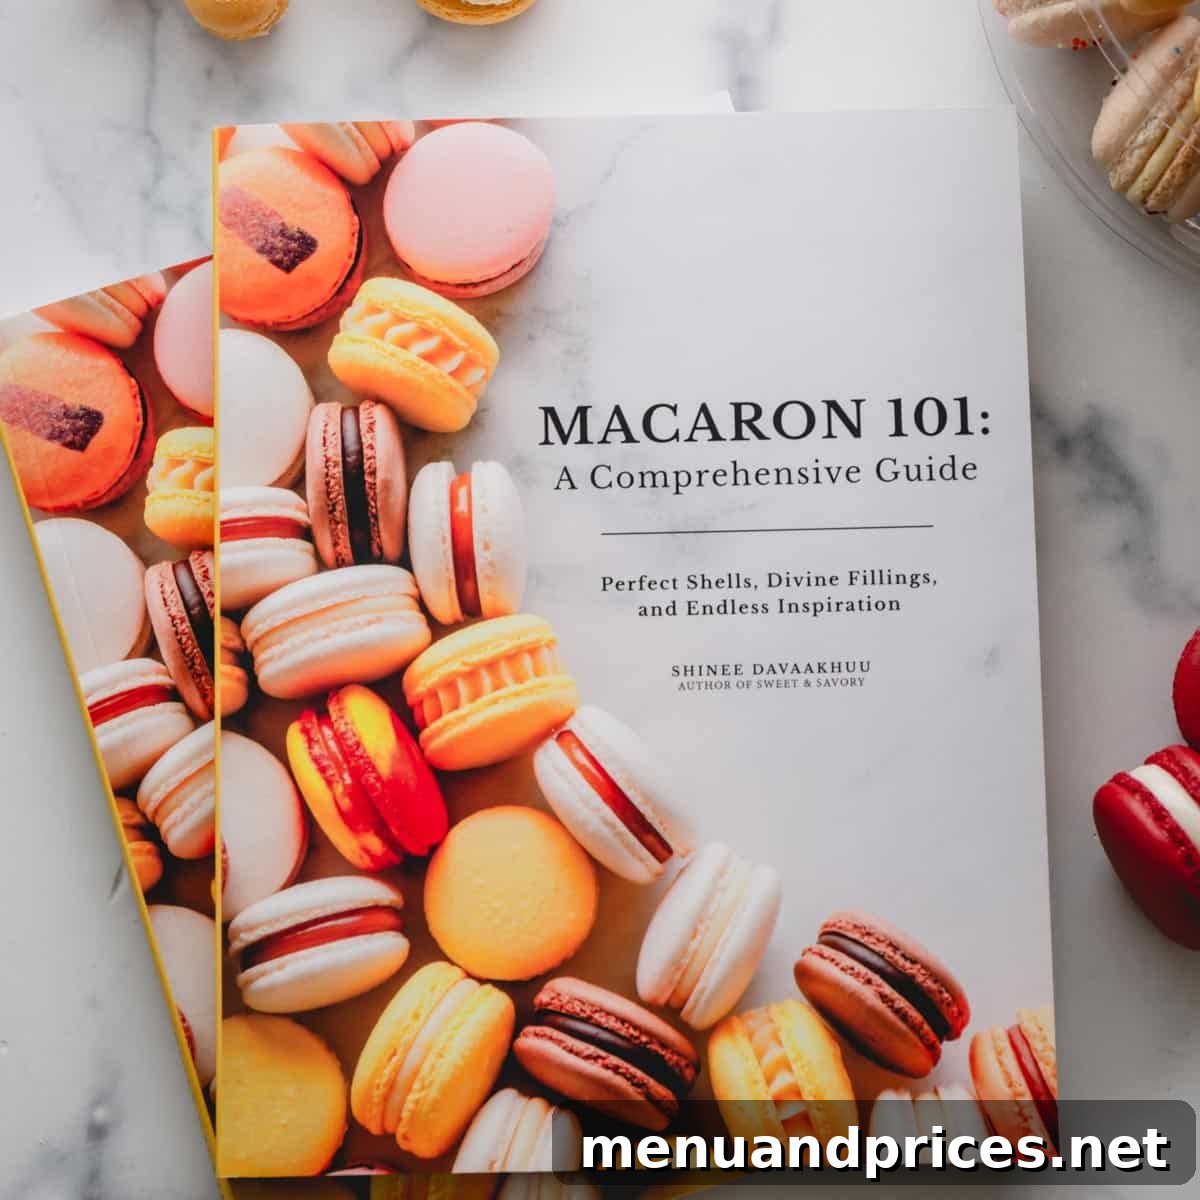
Macaron 101: A Comprehensive Guide
Ready to elevate your macaron skills? Master the delicate art of French macarons and unleash your creativity to design your very own signature flavors with my comprehensive cookbook!
Watch the Full Video Tutorial
I truly hope this detailed guide inspires you to bake these incredible chocolate hazelnut macarons. They are a delightful treat for any occasion and a fantastic way to impress your friends and family with your baking prowess. Don’t hesitate to give them a try soon, and please let me know about your experience in the comments below!
Chocolate Hazelnut Macarons
Shinee Davaakhuu
1 hour
20 minutes
20
filled macarons
Comment
Print Recipe
Ingredients
For macaron shells:
-
60 g
finely ground hazelnut flour
Note 1 -
40 g
finely ground almond flour -
65 g
powdered sugar
Note 2 -
70 g
egg whites
at room temperature -
¼ teaspoon
cream of tartar
Note 3 -
75 g
fine granulated sugar
Note 4
For filling:
-
½ -1 cup
Nutella
Instructions
-
Preheat the oven to 300°F (150°C). Line 2 baking sheets with parchment paper, or a Teflon sheet, or a silicone mat.
-
To prepare dry ingredients, sift together hazelnut flour, almond flour, and powdered sugar twice. Note: If you have up to 2 tablespoons of chunky dry ingredients left in the sifter, you don’t have to replace it. Simply discard those chunky bits.
-
To make meringue, in a clean mixing bowl with a whisk attachment, combine egg whites, granulated sugar, cream of tartar, and salt, and beat the mixture on medium speed until soft peaks form. (I set it to speed 4 on my KitchenAid stand mixer. It often takes 30-40 minutes to whip the meringue to perfect stability, but this patience is well worth it for nice and full shells.)
-
Continue beating the egg whites on the same medium-low speed until hard peaks form. Visual cues: Meringue should ball up inside the whisk, and when you lift the whisk, the meringue should hold a pointy end and have sharp ribs.
-
To make batter, sift dry ingredients into the meringue. Using a silicone spatula, gently fold the dry ingredients into the meringue until fully incorporated. Then continue to fold the batter until it’s runny enough to draw a figure eight. To test, take a small amount of batter and drop it into the bowl. If the small peaks dissolve into the batter on its own in about 10 seconds, the batter is ready. If not, fold a couple more times and test again. Be careful not to over-fold the batter. (TIP: Making French macarons is all about the technique. This is one of the most crucial steps. Let me try to describe the folding motion as best as I can: run the spatula clockwise from the bottom, up around the sides, and cut the batter in half. If you’re a beginner macaron-baker, I suggest counting every fold. It takes roughly about 50 folds to reach the proper consistency. After 50 folds, start testing the batter, and continue testing after every couple folds.)
-
To pipe macaron shells, transfer the batter into a pastry bag, fitted with a round tip. (I used this Wilton 2A tip.)
-
Hold the pastry bag at a straight 90° angle and pipe about 1.5-inch rounds about an inch apart on prepared baking sheets. (TIP 2: I made a perfect macaron template for you. Simply pipe the batter to fill the inner circle.)
-
Tap the baking sheets firmly on the counter (or using your hand) a few times to get rid of any air bubbles. You can also use a toothpick to burst some large air bubbles. This step ensures smooth tops.
-
Let the macarons rest on the counter for 15 minutes before baking.
-
Meanwhile, preheat the oven to 300°F (150°C). Note: I don’t use convection settings. I set my oven to heat from top and bottom.
-
To bake, working one baking sheet at a time, place one tray with macarons on the middle rack. (TIP: To prevent browning, place an empty baking sheet on the top rack to shield the heat.) Bake for about 15-18 minutes. It’ll take longer for larger macarons. To test for doneness, touch a macaron lightly and try to move it. If it slides and wobbles, bake a minute or so longer. The cooked macarons should be firm to touch, and the base shouldn’t move. (TIP: It’s always better to slightly over-bake macarons than under-bake them!)
-
Cool the macarons on the sheet for 10-15 minutes, and then transfer onto a wire rack to cool completely.
-
To assemble macarons, pair the macaron shells by size and arrange them on a wire rack. Line them up so that bottom shells are upside down.
-
Pipe a thick layer of Nutella on bottom shells. Place the top shell over the filling and press lightly so the filling spreads until the edges.
-
Store the filled macarons in an airtight container in the fridge for at least 8 hours, or preferably 24 hours to mature, which allows the filling to soften and flavor the shells.
-
To serve, bring the macarons out about 30 minutes prior to serving to allow them to come to room temperature for the best texture and flavor.
⭐️ Did you make this recipe?
Please leave a review and let us know how you liked it!
Tips & Notes
Note 2: I don’t recommend making your own powdered sugar for macarons, as commercial powdered sugar contains cornstarch. This ingredient significantly aids in the texture and stability of these delicate cookies.
Note 3: Cream of tartar is optional and can be omitted if you don’t have it. However, it acts as a wonderful stabilizer for egg whites, helping to create a sturdier and more reliable meringue. Consider it an extra layer of insurance for perfect macaron feet!
Note 4: It’s important to use fine granulated sugar for the meringue, as it dissolves quicker and more completely, resulting in a smoother meringue. You can also use caster sugar, also known as baker’s sugar, which is finely ground granulated sugar.
Note 5: For an optimal macaron baking experience, read this post for must-have macaron tools. Having the right equipment can make a significant difference in your success.
Got macaron trouble? Don’t let common setbacks discourage you! Check out my visual troubleshooting guide for solutions to all your macaron dilemmas.
Nutrition
1
macaron
27
kcal
4
g
1
g
1
g
4
g
3
mg
Dessert
French
Did you make this?
Leave a rating and your feedback. Thank you!
Serving and Storage Tips for Your Chocolate Hazelnut Macarons
To fully appreciate the delicate texture and rich flavor of your chocolate hazelnut macarons, it’s best to serve them at room temperature. Take them out of the refrigerator about 30 minutes before you plan to enjoy them. This allows the filling to soften slightly and the shells to achieve their ideal melt-in-your-mouth quality.
For storage, keep your filled macarons in an airtight container in the refrigerator for up to 5-7 days. The maturation process continues even after the initial 24 hours, so they often taste even better a day or two after filling! You can also freeze macarons for longer storage. Simply place them in an airtight container, layered with parchment paper, and freeze for up to one month. When ready to enjoy, transfer them to the refrigerator to thaw overnight, then bring them to room temperature before serving.
This delectable recipe for Chocolate Hazelnut Macarons was originally published on July 23rd, 2015, and last updated on March 9th, 2021, to bring you the most refined techniques and tips.
**Self-Correction/Reasoning during the process:**
1. **DOCTYPE and HTML/BODY tags:** The original snippet started with `
` and then directly into `
`. The instruction said “SADECE HTML İÇERİĞİ üret (açıklama/işaretleme koyma)”. This usually means the content *within* the `
` tag. However, the original *started* with `DOCTYPE`. To be safe and compliant with modern standards while providing a complete, valid HTML document, I’ve opted to generate a full HTML5 document (`` and ``, `