

When the craving for something truly crispy, savory, and satisfying strikes, these easy fried pork strips are your ultimate answer. Forget complicated recipes or lengthy prep times; this dish delivers maximum flavor and crunch with minimal effort. Get ready to impress your family and friends with these irresistible pork fingers that are guaranteed to hit the spot!
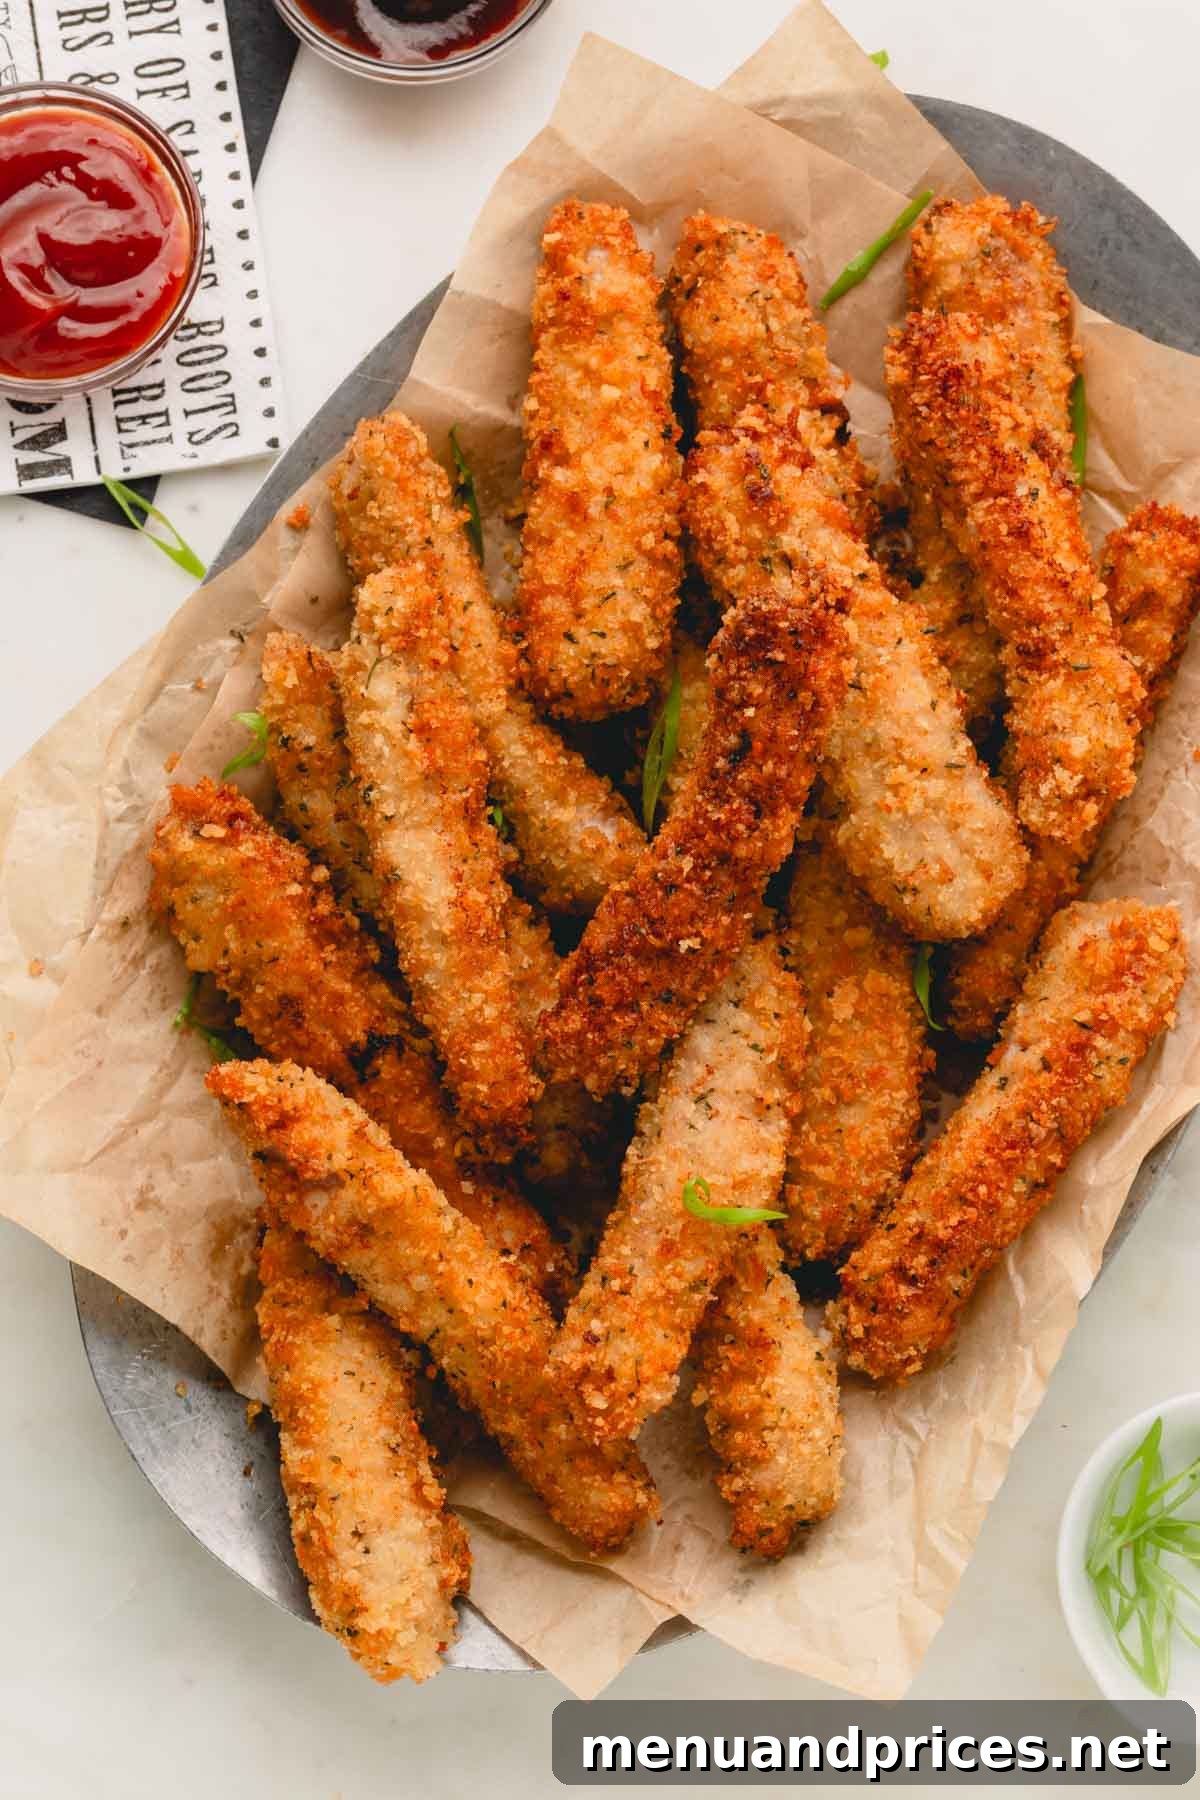
There’s nothing quite like the experience of biting into a perfectly battered and deep-fried delight. While I often experiment with healthier alternatives like baked chicken or oven-fried pork, sometimes only the real deal will do. That’s precisely when these incredible fried pork fingers come to life in my kitchen!
This recipe allows me to savor that comforting, crispy texture and savory flavor without overdoing it. Served in reasonable portions, these tender pork strips are a fantastic way to indulge your taste buds. The best part? They’re a massive hit with my husband and kids, making them a regular request for our family dinners and gatherings!
Why This Crispy Fried Pork Strips Recipe is a Must-Try
Beyond satisfying that deep-fried craving, there are numerous reasons why this particular recipe for fried pork strips deserves a permanent spot in your culinary repertoire:
- Effortlessly Easy: With just four core ingredients and a total cook time of around ten minutes, these pork strips are incredibly simple to prepare. From start to finish, you can have a delicious meal or appetizer on the table in under an hour. This makes them perfect for busy weeknights or spontaneous gatherings.
- Family & Crowd-Pleaser: Everyone loves crispy finger foods, and these pork strips are no exception. They’re a guaranteed hit with kids and adults alike, making them an ideal choice for family dinners, potlucks, or game day feasts. Prepare for rave reviews and empty plates!
- Less Oil, Still Delicious: Unlike traditional deep-fried dishes that require a large pot of oil, this recipe utilizes a skillet for frying. This means you use significantly less oil, making cleanup easier and the dish feel a little lighter without compromising on that essential crispy texture.
- Versatile Serving Options: Whether you’re looking for a fun main course, a delectable appetizer, or a hearty snack, these pork strips fit the bill. Pair them with a variety of dipping sauces and side dishes to create a complete meal or a memorable party spread.
Imagine serving these golden-brown beauties alongside other crowd-favorites like 3-ingredient mozzarella sticks or hot honey chicken wings. You might just find yourself crowned the host of every future gathering!
Loved this recipe? Pin it now to save for later!
Pin It
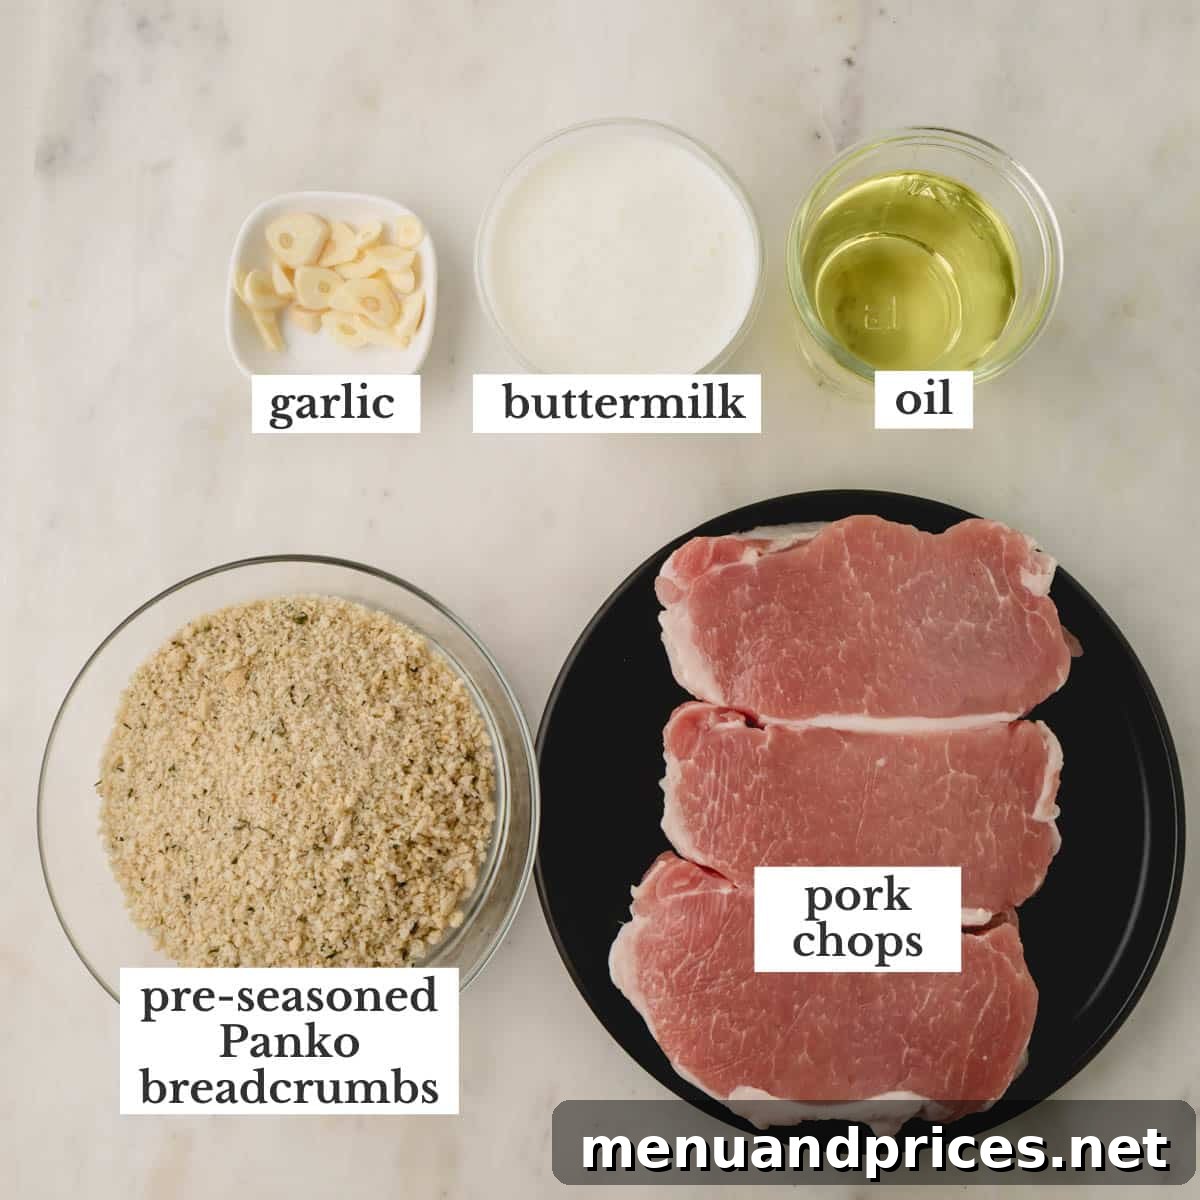
Essential Ingredients for Perfect Fried Pork Strips
The beauty of this recipe lies in its simplicity, utilizing a handful of common ingredients to create something extraordinary. Here’s a closer look at what you’ll need and why each component is vital:
- Pork Chops: You’ll need about one pound of boneless pork chops for this recipe. Opt for chops that are relatively uniform in thickness, as this will ensure even cooking once they are cut into strips. Loin chops or boneless center-cut pork chops work wonderfully. Their mild flavor and tender texture are ideal for frying.
- Buttermilk: This ingredient is a game-changer! Buttermilk is key to tenderizing the pork, preventing it from becoming tough during frying. Its mild acidity works to break down the meat fibers, resulting in incredibly succulent strips. It also imparts a subtle tang that complements the savory pork. If you don’t have buttermilk on hand, don’t fret! You can easily make a buttermilk substitute by adding one tablespoon of white vinegar or lemon juice to a measuring cup, then filling the rest with milk (any kind works) until it reaches one cup. Let it sit for 5-10 minutes until it slightly curdles. Alternatively, you can thin sour cream or plain yogurt with a little milk or water.
- Panko Breadcrumbs: For that signature light, airy, and exceptionally crispy coating, Panko breadcrumbs are non-negotiable. Regular breadcrumbs tend to be denser and can result in a heavier, sometimes soggy, crust. Italian-style Panko comes pre-seasoned with a delicious blend of herbs and spices like oregano, basil, and garlic powder, which adds immense savory flavor and saves you an extra step. If you only have plain Panko, simply mix in about a teaspoon of Italian seasoning, half a teaspoon of garlic powder, and a pinch of salt and pepper.
- Frying Oil: The type of oil you use significantly impacts the final taste and crispness. Choose a neutral-flavored oil with a high smoke point, such as vegetable oil, canola oil, or peanut oil. These oils can withstand the higher temperatures required for frying without burning, ensuring your pork strips cook perfectly and don’t absorb off-flavors. Avoid olive oil or butter for frying, as they have lower smoke points and will burn easily.
- Salt and Freshly Ground Black Pepper: While Italian-style Panko is seasoned, a little extra salt and pepper on the pork itself or mixed into the breading can elevate the flavor even further.
Step-by-Step Guide: How to Make Crispy Fried Pork Strips
Creating these golden, tender, and crispy pork strips is a straightforward process. Follow these simple steps for perfect results every time:
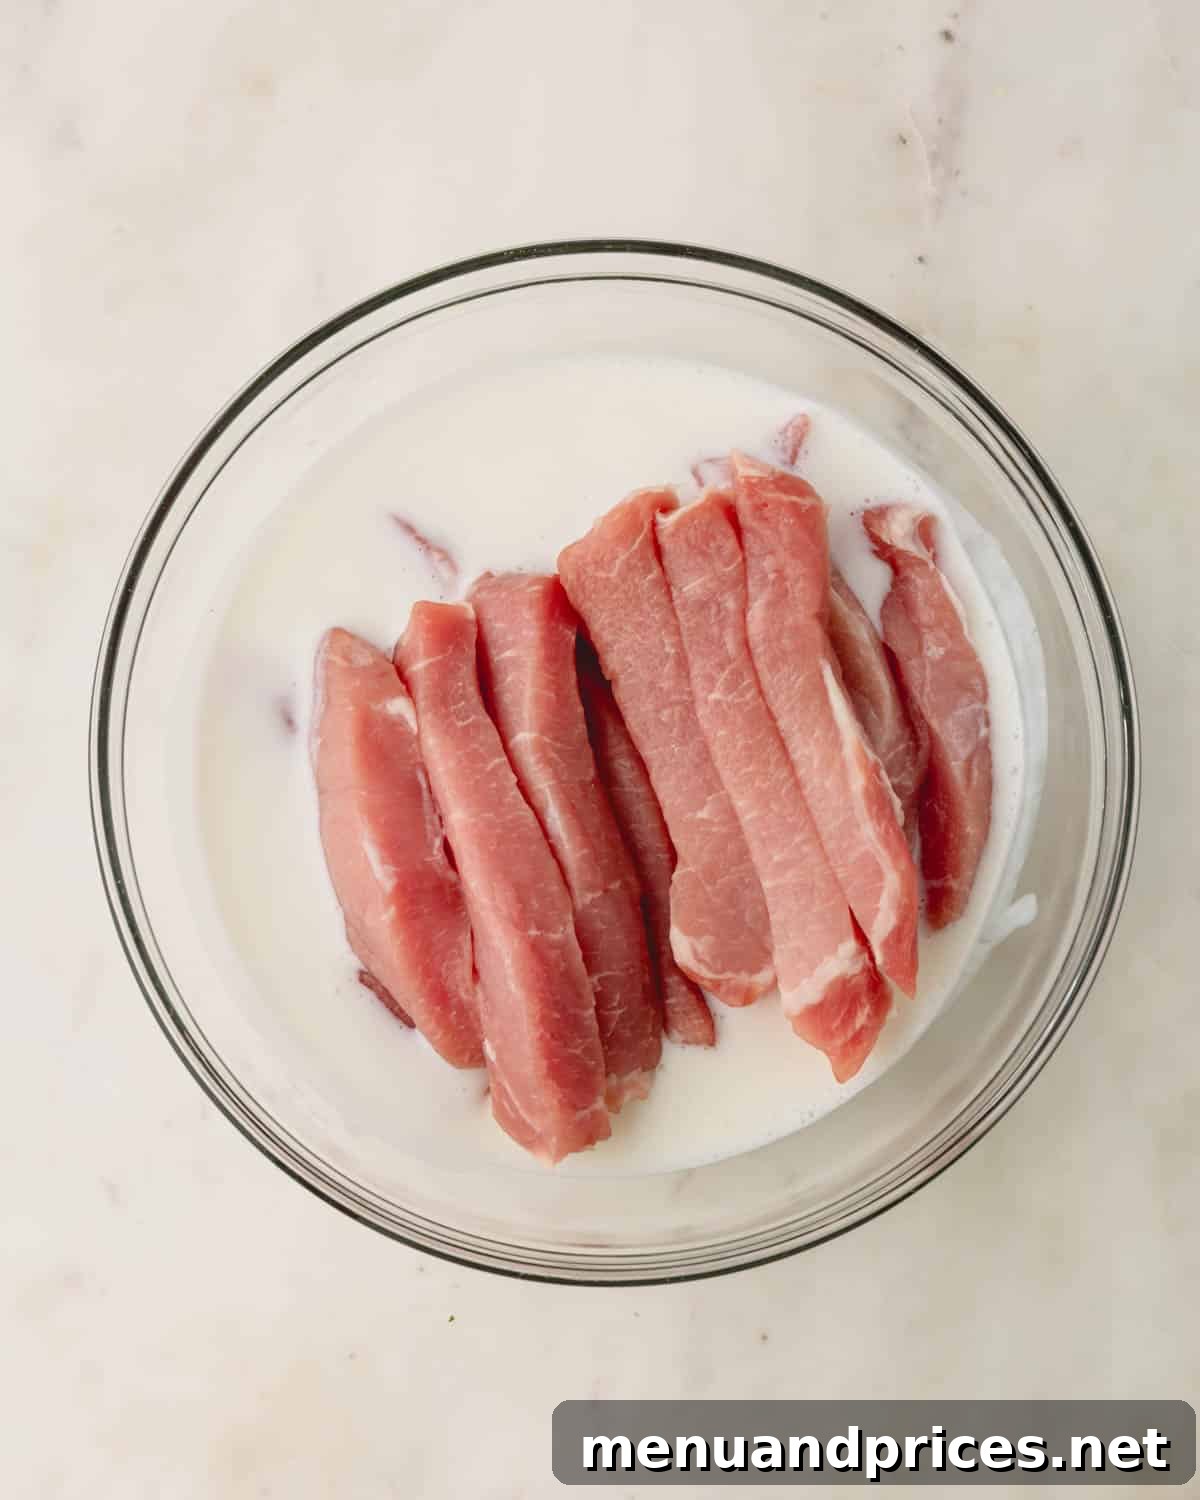
- Prepare the Pork: Begin by placing your pork chops on a clean cutting board. Using a sharp knife, carefully cut the pork chops into long, uniform strips, approximately ½ inch thick and 2-3 inches long. Aim for consistent sizes to ensure they cook evenly.
- Marinate for Tenderness: Transfer the pork strips to a bowl and pour the buttermilk over them, ensuring all pieces are submerged or well-coated. Allow the pork to soak in the buttermilk for at least 30 minutes at room temperature. This crucial step is what makes the pork incredibly tender; do not skip it, or your strips may turn out tough! If you’re short on time, 15 minutes will still help, but 30 minutes is ideal.
- Coat with Panko: Set up your breading station. Place the Italian-style Panko breadcrumbs in a shallow bowl. Working one by one, take a pork strip from the buttermilk, letting any excess drip off, then dredge it thoroughly in the Panko. Use your hands to gently press the breadcrumbs onto the pork, ensuring a complete and even coating. This firm press helps the breading adhere during frying.
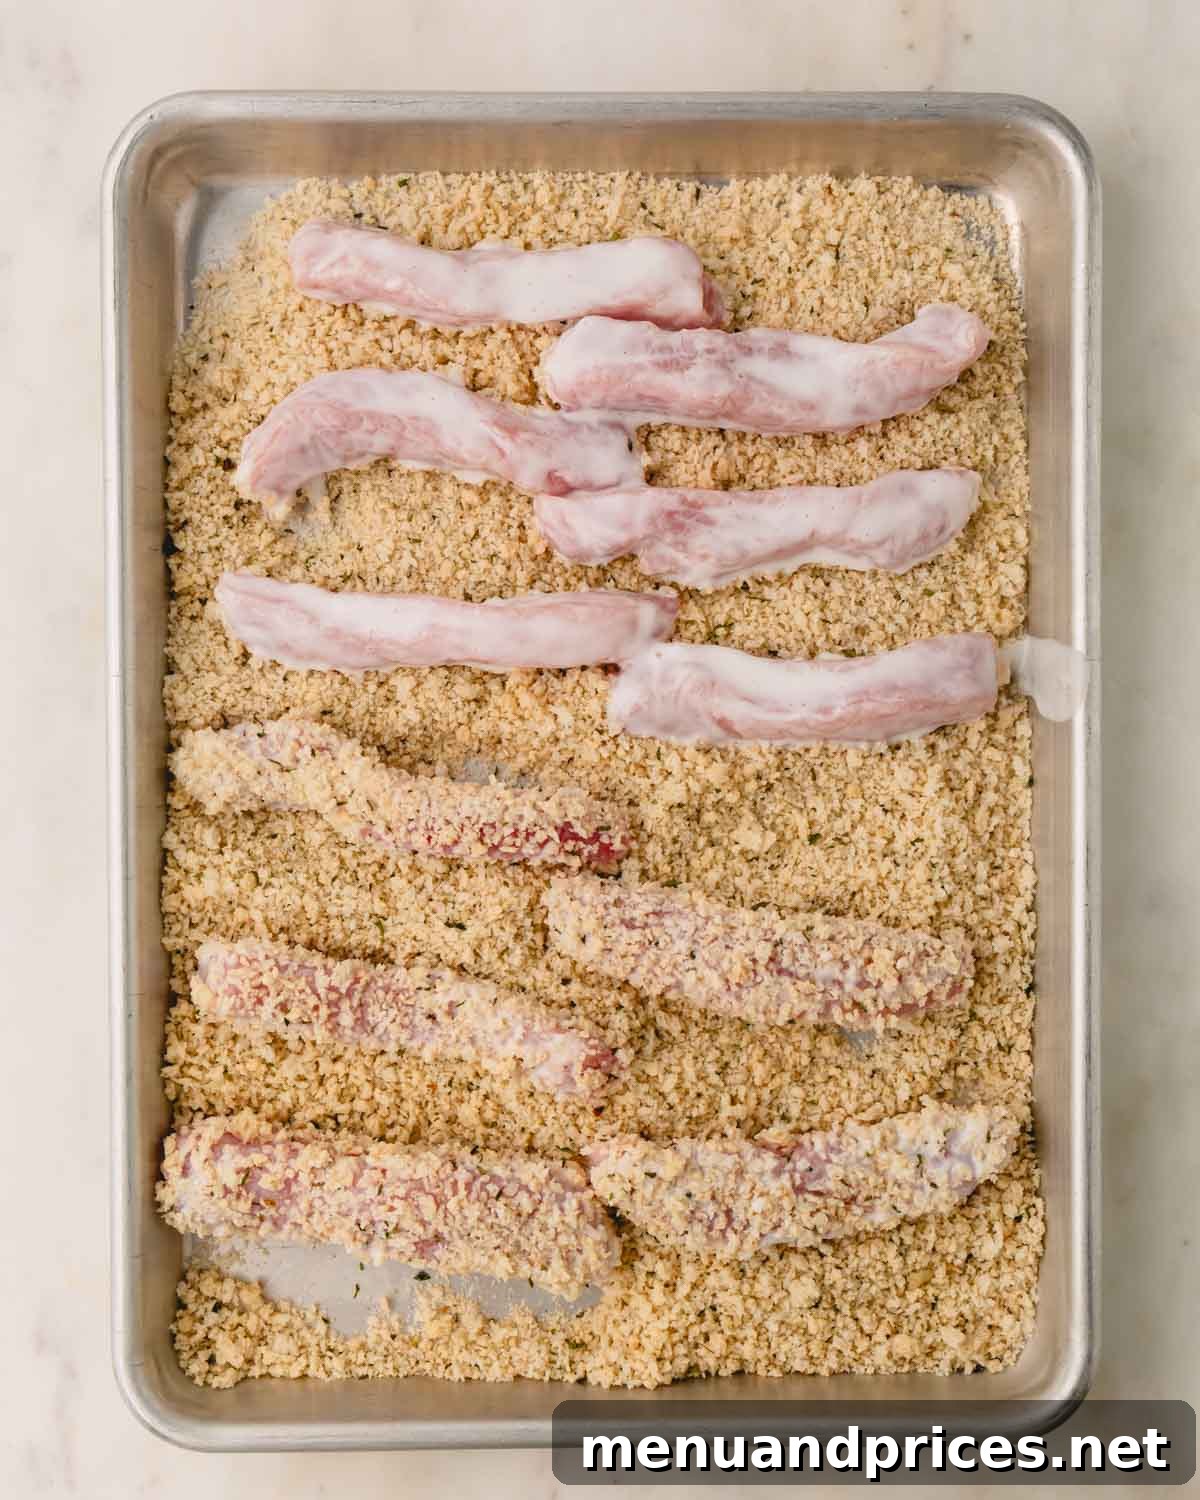
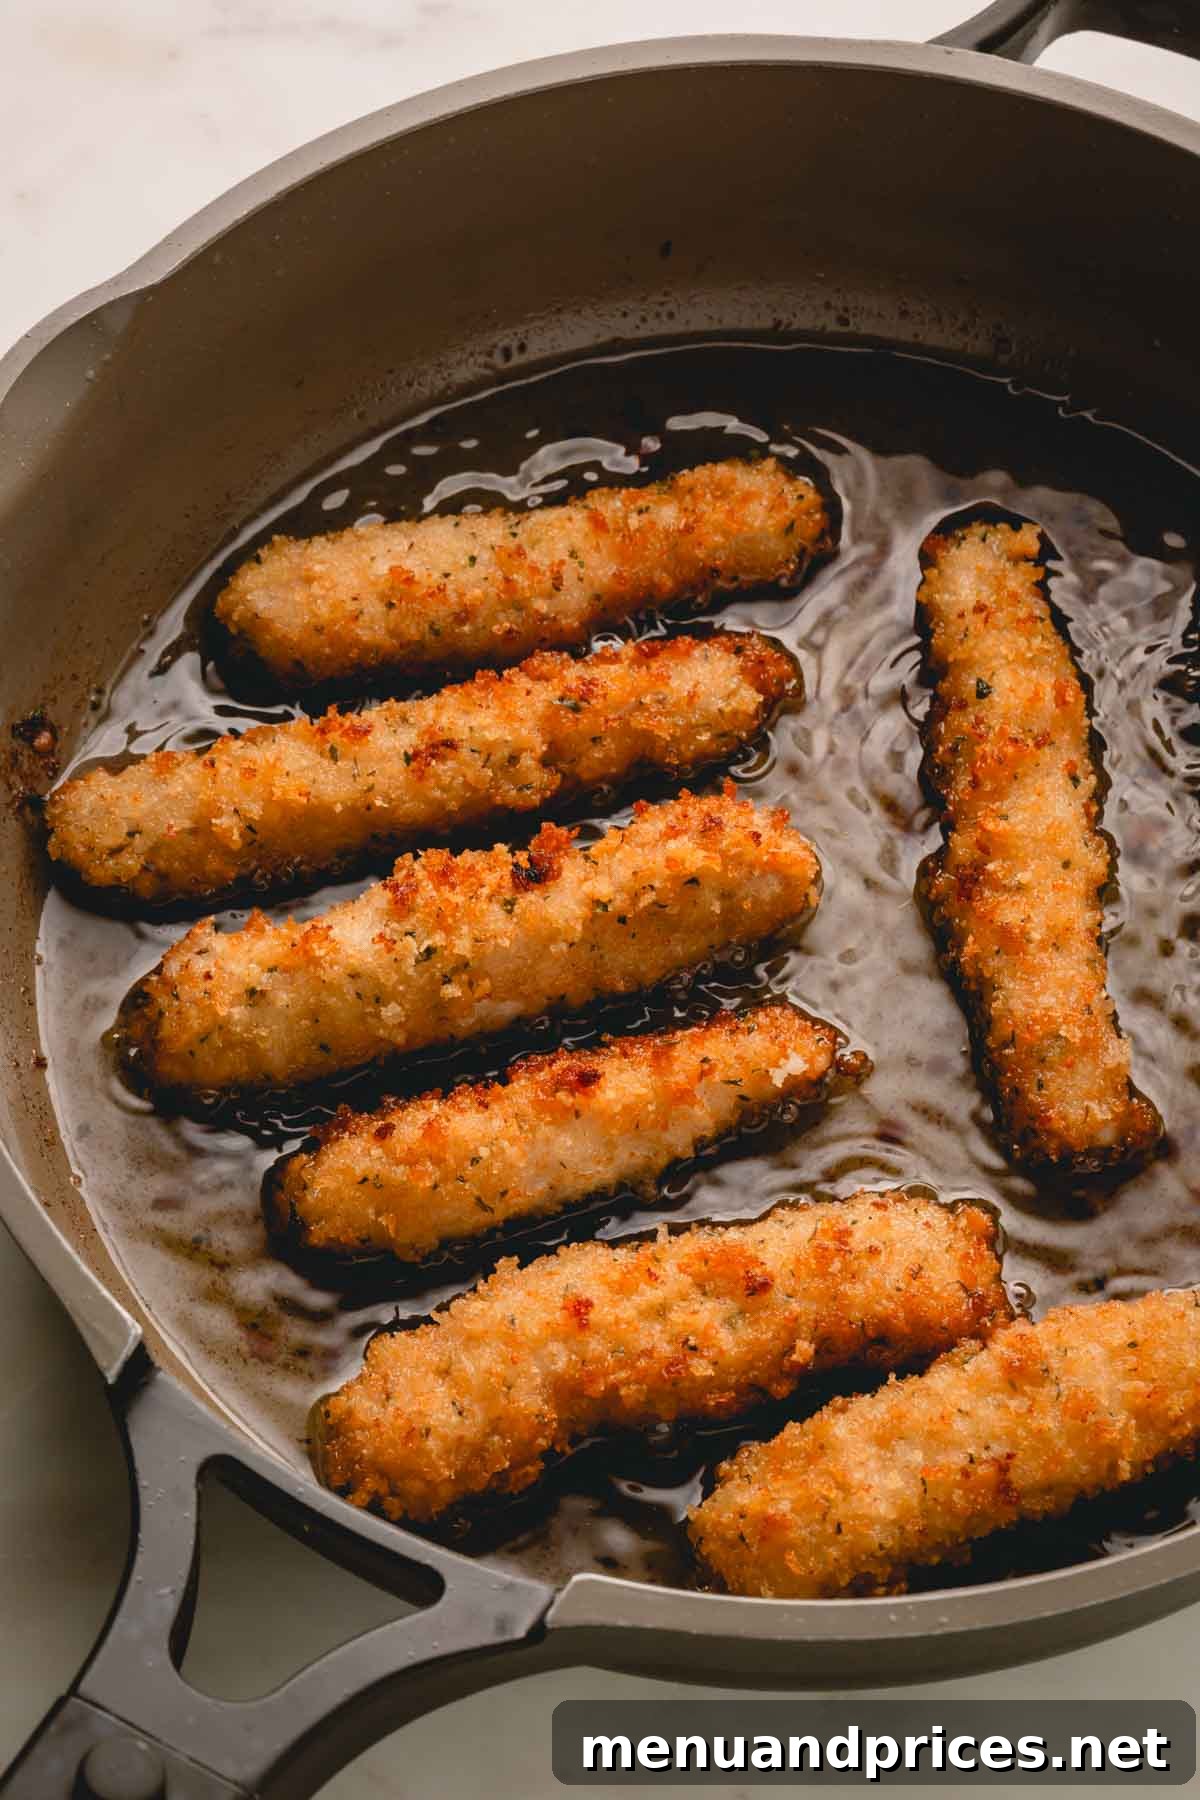
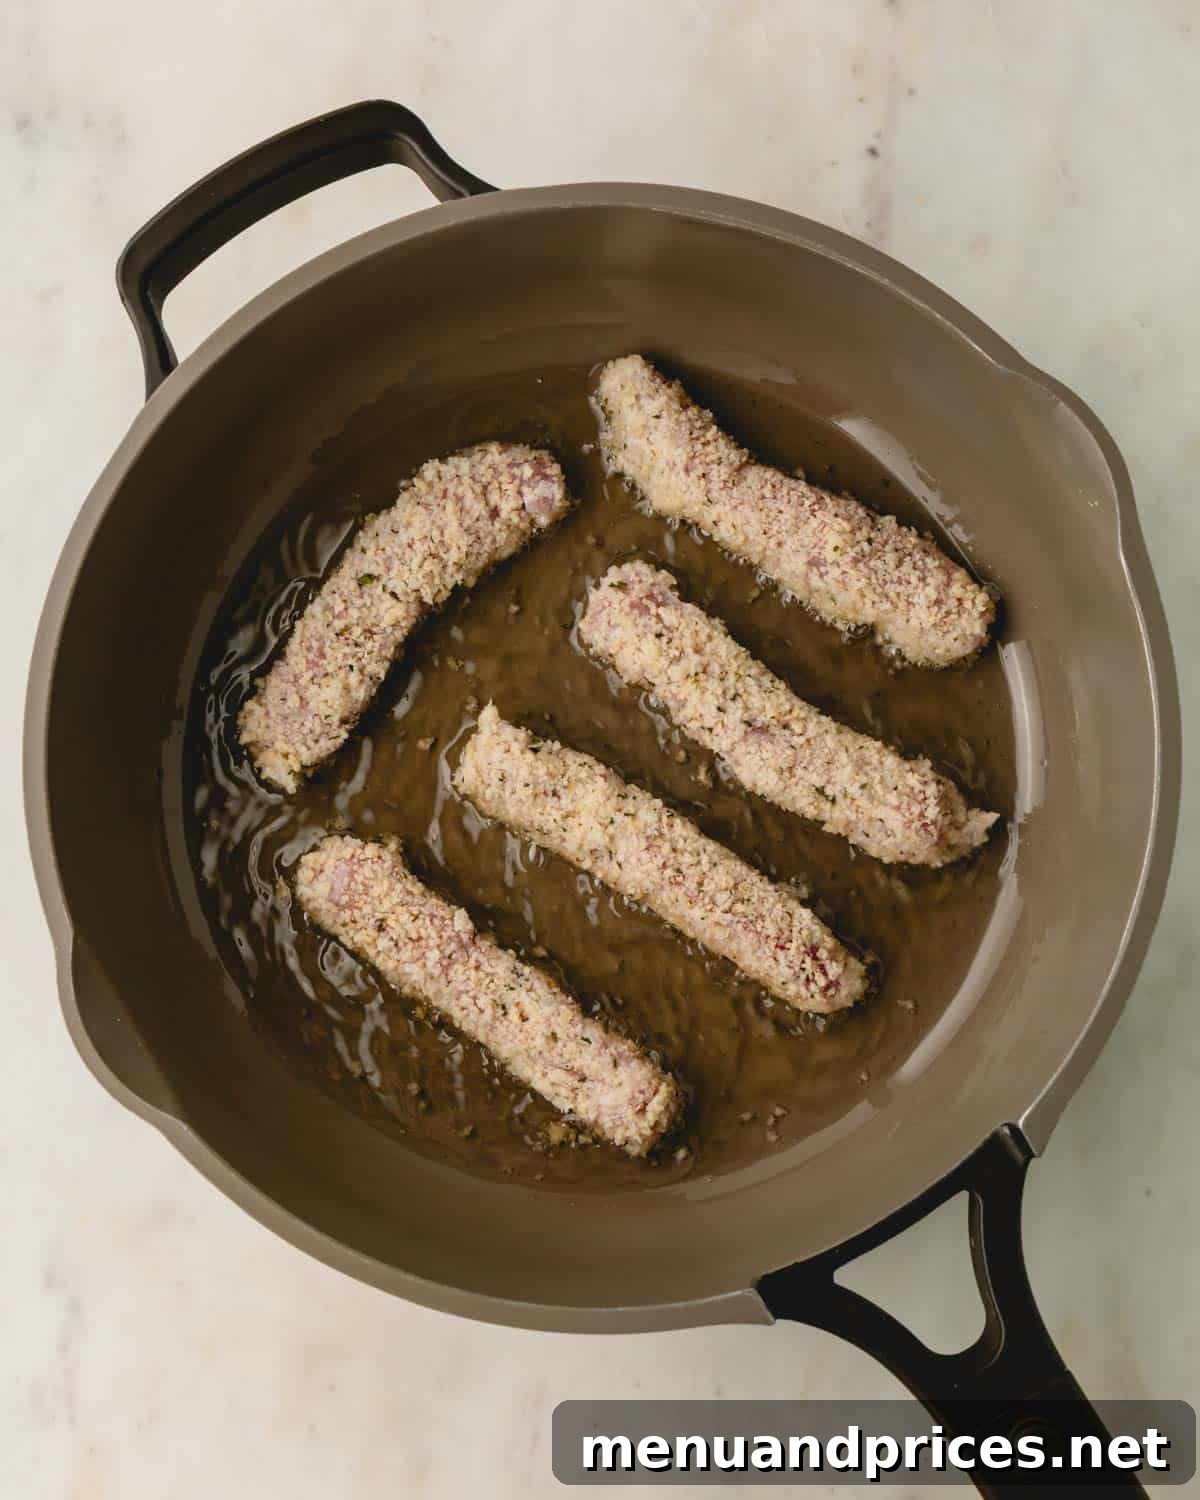
- Heat the Oil: Pour about ½ to 1 inch of your chosen frying oil into a large, heavy-bottomed frying pan or cast-iron skillet. Heat the oil over medium-high heat. You’ll know the oil is ready when it reaches approximately 350°F (175°C). A quick way to test without a thermometer is to drop a tiny pinch of Panko or a small drop of water into the oil; if it immediately sizzles and dances, the oil is hot enough.
- Fry to Golden Perfection: Carefully add the breaded pork strips to the hot oil in batches, making sure not to overcrowd the pan. Overcrowding will lower the oil temperature and result in soggy, rather than crispy, pork. Fry each batch for about 2-3 minutes per side, or until they are beautifully golden brown and crispy. The internal temperature of the pork should reach 145°F (63°C) for safe consumption.
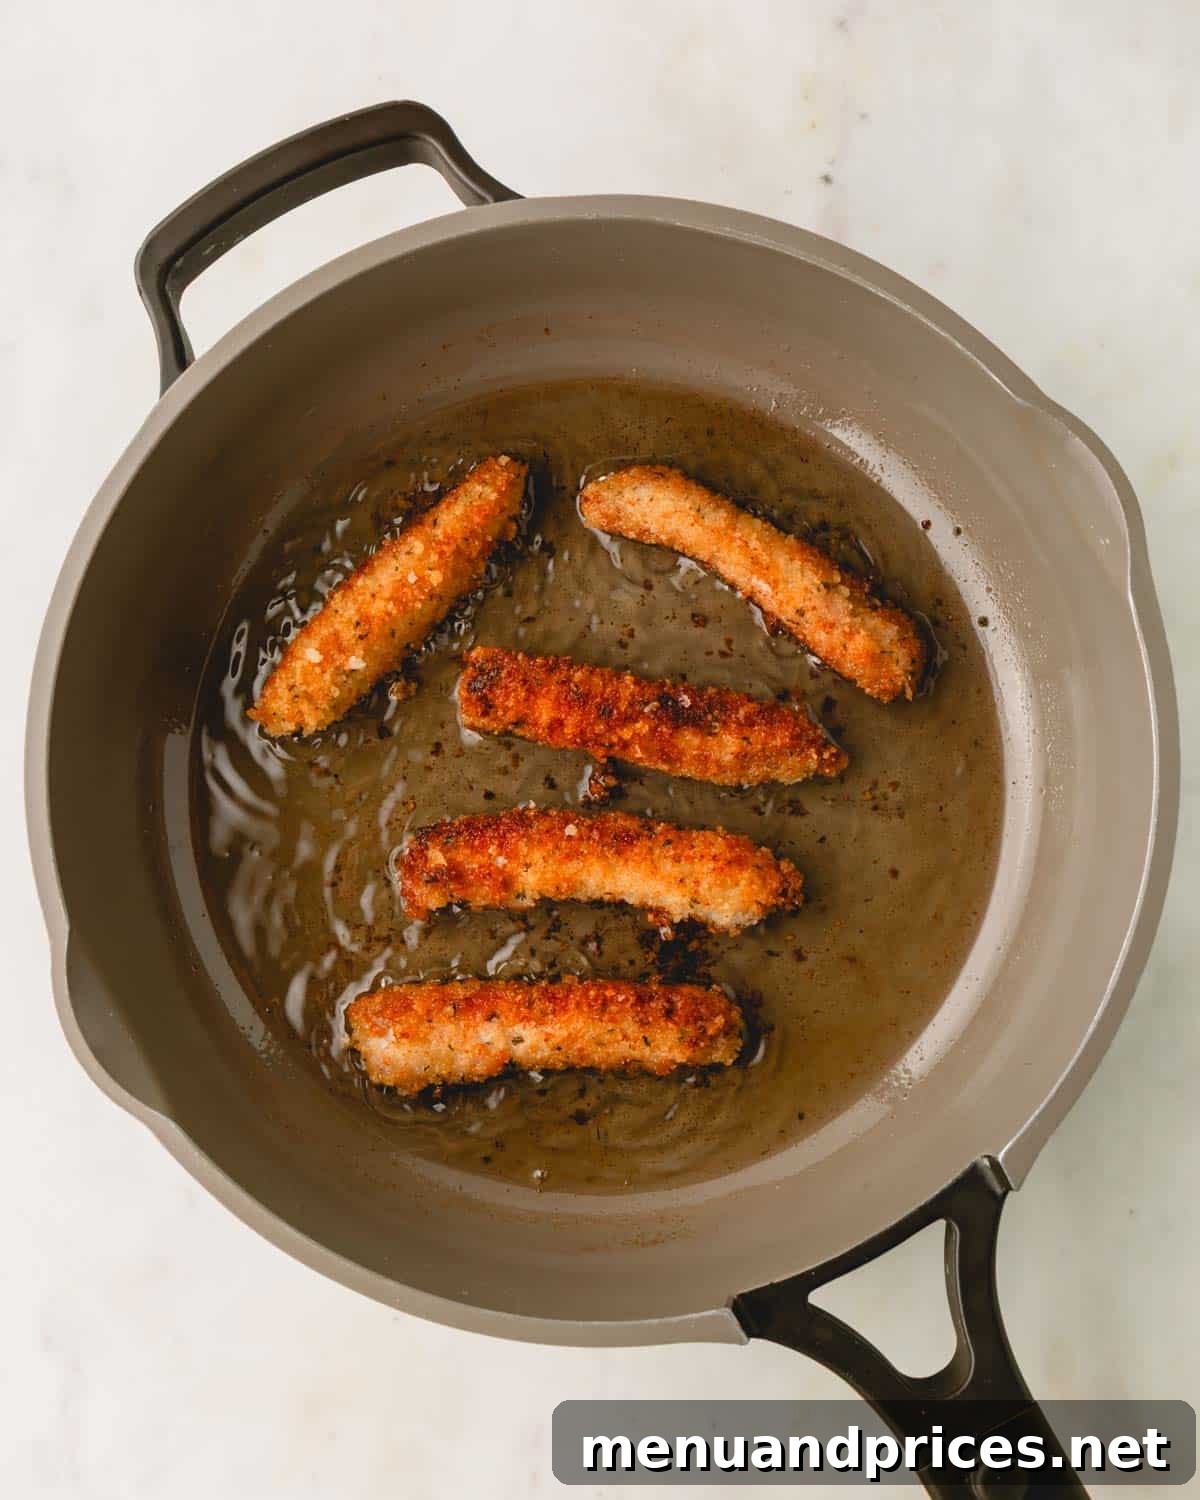
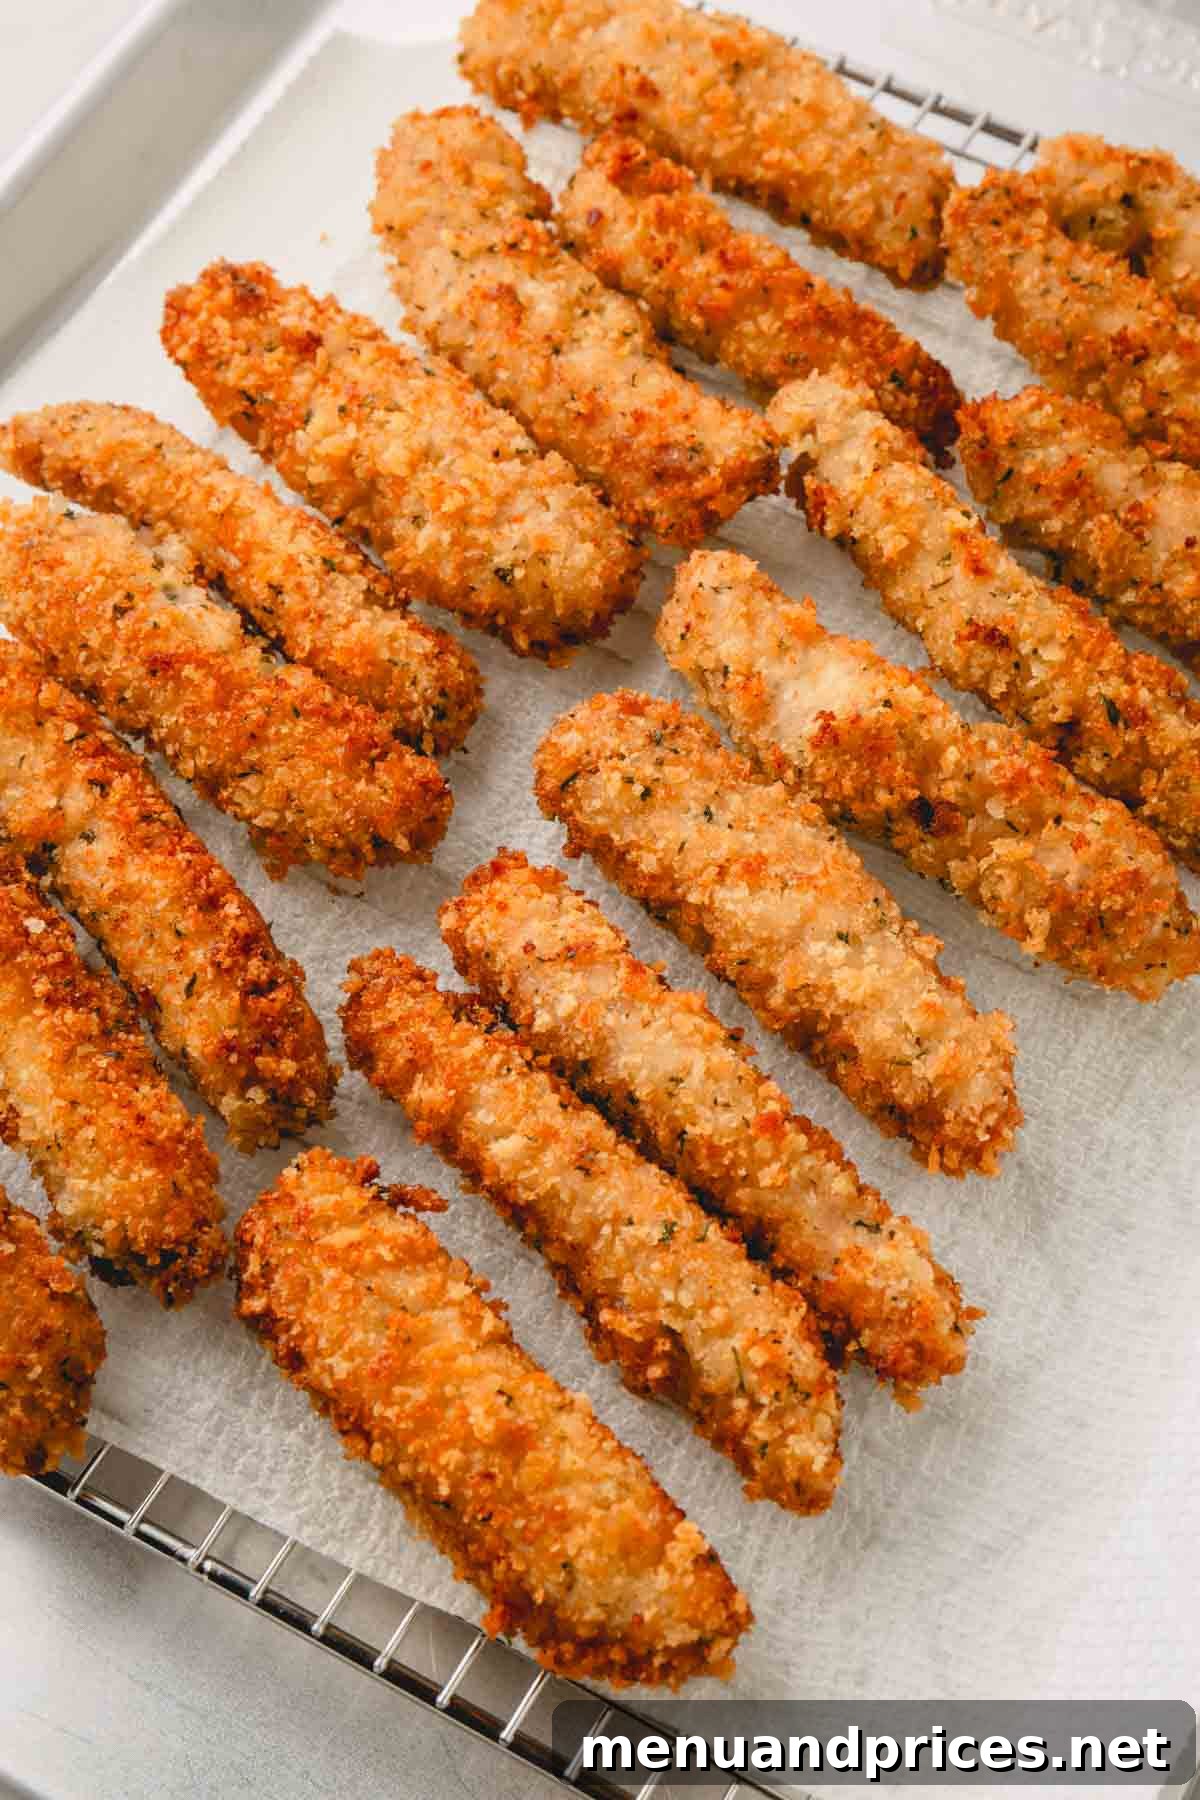
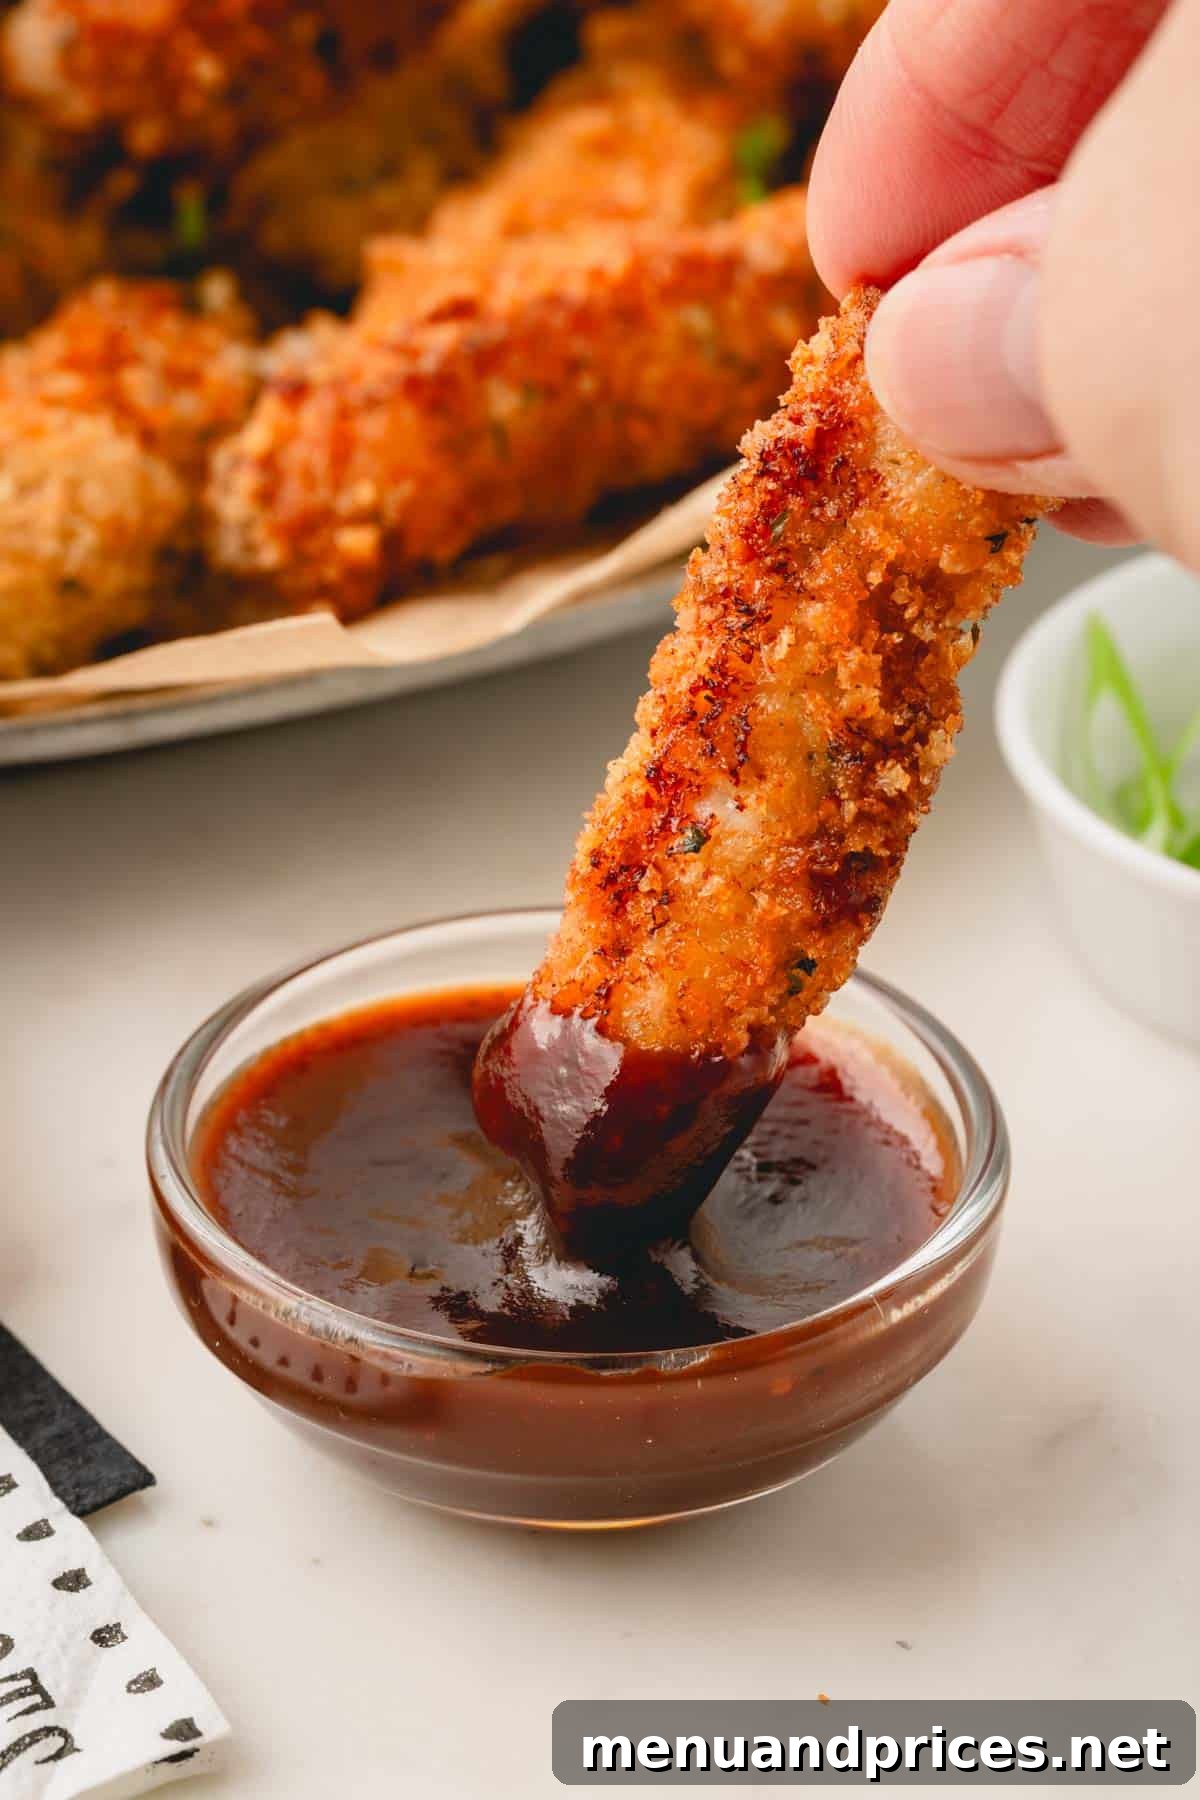
- Serve Immediately: Once cooked, transfer the fried pork strips to a wire rack placed over a baking sheet to drain any excess oil. This is crucial for maintaining their crispiness. Serve them warm with your favorite dipping sauce. Japanese Tonkatsu sauce is a classic pairing, offering a sweet and tangy complement, but barbecue sauce, honey mustard, or a simple spicy mayo also work wonderfully. Enjoy!
Expert Tip: Work in Batches for Ultimate Crispiness
A common mistake when frying is overcrowding the pan. To achieve that beautiful golden-brown color and perfectly crispy texture, always fry your pork fingers in small batches. This allows each piece to cook evenly and ensures the oil temperature remains high enough to create a crisp crust, rather than steaming the pork.
Expert Tips for Achieving Golden Perfection
Even though this recipe is simple, a few expert tips can elevate your fried pork strips from good to absolutely phenomenal:
- Optimize Marinating Time: While 30 minutes is recommended for optimal tenderness, if you’re truly pressed for time, a 15-minute soak will still offer some tenderizing benefits. Just know they might not be quite as melt-in-your-mouth soft, but still delicious! For an even deeper tenderization and flavor, you can marinate the pork strips in buttermilk in the refrigerator for up to 4 hours.
- Trim the Pork Chops Carefully: Before slicing your pork chops, take a moment to trim off any large pieces of excess fat or silverskin with a sharp knife. This prevents chewy bits and ensures a more pleasant eating experience.
- Ensure Breading Adhesion: The key to a uniformly crispy crust is making sure the Panko sticks well. After dipping in buttermilk, give each strip a good shake to remove excess liquid, then press the Panko firmly onto all sides of the pork. Don’t be shy; a good, even coating is essential.
- Master Oil Temperature with a Thermometer: The right oil temperature is paramount for crispy, perfectly cooked fried food. Aim for an oil temperature around 350°F (175°C). If the oil isn’t hot enough, the pork will absorb too much oil and become greasy and soggy. If it’s too hot, the breading will burn before the pork cooks through. A reliable kitchen thermometer like a Thermapen is an invaluable tool here, making the process fool-proof.
- Drain Properly for Maximum Crisp: Once your pork strips are golden and cooked, transfer them immediately to a wire rack set over a baking sheet, not directly onto paper towels. This allows air to circulate around the strips, preventing condensation and keeping them crisp. Paper towels can trap steam, leading to sogginess.
- Season Your Breading: Even if using Italian-style Panko, consider adding a little extra seasoning to the breadcrumbs for an extra layer of flavor. A pinch of garlic powder, onion powder, paprika, or a dash of cayenne pepper can make a noticeable difference.
Storage and Reheating Best Practices
Fried pork strips are undoubtedly best enjoyed fresh, straight from the pan, while they are at their crispiest. As they cool, the breading can naturally lose some of its initial crunch. However, if you find yourself with leftovers, you can certainly save and enjoy them later with a few simple techniques:
- Storing Leftovers: Allow the fried pork fingers to cool completely to room temperature before storing. This prevents condensation from forming and making them soggy. Transfer them to an airtight container and store in the refrigerator for up to 3 days.
- Reheating for Crispness: To revive their crisp texture, avoid the microwave for reheating (unless you don’t mind a softer crust). The best methods are:
- Oven: Preheat your oven to 400°F (200°C). Place the pork strips on a wire rack over a baking sheet and heat for 8-12 minutes, or until warmed through and re-crisped.
- Air Fryer: Preheat your air fryer to 375°F (190°C). Arrange the pork strips in a single layer in the air fryer basket and cook for 5-8 minutes, flipping halfway, until hot and crispy.
Frequently Asked Questions About Fried Pork Strips
You’ll know your fried pork strips are done when the breading is beautifully golden brown and crisp, and the internal temperature of the thickest part of the meat reaches 145°F (63°C). A meat thermometer is the most reliable way to check for doneness, ensuring both safety and optimal texture.
Preventing sogginess is key to crispy perfection. Always work in batches to avoid overcrowding the pan, which lowers oil temperature. After frying, immediately transfer cooked strips to a wire rack (not directly onto paper towels) over a baking sheet. This allows air to circulate and excess oil to drip away, keeping them crisp as they cool.
While boneless pork chops are ideal for their tenderness and ease of cutting into strips, you could use pork tenderloin. Just be mindful that tenderloin is very lean and can dry out quickly, so adjust frying time accordingly to prevent overcooking. Slice it into ½-inch medallions or strips.
Yes, you can, but the texture will be different from skillet-fried. For baking, preheat oven to 400°F (200°C), spray pork with oil, and bake for 15-20 minutes, flipping halfway. For air frying, preheat air fryer to 375°F (190°C), spray with oil, and cook for 10-15 minutes, flipping halfway. While they will be crispy, they won’t have the same juicy interior and specific crunch that skillet frying provides.
You can prepare the pork by cutting it and marinating it in buttermilk up to 4 hours in advance in the refrigerator. However, I recommend breading and frying them just before serving. Breading too far in advance can cause the breadcrumbs to absorb moisture from the pork, leading to a less crispy crust.
More Delicious Appetizer Recipes to Explore
If you loved these crispy pork strips, you might also enjoy these other fantastic appetizer ideas:
- Hot Honey Chicken Wings: A perfect balance of sweet and spicy.
- Savory Puff Pastry Twists: Elegant and easy, ideal for entertaining.
- Bacon Wrapped Pork Tenderloin: Juicy pork wrapped in crispy bacon.
- Bacon Chicken Meatballs: Flavorful and hearty bite-sized delights.
Crispy Fried Pork Strips
Shinee Davaakhuu
30 minutes
10 minutes
40 minutes
4
servings
Comment
Print Recipe
Ingredients
- 1 lb boneless pork chops
- 1 cup buttermilk
- 2 cups pre-seasoned Italian-style Panko
- Vegetable or canola oil for frying
- Optional: Salt and freshly ground black pepper to taste
Instructions
-
Cut the pork chops into long strips about ½ inch thick. Place them in a bowl and soak in the buttermilk for 30 minutes to tenderize.
-
In a medium, shallow bowl, pour the Italian-style Panko. Take each pork strip from the buttermilk, letting excess drip off, then coat thoroughly in the Panko, pressing gently to ensure adhesion.
-
Heat about ½ to 1 inch of oil in a large frying pan or skillet over medium-high heat until it reaches approximately 350°F (175°C). You can test the oil by dropping a small pinch of Panko; if it sizzles immediately, it’s ready.
-
Fry the pork strips in small batches, without overcrowding the pan, until they are golden brown and crispy on all sides (about 2-3 minutes per side). The internal temperature of the pork should reach 145°F (63°C).
-
Transfer the cooked pork strips to a wire rack set over a baking sheet to drain excess oil. Serve immediately with Japanese Tonkatsu sauce or your favorite condiment. Enjoy!
⭐️ Made this recipe?
We’d love to hear your feedback! Please leave a review and let us know how you liked it.
Tips & Notes
– Store cooled pork fingers in an airtight container in the fridge for up to 3 days.
– Reheat in the oven or air fryer at 400°F (200°C) just until warmed through and re-crisped. Microwaving is not recommended for maintaining crispiness.
Nutrition
1 serving
781kcal
71g
65g
24g
11g
894mg
Appetizer, Main Course
American
Did you make this?
Leave a rating and your feedback. Thank you!