
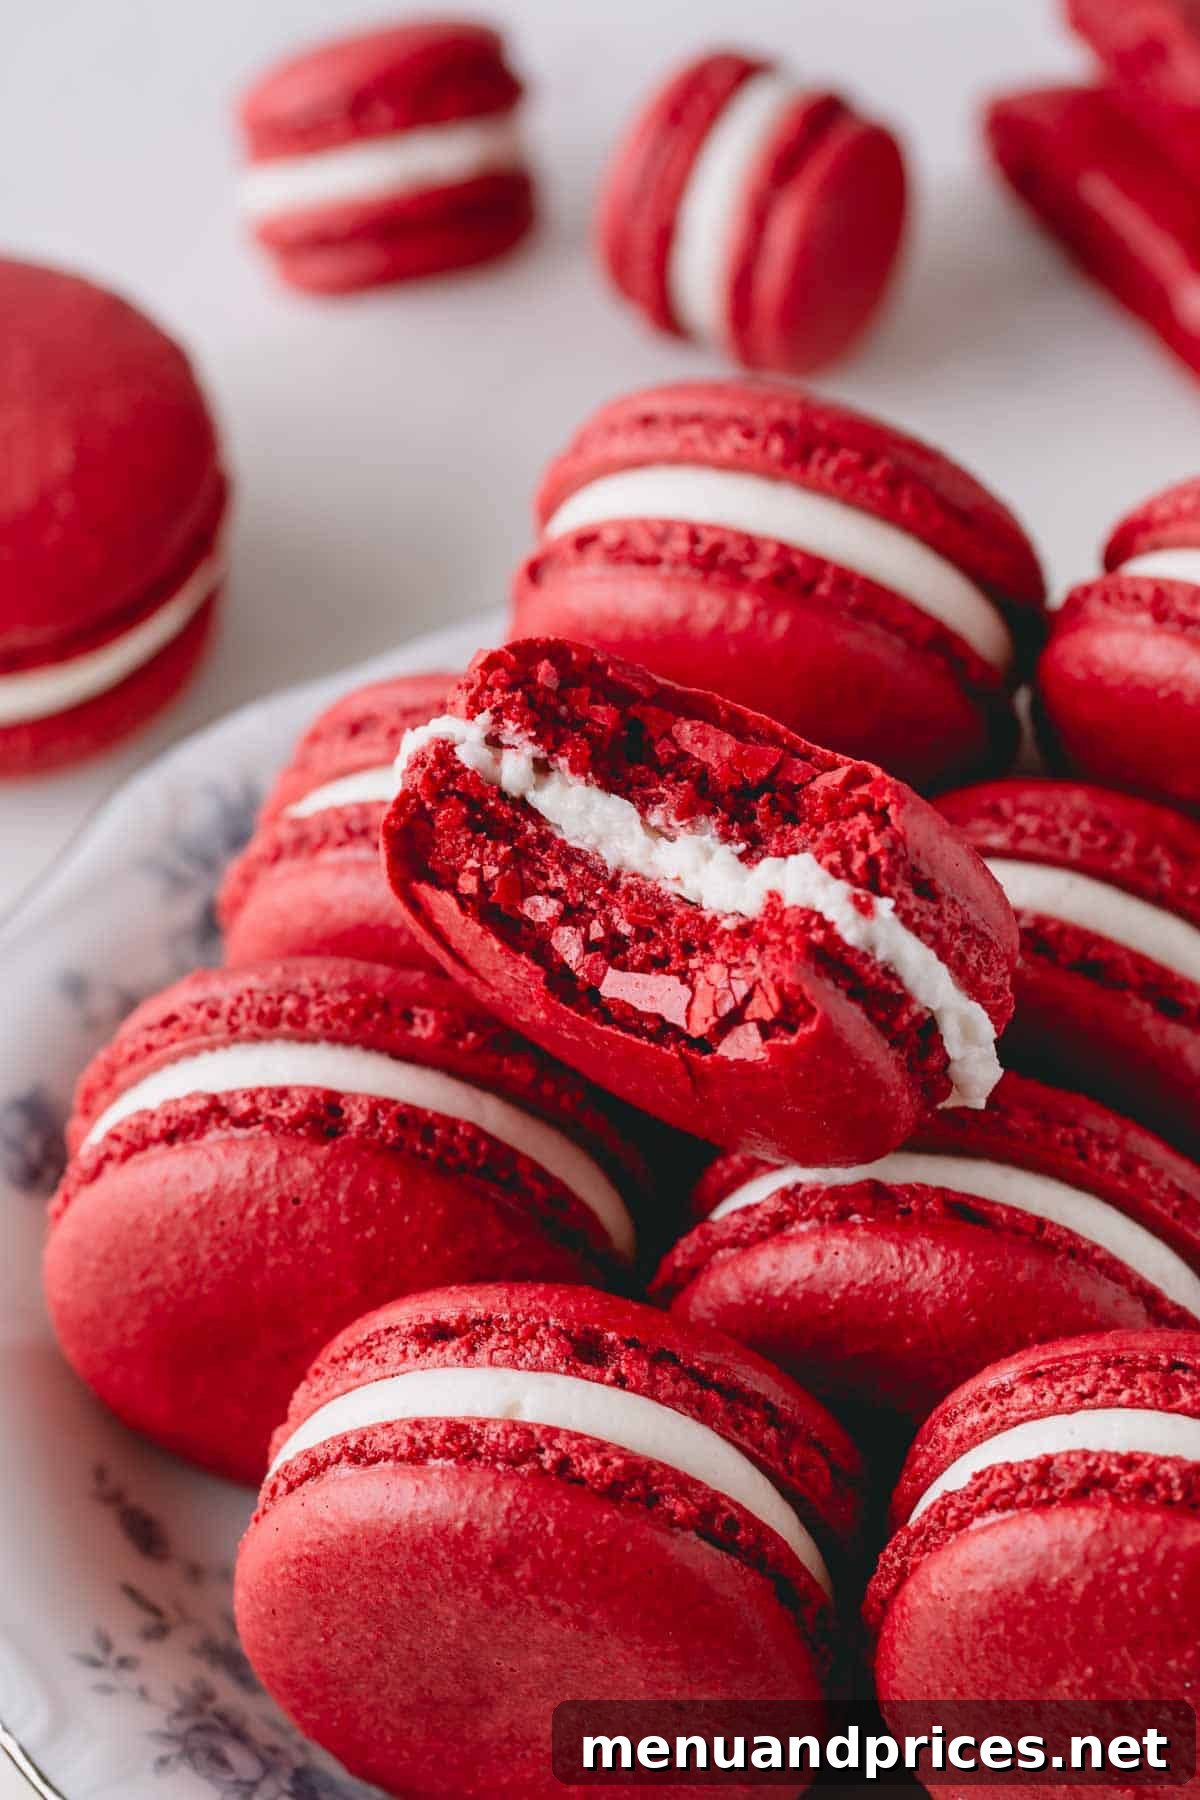
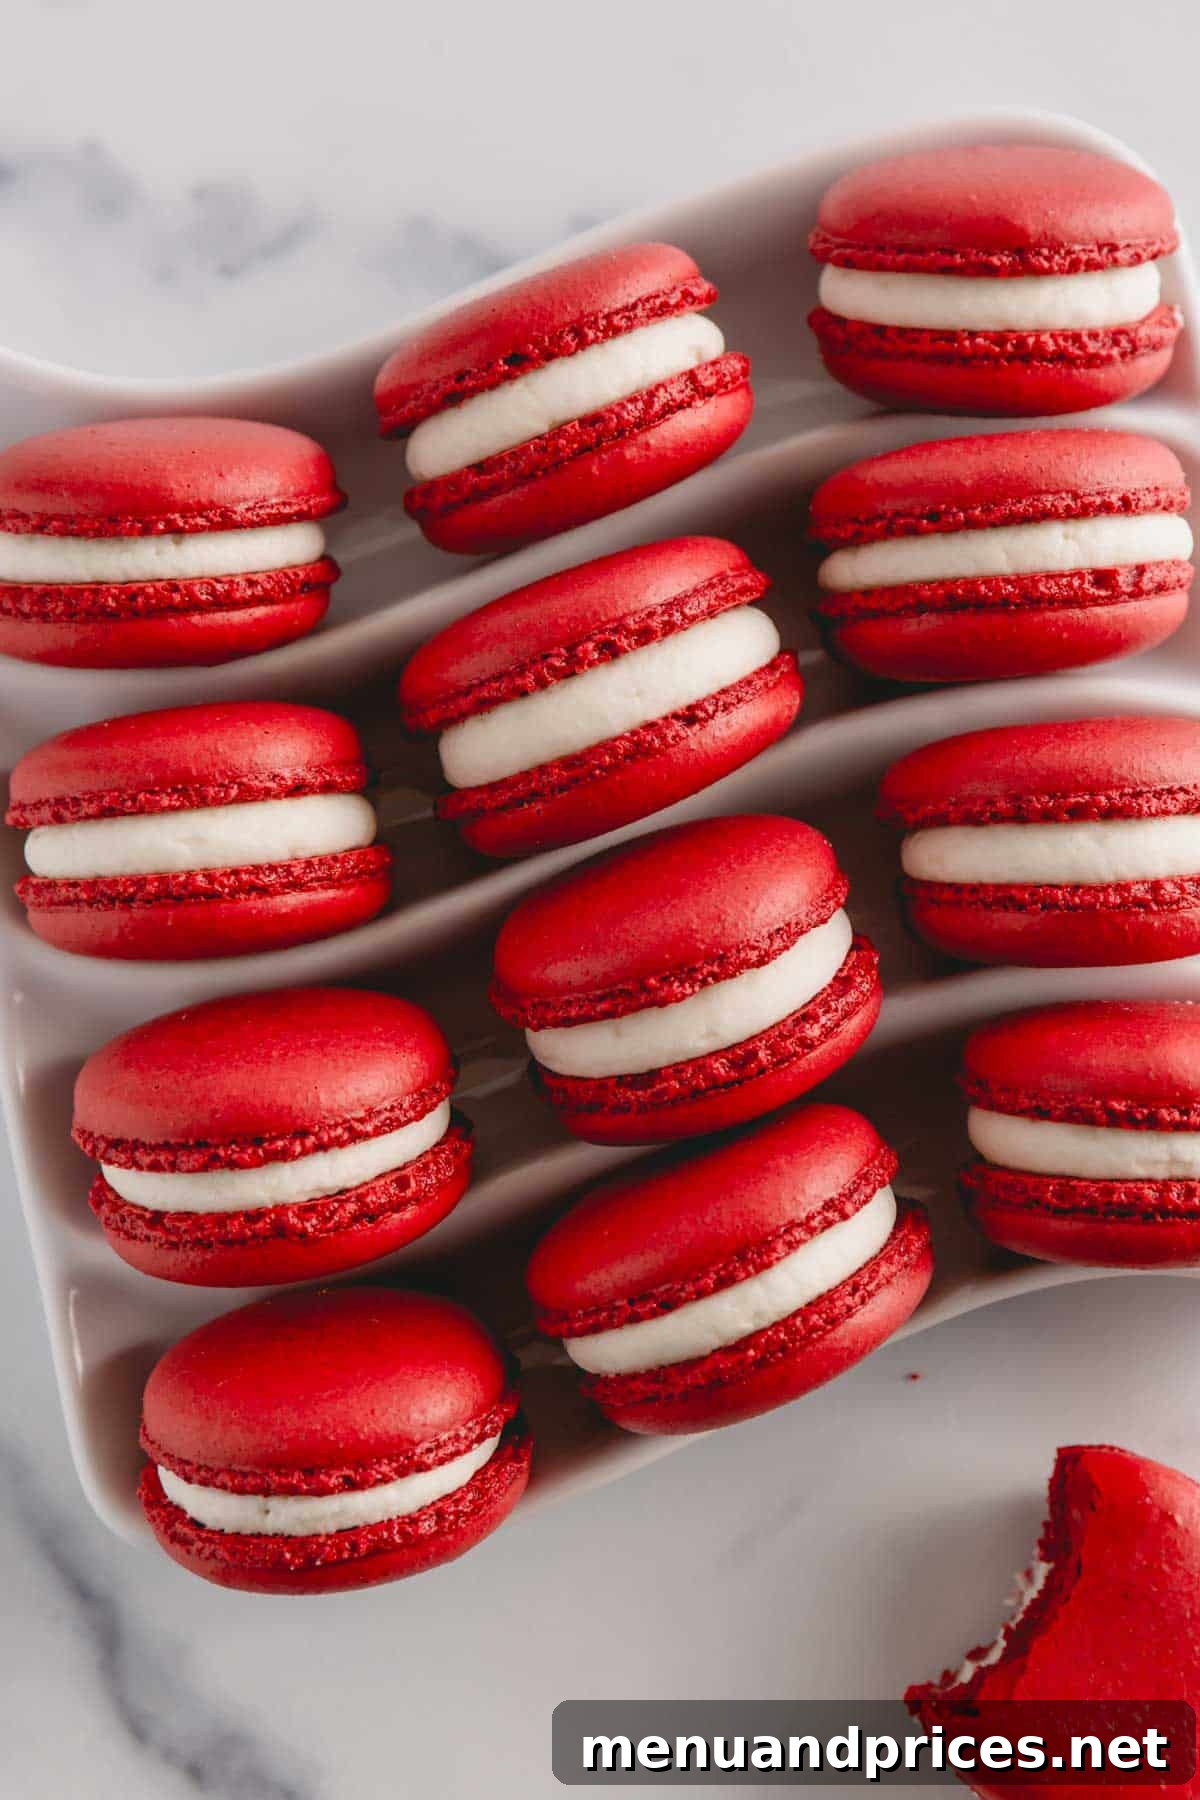
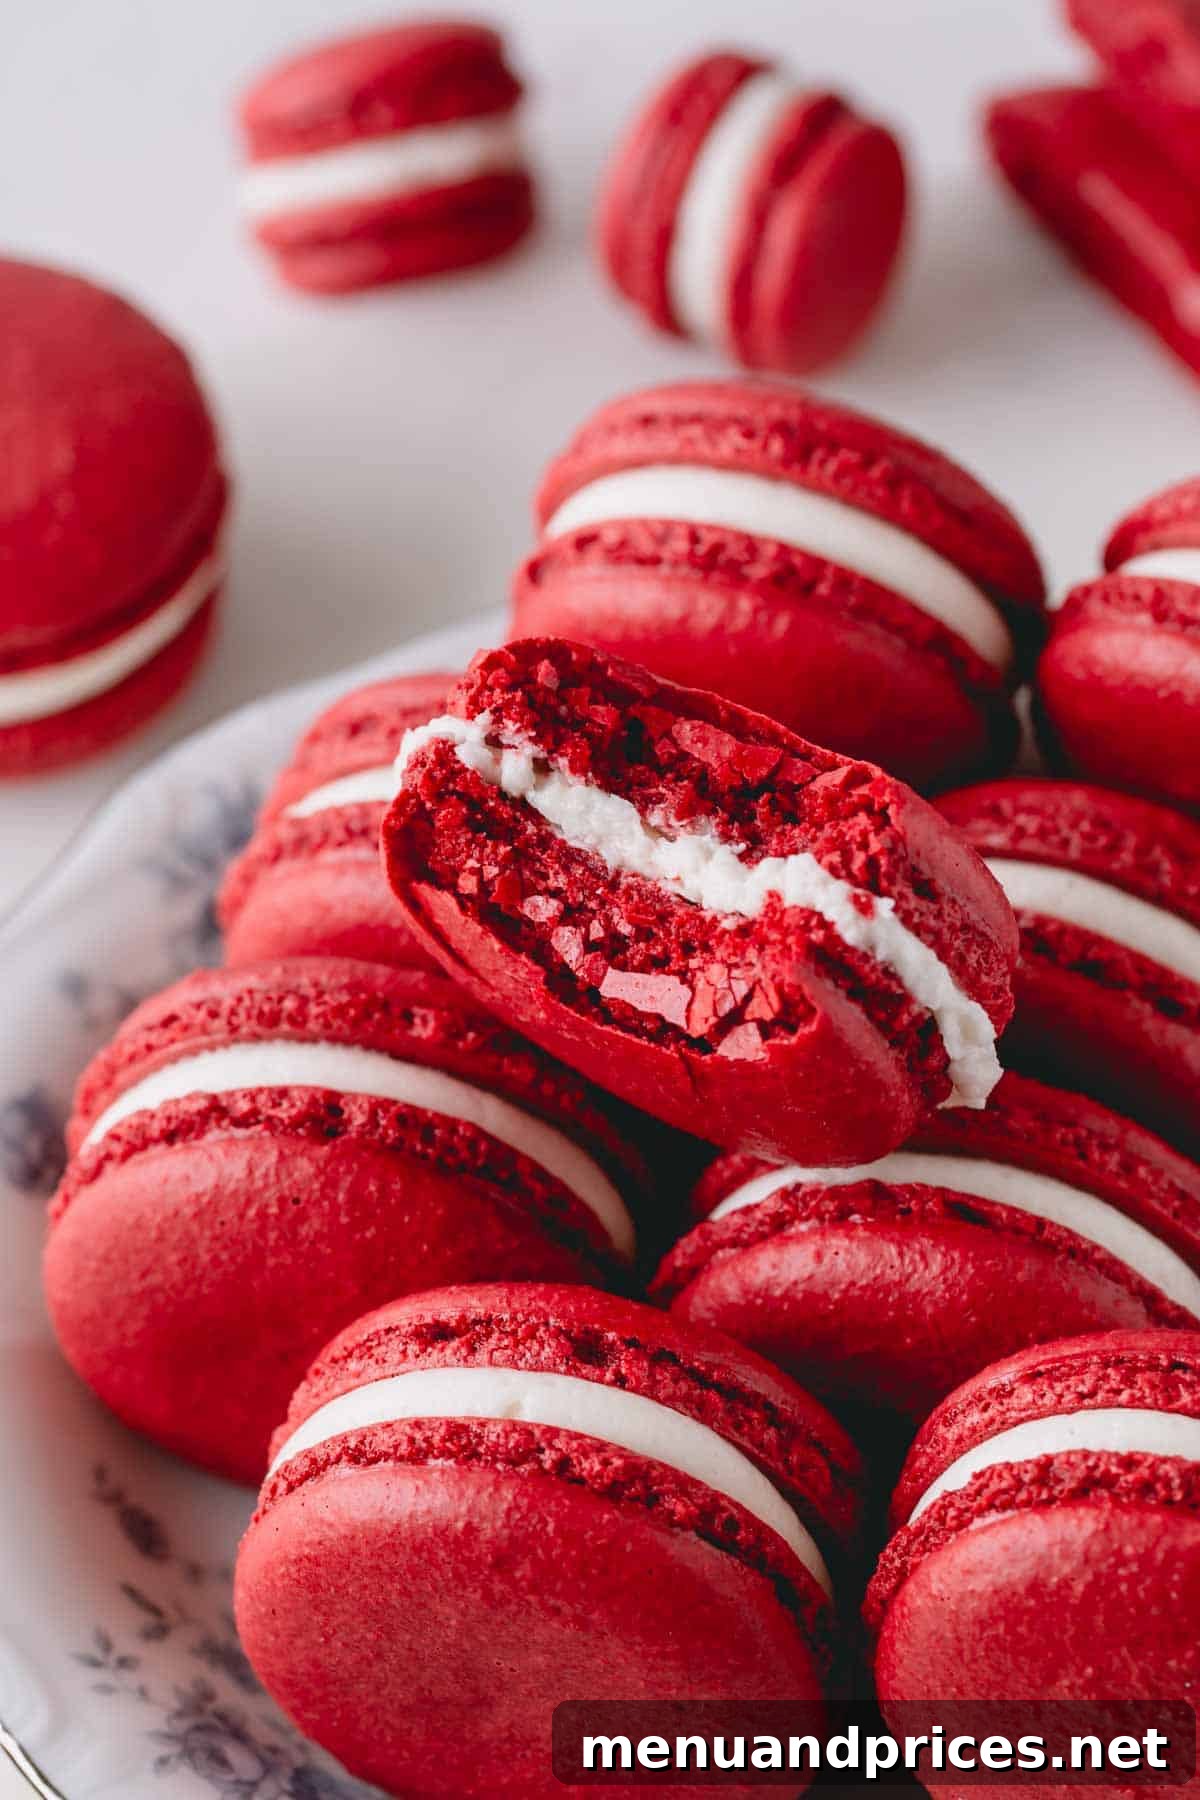
Indulge in the exquisite world of French patisserie with these breathtaking **Red Velvet Macarons**. Each delicate shell, boasting a rich, deep red hue and a perfectly crisp-chewy texture, encases a luscious, tangy cream cheese frosting. More than just a dessert, these macarons are a true showstopper, designed to impress at any gathering or elevate a simple moment into a luxurious treat. Dive into our detailed guide to uncover the secrets behind achieving that signature vibrant color and irresistible flavor profile.
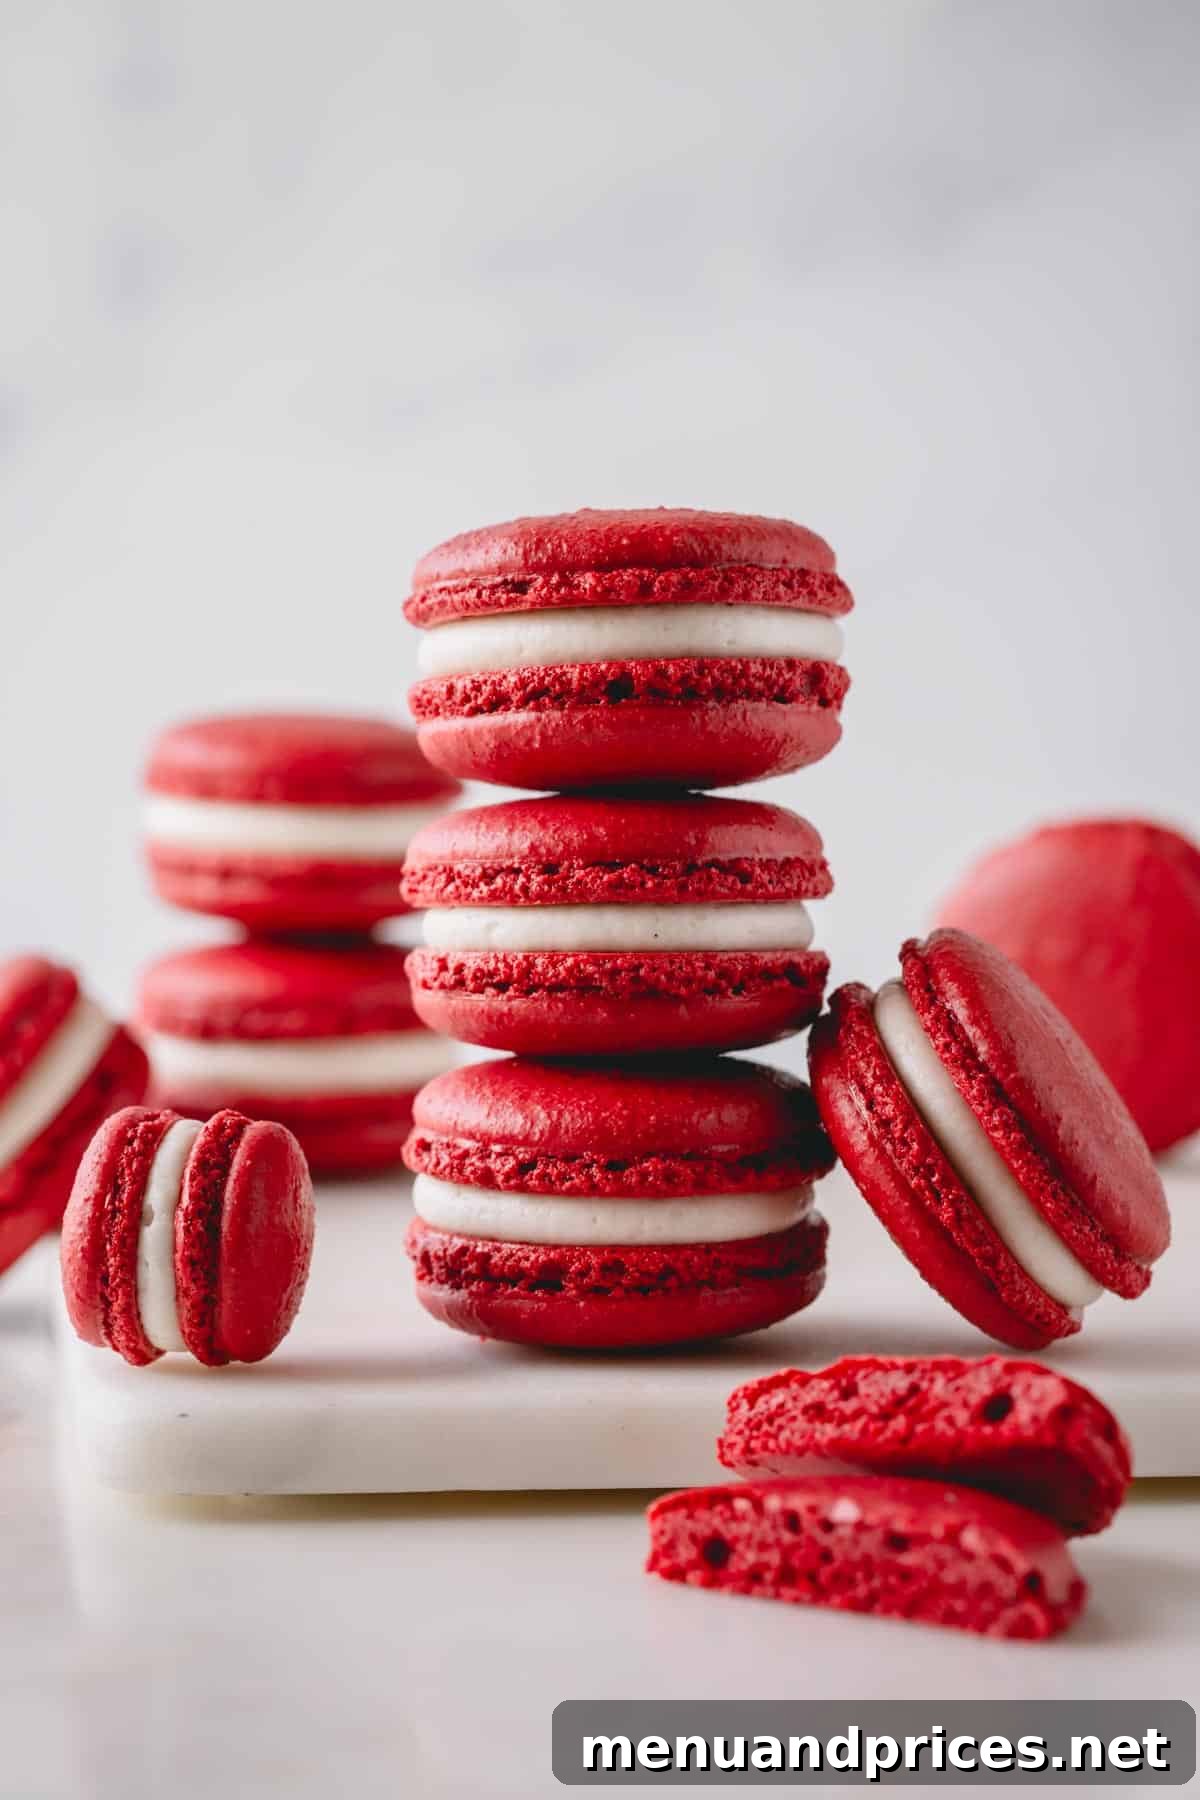
Why You’ll Fall in Love with Red Velvet Macarons
Among the vast array of macaron flavors, Red Velvet holds a special place, often rivaling classics like Pistachio and Lemon Macs. It’s not just a dessert; it’s an experience, captivating both the eyes and the palate.
- Visually Stunning: The striking, deep red color is instantly recognizable and incredibly inviting. These macarons add a touch of elegance and sophistication to any dessert spread, making them perfect for celebrations, holidays, or a thoughtful gift.
- Unforgettable Flavor: Beyond their beauty, these macarons deliver an exquisite taste. The delicate shells carry subtle notes of cocoa and vanilla, perfectly complementing the rich and tangy cream cheese filling. It’s a harmonious blend that creates a truly addictive treat.
- Irresistible Texture: Experience the signature macaron bite – a delicate, crisp outer shell giving way to a delightfully chewy interior. This unique texture, combined with the creamy filling, provides a multi-sensory delight with every bite.
- A Sophisticated Twist: Red Velvet is a beloved classic, and transforming it into a macaron elevates its charm. It’s a modern interpretation of a timeless flavor, offering a light yet decadent indulgence that stands out from traditional cakes or cookies.
Is This Red Velvet Macaron Recipe Right for You?
Crafting perfect macarons is often considered an art, requiring precision and patience. While incredibly rewarding, this **Red Velvet Macaron recipe** presents a slightly more advanced challenge compared to basic macaron recipes. The inclusion of cocoa powder and a significant amount of gel food coloring alters the batter’s consistency, demanding a bit more finesse.
If you’re embarking on your macaron-making journey for the very first time and are aiming for flawlessly uniform shells, we highly recommend beginning with our Macarons for Beginners guide. It offers all the essential foundational details, in-depth explanations of techniques crucial for success, and a helpful video tutorial to guide you every step of the way. Once you’ve mastered the basics, this Red Velvet recipe will be a delightful and achievable next step in expanding your macaron repertoire.
Expand Your Macaron Skills! Explore our entire MACARON ARCHIVE, packed with invaluable resources, tips, and troubleshooting guides for bakers of all levels, especially those new to the macaron world.
Mastering Macarons: A Closer Look at Key Ingredients
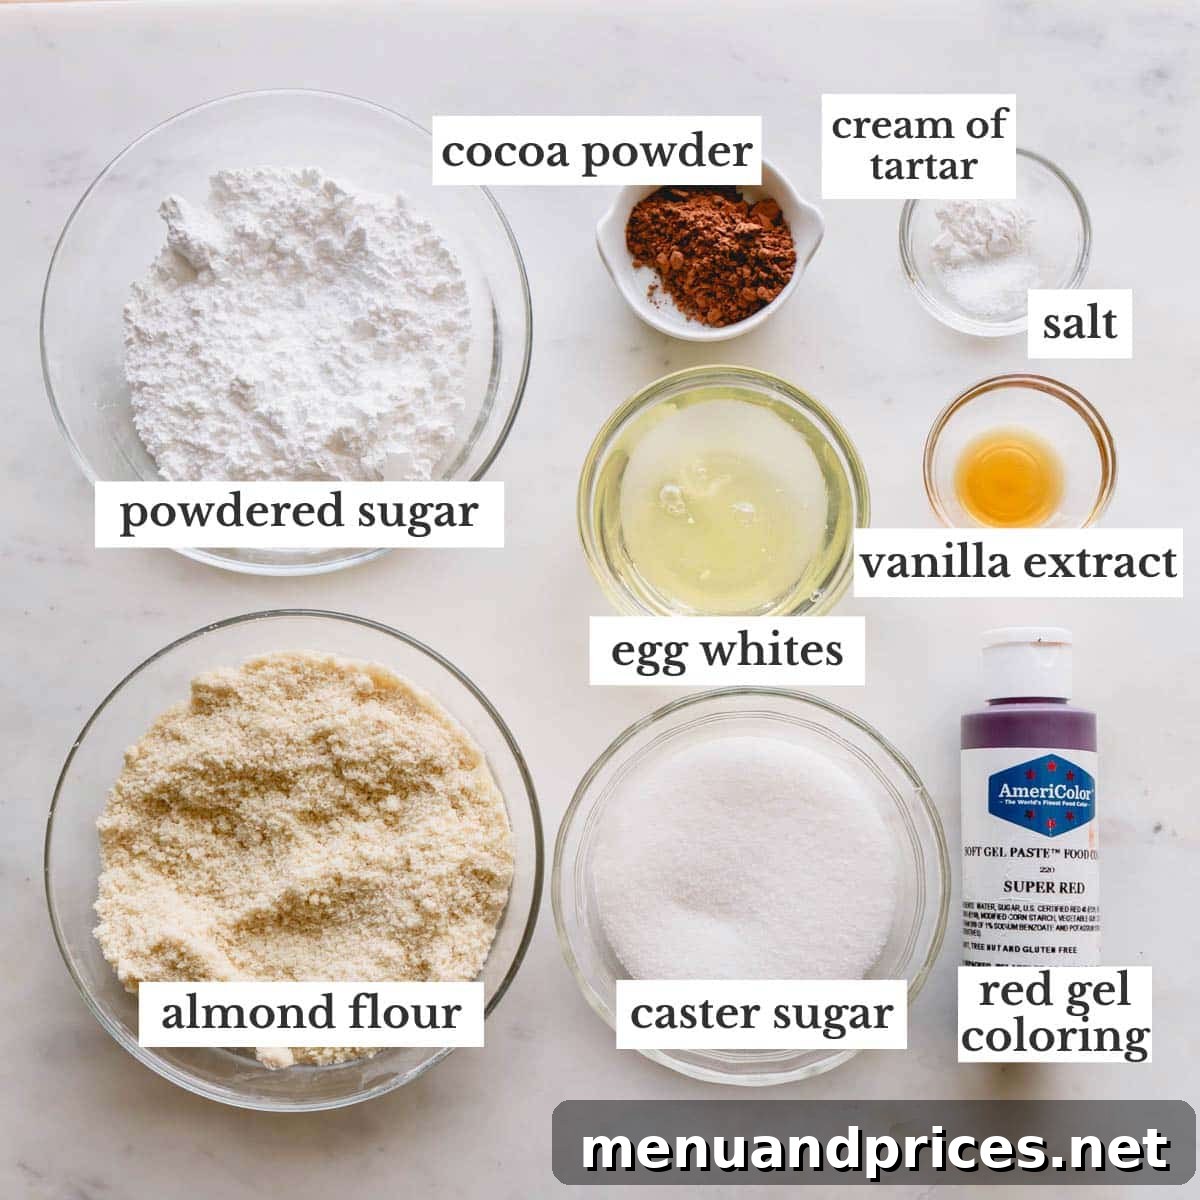
Precision is paramount when it comes to macarons. To maximize your success and achieve consistent results, always measure all macaron ingredients in grams using a reliable kitchen scale. This eliminates common measurement errors and provides the best foundation for perfect shells.
- Egg Whites: The foundation of a stable meringue. Always opt for fresh, high-quality eggs and carefully separate the whites from the yolks, ensuring no trace of yolk contaminates the whites. Room temperature egg whites whip up faster and achieve better volume and stability. While fresh eggs are ideal, I’ve had success with certain brands of carton egg whites; just be sure the label explicitly states “for meringue” and avoid any marked “not for meringue” as they often contain additives that hinder whipping.
- Super-Fine Almond Flour: This is non-negotiable for smooth macaron tops. Choose almond flour that is light beige in color, feels fluffy, and has an incredibly fine texture. Coarse, yellowish, or oily almond flour will result in bumpy, uneven shells and a less desirable texture. This almond flour is my consistently preferred brand for its quality.
- Powdered Sugar: Crucial for the macaron structure and sweetness. While it might be tempting to make your own, commercial powdered sugar contains cornstarch, which acts as a stabilizer and helps achieve the ideal crispy yet chewy texture in your macaron shells. Using homemade powdered sugar without cornstarch can affect the final texture.
- Fine Granulated Sugar: Essential for building a stable French meringue. Fine granulated sugar or caster sugar (also known as baker’s sugar) dissolves more quickly into the egg whites, preventing a grainy meringue and ensuring a smooth, glossy consistency. Regular granulated sugar might not dissolve completely, leading to an unstable meringue.
- Unsweetened Cocoa Powder: This ingredient plays a dual role in our red velvet macarons. It imparts a subtle hint of chocolate flavor that is characteristic of classic red velvet, and more importantly, it helps deepen and intensify the red color of the shells, allowing you to achieve that vibrant, rich hue. Both natural and Dutch-processed cocoa powder work well for this recipe.
- Cream of Tartar: While optional, a small amount of cream of tartar is highly recommended. It acts as an acid, helping to stabilize the egg whites and create a sturdier, more resilient meringue. Think of it as an extra layer of insurance for achieving those perfect stiff peaks, especially if you’re concerned about humidity or over-whipping.
- Red Gel Food Coloring: Absolutely critical for achieving the iconic, vibrant red color of red velvet macarons. Liquid food colorings can introduce too much moisture and negatively impact the delicate balance of the macaron batter. Always opt for a high-quality gel food coloring, such as Americolor Super Red, for the best results.
- Pure Vanilla Extract: A touch of vanilla complements the cocoa and rounds out the overall flavor profile, adding warmth and depth to both the macaron shells and the cream cheese frosting.
Step-by-Step Guide: Crafting Your Perfect Red Velvet Macarons
We’ll be utilizing the French meringue method, which is widely considered the most accessible approach for macaron making. Follow these steps meticulously for stunning results:
1. Prepare and Sift the Dry Ingredients
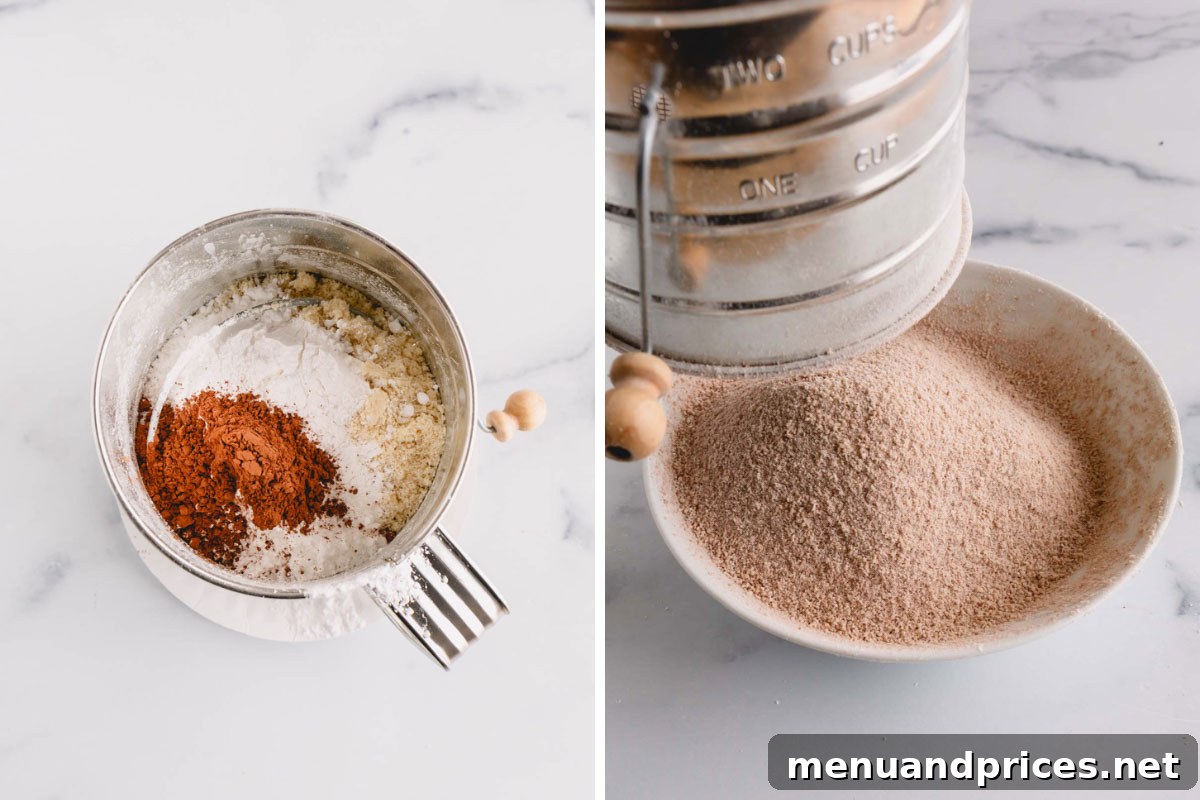
This initial step is more critical than it seems. Combine your super-fine almond flour, powdered sugar, and unsweetened cocoa powder. Then, **sift this mixture thoroughly at least three times**. Sifting isn’t just about mixing; it’s about aerating the ingredients and removing any tiny lumps. This aeration is crucial for creating light, airy macaron shells with a consistently smooth top and delicate feet.
TIME-SAVING TIP: If you’re using a stand mixer, you can efficiently sift your dry ingredients while your meringue is whipping, optimizing your preparation time.
2. Create a Stable French Meringue
The French meringue is the backbone of your macarons. It’s considered the easiest method, involving simply whisking egg whites with sugar until stiff peaks form. While the concept is straightforward, success lies in careful execution.
Begin by ensuring your mixing bowl and whisk attachment are impeccably clean and grease-free. **Combine** your room temperature egg whites, fine granulated sugar, a pinch of salt, and cream of tartar (if using) in a large, clean mixing bowl. **Beat** this mixture on medium speed until it transitions from foamy to forming soft peaks. This stage indicates the egg whites have gained sufficient structure.
Once soft peaks are visible, **add** your red gel food coloring and vanilla extract. Continue to beat the mixture at the same consistent medium speed until **stiff, glossy peaks** are achieved. When you lift the whisk, the meringue should hold its shape firmly, displaying well-defined ridges without collapsing, as clearly pictured below.
Meringue Perfection Tip
Patience and a slow, consistent mixing speed are absolutely essential for developing the sturdiest French meringue. Rushing this process by using too high a speed can lead to an unstable meringue that will deflate easily. The exact whipping time can vary significantly based on your mixer and environmental factors, potentially taking anywhere from 20 to 40 minutes to reach stiff peaks. Do not be tempted to speed it up; the stability of your meringue is directly linked to the success of your macaron shells.
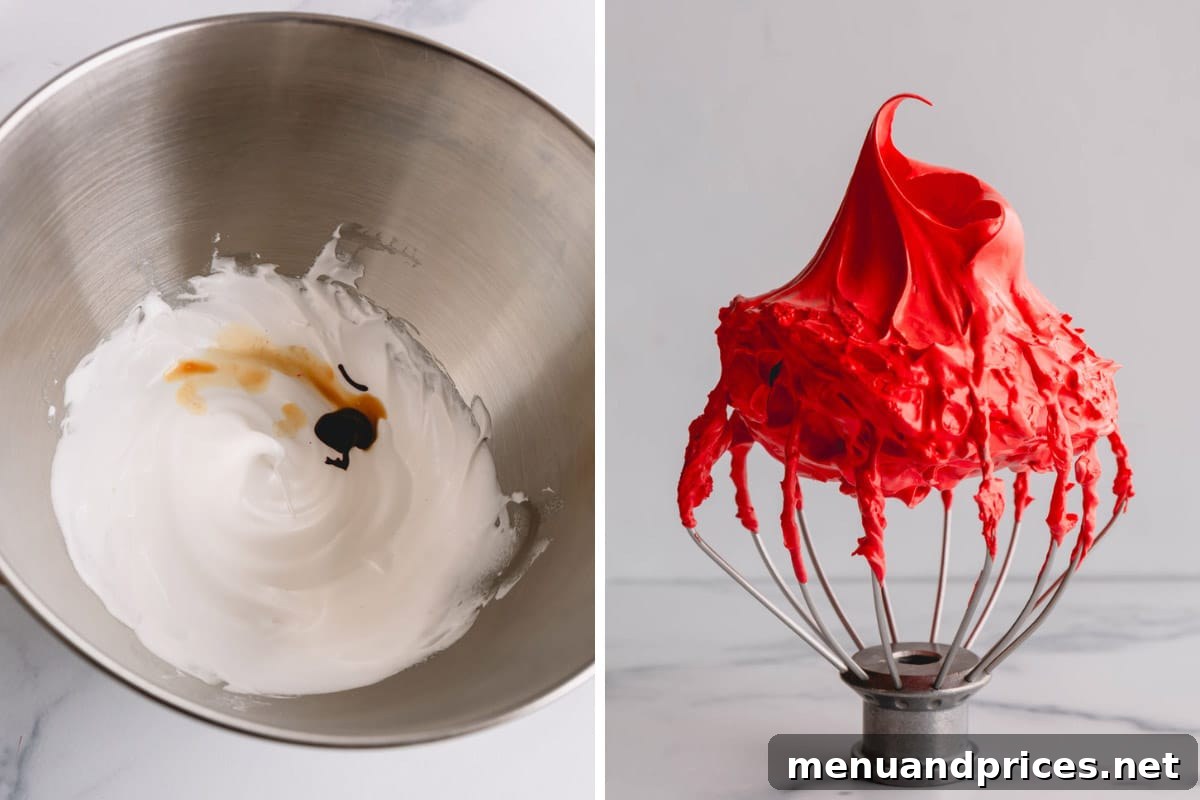
2023 Update on Meringue Technique: Over the past year, I’ve refined my French meringue technique. Instead of gradually adding sugar to lightly whipped egg whites, I now combine all the egg whites, sugar, salt, and cream of tartar from the very beginning. This modified approach has consistently yielded a more robust and stable meringue, which I’ve found performs exceptionally well for macaron baking.
3. Achieve the Perfect Macaron Batter (Macaronage)
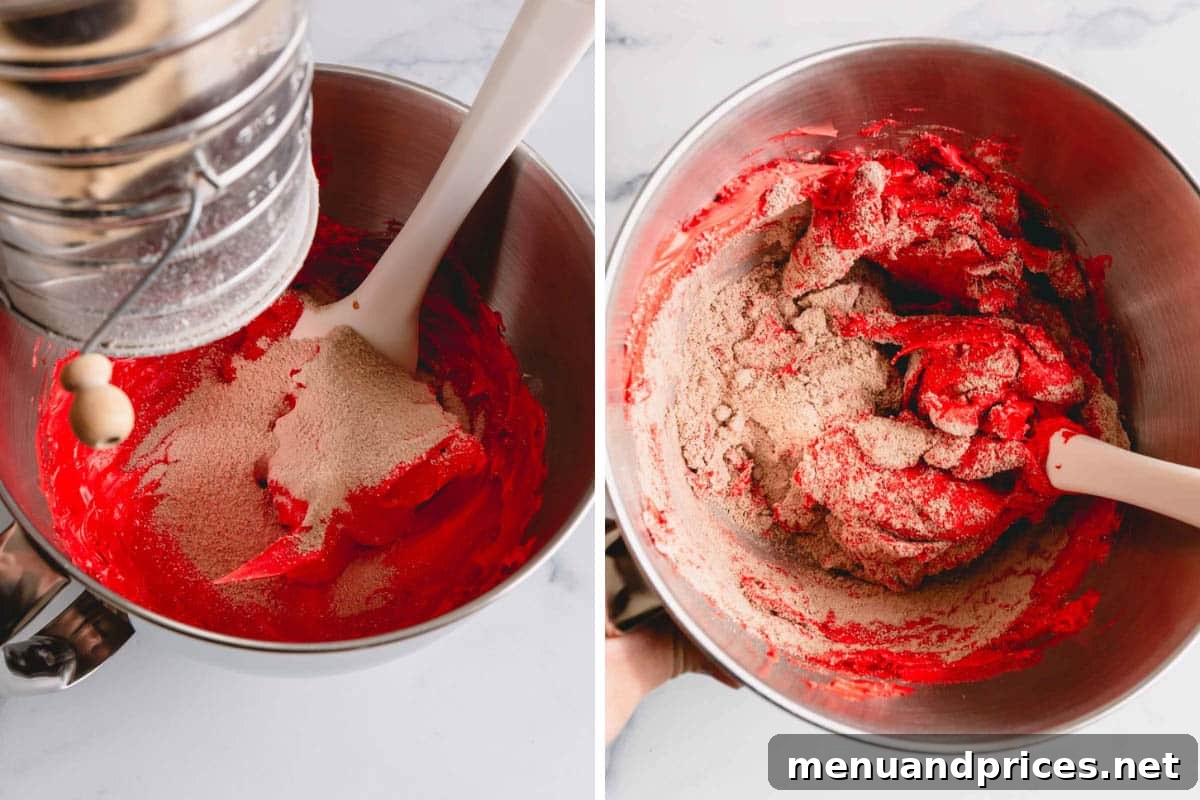
This is arguably the most crucial step in macaron making. Gently **add** your sifted dry ingredients into the prepared meringue. Using a silicone spatula, begin to **fold** the batter. The goal is to deflate some air from the meringue while thoroughly incorporating the dry ingredients, reaching a specific, “lava-like” consistency. This process is known as “macaronage.”
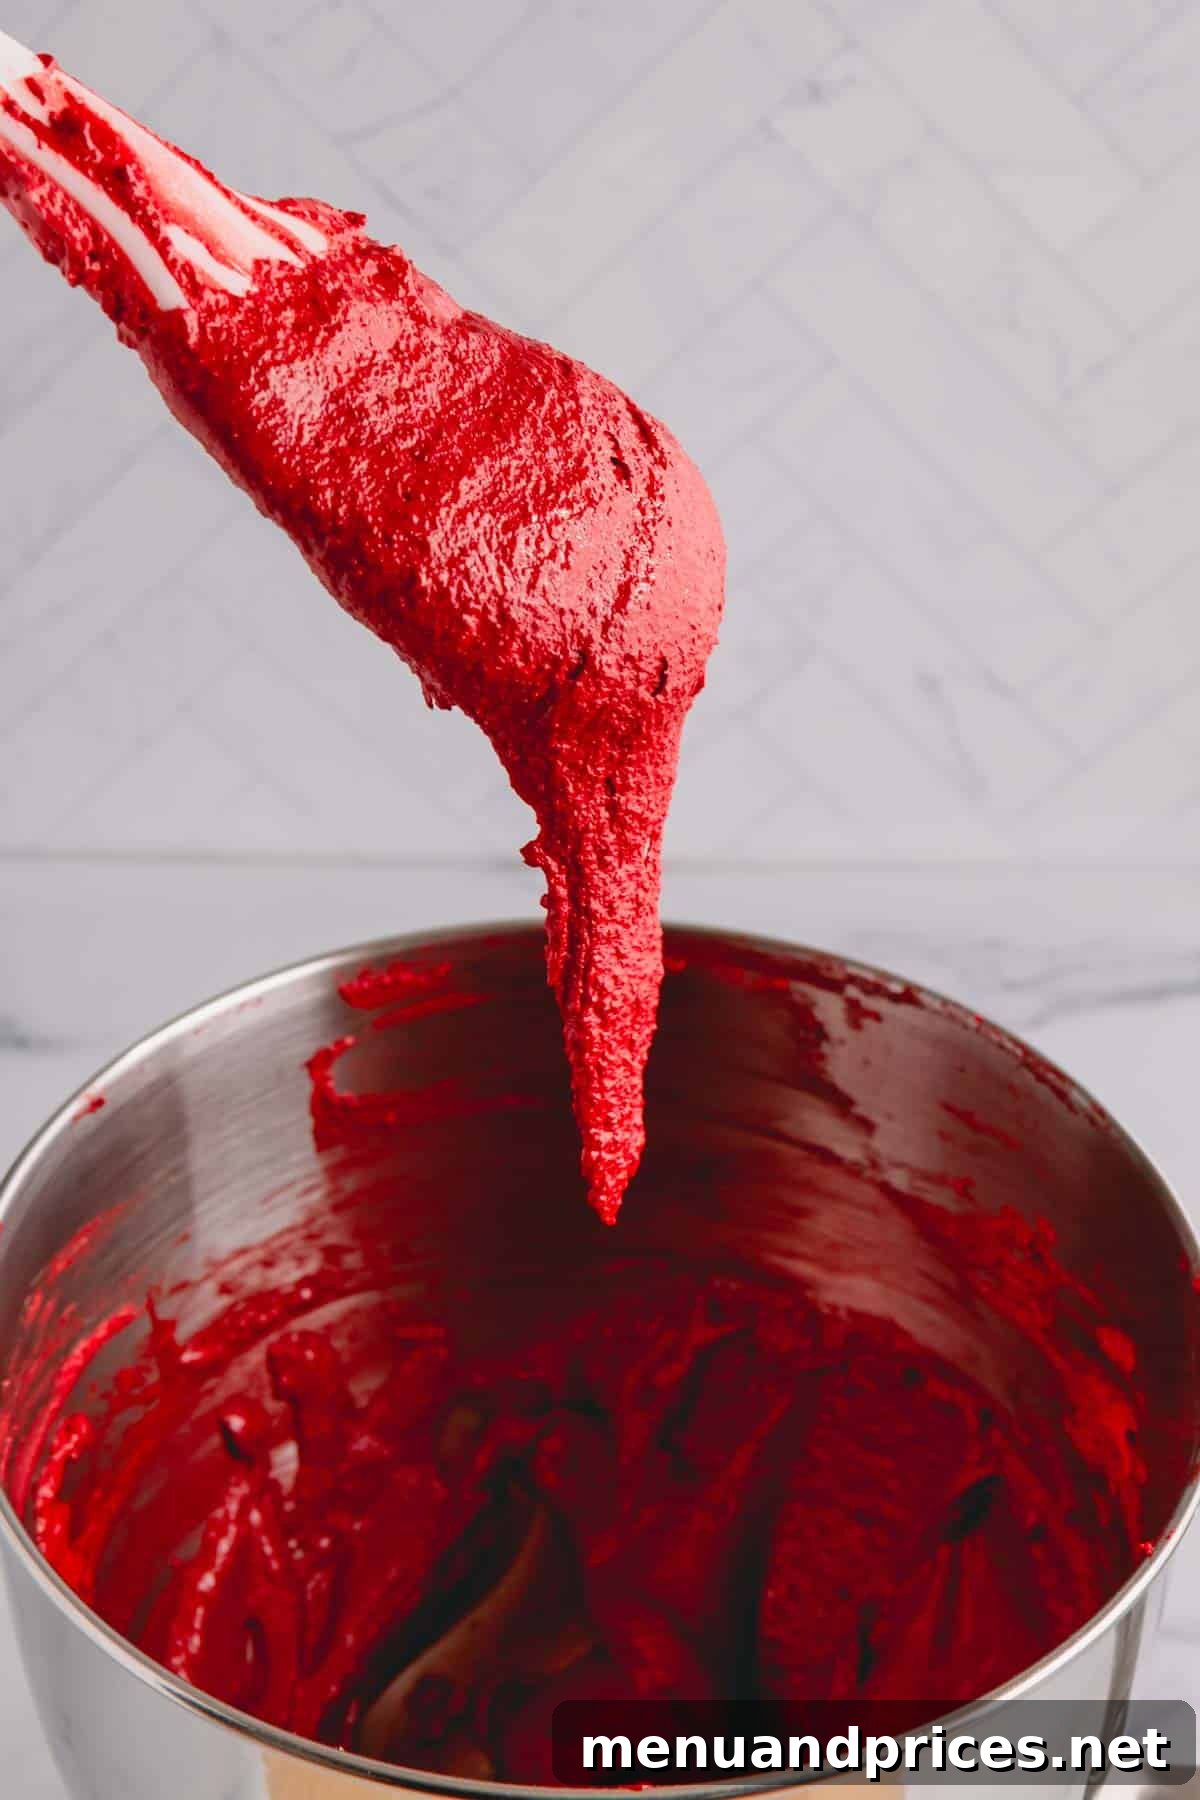
You want the batter to be thick enough to hold some structure but still runny enough to flow slowly and continuously off your spatula in a thick ribbon, resembling molten lava. If the batter is too stiff, your macarons will be lumpy and may not develop “feet.” If it’s too runny, they will spread excessively and likely crack. It requires a delicate balance and careful attention.
How to Accurately Check Macaron Batter Consistency
The “Figure Eight Test” is your best friend for macaronage:
1. Scoop a generous amount of batter onto your spatula and then let it fall back into the bowl in a continuous ribbon.
2. Observe the ribbon. If it slowly and smoothly melts back into the main batter, disappearing completely within 10-15 seconds, your batter has reached the perfect consistency.
3. If the ribbon holds its shape too long, fold a few more times and re-test. If it spreads too quickly, you may have over-mixed. Aim for that ‘lava flow’ sweet spot!
4. Pipe and Bake Your Vibrant Macaron Shells
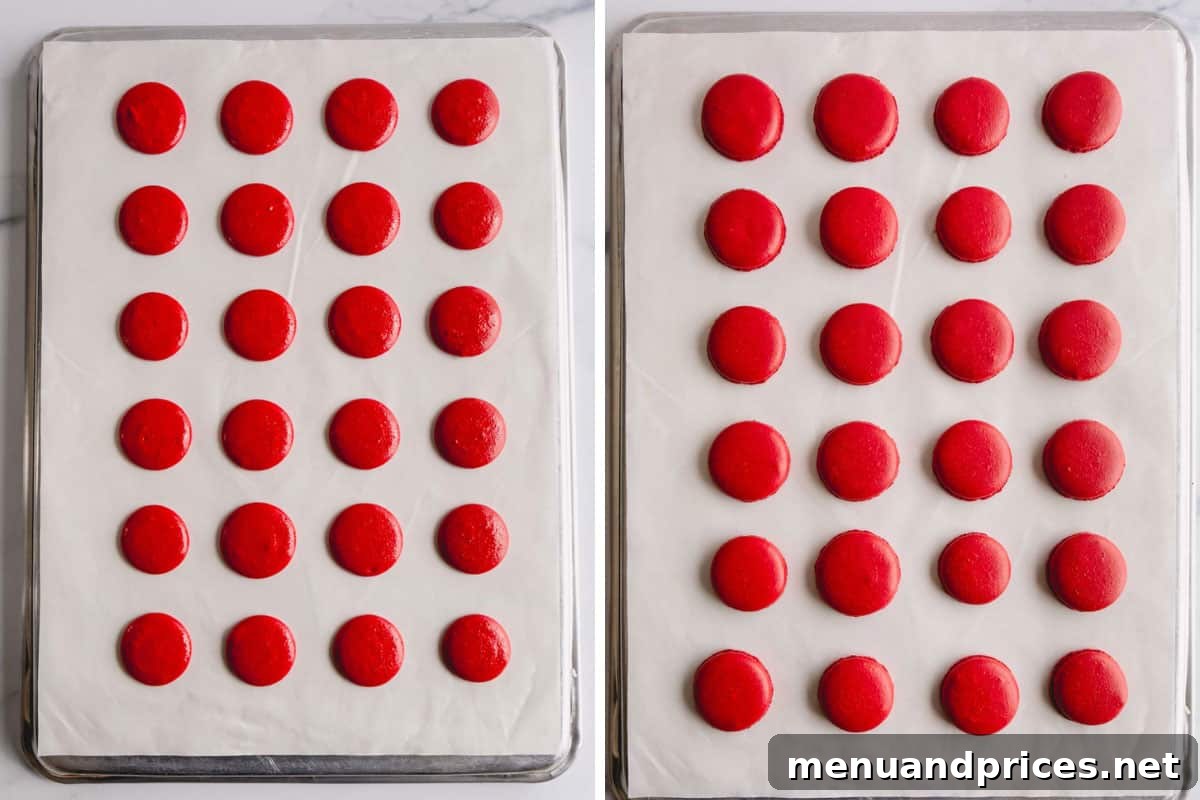
Once your batter is perfectly macaronaged, it’s time to shape your beautiful shells. **Transfer** the batter into a piping bag fitted with a round tip (I consistently achieve great results with a Wilton 12 tip). **Pipe** uniform rounds onto two baking sheets lined with parchment paper, silicone mats, or Teflon sheets. Aim for approximately 1.5-inch diameter shells, spaced about an inch apart to allow for slight spreading.
After piping, firmly **tap** the baking sheets on your counter (or gently slap the bottom of the sheets with your hand) several times. This crucial step helps release any trapped air bubbles within the batter, which can otherwise cause hollow or cracked shells. Use a toothpick to gently pop any remaining visible air bubbles on the surface. Next, **rest** the piped macarons on the counter for about 15-30 minutes, or until a light skin forms on the surface. This “drying” period is vital for the development of those characteristic ruffled “feet” during baking.
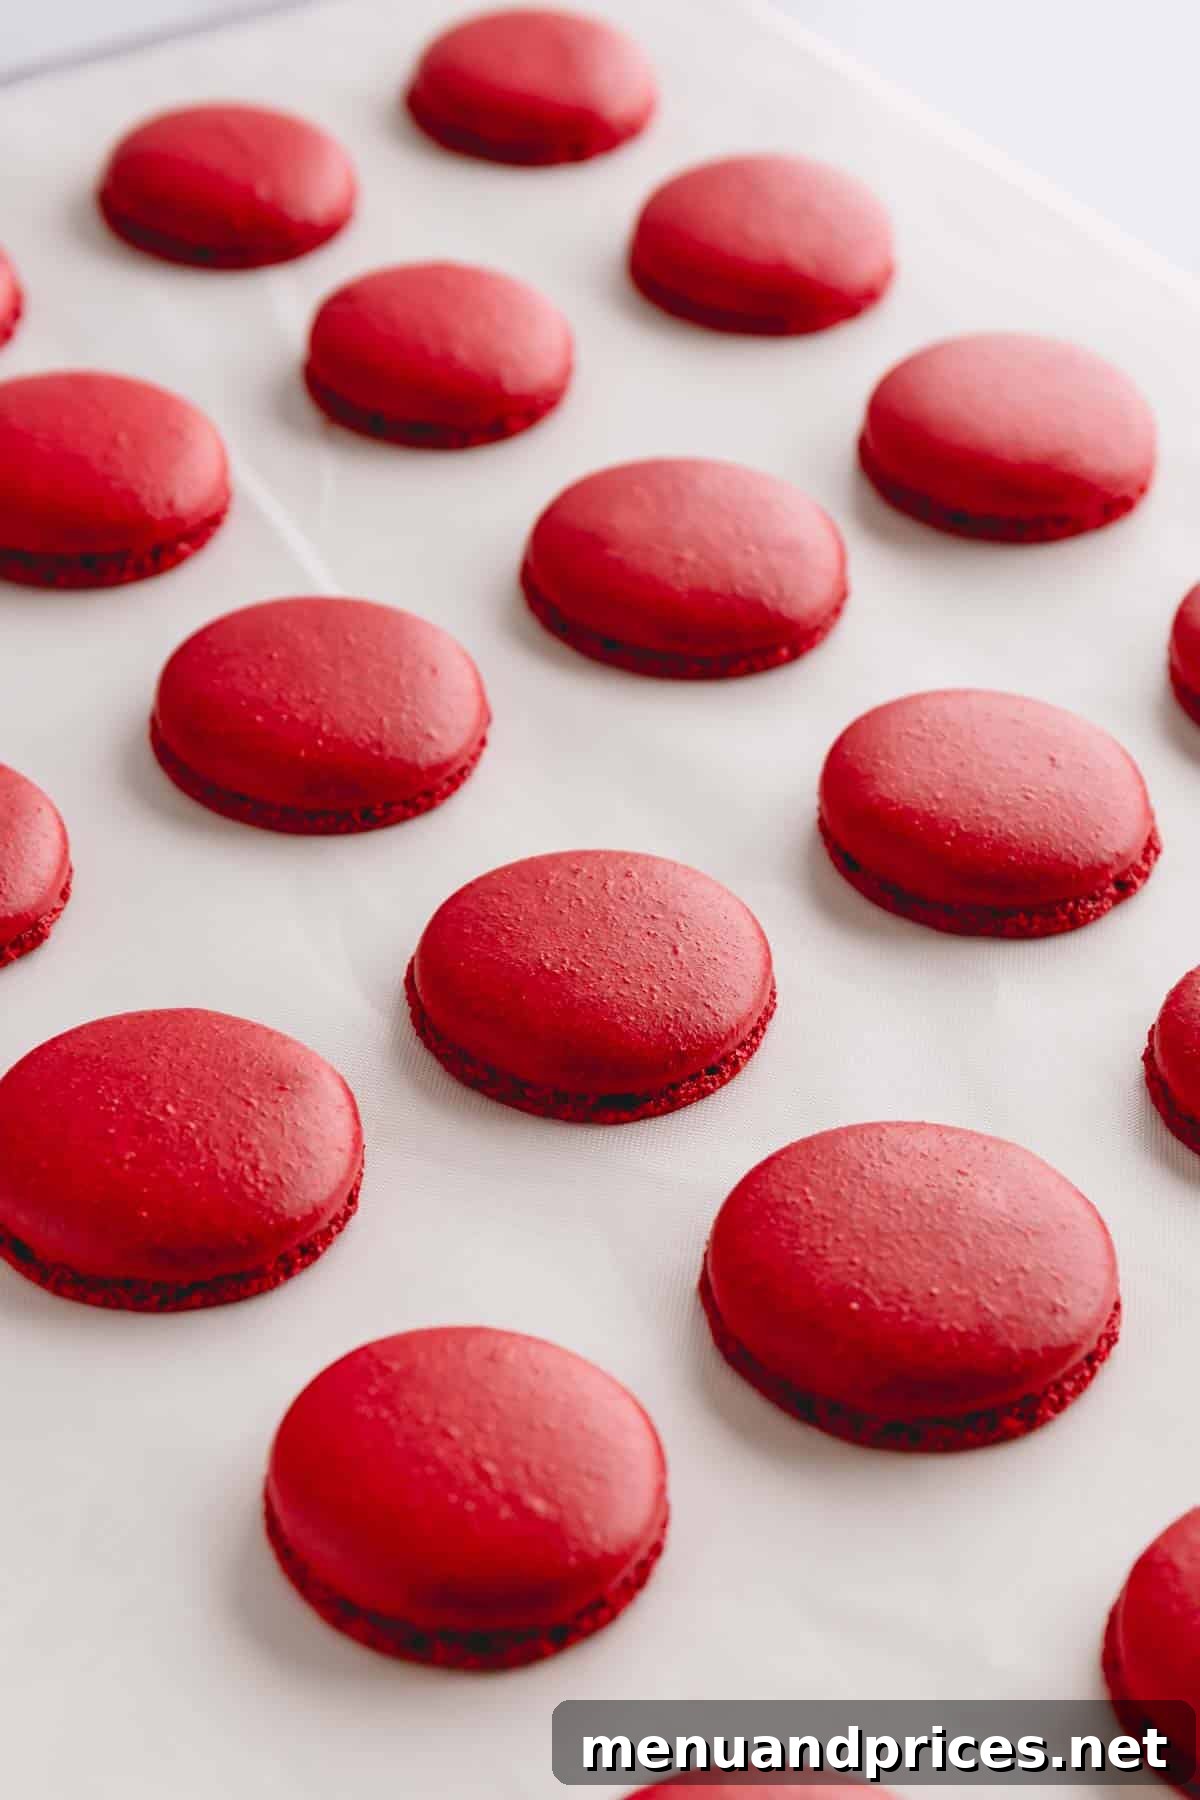
Finally, **bake** one baking sheet at a time in a preheated oven at 300°F (150°C) for approximately 15-18 minutes. Baking one tray at a time ensures even heat distribution. To prevent browning the vibrant red shells, you can place an empty baking sheet on the rack above your macarons to act as a heat shield. To test for doneness, gently touch the side of a macaron. If it feels firm and doesn’t wobble or slide from its base, it’s ready. It’s always better to slightly over-bake than under-bake, as under-baked macarons tend to stick and break. Allow the shells to cool completely on the baking sheet before attempting to remove them.
Exclusive FREE Macaron Template!
To assist you in piping perfectly uniform macaron shells, I’ve created a custom template just for you. Subscribe to my e-mail list and download this perfect macaron template for FREE. This template is precisely designed for this recipe and is incredibly easy to use!
5. Prepare the Classic Cream Cheese Frosting
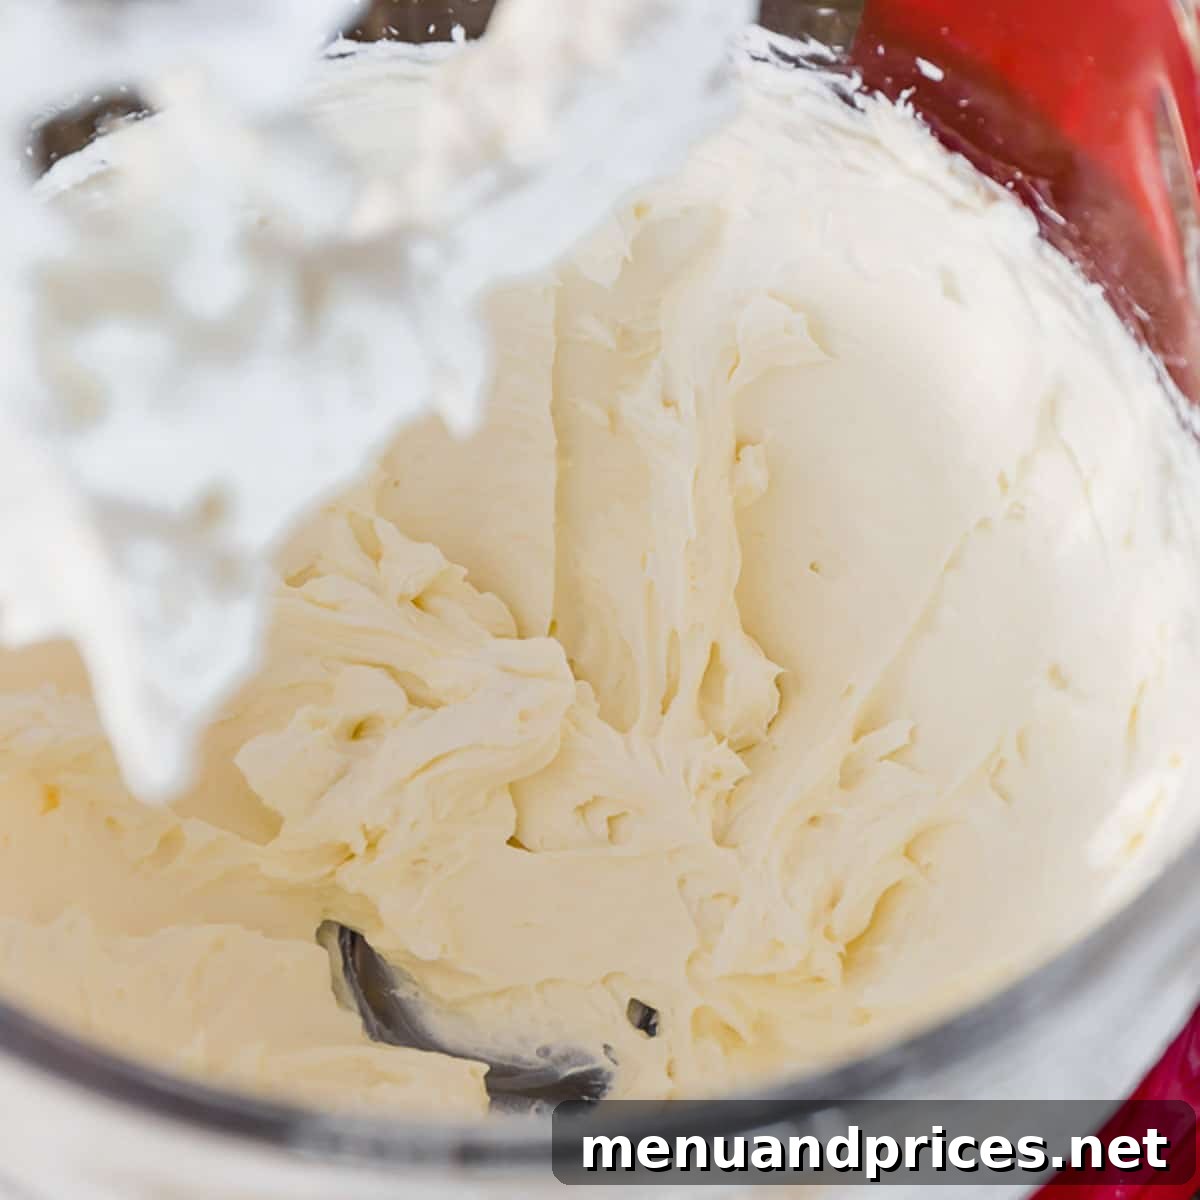
While your macaron shells are cooling completely, it’s the ideal time to prepare the delectable cream cheese filling. This tangy-sweet frosting perfectly complements the subtle cocoa notes of the red velvet shells. I use my trusted simple cream cheese frosting recipe, which has the perfect consistency and flavor profile for filling delicate macarons. Ensure your cream cheese and butter are softened to room temperature for a smooth, lump-free frosting.
6. Assemble Your Red Velvet Macarons
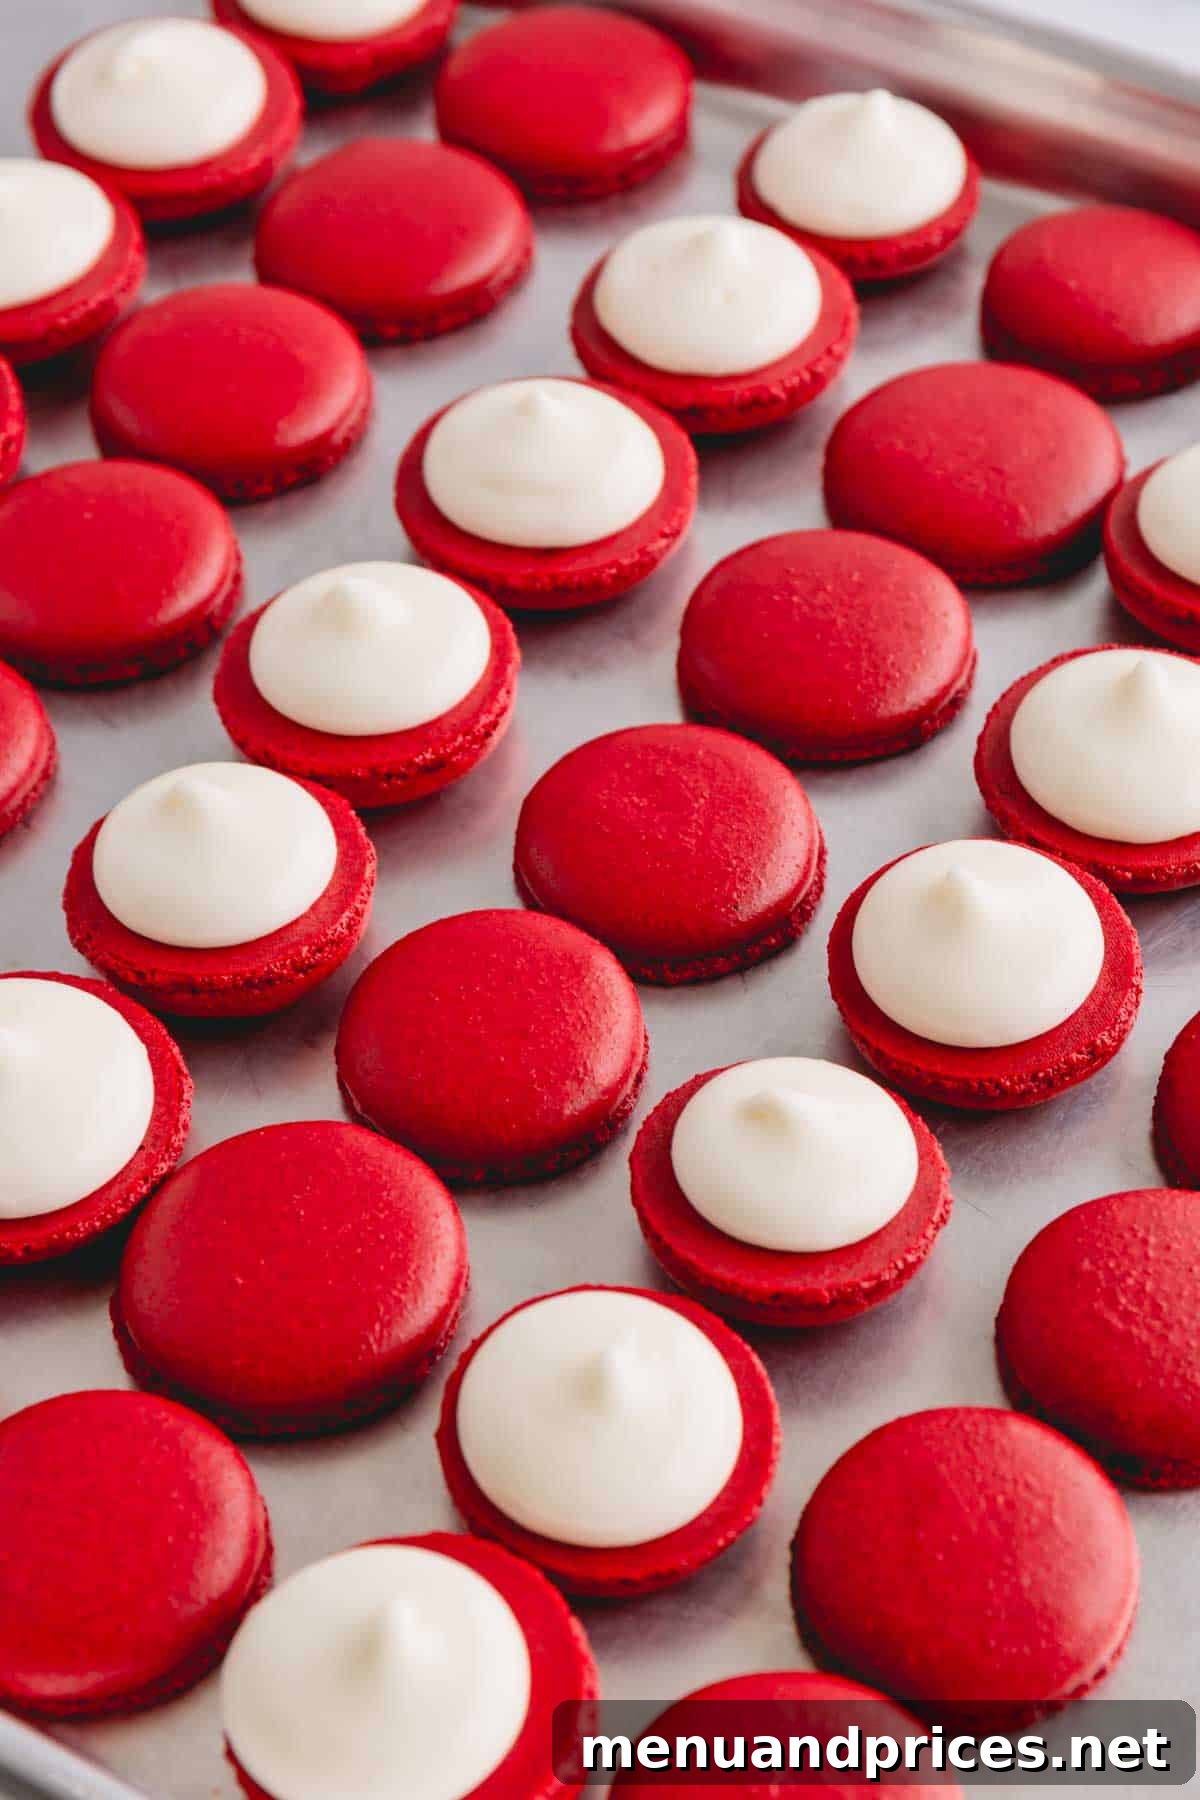
Once the macaron shells are completely cool to the touch, gently **remove** them from the baking surface. They should peel off easily if properly baked. Next, carefully **pair** shells of similar size and shape; this creates the most aesthetically pleasing and stable finished macarons. Arrange half of the paired shells upside down on a clean surface. **Transfer** your prepared cream cheese frosting into a piping bag (fitted with a round tip, typically a Wilton 10 or 12). Pipe a generous dollop of frosting onto the flat side of one shell, then gently place the matching top shell over the filling and press lightly until the frosting spreads to the edges.
7. The Essential Step: Maturing Your Macarons
We know the temptation to dive right into your freshly filled macarons is strong, but resisting for a short while will yield superior results. Macarons are at their absolute best when they have had time to “mature” or “age” in the refrigerator after filling. This crucial process allows the moisture from the cream cheese filling to slowly seep into the crisp macaron shells, softening them to a delightfully chewy consistency and fully infusing them with flavor.
Store your assembled red velvet macarons in an airtight container in the refrigerator for at least 8 hours, though overnight is ideal. This maturation period transforms the texture and melds the flavors beautifully, ensuring a truly gourmet experience.
Optimizing Macaron Maturation Time
While many macaron recipes recommend maturing for at least 24 hours, the nature of cream cheese frosting – being a wetter filling – allows for a shorter maturation period. For these Red Velvet Macarons, 8 hours in the refrigerator is perfectly sufficient to achieve that ideal soft, chewy texture and integrated flavor.
Unlocking the Secret to Vibrant Red Velvet Color
Achieving that iconic, deep, vibrant red in your red velvet macarons is often a puzzle for bakers. Simply adding a large amount of red food coloring alone often results in a pinkish-red hue that lacks the desired intensity, regardless of how much coloring you incorporate. The real secret lies in a clever combination:
The key to intense red macarons is leveraging the inherent color of **cocoa powder** alongside **red gel food coloring**. Cocoa powder provides a natural brown base that, when combined with red dye, creates a rich, deep, and true red hue that stands out beautifully. Without the cocoa, the red tends to appear lighter and less saturated.
Always Choose the Right Food Coloring
For macaron baking, it is absolutely essential to use **gel food coloring**. Liquid food colorings introduce excess moisture into the delicate batter, which can easily throw off the crucial wet-to-dry ingredient ratio and lead to macaron failures. My preferred choice for consistent, brilliant results is Americolor Super Red gel food coloring.
Tips for Storing Your Delicious Red Velvet Macarons
Proper storage is essential to maintain the freshness, texture, and flavor of your homemade macarons. Follow these guidelines:
- Plain Macaron Shells: Unfilled shells can be stored in a dry, airtight container at room temperature for up to 7 days. For longer storage, they can be frozen for up to 3 months. Ensure they are completely cool before storing.
- Assembled Macarons (with Cream Cheese Frosting): Due to the cream cheese filling, these macarons require refrigeration. Store them in a dry, airtight container in the refrigerator for up to 3 days. If you need to store them longer, they can be frozen for up to 1 month. It is critical to prevent any moisture buildup in the container, as this will lead to soggy macarons.
- Serving Tip: For the best flavor and texture, remove assembled macarons from the refrigerator approximately 30 minutes before serving. Macarons are most enjoyable when allowed to come to room temperature, allowing the flavors to fully develop and the shells to soften to perfection.
- Handle with Care: These delicate cookies are prone to cracking and breaking. Avoid storing them in soft bags where they can be easily crushed. Always use a rigid, protective container.
Important Note on Macaron Storage Containers
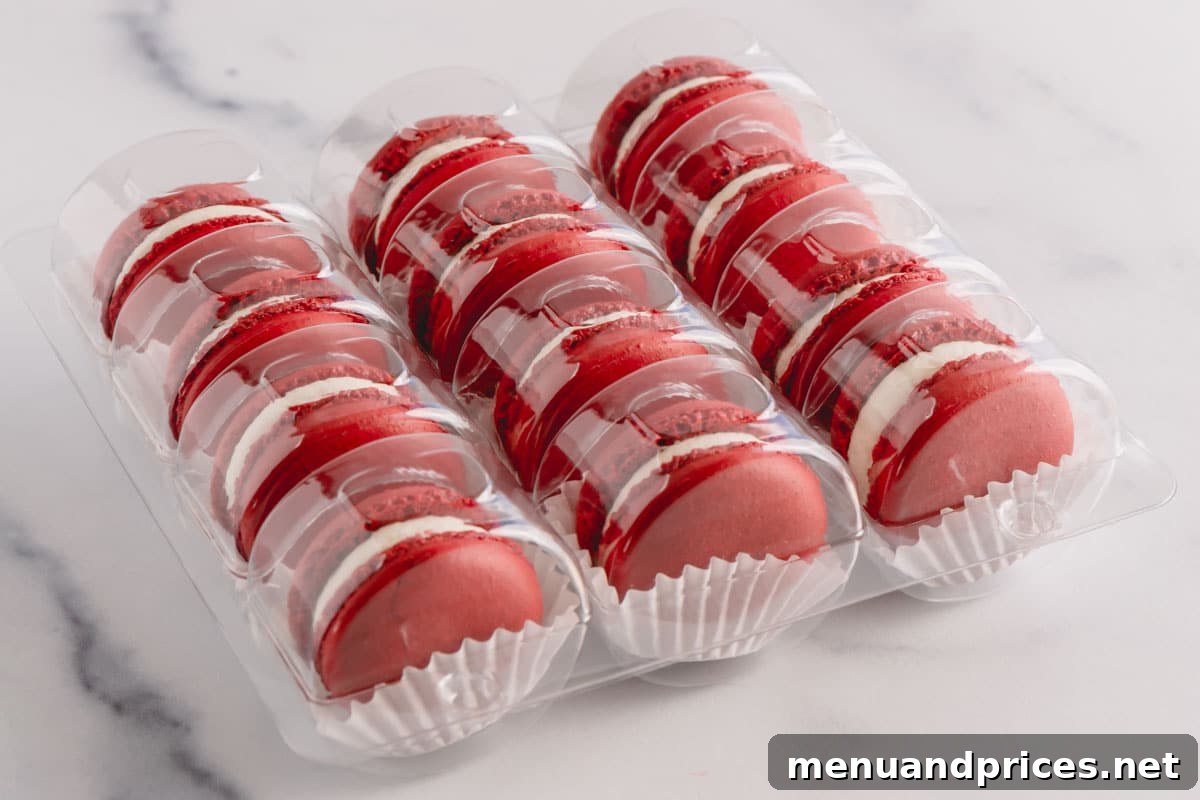
While clamshell plastic containers are convenient for presentation, many are not truly airtight. If you use such a container for refrigeration or freezing, it’s best to place the entire clamshell inside a freezer bag to create an additional airtight seal and protect your macarons from moisture and freezer burn.
Unlock Macaron Mastery with “Macaron 101”
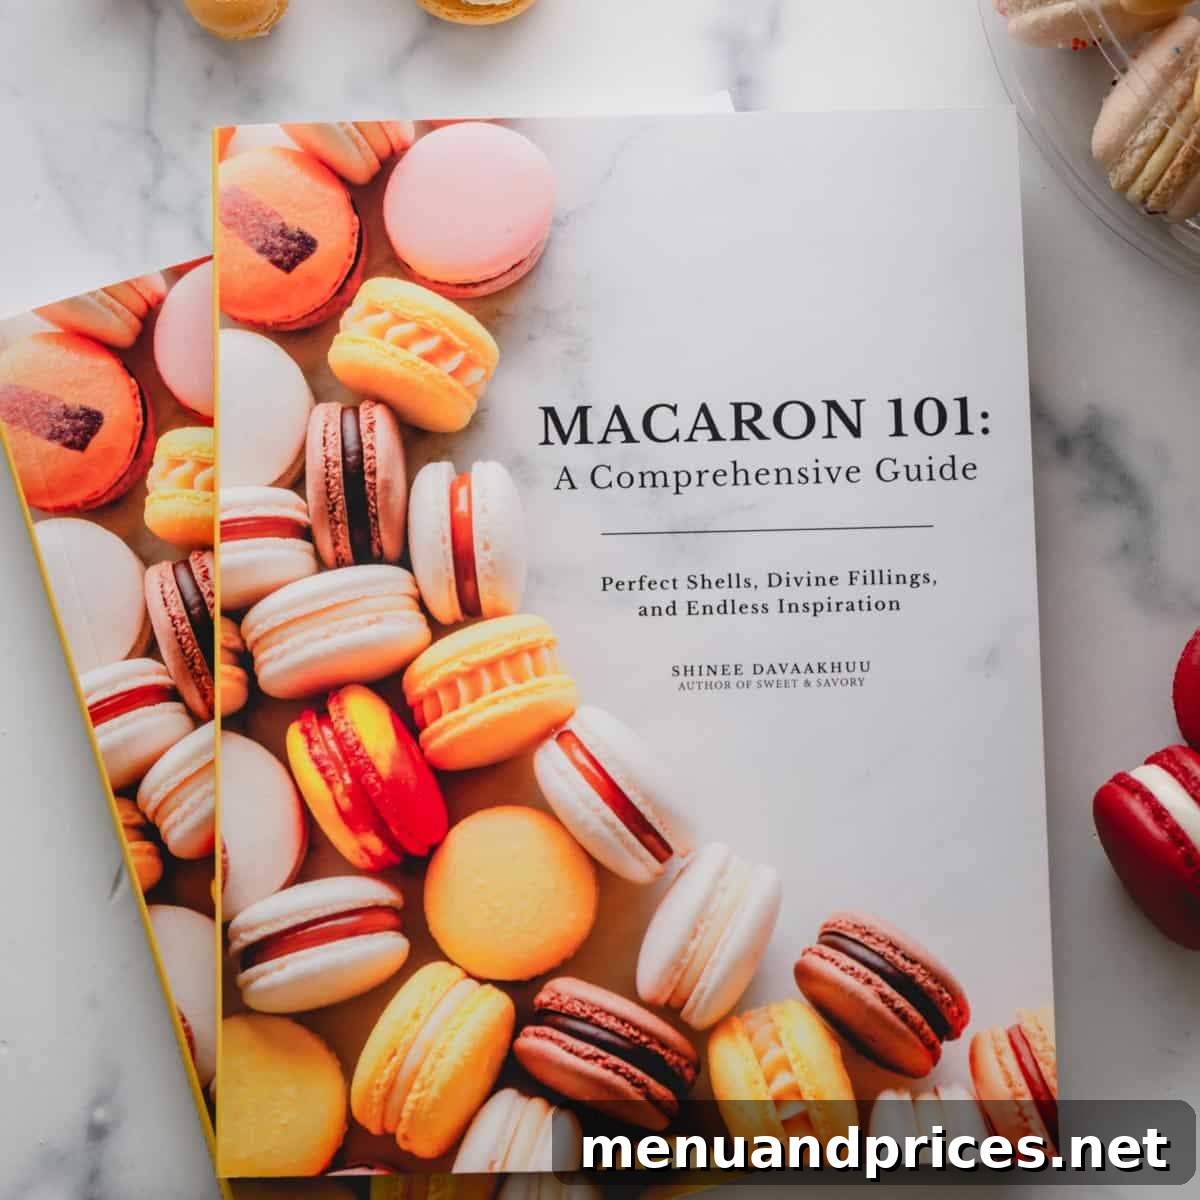
Ready to master the delicate art of French macarons? My comprehensive guide, “Macaron 101,” will equip you with all the knowledge and techniques to create stunning macarons and confidently experiment with your own signature flavors. From perfect feet to flawless fillings, become a macaron expert!

Red Velvet Macarons
Shinee Davaakhuu
1 hour
18 minutes
1 hour
20 minutes
20
filled macarons
Comment
Print Recipe
Ingredients
For macaron shells:
- 100 g super fine almond flour Note 1
- 65 g powdered sugar Note 2
- 1 tablespoon unsweetened cocoa powder Note 3
- 70 g egg whites at room temperature Note 4
- ¼ teaspoon cream of tartar Note 5
- ¼ teaspoon salt
- 75 g fine granulated sugar Note 6
- 1 teaspoons red gel food coloring Note 7
- 1/2 teaspoon pure vanilla extract
For cream cheese filling:
- ¼ cup (55 g) cream cheese softened
- ¼ cup (56 g) unsalted butter softened
- 1 cup (120 g) powdered sugar
- ½ teaspoon pure vanilla extract
- 1/8 teaspoon coarse kosher salt
Instructions
To make macaron shells:
-
Preheat the oven to 300°F (150°C). Line 2 baking sheets with parchment paper, or a Teflon sheet, or a silicone mat.
-
To prepare dry ingredients, sift together almond flour, powdered sugar, and cocoa powder twice. Note: If you have up to 2 tablespoons of chunky dry ingredients left in the sifter, simply discard those chunky bits.
-
To make meringue, in a clean mixing bowl with a whisk attachment, combine egg whites, granulated sugar, cream of tartar, and salt and beat the mixture on medium speed until soft peaks form. (On a KitchenAid stand mixer, setting speed to 4 is often ideal. It can take 30-40 minutes to whip the meringue, but this patience is well worth it for nice and full shells.)
-
When the meringue reaches the soft peaks stage, add red gel food coloring and vanilla extract.
-
Continue beating the egg whites on the same medium-low speed until hard peaks form. Visual cues: Meringue should gather inside the whisk, and when you lift the whisk, the meringue should hold a pointy end and have sharp, defined ridges.
-
To make batter, sift the almond flour mixture into the meringue. Using a silicone spatula, gently fold the dry ingredients into the meringue until fully incorporated. Then continue to fold the batter until it’s runny enough to draw a figure eight. To test, take a small amount of batter and drop it into the bowl. If the small peaks dissolve into the batter on its own in about 10 seconds, the batter is ready. If not, fold a couple more times and test again. Be careful not to over-fold the batter. (TIP: Making French macarons is all about technique. This is one of the most crucial steps. To describe the folding motion: run the spatula clockwise from the bottom, up around the sides, and cut the batter in half. If you’re a beginner macaron-baker, I suggest counting every fold. It typically takes roughly about 50 folds to reach the proper consistency. After 50 folds, start testing the batter, and continue testing after every couple folds.)
-
To pipe macaron shells, transfer the batter into a pastry bag, fitted with a round tip. (I used this Wilton 12 tip.)
-
Hold the pastry bag at a straight 90° angle and pipe about 1.5-inch rounds about an inch apart on prepared baking sheets. (TIP 2:Download my free macaron template. Simply pipe the batter to fill the inner circle.)
-
Tap the baking sheets firmly on the counter (or using your hand) a few times to get rid of any air bubbles. You can also use a toothpick to burst some large air bubbles. This step ensures smooth tops.
-
Let the macarons rest on the counter for 15-30 minutes before baking, until a dry skin forms.
-
To bake, working one baking sheet at a time, place one tray with macarons on the middle rack. (TIP: To prevent browning, place an empty baking sheet on the top rack to shield the heat.) Bake for about 15-18 minutes. It’ll take longer for larger macarons. To test for doneness, touch a macaron lightly and try to move it. If it slides and wobbles, bake a minute or so longer. The cooked macarons should be firm to touch and the base shouldn’t move. (TIP: It’s always better to slightly over-bake macarons than under-bake them!)
-
Cool macarons completely and then remove the shells from the parchment paper. (TIP: Don’t remove the shells while warm, you may risk breaking the shells, or the bottom might get stuck to the baking surface.)
To make the filling:
-
While macarons bake, prepare the cream cheese filling. In a mixing bowl with a whisk attachment, beat the softened cream cheese and butter until fluffy. Add powdered sugar, vanilla extract, and salt and beat until well combined and smooth.
-
Transfer the filling into a pastry bag fitted with a round piping tip. (I used Wilton 10 piping tip.)
To assemble:
-
Pair the macaron shells by size and arrange them on a wire rack. Line them up so that bottom shells are upside down.
-
Pipe a dollop of filling on bottom shells. Place the top shell over the filling and press lightly so the filling spreads till the edges.
-
Store the filled macarons in an airtight container in the fridge for at least 8 hours to mature, which allows the filling to soften and flavor the shells.
-
To serve, bring the macarons out about 30 minutes prior to serving to allow them to reach room temperature.
⭐️ Did you make this recipe?
Please leave a review and let us know how you liked it!
Video
Tips & Notes
Note 2: I don’t recommend making your own powdered sugar, because commercial powdered sugar contains cornstarch. This cornstarch aids significantly in achieving the desirable texture of the macaron cookies.
Note 3: For this recipe, you can successfully use either natural or Dutch-processed cocoa powder, depending on your preference for a slightly fruitier or milder chocolate note.
Note 4: I have personally achieved consistent success using carton egg whites from the Bob Evans brand. You will need approximately 1/3 cup (70g) of egg whites for this recipe.
Note 5: Cream of tartar is optional and can be omitted. However, its inclusion helps to stabilize egg whites, resulting in a sturdier meringue. It acts as an additional safeguard, particularly beneficial for beginners.
Note 6: It’s crucial to use fine granulated sugar (or caster sugar, also known as baker’s sugar) for the meringue. Its finer granules dissolve quicker into the egg whites, ensuring a smooth and stable meringue.
Note 7: I used Americolor Super Red gel food coloring to achieve the vibrant red hue. Remember to use gel, not liquid, food coloring.
GOT MACARON TROUBLE? Don’t despair! Check out my comprehensive macaron troubleshooting guide for solutions to common issues.
Nutrition
1
filled macaron
114
kcal
15
g
2
g
6
g
14
g
30
mg
Dessert
French

Did you make this?
Leave a rating and your feedback. Thank you!
This recipe was originally published on June 27, 2016.