
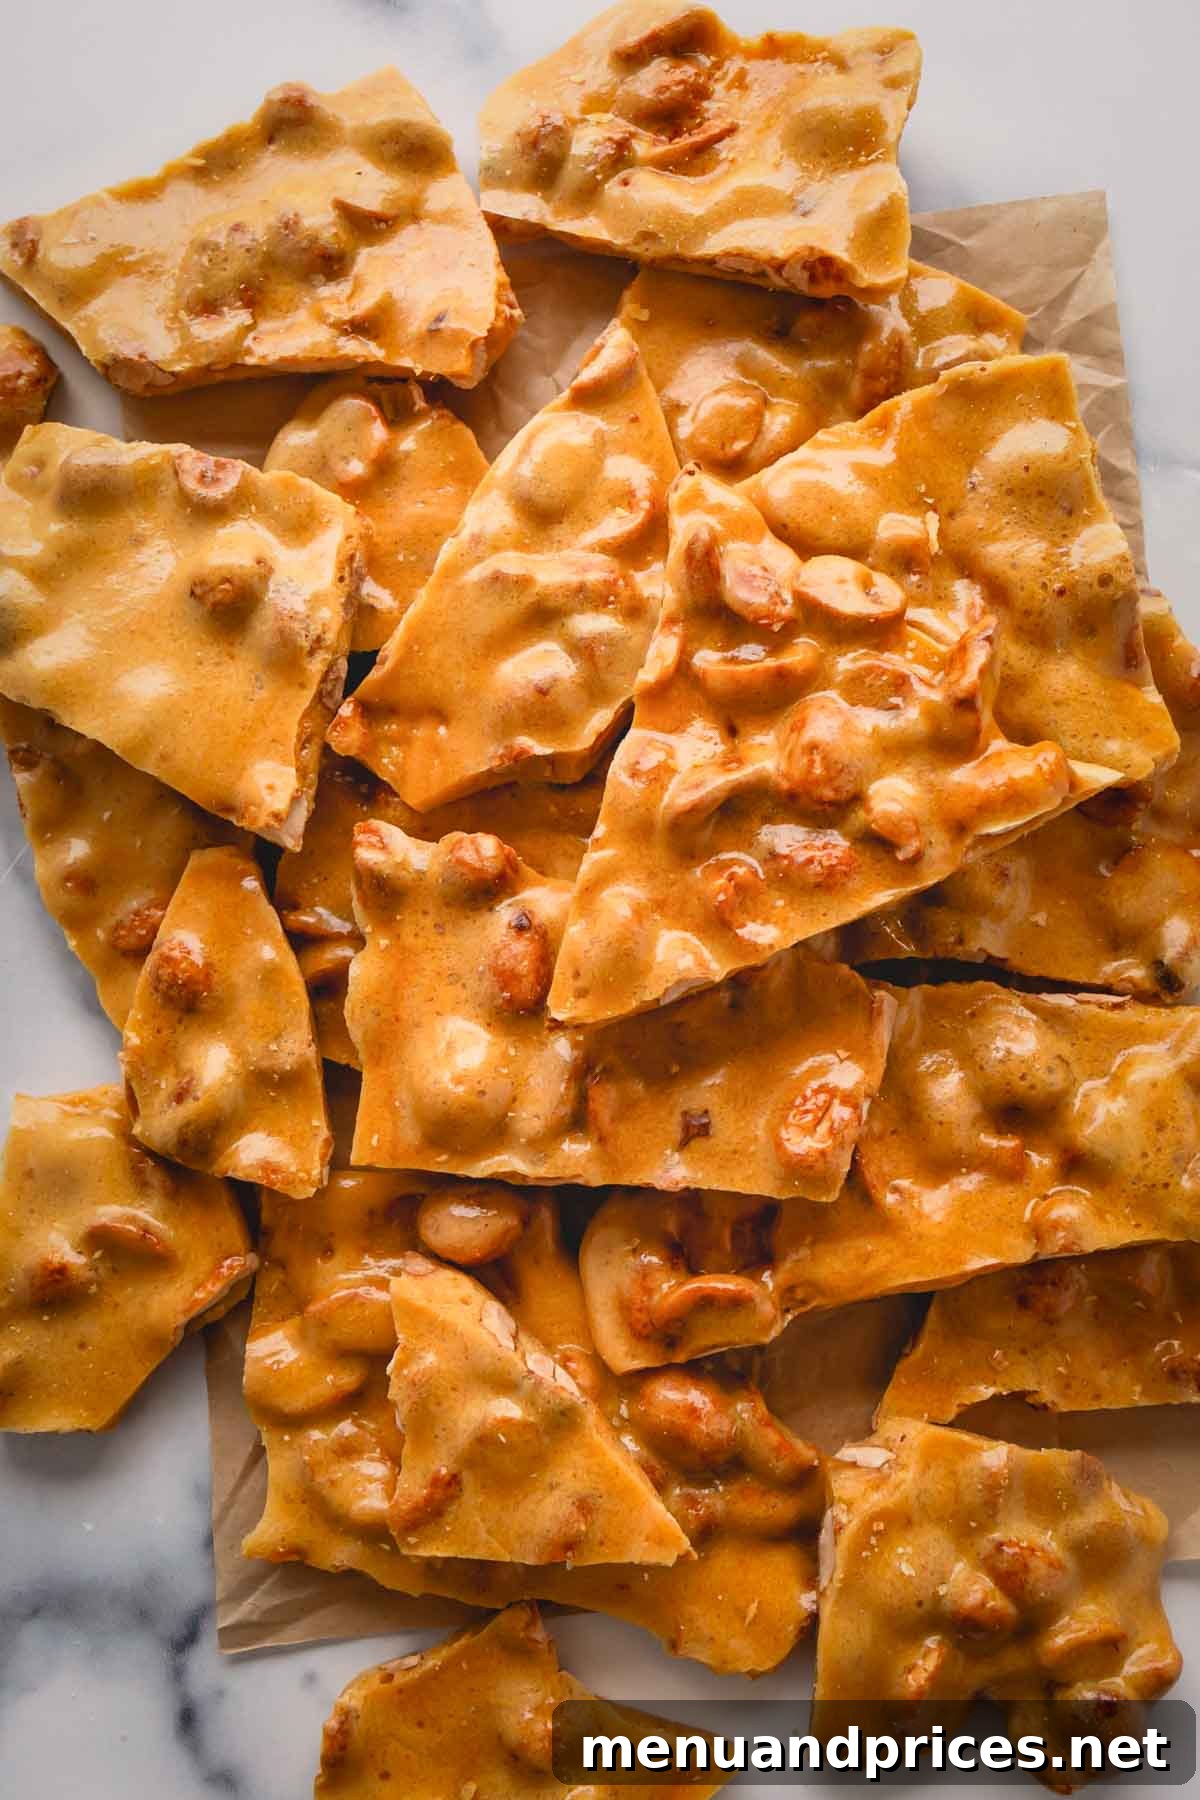
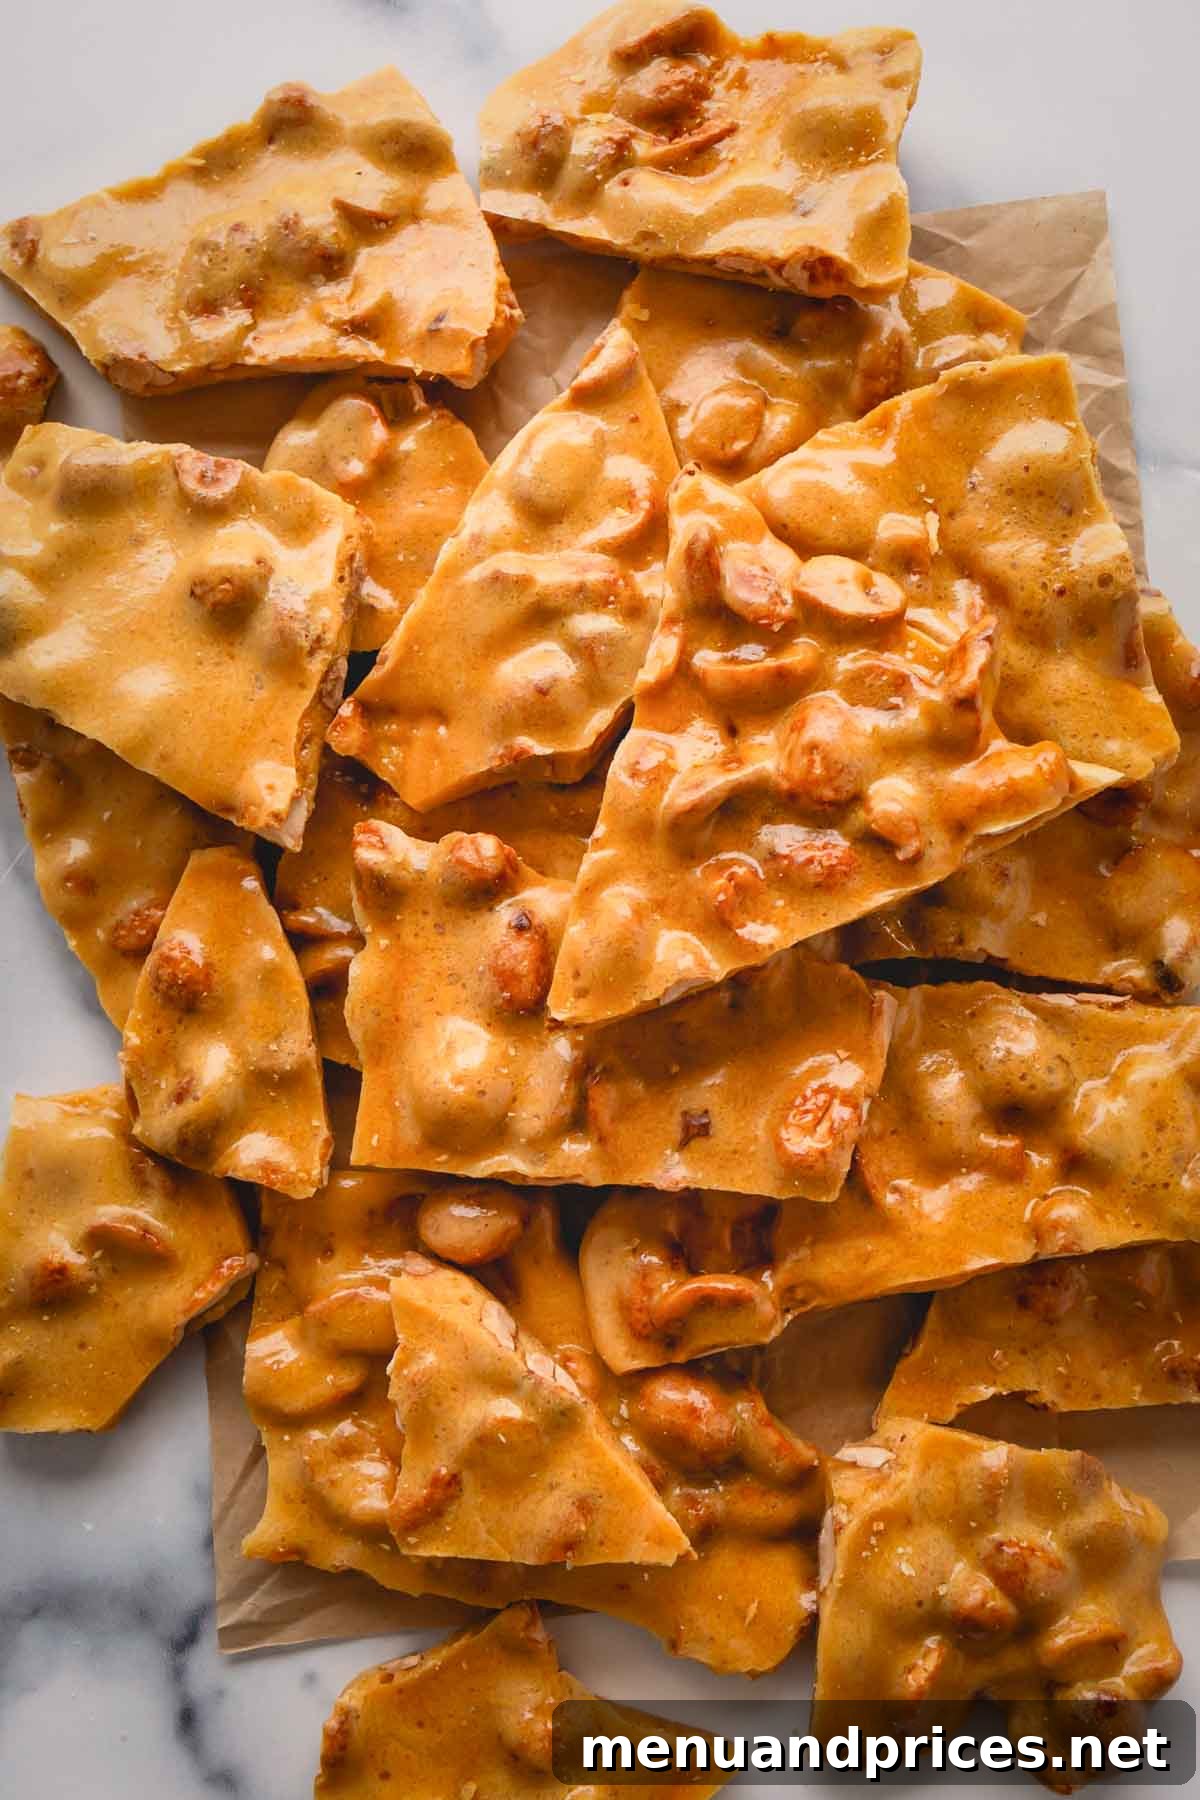
Say goodbye to rock-hard, tooth-sticking candy! Learn how to make sensational, melt-in-your-mouth microwave peanut brittle that’s perfectly crunchy and incredibly easy. This foolproof recipe requires no candy thermometer and comes together in minutes, making it the ultimate homemade treat.
Pin this now to find it later
Pin It
Every family has that one legendary recipe, and for us, it’s the peanut brittle crafted by my mother-in-law’s dear friend, Leo. His peanut brittle isn’t just good; it’s hands-down the most addicting, sweet, and nutty candy I’ve ever tasted. Each piece melts in your mouth with an irresistible crunch that leaves you craving more.
Fortunately for us all, Leo was incredibly generous and shared his secret recipe! Now, you too can recreate this magical treat right in your own kitchen.
Why You’ll Fall in Love with This Microwave Peanut Brittle Recipe
This microwave peanut brittle recipe is not only a breeze to make but also incredibly easy to enjoy – perhaps a little too easy! I genuinely believe this is the simplest and most delicious peanut brittle recipe you’ll find anywhere. Here’s exactly why it’s a game-changer:
- No Candy Thermometer Needed: Forget the stress and precision of traditional candy making. This recipe eliminates the need for a candy thermometer, making it accessible for even beginner bakers.
- Stovetop-Free Convenience: There’s no constant stirring over a hot stove. The microwave does most of the heavy lifting, keeping your kitchen cooler and cleanup simpler.
- Minimal Hands-On Time: With just about 10 minutes of active preparation, you can achieve perfect peanut brittle. You only need one microwave-safe bowl with a lid, your microwave, and a few basic ingredients.
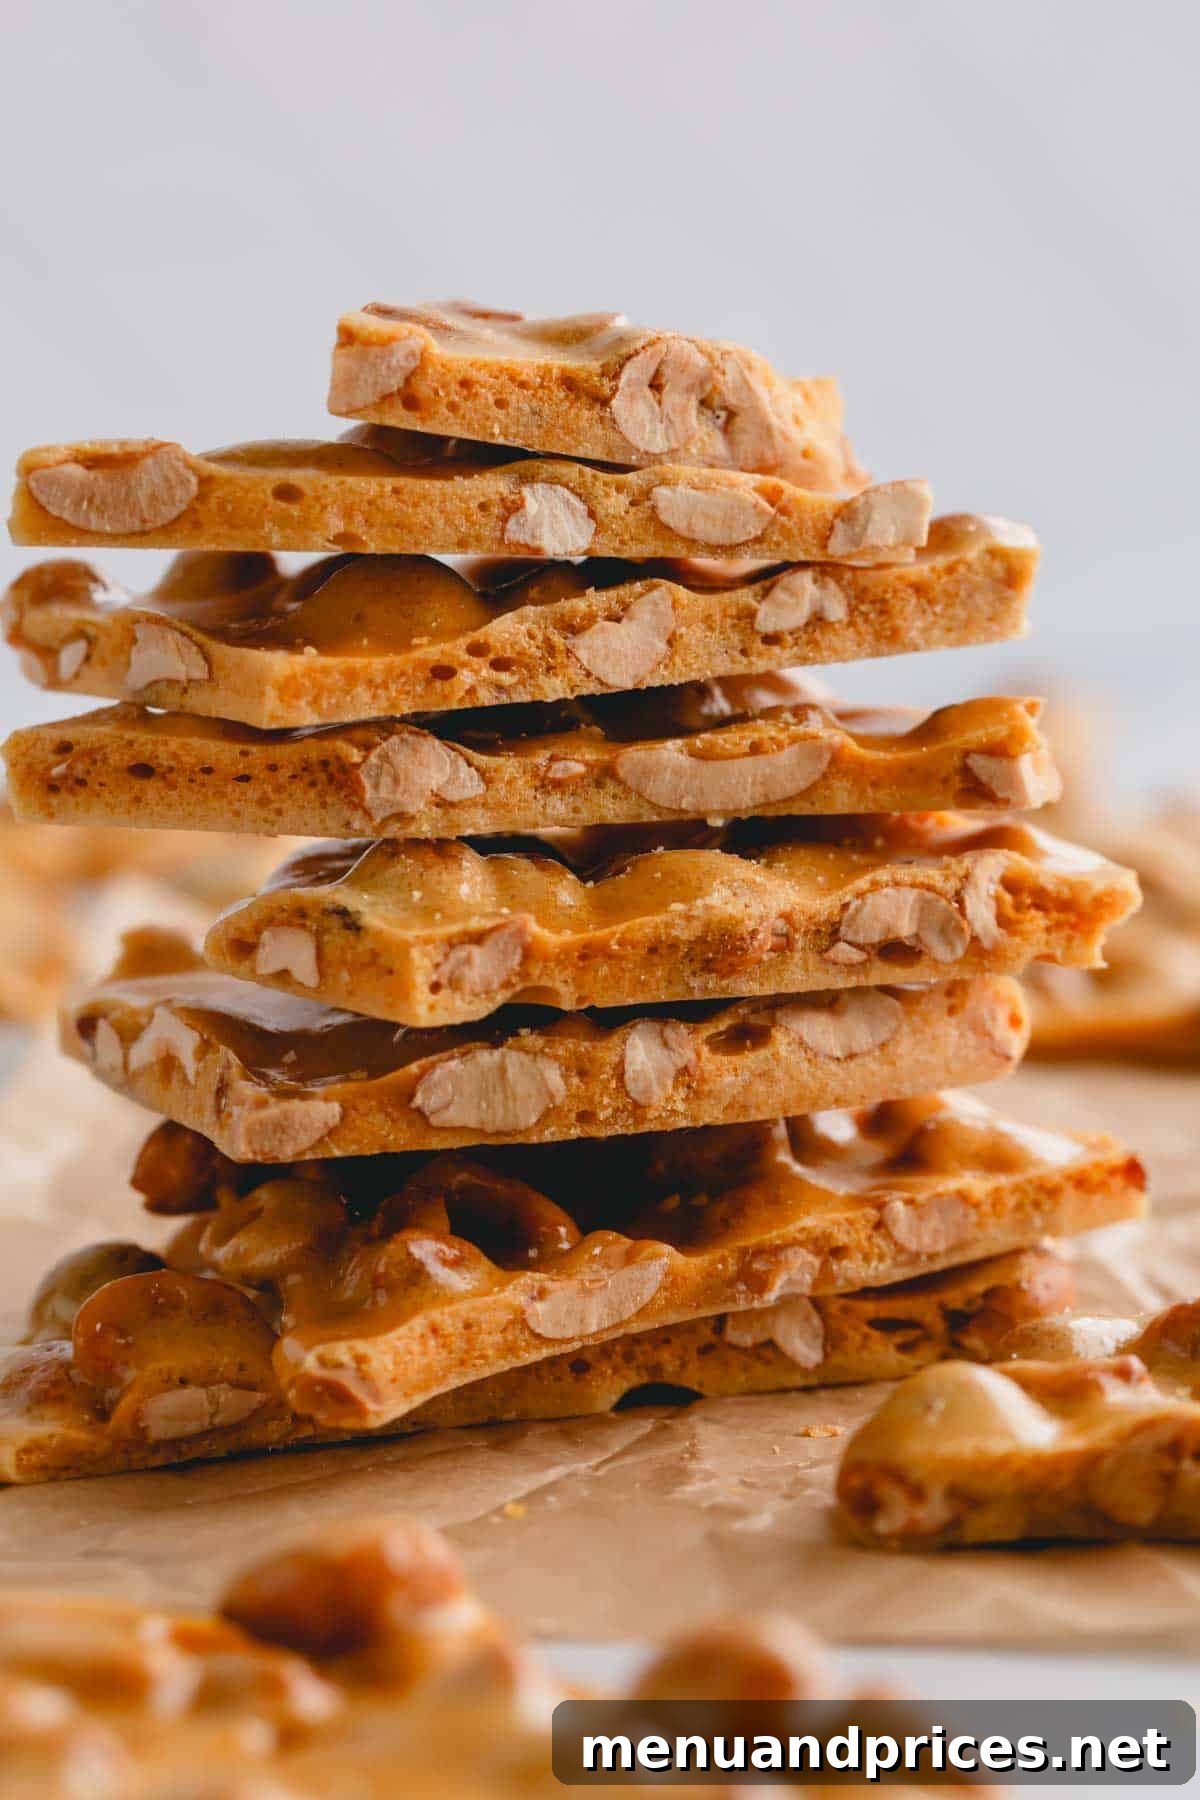
- Unforgettable Taste and Texture: Beyond its ease, this brittle is truly addictive. You’ll adore the rich, nutty, and sweet flavors, coupled with a wonderfully light, airy texture that delivers the most satisfying crunch. It’s designed to be crisp and delicate, not hard or overly chewy.
- Perfect for Gifting: Homemade peanut brittle makes a fantastic gift for holidays, birthdays, or just because. Its impressive appearance belies its simple preparation.
If you’re looking to elevate your microwave peanut brittle, be sure to try our chocolate peanut brittle recipe for an extra indulgent twist!
Key Ingredients for the Best Microwave Peanut Brittle
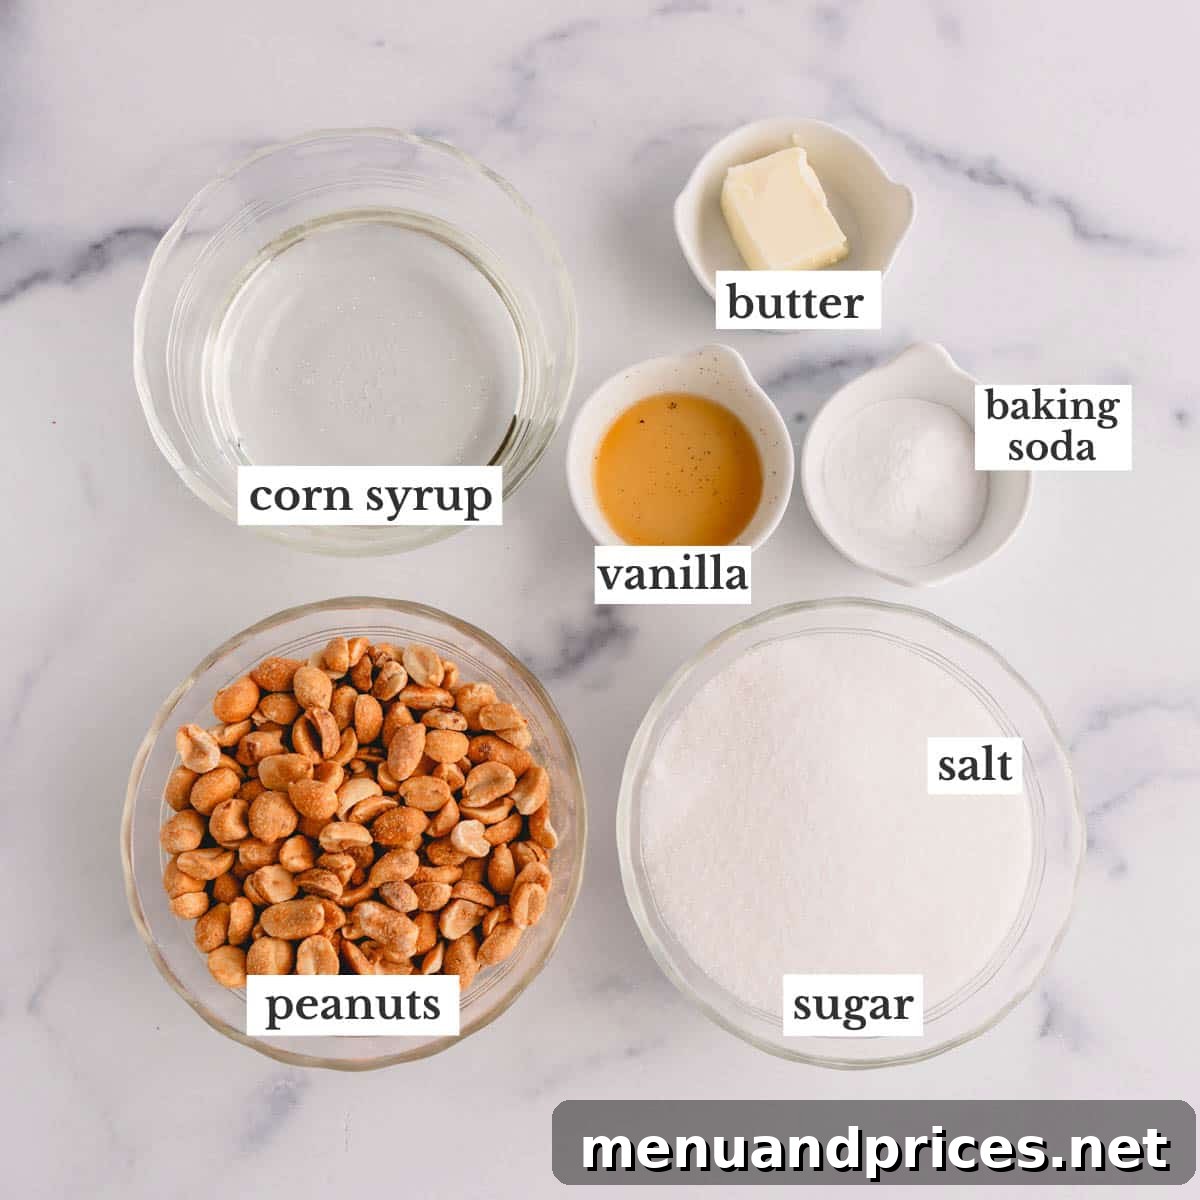
Achieving that perfect brittle texture and flavor starts with understanding your ingredients. Here’s a breakdown of what you’ll need and why each plays a crucial role:
- Dry-Roasted Peanuts: Opt for unsalted dry-roasted peanuts. Roasting the peanuts enhances their natural nutty flavor, which is essential for a delicious brittle. Avoid raw peanuts, as they won’t provide the same depth of taste. If you can only find salted dry-roasted peanuts, you can still use them successfully; just be mindful of the added salt content in the recipe.
- Granulated Sugar: This is the backbone of your candy, providing the primary sweetness and contributing to the classic golden, caramelized color. As it heats and cools, the sugar acts as the binding agent that holds the brittle together in its distinct crunchy form.
- Salt: Just a pinch of salt is vital. It doesn’t make the brittle salty; instead, it perfectly balances the intense sweetness from the sugar and corn syrup, enhancing all the other flavors.
- Light Corn Syrup: This ingredient is key to achieving a smooth, non-grainy texture in your peanut brittle. Corn syrup prevents sugar crystals from forming during the cooking process, ensuring your brittle is clear, shiny, and delightfully crisp. It’s also crucial for the pliable consistency before it sets.
- Butter: While the original recipe called for margarine, using unsalted butter yields the same fantastic results and often offers a richer flavor profile. Butter adds a lovely creaminess and helps prevent the brittle from sticking.
- Pure Vanilla Extract: For the best flavor, always use pure vanilla extract. It adds a warm, aromatic depth that complements the peanuts beautifully. Consider making your own DIY vanilla extract for an even richer taste, but store-bought pure vanilla is perfectly fine. Steer clear of imitation vanilla, which can leave an artificial aftertaste.
- Baking Soda: This might seem like an unusual ingredient for candy, but baking soda is the secret weapon for that signature light and airy texture. When added to the hot sugar mixture, it reacts to create tiny air pockets, making the brittle easier to bite into and giving it a delicate, honeycomb-like crunch.
How to Make Homemade Peanut Brittle: A Simple Step-by-Step Guide
Before you begin, ensure your microwave’s wattage. This recipe is perfected for a 1000-watt microwave. If your microwave has a different wattage, you may need to adjust the cooking times slightly. Also, have all your ingredients measured and ready – this recipe moves fast!
To prepare, generously coat a large baking sheet with a nonstick cooking spray. This will be crucial for easy spreading and removal of your brittle.
Microwave Session 1: The Initial Mix (3 Minutes)
- Combine: In a 1-quart, microwave-safe glass bowl with a lid (glass is highly recommended over plastic to prevent burning and melting), combine the dry-roasted peanuts, granulated sugar, salt, and light corn syrup.
- Microwave: Place the lid securely on the bowl and microwave the mixture for exactly 3 minutes.
- Stir: Carefully remove the hot bowl from the microwave, uncover it, and give the mixture a thorough stir. Be sure to scrape down the sides to incorporate all ingredients evenly.
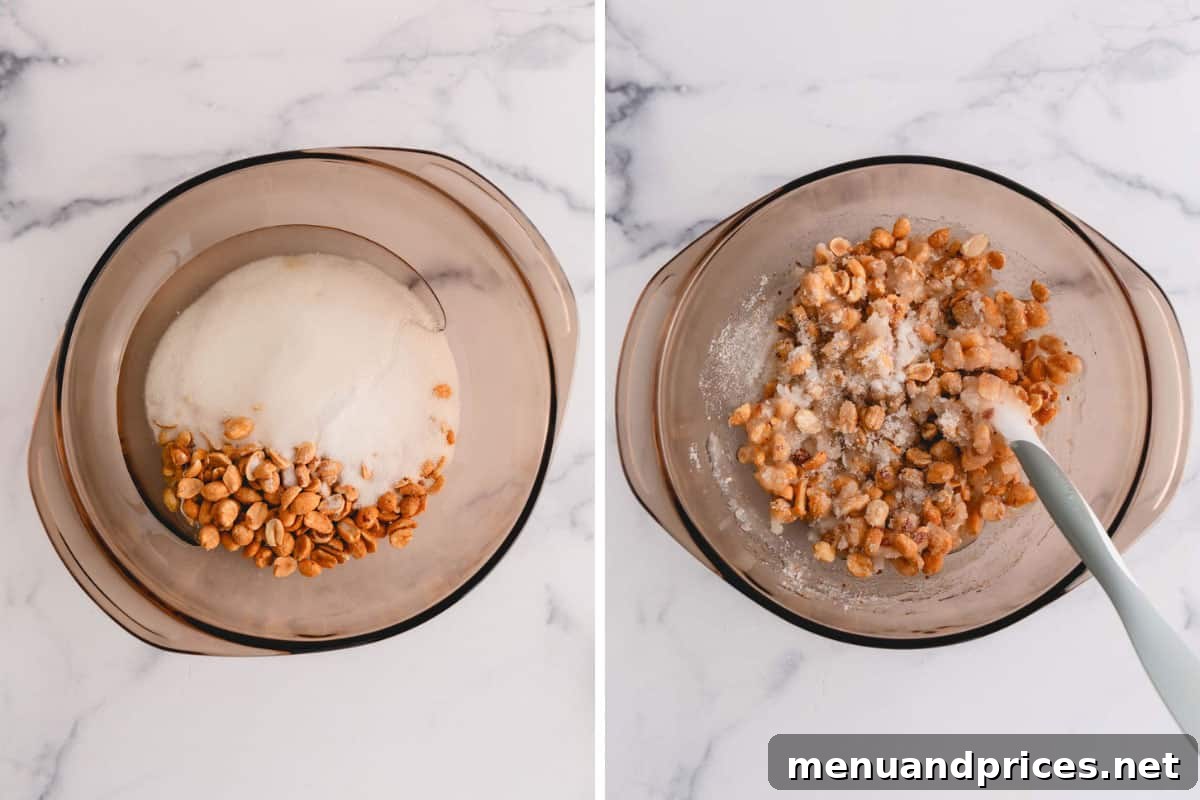
Important Tip: Prevent Burning!
It is absolutely essential to cover your bowl during microwaving sessions. An uncovered peanut mixture will cook unevenly and is highly prone to burning, especially the sugar, leading to a bitter taste.
Microwave Session 2: Adding Flavor and Richness (3.5 Minutes)
- Microwave Again: Place the cover back on the bowl and microwave the mixture for an additional 3.5 minutes. The mixture will be very hot and bubbling.
- Stir in Butter and Vanilla: Uncover the bowl and immediately stir in the unsalted butter and pure vanilla extract until fully incorporated. The butter will melt quickly into the hot mixture, and the vanilla will infuse its wonderful aroma.
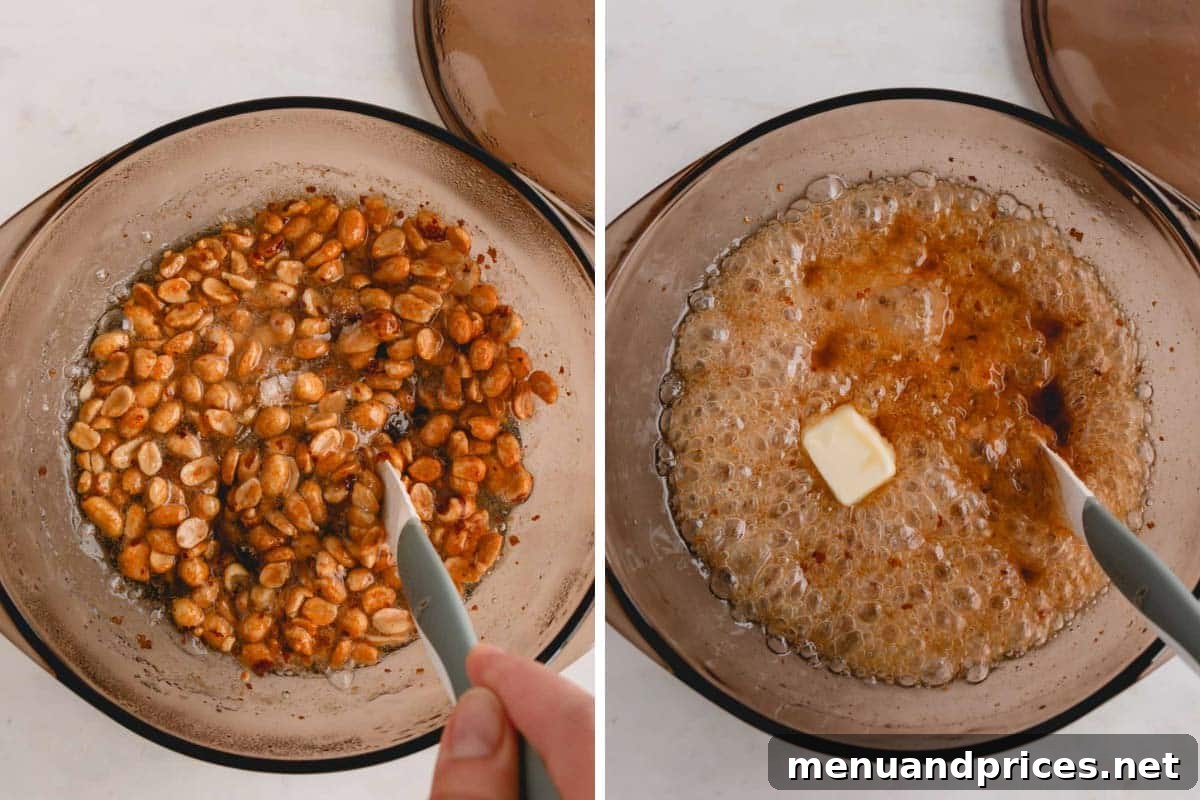
Microwave Session 3: The Final Transformative Heat (2.5 Minutes)
- Final Microwave: Cover the bowl once more and microwave for another 2.5 minutes. This is the crucial stage where the candy reaches its optimal temperature for brittleness.
- Activate Baking Soda: Promptly remove the bowl from the microwave. Immediately add the baking soda and stir vigorously. The mixture will foam up dramatically and expand – this is exactly what you want! It’s the baking soda creating those air pockets for a light, brittle texture. Stir just enough to ensure the baking soda is evenly distributed and the mixture is consistently foamy.
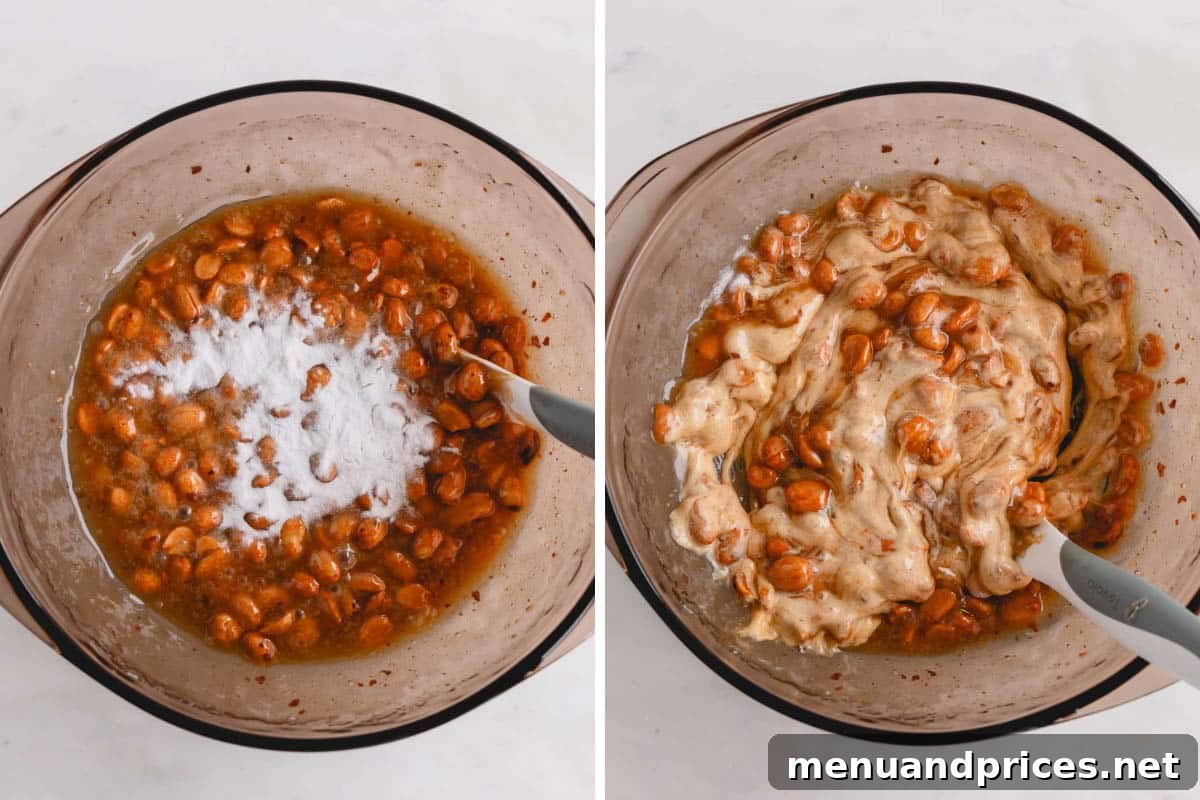
Shape the Peanut Brittle to Perfection
- Pour: Working quickly, pour the hot, foamy peanut brittle mixture onto your generously prepared baking sheet.
- Spread: Using two forks (the tines help to separate and spread without dragging too much), spread the mixture into an even, thin layer. Be careful not to spread it excessively thin, or it might become too delicate and prone to breaking into tiny pieces. Aim for an even thickness across the entire sheet.
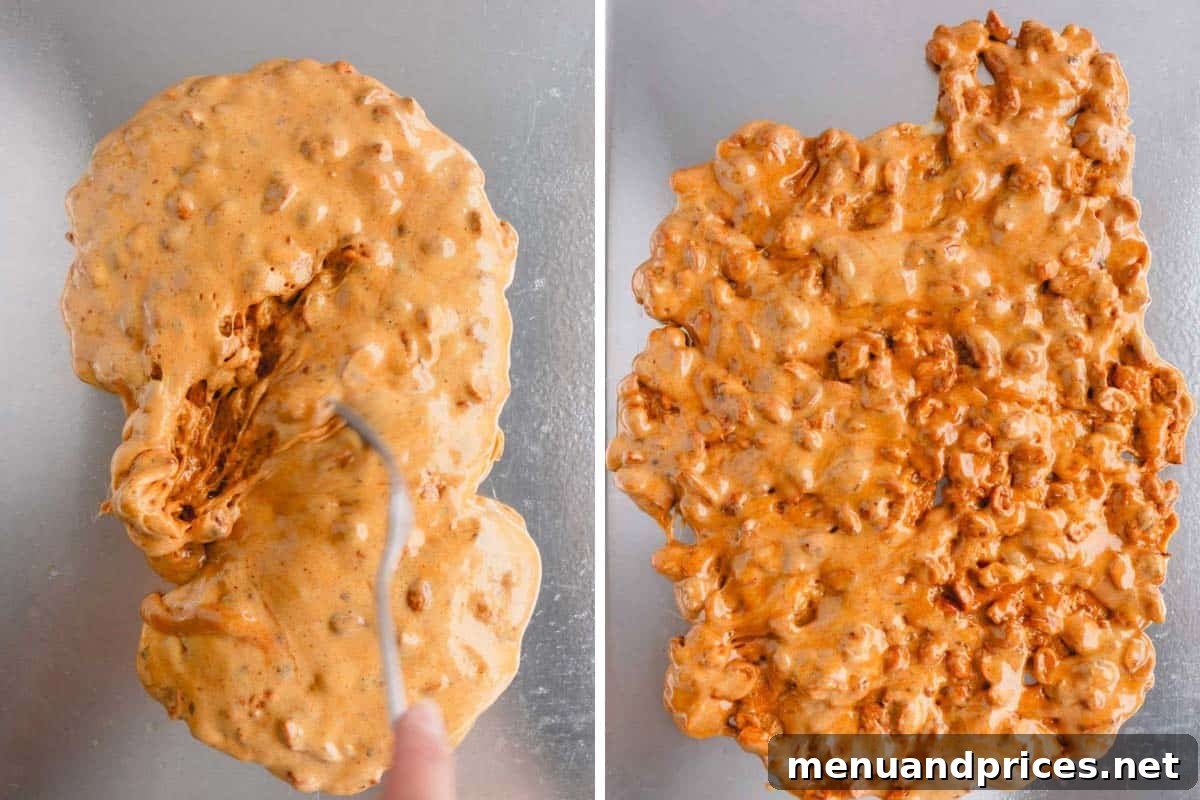
Let It Set and Enjoy
- Cool and Harden: Allow the brittle to cool completely and harden at room temperature for approximately 30-45 minutes. Avoid the temptation to touch it too soon, as it needs time to fully set and achieve its crisp texture.
- Break and Serve: Once completely cooled and firm, break the brittle into large, irregular pieces. It’s now ready to be enjoyed!
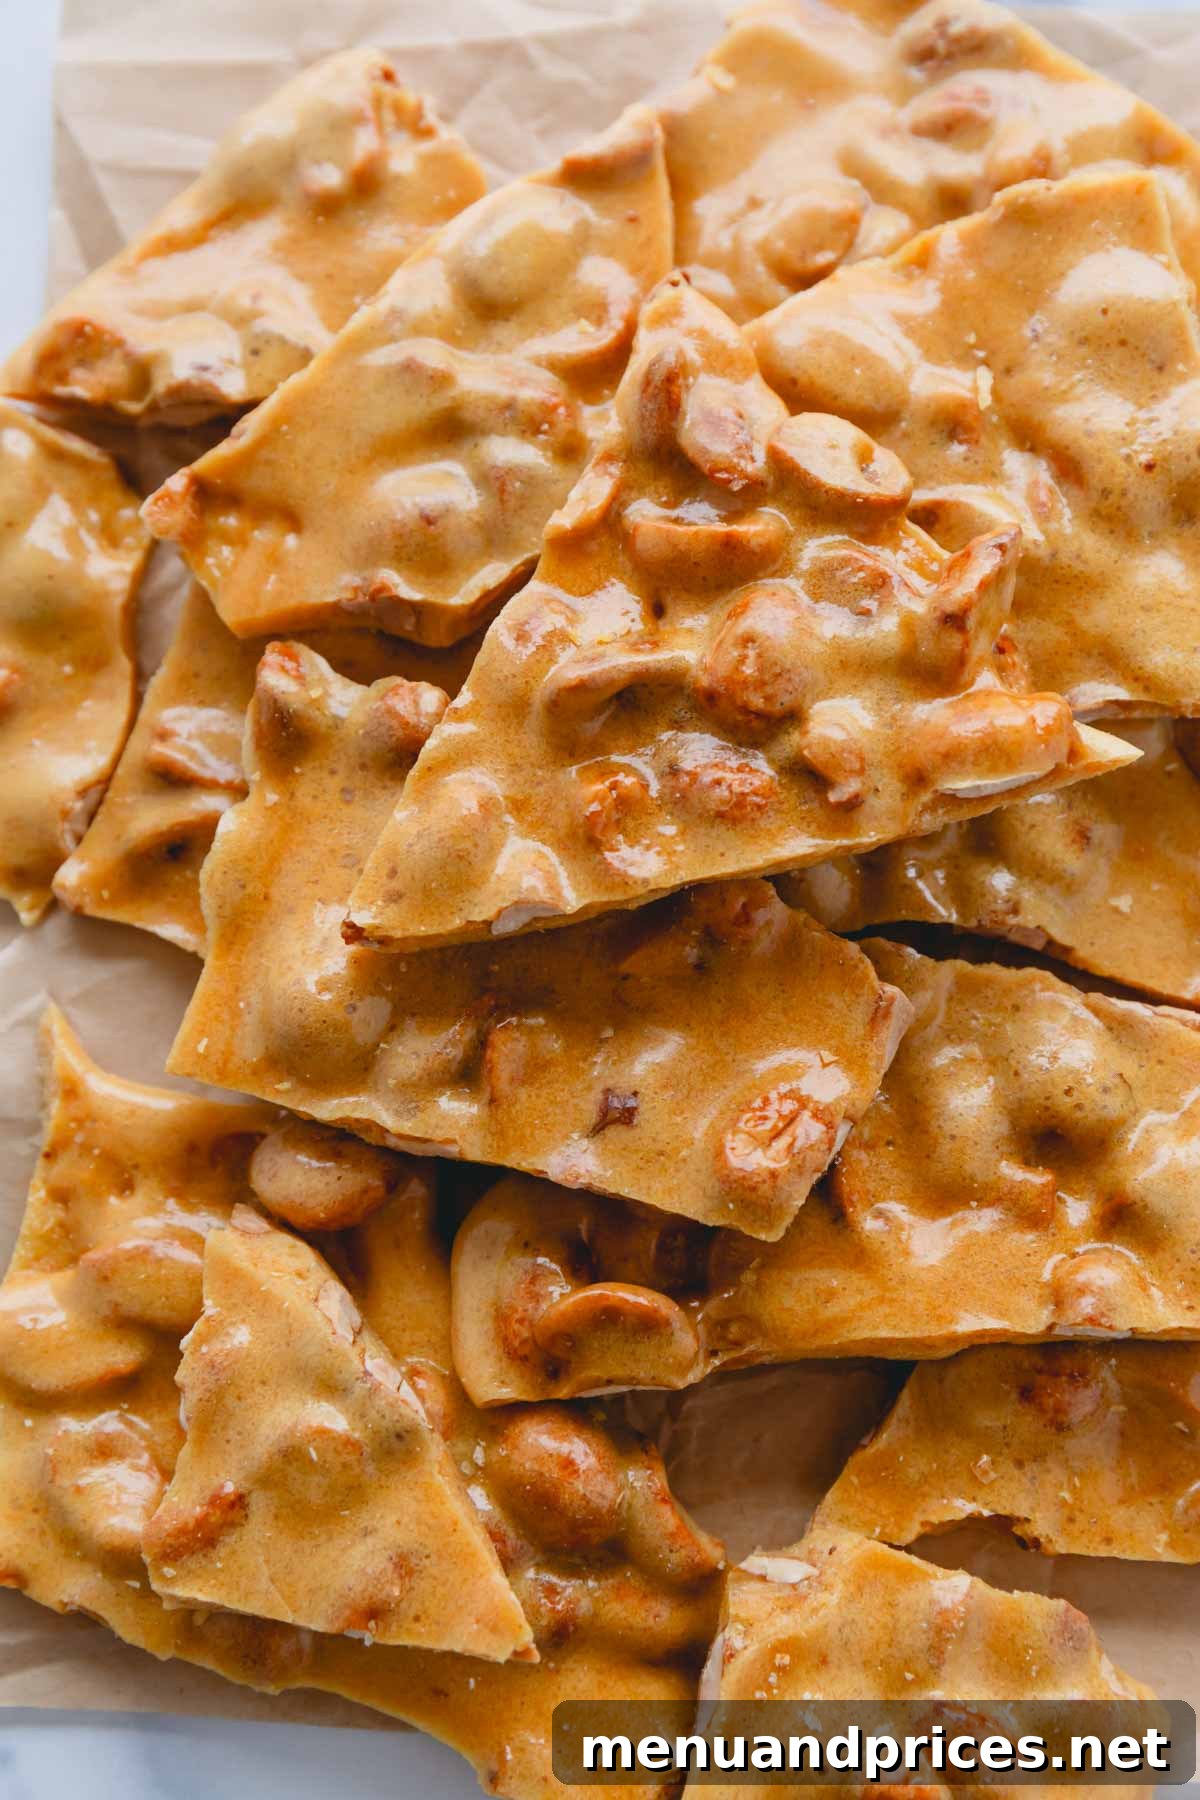
Pro Tips for Microwave Peanut Brittle Success
To ensure your peanut brittle turns out perfectly crunchy and delicious every time, keep these expert tips in mind:
- Check Your Microwave’s Power: This recipe is carefully calibrated for a 1000-watt microwave. If your microwave has a higher wattage (e.g., 1200W), the brittle might cook faster and could burn. Conversely, a lower wattage microwave may require slightly longer cooking times. Always start with the recommended times and adjust in 15-30 second increments if needed, especially in the final stages.
- “Mise en Place” is Crucial: “Mise en place” is a French culinary term meaning “everything in its place.” For this quick microwave peanut brittle, it’s non-negotiable! Have all your ingredients measured out and ready to go before you even start the first microwave session. Once the cooking begins, there’s no time to scramble for ingredients.
- Use a Microwave-Safe Glass Bowl with a Tight-Fitting Lid: A glass bowl is preferred over plastic because it handles high temperatures better and prevents the mixture from sticking and burning to the sides. The lid is absolutely essential for even cooking and to prevent the sugar from burning. Without a lid, the moisture will escape too quickly, leading to scorched sugar.
- Ensure Your Baking Soda is Fresh: Baking soda is responsible for the light, airy, and truly “brittle” texture of your candy. If your baking soda is old or expired, it won’t react properly, resulting in a denser, chewier brittle. To check if it’s fresh, mix a teaspoon with a tablespoon of vinegar; it should fizz immediately. Don’t be alarmed when the mixture foams up after adding baking soda – that’s a sign it’s working perfectly!
- Don’t Overmix After Adding Baking Soda: Once the baking soda is added, stir quickly but gently, just enough to evenly distribute it and create that uniform foam. Overmixing can deflate the air bubbles, leading to a less airy and crunchy texture.
- Work Quickly During Spreading: The brittle cools and hardens very fast once out of the microwave. Have your prepared baking sheet ready and spread the mixture promptly using two forks to achieve an even layer before it sets.
Storing Tips for Fresh and Crunchy Brittle
To maintain the perfect crunch and extend the shelf life of your homemade microwave peanut brittle, proper storage is key:
- Room Temperature Storage: Store leftover microwave peanut brittle in an airtight container at room temperature for up to one week. Keep it in a cool, dry place away from direct sunlight.
- Avoid Refrigeration: Refrigeration is generally not recommended for peanut brittle. The moisture and humidity in the refrigerator can cause the brittle to absorb water, making it sticky and losing its desired crisp texture.
- Freezing for Long-Term Storage: To freeze, first ensure the brittle has fully cooled and hardened. Then, transfer it to an airtight, freezer-safe container. For best results, separate layers of brittle with parchment paper to prevent them from sticking together. It can be frozen for up to 3 months. Thaw at room temperature before serving.
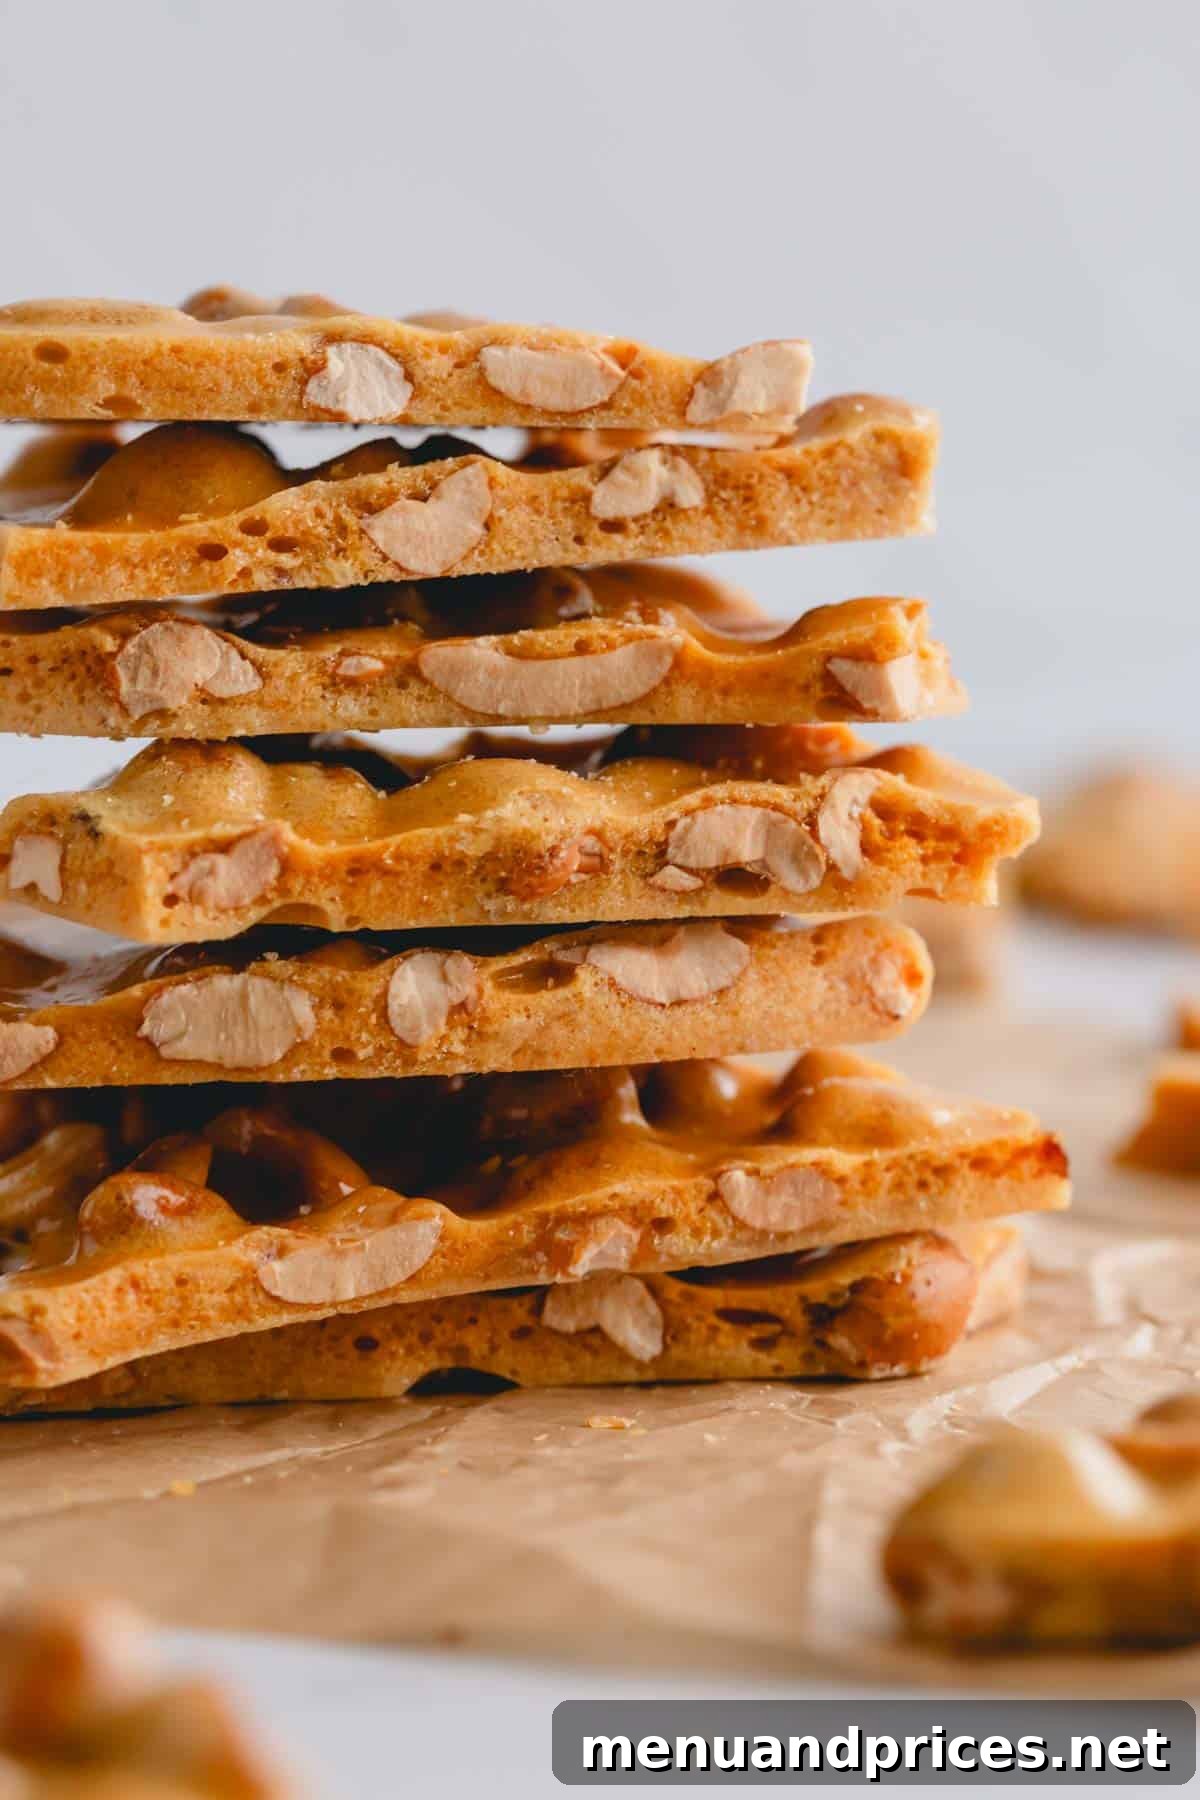
Your Top Peanut Brittle Questions Answered
If your peanut brittle is soft and chewy, it’s most likely undercooked. This commonly happens if your microwave has a lower wattage than the 1000 watts this recipe specifies. The sugar mixture didn’t reach the proper temperature to become brittle upon cooling. Ensure your microwave power aligns with the recipe, or add short bursts of cooking time if your microwave is less powerful.
Baking soda is a magical ingredient in peanut brittle! When added to the hot, caramelized sugar mixture, it undergoes a chemical reaction that creates carbon dioxide gas. This gas forms tiny air pockets throughout the candy, resulting in a light, airy, and wonderfully snappy texture that’s much easier to bite into. It’s precisely what helps transform a hard sugar candy into “brittle” candy.
Sticky peanut brittle is usually a result of excessive moisture or high humidity. Sugar is hygroscopic, meaning it absorbs moisture from the air. To prevent stickiness, allow your peanut brittle to cool and harden in a cool, dry environment. Crucially, do not store leftovers in the refrigerator, as the cold, humid environment will make it sticky. An airtight container at room temperature is best.
Absolutely! While peanuts are traditional, you can experiment with other nuts like pecans, almonds, or cashews for different flavor profiles. You can also add a sprinkle of sea salt before it cools for a sweet and salty twist, or mix in some chocolate chips after it’s slightly cooled but still warm for a chocolatey version.
More Delicious Candy Recipes to Try
- Chocolate Peanut Brittle
- Easy Candied Pecans
- Cardamom Caramel Candies
- Chocolate Caramel Cups

Microwave Peanut Brittle
Comment
Print Recipe
Ingredients
- 1 cup (125 g) dry-roasted peanuts
- 1 cup (200 g) granulated sugar
- 1/8 teaspoon salt
- ½ cup (150 g) light corn syrup
- 1 tablespoon (14 g) unsalted butter
- 1 teaspoon pure vanilla extract
- 1 teaspoon baking soda
Instructions
-
Before you begin, verify your microwave’s wattage (often found inside the door). This recipe’s timings are optimized for 1000 Watts. Adjust timings accordingly if your microwave differs.
Measure and prepare all ingredients before proceeding. -
Prepare a baking sheet by thoroughly spraying it with non-stick cooking spray.
-
In a 1-quart microwave-safe glass bowl with a lid (a glass bowl is strongly recommended over plastic), combine the peanuts, sugar, salt, and corn syrup.
-
Cover the bowl with the lid and microwave the mixture for 3 minutes. (TIP: Always cover the mixture to prevent burning and ensure even cooking.) Carefully remove the bowl and give the mixture a good stir.
-
Replace the lid and microwave for another 3.5 minutes. Take it out, uncover, and stir in the butter and vanilla extract until fully combined.
-
Cover the bowl again and microwave for a final 2.5 minutes. Remove it from the microwave and immediately add the baking soda.
-
Stir quickly and vigorously as the mixture rapidly foams up and expands. Then, promptly pour the entire mixture onto the prepared baking sheet.
-
Using two forks, quickly spread the mixture into an even, thin layer on the baking sheet.
-
Allow the brittle to cool and harden completely at room temperature, which typically takes about 30-45 minutes. Once hardened, break it into pieces and store in an airtight container for up to a week.
⭐️ Did you make this recipe?
Please leave a review and let us know how you liked it!
Tips & Notes
Nutrition

This recipe was originally published on April 21, 2016.