
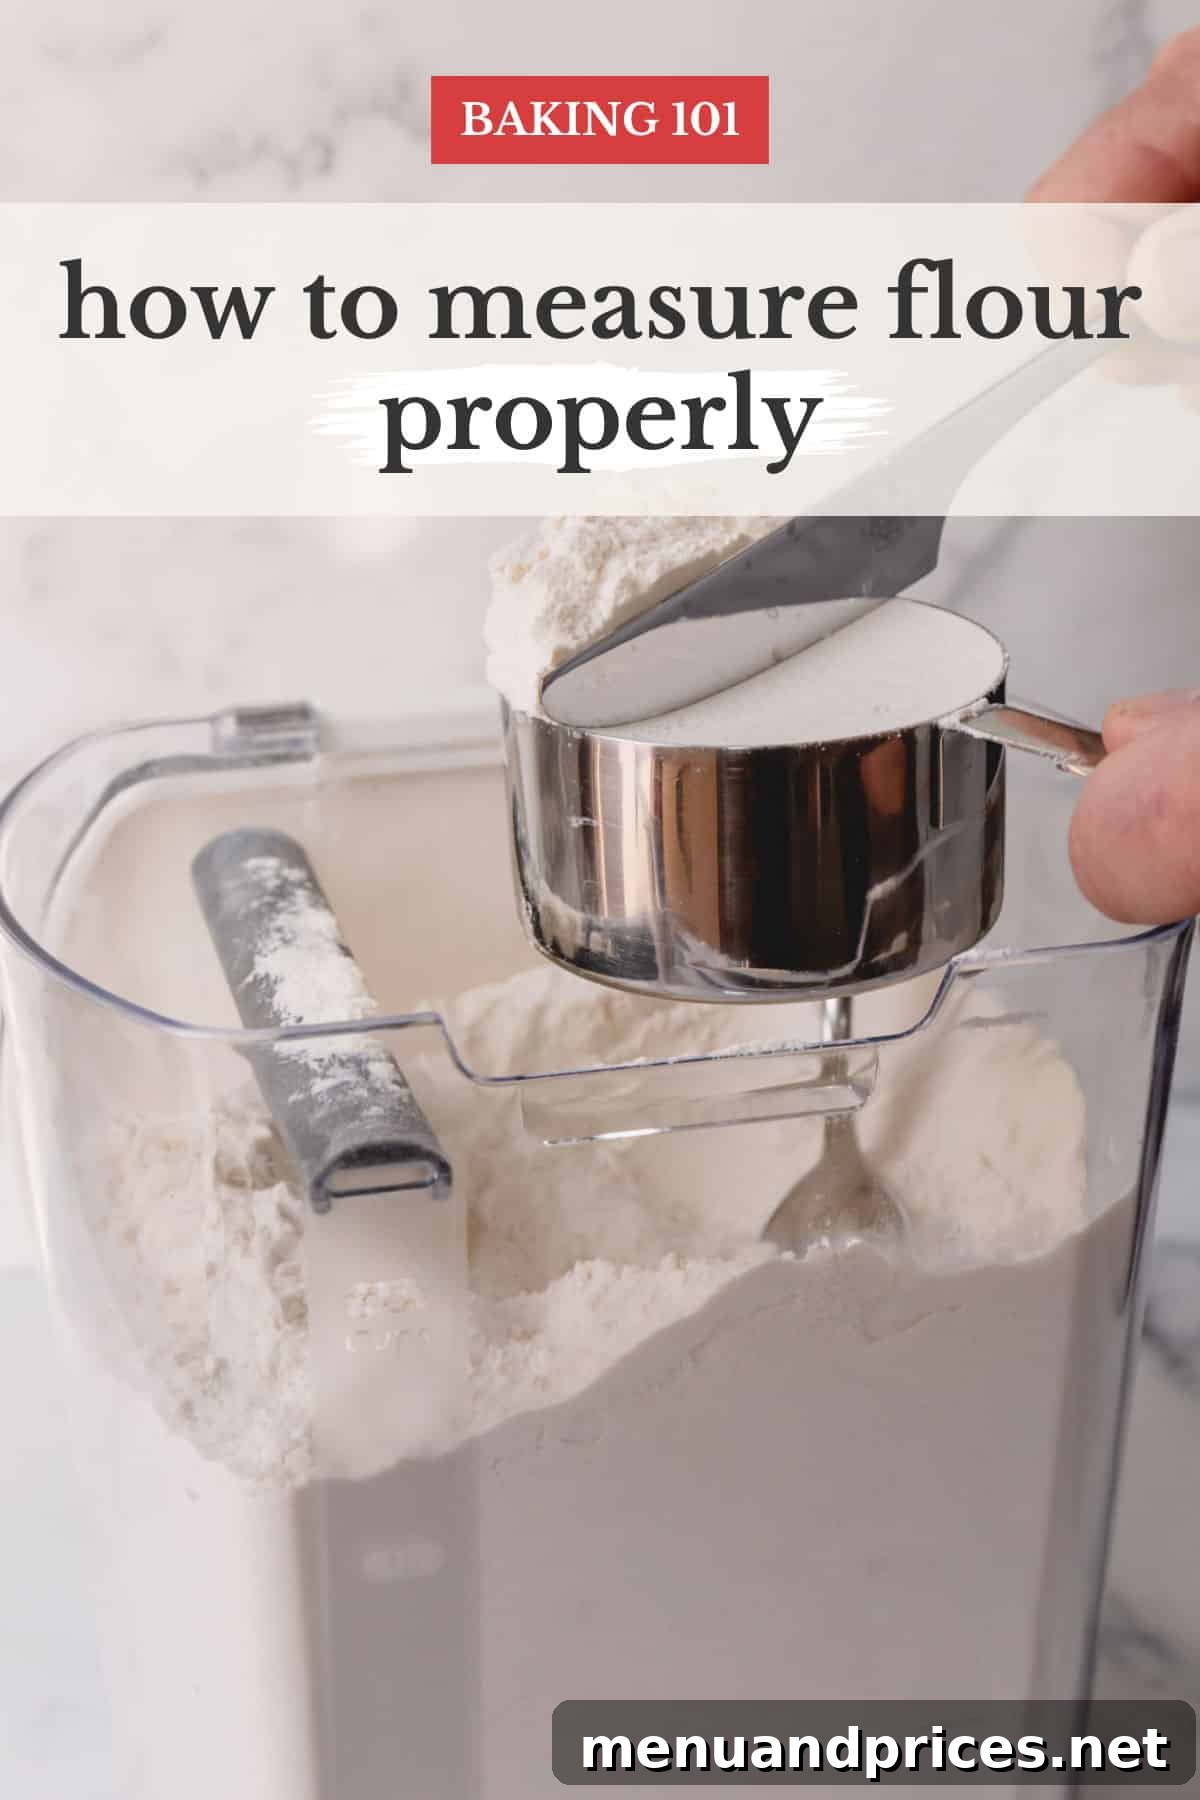
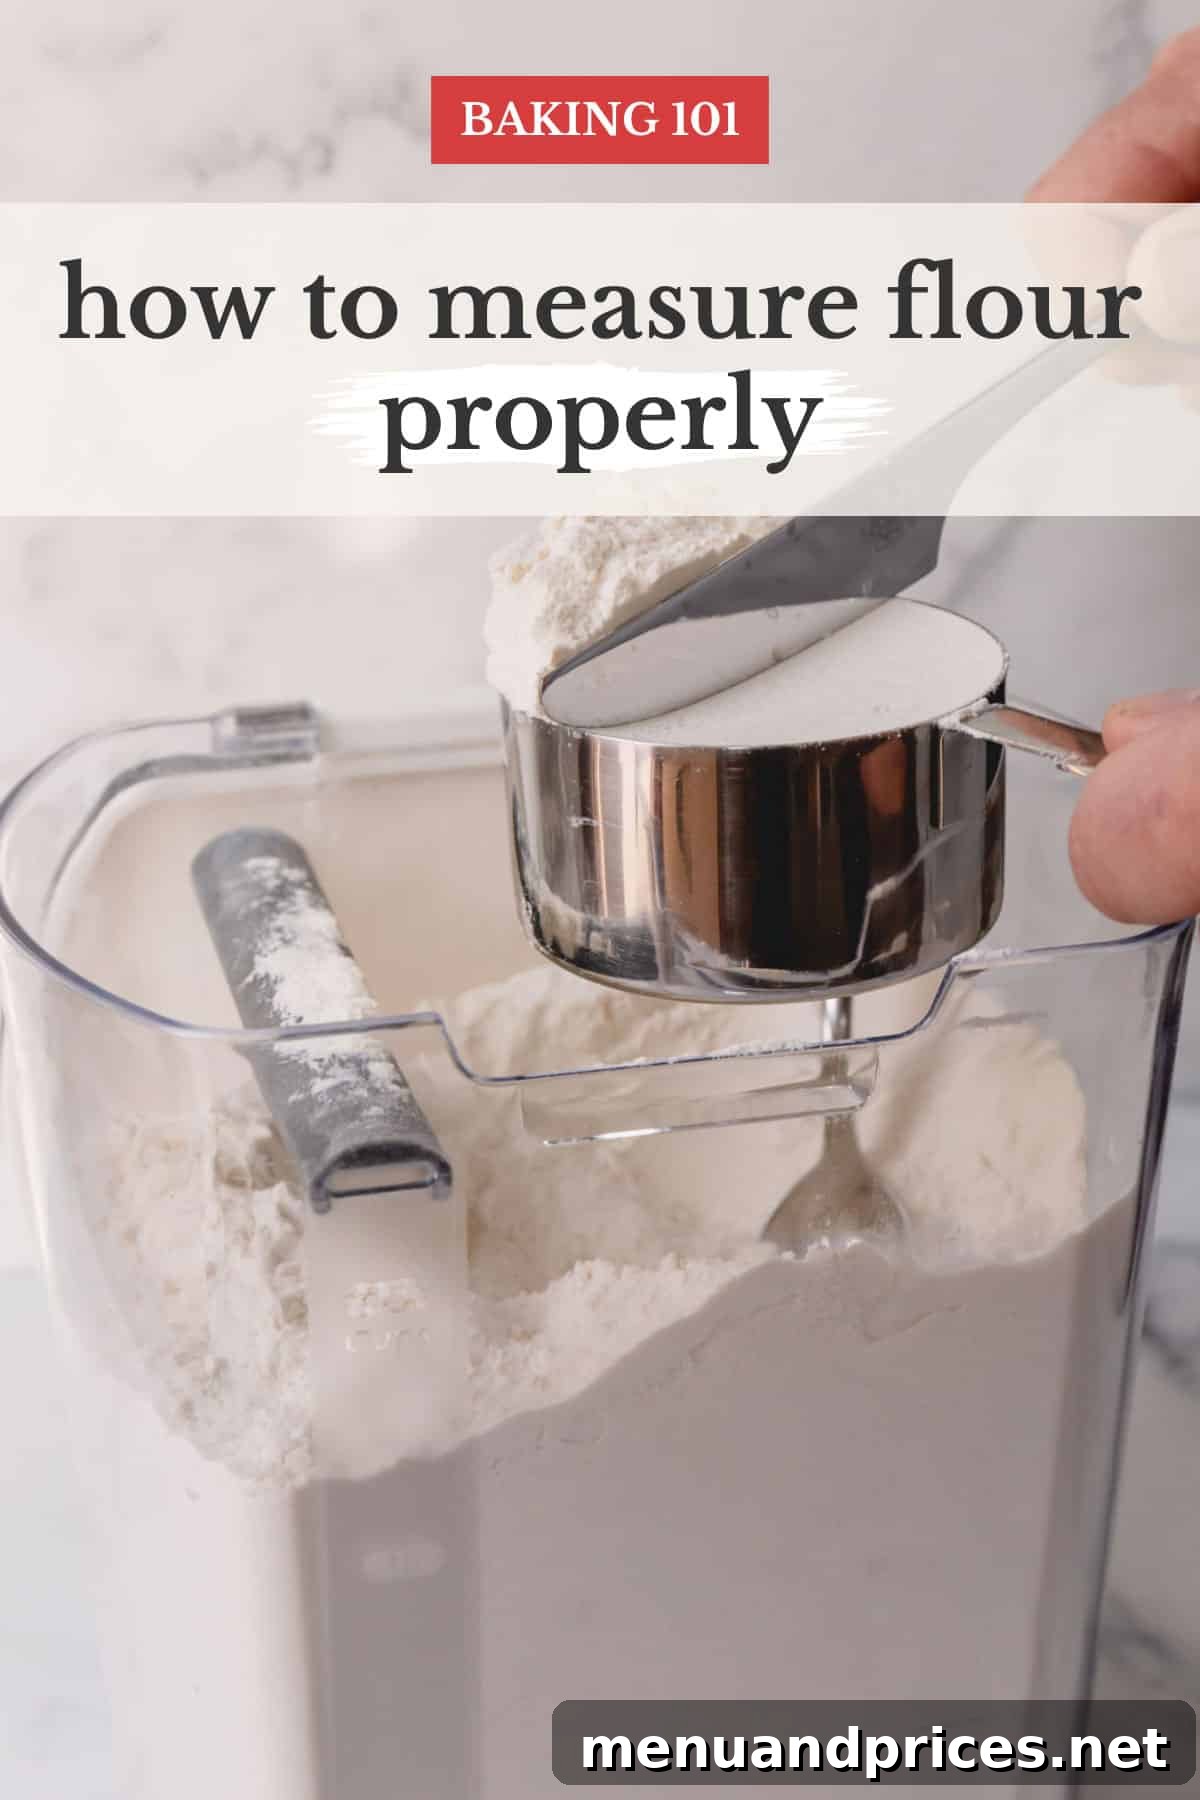
One of the foundational pillars of successful baking is the accurate measurement of ingredients, and when it comes to flour, precision isn’t just a suggestion—it’s paramount. Flour forms the structural backbone of most baked goods, and even minor deviations in its quantity can dramatically alter the texture, crumb, and overall success of your culinary creations. In this comprehensive guide, you’ll delve into the best practices for measuring all-purpose flour, exploring both volumetric and weight-based methods, and understand exactly how these techniques can profoundly impact the outcome of your cherished cakes, cookies, breads, and pastries.
Why Precision in Flour Measurement is Your Baking Secret Weapon
In the world of baking, precision isn’t merely an arbitrary rule; it’s a scientific necessity. Unlike cooking, where a pinch of this or a dash of that often works out, baking relies on specific chemical reactions and structural formations. Flour, being a primary dry ingredient, plays a critical role in these processes. Many home bakers, from beginners to those with years of experience, often rely on measuring flour by volume, using standard cups.
However, this seemingly straightforward method harbors a significant flaw: its inconsistency. The density of flour can fluctuate wildly based on several factors, including ambient humidity, how it’s stored, and, most critically, how it’s scooped into the measuring cup. Flour tends to settle and compact over time in its container, meaning a scooped cup can contain significantly more flour than intended if not handled correctly. This seemingly small oversight can lead to a domino effect of undesirable results in your final product.
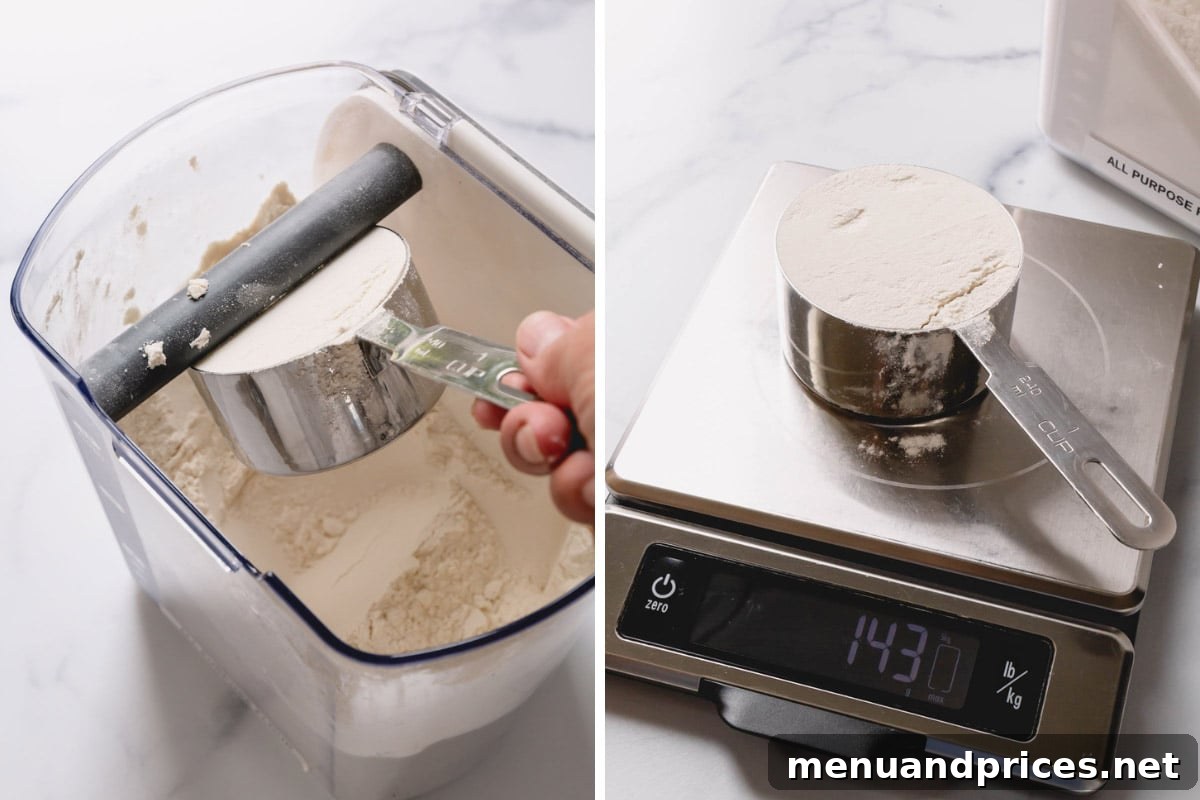
Consider this common scenario: If you haphazardly scoop flour directly from its bin using a 1-cup measuring cup and then level the top, as commonly demonstrated in quick visual guides, you could easily end up with approximately 140 grams of flour. This might not sound like a huge difference, but when most recipes are meticulously developed assuming that 1 cup of all-purpose flour equals precisely 125 grams, you’ve inadvertently added an extra 15 grams—a significant 12% increase—that can throw off the delicate balance of your recipe.
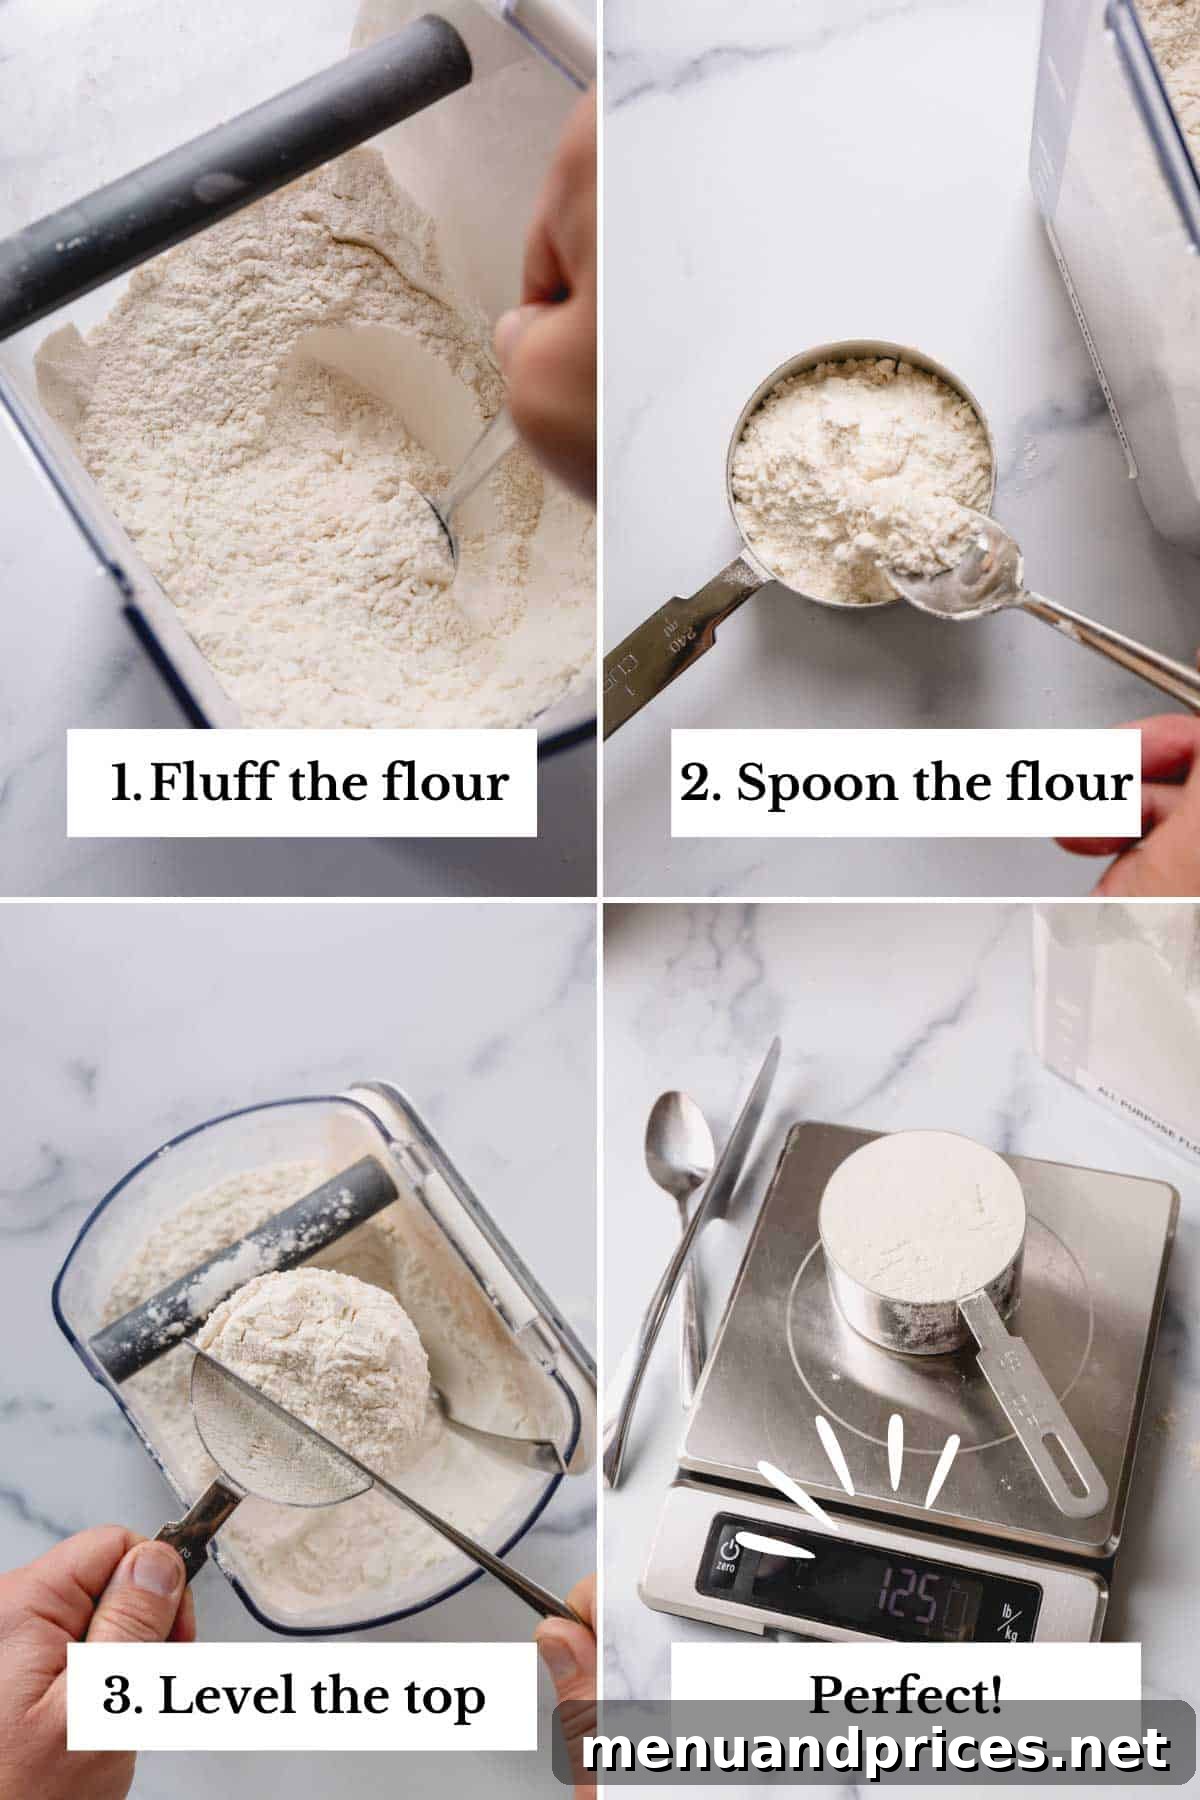
For optimal results, remember that most standard recipes, including all of ours, calibrate 1 cup of all-purpose flour to be 125 grams. This metric is crucial for consistent success.
The Tangible Impact of Incorrect Flour Measurement on Your Baked Goods
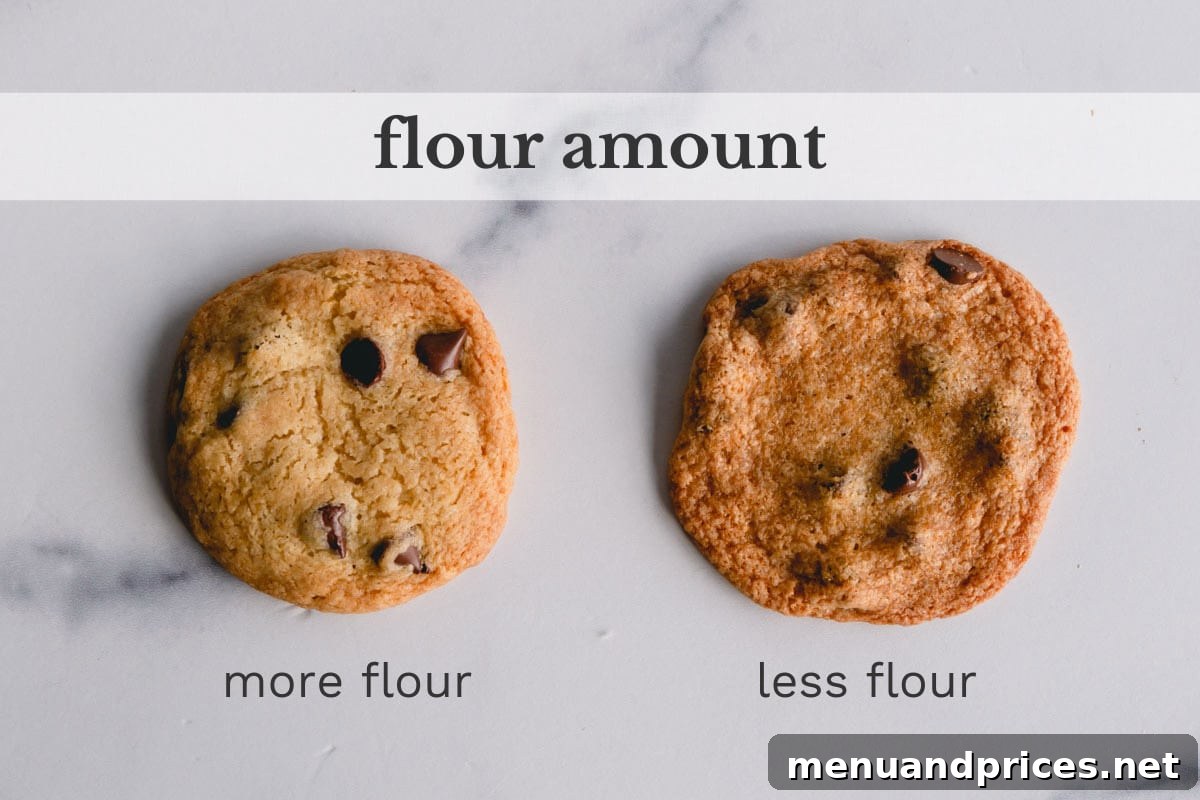
When you use more flour than your recipe calls for, the consequences are immediate and often disappointing. Flour absorbs moisture, and an excess amount will inevitably lead to a drier, tougher final product. Let’s look at some specific examples:
- Cookies: If your recipe for crispy chocolate chip cookies instructs a certain amount of flour and you add too much, you’ll likely end up with thick, chewy, and perhaps even crumbly cookies that don’t spread properly. While they might still taste good, they won’t have the desired crispy texture. For delicate shortbread, extra flour can make them excessively dry and prone to breaking.
- Cakes and Cupcakes: This is where the stakes are particularly high. Adding too much flour to a cake batter is a common culprit behind dry, dense, and heavy cakes. Instead of a light, moist, and tender crumb, you’ll be left with a brick-like texture that lacks the expected rise and airy quality. This can ruin an otherwise perfectly formulated recipe and leave you wondering where you went wrong.
- Breads: In bread making, the hydration ratio is critical. Too much flour means your dough will be stiff, difficult to knead, and will result in a dense loaf with a tight crumb and poor oven spring. The bread will feel heavy and stale much faster.
- Pastries: For delicate pastries like pie crusts or tarts, excess flour can lead to a tough, brittle crust that lacks flakiness and melts in your mouth appeal.
The flavor profile can also be affected. An overabundance of flour can dilute other flavors, making your baked goods taste predominantly of flour rather than the rich notes of chocolate, vanilla, or fruit that you painstakingly included.
Mastering the Spoon and Level Method: A Guide to Accurate Volumetric Measurement
While I am a firm advocate for the unparalleled accuracy of a kitchen scale when weighing dry ingredients (and we’ll delve into that in detail shortly), it’s undeniable that many recipes, particularly older ones or those from certain regions, still rely on volumetric measurements. If you must measure flour by volume, there is a definitively proper way to do it—the “spoon and level” method. This technique aims to minimize the inconsistencies inherent in cup measurements, bringing you closer to the intended quantity.
- Fluff the Flour: Before you even think about scooping, take a whisk, fork, or spoon and gently aerate the flour in its bin or bag. Flour naturally settles and compacts over time, especially if it’s been sitting for a while. Fluffing it up introduces air, reducing its density and ensuring a more consistent texture throughout the container. This crucial first step prevents you from scooping a dense, compacted block of flour.
- Spoon the Flour: Instead of using your measuring cup to scoop directly from the flour container, which inevitably packs it down, use a separate spoon (a large tablespoon or a small serving spoon works well) to transfer the fluffed flour into your measuring cup. Gently spoon the flour until it overflows, forming a small mound above the rim of the cup. The key here is to fill the cup without pressing, tapping, or shaking it down. Do NOT pack the flour whatsoever!
- Level Off the Top: Once the measuring cup is gently mounded with flour, take a straight edge—such as the flat side of a butter knife, an offset spatula, or even the back of a ruler—and carefully sweep it across the top of the measuring cup. This will remove the excess flour, leaving you with a perfectly level cup. Ensure you do this over the flour bin or a small plate to catch any spilled flour.
Sugar vs. Flour: Why the Spoon and Level Method Differs
It’s important to understand that not all dry ingredients behave the same way. Unlike granulated sugar, which consists of relatively uniform crystals that don’t easily compress or absorb ambient moisture, flour is a finely milled powder composed of starches and proteins. Its particulate nature makes it much more susceptible to settling and packing. This inherent difference is precisely why the “spoon and level” method is absolutely essential for flour, ensuring you’re working with the intended quantity. For granulated sugar, a simple scoop-and-level technique is generally sufficient because its density is far more consistent.
The Gold Standard: Unlocking Baking Precision with a Digital Kitchen Scale
While the spoon and level method significantly improves volumetric accuracy, it still carries a small margin of error. For the ultimate level of precision, consistency, and a truly elevated baking experience, weighing flour on a digital kitchen scale is the undisputed champion. It transcends the guesswork and inherent variability of volume measurements, ensuring that you incorporate the exact amount of flour (and other ingredients) specified in your recipe. This unwavering precision is not just a nicety; it is absolutely crucial for achieving the desired texture, flavor, and structural integrity in your baked goods.
Here’s why investing in and utilizing a kitchen scale will revolutionize your baking:
- Unparalleled Consistency, Batch After Batch: Weighing flour guarantees consistent results every single time you bake. Mass (weight) is a fixed quantity, whereas volume can change with density. By adhering to weight measurements, you eliminate the variable of how densely flour is packed, ensuring that each batch of cookies, cakes, or breads replicates the success of the last. This is especially vital for delicate or temperamental recipes, like my no-spread sugar cookies or incredibly light and fluffy vanilla cupcakes, where even a few grams of extra flour can compromise the final texture.
- No More Guesswork or Uncertainty: Bid farewell to the nagging doubt of whether you’ve packed too much or too little flour into your measuring cup. Weighing eliminates all guesswork, allowing you to follow recipes with absolute confidence. This newfound certainty frees you to focus on other aspects of the baking process, knowing your foundational measurements are spot-on.
- An Elevated and Professional Baking Experience: As you embrace the simplicity and accuracy of weighing ingredients, you’ll undoubtedly notice a dramatic improvement in the texture, flavor, and overall quality of your baked goods. Your cakes will be moister, your cookies perfectly chewy or crisp, and your breads consistently risen and tender. This level of control and reliability will elevate your baking skills to a more professional standard, making every creation a source of pride.
- Efficiency and Less Mess: A significant, albeit often overlooked, benefit is the reduction in dirty dishes. Instead of fumbling with multiple measuring cups and spoons for various dry ingredients, you can often add several ingredients directly into your mixing bowl on the scale, simply “zeroing out” or “taring” the scale between additions. This streamlined process not only saves time but also reduces cleanup—and who isn’t all about that when baking?
- Easier Recipe Scaling: Whether you need to double a recipe for a party or halve it for a small treat, scaling by weight is far more accurate than by volume. It ensures all ingredient ratios remain perfectly proportionate, guaranteeing consistent results regardless of batch size.
- Universal Language of Baking: Many professional and international recipes use weight measurements exclusively (grams and milliliters). Becoming proficient with a kitchen scale opens up a world of new recipes and ensures you can accurately follow instructions from any source.
How to Use a Kitchen Scale for Baking Perfection: A Step-by-Step Guide
Using a kitchen scale is incredibly simple and quickly becomes second nature. Follow these steps to ensure accurate measurements every time:
- Place the Scale on a Flat, Stable Surface: Ensure your kitchen scale is on an even, sturdy countertop. This prevents inaccurate readings caused by wobbling or tilting.
- Turn On the Scale and Select Units: Power on your digital scale. Most scales allow you to switch between grams (g), ounces (oz), pounds (lb), and sometimes milliliters (ml). For baking precision, especially when following most modern recipes, grams are highly recommended.
- Place Your Mixing Bowl (or Container) on the Scale: Put the bowl or container you’ll be adding your ingredients into directly onto the scale’s platform.
- “Tare” or “Zero Out” the Scale: This is the most crucial step. Before adding any ingredient, press the “TARE” or “ZERO” button on your scale. This action resets the display to 0, effectively subtracting the weight of the bowl so that only the weight of the ingredient you’re about to add will be measured.
- Add the First Ingredient: Carefully add your first ingredient (e.g., flour) to the bowl until the desired weight appears on the display. Pour slowly to avoid overshooting the target.
- Tare Again for the Next Ingredient: If your recipe calls for multiple dry ingredients to be added to the same bowl (e.g., flour, then sugar, then cocoa powder), simply press the “TARE” button again after each ingredient. This will reset the scale to 0, allowing you to accurately measure the next ingredient directly into the bowl without having to use separate containers, saving time and dishes.
- Remove and Continue: Once all your measured ingredients are in the bowl, you can remove it from the scale and proceed with the rest of your recipe.
It’s truly that simple! This method ensures that each ingredient is measured precisely, contributing to the consistent quality of your baked goods.
Beyond Flour: The Versatility of a Kitchen Scale for All Your Baking Ingredients
While this guide emphasizes flour measurement, the benefits of a kitchen scale extend to nearly every ingredient in your pantry. Adopting a weight-based approach for all dry and semi-solid ingredients can elevate your baking even further:
- Sugars: Granulated sugar, brown sugar (which can be notoriously tricky with its “packed” measurement), powdered sugar – all become effortlessly precise.
- Fats: Butter, shortening, and even oils can be weighed, ensuring accurate ratios that affect texture and richness.
- Leavening Agents: Baking powder and baking soda, used in tiny but critical amounts, have a huge impact on rise. Weighing these eliminates errors that can lead to flat or overly airy results.
- Liquids: While often measured by volume, weighing liquids like milk, water, or eggs can provide an extra layer of accuracy, particularly in complex or delicate recipes.
- Mix-ins: Chocolate chips, nuts, dried fruit – weighing these ensures an even distribution and prevents your baked goods from being overloaded or sparse.
Common Flour Measurement Mistakes and How to Avoid Them
Even with the best intentions, it’s easy to fall into common pitfalls when measuring flour. Being aware of these can help you avoid them:
- Scooping Directly from the Bag: As discussed, this is the quickest way to compact flour and inadvertently add too much. Always fluff first and then spoon into the cup, or better yet, weigh it.
- Tapping the Measuring Cup: Some bakers tap the cup on the counter to settle the flour, thinking it ensures a full measure. In reality, this compacts the flour even more, leading to over-measurement.
- Using Liquid Measuring Cups for Dry Ingredients: Liquid measuring cups have a spout and markings near the top, designed for liquids. Dry measuring cups are meant to be filled to the brim and leveled off. Using the wrong type can lead to inaccuracies.
- Ignoring Recipe-Specific Instructions: Some recipes might specify “packed brown sugar” or “sifted flour.” Always pay close attention to these nuances, as they directly impact the intended measurement.
- Not Zeroing Your Scale: Forgetting to tare your kitchen scale before adding each ingredient is a common error that negates the purpose of weighing, leading to inaccurate total weights.
Whether you meticulously measure flour using the spoon and level method, or embrace the superior accuracy of a kitchen scale for flour and all other dry ingredients, making a conscious effort to measure correctly is a game-changer. Say goodbye to unexpectedly dry and dense cakes, or crumbly, stiff cookie dough that doesn’t spread as it should. Your journey to consistently perfect, delicious, and professional-quality baked goods starts with precision.
Happy Baking!