
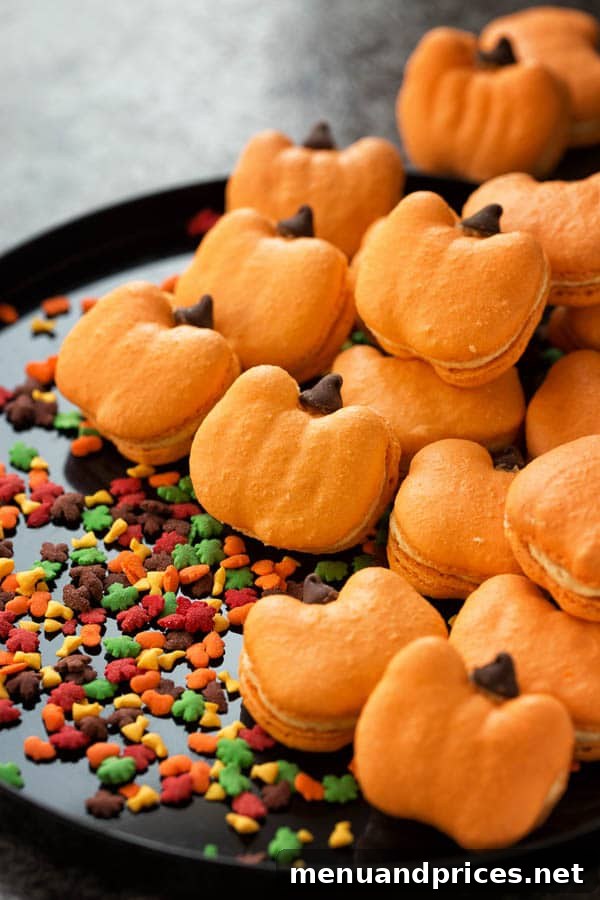
As the vibrant colors of summer begin to fade, giving way to the crisp air and golden hues of autumn, our kitchens beckon for warmth and the comforting aroma of fall spices. And what better way to usher in the pumpkin season than with these utterly adorable and irresistibly delicious **Pumpkin Macarons**? Featuring delicate pumpkin-flavored shells and a luscious pumpkin buttercream filling, these French macarons are a quintessential treat for any fall celebration, from Halloween parties to Thanksgiving gatherings.
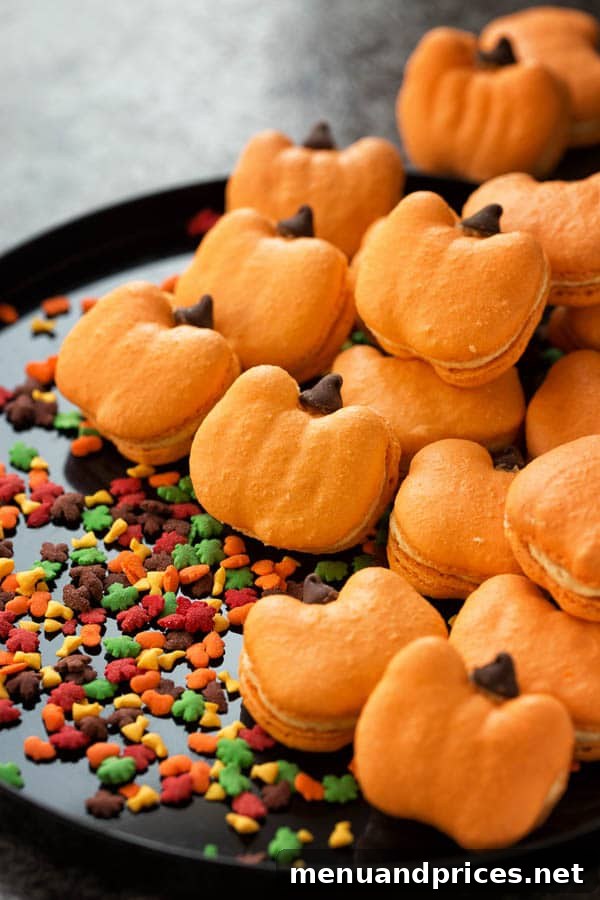
The transition from summer to fall always brings a delightful shift in baking priorities. While summer calls for light and fruity desserts, autumn opens the door to richer, spicier flavors. My excitement for fall baking truly skyrockets, and for many, that means one thing: pumpkin everything! If you share my enthusiasm, you’re in for a real treat with this beloved pumpkin macaron recipe.
This particular recipe for pumpkin-spiced French macarons holds a special place in my heart, and it quickly became a massive hit with my family, especially my mother-in-law, who declared it her absolute favorite among all the macaron flavors I’ve ever created. Originally developed three years ago, its timeless appeal makes it a fall classic worth revisiting and mastering every season.
Creating a macaron recipe is always a delicate dance, but infusing them with authentic pumpkin flavor presented a unique challenge. Macarons are notoriously finicky, highly sensitive to excess moisture. The initial thought of adding pumpkin puree directly into the delicate macaron batter gave me pause – would it compromise the texture, prevent the “feet” from forming, or result in hollow shells? I pondered various approaches: Should I simply incorporate pumpkin spice into the shells and rely on a pumpkin puree buttercream? But then, would the shells truly taste pumpkin-y enough? These questions swirled, highlighting the intricate balance required when developing a new macaron flavor.
The Secret to Perfect Pumpkin Flavor in Macarons
My quest for the ideal pumpkin infusion led me to a true game-changer: a magical little bottle of pumpkin spice baking emulsion. This discovery was a revelation! Unlike extracts, emulsions are water-based, meaning they impart concentrated flavor without adding unwanted oil or extra moisture that could ruin a macaron batch. Think of it as pumpkin pie flavor intensified in a bottle – precisely what my delicate macaron batter needed. A little goes a very long way, delivering a rich, authentic pumpkin spice essence that permeates every bite of these delightful cookies.
Since this emulsion is water-based, it blends seamlessly into the meringue without interfering with its stability, making it the perfect choice for achieving vibrant, consistent flavor in your macaron shells. This ensures your pumpkin macarons not only look amazing but taste profoundly of autumn’s favorite squash.
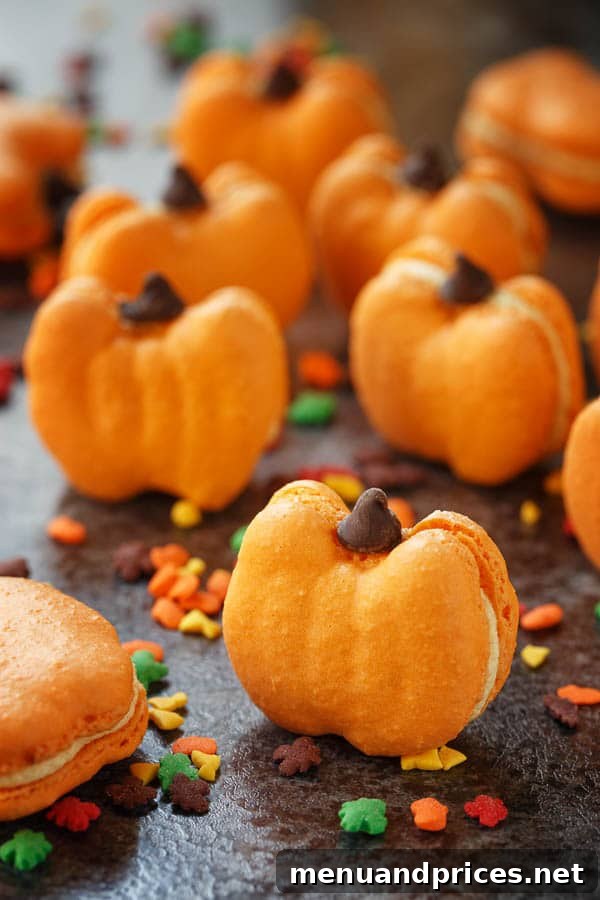
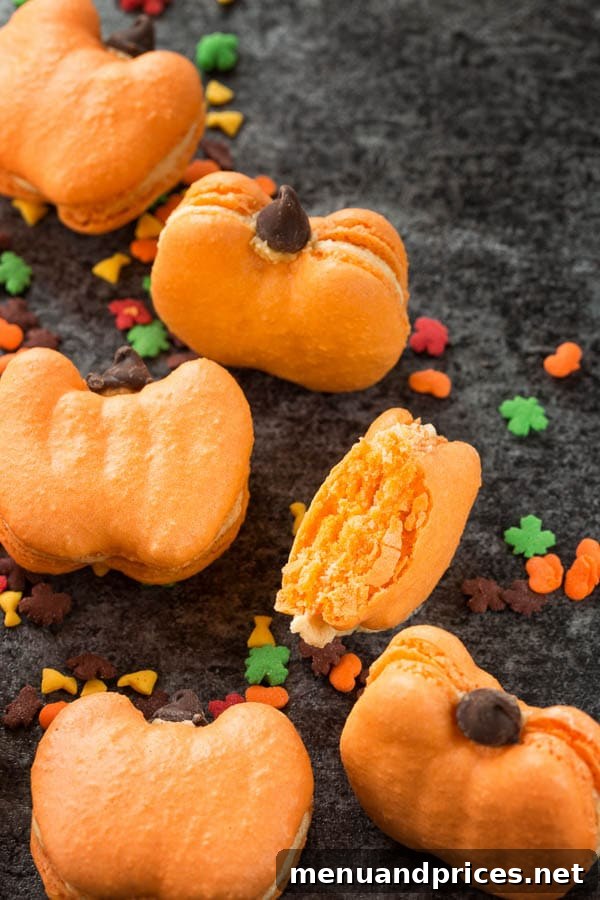
Seriously, how undeniably charming are these little pumpkin creations? The festive orange shells, perfectly piped with tiny chocolate chips serving as their stems, truly complete the look. Every time I make them, I can’t help but feel a little burst of pride. They’re a visual and culinary masterpiece, guaranteed to bring smiles.
My primary motivation for re-sharing this cherished recipe isn’t just about the flavor; it’s about empowering you to succeed. That’s why I’ve meticulously created a comprehensive video tutorial, guiding you through every step of the macaron-making process. Mastering French macarons can feel daunting, but with visual cues and detailed instructions, it becomes an achievable and immensely rewarding endeavor. I genuinely hope this video inspires you to roll up your sleeves, gather your ingredients, and embark on your own macaron baking adventure!
Unlock Perfect Shapes with Our FREE Macaron Template!
Achieving consistently sized and perfectly shaped macarons is much easier with a reliable guide. To help you create these charming pumpkin macarons (or any round macaron!), I’ve created a special template. This printable guide ensures uniformity, which is key to even baking and beautiful presentation. Simply download and print it, then place it under your parchment paper or silicone mat for effortless piping.
Download Your FREE Pumpkin Macaron Template Here
This template is an invaluable tool, especially for beginners, simplifying the piping process and helping you achieve professional-looking results right from your first batch. Don’t underestimate the power of a good template in your macaron journey!
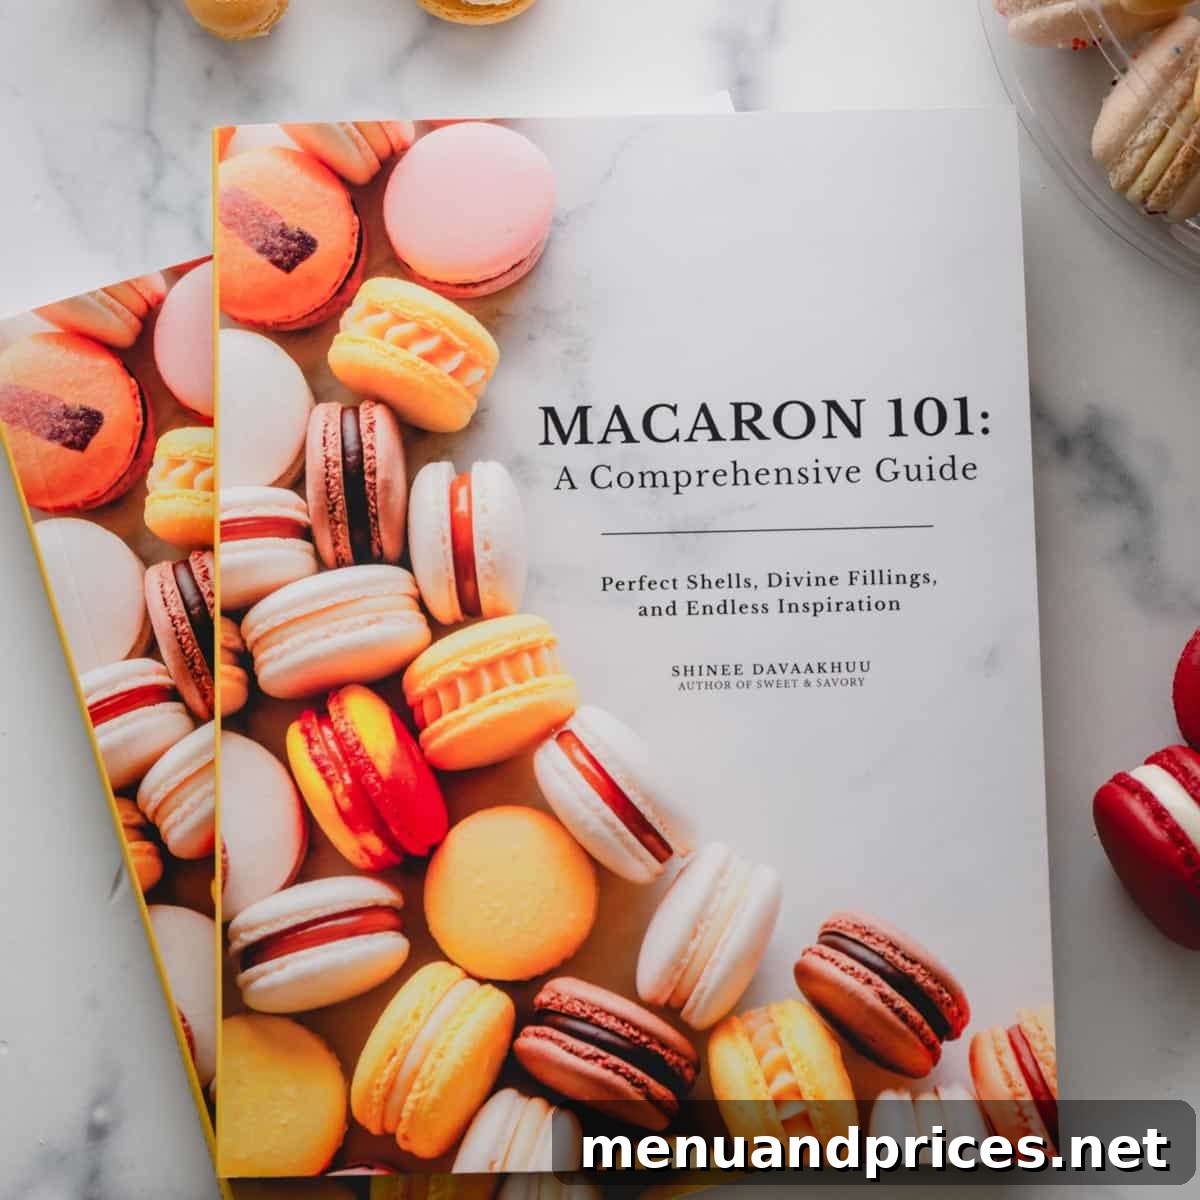
Elevate Your Baking: “Macaron 101: A Comprehensive Guide”
Ready to go beyond basics and truly master the intricate art of French macarons? My cookbook, “Macaron 101,” is your ultimate resource. It dives deep into every aspect of macaron making, from understanding the science behind the perfect shell to troubleshooting common issues, and even developing your own unique flavor combinations. This guide provides detailed instructions, expert tips, and exclusive recipes that will transform your macaron skills from novice to artisan. Unlock the secrets to consistent, flawless macarons and unleash your creativity in the kitchen.
Perfect Pumpkin Macarons with Creamy Buttercream Filling
Pin Recipe
Comment
Print Recipe
Ingredients
For macaron shells:
- 100 g almond flour Note 1
- 65 g powdered sugar Note 2
- 70 g egg whites at room temperature Note 3
- 75 g fine granulated sugar Note 4
- ¼ teaspoon cream of tartar Note 5
- ¼ teaspoon salt
- ¼ teaspoon pumpkin spice bakery emulsion
- Orange gel food coloring optional
For pumpkin buttercream:
- 3 tablespoons (40 g) unsalted butter softened
- 1 cup (130 g) powdered sugar
- 1 tablespoon pure pumpkin puree
- 1 teaspoon heavy cream
- 1/8 teaspoon salt
- 1/8 teaspoon ground cinnamon
Instructions
To make the macaron shells:
-
Preparation is Key: Preheat your oven to 300°F (150°C). Line two baking sheets with parchment paper, a non-stick teflon sheet, or a silicone mat. If using the free template, place it underneath your chosen lining. Having everything ready before you start mixing is essential for macaron success.
-
Prepare Dry Ingredients: Carefully weigh out your almond flour and powdered sugar. Sift these two ingredients together twice. This crucial step ensures a super fine, lump-free mixture, which is vital for smooth macaron tops. If you have a small amount (up to 2 tablespoons) of chunky bits left in the sifter after the second sift, simply discard them; do not force them through or replace them. Precision here leads to perfect shells.
-
Craft the Meringue: In a meticulously clean mixing bowl (grease-free is paramount!) fitted with a whisk attachment, combine the room-temperature egg whites, fine granulated sugar, cream of tartar, and salt. Begin beating the mixture on medium speed. Patience is a virtue here; whipping the meringue for 30-40 minutes (at speed 4 on a KitchenAid stand mixer, for instance) might seem long, but it’s absolutely worth it for creating a strong, stable meringue that yields beautiful, full macaron shells. Beat until you achieve soft peaks.
-
Add Color: Once the meringue has reached the soft peak stage, carefully add your orange gel food coloring. Gel colors are preferred over liquid colors as they provide vibrant hues without introducing excess moisture.
-
Achieve Hard Peaks: Continue beating the meringue at the same medium speed until stiff, glossy, hard peaks form. You’ll know it’s ready when the meringue balls up inside the whisk, and when you lift the whisk, the meringue holds a pointy, unmoving end with sharp “ribs.” This stable meringue is the backbone of your macaron shells.
-
The Art of Macaronage: Gently sift the prepared almond flour and powdered sugar mixture into your stiff meringue. Using a silicone spatula, carefully begin folding the dry ingredients into the meringue. The initial folds should thoroughly incorporate the dry mixture without deflating the meringue too much. Continue folding until the batter achieves the perfect “lava-like” consistency, often described as flowing smoothly enough to draw a figure eight continuously without breaking for several seconds. To test for readiness, drop a small amount of batter back into the bowl; if the small peak slowly dissolves into the batter within approximately 10 seconds, your batter is ready. If not, fold a couple more times and re-test. Over-folding is a common pitfall that leads to flat, oily macarons, so proceed with caution. For beginners, counting your folds (around 50 initial folds often works) can be a helpful guide, then testing every few folds thereafter. The folding motion should be a gentle sweep from the bottom, up the side of the bowl, and cutting through the center.
-
Pipe with Precision: Transfer your macaron batter into a pastry bag fitted with a round piping tip (a Wilton 12 tip is highly recommended for consistent circles). This tip size is ideal for creating the right pumpkin shape.
-
Shape the Pumpkins: Hold the pastry bag straight up at a 90° angle, about ½ inch above your prepared baking sheets. Pipe the macarons into pumpkin shapes (using the free template as a guide), spacing them about an inch apart. For visual guidance on achieving the perfect pumpkin shape, refer to the video tutorial provided above. Don’t forget to add a small chocolate chip at the top of each piped pumpkin to create the stem!
-
Release Air Bubbles: Firmly tap your baking sheets against the counter several times. Alternatively, gently slap the bottom of the baking sheet with your hand. This essential step helps release any trapped air bubbles within the batter, which can cause hollow shells or cracked tops. For any larger, stubborn bubbles, use a toothpick to gently pop them. This process contributes significantly to achieving smooth, perfect macaron tops.
-
The Resting Period: Allow the piped macarons to rest on the counter for a minimum of 15 minutes. The resting time is crucial; it allows a skin to form on the surface of the shells, which prevents cracking during baking and encourages the development of the characteristic “feet” (ruffled edges) that define a true French macaron. The exact resting time can vary depending on humidity levels, so you might need to extend it slightly until the shells are no longer sticky to the touch.
-
Bake to Perfection: Bake the macarons for 15-18 minutes, one baking sheet at a time, on the middle rack of your preheated oven. Keep in mind that larger macarons may require a slightly longer baking time. To test for doneness, gently touch a macaron and try to wiggle it. If it slides or wobbles on its “feet,” bake it for another minute or two. Properly baked macarons will be firm to the touch, and the shell should not move when gently nudged.
-
Cool Completely: Once baked, allow the macaron shells to cool completely on the baking sheets before attempting to remove them. This is a critical step! Attempting to remove warm shells risks breaking them or leaving the delicate bottoms stuck to the baking surface. Patience ensures perfectly intact shells ready for filling.
To make buttercream filling:
-
Whip the Buttercream: In a mixing bowl fitted with a whisk attachment, beat the softened unsalted butter until it is light and fluffy. This aeration is key to a smooth, airy buttercream. Then, add the powdered sugar, heavy cream, pure pumpkin puree, salt, and ground cinnamon. Continue beating on medium-high speed until all ingredients are well combined and the buttercream is wonderfully creamy and smooth. Scrape down the sides of the bowl as needed to ensure everything is incorporated.
-
Prepare for Piping: Transfer the prepared pumpkin buttercream into a pastry bag, ready to fill your cooled macaron shells.
To assemble macarons:
-
Pair and Arrange: Carefully pair macaron shells of similar size. Arrange them on a wire rack with the bottom shells placed upside down, ready to receive the filling. Consistency in size helps create beautifully finished macarons.
-
Fill with Flavor: Pipe a generous dollop of the pumpkin buttercream onto the center of each bottom shell. Gently place the matching top shell over the filling and press lightly until the buttercream spreads to the edges, creating a neat, filled sandwich.
-
Crucial Maturation: This step is arguably the most important for developing optimal flavor and texture. Refrigerate the filled macarons in an airtight container for at least 24 hours, or ideally 48 hours, to allow them to “mature.” During this time, the moisture from the filling will soften the macaron shells, enhancing their chewiness and infusing them with the rich pumpkin spice flavor. This maturation process transforms good macarons into truly exceptional ones.
-
Serving Perfection: For the best tasting experience, remove the macarons from the refrigerator approximately 30 minutes before serving. This allows them to come to room temperature, where their flavors and textures are at their peak.
⭐️ Made these delightful Pumpkin Macarons?
We’d love to hear about your baking success! Please leave a review and share your experience. Your feedback helps us grow and inspires other bakers!
Pro Tips & Baker’s Notes
Note 2: Commercial Powdered Sugar: I strongly recommend using store-bought powdered sugar (also known as confectioners’ sugar) over homemade. Commercial varieties typically contain cornstarch, which acts as an anti-caking agent and significantly helps in achieving the desired texture and stability for your macaron shells.
Note 3: Egg Whites: For consistent results, ensure your egg whites are at room temperature. This allows them to whip up to their maximum volume and stability. If you’re using carton egg whites, I’ve had great success with brands like Bob Evans (not sponsored, just a personal tip!), needing approximately 1/3 cup.
Note 4: Fine Granulated Sugar: Using fine granulated sugar (or caster sugar/baker’s sugar) for your meringue is crucial. Its smaller crystals dissolve quickly into the egg whites, creating a smooth, stable, and glossy meringue without a grainy texture.
Note 5: Cream of Tartar: While optional, cream of tartar is a fantastic ingredient for macaron making. It acts as a stabilizer for egg whites, helping them whip up faster, achieve greater volume, and form a sturdier, more reliable meringue. Consider it your extra insurance for perfect peaks!
Note 6: Scaling the Recipe: This macaron recipe is easily scalable. Feel free to double it if you’re baking for a larger crowd or simply want more of these irresistible pumpkin treats!
Storing Tips for Freshness:
– To maintain their delicate texture and rich flavor, store your filled pumpkin macarons in an airtight container in the refrigerator for up to 5 days. They often taste even better after a day or two as the flavors meld!
– For longer preservation, filled macarons can be frozen in an airtight container for up to 5 months. Thaw them in the refrigerator overnight and then bring them to room temperature for about 30 minutes before serving.
Nutrition

This delightful recipe for Pumpkin Macarons was originally published on September 17th, 2014, and has been lovingly updated and expanded to provide even more detailed guidance and baking inspiration. Enjoy this timeless fall favorite!