
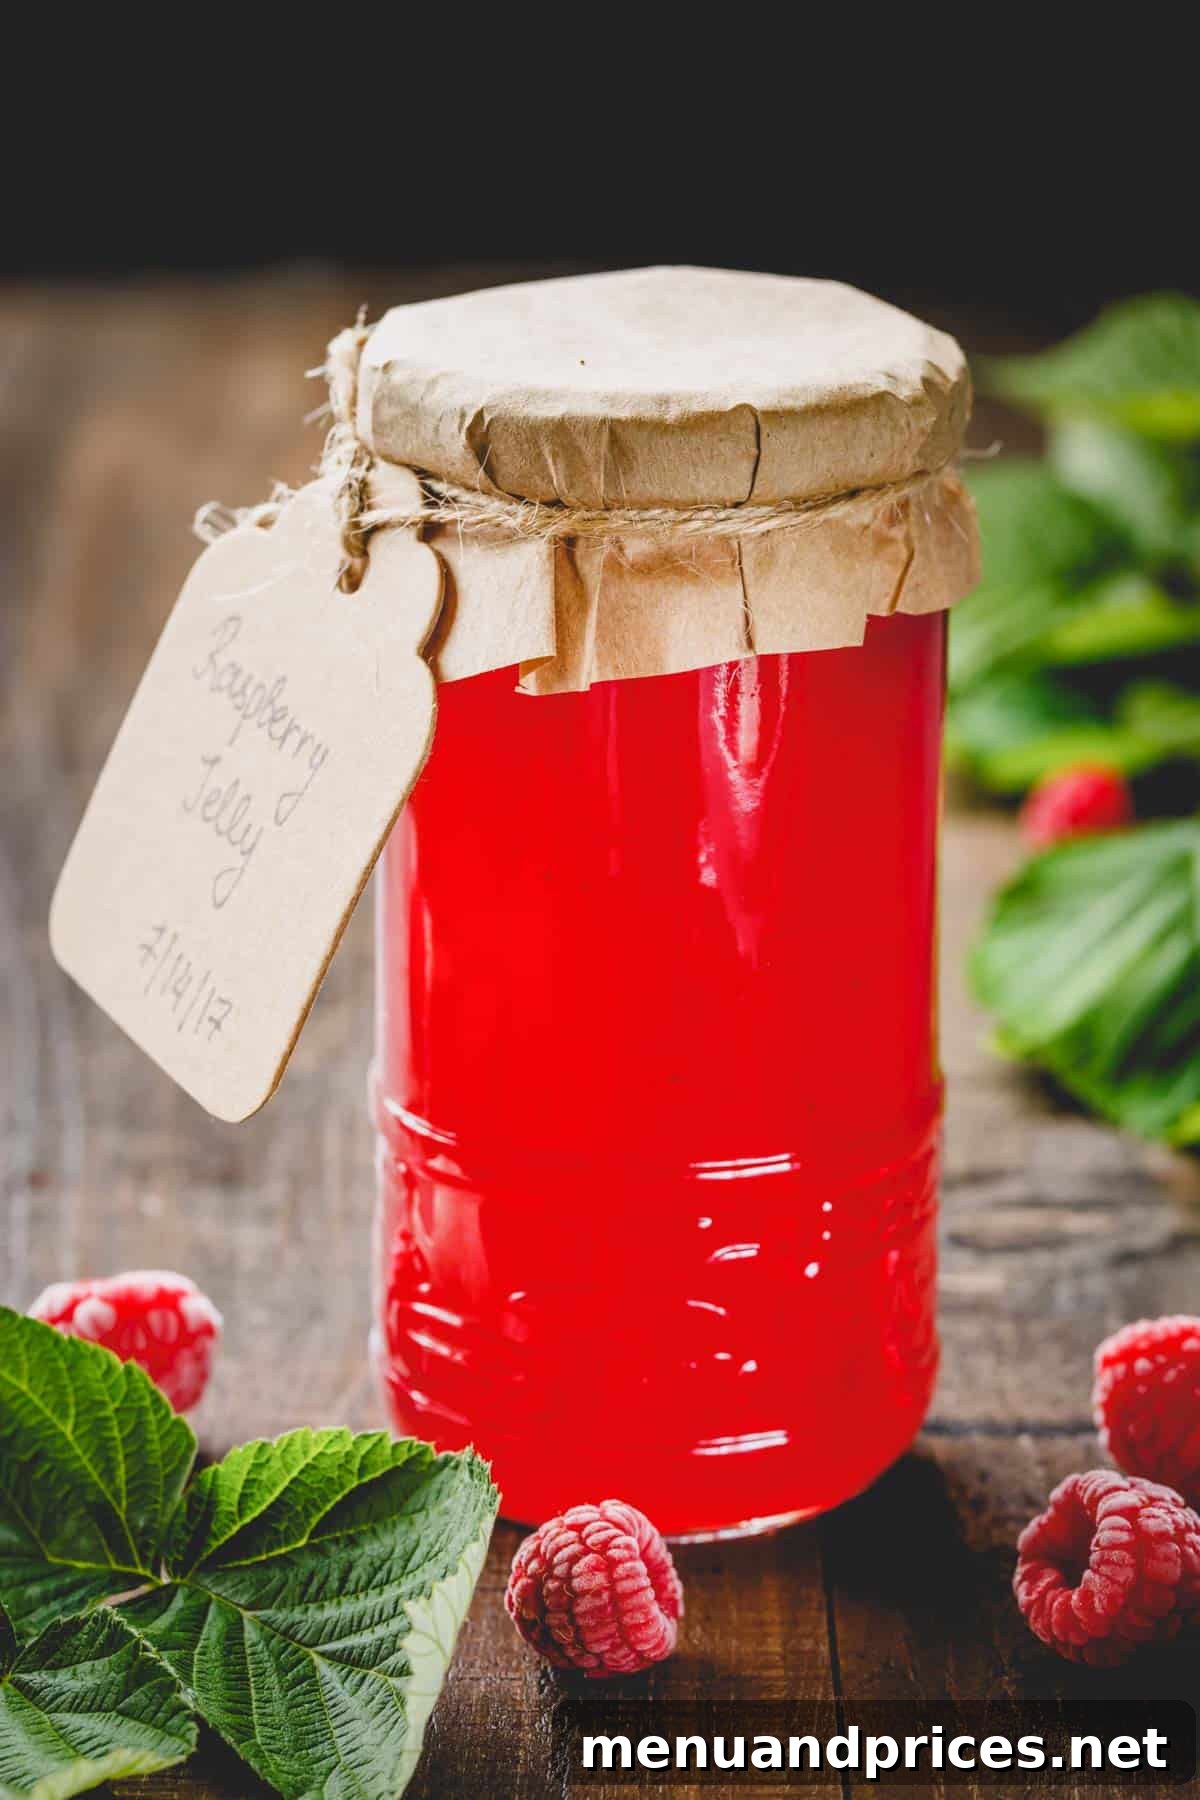
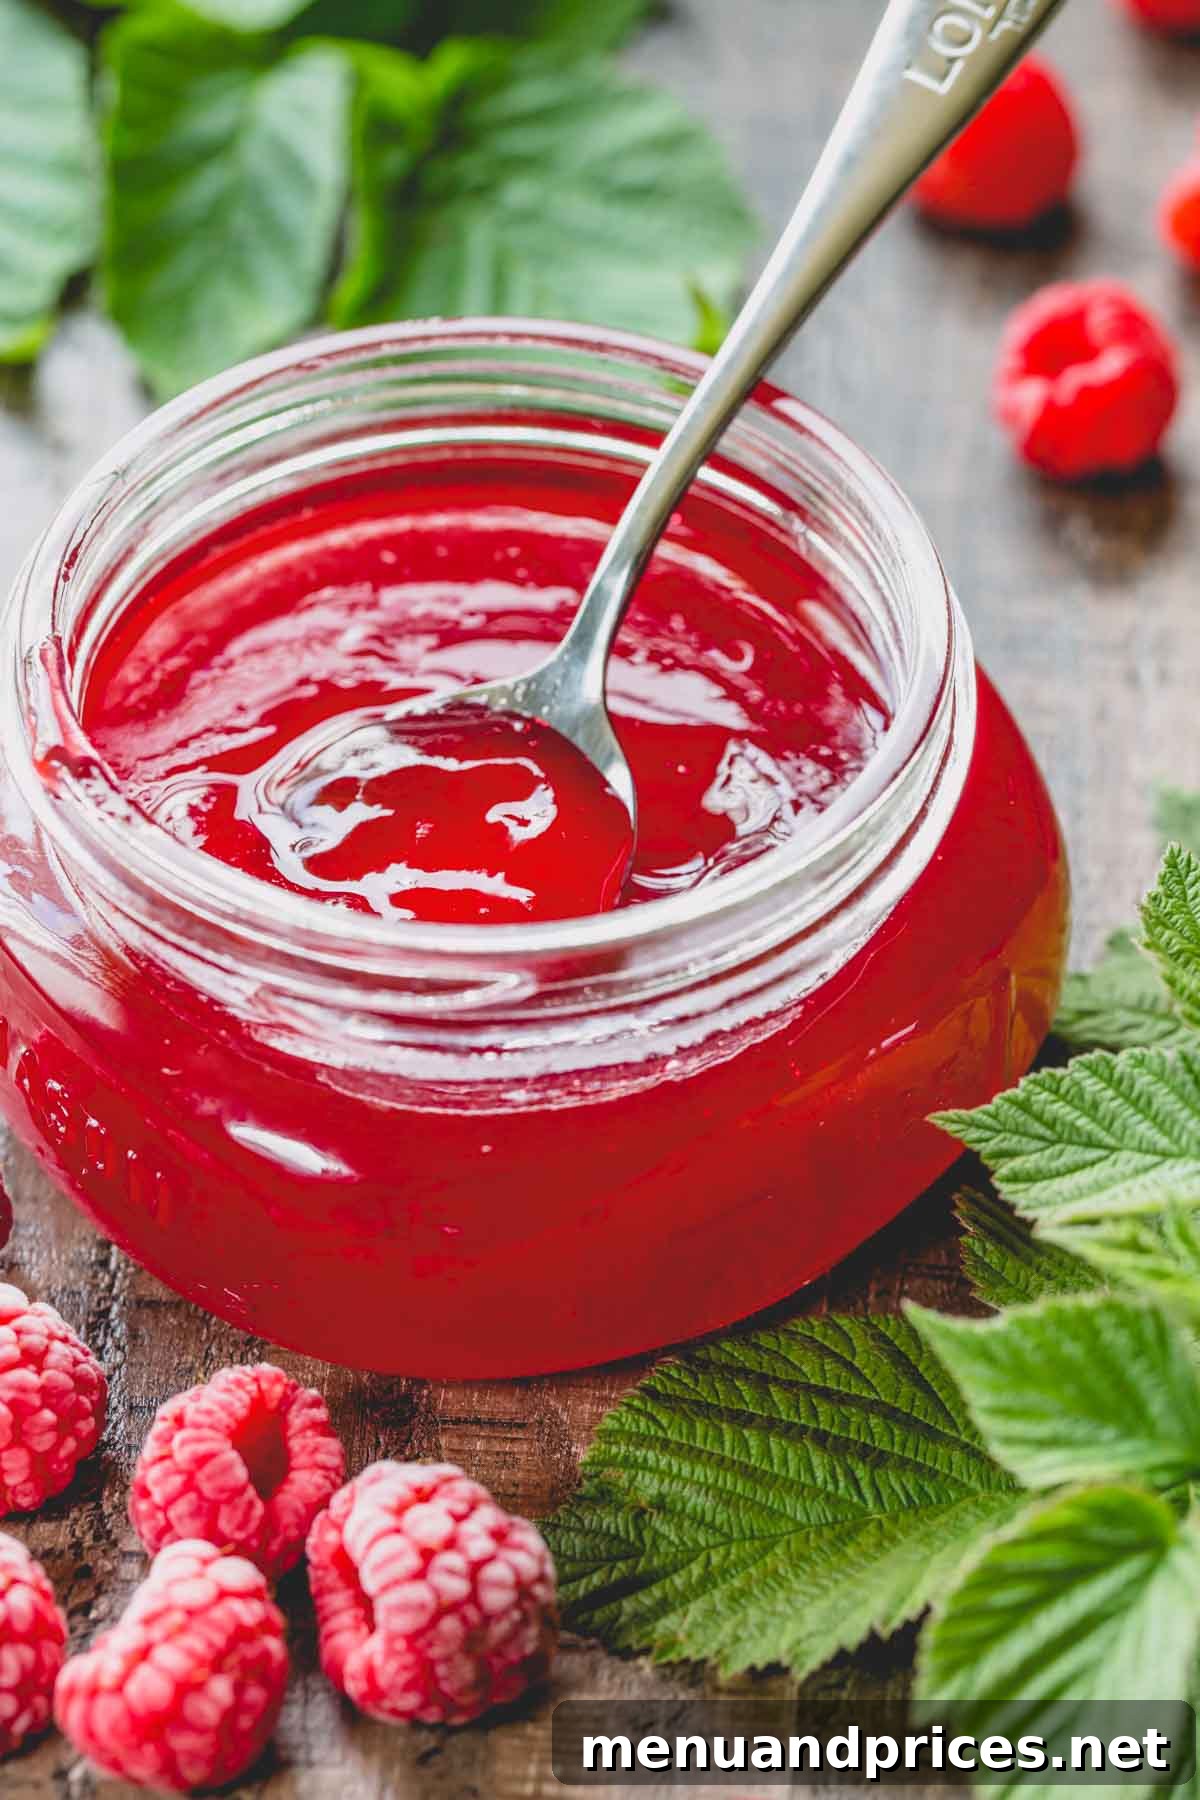
There’s nothing quite like the taste of summer captured in a jar, and this homemade raspberry jelly does just that. Bursting with bright, fresh raspberry flavor and boasting a beautifully soft, spreadable consistency, it’s surprisingly easy to make. Forget store-bought options; this recipe will become your go-to for preserving the season’s bounty and bringing sunshine to your breakfast table year-round.
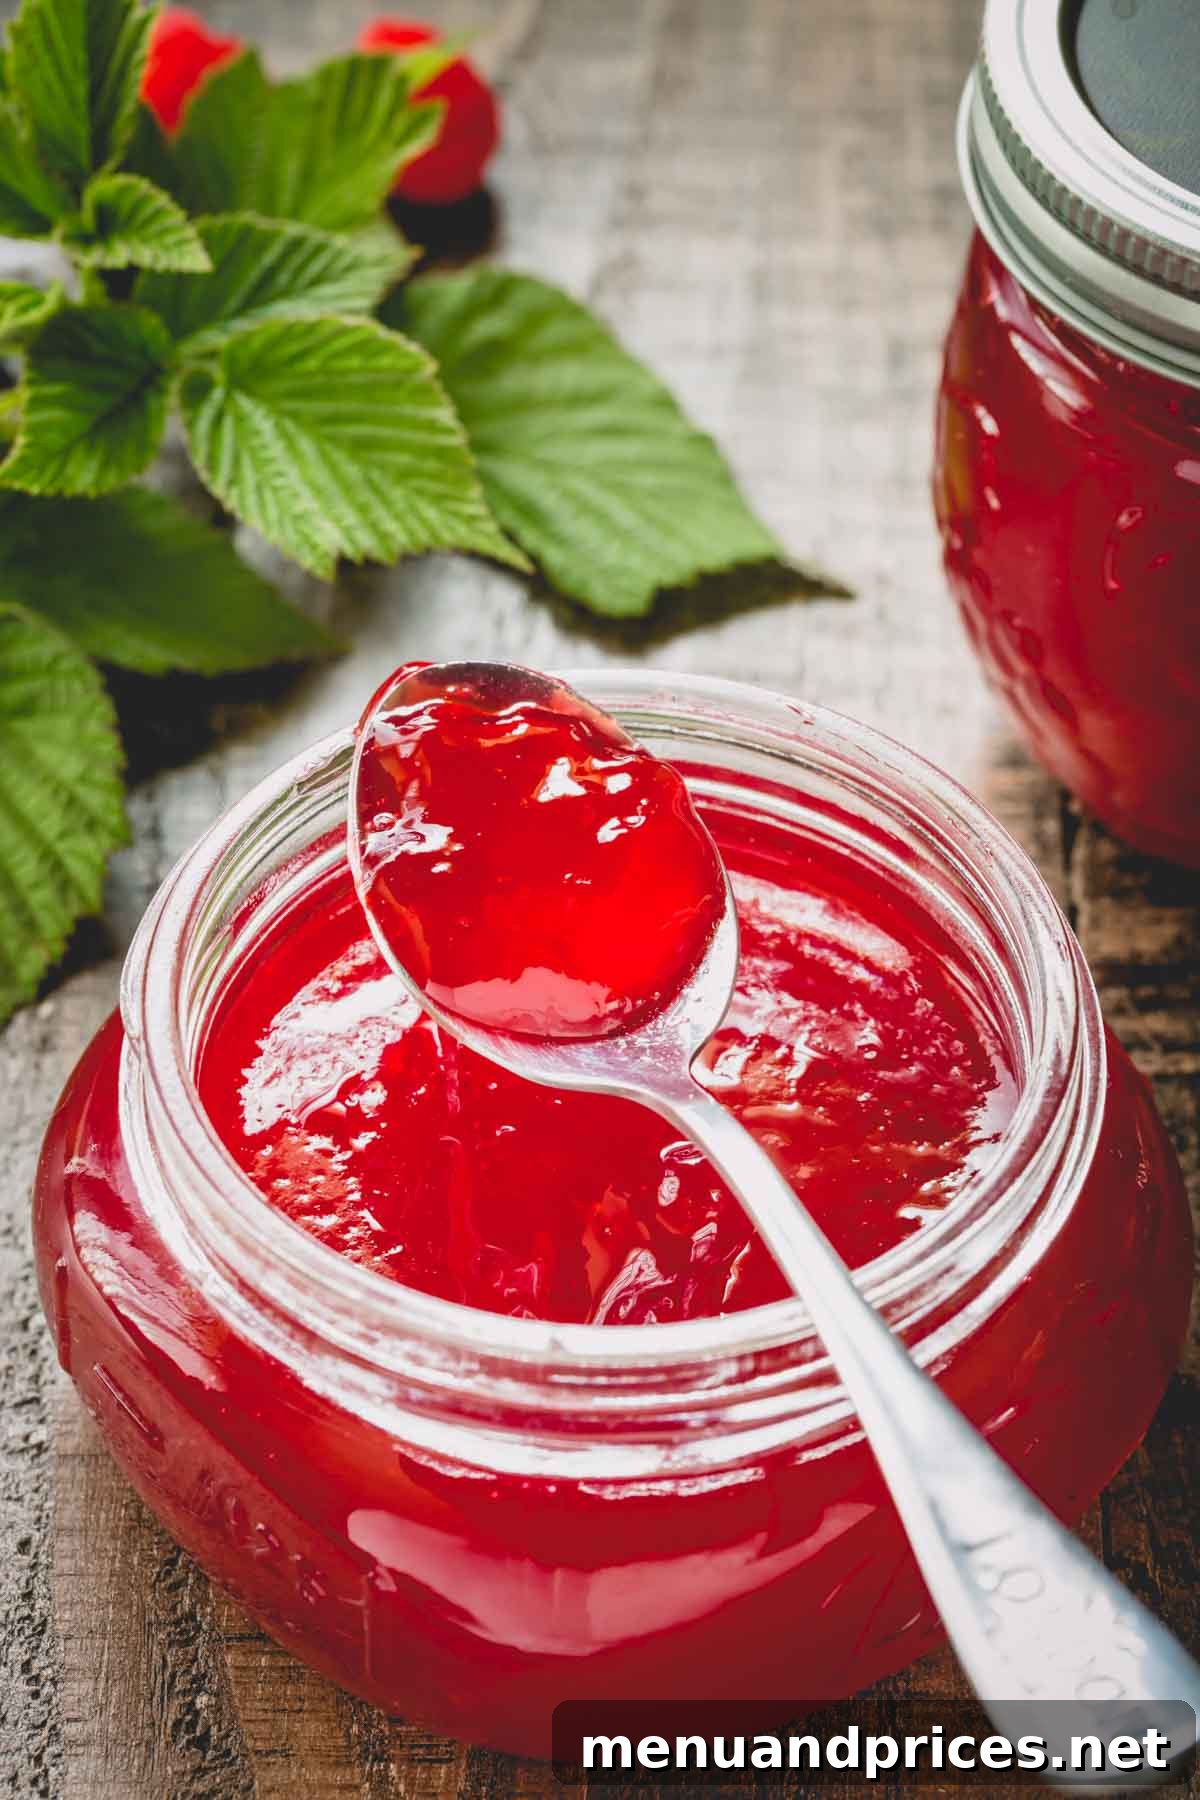
Every summer, as our backyard raspberry patch overflows with ripe, juicy berries, an annual tradition takes hold. Spending a couple of hours carefully picking bucketfuls of these ruby gems is a truly rewarding experience. And what better way to savor their delicate sweetness long after the season ends than by transforming them into exquisite jelly? This time-honored practice allows us to enjoy the taste of fresh raspberries on toast, muffins, or even as a glaze for desserts, reminding us of warm summer days.
This recipe for homemade raspberry jelly is not just a method; it’s a celebration of simplicity and natural flavors. It has become a cherished family favorite, perfected over years to ensure a consistently delicious result. If you’re looking for a simple, yet profoundly satisfying, way to make the most of your fresh raspberries, you’ve found it. Let’s dive into creating a truly remarkable seedless raspberry jelly that you’ll be proud to share.
Why You’ll Adore This Easy Raspberry Jelly Recipe
This isn’t just another jelly recipe; it’s a proven method for crafting an exceptionally flavorful and perfectly set raspberry jelly. It’s a family favorite that has stood the test of time, and here’s why we believe you’ll fall in love with it too:
- Effortlessly Simple: You don’t need to be an experienced canner to achieve professional-level results. This recipe is designed for ease, making it accessible for beginners and a quick win for seasoned pros.
- Minimalist Ingredients: Requiring only two core ingredients – fresh raspberries and sugar – this recipe celebrates the pure essence of the fruit, free from artificial additives or complex pectin measurements.
- Quick Preparation: From start to finish, you’ll spend less than 30 minutes actively cooking. The beauty of natural pectin in raspberries means less time fussing and more time enjoying.
- Vibrant Flavor Profile: The simple preparation allows the bright, tangy, and naturally sweet flavors of fresh raspberries to truly shine, delivering an intense fruit experience in every spoonful.
- Silky Smooth Consistency: This seedless raspberry jelly boasts a delightful, soft, and easily spreadable texture that glides onto toast or pastries, offering a luxurious mouthfeel without any grainy seeds.
- No Added Pectin Required: Thanks to the natural pectin abundant in raspberries, especially slightly unripe ones, there’s no need to purchase or measure additional pectin, simplifying the process even further.
Essential Ingredients for Perfect Raspberry Jelly
One of the most appealing aspects of this raspberry jelly recipe is its beautiful simplicity, requiring just two fundamental ingredients. Choosing the right quality and type of these ingredients is crucial for achieving the best flavor and set.
- Fresh Raspberries: The star of our show! For optimal jelly-making, it’s paramount to use fresh, ripe raspberries. While completely ripe berries are delicious, incorporating a mix that includes some slightly unripe berries is highly recommended. Unripe raspberries naturally contain higher levels of pectin, the substance responsible for helping your jelly set. This is key to making a firm, beautiful jelly without relying on store-bought pectin. Avoid using frozen raspberries if possible, as they are typically picked at peak ripeness when pectin levels are lower, and their cellular structure can be compromised, often leading to a jelly that doesn’t set properly. When selecting your raspberries, look for plump, brightly colored berries that are free from mold or bruising.
- Granulated Sugar: More than just a sweetener, sugar plays a vital multi-faceted role in jelly making. It not only enhances the delicious taste of the raspberries but also acts as a critical setting agent, working in conjunction with the natural pectin to achieve the desired consistency. Furthermore, sugar is a natural preservative, significantly extending the shelf life of your homemade jelly, allowing you to store it safely for months. For these reasons, it’s strongly advised not to reduce the amount of sugar specified in the recipe. Altering the sugar ratio can lead to a jelly that is too thin, doesn’t set, or has a significantly shorter storage life. Maintain the recommended sugar-to-juice ratio for guaranteed success.
Crafting Your Homemade Raspberry Jelly: A Step-by-Step Guide
1. Expertly Juice the Raspberries for a Seedless Finish
The secret to achieving that wonderfully smooth, seedless jelly consistency lies in the careful extraction of pure raspberry juice. This step is crucial for the elegant texture that distinguishes jelly from jam.
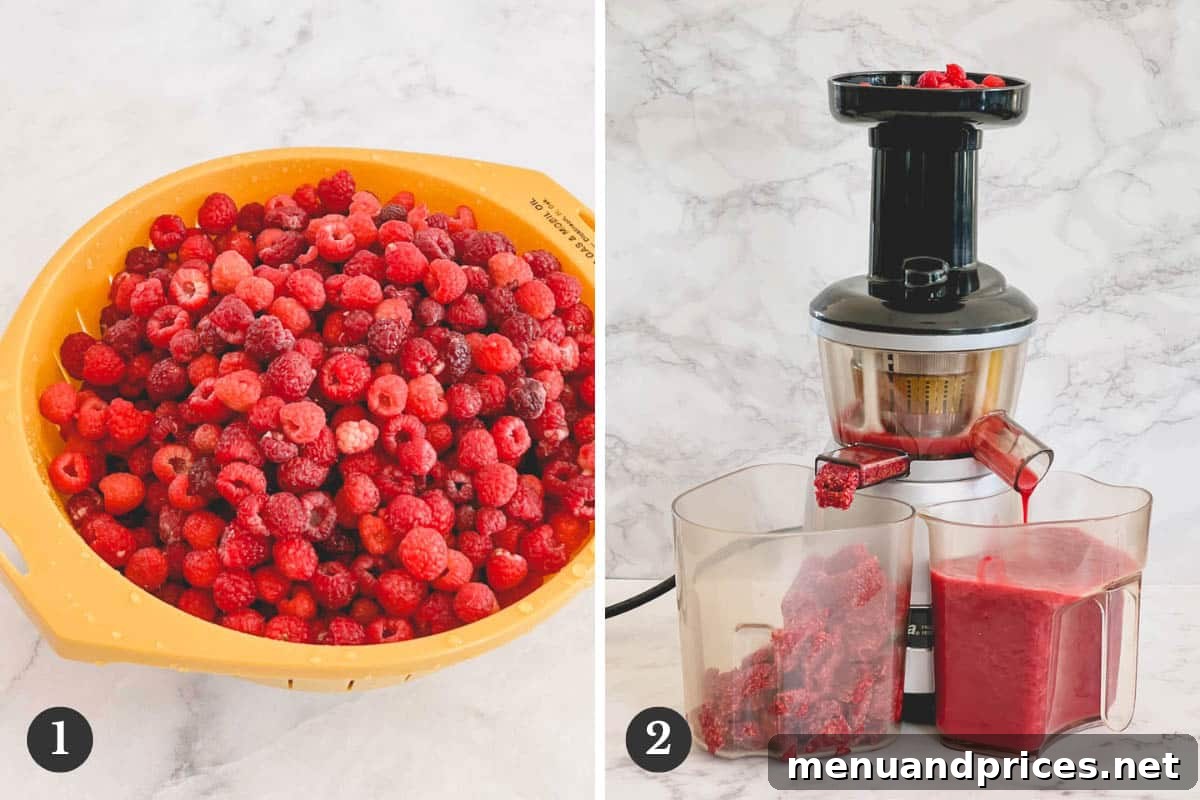
My preferred method involves using a juicer, specifically an Omega VERT350, which has been a reliable companion in my kitchen for years. A high-quality juicer efficiently separates the juice from the pulp and seeds, ensuring maximum yield and a perfectly clear liquid. To extract every last drop of flavorful juice, I run the raspberry seeds and pulp through the juicer a couple of times until they emerge almost completely dry. This maximizes your juice yield and ensures no precious flavor is left behind.
Pro Tip for Juicing
To ensure you get the absolute most out of your raspberries, don’t stop after the first pass through the juicer. Collect the leftover pulp and run it through the juicer a second, or even third, time until the waste feels almost completely dry. This technique significantly increases your juice yield, making every berry count.
No Juicer? No Problem! You can still achieve a fantastic seedless raspberry juice with common kitchen tools. Here’s how:
- Combine your fresh raspberries with a small amount of water (about 1.5 cups per 3-4 lbs of raspberries) in a large pot.
- Gently cook the mixture over medium heat for approximately 10 minutes, stirring occasionally, until the berries have softened and released their juices.
- Carefully pour the cooked raspberry mixture into a jelly strainer lined with cheesecloth, or through a fine-mesh sieve set over a large bowl. Allow the juice to drip naturally for several hours or overnight. Avoid pressing the pulp, as this can force small seed particles through and result in cloudy jelly.
Using my juicer, I consistently yield about 5 cups of pure raspberry juice from approximately 3 pounds of fresh raspberries. If using the cooking and straining method, you might need closer to 4 pounds of raspberries to achieve the same 5-cup volume of juice, due to some liquid loss in the process.
2. The Art of Cooking Raspberry Jelly to Perfection
Once you have your vibrant raspberry juice, the next step is to transform it into shimmering, delicious jelly. This stage requires attention and a good pot!
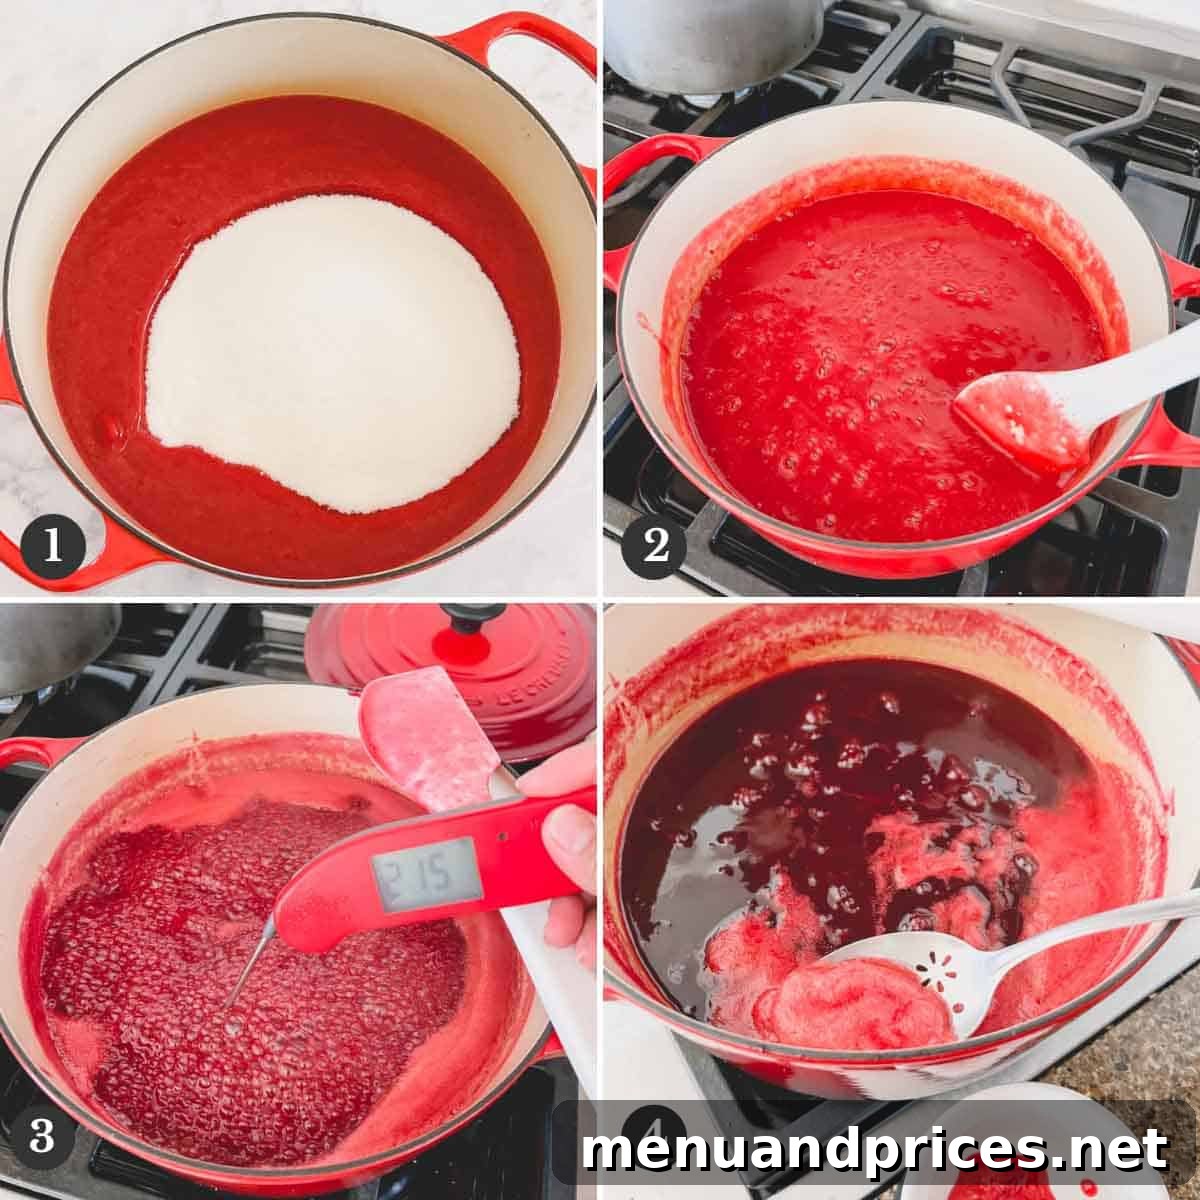
- Prepare Your Pot: Select a large, heavy-bottomed Dutch oven or stockpot. The “heavy-bottomed” aspect is crucial as it distributes heat evenly and prevents scorching. A 5-quart pot is the minimum recommended size, as the mixture will boil up significantly.
- Combine Ingredients: In your prepared pot, combine equal parts of raspberry juice and granulated sugar. For example, if you have 5 cups of juice, you will use 5 cups of sugar.
- Dissolve the Sugar: Begin by heating the mixture gently over medium heat, stirring frequently. This gentle stirring helps the sugar dissolve completely before the mixture comes to a full boil. Undissolved sugar crystals can lead to a grainy jelly texture. Continue until most of the sugar crystals are no longer visible.
- Bring to a Boil: Once the sugar is mostly dissolved, increase the heat to medium-high. Bring the mixture to a “full rolling boil.” This means the jelly should be boiling vigorously and continuously, even when stirred. This intense boiling is essential for activating the pectin and concentrating the sugars, which aids in setting.
- Achieve Setting Point: Continue cooking at a full rolling boil, stirring frequently to prevent sticking, until the mixture reaches a temperature of at least 215°F (102°C) on an instant-read thermometer. This temperature is a reliable indicator that the jelly has reached its setting point. For added assurance, you can also perform a “sheet test” by dipping a cold metal spoon into the boiling jelly, lifting it, and tilting it. If the jelly forms a “sheet” or a few drops run together and fall off the spoon, it’s ready. This process usually takes about 20-25 minutes.
- Skim the Foam: Immediately turn off the heat once the setting point is reached. Using a slotted spoon, carefully skim off any foam that has risen to the surface. This step ensures your finished jelly will be beautifully clear and aesthetically pleasing.
Essential Pot Selection
Always use a pot that is significantly larger than you think you’ll need. Jelly boils up vigorously, and a large, heavy-bottomed pot (at least 5-quart capacity) will prevent boil-overs and ensure even cooking, minimizing the risk of scorching. An enameled Dutch oven is an excellent choice for this task.
3. Preserving Your Harvest: Safe Canning Practices
Canning is the process that allows you to store your delicious homemade raspberry jelly safely in your pantry for extended periods. Proper sterilization and sealing are key to preventing spoilage and ensuring food safety.
- Prepare Jars: Before you even start cooking, ensure your canning jars are properly sterilized (instructions below). Keep them hot until ready to fill.
- Fill Jars: Carefully ladle the hot jelly into the sterilized jars, leaving at least 1/4 inch of headspace from the top rim. This headspace is critical for creating a proper vacuum seal during processing.
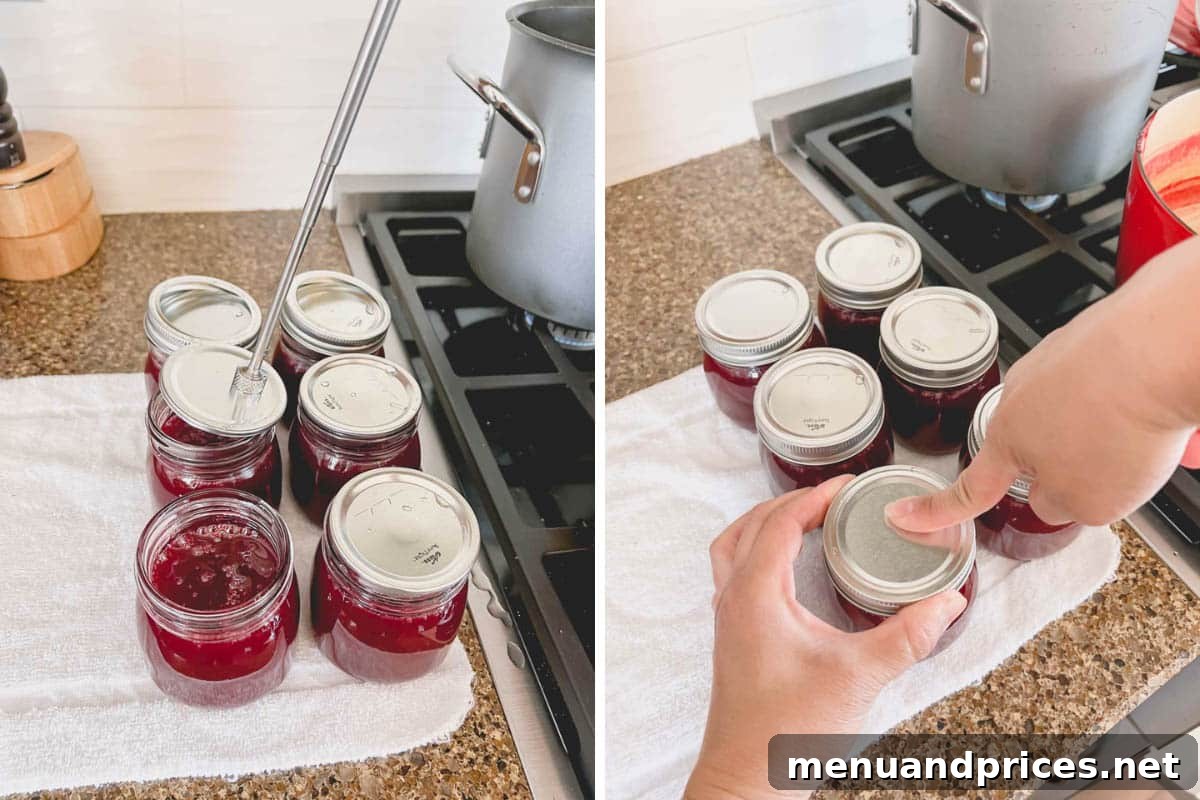
- Clean Rims and Apply Lids: Wipe the jar rims thoroughly with a clean, damp towel to remove any jelly residue. Even a tiny bit of jelly can prevent a proper seal. Place the sterilized lids on top of the jars. Then, secure the metal screw bands, tightening them “fingertip tight” – meaning just enough resistance so they don’t spin freely, but not overly tight. (A valuable tip from my mother-in-law: hold the lid in the middle with your finger while tightening the ring to prevent disturbing the rubber seal!)
- Water Bath Processing: Carefully place the filled and lidded jars onto a canning rack inside a large, deep pot (a water bath canner). Ensure the jars are not touching each other. Fill the pot with boiling water so that the jars are covered by at least 1-2 inches of water. Bring the water to a full rolling boil, then process the jars for 10 minutes (adjusting for altitude if necessary).
- Cooling and Sealing: After 10 minutes, turn off the heat. Allow the jars to sit undisturbed in the hot water bath for an additional 5 minutes before carefully removing them. Transfer the hot jars to a counter lined with a clean towel, leaving several inches of space between each jar. Let them cool completely for 12-24 hours without disturbing them.
As the jars cool, you may hear delightful popping sounds. This is the sound of the vacuum seal forming, indicating that your jars have successfully sealed! It’s exactly what you want to hear.
Once the jars are completely cool, check the seals by pressing down on the center of each lid. If the lid is concave and doesn’t spring back when pressed, the jar is sealed. Properly sealed jars can be stored in a cool, dark pantry for up to 1 year. Any jars that did not seal should be stored in the refrigerator and consumed within 1 month.
How to Sterilize Canning Jars and Lids for Safety
Sterilization is a non-negotiable step in safe canning, ensuring that no harmful bacteria compromise your delicious jelly. Here’s how to do it effectively:
- For Jars: Wash clean canning jars thoroughly with hot, soapy water, then rinse well. Place them in a large pot or water bath canner, cover with water, and bring to a boil. Boil for at least 5 minutes. Keep the jars submerged in hot water until you are ready to fill them to prevent them from cracking when filled with hot jelly.
- For Lids and Rings: Place clean canning lids (the flat part with the rubber seal) and screw bands into a smaller saucepan. Cover them with water and bring the water to a simmer (do not boil rapidly). Turn off the heat and let them sit in the hot water until ready to use. Boiling the lids can sometimes damage the rubber seal, making it less effective.
Pro Tips for Making Perfect Raspberry Jelly Every Time
Achieving outstanding homemade raspberry jelly is simple with a few key insights. Keep these tips in mind to ensure your jelly sets beautifully and bursts with flavor:
- Optimal Raspberry Selection: For the best results, always use fresh raspberries. The natural pectin content is highest in fresh fruit. Critically, incorporate a mix of ripe and slightly unripe berries. The greener, less ripe berries are particularly rich in natural pectin, which is essential for a good set without needing commercial pectin.
- Avoid Frozen Raspberries: While convenient, frozen raspberries are generally picked at peak ripeness when their pectin levels are lower. Additionally, the freezing and thawing process can break down cell walls, releasing too much water and making it harder for the jelly to set correctly. It’s best to save frozen berries for smoothies or other uses.
- Maximize Juice Extraction: To ensure a clear, vibrant jelly, a juicer is your best friend. It efficiently separates seeds and pulp, yielding pure, clean juice. If using the cook-and-strain method, resist the urge to press the pulp aggressively; let gravity do the work to avoid cloudiness.
- Crucial Sugar-to-Juice Ratio: Adhere strictly to equal amounts of raspberry juice to sugar. This 1:1 ratio is fundamental not only for the sweetness but also for the proper setting of the jelly and its preservation. Sugar plays a vital role in both pectin activation and preventing spoilage.
- Invest in a Quality Pot: A heavy-bottomed pot, like an enameled Dutch oven, is indispensable. It distributes heat evenly, preventing the jelly from scorching on the bottom, which can impart an unpleasant burnt flavor and color.
- Choose the Right Size Pot: Jelly boils vigorously, often increasing its volume significantly. Ensure you use a pot that is large enough (at least 5 quarts) to safely accommodate the bubbling mixture, preventing messy boil-overs.
- Monitor Cooking Time and Temperature: Overcooking the jelly can lead to a darker color, a caramelized taste, and a texture that is too stiff. Use an accurate instant-read thermometer and remove the jelly from the heat promptly once it reaches the target temperature of 215°F (102°C).
- Consider a Canning Kit: If you’re new to canning or looking to streamline your process, a dedicated canning kit offers essential tools like jar lifters, funnels, and headspace removers, making the entire canning process safer and more convenient.
- Don’t Double the Recipe: While tempting, making larger batches of jelly can prevent it from reaching the setting point correctly. The volume of liquid affects how quickly the mixture reduces and concentrates. Stick to the recipe’s recommended quantities for optimal results.
- Cleanliness is Paramount: Always ensure all your equipment – from picking buckets to jars and utensils – is spotlessly clean and properly sterilized to prevent any contamination.
Frequently Asked Questions About Raspberry Jelly
Removing raspberry seeds is crucial for a smooth jelly. There are two primary effective methods:
- Using a Juicer: This is the most efficient method. Simply run fresh raspberries through a juicer. For maximum juice extraction, process the leftover pulp through the juicer a couple of times until it’s nearly dry.
- Cooking and Straining: If you don’t have a juicer, gently cook the raspberries with a small amount of water (about 1.5 cups for 3-4 lbs of berries) for about 10 minutes until softened. Then, carefully pour the mixture through a fine-mesh sieve, cheesecloth, or a specialized jelly bag. Allow the juice to drip through naturally without pressing the pulp, as pressing can push fine seed particles through and result in cloudy jelly.
Proper sterilization is vital for safe, shelf-stable jelly:
- For Jars: Wash clean jars in hot, soapy water, rinse, then submerge them in boiling water for at least 5 minutes. Keep them hot until filling to prevent thermal shock.
- For Lids: Place clean lids and screw bands in a saucepan, cover with water, and bring to a simmer (not a full boil). Keep them hot in the simmering water until ready to use, as boiling can damage the rubber seal.
The primary distinction lies in their texture and fruit content:
- Jelly: Made from fruit juice, resulting in a clear, translucent, and smooth spread without any fruit pieces or seeds. It has a firm, quivering consistency.
- Jam: Made from crushed or chopped fruit, cooked with sugar. It has a thicker, more spoonable consistency and contains fruit pulp and often small pieces of fruit, but typically no large chunks.
- Preserves: Contains whole or large pieces of fruit suspended in a syrupy jelly.
- Marmalade: Similar to jam but specifically made with citrus fruits, including their rind.
If your jelly hasn’t set after cooling for 24-48 hours, it’s likely due to insufficient cooking time, an incorrect sugar-to-juice ratio, or low pectin content in your fruit. You can try to reprocess it:
- Empty the unset jelly back into a large pot.
- Bring it back to a full rolling boil and cook for an additional 5-10 minutes, ensuring it reaches the setting temperature of 215°F (102°C). You can also add 1-2 tablespoons of lemon juice (for acidity to aid pectin activation) or a small amount of liquid pectin if you suspect low natural pectin.
- Re-jar and re-process in a water bath as per canning instructions.
If reprocessing isn’t successful or desired, the “unset” jelly is still delicious as a raspberry syrup for pancakes, ice cream, or mixed into yogurt. Store it in the refrigerator.
Properly canned and sealed homemade raspberry jelly can last for up to 1 year in a cool, dark pantry. Once opened, or if a jar does not seal correctly, it should be stored in the refrigerator and consumed within 1 month for best quality and safety.
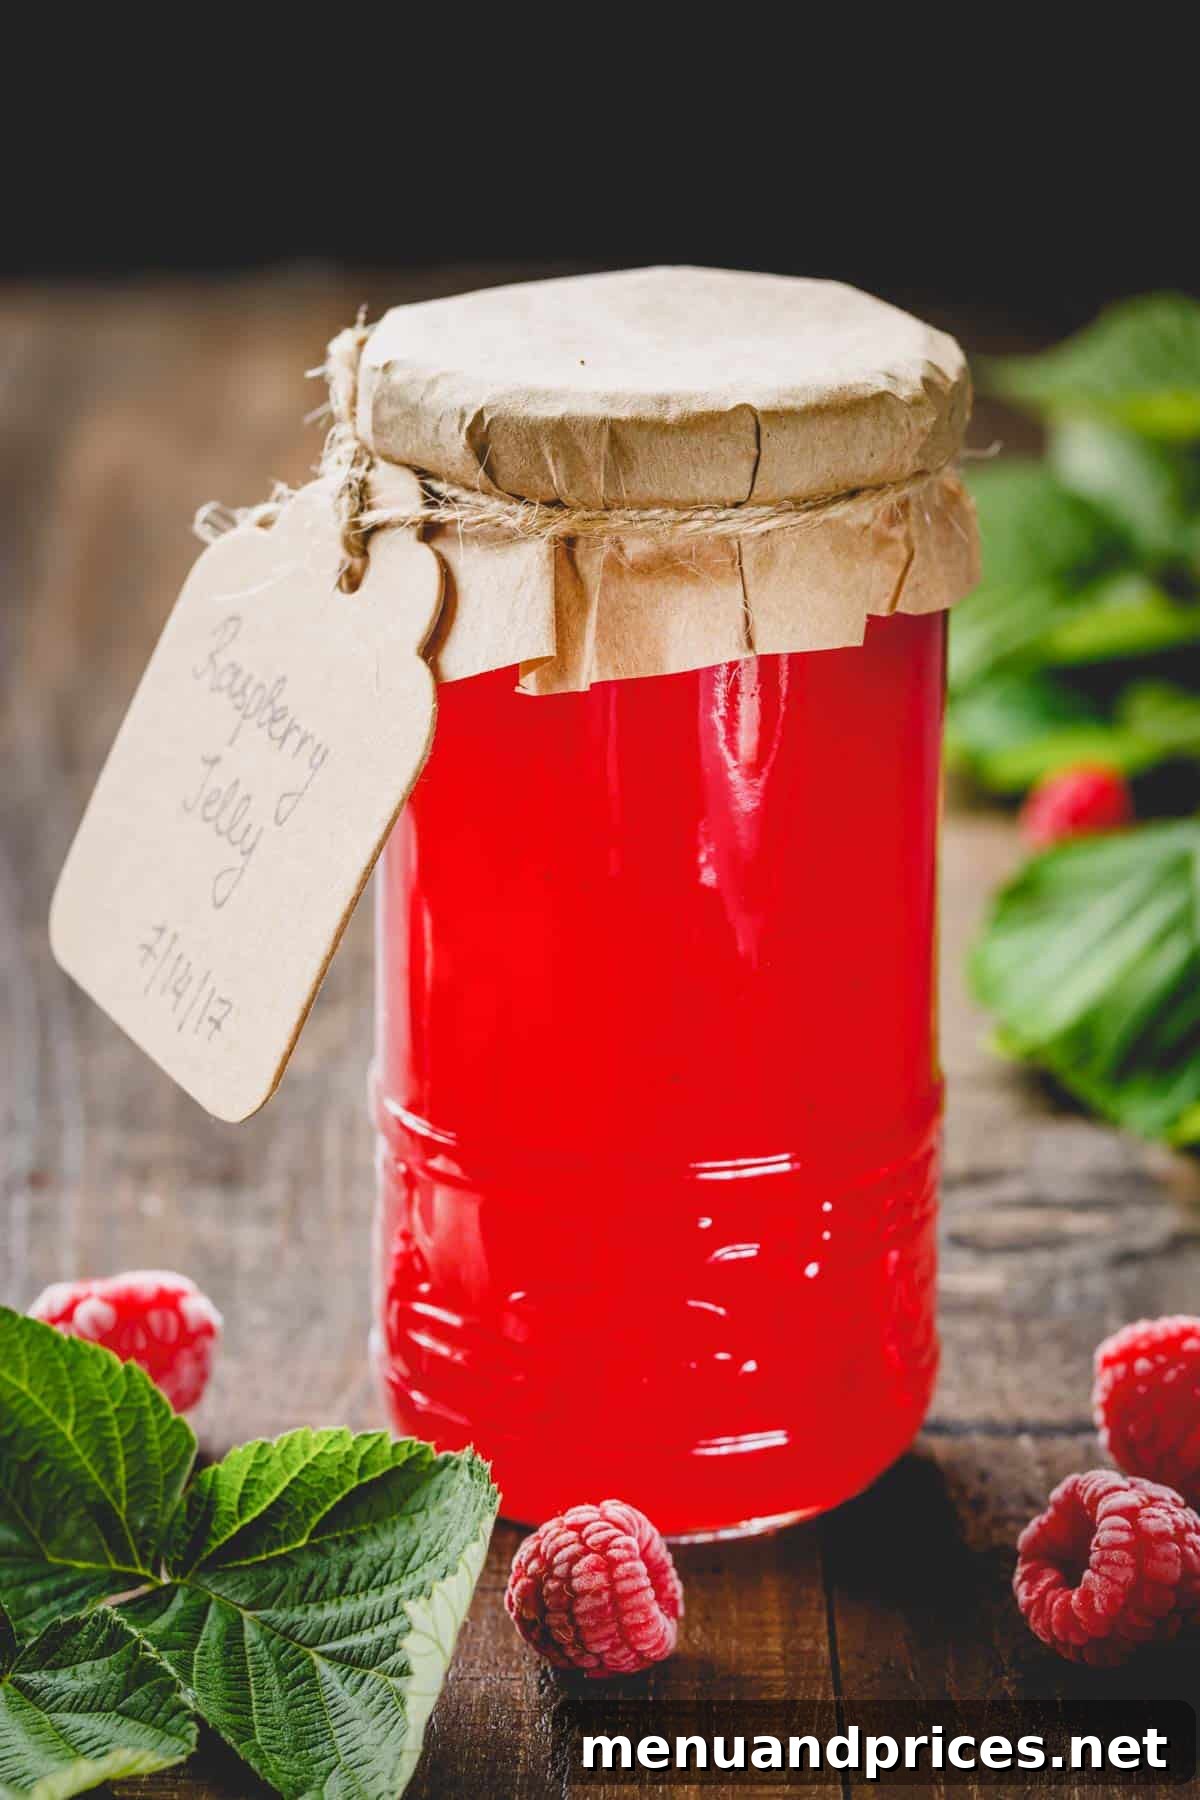
I genuinely hope you’ll embark on the delightful journey of making this beautiful raspberry jelly for your friends and family. It’s not just a treat for the taste buds, but also makes a thoughtful and elegant hostess gift. The vibrant color and irresistible flavor are sure to impress anyone lucky enough to receive a jar. As always, thank you for reading and happy preserving!
Easy Homemade Raspberry Jelly (No Pectin)
Shinee Davaakhuu
10
25
1
6 jars
Ingredients
- 5 cups fresh raspberry juice (See Note 1 below for juicing methods)
- 5 cups granulated sugar (See Note 2 below on sugar’s importance)
Instructions
To make the jelly:
-
In a large heavy-bottomed pot (at least 5qt capacity), combine the prepared raspberry juice and granulated sugar.
-
Gently heat the mixture over medium heat, stirring frequently until the sugar is almost entirely dissolved. This prevents crystallization later.
-
Once most of the sugar has dissolved, increase the heat to medium-high and bring the mixture to a full rolling boil. This means the mixture will continue to boil vigorously even when stirred.
-
Continue cooking the mixture at a full rolling boil until it reaches a temperature of at least 215°F (102°C) on an instant-read thermometer, typically about 20-25 minutes. Stir frequently to prevent scorching on the bottom.
-
Immediately turn off the heat and use a slotted spoon to carefully skim off any foam that has risen to the surface for a clear jelly.
Canning Instructions:
-
Carefully ladle the hot jelly into sterilized jars, leaving at least 1/4 inch of headspace from the rim.
-
Wipe the jar rims clean with a damp towel to ensure a good seal. Place sterilized lids on top, then tighten the metal screw bands “fingertip tight” (just until resistance is felt, don’t overtighten). Holding the lid center with your finger while tightening can help maintain the seal integrity.
-
Carefully place the jars into a deep pot (a water bath canner), filled with boiling water and lined with a canning rack. Ensure the jars are covered by at least 1-2 inches of water.
-
Bring the water to a full rolling boil and process the jars for 10 minutes. After 10 minutes, turn off the heat and let the jars sit in the hot water for 5 minutes before carefully removing them.
-
Transfer the jars to a towel-lined counter, spaced several inches apart, and let them cool undisturbed for 12-24 hours. You should hear popping sounds as the jars seal. Once cool, check seals by pressing the center of the lid; if it’s concave and doesn’t spring back, it’s sealed. Sealed jars can be stored in the pantry for up to 1 year. Unsealed jars should be refrigerated and used within 1 month.
Tips & Notes
Note 1: Raspberry Selection & Juicing Methods
Only use fresh raspberries for this recipe. Ideally, include some slightly unripe berries in your mix, as they have higher natural pectin content which aids in setting. Frozen raspberries are not recommended as they typically lack sufficient pectin to set properly without added pectin.
To juice raspberries:
– Method 1 (Recommended): Use a juicer to extract as much raspberry juice as possible, separating seeds and pulp. For maximum yield, run the residual pulp through the juicer a couple of times until dry. (An Omega VERT350 juicer is mentioned as effective.) Approximately 3 lbs of fresh raspberries yield 5 cups of juice using this method.
– Method 2: Cook 3-4 lbs of raspberries with about 1.5 cups of water for roughly 10 minutes until softened. Then, strain the mixture through a fine-mesh sieve, cheesecloth, or jelly strainer, allowing the juice to drip naturally without pressing the pulp. This method may require slightly more berries to achieve 5 cups of juice.
Note 2: The Role of Sugar
Maintain a 1:1 ratio of granulated sugar to raspberry juice (1 cup sugar for every 1 cup juice). Do not reduce the sugar content, as it is crucial for proper setting of the jelly and acts as a natural preservative, extending the shelf life.
How to Sterilize Jars and Lids:
– Place clean canning jars in boiling water for about 5 minutes, keeping them hot until filled.
– Simmer canning lids (do not boil) in hot water in a separate pot to soften their rubber seals without damaging them, keeping them hot until ready for use.
Nutrition
697kcal
179g
1g
1g
171g
3mg
Condiments
American
This recipe was originally published on August 11, 2013, and has been updated and expanded for clarity and comprehensiveness.