
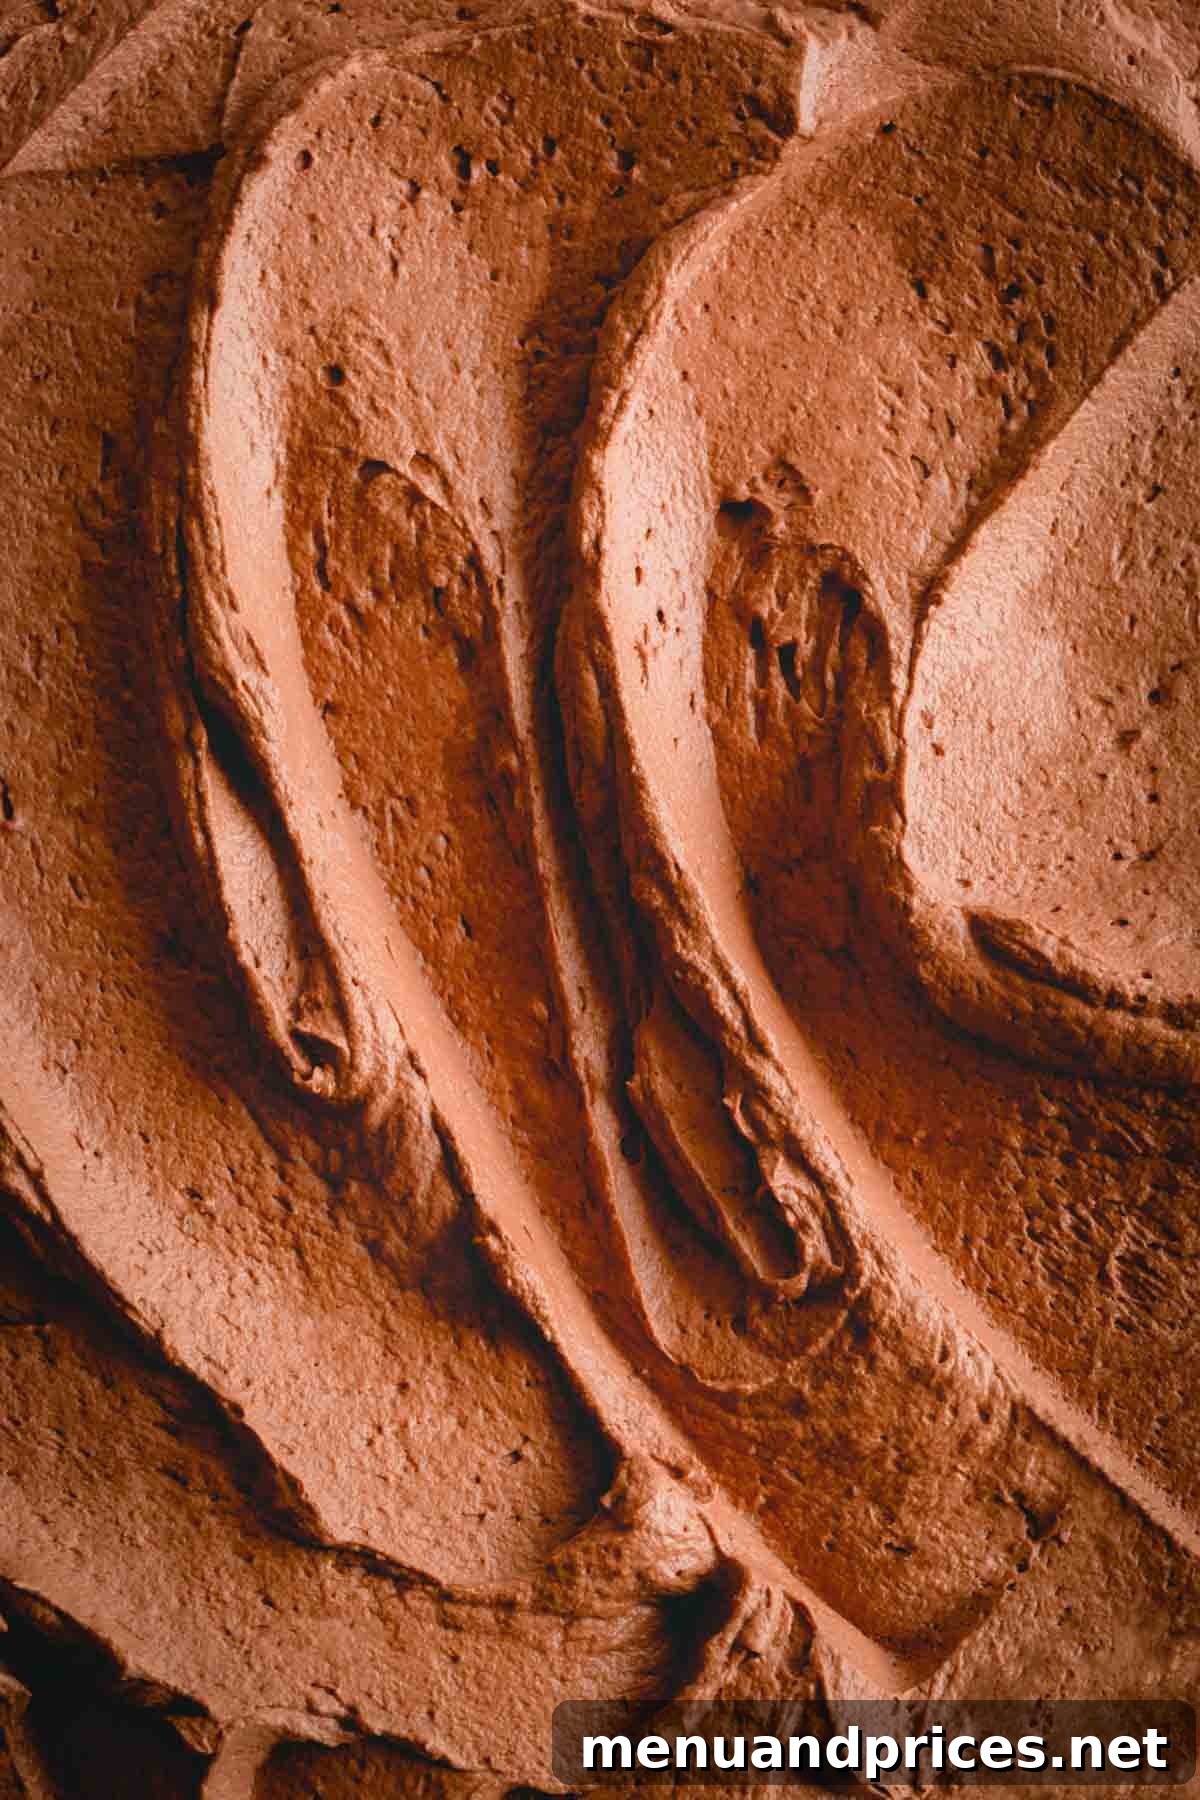
Prepare to elevate your baking with this exquisite **Chocolate Mousse Filling**. Crafted for perfection, it boasts a remarkably creamy texture, a delightful lightness, and an irresistible, deep chocolate flavor. This versatile filling is an absolute dream for anyone looking to create stunning **layer cakes**, elegant **roll cakes**, or beautifully decorated **cupcakes**. Say goodbye to dense, heavy fillings and embrace the ethereal richness of homemade chocolate mousse.
Why You’ll Fall in Love with This Chocolate Mousse Recipe
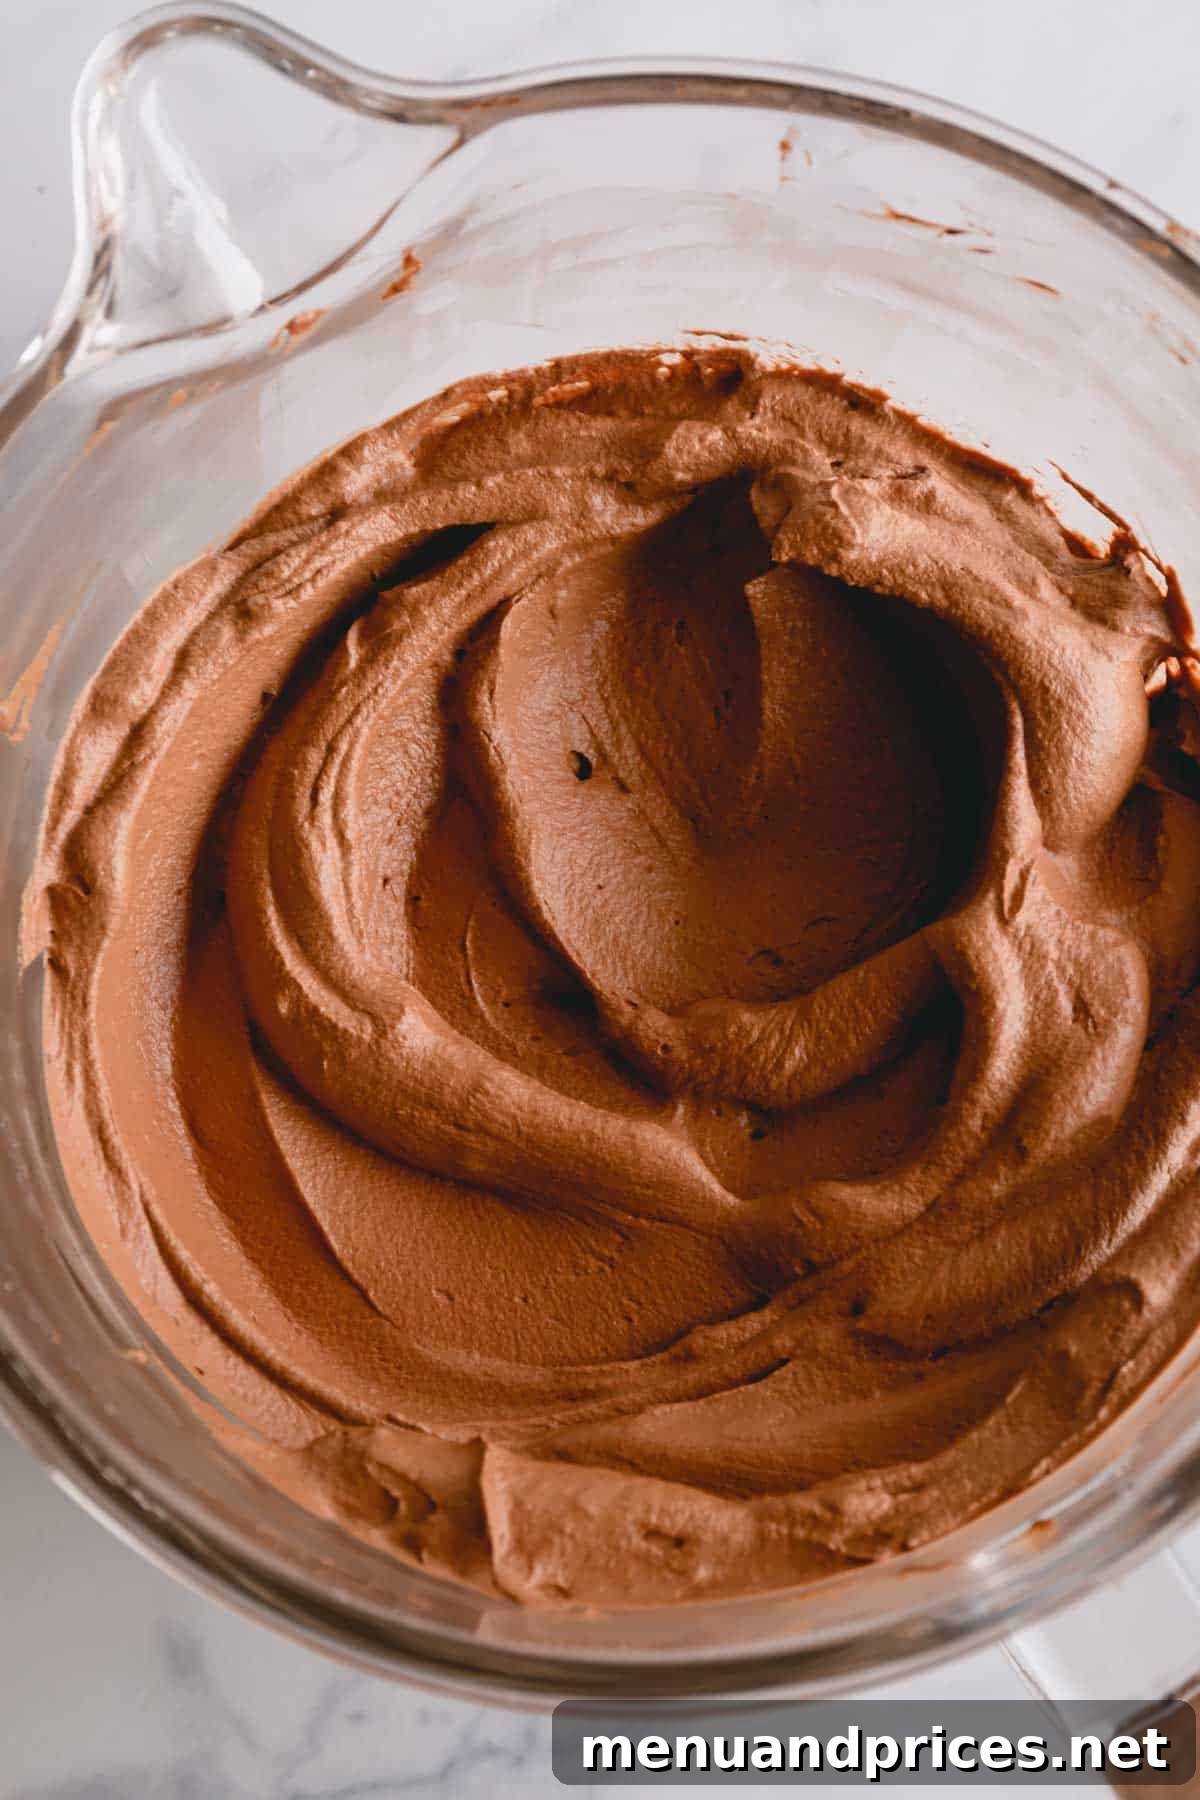
Don’t let its seemingly sophisticated appearance fool you. Despite its glossy sheen, pillowy texture, and intensely decadent chocolate taste, this chocolate mousse filling is surprisingly quick and simple to prepare. It’s essentially a perfectly balanced blend of rich melted chocolate gently folded into freshly whipped cream. The genius behind this method is that the chocolate acts as a natural stabilizer for the cream, ensuring a firm yet airy structure while imparting an unparalleled depth of chocolate flavor that is simply irresistible.
- Unrivaled Taste & Texture: Experience the perfect balance of richness and lightness, making it the ultimate filling for any chocolate cake.
- Completely Customizable Chocolate Intensity: Whether you prefer the mellow sweetness of milk chocolate, the balanced appeal of semi-sweet, or the profound depth of dark chocolate, this recipe adapts beautifully to your preference.
- Effortlessly Simple & Fast: Achieve professional-level results in just about 25 minutes, making it ideal for both seasoned bakers and beginners.
- Incredibly Versatile: Beyond cakes, use it to fill pastries, pipe onto cupcakes, or create luxurious individual desserts.
While I confess to sometimes enjoying this chocolate mousse straight from the spoon, its true magic shines when used as a filling. My absolute favorite application is in creating breathtaking chocolate layer cakes, where its light texture perfectly complements dense cake layers.
But don’t stop there! Explore its potential in delightful roll cakes, luxurious ice cream cakes, light and fluffy cupcakes, or even as an elegant filling for fresh strawberries. The possibilities are endless, and the results are always delicious!
Essential Ingredients for Perfect Chocolate Mousse
Crafting the perfect chocolate mousse begins with understanding the role of each key ingredient. Quality matters here, as each component contributes significantly to the final taste and texture of your filling.
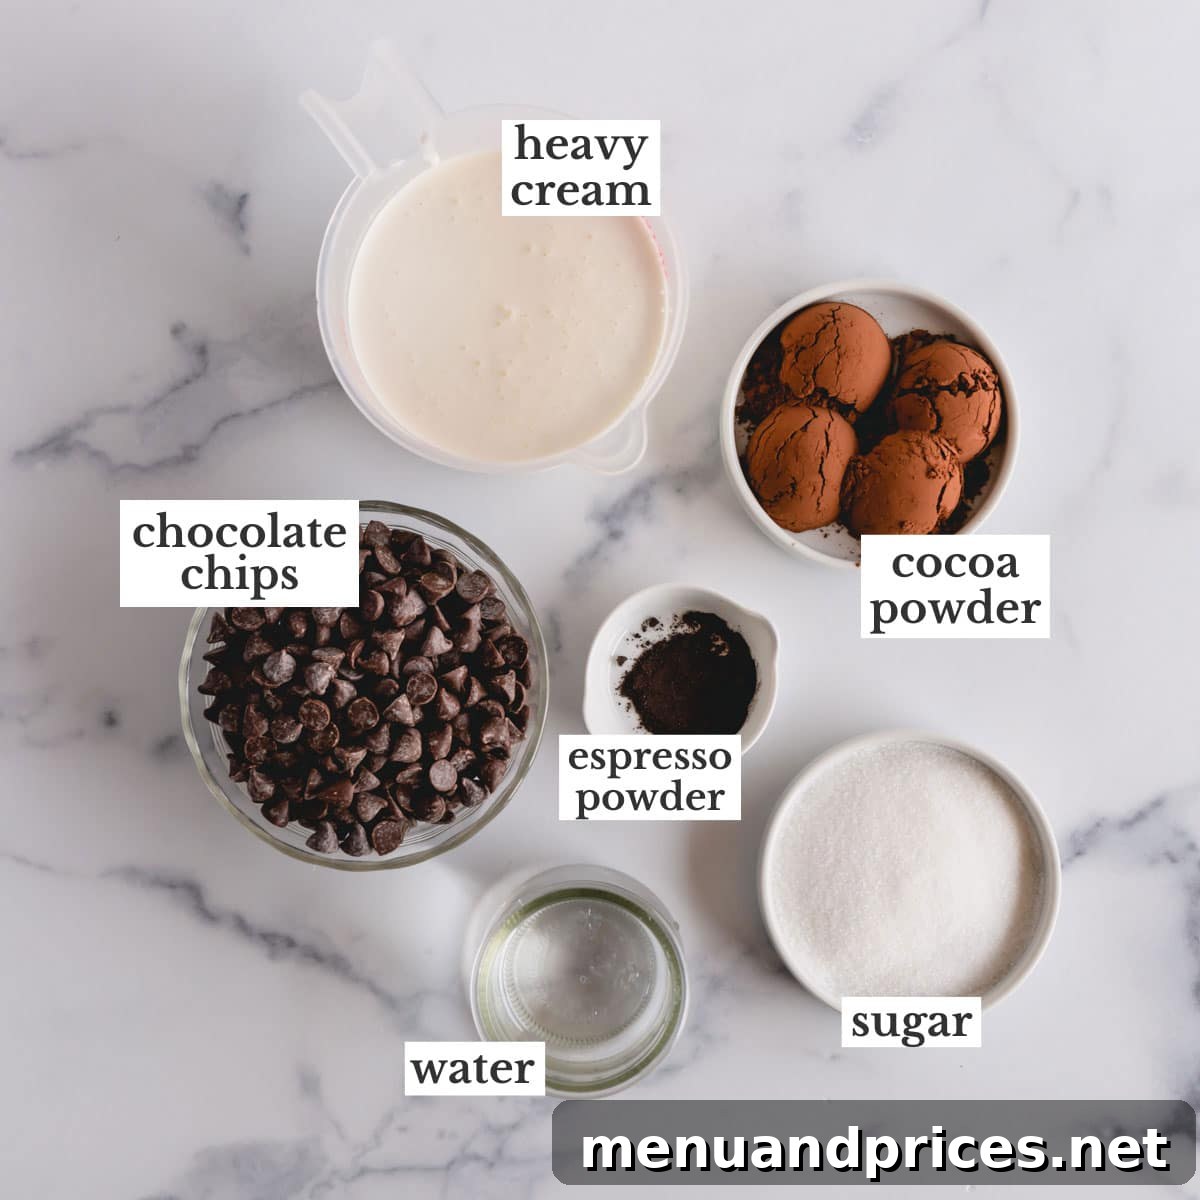
- Hot Water: This isn’t just for mixing; hot water plays a crucial role in “blooming” the cocoa powder. When cocoa powder is mixed with a hot liquid, its flavor compounds are activated and intensified, resulting in a much richer and more robust chocolate taste that wouldn’t be possible with cold water.
- Unsweetened Cocoa Powder: The combination of unsweetened cocoa powder and melted chocolate is what gives this mousse its wonderfully deep and complex chocolate profile. For an even darker, more intense flavor, consider using Dutch-processed cocoa powder, which has been treated to reduce acidity and offers a smoother, richer taste.
- Instant Espresso Powder: Don’t worry if you’re not a coffee enthusiast – you won’t taste it! Instant espresso or strong coffee granules are culinary secrets for enhancing the flavor of chocolate. It deepens the chocolate notes without adding a distinct coffee taste, making the chocolate truly shine.
- Semi-Sweet Chocolate Chips: I typically opt for semi-sweet chocolate, which usually has a cacao content ranging from 40% to 60%. This provides a balanced sweetness and bitterness. For a sweeter mousse, swap with good quality milk chocolate. If you desire an intensely dark and sophisticated filling, dark chocolate (70% cacao or higher) is an excellent choice. Always use high-quality chocolate chips or finely chopped chocolate bars from reputable brands like Ghirardelli, Callebaut, or Valrhona for the best melting consistency and flavor.
- Heavy Cream (Cold): This is the backbone of your mousse, providing its airy and stable structure. Heavy whipping cream, when whipped, incorporates air and thickens to form luscious whipped cream. The key to successful whipping is to ensure your cream is *very cold*. Warm cream simply won’t whip properly, no matter how long you try.
- Granulated Sugar: A touch of granulated sugar adds the perfect amount of sweetness to balance the bitterness of the chocolate. More importantly, sugar also helps to stabilize the whipped cream, ensuring your mousse holds its beautiful shape.
Crafting Your Decadent Chocolate Mousse: Step-by-Step Guide
Creating this creamy chocolate mousse cake filling is much simpler than you might imagine. Follow these detailed step-by-step instructions, complete with visual guidance, to achieve a perfectly smooth and airy result every time.
- Bloom the Cocoa & Espresso: In a small, heatproof bowl, combine the unsweetened cocoa powder and instant espresso powder. Pour the hot water over them and stir thoroughly with a mini whisk or a spoon until both powders are fully dissolved and you have a smooth, fragrant chocolate paste. Set aside.
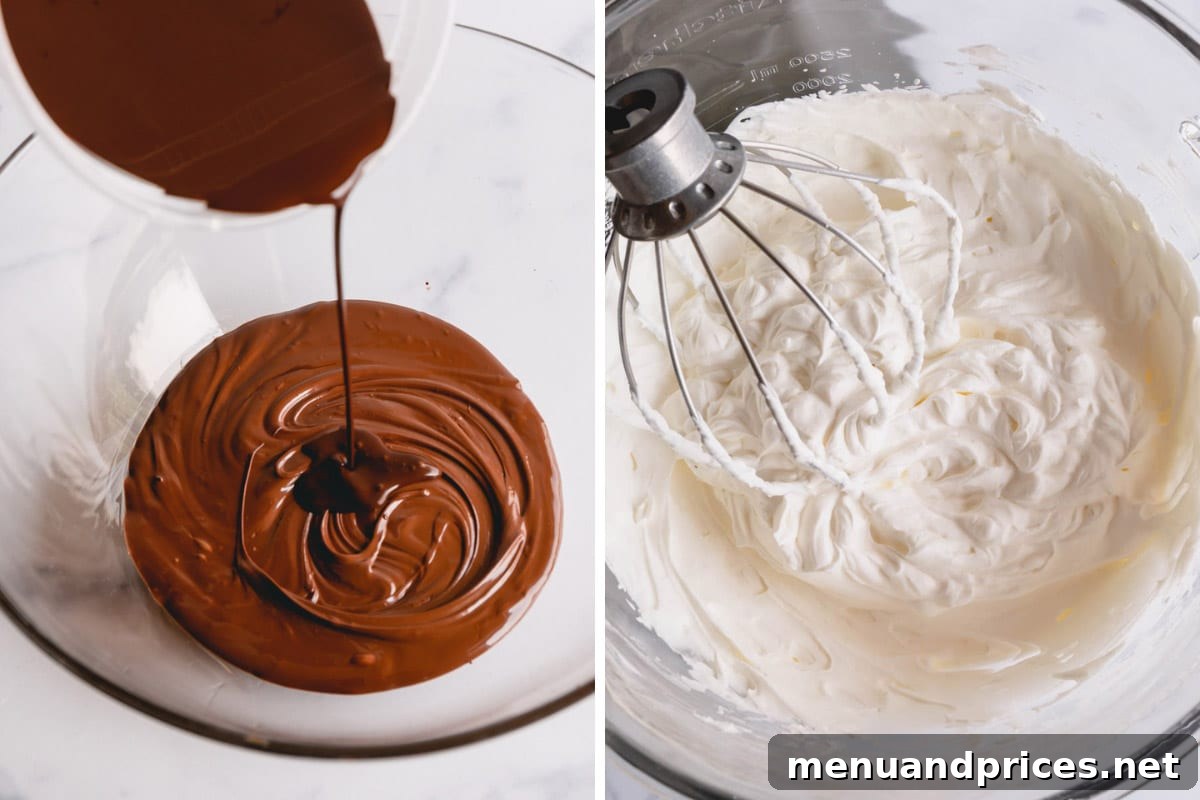
- Melt the Chocolate: Prepare a double boiler by bringing about two inches of water to a gentle simmer in a small saucepan. Place your semi-sweet chocolate chips (or finely chopped chocolate bar) into a large, heatproof bowl that fits snugly over the saucepan without touching the simmering water. Stir the chocolate chips frequently until they are completely melted and smooth. Once melted, carefully remove the bowl from the heat and allow the melted chocolate to cool slightly, ensuring it’s still pourable but no longer hot to the touch. This step is critical to prevent the whipped cream from melting later.
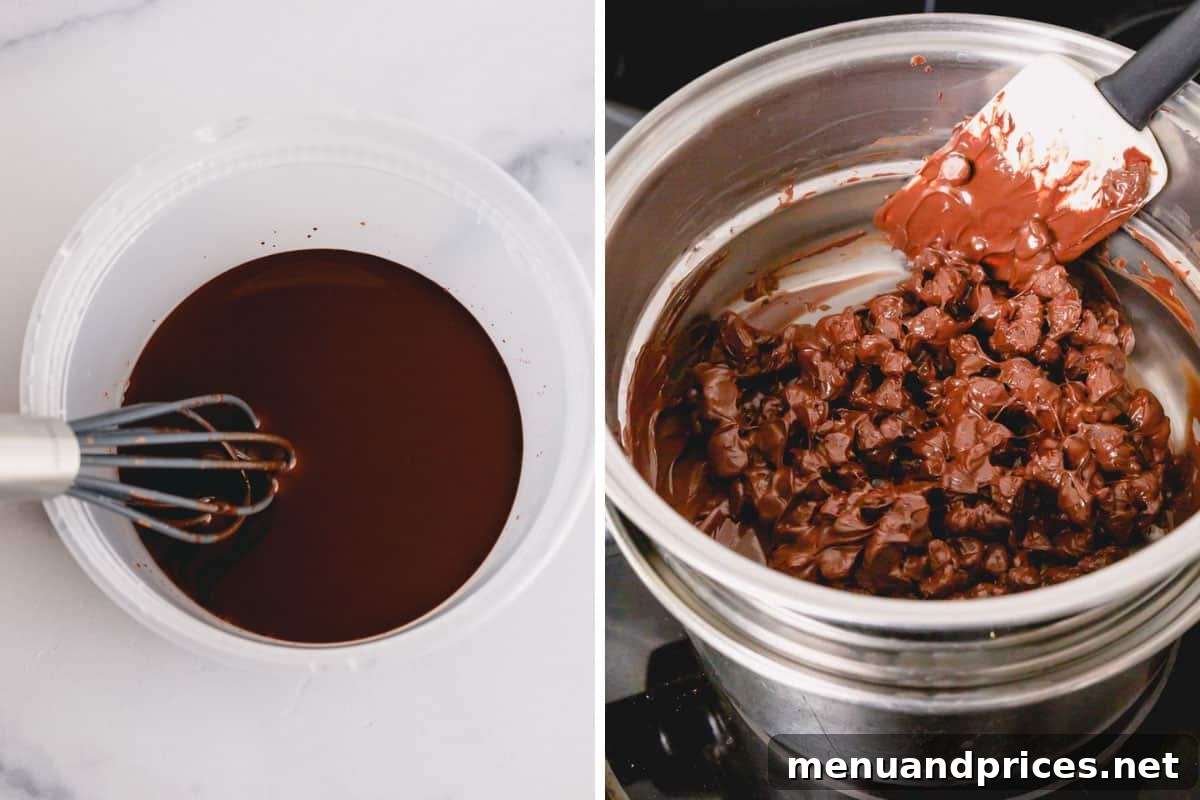
- Combine Chocolate Mixtures: Once the melted chocolate has cooled slightly, stir the bloomed cocoa and espresso mixture into it. Mix until fully incorporated and the chocolate mixture is homogenous and glossy.
- Whip the Heavy Cream: In a separate, chilled mixing bowl fitted with the whisk attachment, pour the cold heavy cream and granulated sugar. Whip on medium-high speed until stiff peaks form. Stiff peaks mean that when you lift the whisk, the whipped cream will stand upright in a defined peak or point without collapsing. Be vigilant during this stage to avoid overwhipping.
Important Tip:
Do not overwhip the cream! Overwhipped cream will become grainy, separate, and eventually turn into butter. You’re aiming for a smooth, firm, and airy texture.
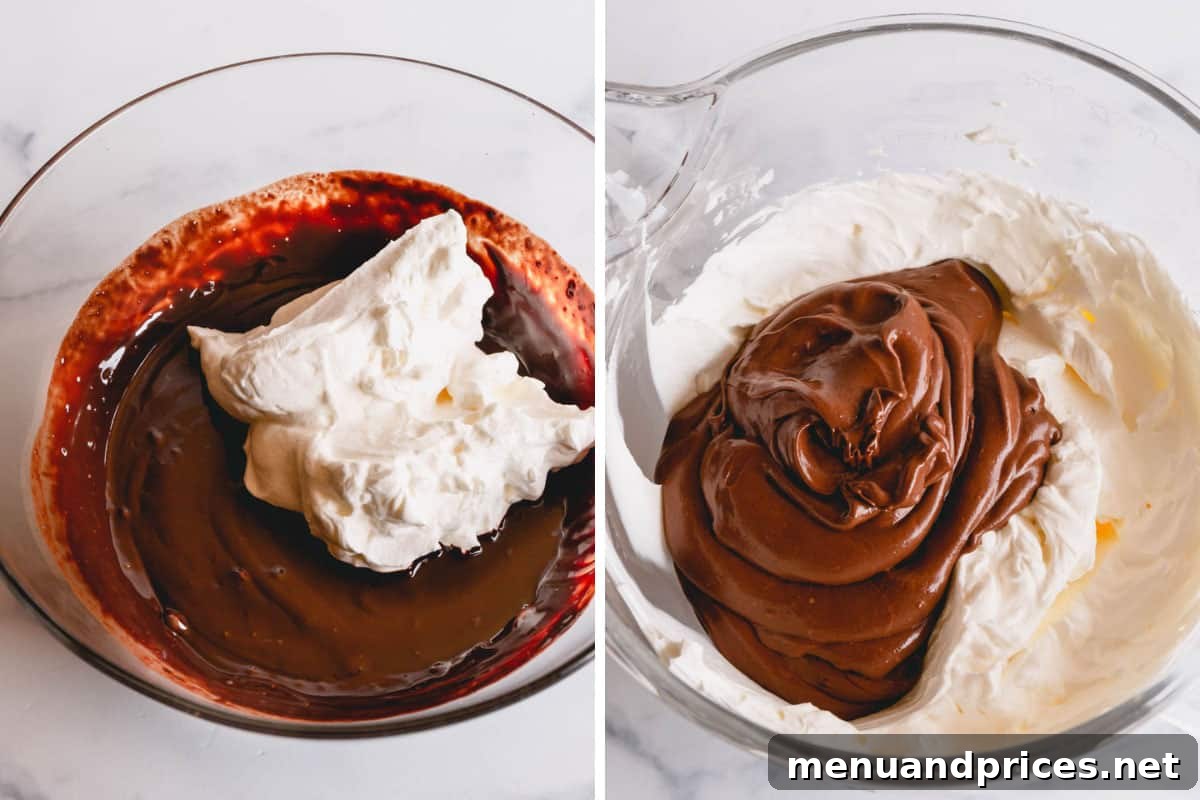
- Lighten the Chocolate Base: Add about one-third of your whipped cream into the cooled chocolate mixture. Gently fold it in using a rubber spatula until mostly combined. This step lightens the chocolate base, making it easier to incorporate the rest of the whipped cream without deflating it.
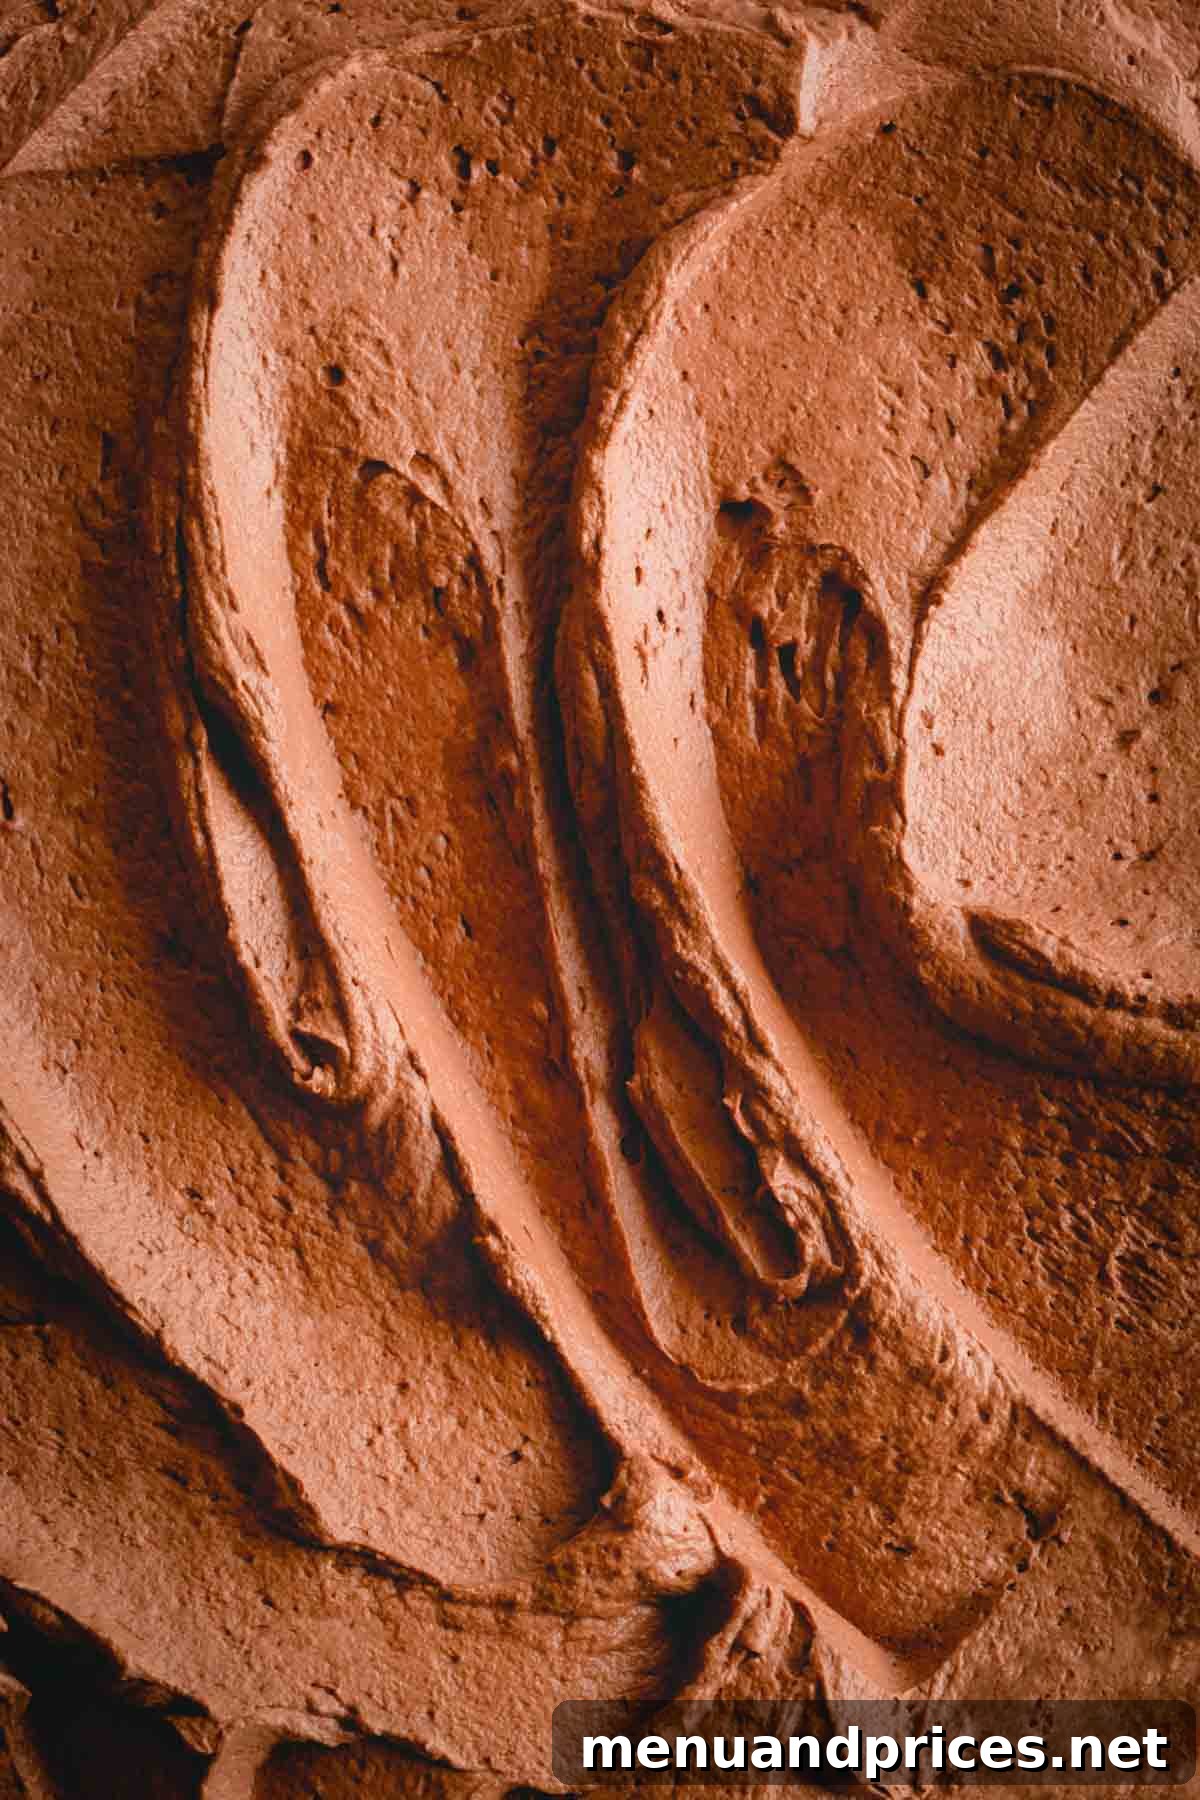
- Fold in Remaining Cream: Carefully add the remaining whipped cream to the chocolate mixture. Continue to fold gently, using an upward motion, until no white streaks of cream remain and the mixture is uniformly chocolatey and airy. Be patient and gentle to maintain the mousse’s light texture.
Expert Tips for a Flawless Chocolate Mousse
Achieving a perfectly light, stable, and delicious chocolate mousse filling involves a few key techniques. Keep these tips in mind to ensure your success and avoid common pitfalls.
- Crucial Cooling of Melted Chocolate: This is arguably the most vital step. Always ensure your melted chocolate is completely cooled (but still liquid) before you begin folding in the whipped cream. If the chocolate is warm or hot, it will instantly melt the delicate whipped cream, leaving you with a runny, soup-like consistency instead of a fluffy mousse. The chocolate mixture should feel cool to the touch, roughly room temperature, before combining.
- Microwave Chocolate Melting Option: If you prefer not to use a double boiler, the microwave is a convenient alternative. Place your chocolate chips in a microwave-safe bowl and heat in short bursts of 20-30 seconds. Stir well after each interval, even if the chocolate doesn’t appear fully melted. Residual heat will continue to melt the chocolate. Stop heating just as a few small lumps remain, then stir until completely smooth. Overheating chocolate in the microwave can cause it to burn, seize, and become clumpy.
- Maintain Extreme Cold for Heavy Cream: The temperature of your heavy cream is non-negotiable for proper whipping. Always start with heavy cream that is well-chilled, ideally straight from the refrigerator. Warm heavy cream will not incorporate air effectively, leading to a runny mixture that simply won’t reach stiff peaks, no matter how long you whip it. Some chefs even chill their mixing bowl and whisk attachment for extra cold insurance.
- Beware of Overwhipping: Whipping cream past the stiff peak stage can quickly lead to disaster. Overwhipped cream loses its smooth, airy texture, becoming grainy and separated. Continue whipping, and it will eventually turn into butter, completely unsuitable for mousse. Stop whipping as soon as firm peaks form, where the cream holds its shape beautifully.
- Gentle Folding is Key: When combining the whipped cream with the chocolate mixture, use a gentle folding technique with a rubber spatula. This means cutting down through the center of the mixture and then sweeping the spatula up the side of the bowl, rotating the bowl as you go. The goal is to incorporate the ingredients without deflating the air you’ve worked so hard to whip into the cream.
- Quality Chocolate for Best Flavor: Since chocolate is the star here, using a high-quality brand will make a noticeable difference in the richness and depth of flavor of your mousse. Good quality chocolate melts smoother and has a more refined taste.
Creative Ways to Utilize Your Chocolate Mousse Filling
This decadent chocolate mousse filling is incredibly versatile, offering endless possibilities for transforming ordinary desserts into extraordinary delights. Here are some inspiring ideas:
- Instant Elegant Dessert: Simply spoon the mousse into individual glasses or ramekins, top with a dollop of fresh whipped cream, a dusting of cocoa powder, or colorful sprinkles, and serve chilled for an effortless yet sophisticated dessert.
- Gourmet Stuffed Strawberries: Elevate fresh strawberries by hulling them with a paring knife, then piping in the chocolate filling. For an extra touch of luxury, dip the filled strawberries in melted chocolate and chill until set.
- Decadent Cupcake Surprises: Use a cupcake corer or a small knife to remove the center from your favorite cupcakes, such as Kahlua cupcakes. Pipe the chocolate mousse icing inside for a delightful, unexpected burst of flavor and texture.
- Layered Masterpieces: Incorporate this mousse as a rich, creamy layer in homemade ice cream cakes, tiramisu, or creamy cheesecakes for an added dimension of chocolatey goodness.
- Show-Stopping Trifles: Scoop generous amounts of mousse into a trifle bowl, spreading it evenly to create a decadent chocolate layer that pairs beautifully with cake pieces, fruit, and more whipped cream.
- Tart & Pie Perfection: Use it as a luxurious filling for chocolate tarts or a creamy topping for fruit pies, adding a light yet rich element.
- Eclairs & Profiteroles: Pipe this mousse into freshly baked eclairs or profiteroles for a truly indulgent French-inspired treat.
Storage and Preparation Tips for Chocolate Mousse
While this chocolate mousse filling is undeniably at its best the day it’s made, its stability allows for some advance preparation and proper storage to maintain its deliciousness.
- Best Fresh, Yet Flexible: For optimal airy texture and flavor, plan to use your chocolate mousse filling on the day you prepare it. However, it can be made up to 24 hours in advance without significant loss of quality.
- Airtight Refrigeration is Key: To store, transfer the mousse to an airtight container or cover the mixing bowl tightly with plastic wrap. This prevents it from absorbing odors from the refrigerator and helps maintain its texture. Refrigerate promptly for up to 24 hours.
- Bringing to Room Temperature: Mousse tends to firm up considerably when chilled. Before using it to fill a cake or pipe onto desserts, allow the filling to sit on the counter at room temperature for 15-30 minutes. This will soften it slightly, making it easier to spread and pipe while retaining its structure. Avoid leaving it out for extended periods, especially in warm environments.
- Freezing (Not Recommended for Filling): While some mousses can be frozen, this particular recipe, due to its whipped cream base, may lose some of its airy texture and become slightly icy if frozen and thawed. For best results as a cake filling, stick to refrigeration.
Frequently Asked Questions About Chocolate Mousse Filling
The composition of chocolate mousse can vary. Classic French chocolate mousse often involves a base of melted chocolate, egg yolks, and sometimes butter, lightened with whipped egg whites and whipped cream. Our recipe, a simpler and equally delicious version, focuses on a luxurious combination of melted chocolate and cold whipped heavy cream, along with cocoa powder and sugar for an intense flavor and delightful airy texture. Both methods result in a rich, airy dessert featuring chocolate and sugar!
Layer cakes offer a fantastic canvas for various fillings! Besides this wonderful chocolate mousse, you can explore options like creamy Swiss meringue buttercream, rich French buttercream, classic American buttercream, sweet fruit jams or preserves, smooth cream fillings, vibrant pie fillings, velvety custards, tangy citrus curds, or decadent chocolate ganache. Each offers a unique flavor and texture profile to complement your cake.
No, double cream and heavy cream are distinct, primarily differing in their fat content. Double cream, commonly found in the UK, contains a higher milk fat percentage (around 48%) compared to heavy cream (typically 36% in the US). Due to its higher fat content, double cream whips up even thicker and faster, so if you use it, be extra cautious not to overwhip, as it can separate more quickly.
Absolutely, yes. Chocolate mousse filling is designed to be enjoyed chilled. It contains whipped heavy cream, which is highly perishable and needs to be kept cold for food safety. Additionally, refrigeration helps the mousse stabilize and firm up, maintaining its beautiful shape and fluffy texture. If left at room temperature for too long, it will lose its structure and become runny.
Yes, you absolutely can! In fact, many professional bakers prefer using high-quality chocolate bars (couverture chocolate) because they often contain more cocoa butter, which contributes to a smoother melt and a glossier, more stable mousse. Just make sure to finely chop the chocolate bar before melting to ensure even and quick melting.
A runny mousse is usually a sign that either the melted chocolate was too hot when combined with the cream, or the cream wasn’t whipped to stiff peaks, or it was over-folded. If it’s only slightly runny, you can try chilling it for a few hours; it might firm up. If it’s very runny, unfortunately, it’s difficult to salvage the airy texture. You can try to chill it thoroughly and use it as a sauce or a pudding, but it won’t have the desired mousse consistency.
Explore More Mousse Delights
If you’ve enjoyed making this chocolate mousse, you’ll love exploring other delightful mousse-based recipes:
- Pumpkin Mousse Pie: A seasonal favorite with a light, spiced mousse.
- Pistachio Eclairs with White Chocolate Pistachio Mousse Filling: An elegant and nutty twist on classic eclairs.
- Avocado Chocolate Mousse: A surprisingly healthy and creamy vegan alternative.
- Chocolate Roll Cake with Raspberry Mousse Filling: A perfect combination of rich chocolate and tangy raspberry.
- Perfect Chocolate Cupcakes with Chocolate Mousse Frosting: The ultimate treat for chocolate lovers.

Rating: 4.60 from 15 votes
Chocolate Mousse Filling Recipe
By Shinee Davaakhuu
This chocolate mousse filling is creamy and rich with a light and airy texture and an intense chocolatey flavor! It’s perfect for filling layer cakes, roll cakes, and decorating cupcakes.
Prep: 20 mins
Cook: 5 mins
Total: 25 mins
Yields: 24 servings
Ingredients
- ½ cup (120 ml) hot water
- 4 tablespoons (30 g) unsweetened cocoa powder (Note 1)
- ½ teaspoon instant espresso coffee
- 1 ½ cups (260 g) semi-sweet chocolate chips (Note 2)
- 2 cups (480 ml) heavy cream, cold
- 2 tablespoons (30 g) granulated sugar
Equipment
-
Small Bowl
-
Heatproof Bowl
-
Small Saucepan (for double boiler)
-
Mixing Bowl with Whisk Attachment (stand mixer or hand mixer)
Instructions
-
In a double boiler (or microwave), melt the chocolate chips until smooth. Remove the bowl from heat and let it cool slightly until just warm.
-
In a small bowl, dissolve the cocoa powder and instant espresso powder in hot water, stirring until smooth.
-
Stir the cocoa mixture into the slightly cooled melted chocolate. (TIP: Ensure both mixtures are roughly the same temperature to prevent the chocolate from seizing.)
-
Allow the combined chocolate mixture to cool completely to room temperature, ensuring it’s no longer warm to the touch.
-
In a chilled mixing bowl with the whisk attachment, whip the cold heavy cream with the granulated sugar until stiff peaks form.
-
Gently add one-third of the whipped cream into the cooled chocolate mixture and fold until just combined. This lightens the chocolate base.
-
Then, carefully fold the chocolate-cream mixture into the remaining whipped cream until no white streaks remain and the mousse is uniformly airy and chocolatey.
⭐️ Did you make this recipe?
Please leave a review and let us know how you liked it!
Tips & Notes
Note 1: For an even richer and darker chocolate flavor, consider using Dutch-processed cocoa powder.
Note 2: Feel free to experiment with different types of chocolate. Milk chocolate will yield a sweeter, milder mousse, while dark chocolate chips will result in a more intense and less sweet flavor profile. Always choose high-quality chocolate for the best results.
Storing Tips:
– Chocolate mousse filling is best when enjoyed on the day it’s made, but it can be prepared one day in advance.
– Transfer the mousse to an airtight container, or cover the bowl tightly with plastic wrap, and refrigerate for up to 24 hours.
– Allow the filling to sit at room temperature for 15-30 minutes before using it to fill a cake; this will soften it slightly for easier spreading and piping.
Nutrition Facts (per serving)
Calories: 135 kcal
Carbohydrates: 8 g
Protein: 1 g
Fat: 11 g
Sugar: 5 g
Sodium: 7 mg
Course: Dessert, Filling, Frosting
Cuisine: American, French

Did you make this?
Leave a rating and your feedback. Thank you!