
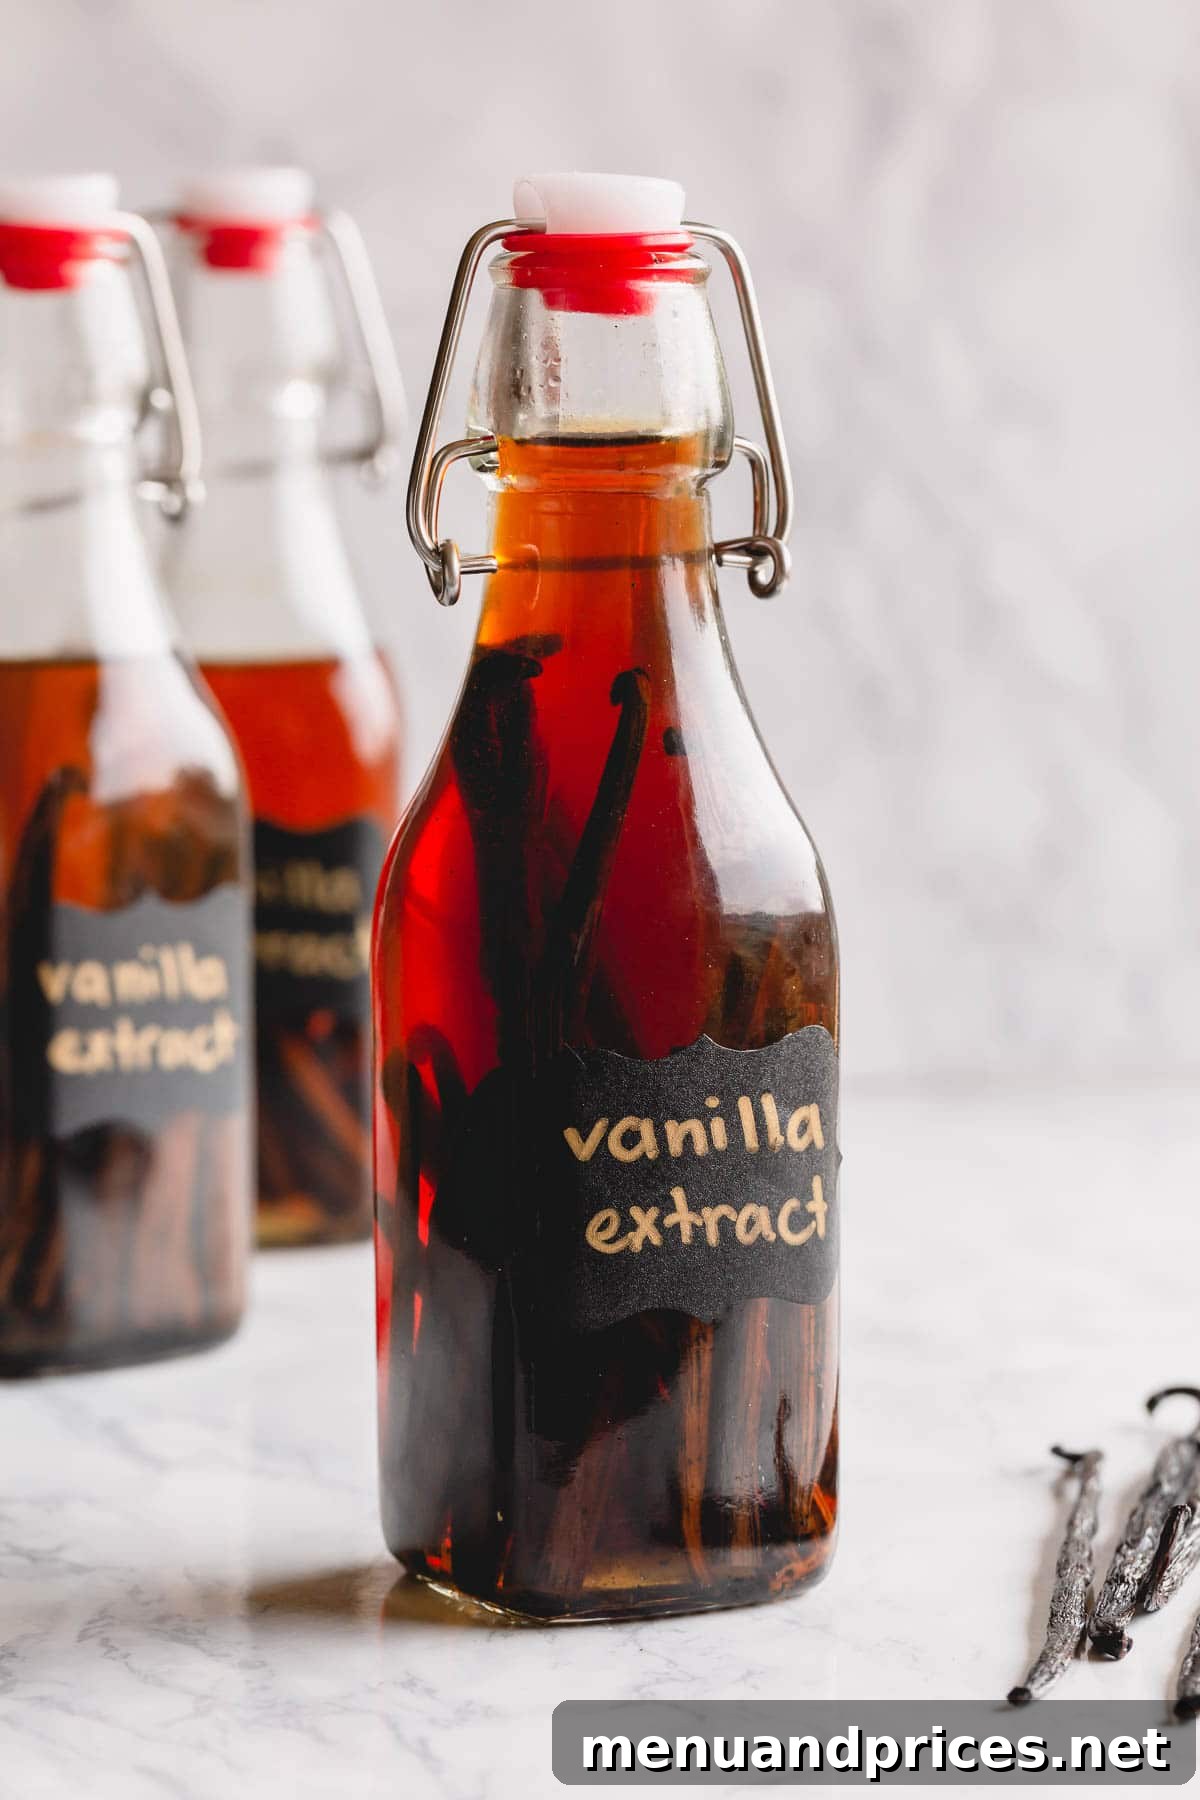
Embark on a delightful culinary journey by learning how to make the best homemade vanilla extract – a simple, cost-effective, and incredibly rewarding process that yields a superior product far beyond anything you can buy in stores. This detailed tutorial will guide you through every step, ensuring you create a rich, flavorful vanilla extract perfect for all your baking needs and an exquisite gift for fellow food enthusiasts!
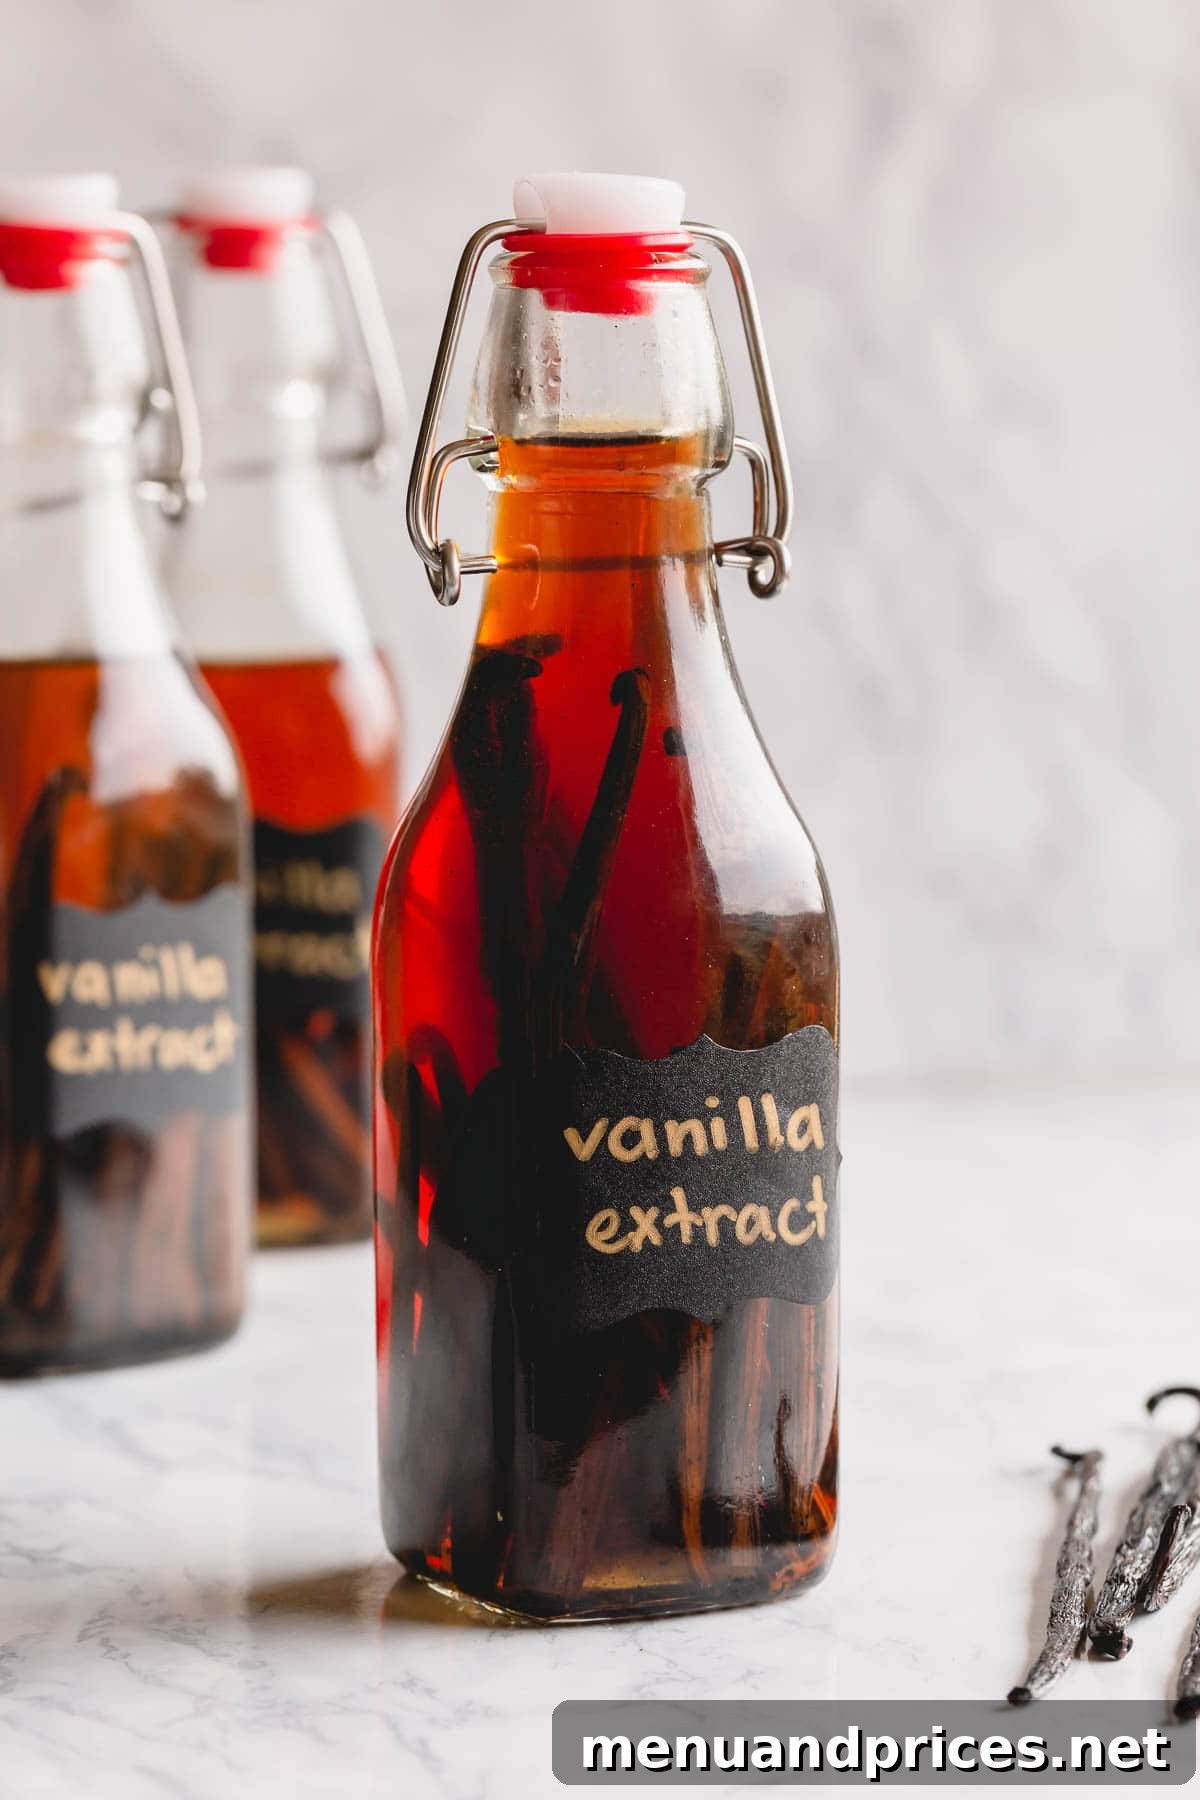
Why Homemade Vanilla Extract Reigns Supreme Over Store-Bought Varieties
If you’ve stepped into a grocery store recently, you’ve likely noticed the escalating prices of vanilla extract. The global vanilla bean shortage in recent years has driven costs sky-high, making quality vanilla a luxury. Many home bakers, including myself, have turned to making their own, and frankly, I haven’t looked back! The benefits of DIY vanilla extract are simply too significant to ignore.
Here are compelling reasons why homemade vanilla extract is a game-changer for any serious baker:
- Unmatched Flavor and Potency: This is arguably the most significant advantage. Homemade vanilla extract boasts a depth of flavor and aromatic complexity that mass-produced versions simply cannot replicate. You control the quality and quantity of vanilla beans, resulting in a significantly more potent product. This means you’ll often need less homemade extract to achieve the same or even better flavor profile in your recipes.
- Incredibly Easy to Make: Despite its gourmet appeal, making vanilla extract is surprisingly straightforward. You only need two core ingredients – vanilla beans and a suitable alcohol – plus the most crucial ingredient of all: patience. The process itself requires minimal effort, just a bit of waiting for nature to work its magic.
- Economical in the Long Run: While the initial investment in quality vanilla beans might seem like a splurge, it quickly pays for itself. Once your extract is made, you can continuously “top it off” with more alcohol as you use it, effectively making it last for many years. This vastly reduces your long-term cost compared to repeatedly buying expensive small bottles from the store.
- A Sustainable Culinary Practice: Making your own extract allows you to manage the entire process, often leading to more sustainable choices. You can research and choose ethically sourced vanilla beans, contributing to responsible farming practices.
- Perfect for Thoughtful Gifting: Beautifully bottled homemade vanilla extract makes an exceptional, personalized gift for holidays, birthdays, or as a host/hostess present. It shows care, thoughtfulness, and a passion for quality ingredients that any recipient will appreciate.
For anyone who frequently bakes and values rich, authentic flavors, homemade vanilla extract is an indispensable kitchen staple. It elevates everything from simple vanilla cupcakes and creamy vanilla bean ice cream to elaborate custards and sauces. Once you taste the difference, you’ll wonder how you ever baked without it!
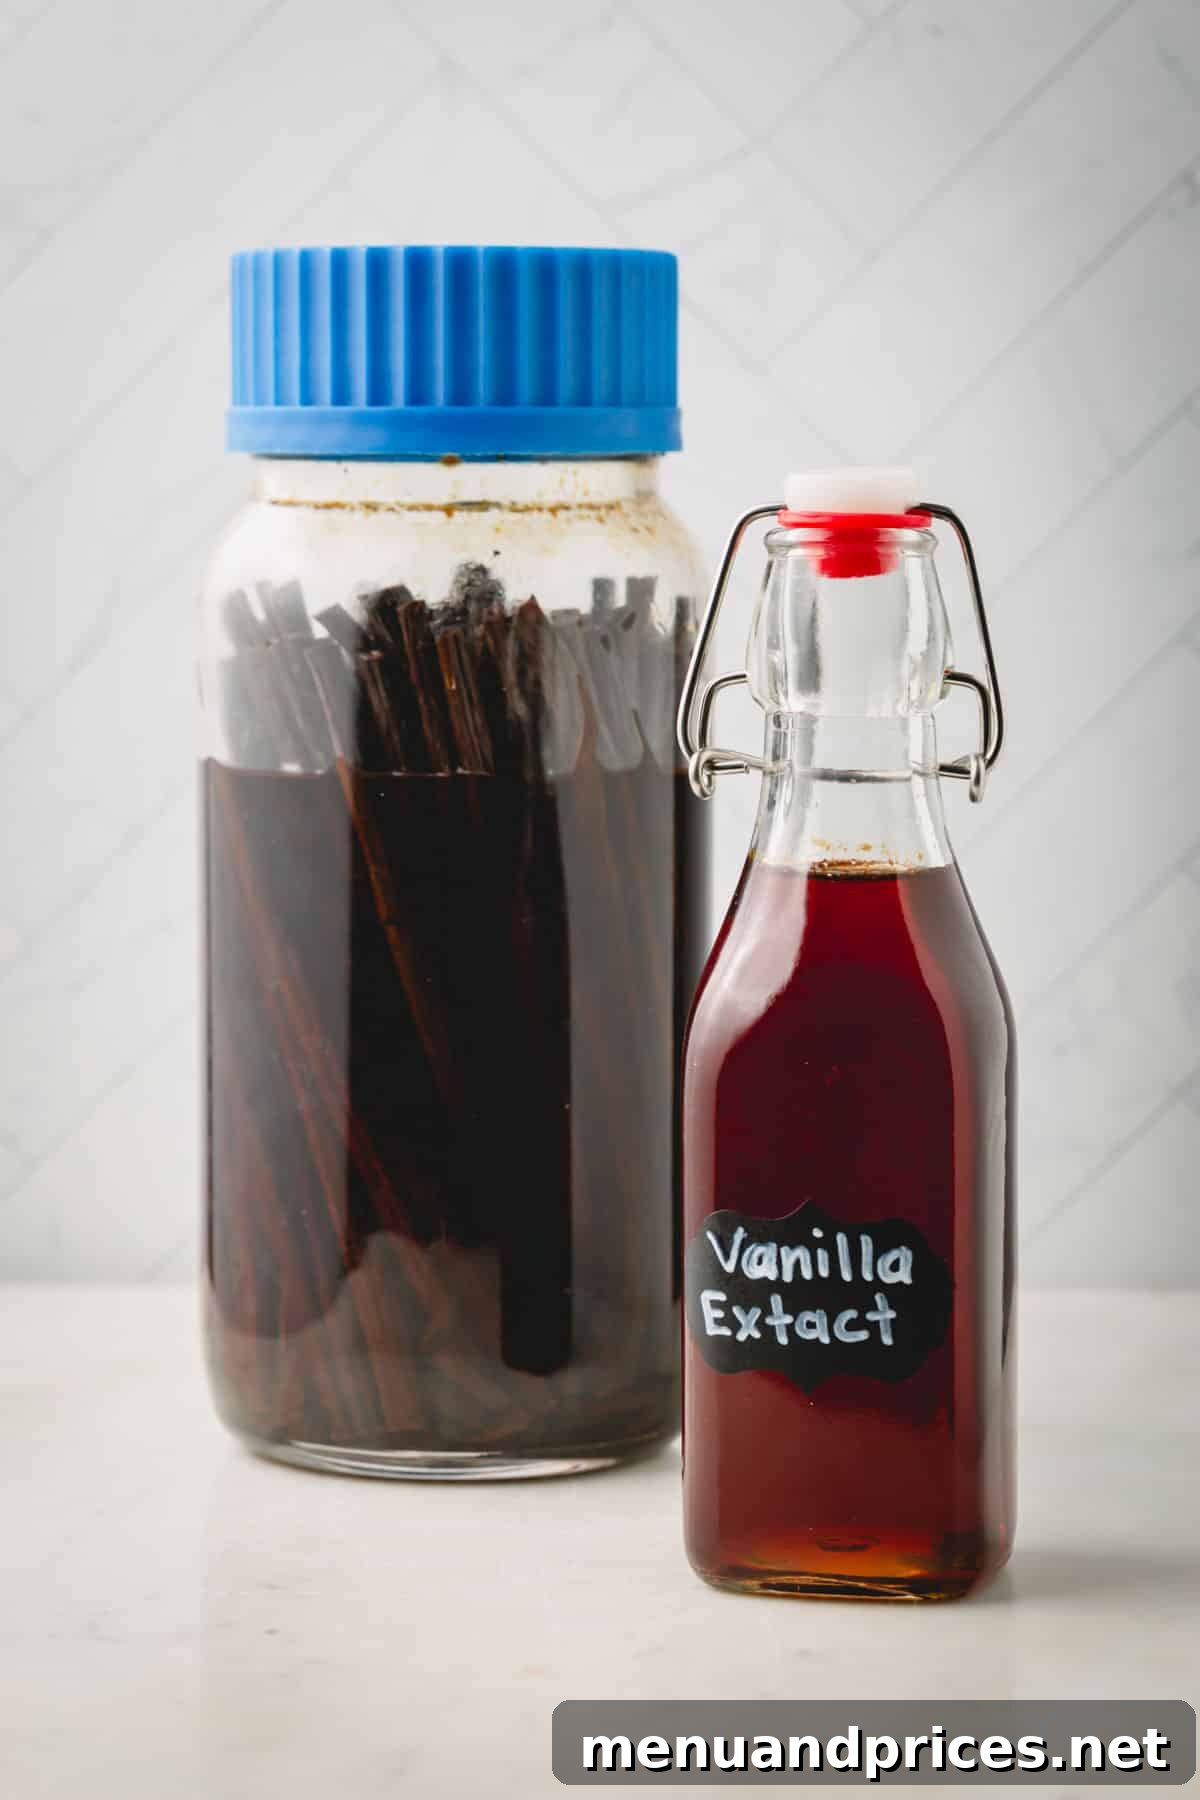
Essential Ingredients & Tools for Making Vanilla Extract
The beauty of homemade vanilla extract lies in its simplicity. You truly need just two primary ingredients, along with some basic kitchen tools and a healthy dose of patience, to craft this aromatic liquid gold.
- Vanilla Beans – The Soul of Your Extract:
Choosing the right vanilla beans is paramount to the quality of your extract. There are several varieties and grades, each offering unique characteristics. We’ll delve into the specifics below, but here’s a crucial tip regarding quantity: always go by weight rather than bean count. Vanilla beans can vary significantly in size, plumpness, and moisture content, even within the same grade or variety. Measuring by weight ensures a consistent and potent flavor profile every time. The FDA standard for “single-fold” vanilla extract dictates at least 1 oz (approximately 28 grams) of vanilla beans per 8 oz (1 cup) of alcohol.
- 80-Proof Alcohol – The Flavor Extractor:
Alcohol serves as the solvent that extracts the vanillin and other aromatic compounds from the vanilla beans. An 80-proof (40% alcohol by volume) spirit is ideal because it has enough alcohol to efficiently extract flavor while still allowing the delicate vanilla notes to shine through. While you have several options, consider the following:
- Vodka: My top recommendation. Its neutral flavor profile allows the vanilla to be the undisputed star. You don’t need to splurge on a top-shelf bottle, but a mid-level vodka will yield a smoother, cleaner extract than the absolute cheapest options.
- Rum: Offers a warmer, sweeter extract with hints of caramel. Great for specific baking applications where a complementary flavor is desired.
- Bourbon: Imparts a smoky, oaky, and slightly sweet flavor. Excellent for extracts intended for recipes like BBQ sauces, richer desserts, or specific cocktails.
- Brandy: Creates a fruitier, more complex vanilla extract. Consider it for fruit-based desserts or situations where a nuanced flavor is welcome.
- Airtight Bottles or Jars – The Infusion Vessel:
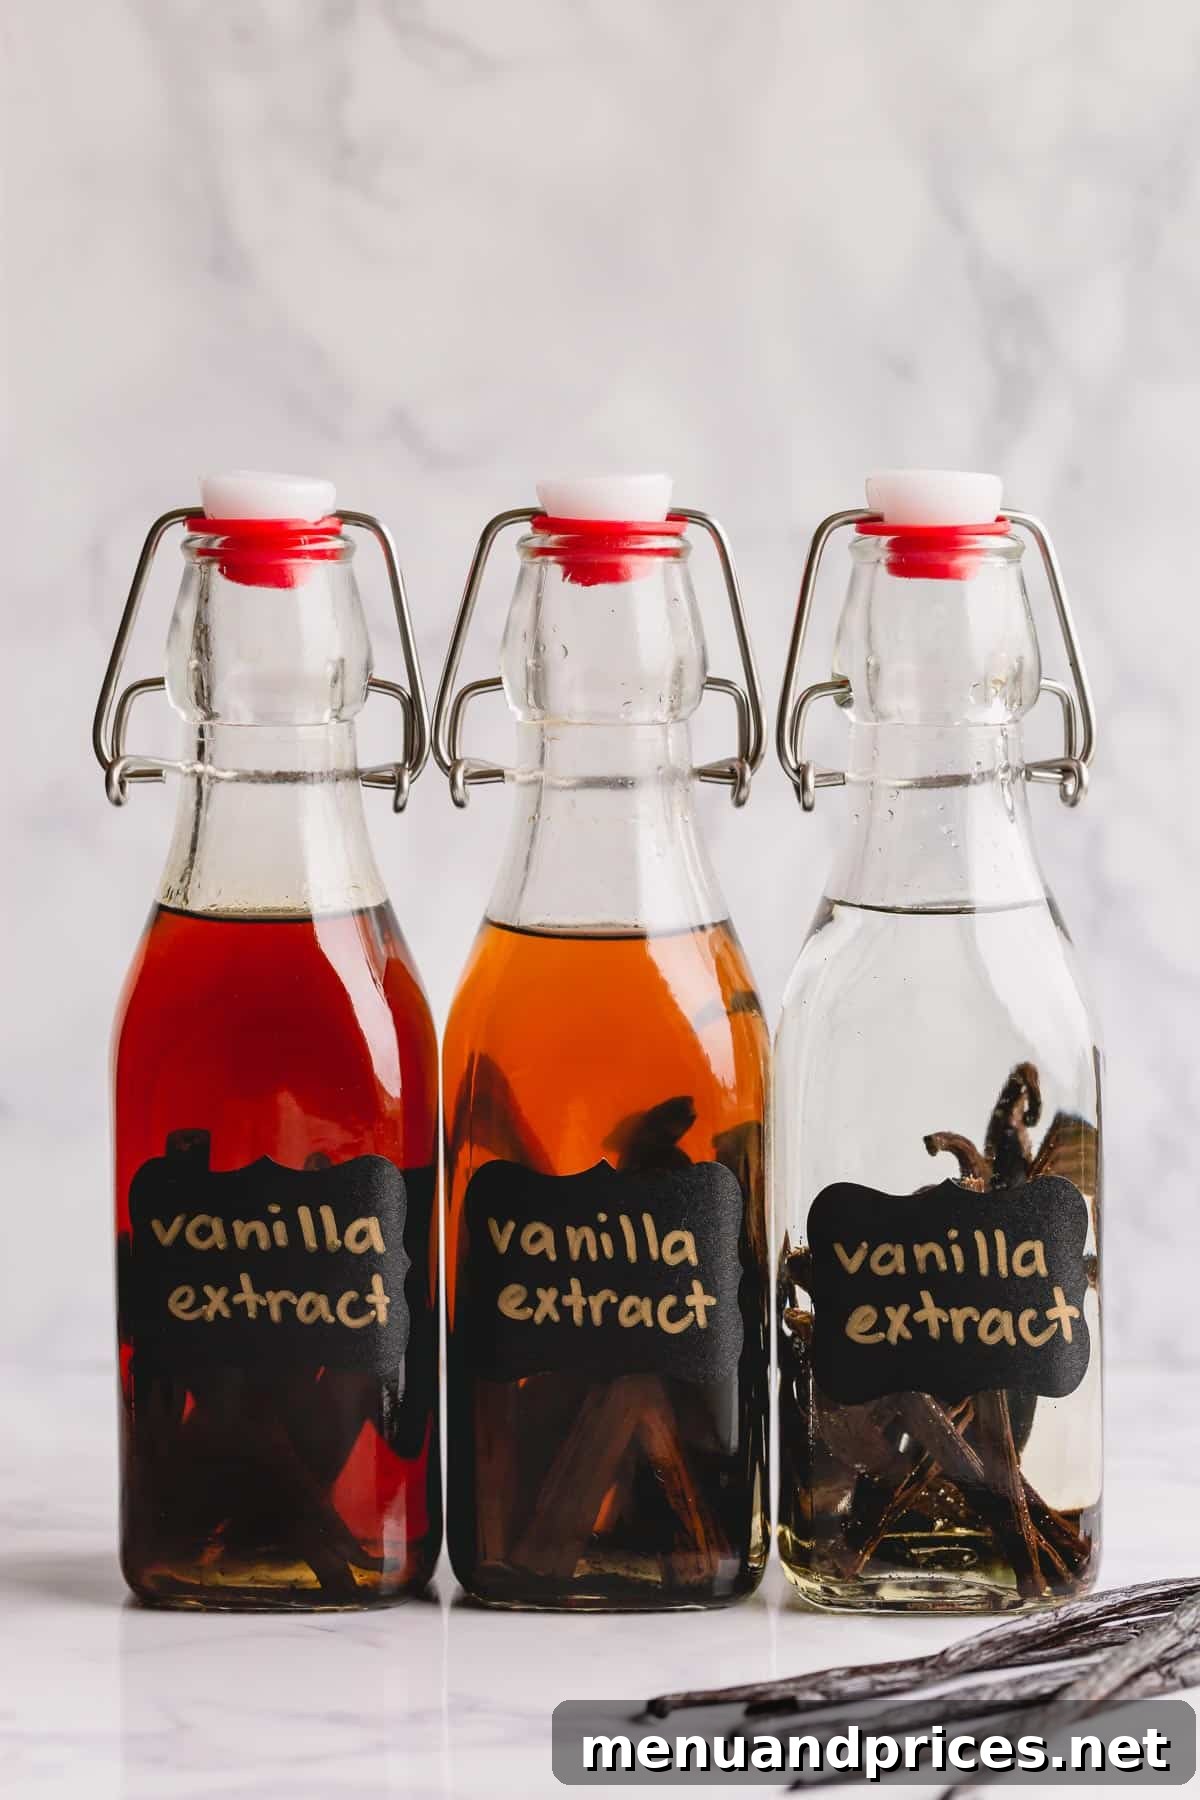
Any glass container with a tight-fitting lid will work. Mason jars are excellent, as are recycled liquor bottles (just ensure they are thoroughly cleaned). However, I particularly love swing-top glass bottles for their ease of use, attractive appearance, and suitability for gifting. When selecting your containers, keep these points in mind:
- Glass is best: Always choose glass over plastic, as plastic can leach undesirable flavors into your extract over time.
- Avoid cork lids: Cork is porous, allowing alcohol to evaporate, which can weaken your extract and potentially lead to spoilage. Opt for screw-top or swing-top lids.
- Clear vs. Amber: While some recommend amber bottles to protect from light, clear bottles allow you to monitor the extraction process and the beautiful deepening color of your vanilla. If using clear bottles, simply ensure you store them in a cool, dark place.
- Funnels, Labels, and Accessories:
These non-essential items significantly enhance the ease and presentation of your homemade extract:
- Funnels: Invaluable for neatly pouring alcohol into bottles, preventing spills and waste.
- Labels: Essential for marking the date your extract was started, the type of beans used, and whether it’s single-fold or double-fold. I find chalkboard sticker labels to be charming and reusable.
- Long Tongs or Skewers: Useful for arranging beans in bottles, especially narrower ones.
Does the Quality of Vodka Really Matter?
Many wonder if a premium vodka is necessary. While you don’t need the most expensive bottle, a mid-range vodka is often a worthwhile investment. Higher-quality vodkas typically undergo more rigorous filtration, resulting in a cleaner, smoother taste without harsh undertones. This translates directly to a purer, more refined vanilla flavor in your extract. My personal preference, which consistently delivers excellent results, is Absolut Vodka (this is not sponsored; it’s simply a tried-and-true choice).
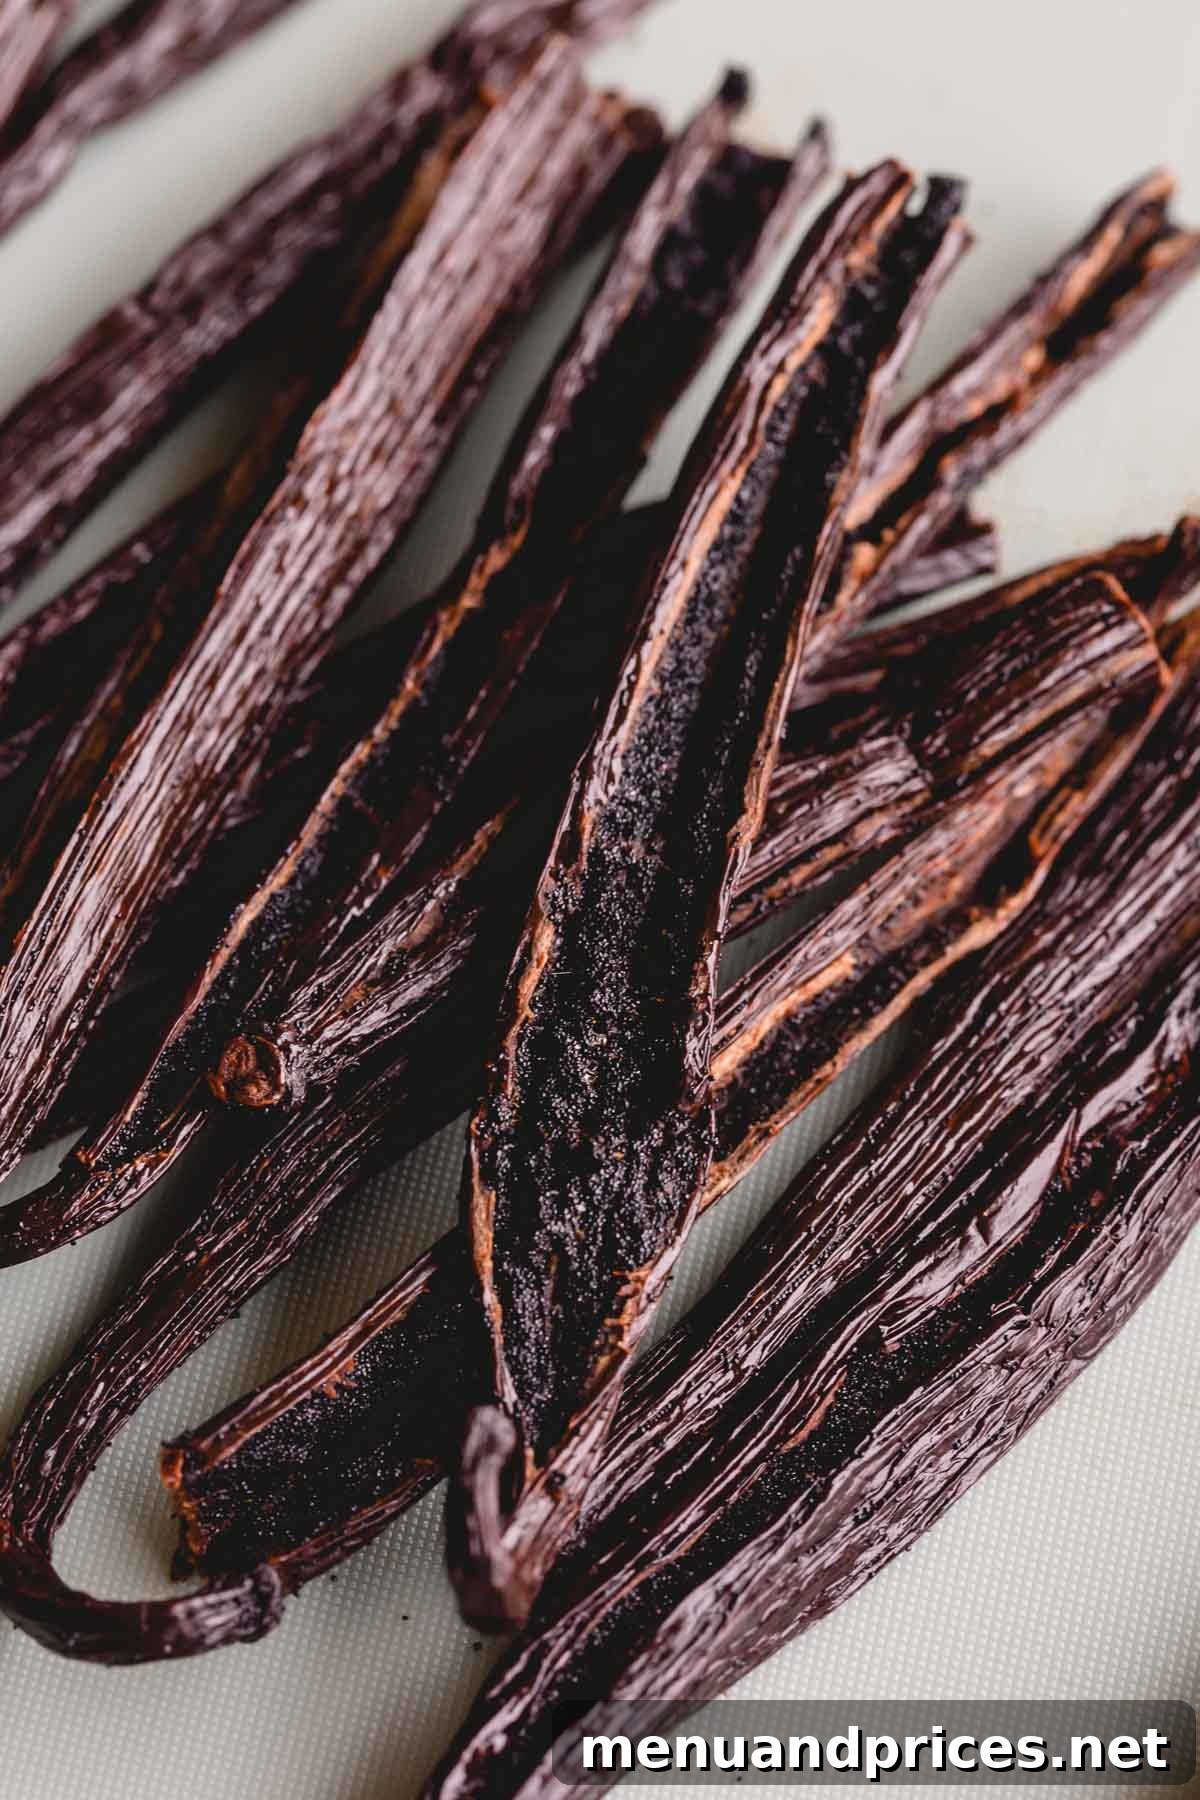
Choosing the Best Vanilla Beans for Your Extract
The world of vanilla beans is diverse and fascinating! Understanding the different varieties and grades will help you select the perfect beans to achieve your desired flavor profile. Each type offers a unique aromatic signature that can subtly enhance your culinary creations.
Popular Vanilla Bean Varieties
- Madagascar (Bourbon) Vanilla Beans:
These are the most common and versatile vanilla beans, accounting for a significant portion of the world’s vanilla production. Originating from Madagascar and other Indian Ocean islands, they are characterized by their rich, creamy, sweet, and buttery aroma with a classic vanilla essence. Madagascar vanilla is an excellent all-purpose choice and a fantastic starting point for any homemade extract due to its universally loved flavor profile.
- Tahitian Vanilla Beans:
Gaining popularity for their distinct character, Tahitian vanilla beans offer a wonderfully fruity and floral aroma with subtle notes of cherry, chocolate, and anise. They are plumper and contain higher oil content than Madagascar beans. Tahitian vanilla is particularly well-suited for cold desserts like ice creams, custards, and fruit-based recipes, as its delicate floral notes can diminish when exposed to high heat.
- Mexican Vanilla Beans:
Considered a premium variety, Mexican vanilla beans are renowned for their bold, smoky, and spicy flavor profile, often featuring hints of clove, nutmeg, and even a touch of chocolate. Their production is smaller and more exclusive than Madagascar or Tahitian beans, often reflected in a higher price. Mexican vanilla adds a unique complexity to robust dishes, chocolate desserts, and savory applications.
- Ugandan Vanilla Beans:
An emerging variety, Ugandan vanilla beans are prized for their intense, earthy, and chocolatey notes, often described as a richer, more potent version of Madagascar vanilla. They stand up well to baking and are an excellent choice for recipes where a strong vanilla presence is desired.
Understanding Vanilla Bean Grades
Vanilla beans are typically categorized into two main grades based on their moisture content and appearance. Both grades can produce excellent extract, but they have different characteristics that might influence your choice.
- Grade A (Gourmet or Prime) Vanilla Beans:
These beans are plump, moist, pliable, and visually appealing, with a moisture content of 25-30%. They are ideal for direct culinary use, such as scraping seeds into dishes, as their moisture helps them infuse flavor quickly. While excellent for extract, they are generally more expensive due to their premium quality.
- Grade B (Extract or Manufacturing) Vanilla Beans:
Also known as “extract beans,” Grade B vanilla beans are drier, less plump, and may have minor imperfections. With a moisture content of 15-20%, they are less expensive than Grade A beans but contain a higher concentration of vanillin, making them perfect for extraction. The lower moisture content means they will infuse flavor efficiently over time, making them the most economical and popular choice for homemade vanilla extract.
I’ve personally achieved fantastic results with both Grade A and Grade B beans, so don’t hesitate to use Grade B for your extract if you’re looking for a more budget-friendly option without compromising on flavor.
The Simple Steps to Crafting Your Own Vanilla Extract
Making homemade vanilla extract is a process of slow infusion, where the rich flavors and aromas of the vanilla beans are gently coaxed into the alcohol. While it requires patience, the actual hands-on time is minimal.
- Step 1: Prepare and Sterilize Your Jars (Optional but Recommended):
While alcohol acts as a sterilizing agent, I prefer to ensure my jars are pristine. To sterilize, simply submerge clean glass jars in boiling water for at least 5 minutes, then allow them to air dry completely. Alternatively, you can run them through a dishwasher on a sterilize cycle. Ensure they are cool before adding the beans and alcohol.
- Step 2: Prepare the Vanilla Beans:
For optimal flavor extraction, it’s beneficial to expose the vanilla bean’s inner “caviar” or seeds. Carefully slice each vanilla bean lengthwise down the middle, but avoid cutting all the way through the end, keeping the two halves connected. This dramatically increases the surface area for extraction. If your bottles are shorter, you may need to cut the beans in half or thirds crosswise to ensure they are fully submerged in alcohol. Place the prepared beans into your sterilized glass jars.
- Step 3: Add Alcohol and Seal:
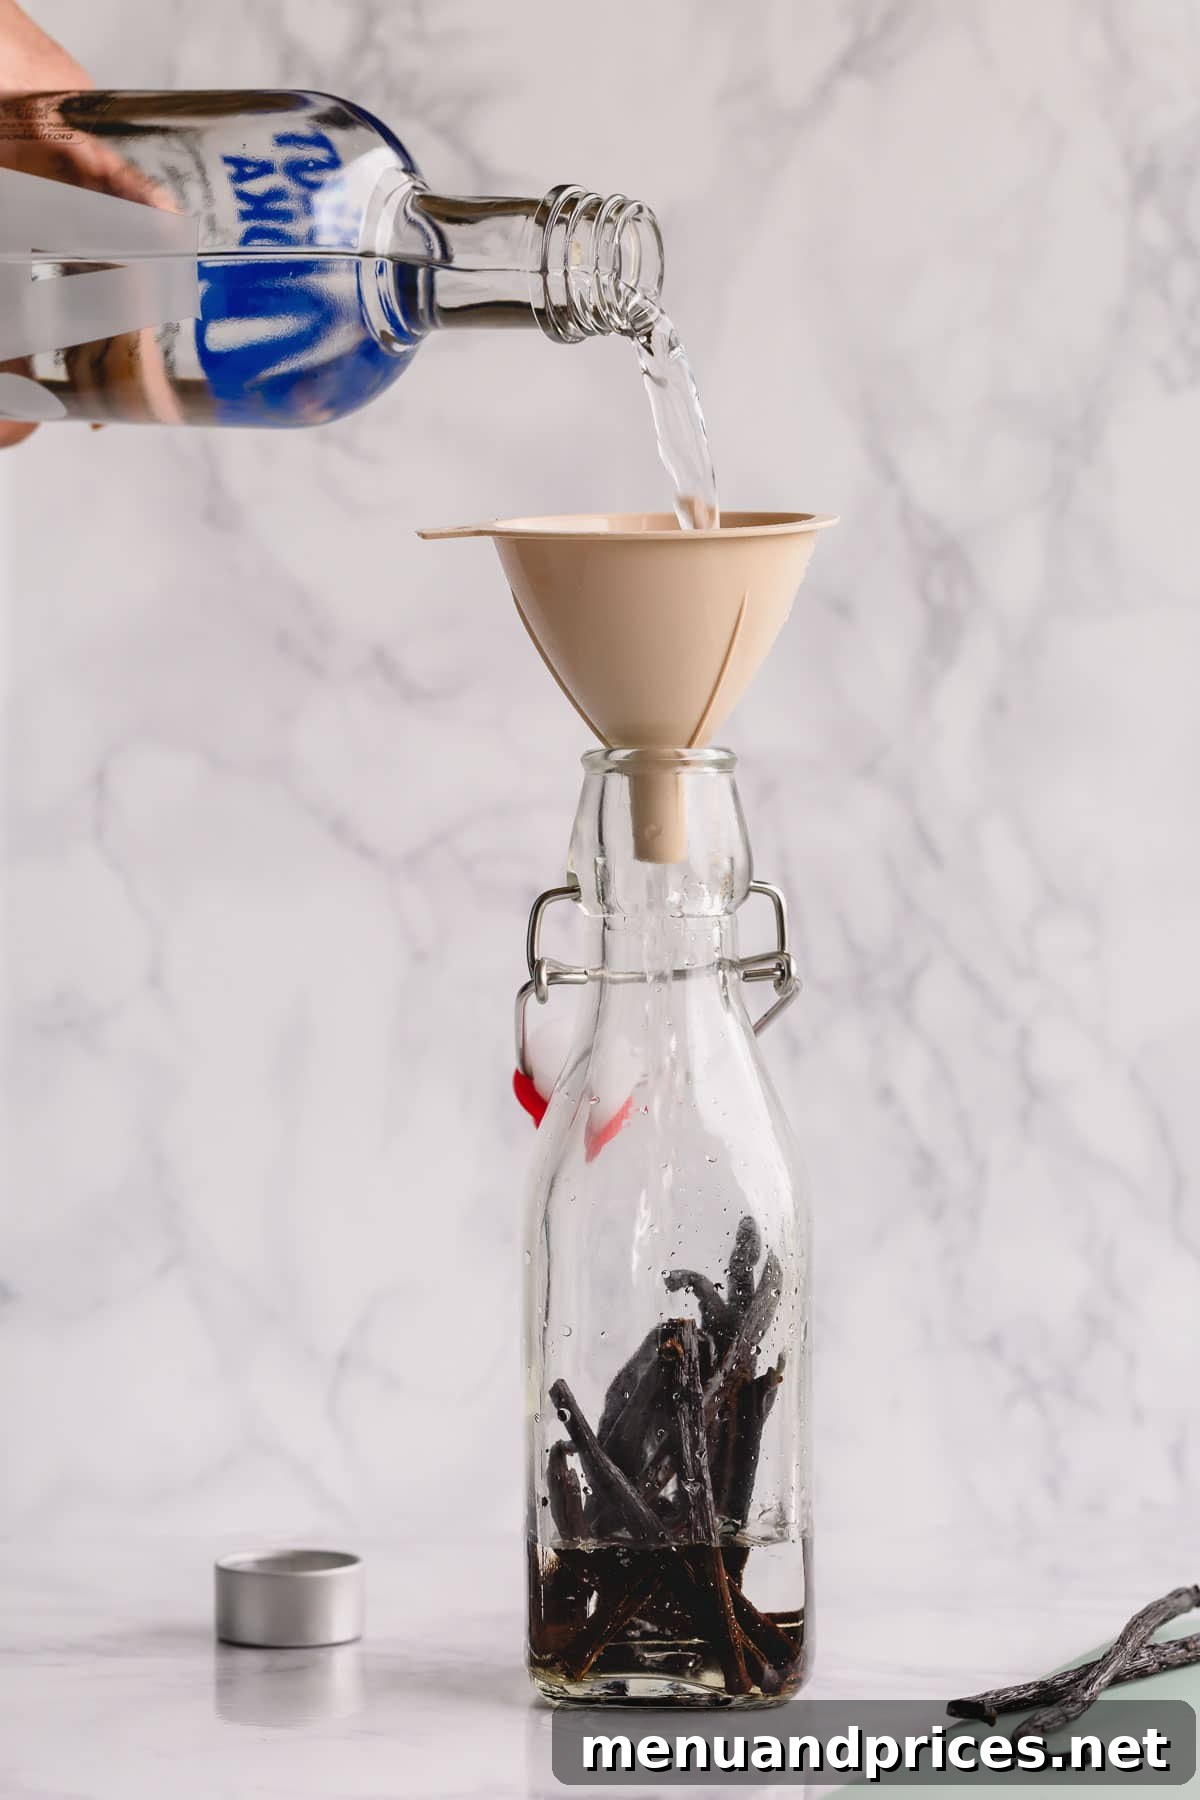
Carefully pour your chosen 80-proof alcohol over the vanilla beans in the jar. Ensure the beans are completely submerged. Fill the jar to the top, leaving a small headspace. Tightly seal the jars to prevent evaporation.
- Step 4: The Infusion Process (Patience is Key):
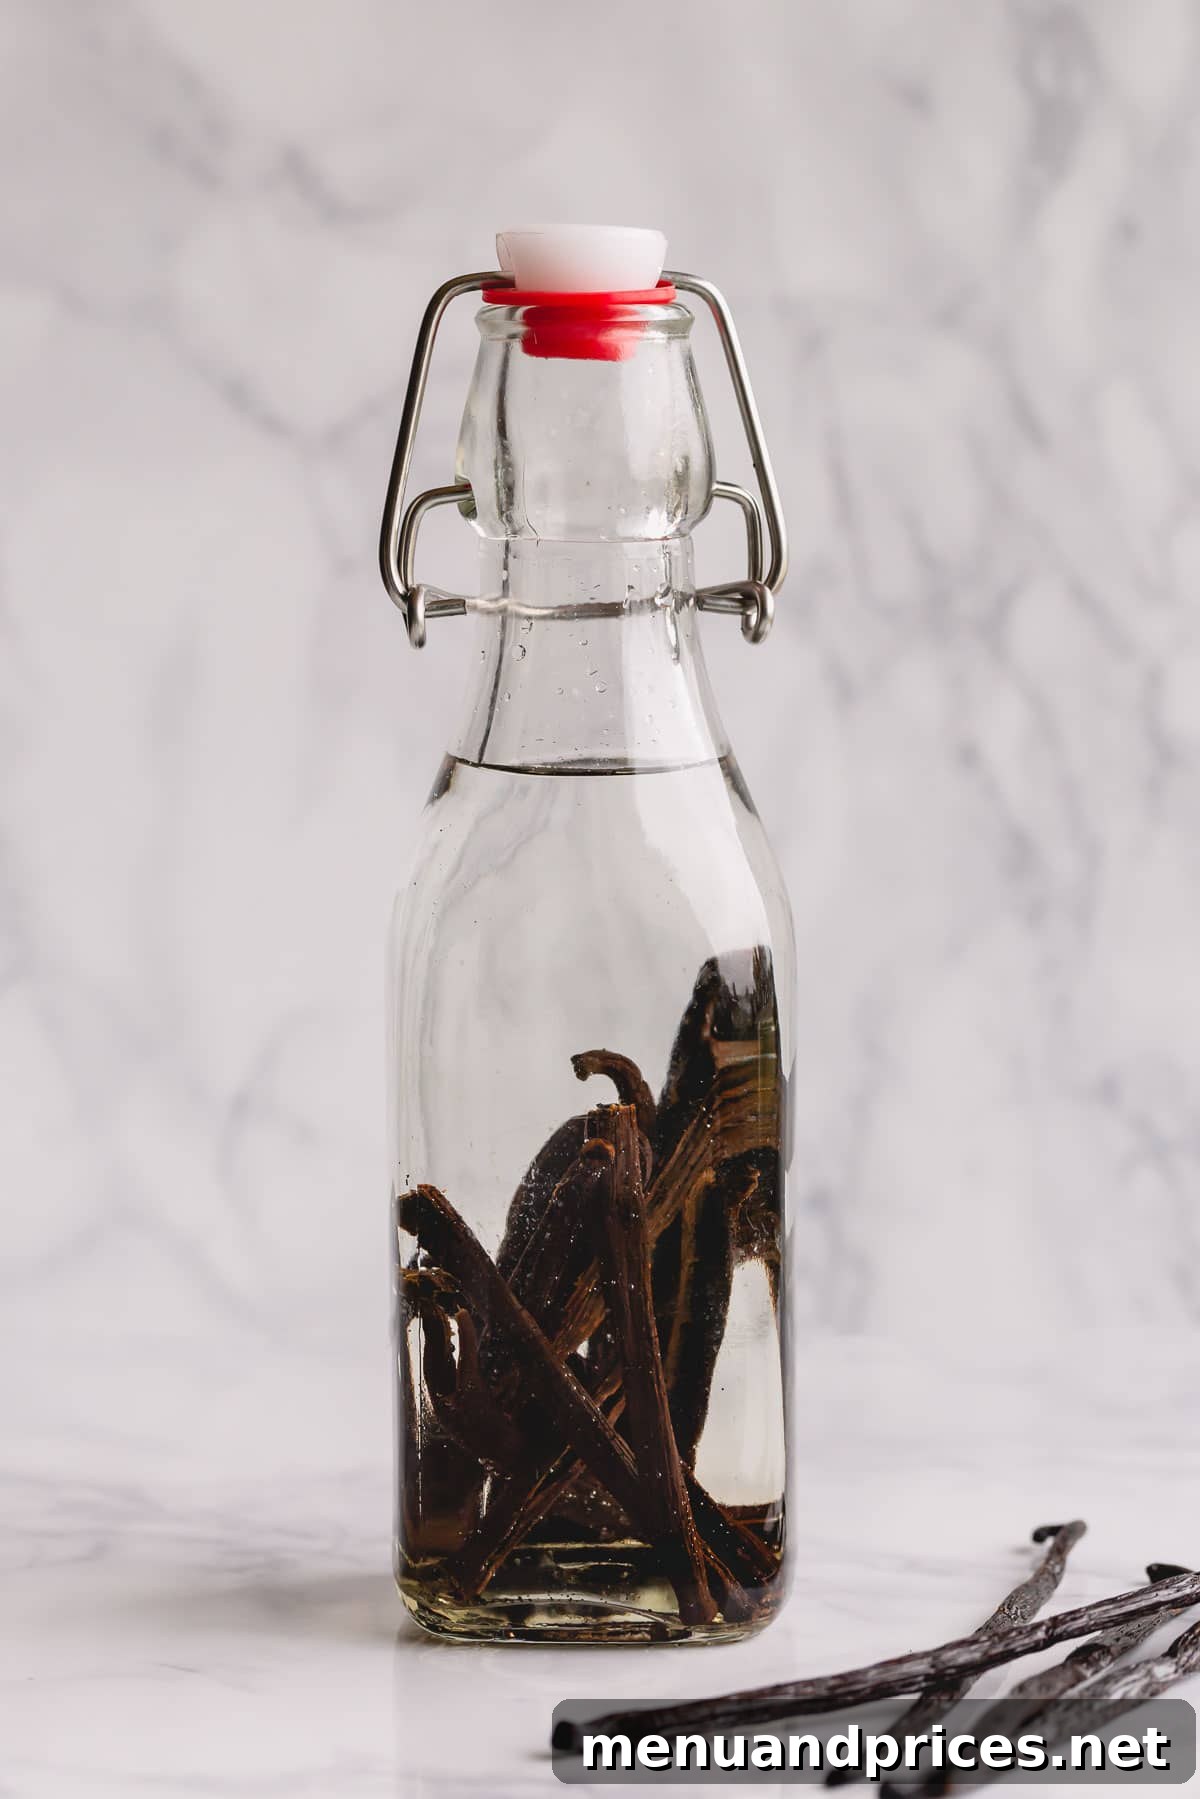
Store your sealed jars in a cool, dark place, away from direct sunlight or extreme temperature fluctuations. A pantry or cabinet is ideal. The minimum infusion time for a usable extract is 8 weeks, but for truly exceptional flavor, aim for 6 to 12 months, or even longer. For the first few months, make it a habit to shake the jars gently once a week. This helps to redistribute the beans and ensure even extraction.
Important Tip: Date Your Bottle!
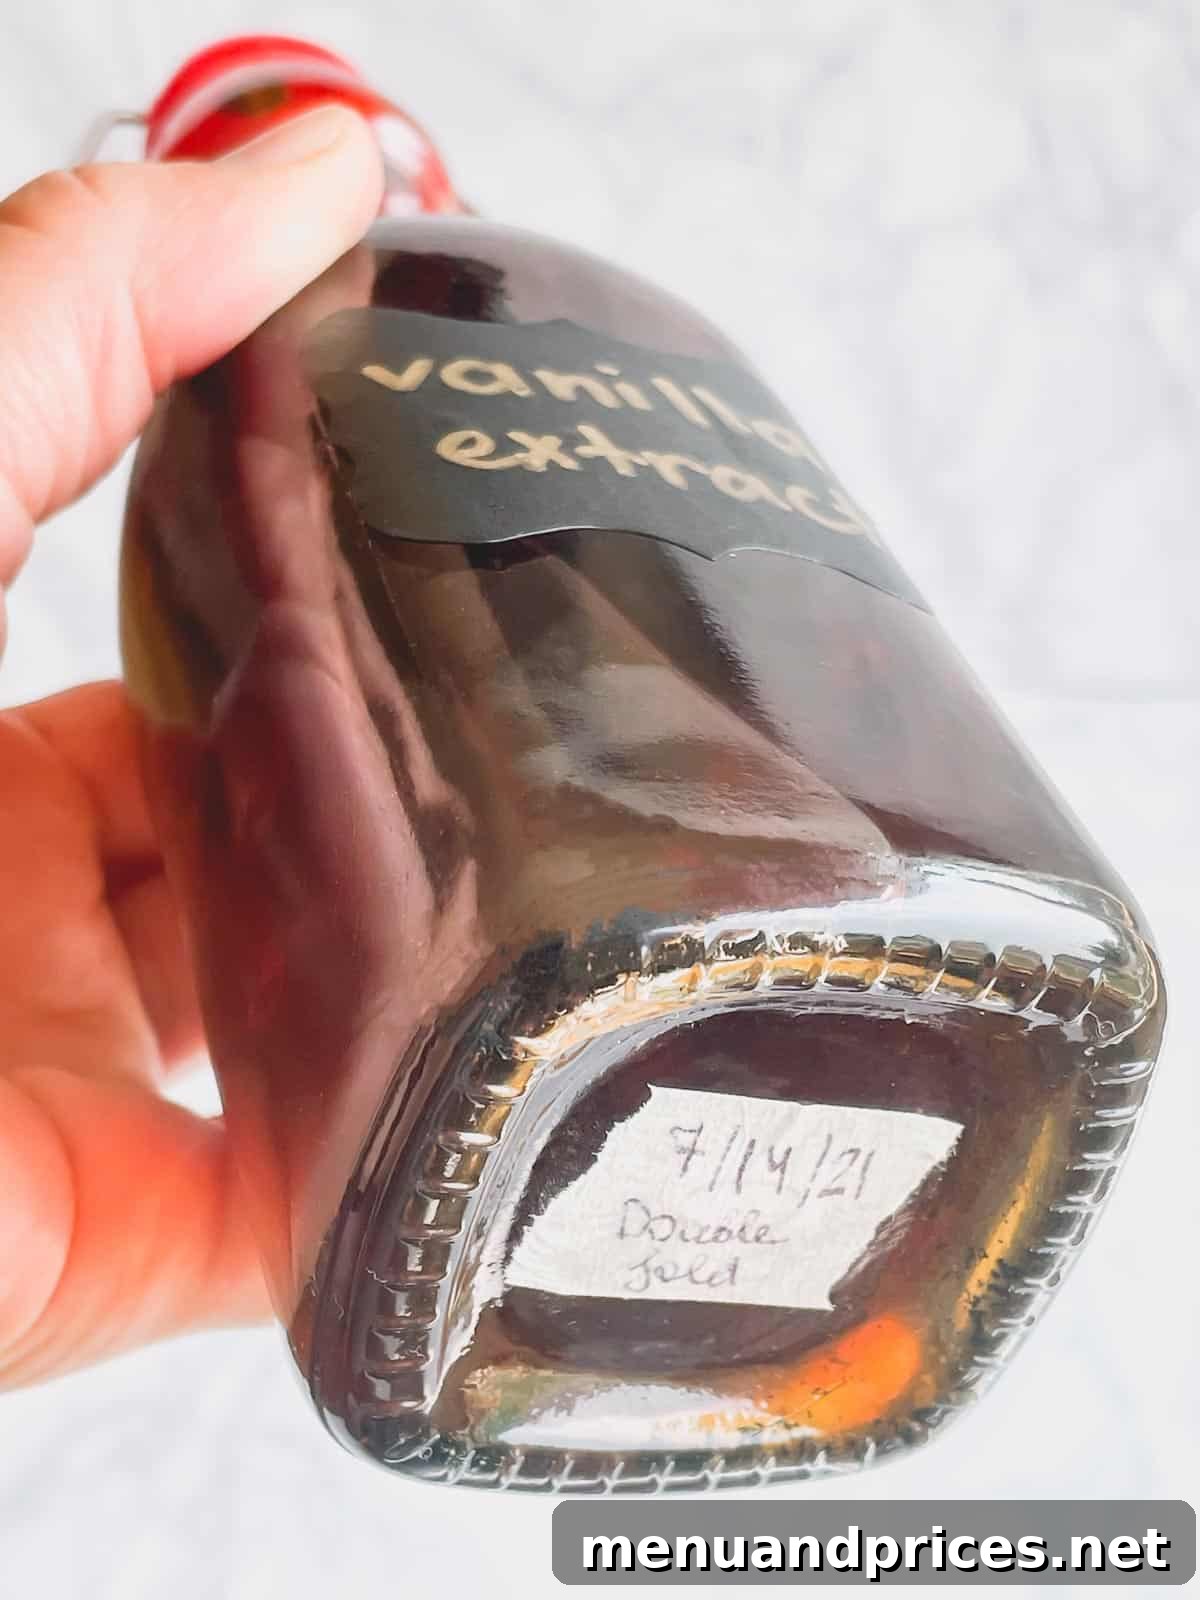
To keep track of your batches and ensure optimal flavor development, I highly recommend affixing a label or tape to the bottom or side of your jar and noting the date you started the extract. This simple step helps you monitor its progress. I also like to include whether it’s a “single-fold” or “double-fold” extract for future reference.
Single-Fold vs. Double-Fold Vanilla Extract: Understanding Potency
The term “fold” refers to the strength or concentration of vanilla flavor in the extract. This designation is based on the FDA’s standard, which defines “single-fold” as the minimum acceptable strength for commercial vanilla extract. Most store-bought vanilla extracts are single-fold.
- Single-Fold Vanilla Extract: This is made using the standard ratio of 1 ounce (approximately 28 grams) of vanilla beans per 8 fluid ounces (1 cup) of 80-proof alcohol. It provides a robust, balanced vanilla flavor suitable for most baking and cooking applications.
- Double-Fold Vanilla Extract: Often referred to as “vanilla essence” or “extra strength,” double-fold extract uses twice the amount of vanilla beans – 2 ounces (approximately 56 grams) per 8 fluid ounces (1 cup) of 80-proof alcohol. The result is a highly concentrated, intensely flavored extract that imparts a more pronounced vanilla taste with less liquid. It’s excellent for recipes where you want a dominant vanilla presence without adding too much moisture, such as in frostings, candies, or delicate pastries.
Experimenting with both single-fold and double-fold extracts can be fun. You might find you prefer the richer flavor of double-fold for specific recipes, or enjoy the versatility of single-fold for everyday baking.
Optimal Storage for Long-Lasting Homemade Vanilla Extract
Proper storage is crucial for maintaining the quality and extending the lifespan of your homemade vanilla extract. With the right care, your extract can last for many years, continuously developing its flavor.
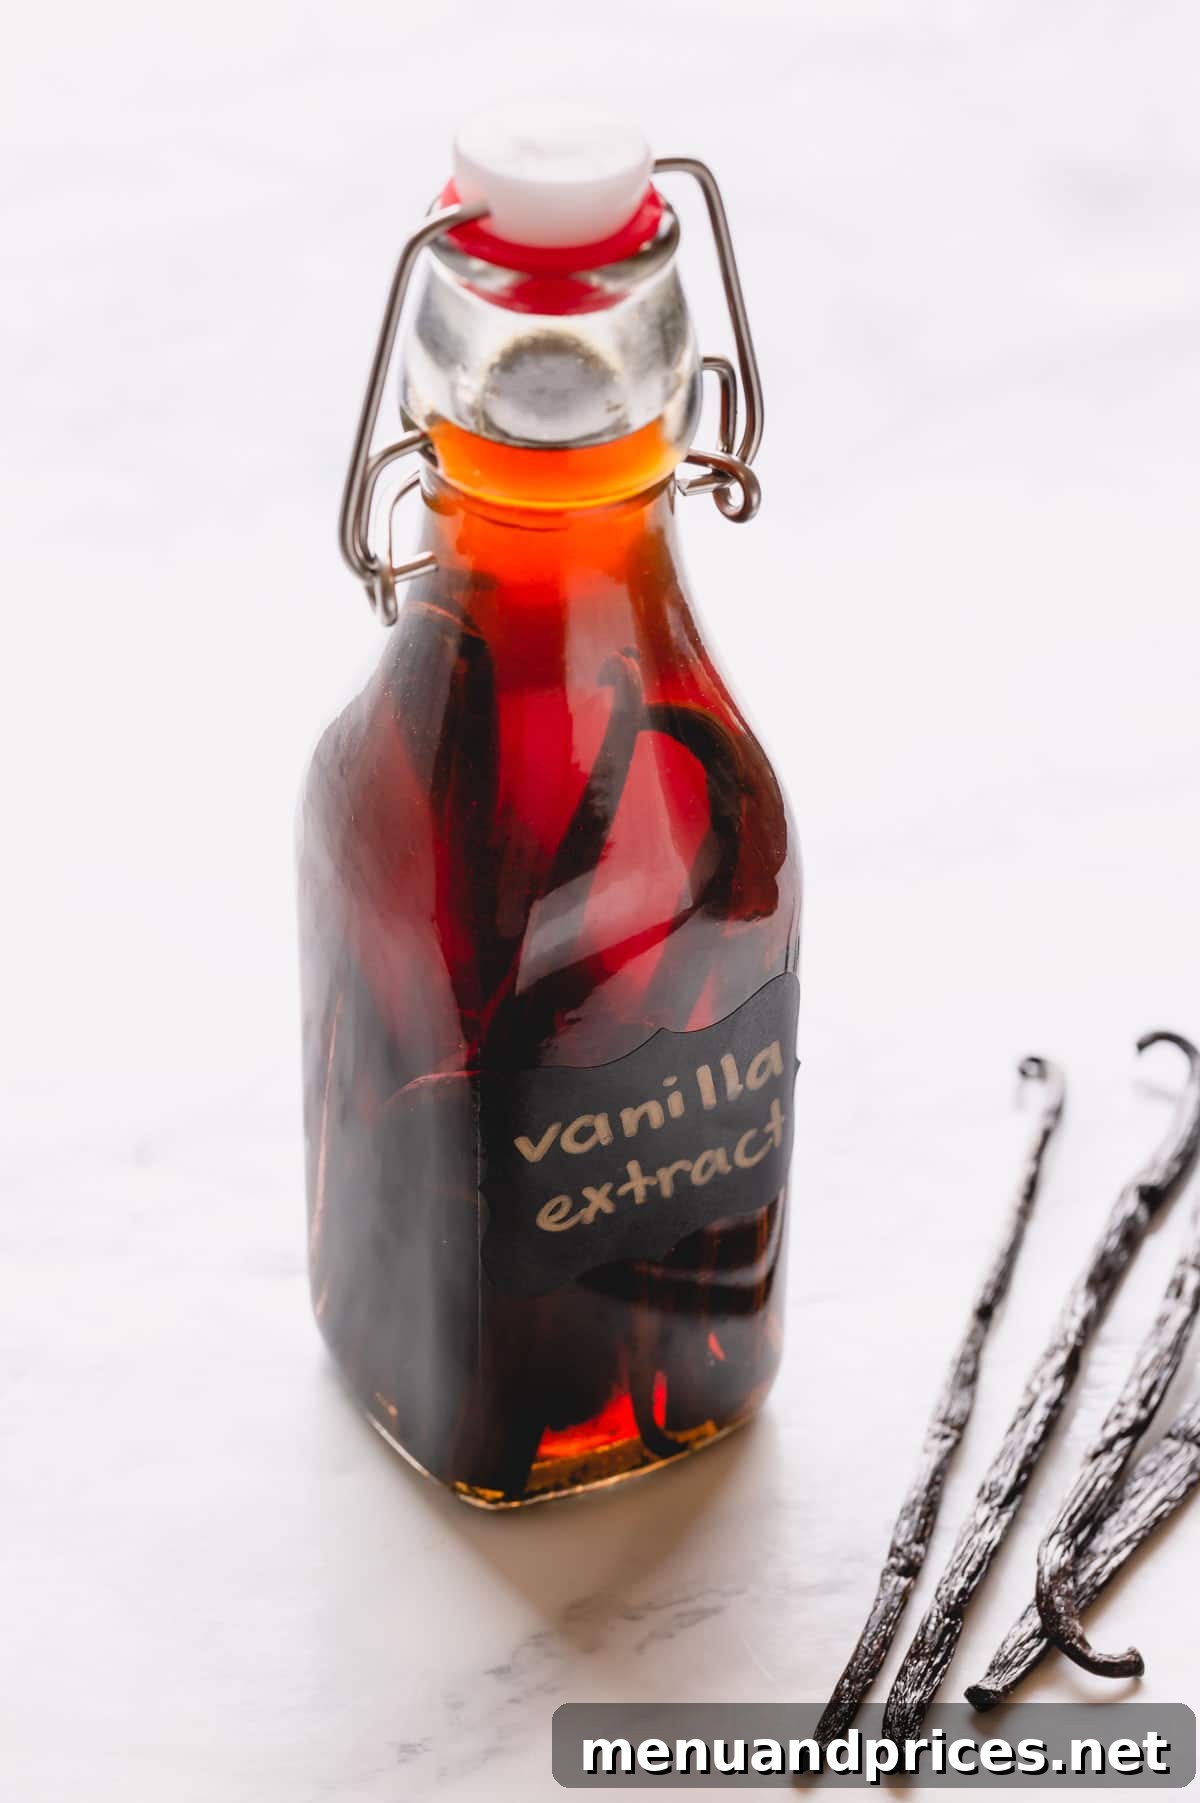
Always store your vanilla extract in a cool, dark place, away from direct sunlight or bright artificial lights. Prolonged exposure to light can cause the extract to become cloudy or develop an off-flavor, diminishing its quality. A pantry, cupboard, or even a basement are ideal locations. There’s no need to refrigerate or freeze vanilla extract; the alcohol content acts as a natural preservative.
One of the most remarkable aspects of homemade vanilla extract is its ability to be a “living” ingredient. As you use the extract from your bottle, you can simply add more 80-proof alcohol to replenish the liquid. This ensures the vanilla beans remain fully submerged, allowing them to continue infusing flavor over time. This continuous topping-off method means your initial batch of beans can last for years, constantly producing more extract. Eventually, if you notice the extract’s potency diminishing, it’s time to replace the old, depleted beans with a fresh batch to revitalize the flavor.
Frequently Asked Questions About Homemade Vanilla Extract
Due to variations in size, plumpness, and moisture content among different grades and varieties of vanilla beans, it is always best to measure your vanilla beans by weight rather than by count. The FDA standard for a single-fold extract is 1 ounce of vanilla beans per 8 fluid ounces of alcohol. For a double-fold extract, use 2 ounces of vanilla beans per 8 fluid ounces of alcohol.
While you can use vodka, rum, bourbon, or brandy, I highly recommend a mid-level, neutral-flavored vodka. Its clean profile allows the complex vanilla notes to shine without interference. My personal favorite, which consistently yields excellent results, is Absolut Vodka (not sponsored, just a preference).
If your steeping extract has been exposed to direct light for an extended period, it may turn cloudy. This is generally cosmetic and the extract is usually still safe to use, provided there are no other signs of spoilage like mold or a foul odor. A slimy texture can occur as natural oils are released from the beans. Simply shake the bottle vigorously and regularly; the alcohol will help break down these oils over time. As long as it smells good, it’s likely fine.
Yes, you can make non-alcoholic vanilla extract by substituting food-grade vegetable glycerine for alcohol. While I haven’t personally tried this method, many resources offer recipes for non-alcoholic vanilla extract using glycerine.
Absolutely. The alcohol in vanilla extract, whether homemade or store-bought, largely evaporates during the baking or cooking process. Furthermore, the small quantities typically used in recipes are far too minimal to cause intoxication. Many commercial extracts are also alcohol-based, so homemade is no different in this regard.
When stored correctly in a cool, dark place and properly “topped off” with alcohol as it’s used, homemade vanilla extract can truly last for many years, continuously developing deeper flavors over time. Refer to the “Optimal Storage” section above for detailed tips on longevity.
Homemade Vanilla Extract Recipe
Shinee Davaakhuu
5 minutes
5 minutes (plus 6-12 months infusion)
1 cup (approx. 240 ml)
Comment
Print Recipe
Ingredients
-
1 (8oz)
Glass Jar
(with a tight-fitting, non-cork lid) -
1 oz
Vanilla Beans
(Grade B extract beans recommended for best value and flavor; choose your desired variety) -
1 cup (240 ml)
80 Proof Alcohol
(vodka is highly recommended for a neutral flavor)
Instructions
-
Sterilize your glass jar(s) by submerging them in boiling water for 5 minutes or using a dishwasher’s sterilize cycle. Allow them to air dry completely before use.
-
Carefully slice each vanilla bean lengthwise down the middle, stopping just before the very end to keep the bean intact. This exposes the flavorful inner seeds. If your jar is shorter, cut the beans crosswise so they fit and will be fully submerged in the alcohol. Place the prepared vanilla beans into the sterilized jar.
-
Pour the 80-proof alcohol over the vanilla beans, ensuring they are completely covered. Fill the jar to leave a small headspace, then seal the jar tightly.
-
Store the sealed jar in a cool, dark place (like a pantry or cabinet) for at least 2 months, or ideally 6-12 months, for optimal flavor development. Shake the jar gently once a week, especially during the initial months, to help with the infusion process.
-
As you use the extract, you can “top off” the bottle with more alcohol to keep the vanilla beans submerged and continue the infusion. This allows your extract to last for many years. When you notice the flavor becoming less potent, replace the old beans with fresh ones to rejuvenate your extract.
⭐️ Did you make this recipe?
Please leave a review and let us know how you liked it!
Tips & Notes
Vanilla Bean Weight: Always measure vanilla beans by weight, not count, for consistent flavor. 1 oz beans per 8 oz alcohol for single-fold, 2 oz beans per 8 oz alcohol for double-fold. Grade B beans are excellent for extract due to their high vanillin content and lower cost.
Alcohol Choice: Vodka is preferred for its neutral flavor. Mid-level vodka yields the best results without being overly expensive. Rum, bourbon, or brandy can be used for different flavor profiles.
Nutrition (per serving, estimated based on 1 cup alcohol infusion)
Did you make this?
Leave a rating and your feedback. Thank you!