
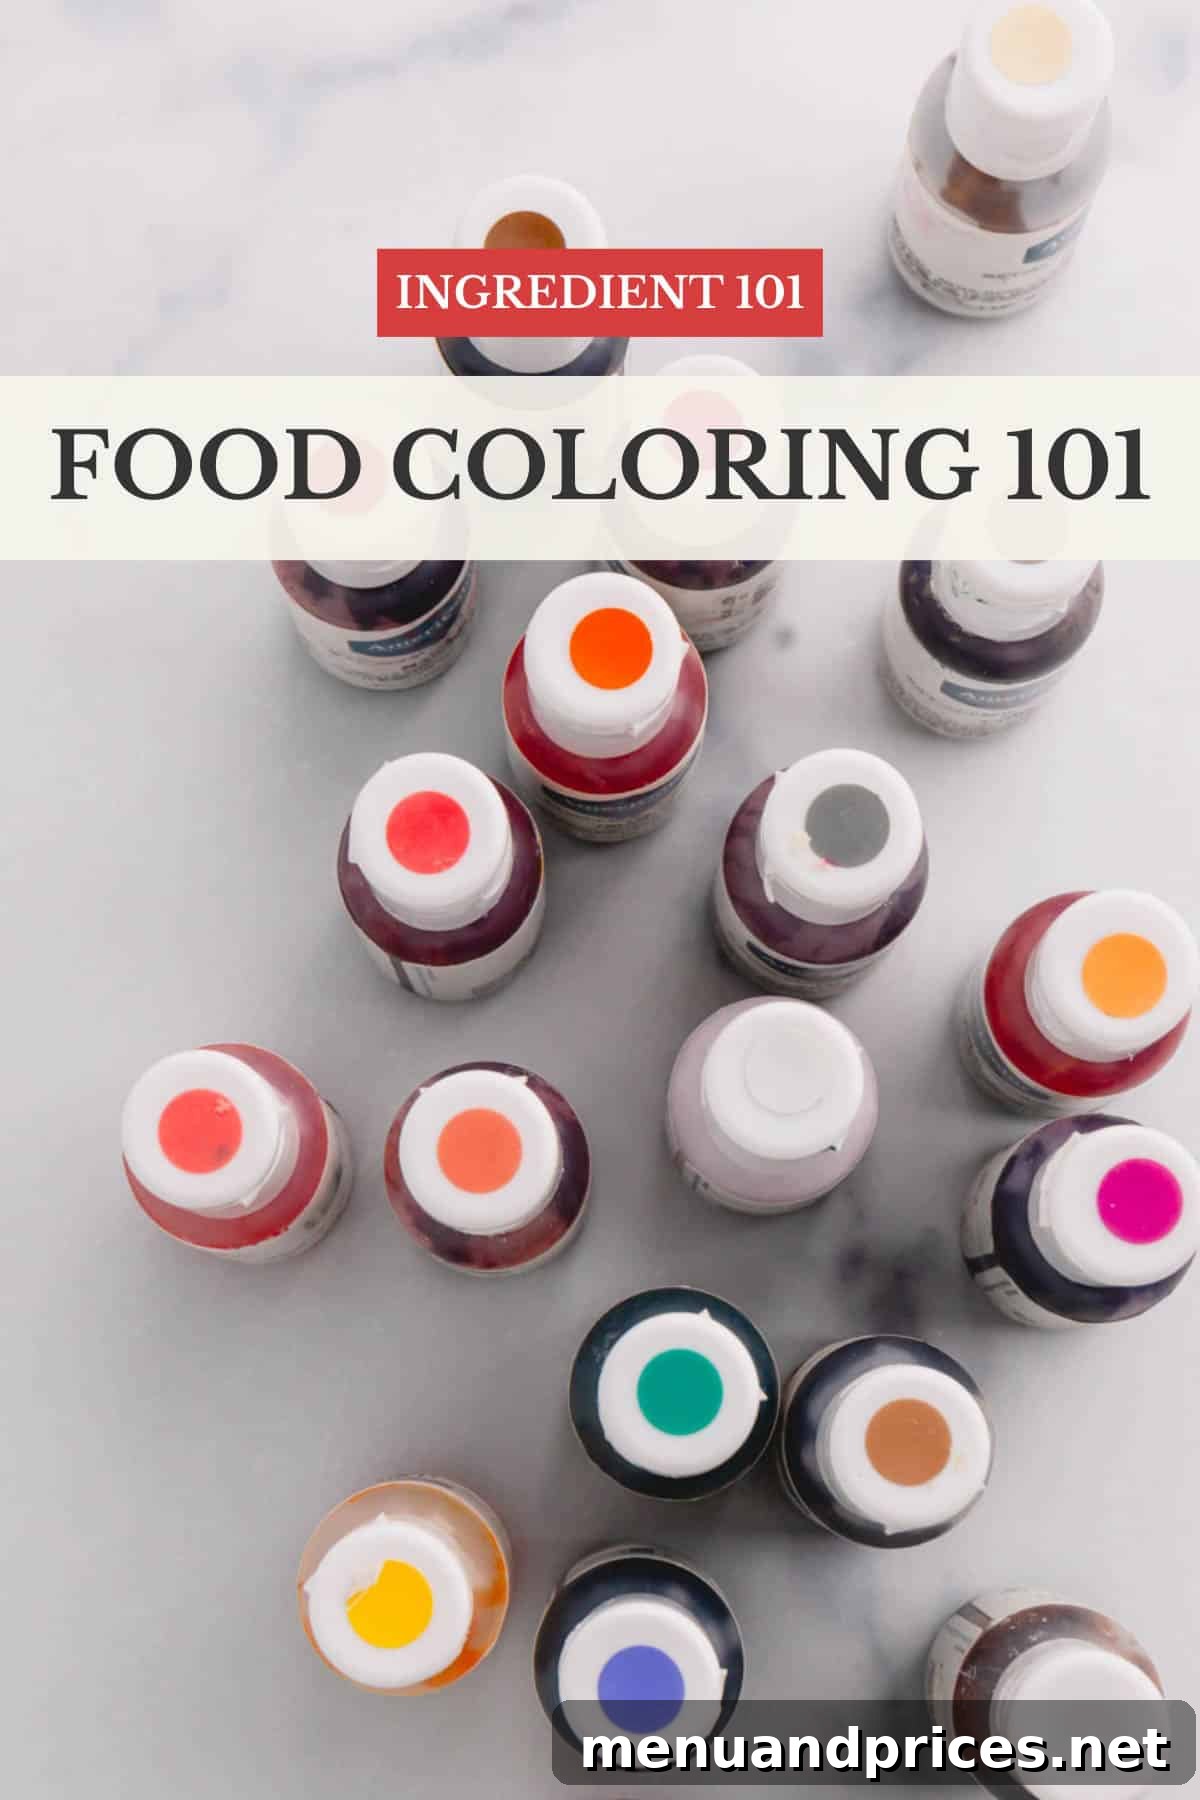
Welcome to the ultimate guide to food coloring, your essential resource for transforming ordinary baked goods into extraordinary culinary masterpieces! Whether you’re a seasoned baker or just starting out, mastering the art of food coloring is a game-changer. This comprehensive guide will teach you everything you need to know about different types of food coloring – including liquid, gel, and powder varieties – alongside invaluable tips and tricks to make decorating with color surprisingly easy and incredibly fun. Prepare to unlock a world where your desserts not only taste amazing but also look absolutely stunning!
Why Elevate Your Desserts with Food Coloring?
After dedicating precious time to meticulously shaping intricate sugar cookies, delicately piping decorations, or baking an impressive, towering layer cake, you’ve reached the most exciting stage: decorating! While there are certainly moments when the simple elegance of a basic white powdered sugar icing or a creamy, unadorned cream cheese frosting is perfectly sufficient, why not seize the opportunity to make your finished desserts truly unforgettable?
For most occasions, I find immense joy in making my creations truly pop with vibrant splashes of color. Food coloring isn’t just about aesthetics; it’s about conveying emotion, celebrating themes, and adding a personalized touch that delights the eyes as much as the palate. Imagine a birthday cake bursting with cheerful rainbow hues, holiday cookies adorned with festive reds and greens, or a romantic dessert blushing with delicate pinks. These bright, eye-catching designs are effortlessly achieved with the right liquid, gel, or powdered food coloring.
In this comprehensive guide, we’ll dive deep into the world of food coloring, ensuring you have all the knowledge to choose the best types for your projects, master essential application techniques, and discover my favorite recipes that truly shine when enhanced with a spectrum of beautiful colors.
Food Coloring Guide: Decoding the 3 Essential Types
Navigating the diverse world of food coloring can seem daunting, but it doesn’t have to be. This section provides a comprehensive breakdown of the three main types you’ll encounter – liquid, gel, and powder food coloring – detailing their unique characteristics, ideal uses, and potential drawbacks to help you make informed choices for your baking projects.
1. Liquid Food Coloring: The Everyday Choice
Liquid food coloring is arguably the most common and accessible type of food dye, readily available in the baking aisle of nearly every major grocery store. Characterized by its water-based formulation, it produces lighter, more pastel shades of a wide array of colors. It’s often packaged in small dropper bottles, making it seem intuitive to use.
- Pros: Liquid food coloring is incredibly user-friendly. Its thin consistency makes it easy to dispense and blend into frostings, batters, or glazes. For those just beginning their decorating journey, it offers a low-commitment introduction to adding color.
- Cons: The primary drawback of water-based food dye is its propensity to dilute your recipes. Because it contains a significant amount of water, adding too much to achieve a vibrant hue can lead to undesirable textural changes. This can result in cookies that spread excessively, cakes that struggle to rise properly, or frostings that become runny and soupy. The colors it produces tend to be watered-down and appear somewhat washed out, lacking the intensity often desired for professional-looking desserts.
- How to Use: Liquid food dye is best reserved for applications where a subtle hint of color is desired or where the recipe can withstand additional moisture without compromise. It’s excellent for coloring things like Easter eggs, tinting drinks, or creating light, translucent glazes where a delicate shade is preferred over intense vibrancy. For bolder colors, you’ll likely need to reach for a more concentrated option.
2. Gel Food Coloring: The Professional’s Secret Weapon
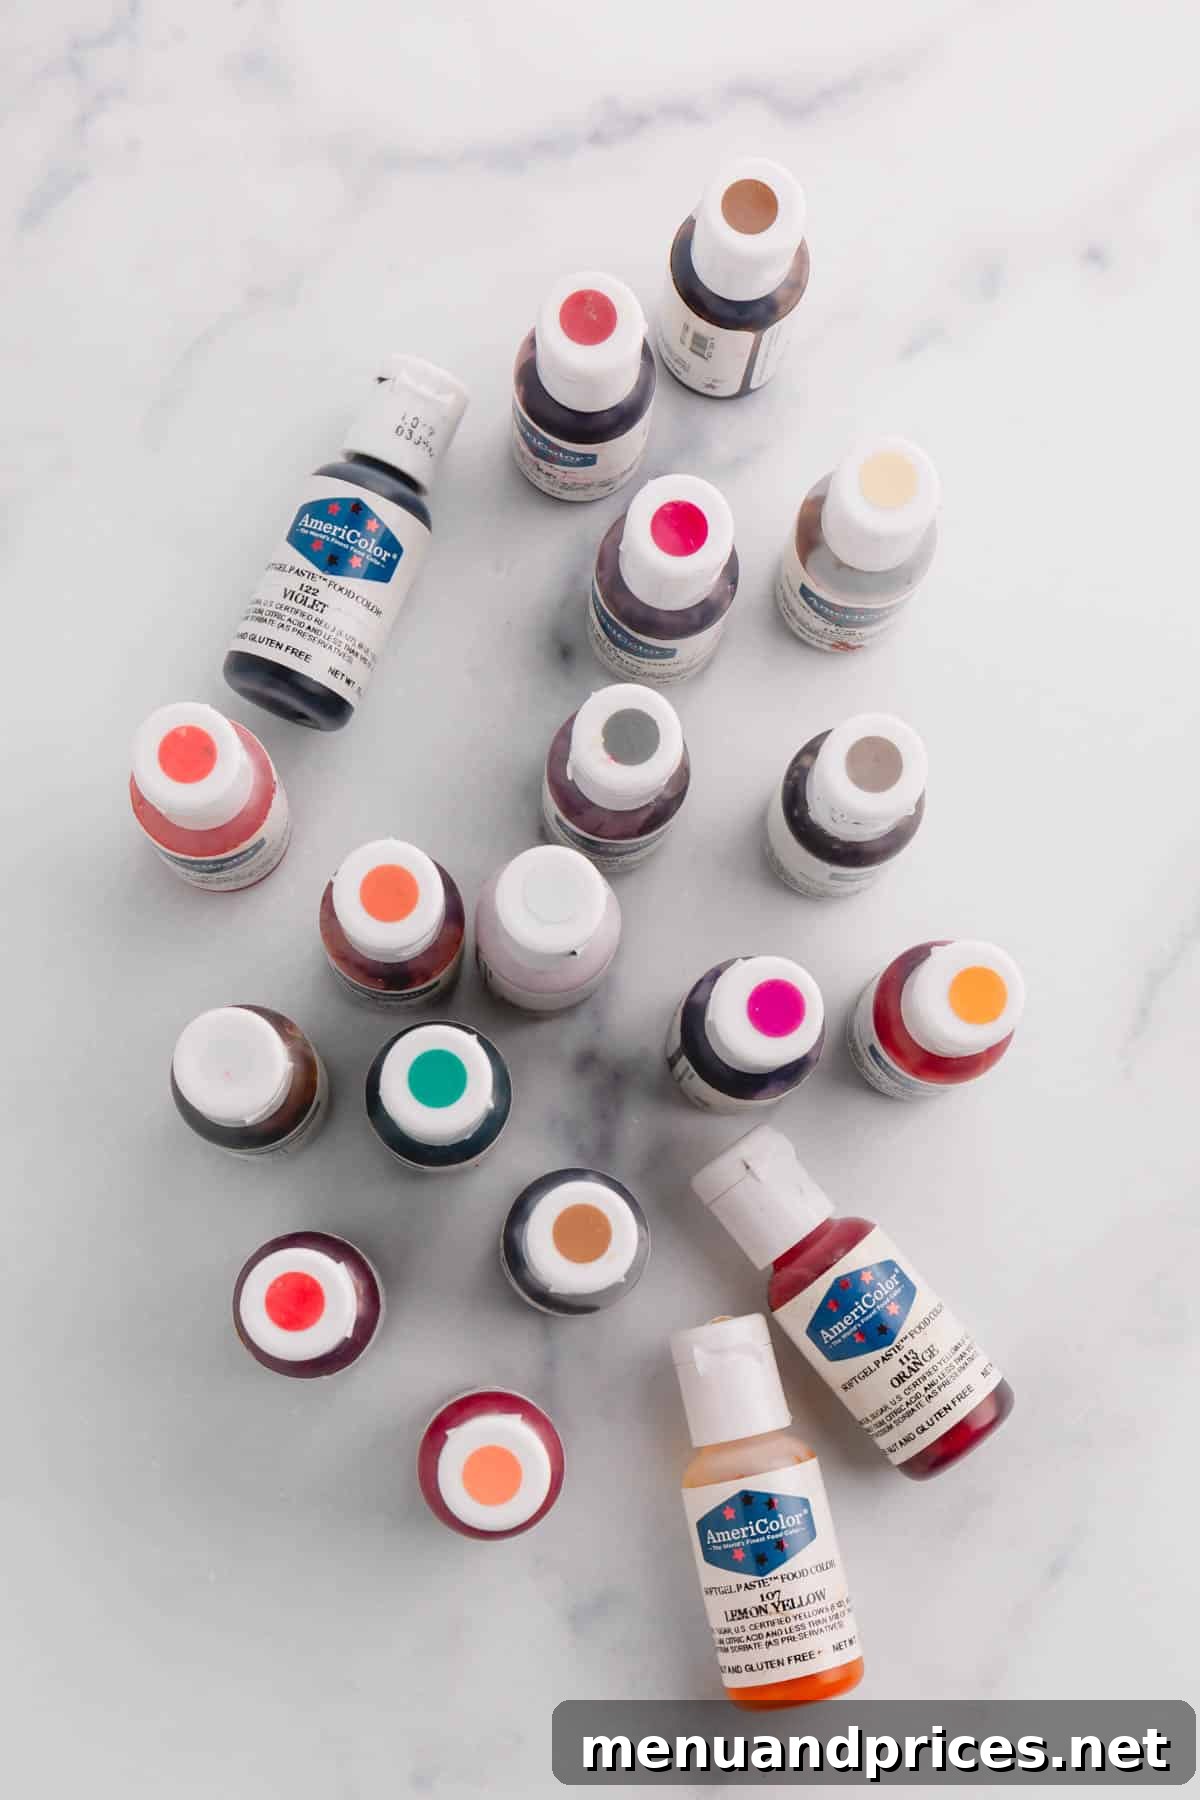
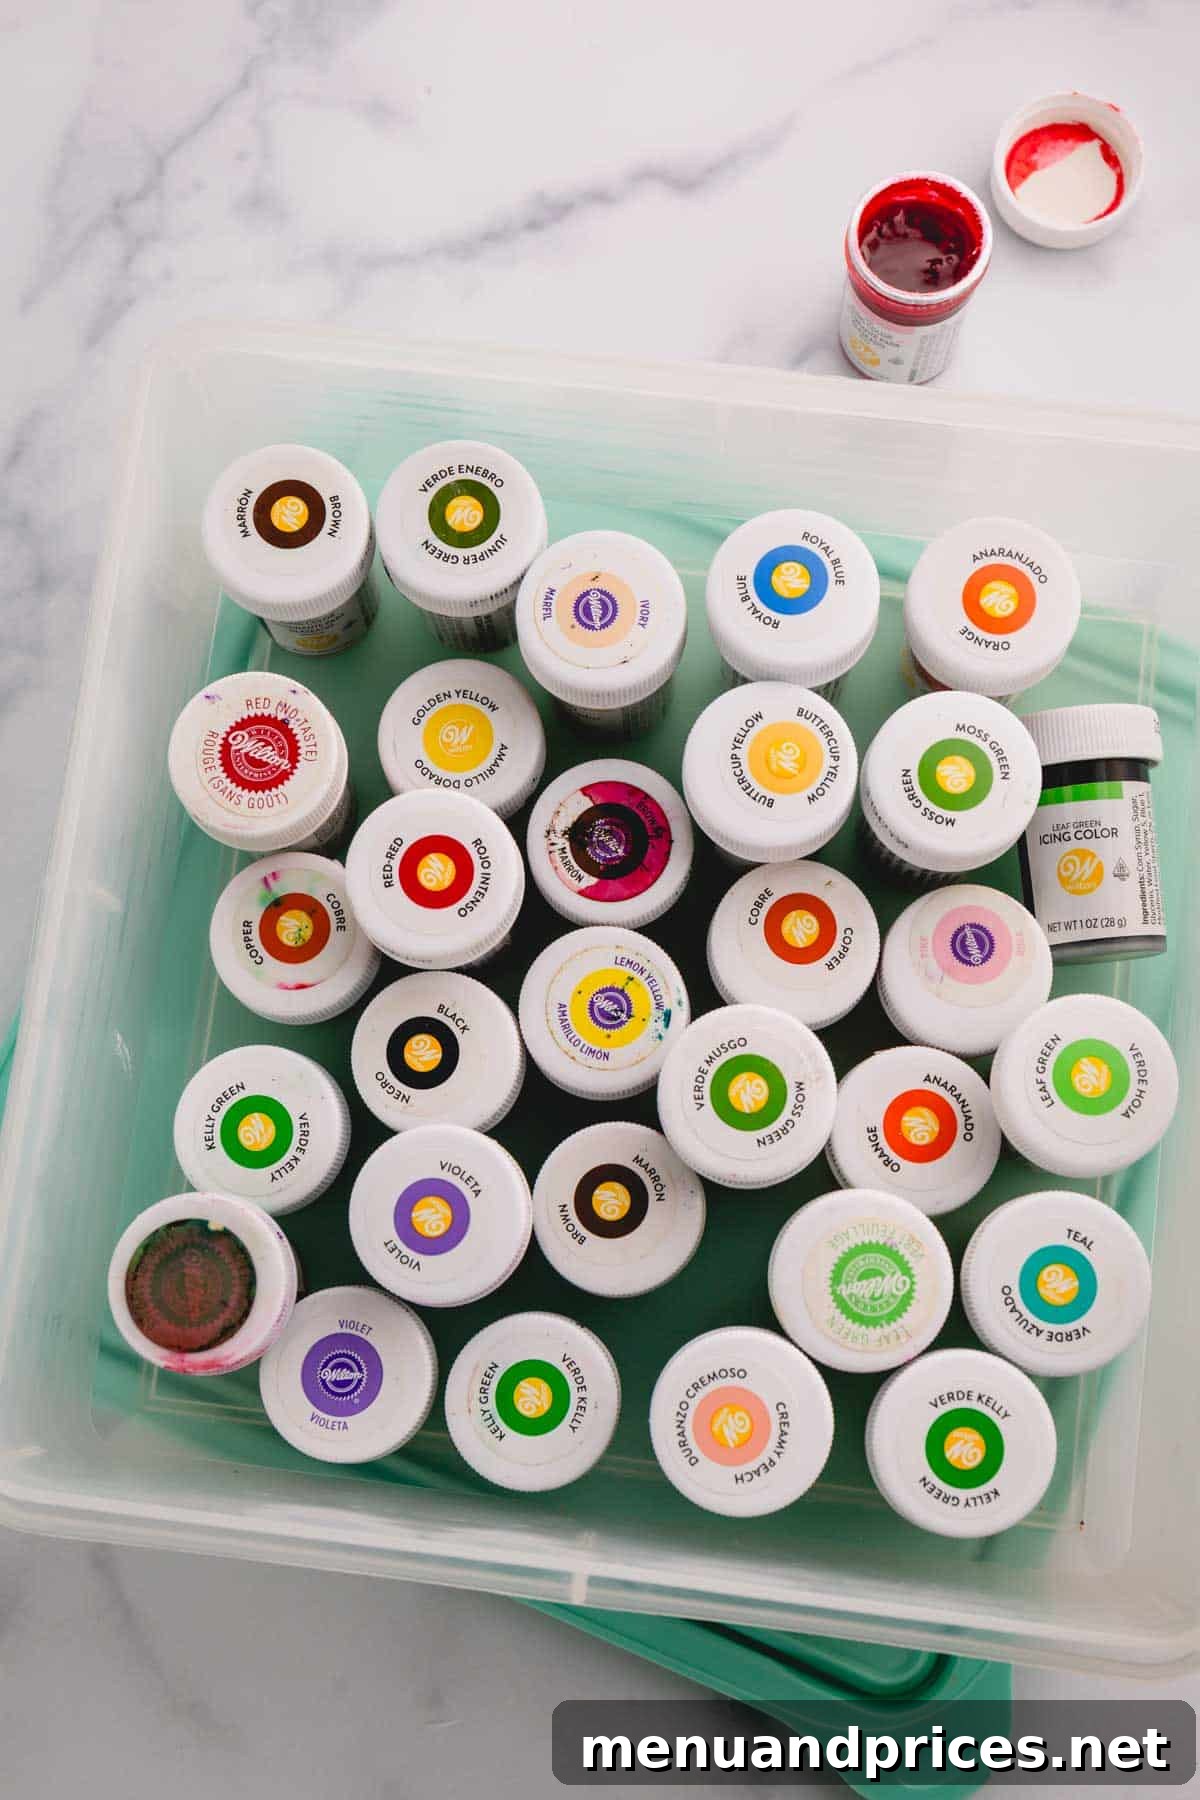
For bakers seeking truly bright, vibrant, and intense colors, gel food coloring is my absolute secret weapon. Unlike its liquid counterpart, gel food coloring boasts a glycerin or corn syrup base, which gives it a much thicker, more concentrated consistency. While you might not find a huge selection in every local grocery store, it’s widely available online, and my preferred brands for their exceptional quality and color vibrancy are Americolor and Wilton.
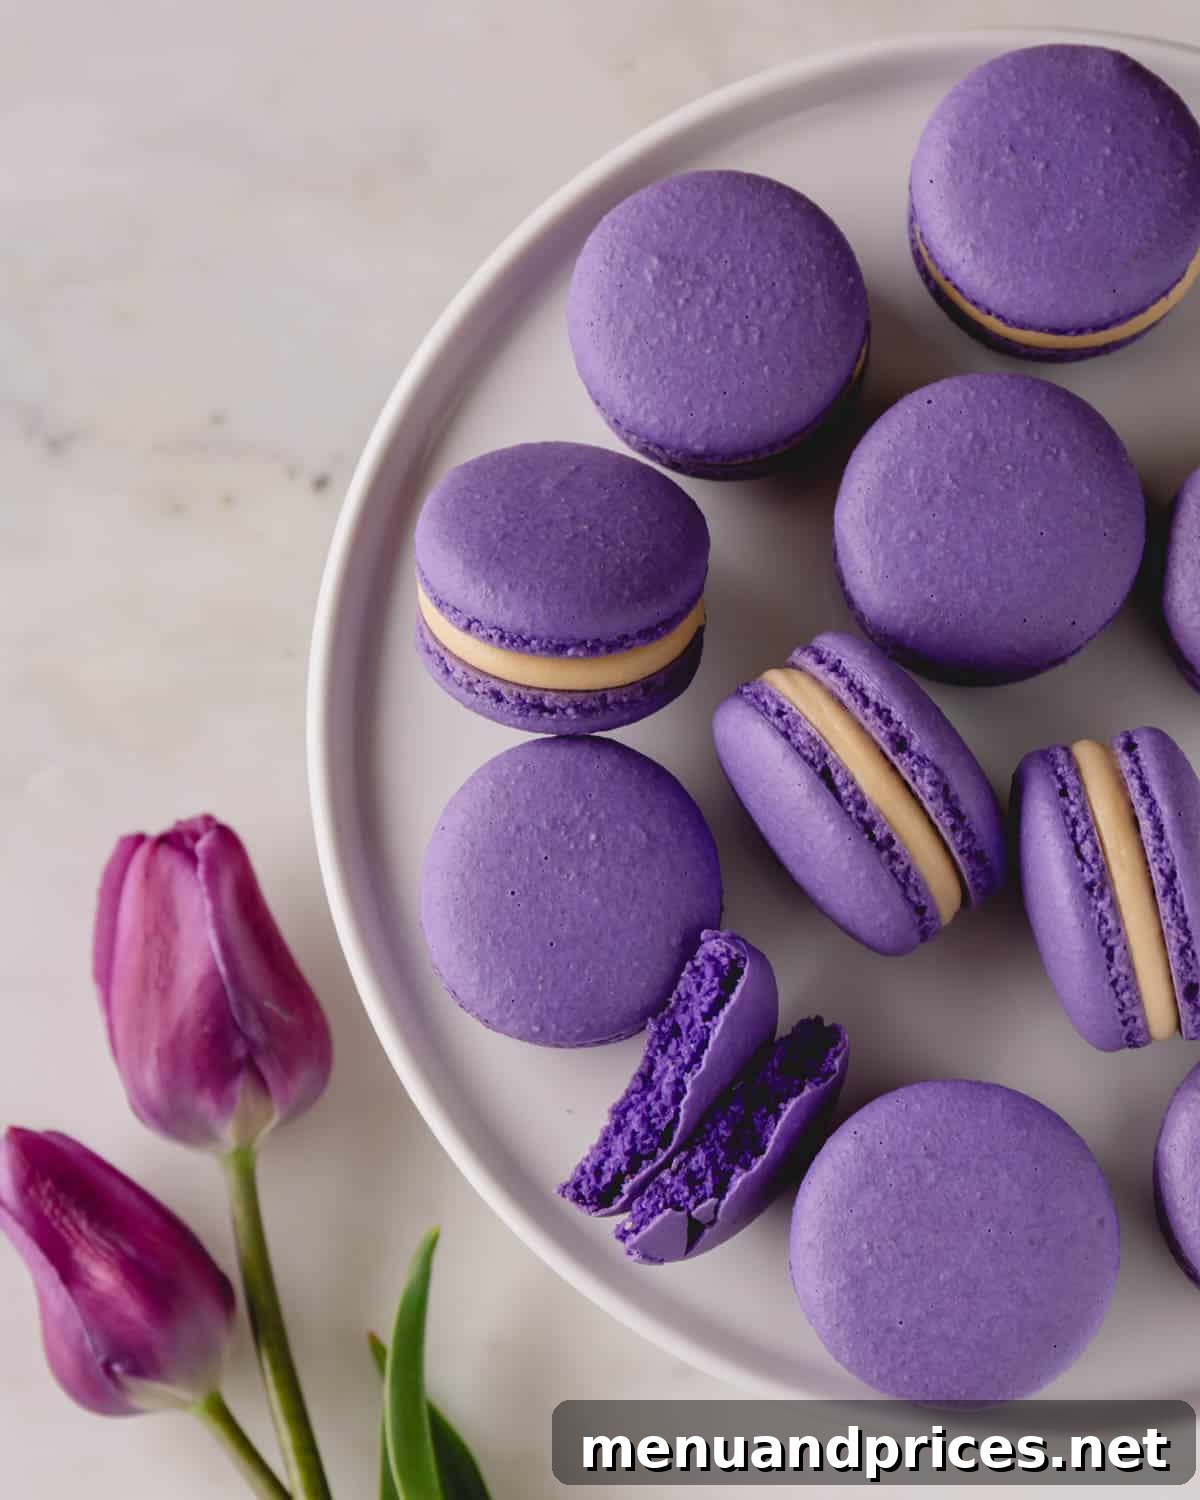
- Pros: The highly concentrated nature of gel food coloring means a little goes an incredibly long way. This characteristic is crucial for recipes where the delicate balance of wet to dry ingredients cannot be disturbed, such as finicky meringues or light, airy red velvet macarons. Its minimal moisture content ensures that your batters maintain their perfect consistency and rise as they should. The colors achieved are consistently rich, deep, and brilliant, making your desserts truly stand out.
- Cons: Due to its extreme concentration, it’s surprisingly easy to over-saturate your colors if you’re not careful. A single drop too many can transform a delicate pastel into an overpowering deep shade. Additionally, because it’s less commonly found in everyday stores, you might need to plan ahead and order it online.
- How to Use: When working with gel food coloring, always start with an incredibly small amount – typically just a single toothpick dip or one small drop. Mix it thoroughly into your frosting or batter, then wait. The color often continues to deepen and develop over time as the dye molecules fully disperse. For this reason, it’s often best to prepare colored icings and frostings a little in advance, allowing them about 15-30 minutes to reach their final shade before making any further adjustments. This patience will prevent you from accidentally achieving a color far darker than intended.
3. Powder Food Coloring: The Versatile & Advanced Option
Powder food coloring stands out as perhaps the most versatile and often overlooked option in a baker’s arsenal. Unlike liquid or gel dyes, its dry, concentrated form means it introduces absolutely no additional moisture to your recipes, making it invaluable for specific applications. It won’t dry out over time in its container, offering excellent shelf stability.
- Pros: The greatest advantage of powdered food coloring is its dry nature. This makes it ideal for recipes where even a tiny amount of added liquid could compromise the texture or structure, such as delicate meringues, crunchy macarons, or sensitive chocolate confections. Like gel food coloring, it is highly concentrated, producing incredibly deep, intensely-colored pigments with superior vibrancy and stability. Furthermore, it offers unique application methods: it can be mixed into batters and frostings, brushed dry onto finished cookies for a matte effect, or combined with a tiny amount of flavored extract (like vanilla or lemon) to create a custom edible paint for intricate details.
- Cons: Powdered food coloring is generally less accessible than liquid or gel varieties, often requiring an online purchase from specialty baking suppliers. Its application also demands a bit more skill and experience to perfect. Achieving even incorporation without clumps, especially in dry mixes, can take some trial and error, making it a choice often favored by more advanced decorators.
- How to Use: Utilize powdered food dye primarily in recipes where moisture is a critical concern. It’s excellent for coloring chocolates (preventing seizing), cocoa butter, meringues, and macarons. When incorporating into frostings or batters, it can be sifted with dry ingredients or mixed with a tiny amount of liquid (if the recipe allows) to form a paste before adding to prevent speckling. For painting, mix a pinch of powder with a few drops of clear extract (like vodka or lemon extract) to create an edible paint.
Water-Soluble vs. Oil-Soluble Food Coloring: The Fundamental Difference
Understanding the distinction between water-soluble and oil-soluble (also known as fat-soluble) food coloring is absolutely crucial for successful and vibrant results in your baking. Using the wrong type can lead to disappointing outcomes, such as streaky colors, seized chocolate, or uneven distribution. Before you even think about adding food coloring to your recipe, it’s imperative to know which base your dye has.
- Water-Based Food Coloring: These dyes are designed to dissolve and disperse effectively in water-based mediums. They are perfect for recipes where water is a primary component, such as royal icing, meringues, macaron batter, clear glazes, and even simple syrups. Most standard liquid and gel food colorings fall into this category.
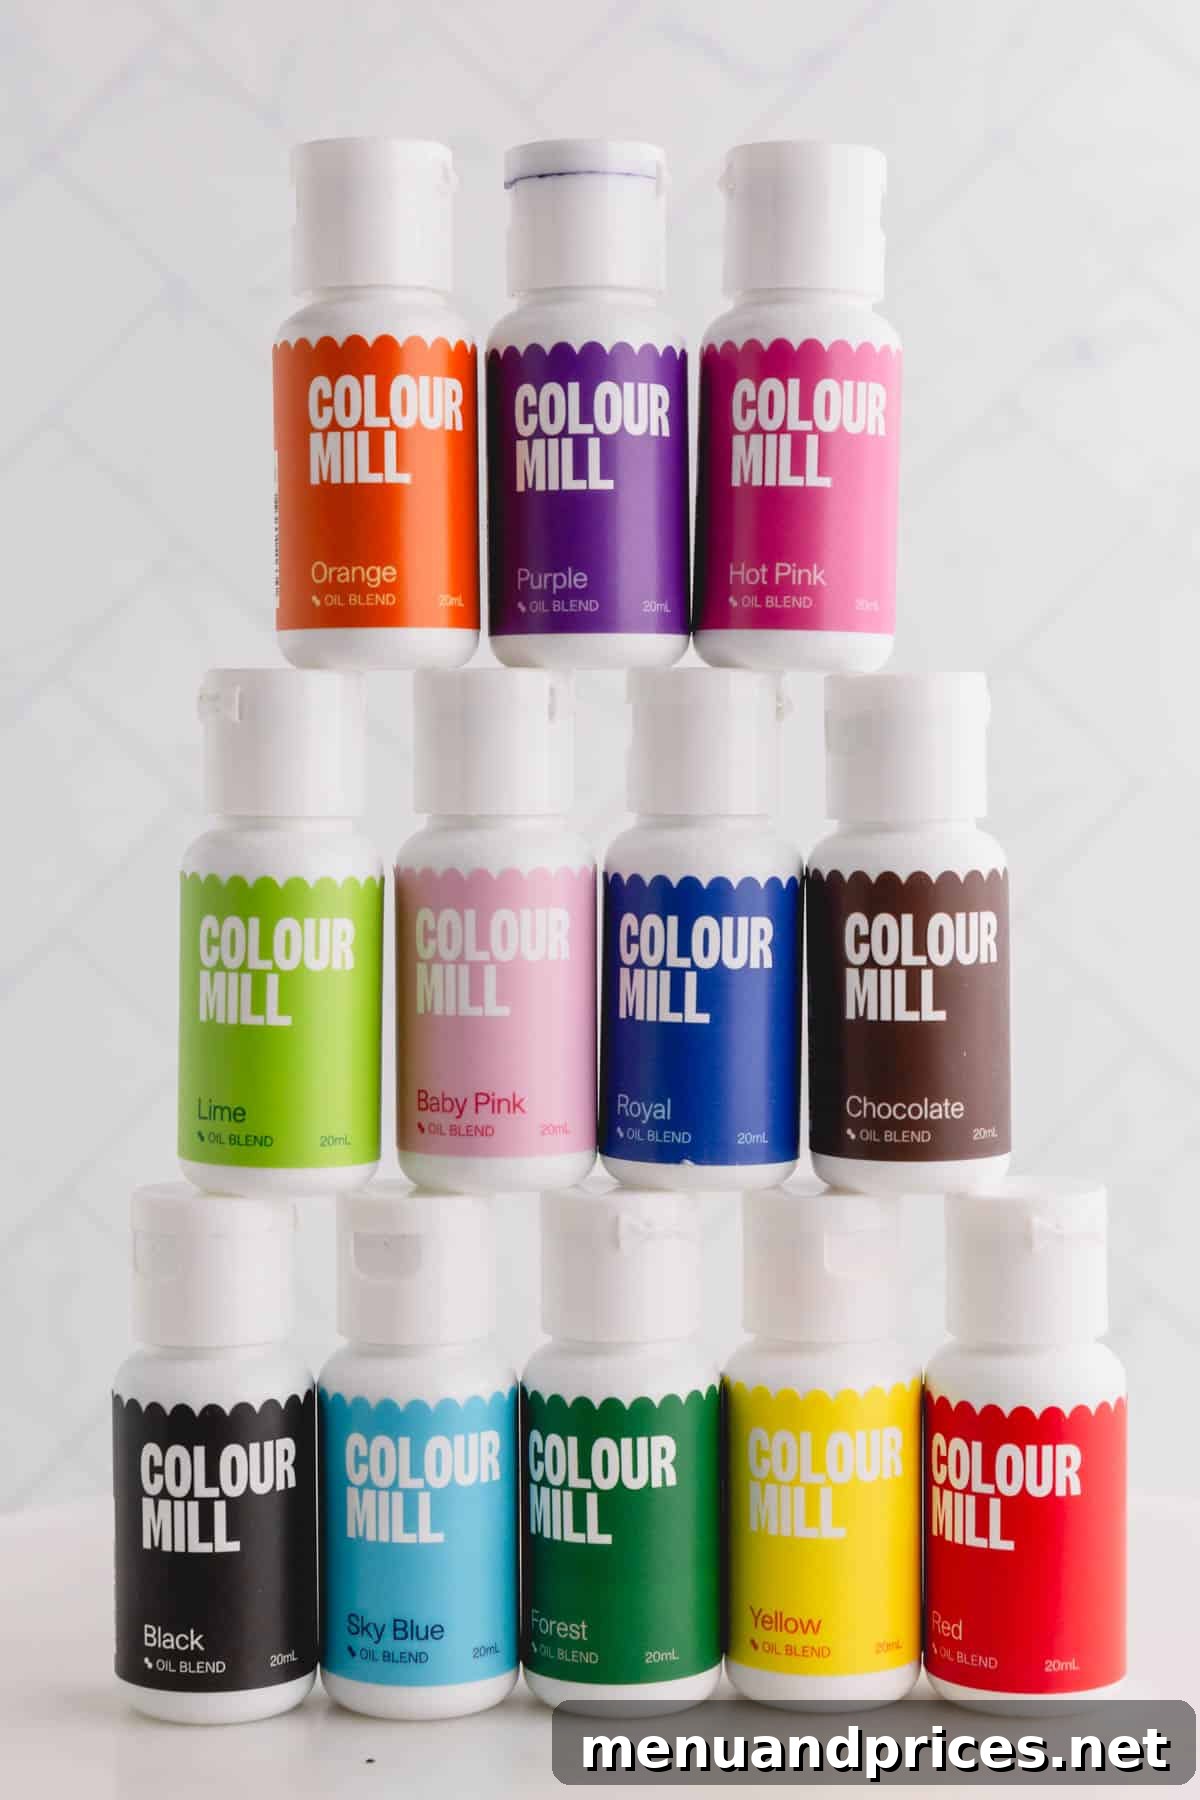
- Oil-Based Food Coloring: Conversely, oil-based food colorings are formulated to mix seamlessly with high-fat recipes. These dyes are essential for coloring ingredients like chocolate, candy melts, buttercream frosting, and other fat-rich preparations. Water and oil, as the saying goes, do not mix, and introducing water-based dye to a fatty substance like melted chocolate will cause it to seize and become unusable. For coloring white chocolate, I particularly adore Color Mill oil blend food colorings for their consistent, vibrant results.
The principle here is simple yet critical: like dissolves like. If the main ingredient in your recipe is butter, oil, or chocolate, always opt for oil-based food coloring. If your recipe is light, airy, and primarily water- or sugar-based, then water-based food coloring is the superior choice. Ignoring this rule can lead to clumpy, unevenly colored, or even ruined batches of your delicious creations.
Pro Tip: Always Check the Ingredients!
Unsure whether your food coloring is water-based or oil-based? A quick glance at the ingredient list on the bottle or packaging will often provide a clear answer. If “water” is listed as one of the first few ingredients, it’s almost certainly a water-based food coloring. If the list includes any type of “oil” (such as vegetable oil, sunflower oil, or polysorbate 80 which helps oil and water mix), then you’re holding an oil-based food coloring. This simple check can save you from baking disasters!
Natural vs. Synthetic Food Coloring: Understanding Your Options
When choosing food coloring, you’ll also encounter a distinction between natural and synthetic options. Each has its place in baking, depending on your priorities for vibrancy, stability, and ingredient sourcing.
- Synthetic Food Coloring: If your goal is to achieve truly bright, vivid, and consistent colors that stand out, synthetic food coloring is the undisputed champion. These dyes are made using artificial compounds, often identified by names like FD&C Red 40, Yellow 5, and Blue 1. The key advantages of synthetic dyes are their unparalleled vibrancy, incredible color consistency from batch to batch, and superior stability, meaning they are less likely to fade or change color when exposed to heat or light. Crucially, they typically do not impart any undesirable flavors or alter the texture of your food, even in larger quantities. Overall, synthetic food dyes are highly predictable, offering a relatively small learning curve for achieving desired results.
- Natural Food Coloring: Derived from plant-based sources, natural food colorings offer an alternative for those seeking to avoid artificial ingredients. Common sources include spirulina (for blues and greens), spinach powder (greens), paprika (reds/oranges), turmeric (yellows), beet juice (reds/pinks), and carmine (cochineal extract for reds). While they do add color to baked goods and frostings, their performance differs significantly from synthetic dyes. Natural colors are often quite dull or muted, and their hues can be less predictable, sometimes changing when exposed to heat or varying pH levels. A significant drawback is that they can impart the flavor of their plant source into your food. For instance, beet juice might give a slightly earthy taste, or turmeric could add a subtle spice, which might not always be desirable in a sweet dessert.
Mastering Food Coloring: Essential Tips for Success
A comprehensive food coloring guide wouldn’t be complete without a few invaluable tips to help you achieve perfect, vibrant results every time. These tried-and-true techniques will guide you in becoming a food coloring expert.
- Start Small, Add Gradually: This is arguably the most critical rule of food coloring. Begin by adding just 1-2 drops (or a tiny toothpick dip for gels/powders) at a time. After each addition, give your frosting or batter a thorough stir to fully incorporate the color. Remember, you can always add more dye to deepen a shade, but you absolutely cannot take it away once it’s mixed in. Patience here prevents waste and ensures you hit your target hue.
- Be Patient: Color Deepens Over Time: Food coloring, especially gel varieties, often continues to develop and deepen in intensity as it sits and the dye molecules fully hydrate and disperse. After mixing, wait at least 15-30 minutes before deciding if you need more color. This waiting period is crucial for achieving an accurate final shade and avoiding over-coloring.
- Use Clear, Glass Bowls: For the most accurate color assessment, always mix your food coloring in clear, glass bowls. Colored bowls can cast their own tint onto your mixture, misleading your perception of the true shade. Clear containers allow you to see the exact color you are developing.
- Starting with a White Base is Best: To achieve the purest and most vibrant colors, begin with a truly white base for your frosting or batter. Ingredients like chocolate, unbleached buttercream, or certain fruity-flavored frostings and batters already possess a natural tint (yellow, brown, off-white) that will affect the final color. Coloring a yellowish buttercream green, for instance, might result in a slightly muddier, olive-green instead of a bright emerald.
- Create Custom Colors with Caution: While mixing colors can be incredibly rewarding, it requires some knowledge and precision. Before you begin combining shades for a custom hue, do some research on color theory and formulation charts online (like the McCormick chart mentioned below). Always experiment with a very small amount of batter or frosting first in a separate bowl. This prevents you from accidentally ruining an entire batch of your precious ingredients if the custom color doesn’t turn out as planned.
- Have Fun and Embrace Imperfection: Ultimately, decorating with food coloring is meant to be an enjoyable and creative process. Don’t worry too much about making a mistake or achieving absolute perfection on your first try. Every attempt is a learning experience! Allow your creative side to shine through, experiment with different shades, and savor the delicious results of your efforts.
Inspiring Ideas for Using Food Coloring in Your Baking
Armed with the knowledge from this comprehensive food coloring guide, you’re now ready to tackle a variety of decorating techniques and recipes with confidence. Here are some of my favorite applications where food coloring truly shines, inviting you to experiment and create stunning desserts:
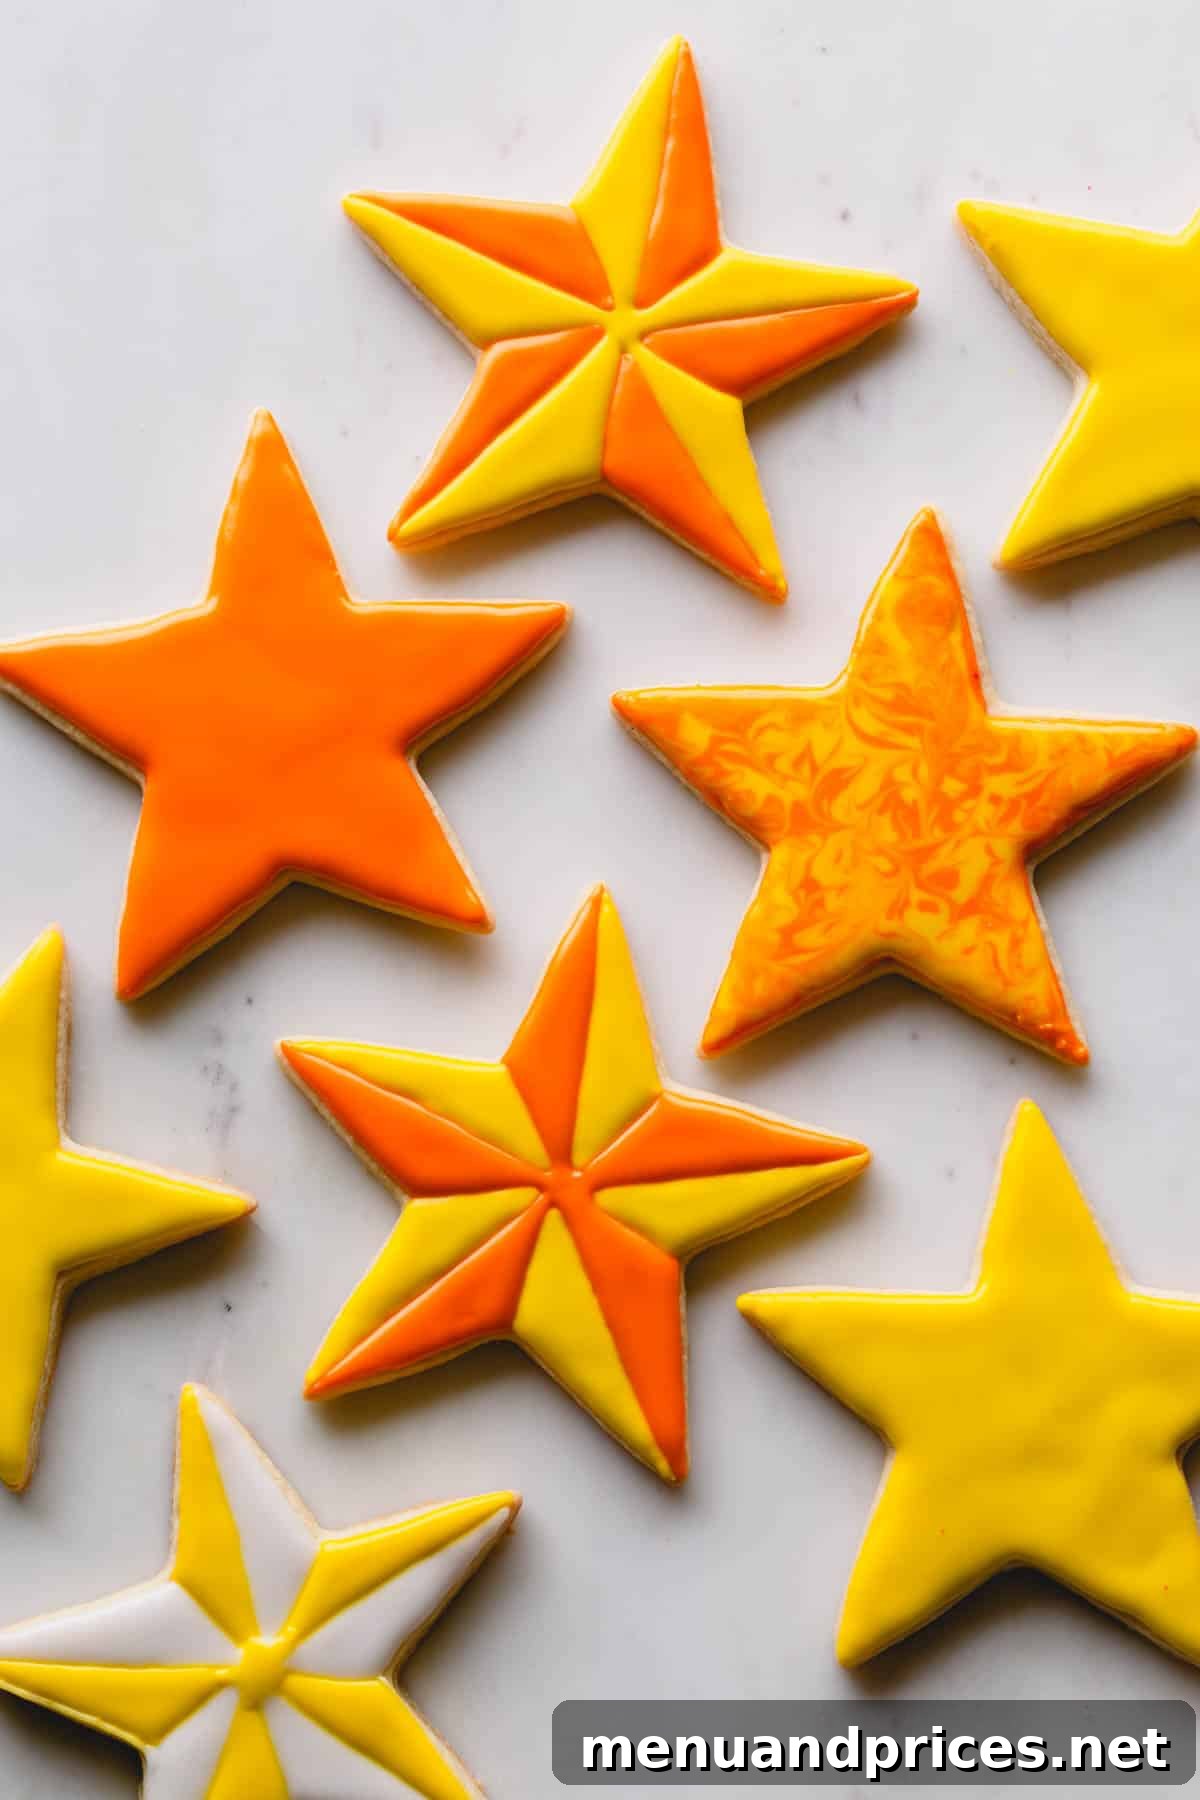
- Valentine’s Day Sugar Cookies – Discover the secret to crafting deep, rich red royal icing using gel food coloring. I’ll show you how a touch of brown food coloring can actually enhance and create the brightest, boldest red icing for these festive treats!
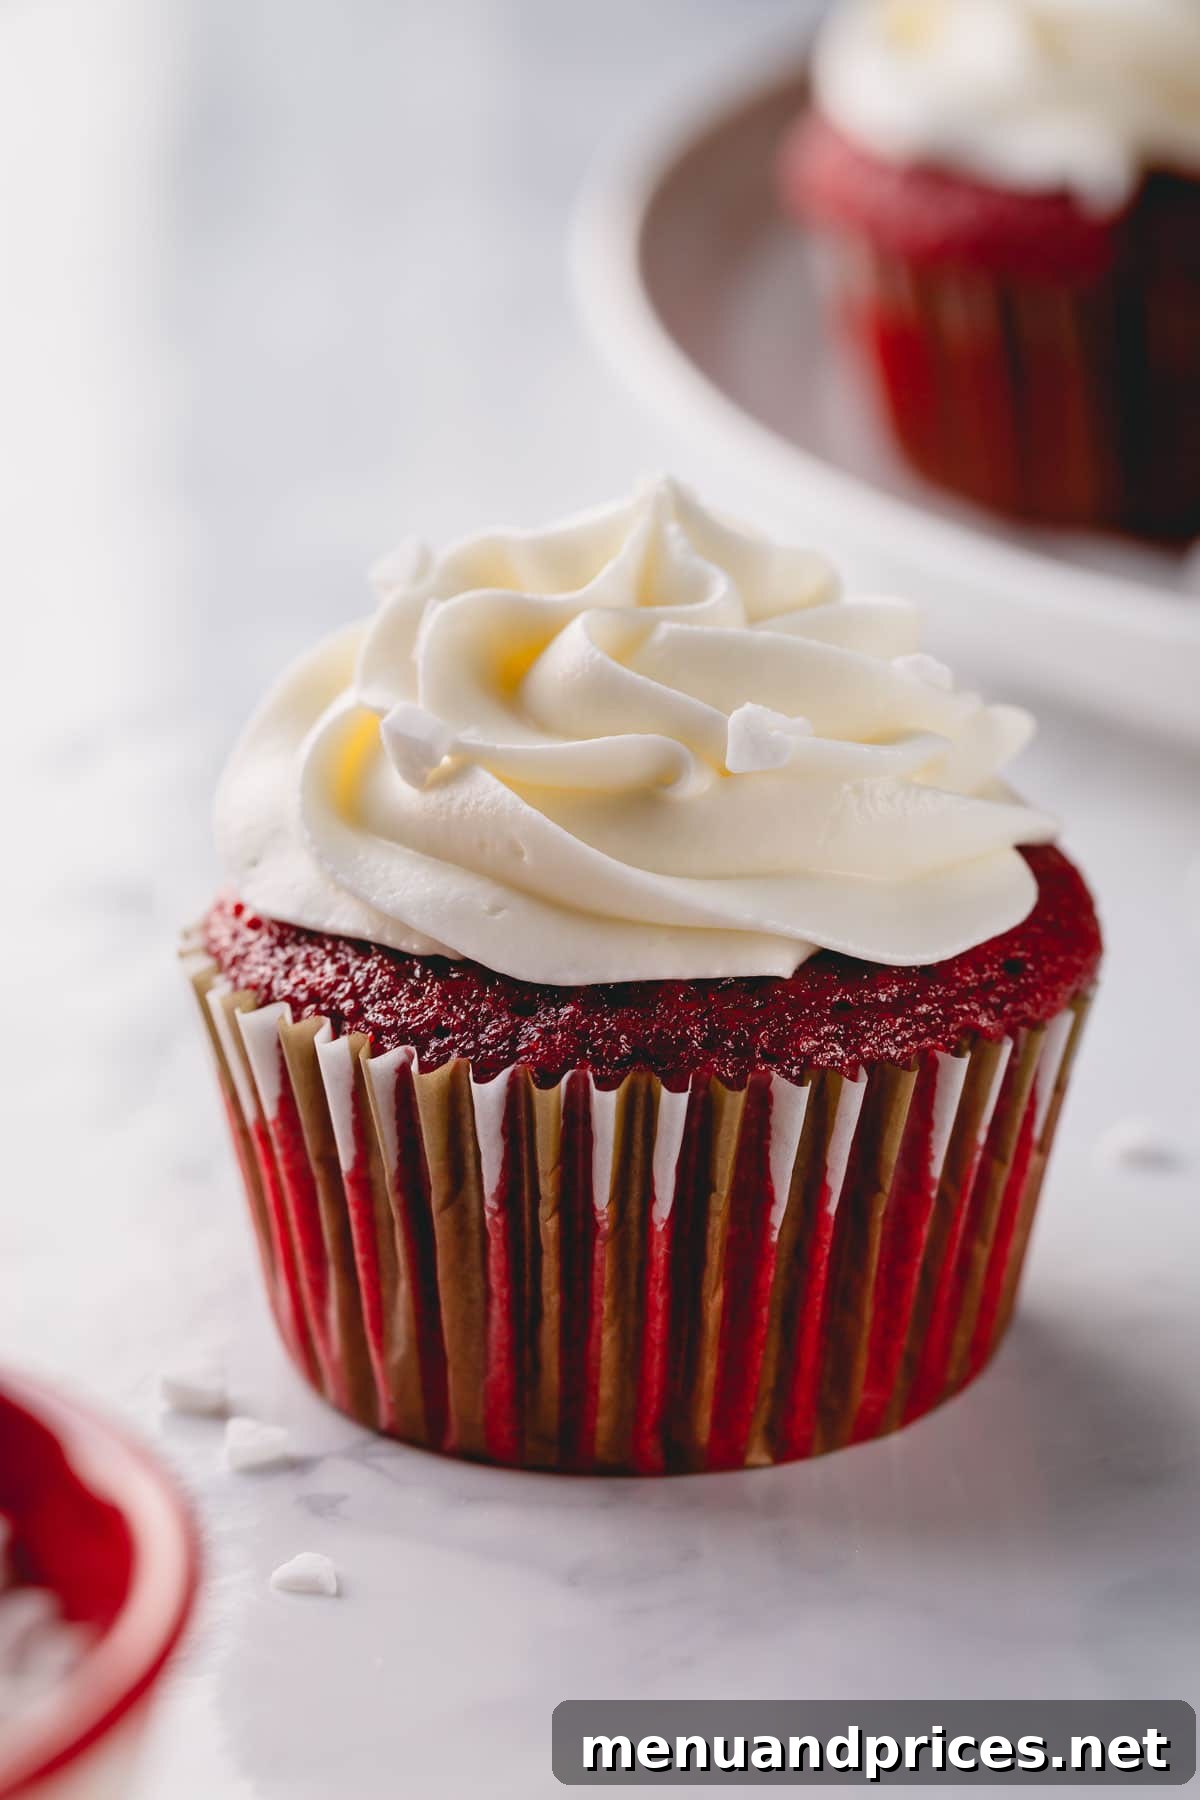
- Red Velvet Layer Cake or Red Velvet Cupcakes – Achieve that iconic, rich red hue in these classic desserts. For these recipes, you have the flexibility to use either liquid or concentrated gel food coloring, depending on your desired intensity and the texture you want to maintain.
- DIY Colored Sugar – Learn how to easily make your own vibrant colored sugar at home. I recommend using gel food coloring for this project because it adds minimal moisture to the sugar crystals while delivering a beautiful, bright color. It’s a fun, inexpensive, and customizable way to add colorful sparkles and professional flair to your sugar cookies and other baked goods.
- Strawberry Swiss Buttercream and Strawberry Macarons – A small amount of carefully added pink gel food coloring works wonders in these recipes, giving both the luscious Swiss buttercream and the delicate macarons a gorgeous, natural-looking pink hue that complements their strawberry flavor perfectly.
Food Coloring Guide: Frequently Asked Questions
Synthetic food coloring boasts an incredibly long shelf life and is highly unlikely to spoil or “go bad” in the traditional sense. However, liquid and gel food colorings can dry out over time if not stored properly, losing their fluidity and becoming difficult to use. Additionally, after several years, their potency might diminish, meaning you’ll need more product to achieve the same color. To ensure the longest possible shelf life and maintain maximum vibrancy, always store your food coloring in a cool, dark cabinet, away from direct sunlight or fluctuating temperatures, and ensure that the lids are tightly closed after each use.
Mixing colors can be a fun and creative endeavor, but it’s also a delicate art! The last thing you want is to waste a perfectly good batch of homemade buttercream by accidentally turning it into an unappetizing shade of brown due to too many colors combined without a plan. It’s always best to start with very small quantities when experimenting. Reference a reliable food coloring mixing chart online, such as this helpful food coloring mixing chart from McCormick, which provides clear guidance on combining primary and secondary colors to achieve a vast spectrum of shades. Practice on a small amount of frosting or batter first before committing to your entire batch.
Generally, high-quality synthetic food coloring should not alter the taste of your food whatsoever, provided you’re using it in reasonable quantities. In fact, if you’re using an appropriate amount, the only way you should know it’s in your food is because you can visually see the beautiful color! However, if you use an unnecessarily large, excessive quantity of synthetic dye, you might notice a very slight chemical or bitter aftertaste. On the other hand, natural food colorings, because they are derived directly from plants, can indeed impart a subtle flavor of their source material. For example, beet powder might give an earthy note, or spinach powder could add a faint grassy taste. So, when opting for natural dyes, be aware of this potential flavor contribution and use them at your own risk, perhaps testing a small amount first.
Explore More Helpful Baking Guides
Ready to further refine your baking expertise? Dive into these additional guides to master fundamental techniques and elevate your kitchen skills even more.
- How to Soften Butter (in 30 seconds!)
- How to Make Royal Icing
- How to Make DIY Colored Sugar
- How to Temper Chocolate