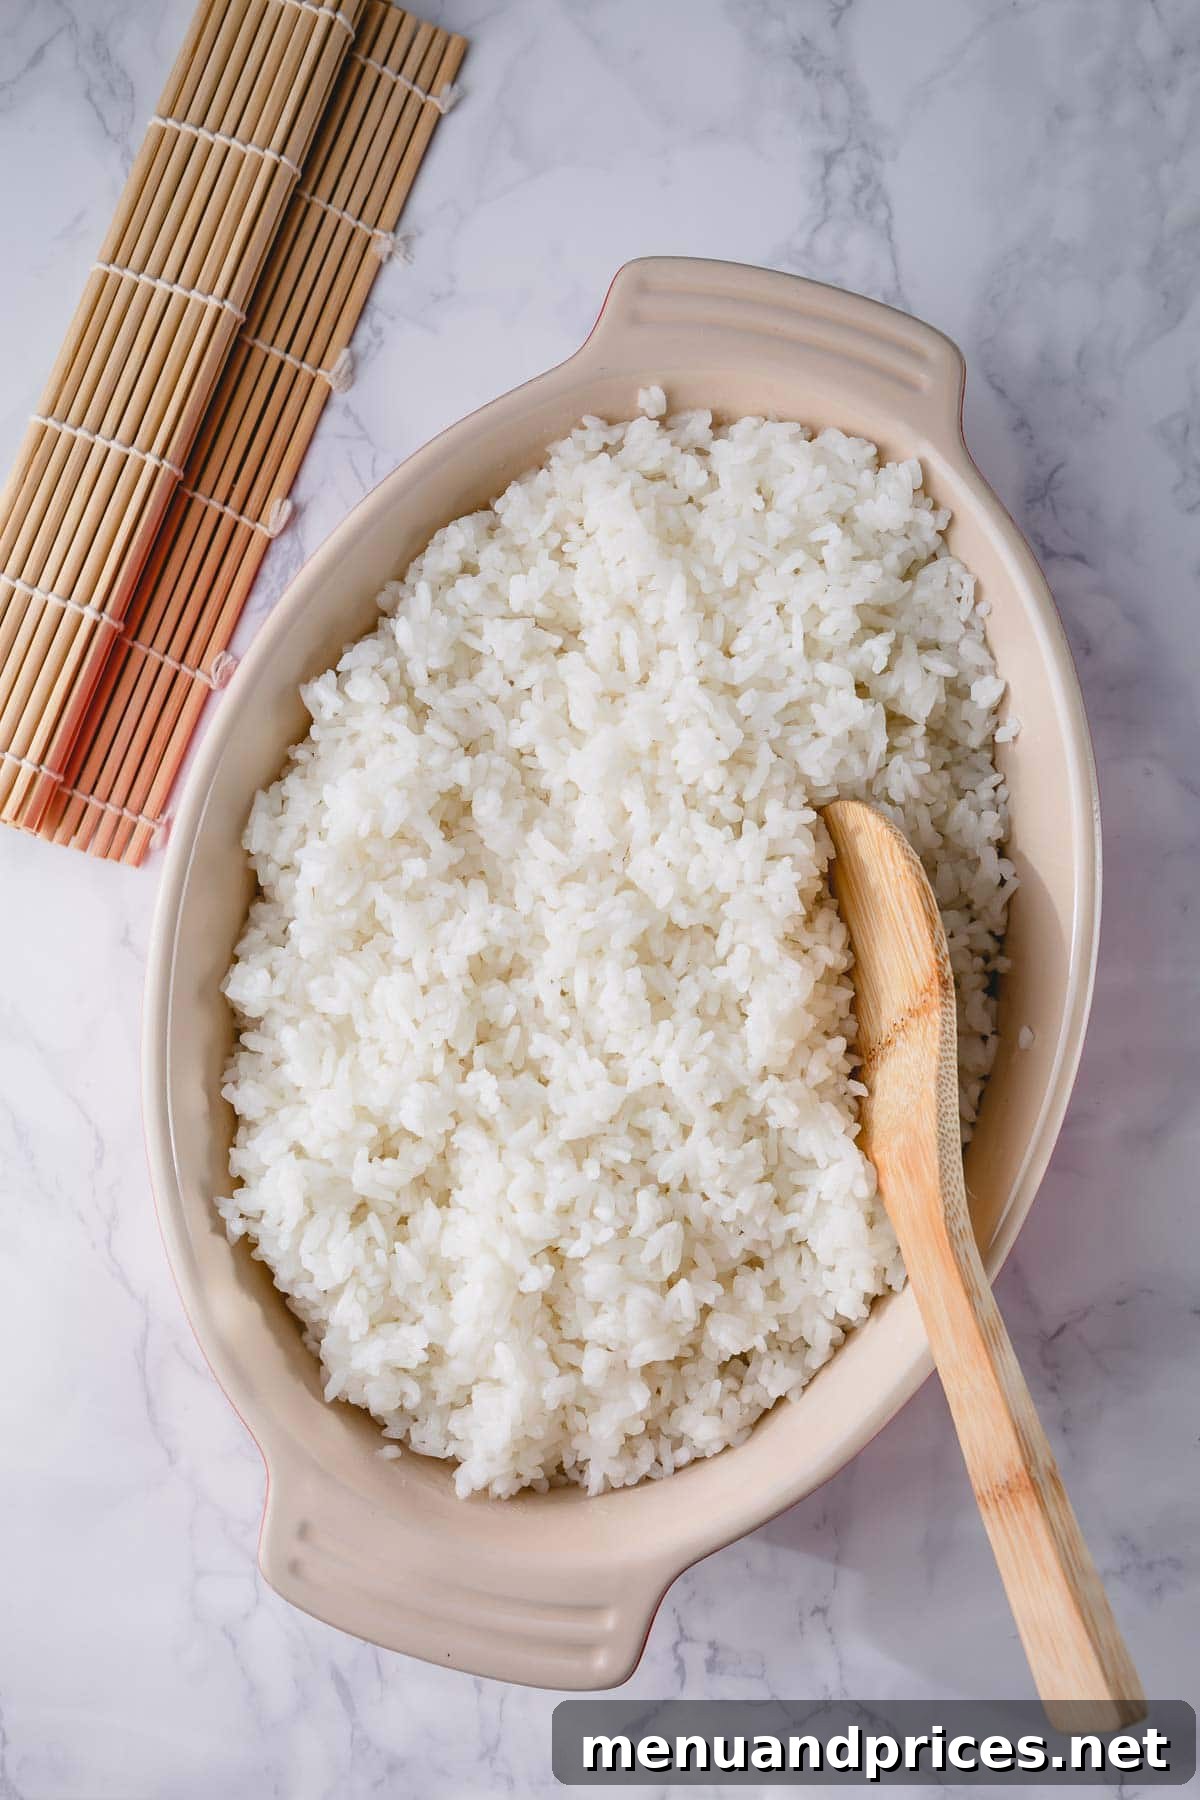
Unlock the secret to authentic Japanese cuisine by mastering the art of homemade sushi rice. Often considered the soul of sushi, perfectly cooked and seasoned sushi rice is soft, slightly sticky, and subtly sweet and tangy – a far cry from plain white rice. Achieving this restaurant-quality perfection at home is easier than you might think, requiring just a few simple ingredients and a keen eye for detail. This comprehensive guide will walk you through every step, ensuring your sushi rice is the ideal foundation for any sushi roll, nigiri, or poke bowl. Say goodbye to mediocre takeout and embrace the satisfaction of creating truly exquisite sushi from scratch, starting with this essential ingredient.
What Exactly is Sushi Rice?
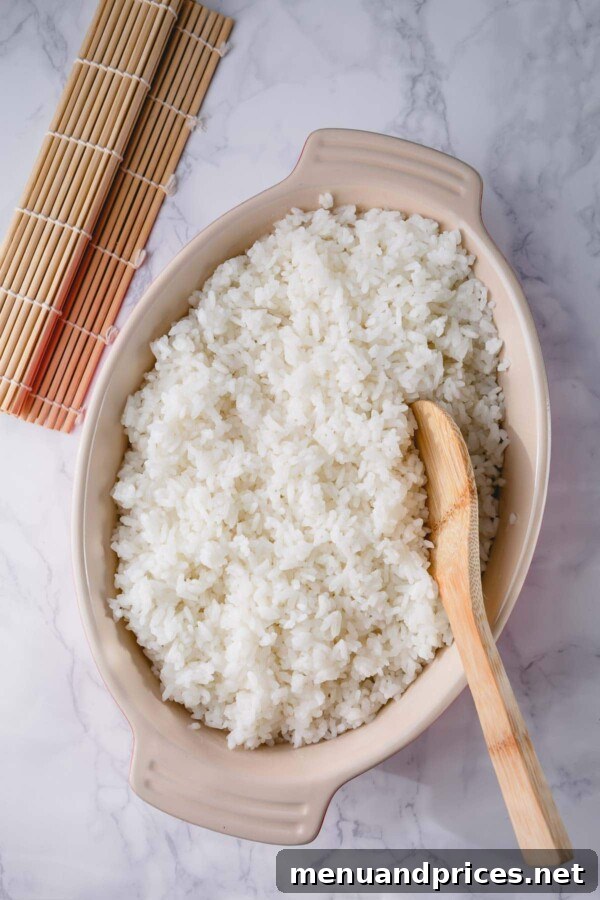
At its core, sushi rice, also known as Shari or Sumeshi, is a short-grain white rice that has been expertly cooked and then seasoned with a special blend of rice vinegar, sugar, and salt. It’s not a specific type of rice grain, but rather a preparation method that transforms ordinary short-grain rice into the unique, flavorful, and perfectly sticky base essential for all sushi dishes. This delicate seasoning gives sushi its characteristic tangy taste and glossy appearance, making it distinct from any other rice you’ll encounter and elevating it beyond a simple side dish.
The magic of perfect sushi rice lies in its inherent stickiness, which comes from its high starch content. When cooked correctly, these plump, short grains release just enough starch to allow them to cling together cohesively without becoming mushy or gluey. This specific stickiness is absolutely crucial for forming neat sushi rolls (maki) and perfectly shaped mounds for nigiri, providing both structural integrity and a delightful, slightly chewy texture. Without properly prepared sushi rice, even the freshest fish and vegetables wouldn’t make authentic sushi. It’s the unifying element that brings all the flavors and textures of a sushi dish into perfect harmony, offering a subtle sweetness and tang that complements the other ingredients beautifully.
You might occasionally spot rice packages labeled “sushi rice” in your local supermarket. While convenient, it’s important to understand that this merely indicates it’s a short-grain sticky rice variety suitable for sushi preparation. It does *not* mean the rice is already seasoned. Purchasing such a package is only half the battle; to achieve that authentic flavor and texture, you absolutely must season it yourself with the traditional vinegar mixture. This crucial step is what truly elevates it from plain cooked short-grain rice to exquisite sushi rice, ready to be rolled into your favorite creations.
The Essential Ingredients for Perfect Sushi Rice
Creating outstanding homemade sushi rice requires only a handful of ingredients, but choosing the right ones and understanding their role is paramount. Forget complicated lists; you’ll be amazed at the depth of flavor these simple components bring. Here’s a closer look at what you’ll need to achieve restaurant-quality results:
- Short-Grain Sushi Rice: This is unequivocally the star of the show. It’s imperative to use genuine short-grain rice, often specifically labeled as “sushi rice,” “Calrose rice,” or “Japanese rice.” These grains are rounder, plumper, and boast a significantly higher starch content compared to their longer counterparts. This high starch content is precisely what gives sushi rice its signature stickiness and slightly chewy texture when cooked. It allows the grains to hold together for shaping without becoming a dense, heavy mass. Critically, you must avoid long-grain varieties like jasmine or basmati rice at all costs, as they are fluffy, separate easily, and completely lack the cohesive structure needed for authentic sushi. The stickiness is not just for ease of handling; it’s a fundamental part of sushi’s delightful mouthfeel and appeal.
- Plain Rice Vinegar: This ingredient forms the backbone of your sushi seasoning, known as sushi-zu. When you’re shopping, exercise caution and always select plain rice vinegar, specifically avoiding anything labeled “seasoned rice vinegar.” Seasoned rice vinegar already contains sugar and salt, which will inevitably throw off the delicate balance of your homemade seasoning, potentially making your sushi rice too sweet, too salty, or both, leading to an unbalanced flavor profile. Plain rice vinegar provides the essential tang and acidity without any pre-mixed flavors, granting you full control to create the perfect custom taste profile. While you could attempt to adjust your recipe if you only have seasoned rice vinegar, for truly authentic and foolproof results, stick with plain rice vinegar.
- Granulated Sugar: Sugar plays a vital role in sushi rice beyond just sweetness. It expertly balances the sharp acidity of the rice vinegar, creating a harmonious sweet and sour profile that is characteristic of authentic sushi rice. Furthermore, sugar contributes to the beautiful glossy finish of the cooked rice and helps the individual grains stick together slightly, enhancing the overall texture and making it easier to work with. This nuanced sweetness is what makes sushi rice so appealing and addictive.
- Fine Sea Salt: A precise pinch of salt is essential as it acts as a flavor enhancer, deepening the umami notes and brightening the overall taste of the sushi rice. It works in conjunction with the sugar and vinegar to create a well-rounded, complex seasoning that elevates the rice from a simple carbohydrate to a flavorful, integral component of the sushi. Without salt, the flavors would fall flat; with it, they sing.
Crucial Tip on Vinegar Selection
Always remember the critical distinction between plain and seasoned rice vinegar. For your homemade sushi rice seasoning, always use plain rice vinegar. This choice ensures you have complete control over the sugar and salt content, allowing you to achieve the perfect, nuanced balance of flavors for truly authentic and delicious sushi.
How to Make Sushi Rice: A Step-by-Step Guide to Perfection
Get ready to transform simple rice grains into the perfect sticky, fluffy, and flavorful foundation for your homemade sushi creations. Follow these detailed steps for guaranteed success and a truly authentic experience!
1. Wash the Rice Thoroughly
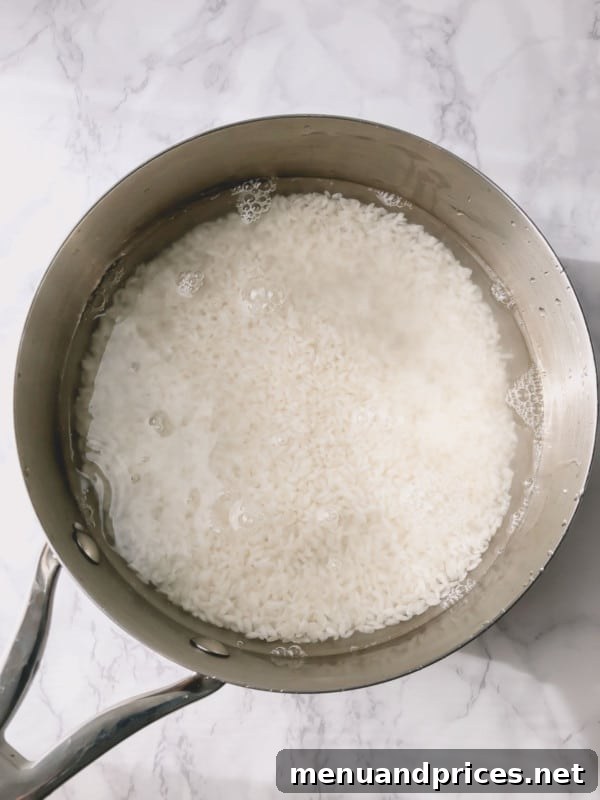
This initial step is absolutely critical for achieving perfectly fluffy and distinct sushi rice grains. Place your measured short-grain rice into a large bowl. Add cold running water and gently agitate the rice with your hand in a circular motion. You’ll immediately notice the water quickly turning a milky white – this indicates the presence of excess surface starch. Pour off this cloudy water and repeat the rinsing process several times (typically 5-7 times, or sometimes even more for particularly starchy rice) until the water runs mostly clear. This meticulous washing removes undesirable surface starch, preventing the rice from becoming gluey, excessively sticky, or mushy during cooking. Once washed to clarity, drain the rice thoroughly using a fine-mesh sieve or colander. For optimal results, you may even leave the rice in the strainer for an additional 10-15 minutes to ensure all residual water has dripped away. Proper draining is a key factor in maintaining the precise rice-to-water ratio for subsequent cooking.
Why Washing Rice is Non-Negotiable
Do not, under any circumstances, skip washing your rice! This seemingly simple act of rinsing away excess starch is what guarantees your sushi rice will be beautifully fluffy, yet perfectly sticky enough to hold together for shaping, rather than descending into a clumpy, unappetizing mashed mess. It’s a foundational step that directly impacts the superior texture of your finished sushi rice.
2. Cook the Rice to Perfection
- Once the rice is thoroughly washed and perfectly drained, carefully transfer it to a medium, heavy-bottomed saucepan. This type of saucepan helps prevent scorching and ensures even heat distribution. Add precisely 2.5 cups of cold water (for 2 cups of rice). Use your hand or a spatula to gently level the rice, ensuring it forms an even layer at the bottom of the pan. This even distribution helps ensure uniform cooking and consistent texture throughout.
- Cover the saucepan with a tight-fitting lid. This is absolutely crucial, as steam is the primary agent for cooking the rice properly. Turn the heat to medium-high and bring the water to a rolling boil. Keep an ear out for the distinct sound of vigorously boiling water, but resist any temptation to lift the lid! Peeking will release precious steam and compromise the cooking process.
- As soon as the water boils vigorously (you can typically tell by the sound and a gentle rattling or shaking of the lid), immediately reduce the heat to the absolute lowest setting. Allow the rice to simmer gently, still covered with the tight-fitting lid, for exactly 10 minutes. After precisely 10 minutes, turn off the heat completely, but leave the pot undisturbed, with the lid still securely on, for an additional 10-15 minutes. This crucial resting period allows the rice to continue steaming, fully absorbing any remaining moisture, and results in perfectly tender, plump, and distinct grains that are ready for seasoning.
The Unbreakable Lid Rule During Cooking
Under no circumstances should you lift the lid during the entire cooking and subsequent resting process! Opening the lid even for a second releases essential steam, which is vital for evenly cooking the rice and achieving the desired tender yet firm texture. A heavy-bottomed saucepan with a very tight-fitting lid (around 2.5-quart capacity is ideal) will provide the best, most consistent environment for steaming your short-grain sushi rice.
3. Prepare the Sushi Vinegar Seasoning (Sushi-zu)
While your rice is happily resting and completing its final steam, it’s the perfect, efficient time to prepare the flavorful sushi-zu, the special seasoning that gives sushi rice its distinctive taste. In a small bowl or a very small saucepan, combine the plain rice vinegar, granulated sugar, and fine sea salt. Whisk or stir the mixture vigorously until both the sugar and salt are completely dissolved. You can gently warm the mixture over a very low heat if needed, which often helps the solids dissolve faster, but it is crucial to avoid boiling it, as this can alter the vinegar’s delicate flavor. Once dissolved, taste the mixture – it should be a delightful balance of sweet, tangy, and salty. Set this perfectly balanced seasoning aside, ready for the next crucial step. This carefully crafted liquid is what gives sushi rice its irresistible flavor profile and is a hallmark of authentic homemade sushi.
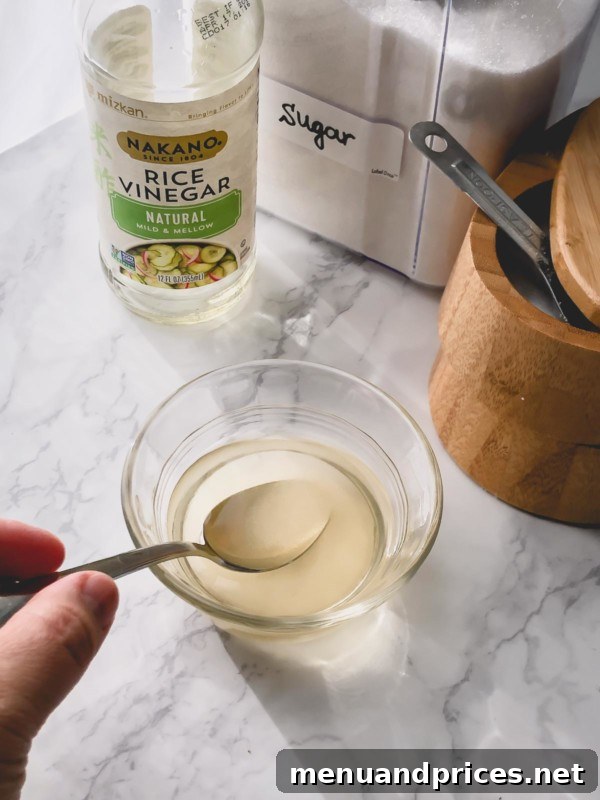
4. Season and Cool the Rice Evenly
- Once the cooked rice has finished its essential resting period, gently transfer it to a large, shallow, non-metallic dish. A traditional Japanese hangiri (wooden sushi rice tub) is ideal due to its moisture-absorbing properties, but a large casserole dish, a wide baking sheet, or a spacious glass or ceramic serving bowl will work perfectly. The critical factor here is the large surface area, which is absolutely essential for cooling the rice quickly and evenly, preventing it from continuing to cook and become mushy.
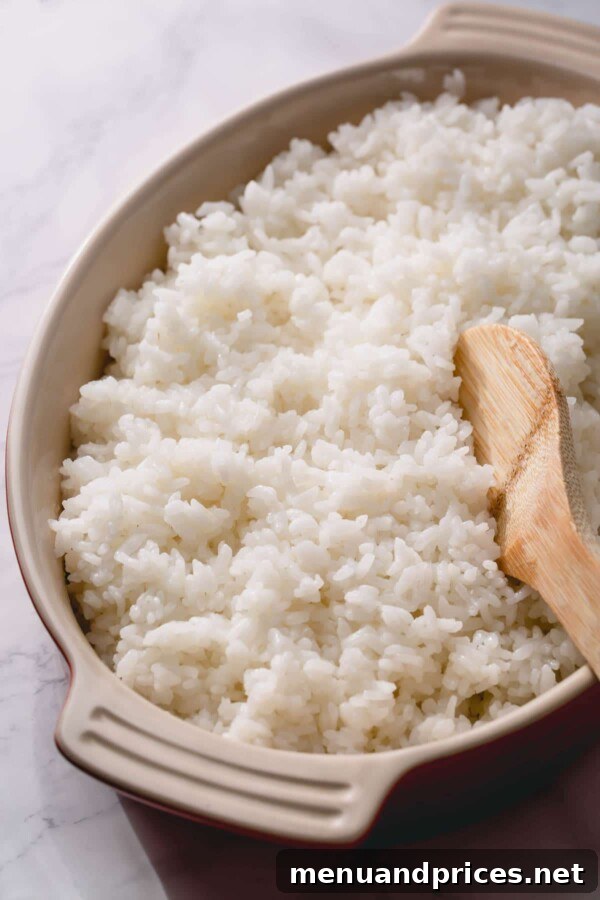
- Pour the prepared sushi seasoning (sushi-zu) evenly over the hot, freshly cooked rice. Using a flat wooden spatula or a traditional rice paddle, gently spread the rice across the dish. Then, employ a specific “cutting and folding” motion to mix the seasoning throughout. Imagine you’re slicing through the rice with the edge of your paddle, then gently folding it over itself, rather than mashing or stirring it vigorously. This delicate technique helps to separate the individual grains, distribute the seasoning uniformly, and rapidly cool the rice without crushing its delicate texture.
- As you mix, it’s highly recommended to simultaneously fan the rice with a hand fan or even a piece of cardboard. Fanning serves multiple crucial purposes: it helps to cool the rice quickly, prevents it from drying out, and contributes to that beautiful, characteristic glossy sheen. This simultaneous fanning and mixing process enhances the rice’s desired stickiness while allowing excess moisture to evaporate. Aim for the rice to reach body temperature, or slightly warmer, before using it for sushi rolls. Be exceptionally gentle throughout this stage – the goal is fluffy, distinct grains that cling together cohesively, not a mashed or sticky clump!
The Art of Rapid Cooling
A wide, shallow dish, such as a large casserole dish, a baking sheet, or a traditional wooden hangiri, is your best ally during the seasoning and cooling process. Maximizing the surface area ensures that the seasoned sushi rice cools quickly and evenly. This rapid cooling prevents overcooking, maintains the integrity of each rice grain, and is vital for achieving the perfectly sticky yet distinct texture essential for professional-looking sushi.
Troubleshooting and Expert Tips for Flawless Sushi Rice
Even seasoned sushi makers encounter minor challenges from time to time. Don’t be discouraged! Here are some common issues and advanced tips to ensure your homemade sushi rice is always perfect, helping you avoid pitfalls and achieve consistent, restaurant-quality results:
- Rice is Too Hard or Dry: If your cooked rice feels hard or overly dry, it typically indicates that there wasn’t enough water during the cooking phase or, more commonly, that the lid was lifted prematurely, releasing crucial steam. Ensure your rice is thoroughly drained but not bone-dry before cooking, and rigorously adhere to the “no peeking” rule during both the cooking and resting phases.
- Rice is Mushy or Gloopy: Conversely, if your rice turns out mushy or has a gloopy consistency, too much water is the most likely culprit. Double-check your rice-to-water ratio – for short-grain sushi rice, a common ratio is 1:1.25 (e.g., 2 cups rice to 2.5 cups water, as in this recipe). Additionally, avoid over-agitating the rice during the seasoning process, which can break down the delicate grains and release excess starch.
- Rice Isn’t Sticky Enough: The most common reason for insufficient stickiness is not using true short-grain sushi rice. Always verify the rice type. While extensive washing removes surface starch, a certain amount of stickiness is inherent to the short grain itself. Also, ensure you are fanning the rice adequately as you mix in the seasoning; this crucial step aids in developing the ideal sticky yet distinct texture.
- Rice is Excessively Sticky or Clumpy: This often points to insufficient washing of the rice. If too much surface starch remains, the cooked rice will become overly gluey and form large clumps. Revisit the thorough washing step. Furthermore, make sure to use the gentle “cutting and folding” motion during seasoning, not a heavy mashing action, to keep the grains separate yet cohesive.
- Flavor Imbalance (Too Sweet/Salty/Sour): Always taste your seasoning mixture (sushi-zu) before incorporating it into the rice. This allows for last-minute adjustments to sugar and salt to match your preference. Remember, the rice will absorb and mellow the flavors, so a slightly strong seasoning mixture is often appropriate for a balanced final taste.
- Ideal Serving Temperature: Authentic sushi rice is traditionally served at body temperature, or slightly warm, never piping hot or refrigerator cold. This precise temperature allows the subtle flavors of the seasoning and the fillings to truly shine through, enhancing the overall sushi experience.
- Use Non-Metallic Tools: When mixing the seasoning into your rice, always use wooden or plastic tools. Metal implements can react with the vinegar’s acidity, potentially imparting an undesirable metallic taste to your carefully prepared sushi rice.
- Patience is a Virtue: The resting period after cooking and the gentle, meticulous mixing during seasoning are not optional steps; they are crucial for success. Do not rush these phases, as they contribute significantly to the final texture and flavor of your perfect homemade sushi rice.
Frequently Asked Questions About Homemade Sushi Rice
Achieving the perfect sticky-but-not-mushy texture for sushi rice hinges on a combination of precise techniques. First, it’s critical to use the correct variety: short-grain rice (also known as sticky rice or sushi rice) inherently possesses the right starch composition for this texture. Second, ensure you thoroughly wash the rice before cooking to remove excess surface starch, which is the primary cause of mushiness. Finally, stick to the exact cooking instructions – the precise water ratio, controlled cooking time, and the crucial, undisturbed resting period with the lid on. When seasoning, use a gentle cutting and folding motion instead of mashing, and fan the rice to cool it quickly, which further develops its desired stickiness while maintaining distinct grains.
The possibilities for sushi fillings are wonderfully diverse, allowing for incredible creativity and catering to all tastes and dietary preferences! For traditional and restaurant-quality sushi at home, consider high-quality, sushi-grade raw fish like salmon, tuna, or yellowtail. Cooked options are also popular and include smoked salmon, cooked shrimp, savory crab sticks (surimi), or rich unagi (grilled eel).
For vibrant vegetarian and vegan rolls, popular and delicious choices abound: crisp cucumber sticks, creamy avocado slices, finely shredded carrots, sweet bell peppers, tender blanched asparagus, or a delicate Japanese omelet (tamagoyaki). Don’t forget complementary flavor enhancers like cream cheese, toasted sesame seeds, a sprinkle of tobiko (flying fish roe), or a drizzle of spicy mayo. Experiment boldly with different combinations to discover your absolute favorite homemade sushi creations!
Absolutely! A modern rice cooker is an excellent and highly recommended tool for preparing sushi rice, significantly simplifying the cooking process and ensuring consistent results. To use one, simply follow the same initial steps for thoroughly washing and draining the rice as detailed in this guide. Then, place the washed rice and the appropriate amount of water (you can typically follow your rice cooker’s specific instructions, or use the 1:1.25 ratio if uncertain) into the rice cooker pot. Cook on the “white rice” setting. Once the cooking cycle is complete, the most important part is to let the rice rest in the cooker with the lid on for an additional 10-15 minutes before carefully transferring it to your seasoning dish. The subsequent seasoning process with the sushi-zu remains exactly the same. Using a rice cooker ensures consistent temperature and perfect steam retention, making it an almost foolproof method for perfectly cooked sushi rice every time.
For the best possible texture, safety, and flavor, sushi rice is ideally consumed fresh, shortly after it’s made and cooled. However, if you do find yourself with leftovers, they can be stored. First, ensure the rice cools completely to room temperature within one hour before transferring it to an airtight container. Refrigerate promptly and aim to consume it within 1-2 days. It’s important to note that refrigerated sushi rice will inevitably lose some of its desirable soft and fluffy texture, becoming firmer and less pliable. While it’s generally not recommended to reheat sushi rice for use in fresh sushi again, it can be repurposed effectively for other delicious dishes like quick stir-fries, flavorful rice bowls, or even homemade fried rice. Crucially, never leave sushi rice out at room temperature for extended periods, as it can quickly become a breeding ground for harmful bacteria.
Recipe Card: How to Make Perfect Sushi Rice
Perfect Homemade Sushi Rice
10 mins
25 mins
35 mins
8 servings
Ingredients
- 2 cups short-grain sushi rice (Note 1: Essential for achieving proper stickiness and desired texture.)
- 2.5 cups cold water
- ¼ cup plain rice vinegar (Note 2: Crucial for authentic flavor; ensure it’s NOT seasoned rice vinegar.)
- 2 tablespoons granulated sugar
- 1 teaspoon fine sea salt
Instructions
- Wash the Rice: Place the short-grain rice in a large bowl and rinse thoroughly under cold running water, gently agitating it with your hand, until the water runs mostly clear (this usually takes 5-7 rinses). Drain the rice very well in a fine-mesh sieve, letting it sit for 10-15 minutes to remove any excess water. This step is crucial for preventing mushiness.
- Cook the Rice: Transfer the washed and drained rice to a medium, heavy-bottomed saucepan with a tight-fitting lid. Add 2.5 cups of cold water and gently level the rice. Cover the saucepan securely and bring the water to a rolling boil over medium-high heat. Do NOT lift the lid during this process.
- Simmer and Rest: As soon as the water boils vigorously, immediately reduce the heat to the lowest setting and allow the rice to simmer, still covered, for exactly 10 minutes. After 10 minutes, turn off the heat completely and let the rice rest, undisturbed with the lid still on, for an additional 10-15 minutes. It is vital not to lift the lid at all during the entire cooking and resting phase.
- Prepare Seasoning: While the rice is resting, prepare your sushi vinegar seasoning (sushi-zu). In a small dish or saucepan, combine the plain rice vinegar, granulated sugar, and fine sea salt. Stir or whisk until the sugar and salt are completely dissolved. You may gently warm the mixture slightly to aid dissolution, but do not boil it. Set aside.
- Season the Rice: Once the rice is fully cooked and has finished resting, gently transfer it to a large, shallow, non-metallic dish (such as a casserole dish or a traditional hangiri). Pour the prepared sushi seasoning evenly over the hot rice.
- Mix and Cool: Using a wooden spatula or rice paddle, employ a gentle “cutting and folding” motion to mix the seasoning throughout the rice. Avoid mashing the grains. Simultaneously, fan the rice with a hand fan or a piece of cardboard to cool it down quickly. Continue this process until the rice reaches body temperature. This helps achieve a glossy finish and the perfect sticky-yet-distinct texture.
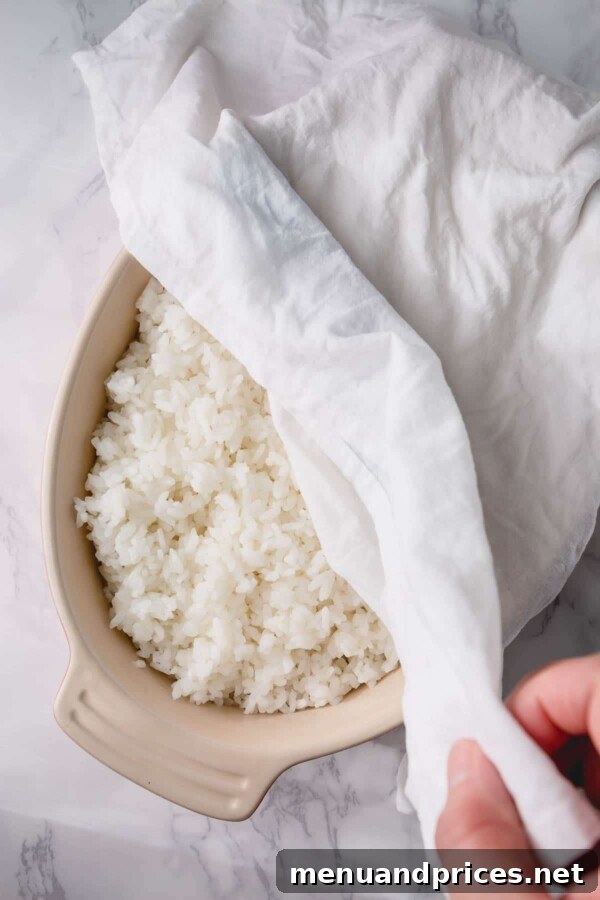
- Cover and Serve: Once seasoned and cooled to the ideal temperature, cover the sushi rice with a damp kitchen towel. This prevents it from drying out while you prepare your sushi fillings. Use promptly for best results.
Tips & Notes
Note 1: Using genuine short-grain sushi rice is absolutely paramount for successful homemade sushi. Long-grain rice varieties (such as jasmine or basmati) are entirely unsuitable as they lack the necessary starch content and cohesive properties to become sticky, leading to crumbly and unworkable sushi.
Note 2: Always opt for plain, unseasoned rice vinegar when preparing your sushi-zu. Seasoned varieties already contain added sugar and salt, which will inevitably disrupt the carefully balanced flavor of your homemade seasoning, potentially leading to an overly sweet or salty result that compromises the authentic taste of your sushi rice.
Pro Tip for Equipment: For consistent and superior results, invest in a good quality heavy-bottomed saucepan equipped with a very tight-fitting lid. This setup is crucial for ensuring even cooking and preventing steam from escaping, which is vital for achieving the perfectly fluffy and tender texture of sushi rice.
Nutrition Information
0.5 cup
184 kcal
41 g
3 g
1 g
3 g
298 mg
Side Dish
Japanese