
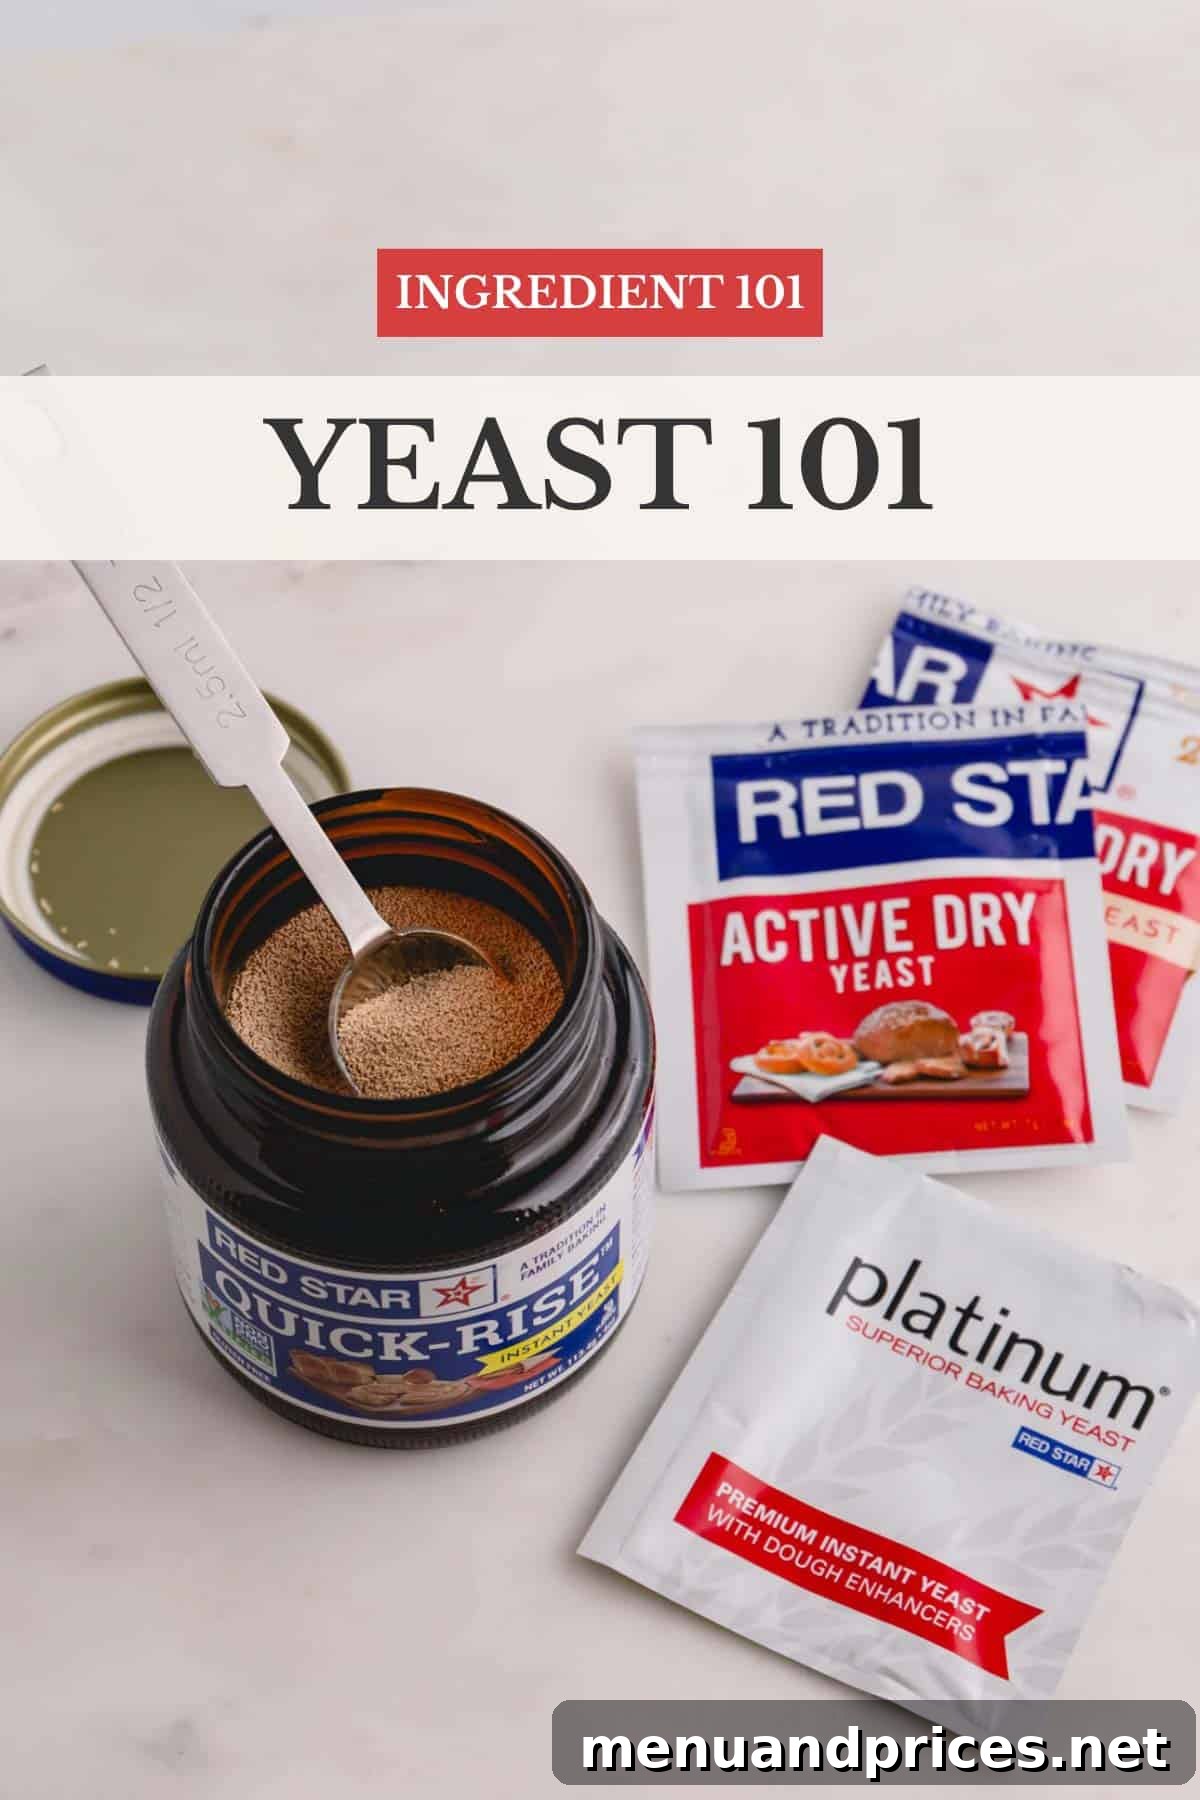
Embarking on your baking journey with yeast can seem daunting, but mastering the different types of yeast and their optimal uses is far simpler than you imagine! This comprehensive guide demystifies the world of baking with yeast, offering invaluable insights into activating dry yeast, selecting the perfect type for your recipe, and ensuring consistent success in all your homemade creations. Get ready to elevate your baking prowess and produce wonderfully airy, flavorful baked goods every time.
Pin this guide now and refer back to it later for all your yeast baking needs!
Pin It
There’s an undeniable magic in the aroma of freshly baked bread filling your home – a scent that evokes warmth, comfort, and anticipation. Perhaps the only thing that rivals it is the sweet, decadent fragrance of melt-in-your-mouth pumpkin cinnamon rolls baking to golden perfection!
Fortunately, creating these delightful treats, along with crispy pizza dough and flaky croissants, becomes wonderfully accessible once you grasp the fundamental principles of yeast and how to harness its power in your kitchen.
- While the world of yeast encompasses various forms, including active dry yeast, instant dry yeast, brewer’s yeast, nutritional yeast, sourdough starter, and fresh yeast, this guide will primarily focus on the two main types of dry yeast essential for home baking.
- For consistent, exceptional results, Red Star Platinum Yeast often stands out as a top recommendation. It’s favored by many bakers for its reliability and the convenience of not requiring prior proofing, which is a significant time-saver in busy kitchens.
- Understanding yeast is crucial because it is the living ingredient responsible for the airy texture, tender crumb, and delightful elasticity in fluffy, chewy, and soft baked goods. Without it, your breads would be dense and flat.
Continue reading to uncover all the essential yeast baking basics. We’ll explore exactly what yeast is, dive into the specifics of dry yeast types, discuss when to best utilize each, and share invaluable yeast tips tailored for novice bakers.
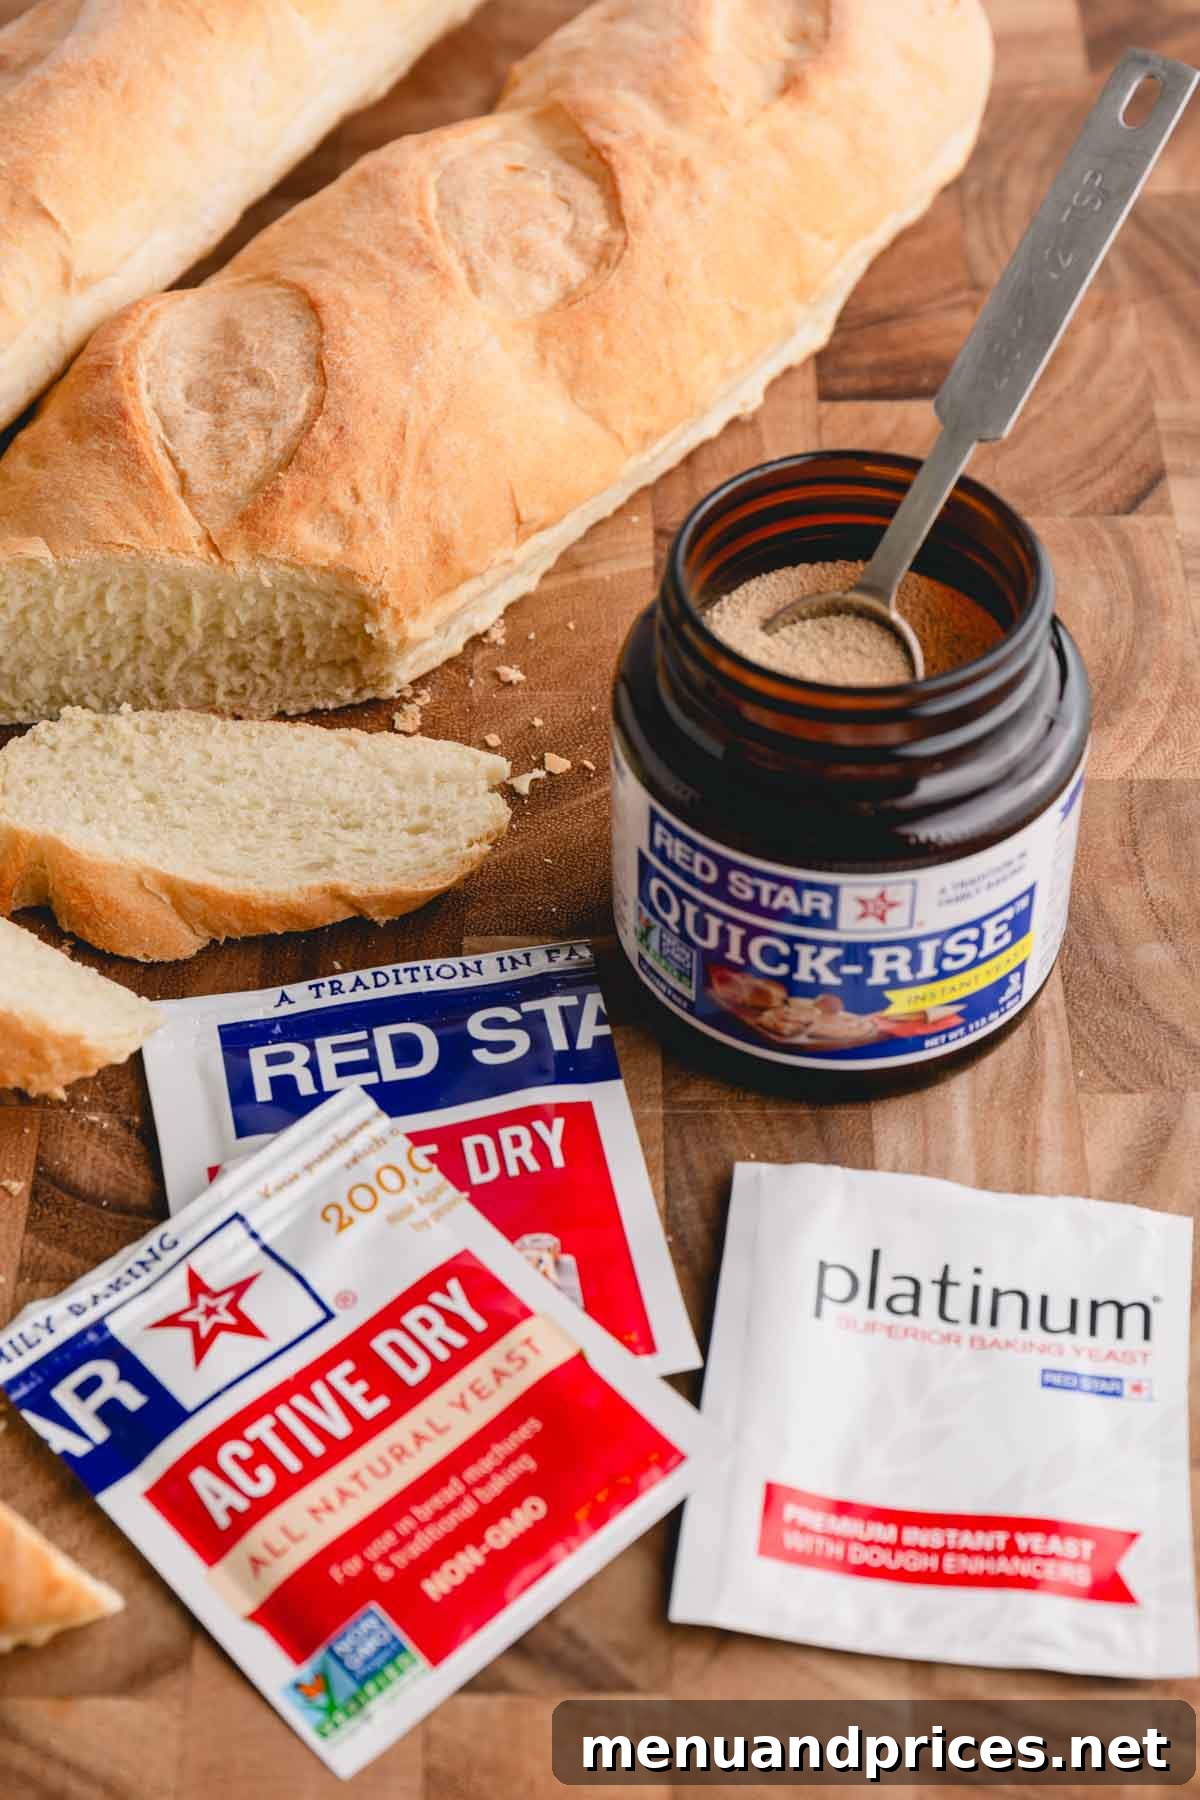
What is Yeast? The Living Magic Behind Your Baking
At its core, yeast (specifically *Saccharomyces cerevisiae* for baking) is a remarkable single-celled living organism, a type of fungus. It’s the silent workhorse behind the creation of not just fluffy loaves of bread, pliable pizza dough, and rich cinnamon rolls, but also beverages like beer and wine. Yeast thrives by feeding on sugars and starches present in its environment, flourishing particularly well in warm, moist conditions.
- The magic of yeast lies in its ability to convert sugars and starches into carbon dioxide gas and alcohol through a process called fermentation. This metabolic activity is vital for leavening.
- In baking, the carbon dioxide gas produced by yeast gets trapped within the dough’s elastic structure, causing it to expand and “rise.” This results in the light, airy texture we cherish in baked goods. The alcohol produced largely evaporates during baking, contributing to the distinct, often subtle, “yeasty” flavor and aroma that makes homemade bread so irresistible.
- While there are many forms of yeast, active dry yeast and instant dry yeast are the most prevalent types used by home bakers. A key distinction: active dry yeast typically requires rehydration and proofing before incorporation into dough, whereas instant dry yeast can often be mixed directly with dry ingredients, streamlining the baking process.
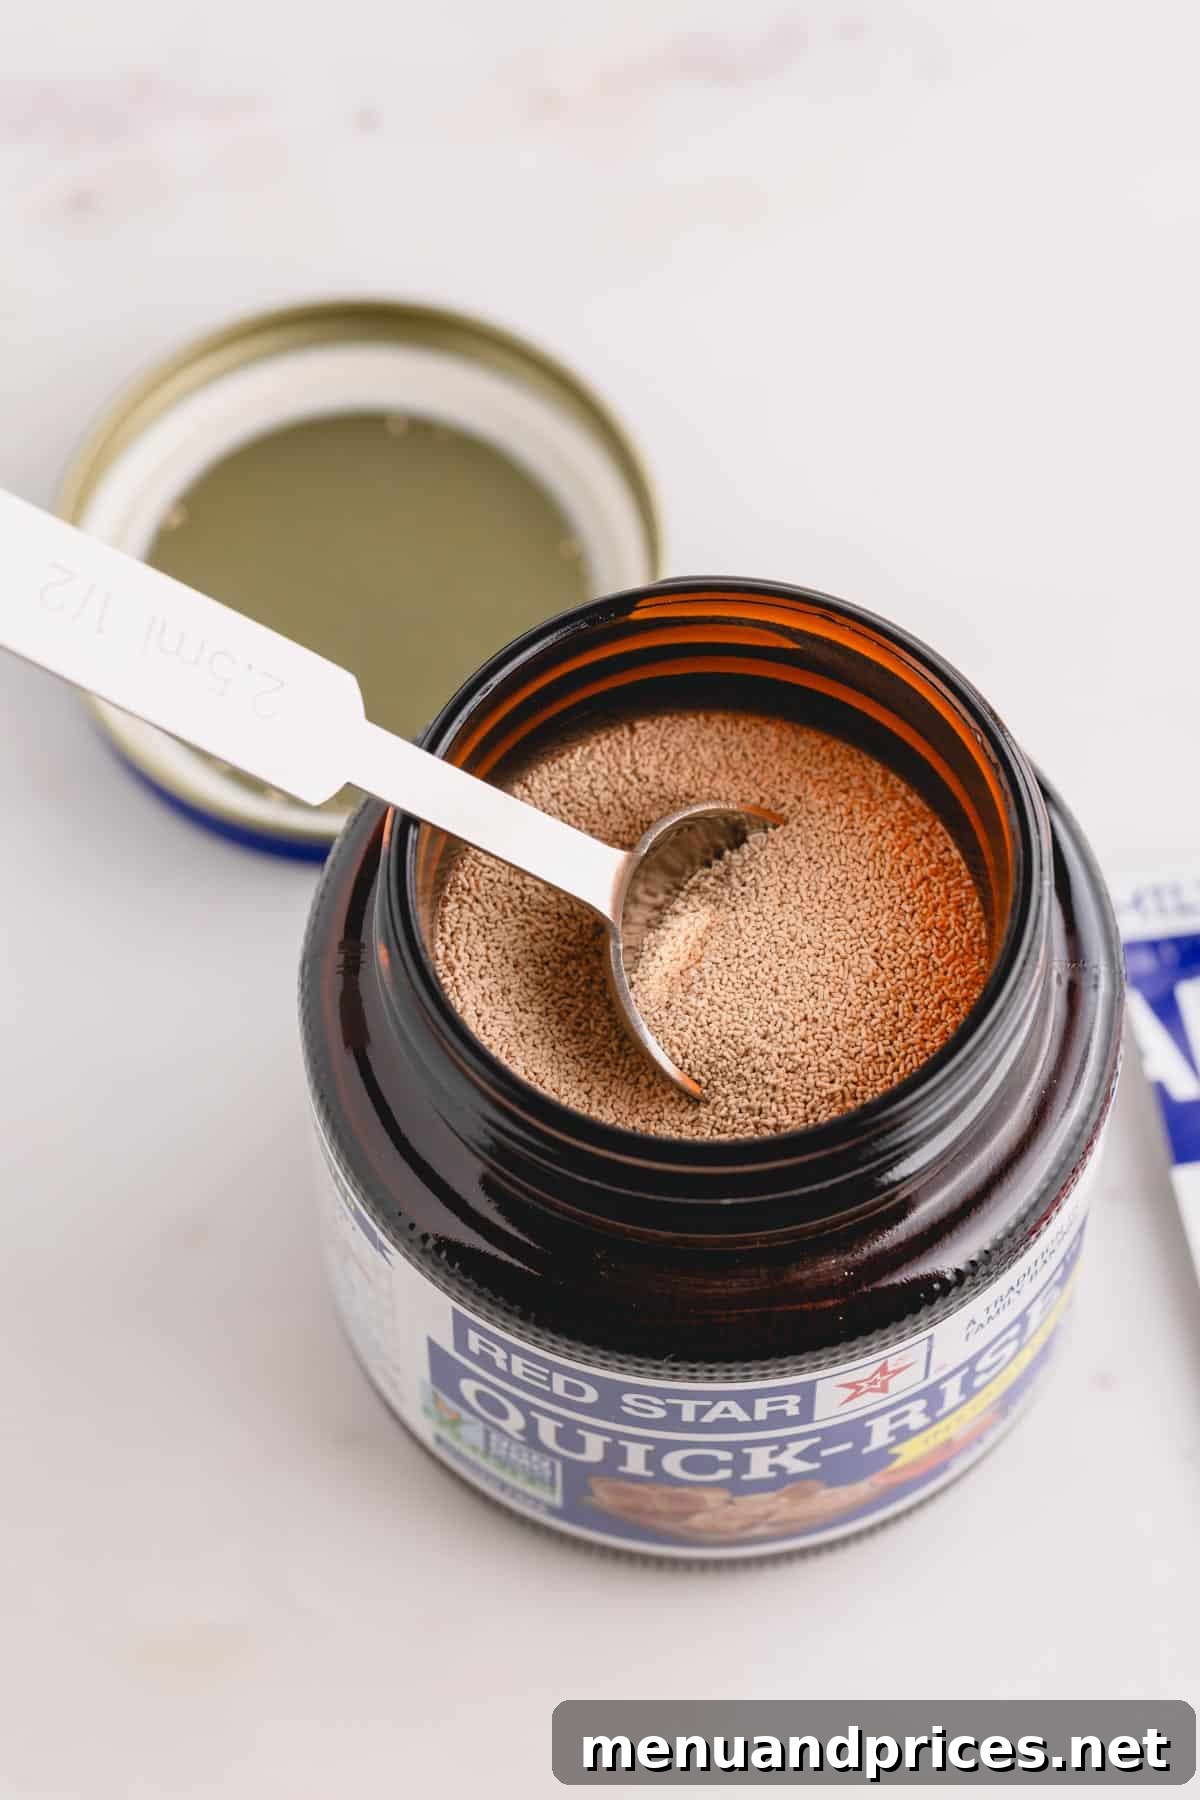
Exploring Dry Yeast: Active Dry Yeast vs. Instant Dry Yeast
For most home bakers, the choice often comes down to two primary forms of dry yeast: active dry and instant dry. Understanding their differences is key to successful baking. Rapid-rise yeast, also known as quick-rise or fast-acting yeast, is a specialized variant of instant dry yeast engineered for exceptionally fast fermentation.
Active Dry Yeast: The Traditional Choice
- Active dry yeast is characterized by its slightly coarser granules compared to instant yeast. Before it can get to work leavening your dough, it needs to be “activated” or “proofed.” This crucial step ensures the yeast is alive and vibrant, guaranteeing your bread and baked goods will rise beautifully. When active, the yeast will begin to foam and bubble within a few minutes in a warm liquid, indicating its vitality.
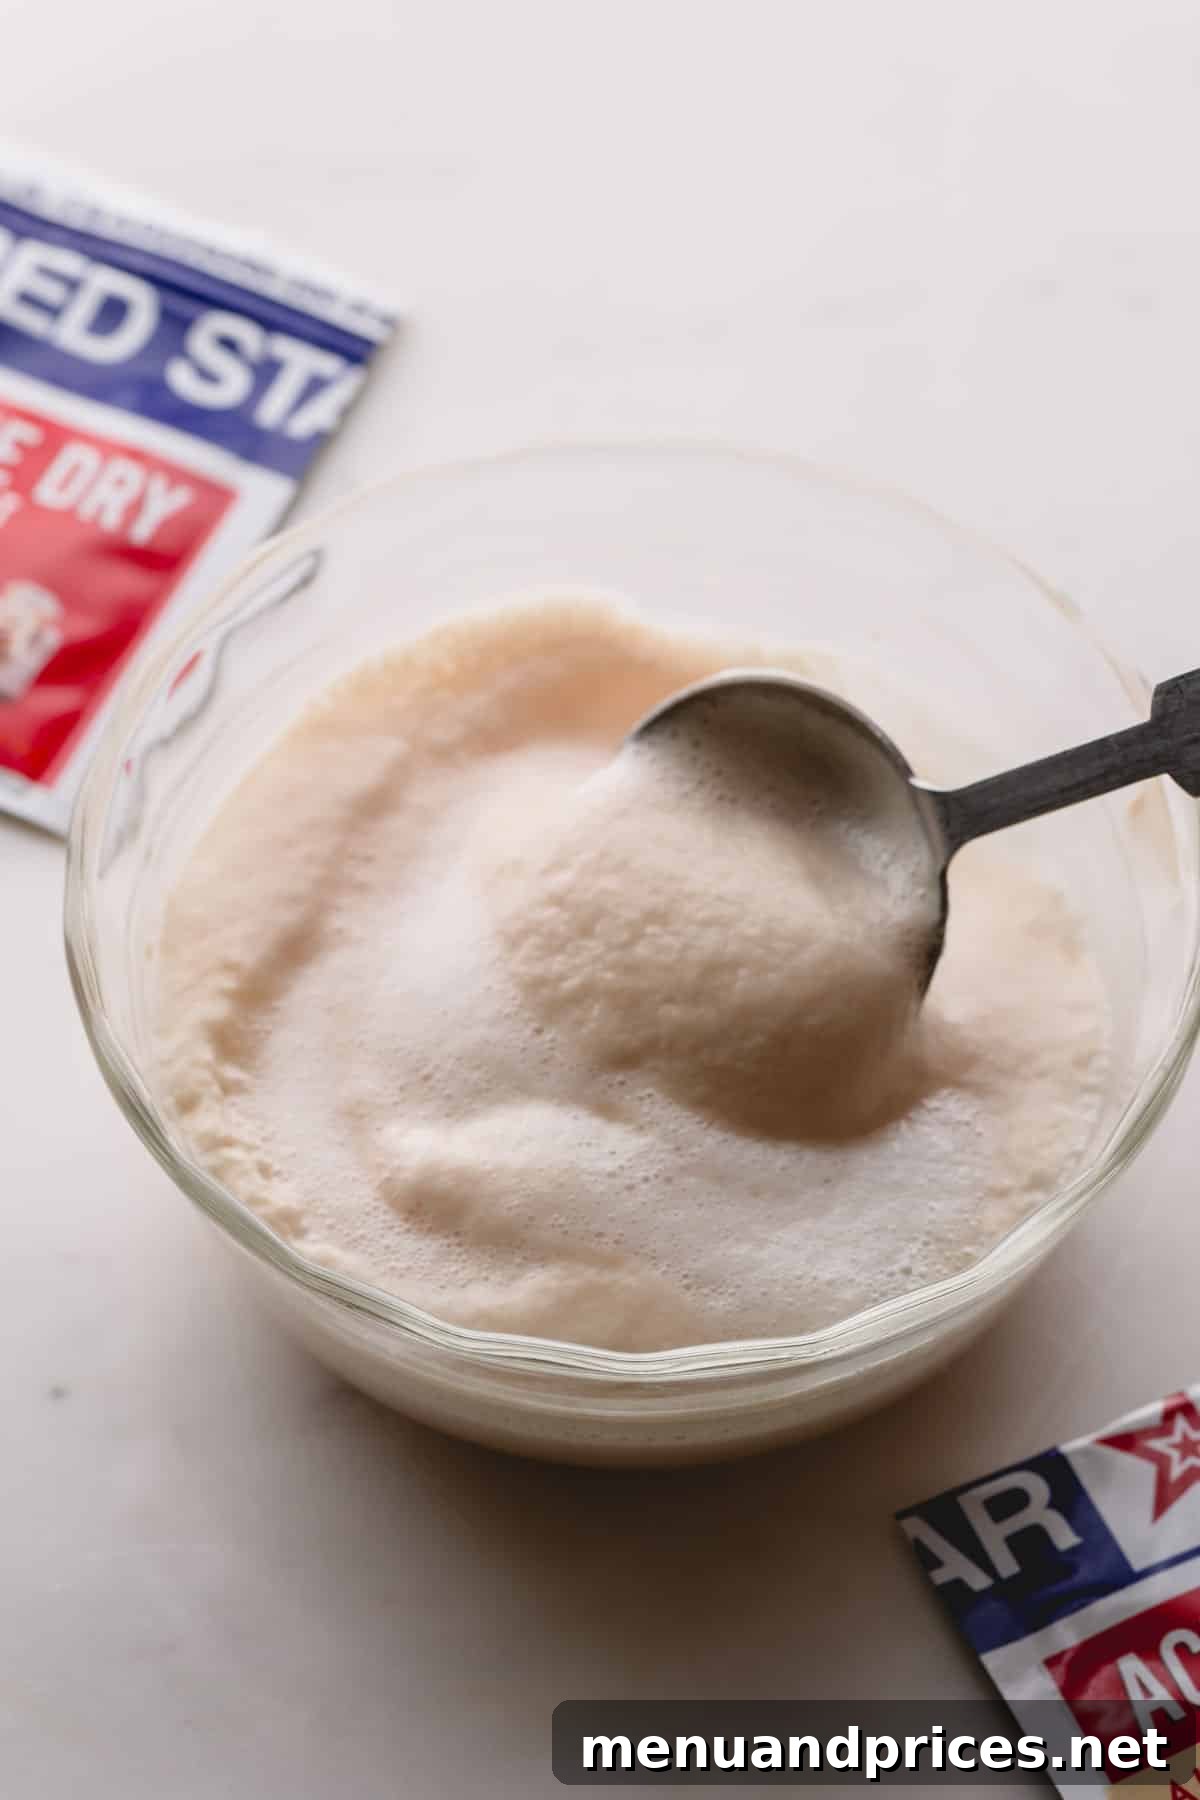
- To activate active dry yeast, you’ll typically dissolve a small amount of sugar in a bowl of warm water (ideally between 105-115°F or 40-46°C). Stir in the yeast, then allow the mixture to rest for approximately 5 to 10 minutes. If the surface becomes foamy and bubbly, it’s a clear sign that your yeast is alive, active, and ready to be incorporated into your recipe. If there’s no activity, your yeast may be old or dead, and it’s best to discard it and try a fresh batch.
- When to use: Active dry yeast is ideal for recipes that specifically call for proofing or those that benefit from a longer, slower fermentation process. This extended rise time can contribute to more complex flavors and a superior texture in many artisan breads and enriched doughs.
Instant Dry Yeast: The Convenient and Quick Option
- As its name suggests, instant dry yeast is engineered for convenience and efficiency. It’s ready to be incorporated into your dough the moment you open the package, eliminating the need for a separate proofing step. This makes it a favorite among many home bakers, including specific brands like Red Star Platinum Yeast, celebrated for its robust performance.
- This type of yeast features much finer granules, which allows it to dissolve quickly and evenly throughout the dough without needing prior rehydration in warm water and sugar. You simply combine the instant yeast directly with your dry ingredients, then proceed with mixing the dough and adding your liquids as the recipe instructs.
- Rapid rise instant yeast is a specialized form of instant yeast that is even more active, designed to reduce total rise time by half or more. It’s perfect for recipes that require a single, vigorous rise, significantly speeding up the baking process without compromising on quality.
- When to use: Instant dry yeast is the go-to choice when speed and convenience are priorities. It’s excellent for a wide variety of recipes, from everyday sandwich breads to pizza doughs. Rapid-rise yeast, in particular, excels in bread machine recipes and any situation where you need to bake and enjoy your creation on the same day, delivering quick, reliable results.
Beyond Dry Yeast: A Glimpse at Other Yeast Varieties
While active and instant dry yeasts are staples for home bakers, other fascinating types of yeast play significant roles in culinary and brewing arts:
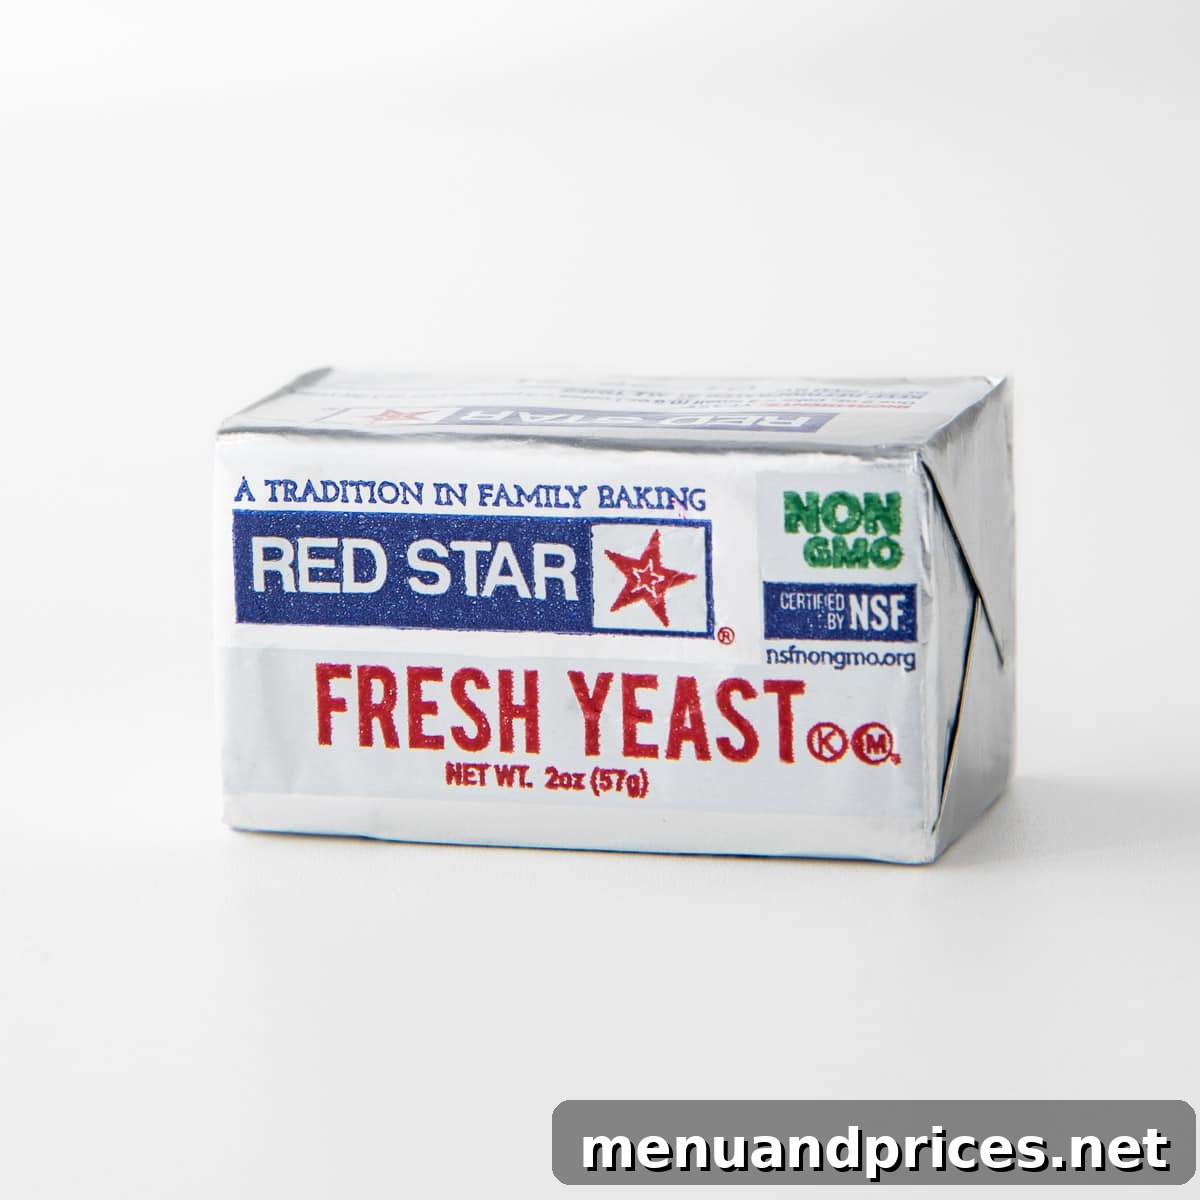
- Fresh Yeast (Compressed Yeast or Cake Yeast): This traditional form of yeast is sold as a moist, solid block. It functions similarly to dry yeast but contains a higher moisture content, making it highly perishable. Fresh yeast offers a very subtle, often preferred, flavor profile by some professional bakers. However, it requires careful storage in the refrigerator and typically only remains viable for about a week. It also requires careful measurement, often by weight.
- Sourdough Starter: Not a commercial yeast packet, but a living culture, a fermented mixture of flour and water that harbors naturally occurring wild yeasts and lactic acid bacteria. This symbiotic community feeds on the carbohydrates in the flour, producing carbon dioxide and organic acids, which leaven dough and impart the distinctive tangy flavor and chewy texture of sourdough bread and other sourdough baked goods. A properly maintained sourdough starter can last for years, becoming a cherished kitchen companion.
- Brewer’s Yeast: This broad category refers to specific strains of yeast, primarily *Saccharomyces cerevisiae* (ale yeast) and *Saccharomyces pastorianus* (lager yeast), used exclusively for fermenting beer. These yeasts contribute to the alcohol content and flavor characteristics of various brews. While related to baker’s yeast, brewer’s yeast is optimized for alcohol production rather than leavening baked goods and is not typically used in bread recipes.
- Nutritional Yeast: Distinct from leavening yeasts, nutritional yeast is an inactivated form of *Saccharomyces cerevisiae*. It comes as yellow flakes or powder and is valued for its savory, cheesy flavor and nutritional content, particularly in vegan cuisine. It is *not* active and will not cause dough to rise; its purpose is solely for flavor and nutrition.
The Art of Proofing Dry Yeast: A Step-by-Step Guide
Proofing is a vital step when using active dry yeast, as it not only activates the yeast but also confirms its viability. This simple process prevents wasted ingredients and ensures your baked goods achieve their desired rise.
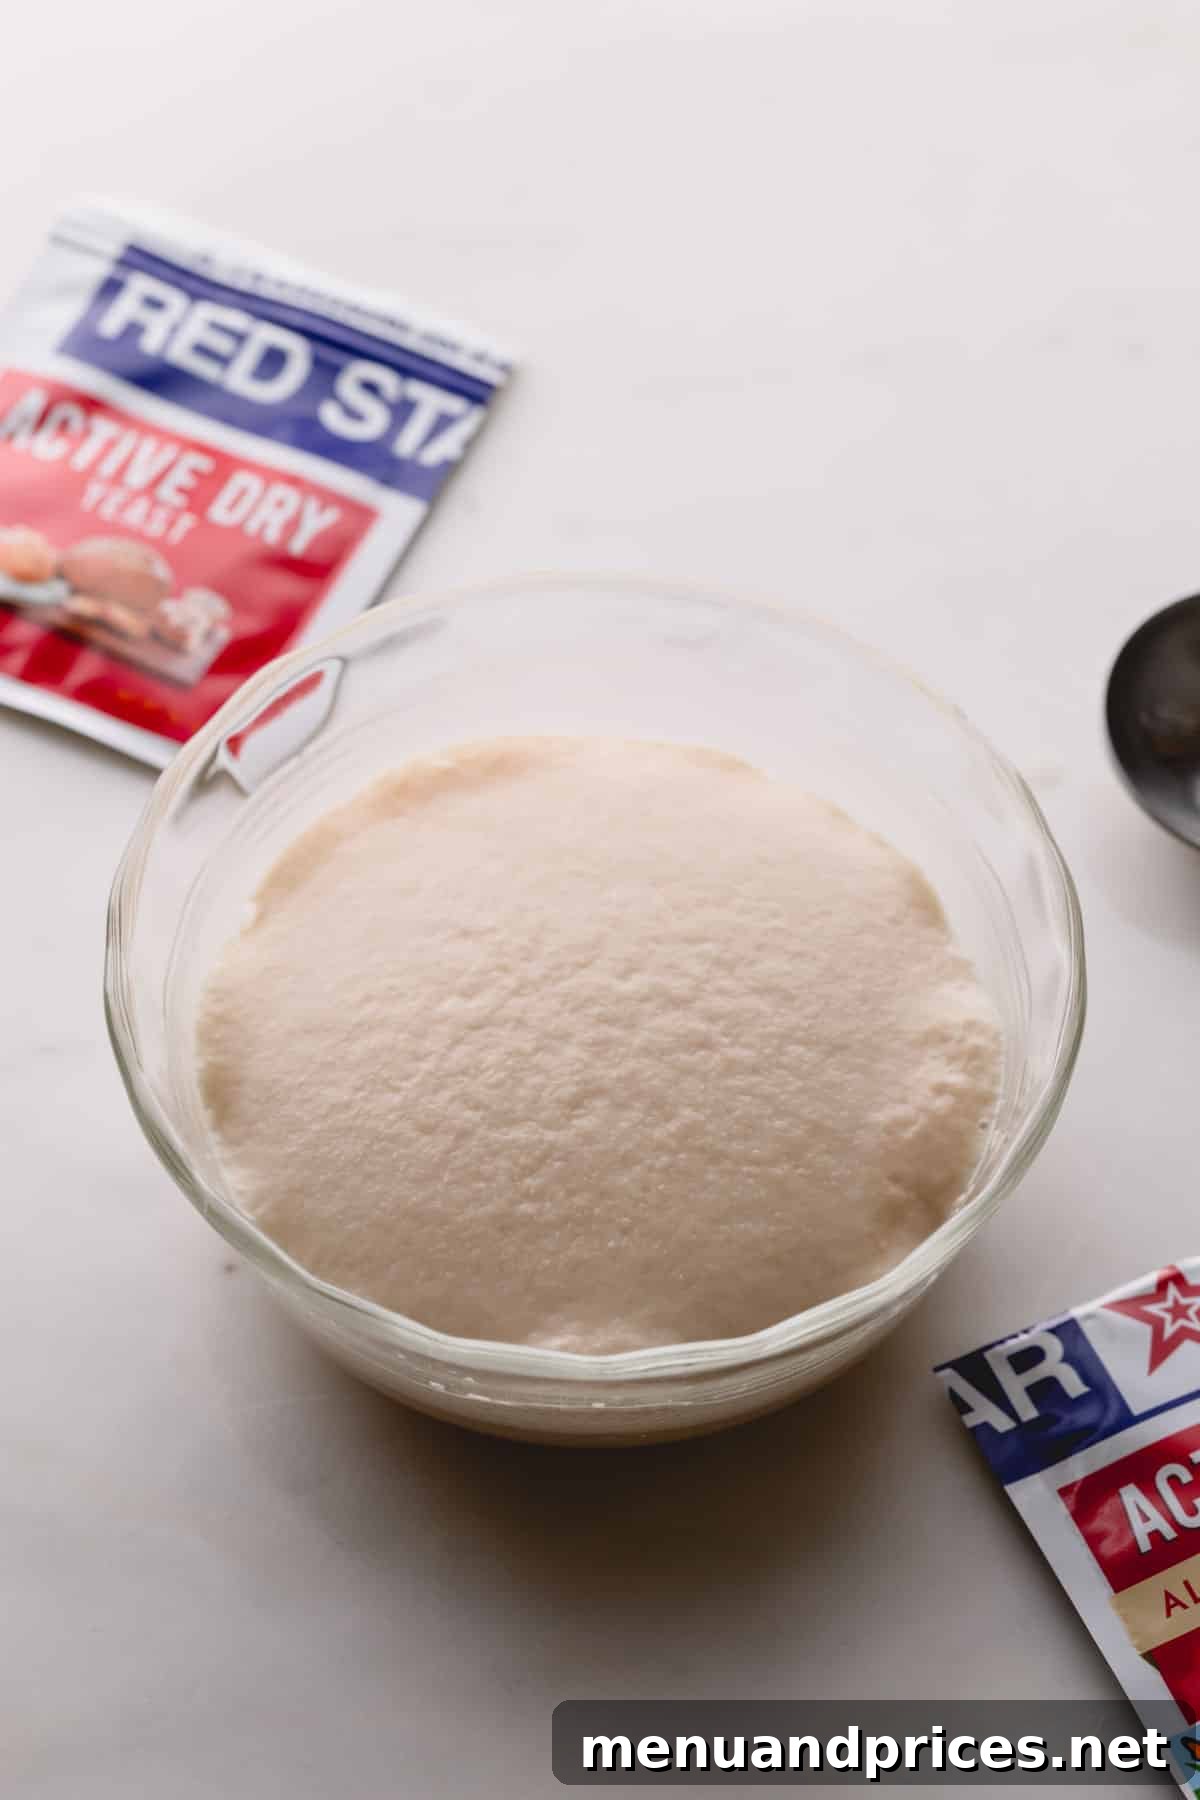
- Step 1: Prepare Your Water. Begin by filling a small bowl or measuring cup with warm water. The ideal temperature range is critical: between 105°F and 115°F (40°C-46°C). Water that’s too hot will kill the delicate yeast organisms, while water that’s too cold will inhibit their activation.
- Step 2: Add Sugar. Into the warm water, mix 1 teaspoon of white granulated sugar until it is completely dissolved. The sugar serves as the essential food source for the yeast, providing the energy it needs to become active and begin fermentation.
- Step 3: Introduce Yeast and Wait. Gently sprinkle your active dry yeast over the sugar-water mixture. Avoid stirring vigorously at this stage; let the yeast granules absorb the warm liquid naturally. Allow the mixture to sit undisturbed for 5 to 10 minutes to proof (or activate). This waiting period allows the yeast to rehydrate and begin its metabolic process.
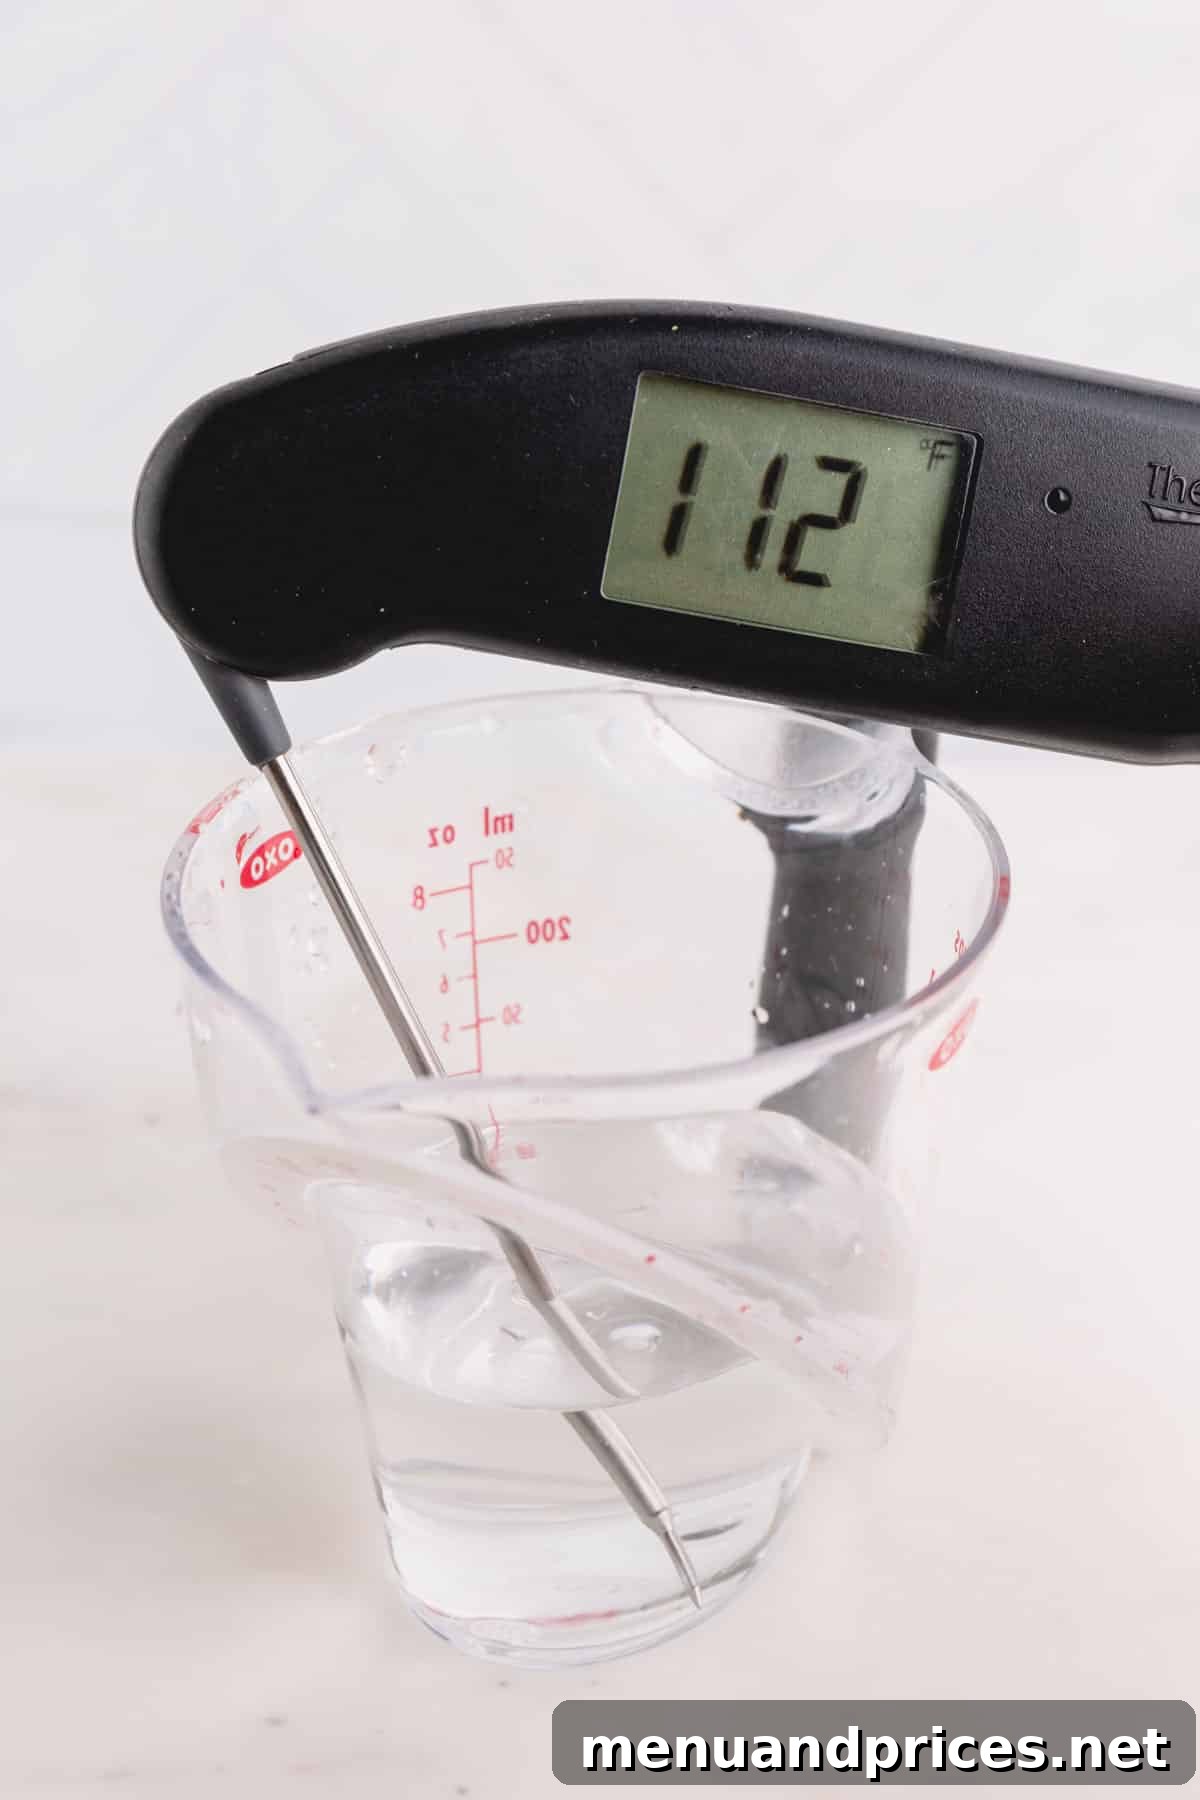
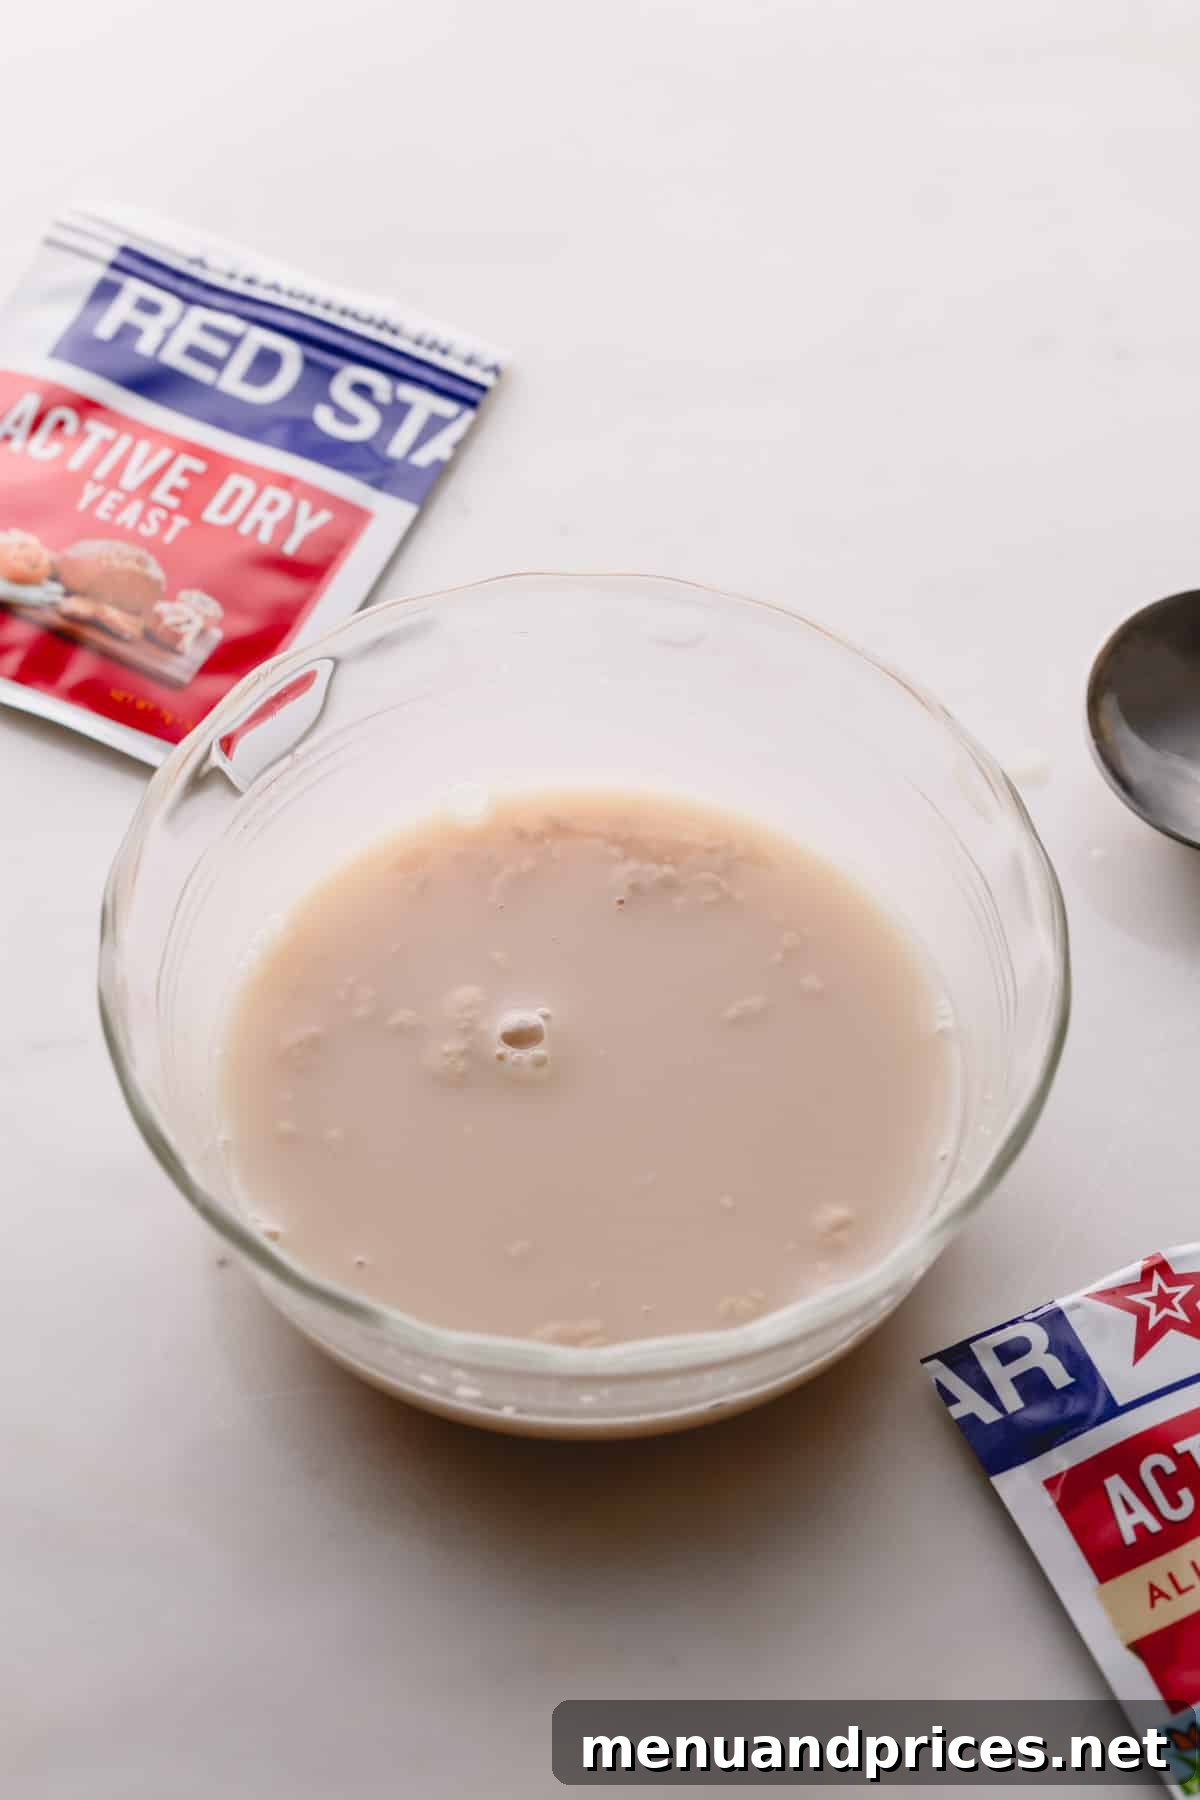
- The Proofing TEST: After the designated waiting period, examine your yeast mixture. If the yeast is active and healthy, it should have become distinctly bubbly and frothy on the surface, and the volume of the mixture will have noticeably increased, as vividly illustrated in the images below. This foamy layer indicates vigorous carbon dioxide production.
Should you observe no bubbling, frothing, or growth within 10 minutes, it’s highly recommended to use a different batch of yeast. An inactive yeast mixture means the yeast is likely dead or compromised, and it will not effectively leaven your bread, leading to disappointing results. Don’t risk your entire recipe; fresh, active yeast is paramount.
The Goldilocks Principle: Using the Right Water Temperature for Yeast
Yeast truly is a delicate organism, thriving only when its environment is “just right.” The water temperature is the most critical factor. If the water is excessively hot (above 120°F or 49°C), the heat will irrevocably destroy the yeast cells, rendering them inert. Conversely, if the water is too cold (below 100°F or 38°C), the yeast will remain dormant and fail to activate, leading to a sluggish or nonexistent rise. For impeccable results and to remove any guesswork, always use an instant-read thermometer to verify your water temperature. Many professional bakers swear by tools like a Thermapen for its accuracy and speed.
Understanding the Yeast to Flour Ratio
A common guideline for dry yeast is to use one standard packet (which typically contains 2 ¼ teaspoons or about 7 grams) for every 4 cups (approximately 500 grams) of all-purpose or bread flour. This ratio provides a good balance for many standard bread recipes, allowing for a steady and reliable rise.
However, it’s important to remember that this is a general recommendation, not an immutable law. The optimal yeast-to-flour ratio can vary based on several factors: the type of yeast used (instant vs. active dry), the richness of your dough (doughs with more sugar or fat may require slightly more yeast), the desired rise time, the ambient temperature of your kitchen, and the specific characteristics of your recipe. Some recipes might call for less yeast for a longer, slower fermentation that develops more complex flavors, while others might use more for a quicker rise. Always defer to your recipe’s instructions first, but understand that subtle adjustments can be made with experience.
Essential Yeast Tips for Beginner Bakers
Successfully baking with yeast is a rewarding experience, and these beginner-friendly tips will help you navigate common challenges and achieve fantastic results:
- Always Choose the Correct Type of Yeast for Your Recipe: This is paramount! If your recipe explicitly calls for instant yeast, directly mixing active dry yeast into your dry ingredients will likely lead to failure. Active dry yeast *must* be rehydrated and proofed first. If you only have active dry yeast and your recipe specifies instant, proof the active dry yeast in a portion of the recipe’s liquid before combining. Conversely, if a recipe calls for active dry yeast and you only have instant, you can usually substitute it 1:1 and skip the proofing step, adding it directly to your dry ingredients, but be prepared for a slightly faster rise.
- Never Skip the Proofing Step for Active Dry Yeast: It’s tempting to cut corners, but proofing active dry yeast is non-negotiable. This step rehydrates the dormant yeast cells, “wakes them up,” and provides them with their initial meal of sugar. Without this crucial rehydration and activation, the yeast will not be able to produce enough carbon dioxide to make your dough rise, resulting in dense, heavy baked goods. It’s also your quality control check to ensure the yeast is still viable.
- Provide a Warm, Humid Environment for Rising: Yeast thrives in warmth and humidity. Once your dough is mixed and kneaded, place it in a warm, draft-free spot for its rise. A common and effective trick is to create a makeshift proofing box in your microwave. First, microwave a glass of water for 1-2 minutes until it’s steamy and hot. Remove the water (but leave the steam!), then place your bowl of dough inside the microwave (turned off). The residual heat and humidity create an ideal, insulated environment for yeast activity, promoting a consistent and vigorous rise.
- You Can Also Check Instant Yeast for Freshness: While instant yeast is generally more reliable and doesn’t require proofing, it can still lose potency over time, especially if stored improperly. To quickly check its freshness, simply sprinkle about ½ teaspoon into a small bowl of warm water (around 100°F-110°F or 38°C-43°C) along with a pinch of white sugar. If it becomes foamy and bubbly within 5-10 minutes, it’s still active.
- Opt for Granulated White Sugar for Activation: Unless your recipe specifically dictates otherwise, always use granulated white sugar when activating or proofing yeast. White sugar dissolves rapidly and provides a readily available food source for the yeast without introducing additional flavors or colors to your baked goods, unlike honey, molasses, or brown sugar, which can alter the final taste and appearance.
Optimal Dry Yeast Storage for Maximum Potency
Proper storage is essential to maintain the viability and effectiveness of your dry yeast. Yeast is a living organism, and its activity can degrade over time due to exposure to heat, moisture, and air.
- Unopened Yeast: Unopened packets or jars of dry yeast can typically be stored at cool room temperature, away from direct sunlight and heat, until their expiration date. A pantry or cupboard is usually sufficient.
- Opened Yeast: Once a package or jar of dry yeast has been opened, its shelf life dramatically decreases at room temperature. To preserve its freshness and potency for months or even years, it is crucial to store opened jars or transfer yeast from packets into an airtight container and place it in the refrigerator or, for even longer storage, in the freezer. Always ensure the container is tightly sealed to prevent moisture and odors from compromising the yeast.
- Bringing Yeast to Room Temperature: Before using yeast that has been stored in the refrigerator or freezer, it’s a good practice to allow it to come to room temperature. Simply measure out the required amount of yeast and let it sit on the counter for 15-30 minutes while you prepare your other ingredients. This gradual warming helps prevent temperature shock and ensures the yeast is ready to become active quickly. After measuring, promptly return the remaining yeast to cold storage to maintain its longevity.
Yeast FAQs: Answering Your Common Baking Questions
Absolutely, the type of yeast you use matters significantly and directly impacts your baking success. If a recipe specifically calls for instant yeast, it assumes you’ll add it directly to the dry ingredients without prior activation. Substituting active dry yeast directly in this scenario will likely result in a dough that fails to rise, as active dry yeast requires rehydration in warm water with sugar to become active. Conversely, if a recipe calls for active dry yeast and its accompanying proofing step, using instant yeast might cause your dough to rise too quickly, potentially leading to an overproofed dough or less complex flavor development. While some experienced bakers can adjust recipes to swap yeast types, for beginners, adhering to the specified type is highly recommended to ensure predictable and desirable outcomes.
No, nutritional yeast is distinctly different from active or instant dry yeast used for baking, despite both originating from *Saccharomyces cerevisiae*. Nutritional yeast is an inactivated form, meaning the yeast cells have been heat-treated, rendering them unable to ferment or leaven dough. It’s typically sold as yellow flakes or powder and is celebrated in the culinary world, particularly in vegan cooking, for its unique savory, umami, and often cheese-like flavor profile. If you were to add nutritional yeast to your dough, it would only contribute flavor and perhaps a slight texture, but it would have no leavening power whatsoever. Therefore, it cannot be substituted for active or instant dry yeast in recipes requiring a rise.
While yeast is generally irreplaceable for achieving the classic texture and flavor of traditional risen breads, you can find substitutes for certain types of quick breads or baked goods that don’t rely on yeast’s specific fermentation process. Baking soda and baking powder are chemical leaveners that produce carbon dioxide gas instantly when activated (by acid and/or moisture/heat), making them suitable for cakes, muffins, and quick breads. In a pinch, for yeast-leavened recipes, you might attempt a substitution, but the results will not be identical. A common suggested substitution involves using a 1:1 ratio: if a recipe calls for 1 teaspoon of yeast, you could try substituting with 1 teaspoon of double-acting baking powder. Alternatively, you can use ½ teaspoon of baking soda combined with ½ teaspoon of an acidic ingredient like lemon juice or vinegar to create a similar leavening reaction. However, understand that these substitutes will provide a different texture (often more cake-like or crumbly) and will lack the unique flavor development that yeast fermentation provides. They are best reserved for emergencies when yeast is unavailable and the recipe is flexible.
Savor the Flavor: My Favorite Recipes Featuring Yeast
Now that you’re equipped with a deeper understanding of yeast, it’s time to put your knowledge into practice! These beloved recipes are perfect for showcasing the magic of yeast and will undoubtedly become staples in your kitchen:
- The Easiest and Fluffiest French Bread Recipe: Achieve bakery-quality baguettes with a perfectly crisp crust and airy interior.
- Overnight Caramel Rolls: Indulge in sweet, gooey, and tender caramel rolls, perfect for a special breakfast or brunch.
- Easy Homemade Pizza Dough: Craft your own delicious pizzas with a flexible, flavorful crust that rivals your favorite pizzerias.
- Homemade Dinner Rolls: Bake irresistibly soft and fluffy dinner rolls that will be the star of any meal.
Unlocking Your Baking Potential
Mastering the nuances of yeast is a cornerstone of successful baking, opening up a world of culinary possibilities. From understanding the science behind fermentation to discerning the best yeast type for your recipe, and from proper proofing techniques to effective storage, you now possess the essential knowledge to confidently tackle any yeast-based creation. Armed with these insights, you’re not just following a recipe; you’re engaging with a living ingredient, coaxing out its full potential to create baked goods that are not only delicious but also deeply satisfying to make. Happy baking!