
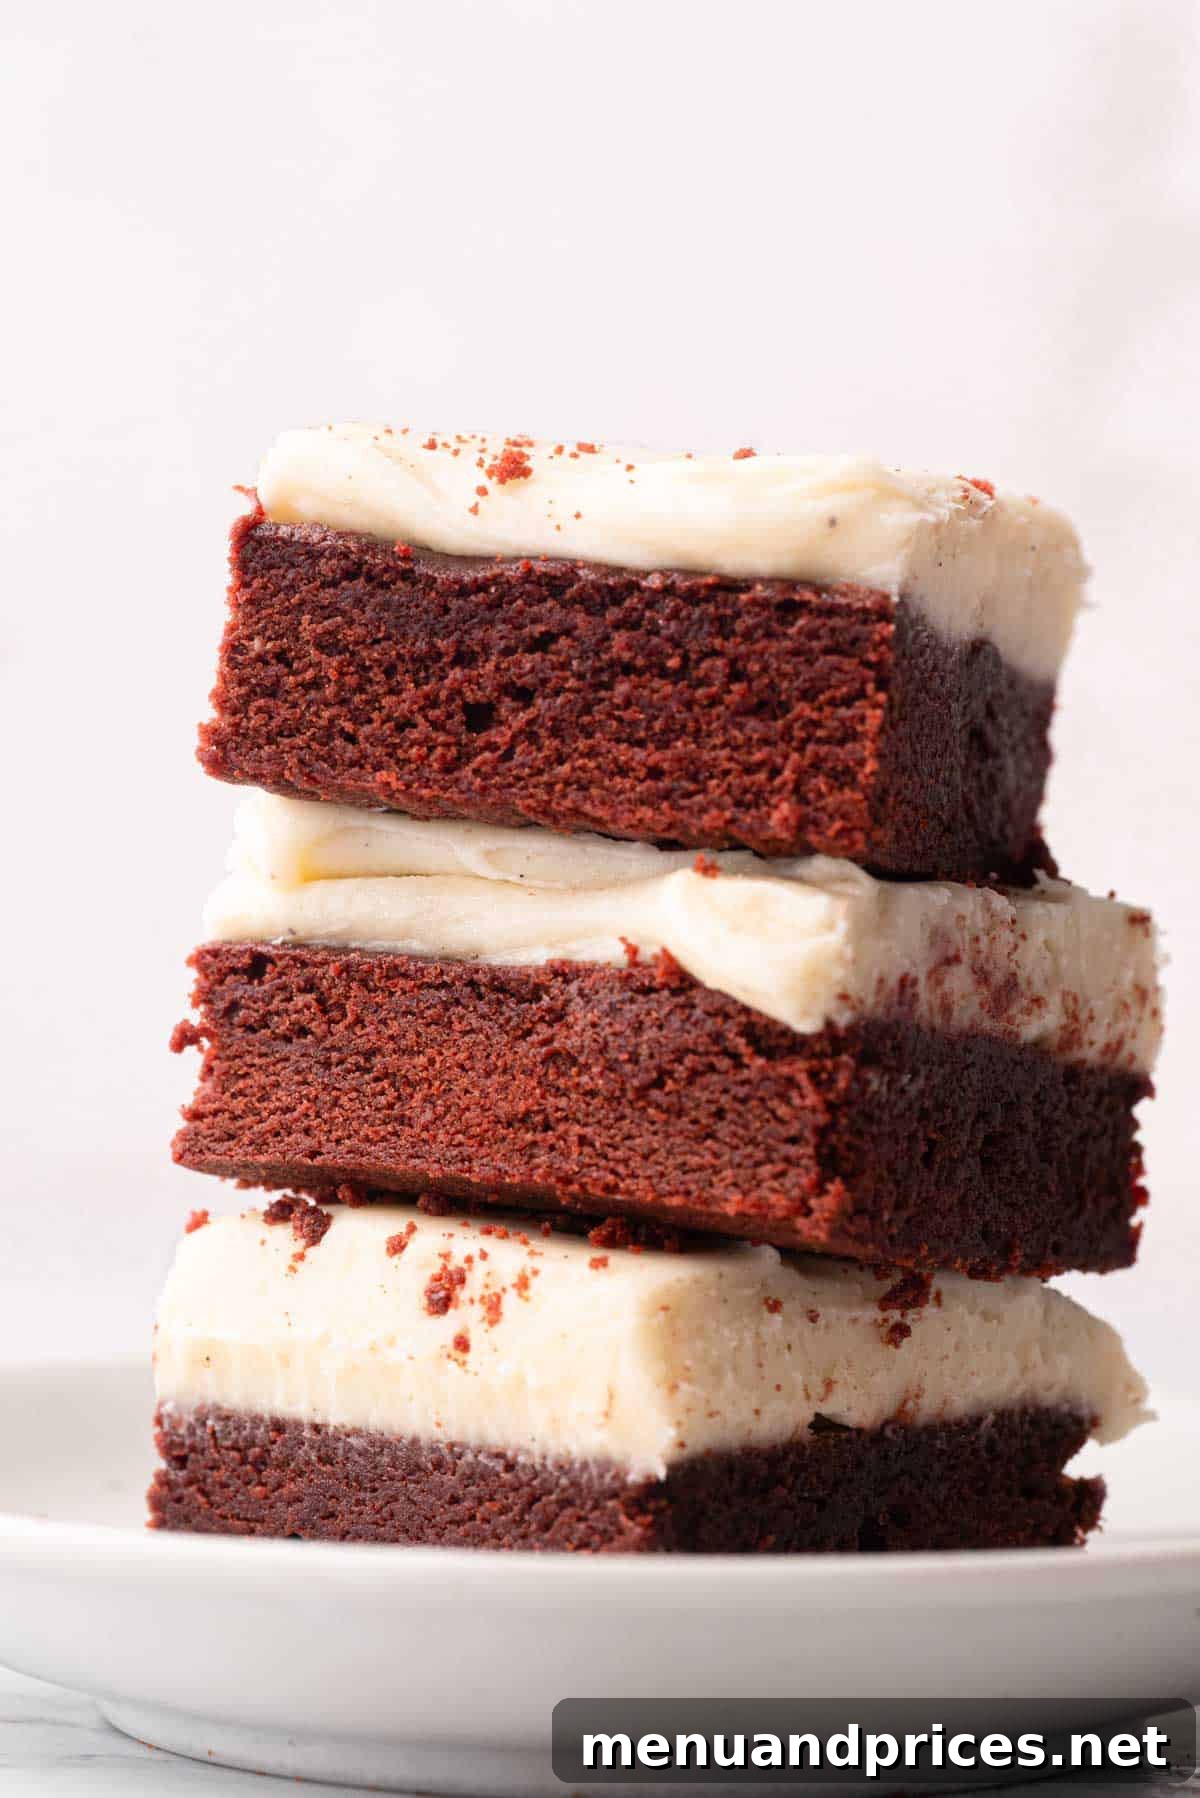
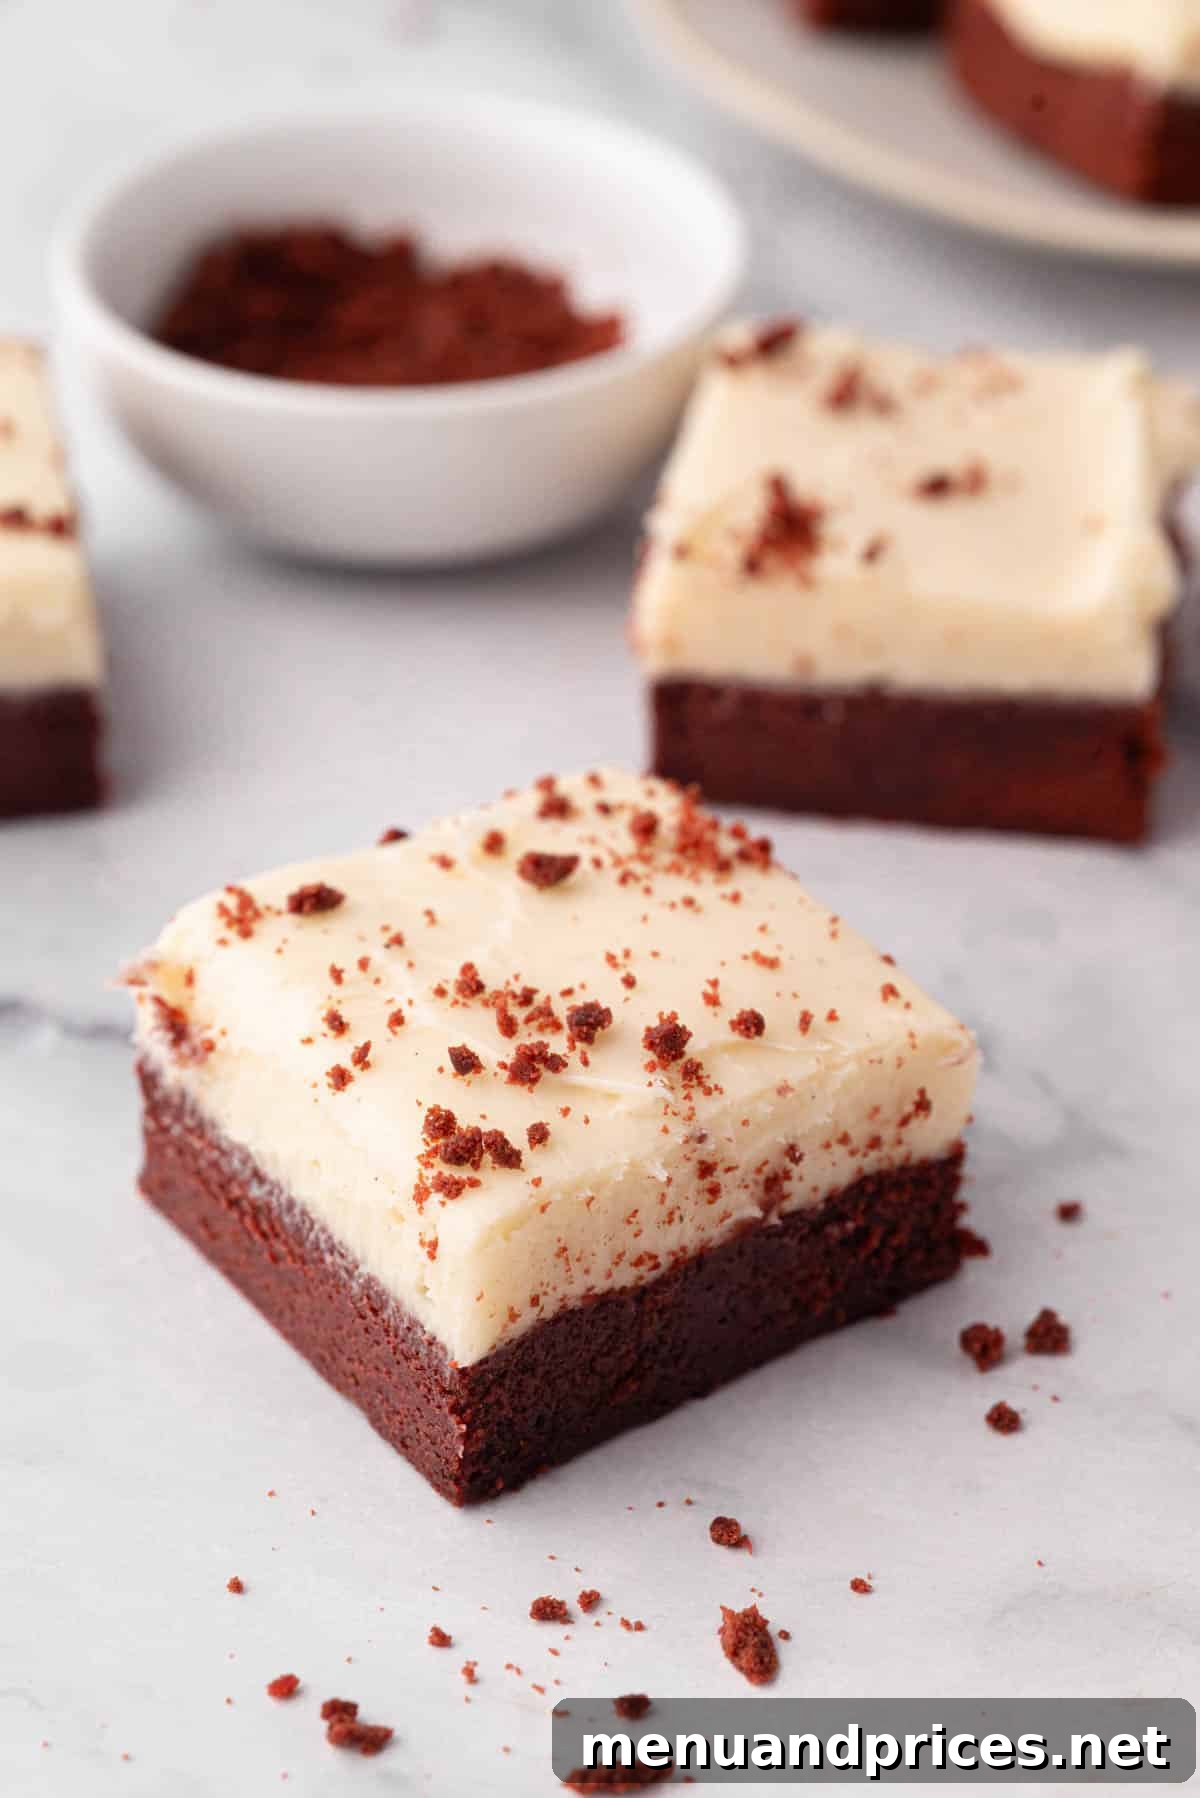
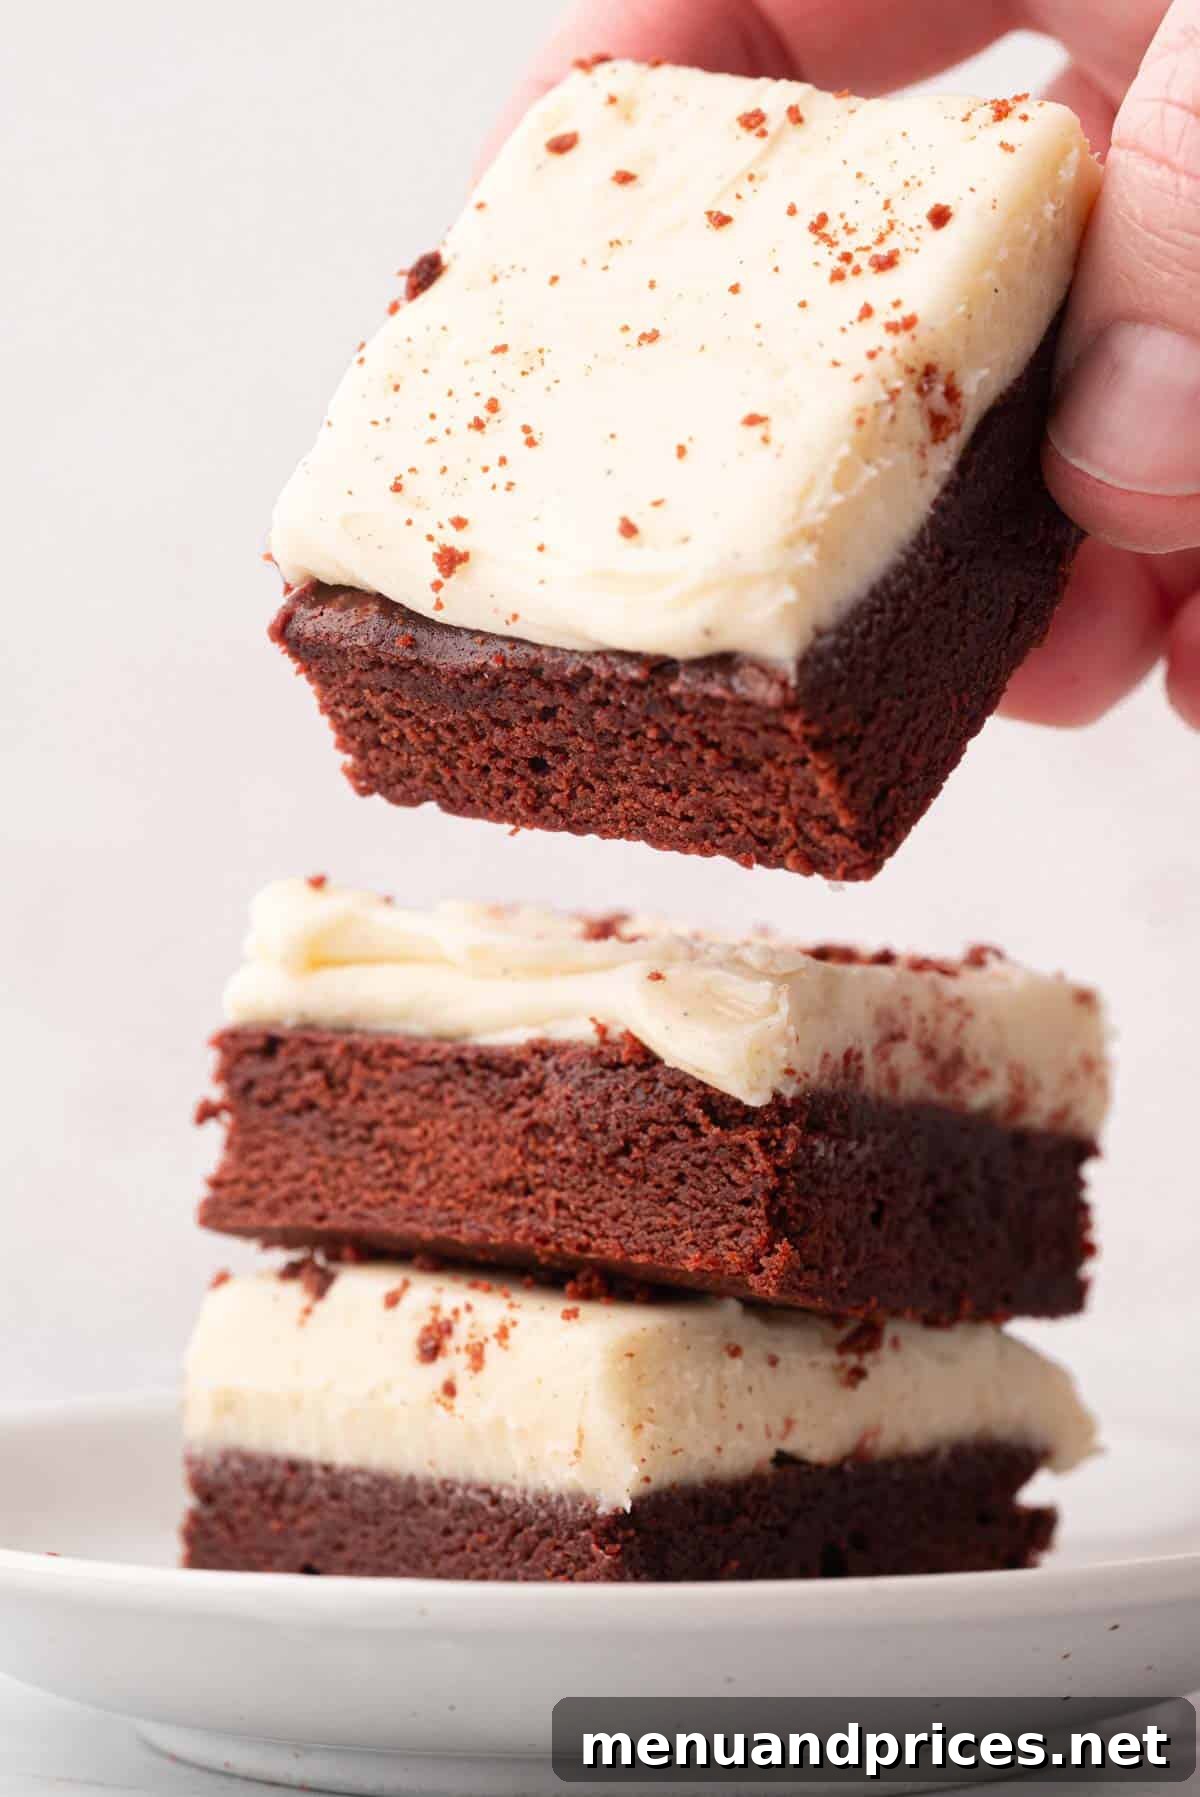
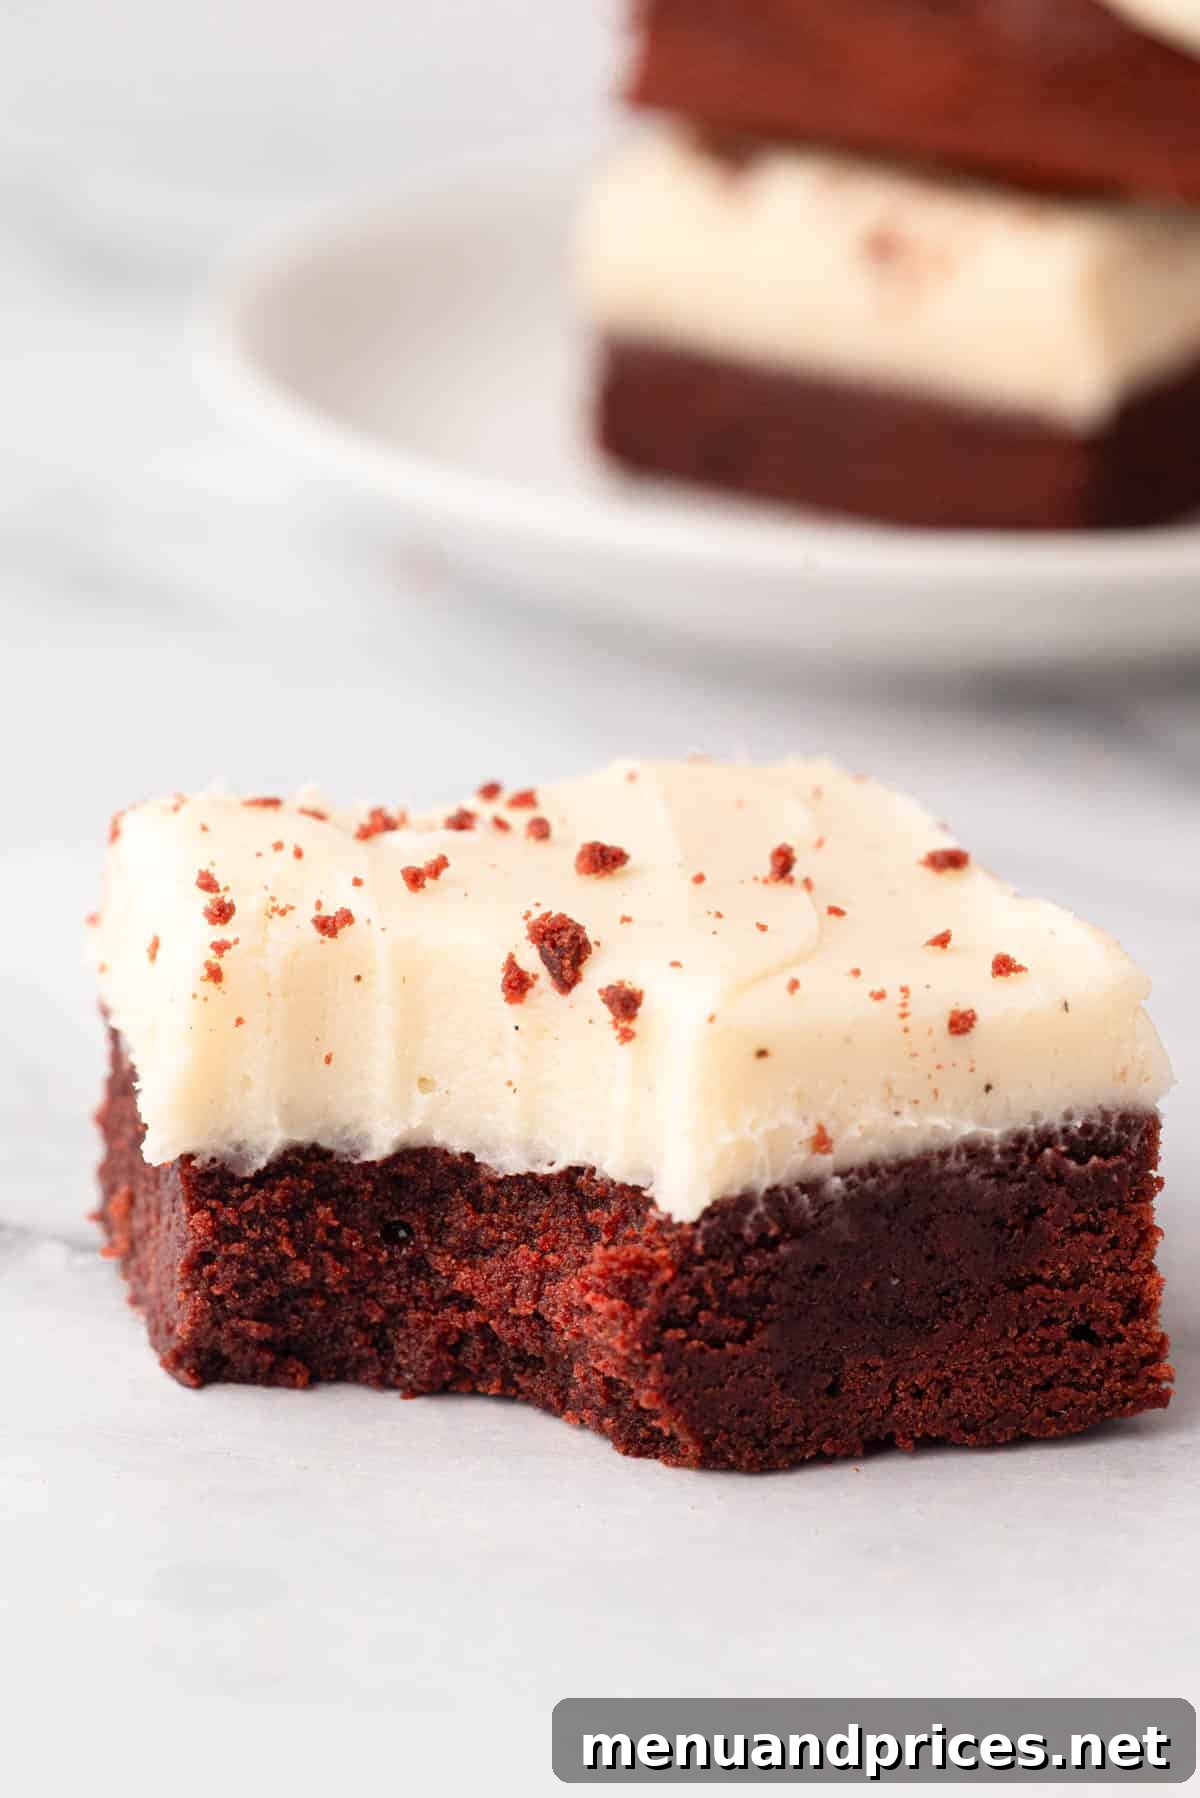
Prepare to be captivated by this **ultimate red velvet brownies recipe**, featuring an irresistibly fudgy and rich base crowned with a thick, tangy cream cheese frosting. This show-stopping dessert is guaranteed to impress and delight everyone who takes a bite!
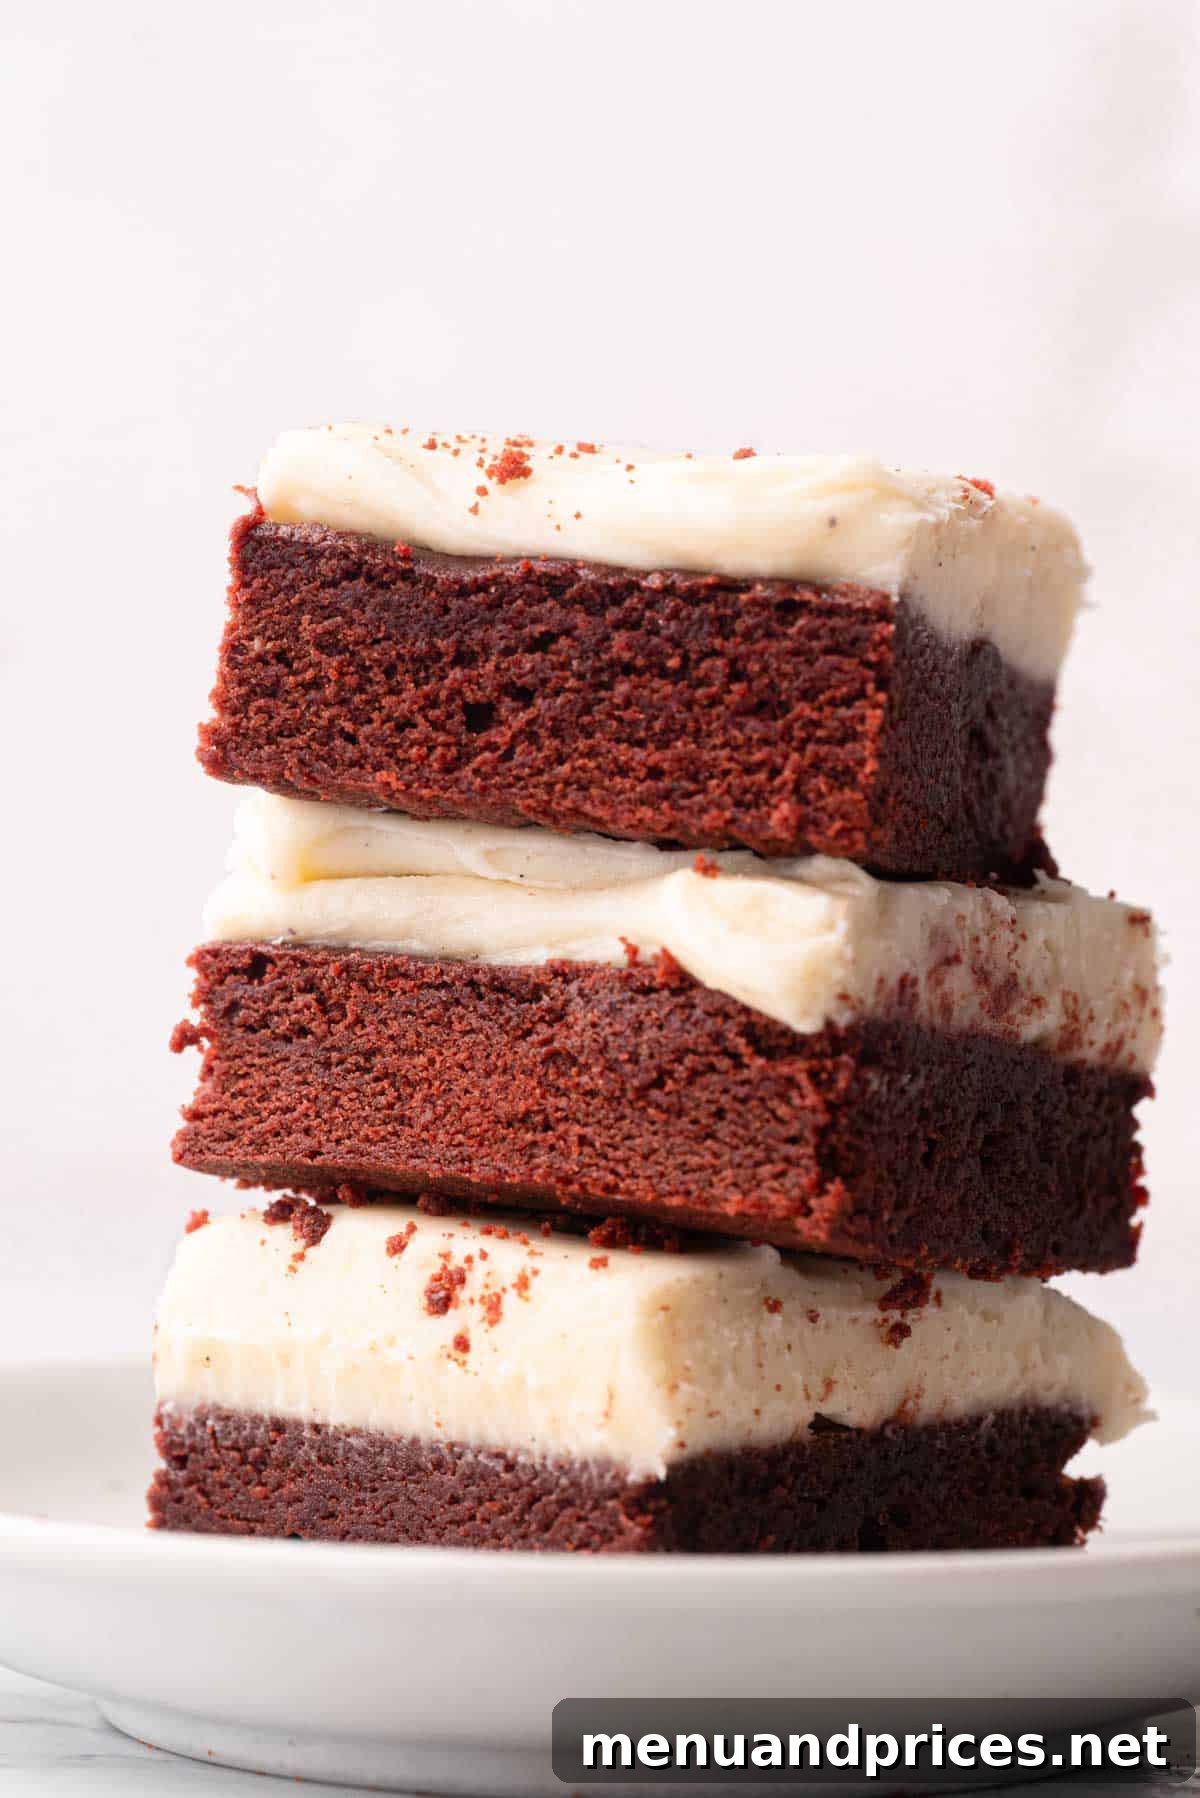
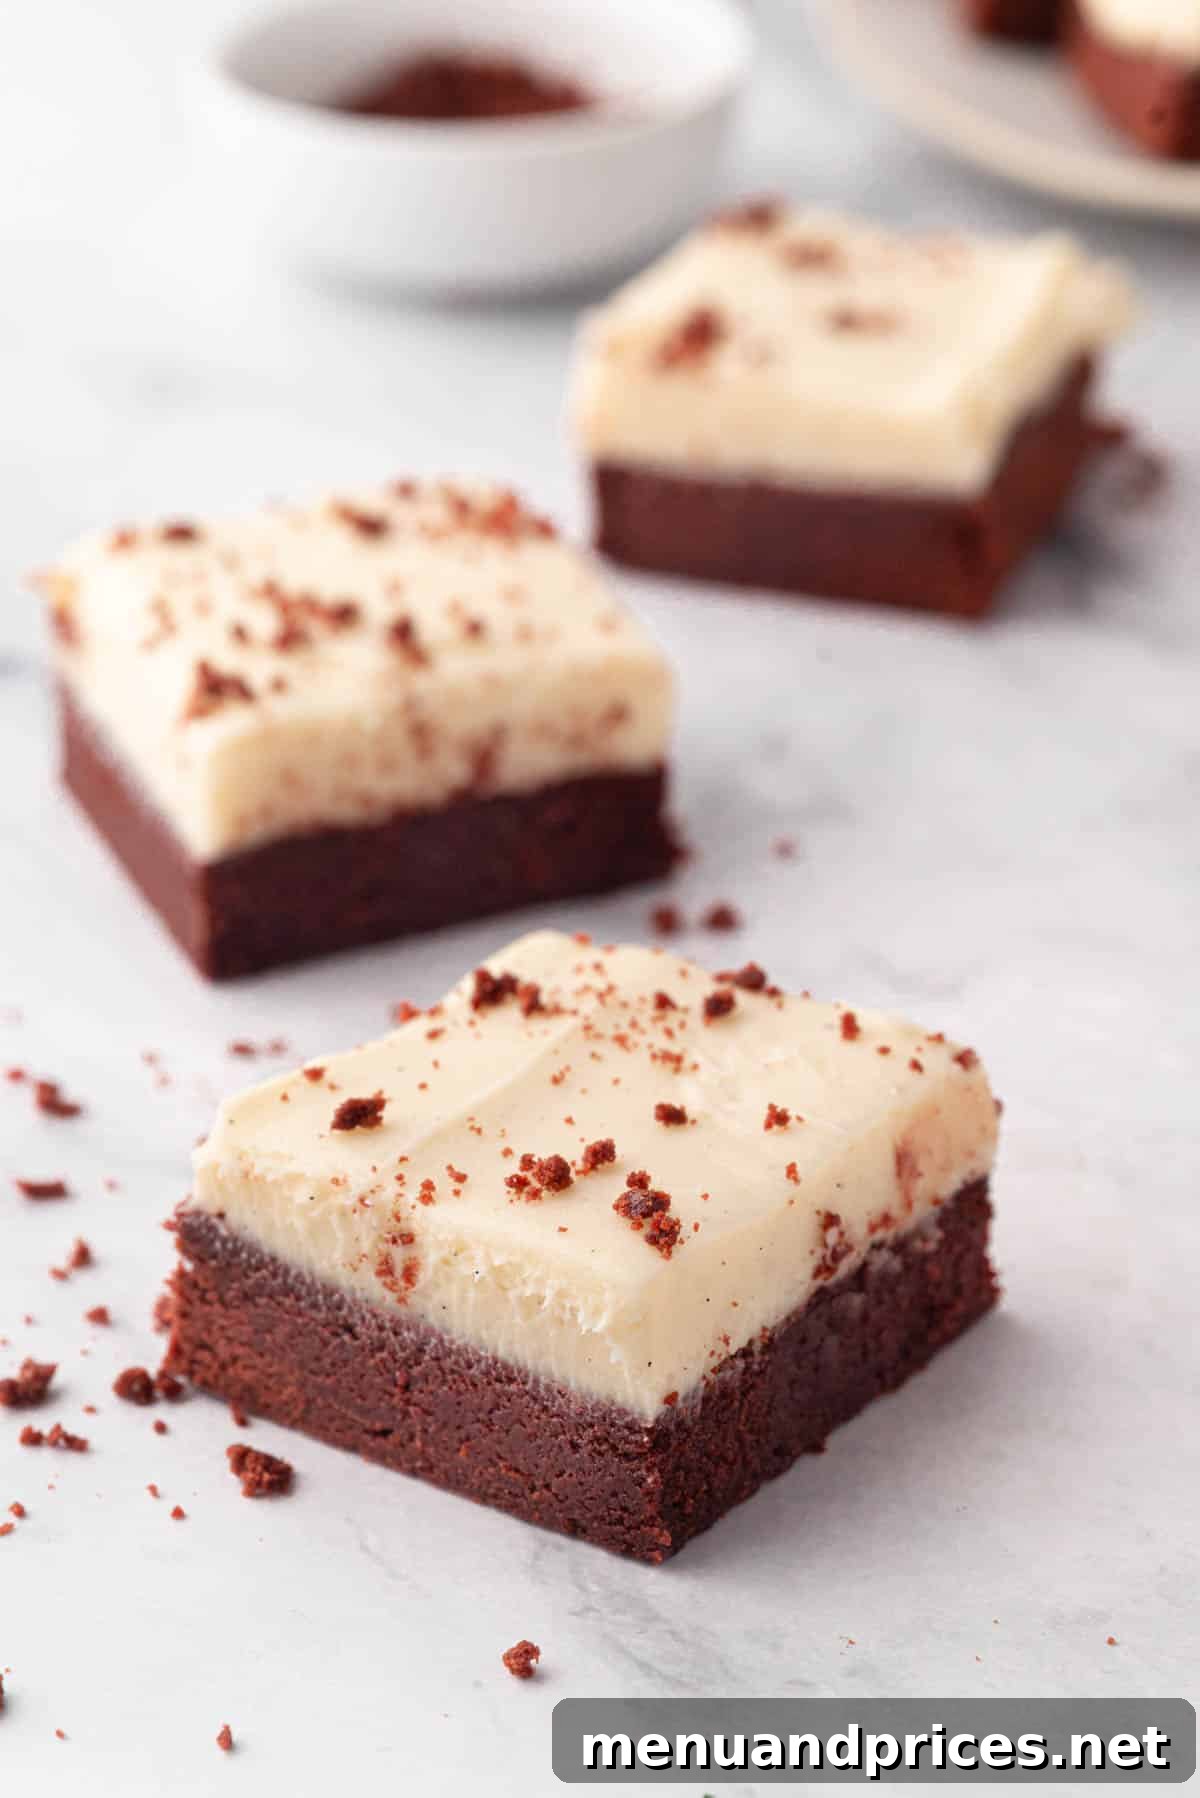
Why settle for either classic red velvet cake or traditional brownies when you can savor the best of both worlds? This magnificent red velvet cake brownies recipe merges the iconic flavor of red velvet with the dense, chewy texture of a perfect brownie. These decadent squares are a consistent favorite in my kitchen, making them an ideal choice for romantic Valentine’s Day celebrations, intimate date nights, or as an impressive, crowd-pleasing option for any gathering or party.
While the distinct layers of rich red brownie and pristine white frosting make these brownies look incredibly sophisticated, they are surprisingly simple to prepare. Follow this recipe, and I’m confident you’ll never opt for a boxed brownie mix again!
Table of Contents
- Why You’ll Love This Recipe
- Key Ingredient Notes
- How to Make Red Velvet Brownies
- Expert Tips for Success
- Storing & Freezing Tips
- Frequently Asked Questions
- More Irresistible Brownie Recipes
- Red Velvet Cake Brownies Full Recipe Card
Pin this recipe now to save it for later!
Pin It
Why You’ll Fall in Love with This Red Velvet Brownie Recipe
These red velvet brownies aren’t just another dessert; they’re a delightful experience waiting to happen. Here’s why this recipe will quickly become a cherished favorite:
- Effortlessly Quick to Prepare: Despite their gourmet appearance, these brownies boast minimal prep time and can be ready to enjoy in less than an hour. The steps are straightforward and designed for foolproof success, even for novice bakers. My kids particularly enjoy helping with the mixing, proving just how accessible this recipe is!
- Unforgettable Taste and Texture: The heart of this dessert is its brownie base – incredibly moist, intensely fudgy, and bursting with a rich, subtle chocolate flavor. This is perfectly complemented by the luxurious cream cheese frosting, which adds an unparalleled creaminess and a delightful sweet-tangy profile. This balance of flavors and textures creates an extraordinary dessert that truly satisfies.
- Perfect for Any Gathering: This generous recipe yields between 16 and 24 impressively sized brownies, making it ideal for feeding a crowd. Be warned, though: these treats are so popular that guests often come back for more than just one! For a festive touch during the holidays, consider adorning them with colorful sprinkles. Regardless of the occasion, these red velvet brownies are guaranteed to be a huge hit with all your friends and family.
The combination of classic red velvet charm and a perfectly fudgy brownie makes this recipe a standout. It’s an indulgence that’s both comforting and elegant, promising a smile with every bite.
Essential Ingredient Insights for Perfect Red Velvet Brownies
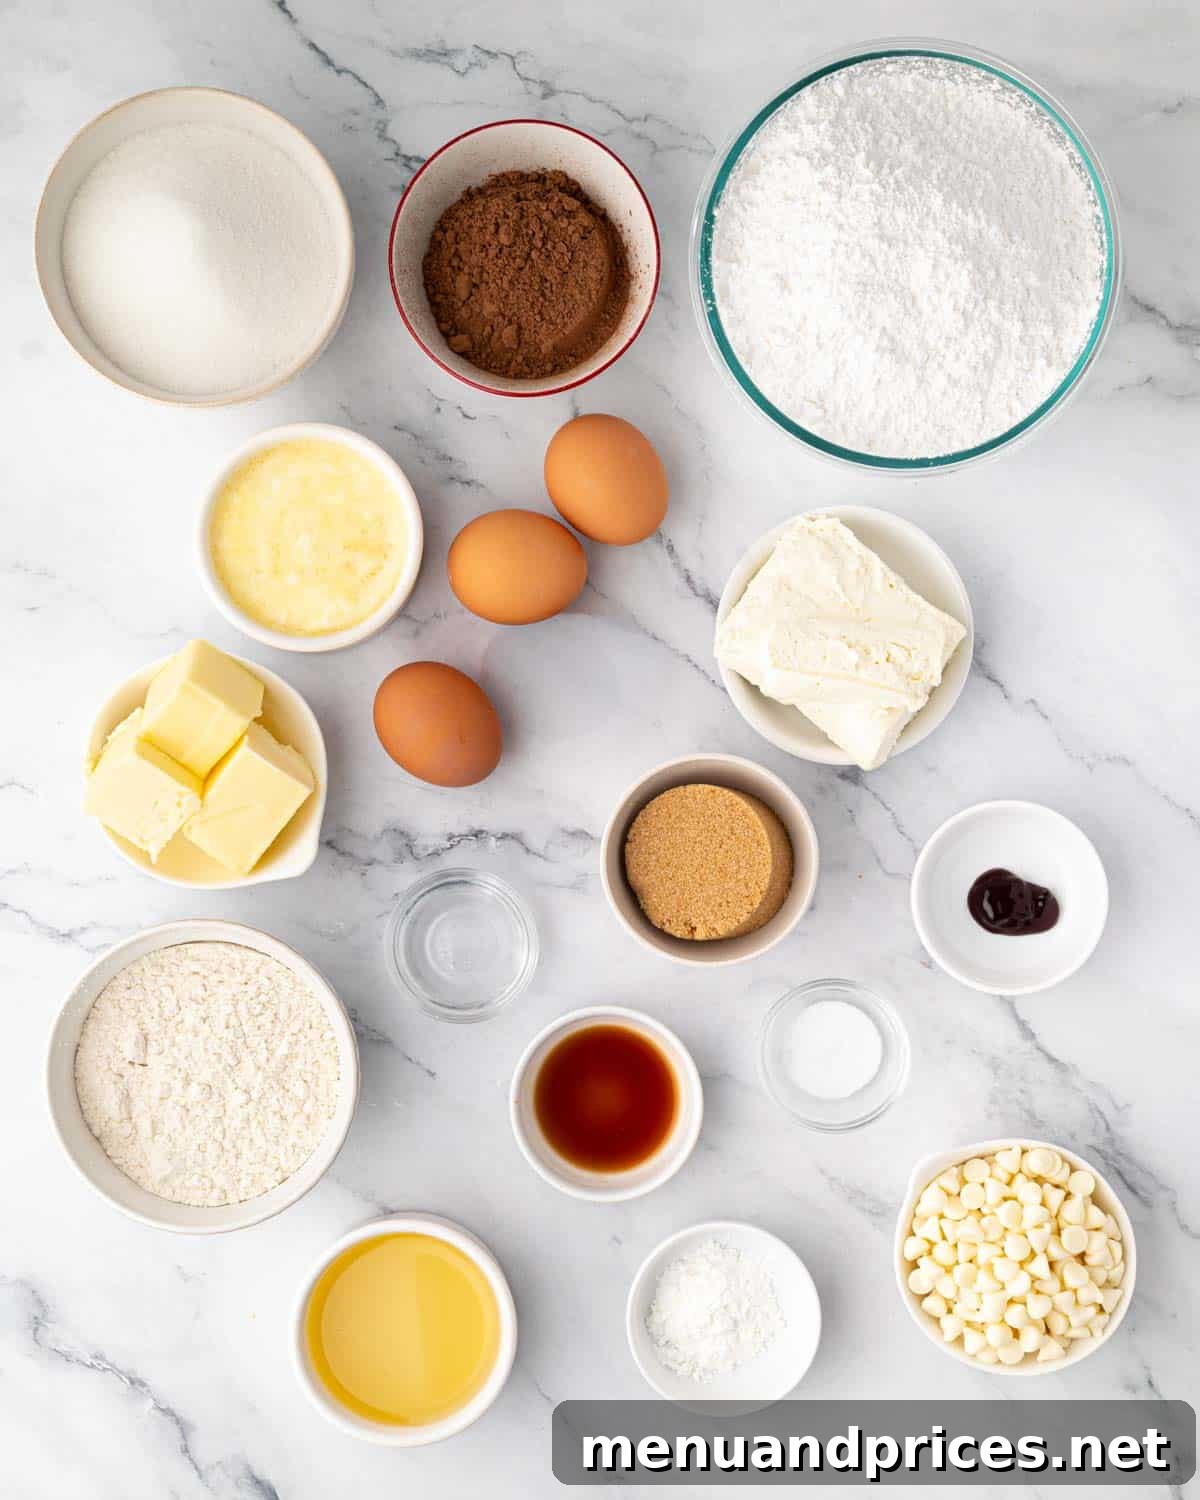
Understanding the role of each ingredient is key to achieving these sensational brownies. Here’s a closer look at the components that make this recipe shine:
- Sugar: We use a dynamic duo of sugars for the brownie batter. Granulated sugar provides the foundational sweetness and helps establish the brownies’ structure. Light brown sugar, with its subtle molasses notes, contributes an extra layer of flavor complexity and is crucial for keeping the brownies wonderfully moist and fudgy.
- Neutral Vegetable Oil: This ingredient is vital for adding richness and ensuring the brownies remain incredibly soft and delightfully fudgy. A neutral oil, such as canola oil, is preferred because it delivers moisture without introducing any competing flavors, allowing the red velvet essence to truly stand out.
- Unsweetened Cocoa Powder: The choice between unsweetened natural or Dutch-processed cocoa powder is yours, as both will yield fantastic results. Cocoa powder is essential for creating that distinct chocolatey base characteristic of red velvet, while also preventing the brownies from becoming dry. Its dark color also helps the red food coloring pop.
- Red Gel Food Coloring: To achieve the iconic, vibrant red hue that defines red velvet, gel food coloring is indispensable. Unlike liquid food coloring, gel provides intense color without significantly altering the batter’s consistency, ensuring a rich, deep red.
- All-Purpose Flour: This forms the structural backbone of our brownie batter. For this specific recipe, I’ve only tested it with all-purpose flour. Substituting other types of flour might alter the texture and cannot be guaranteed for success.
- Distilled White Vinegar: A traditional component in authentic red velvet recipes, vinegar serves multiple purposes. It reacts with the cocoa powder and baking soda (if present) to enhance the red color and contributes to the signature subtle tangy flavor that balances the sweetness.
- Cream Cheese for Frosting: For the ultimate cream cheese frosting, always opt for full-fat, brick-style cream cheese. This type of cream cheese provides the necessary firmness and tang for a thick, luxurious frosting. Cream cheese from a tub, which often contains more water, will yield a runny and less desirable frosting.
- Powdered Sugar for Frosting: Also known as confectioners’ sugar, this fine sugar is perfect for sweetening the frosting. It dissolves effortlessly into the cream cheese and butter mixture, creating a silky-smooth, lump-free texture.
Pro Tip: Customize Your Red Hue
If you desire an even more intense and vibrant red for your brownies, feel free to double the amount of red gel food coloring. This will enhance the visual appeal without affecting the taste or texture.
Mastering the Art of Red Velvet Brownies: A Step-by-Step Guide
Creating these sensational red velvet brownies is a straightforward process when you follow these clear instructions. Let’s begin by preparing your baking setup:
Before you dive into mixing, preheat your oven to 335°F (168°C). Next, prepare a 9×9-inch square baking pan by lining it with parchment paper. I highly recommend making a “parchment paper sling” – allow the paper to extend over two opposing sides of the pan. This simple trick will make it incredibly easy to lift the entire slab of brownies out of the pan once they’ve cooled, ensuring clean cuts and effortless serving.
Part 1: Crafting the Fudgy Red Velvet Brownies
- Combine Wet Ingredients: In a large mixing bowl, vigorously whisk together the granulated sugar, melted unsalted butter, neutral vegetable oil, and packed light brown sugar. Continue whisking until the mixture is beautifully glossy and thoroughly cohesive. This step is crucial for dissolving the sugars and creating a smooth base.
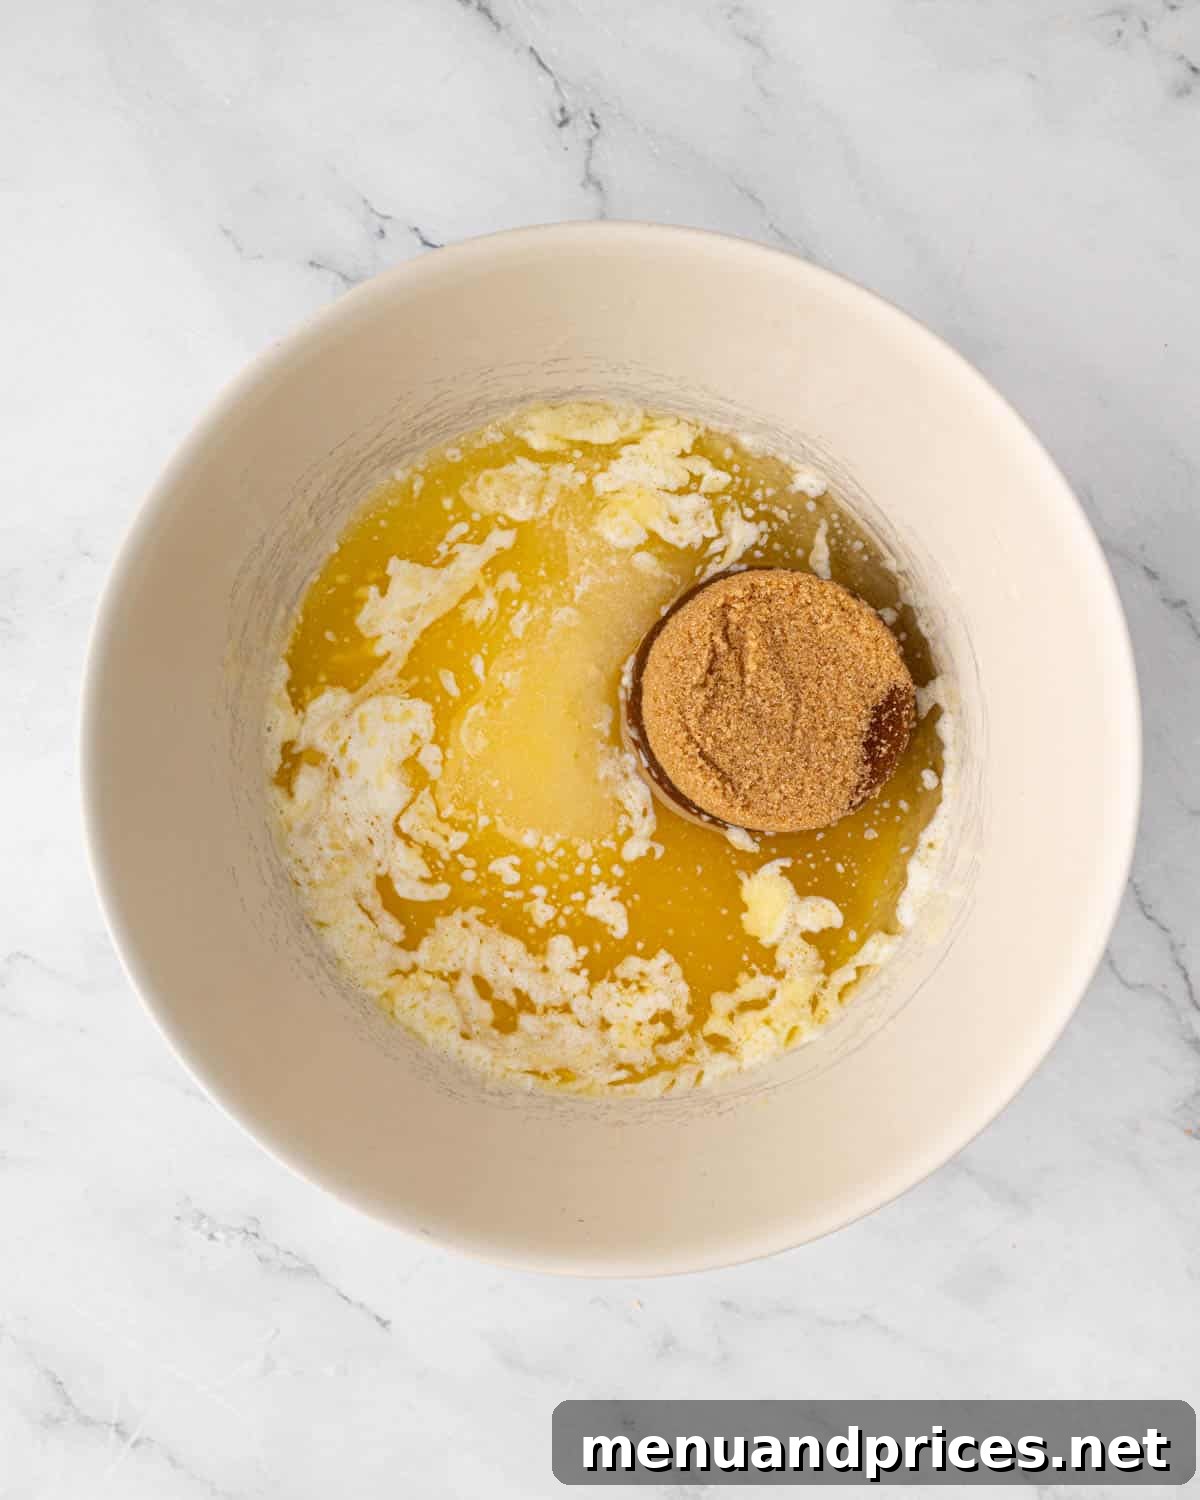
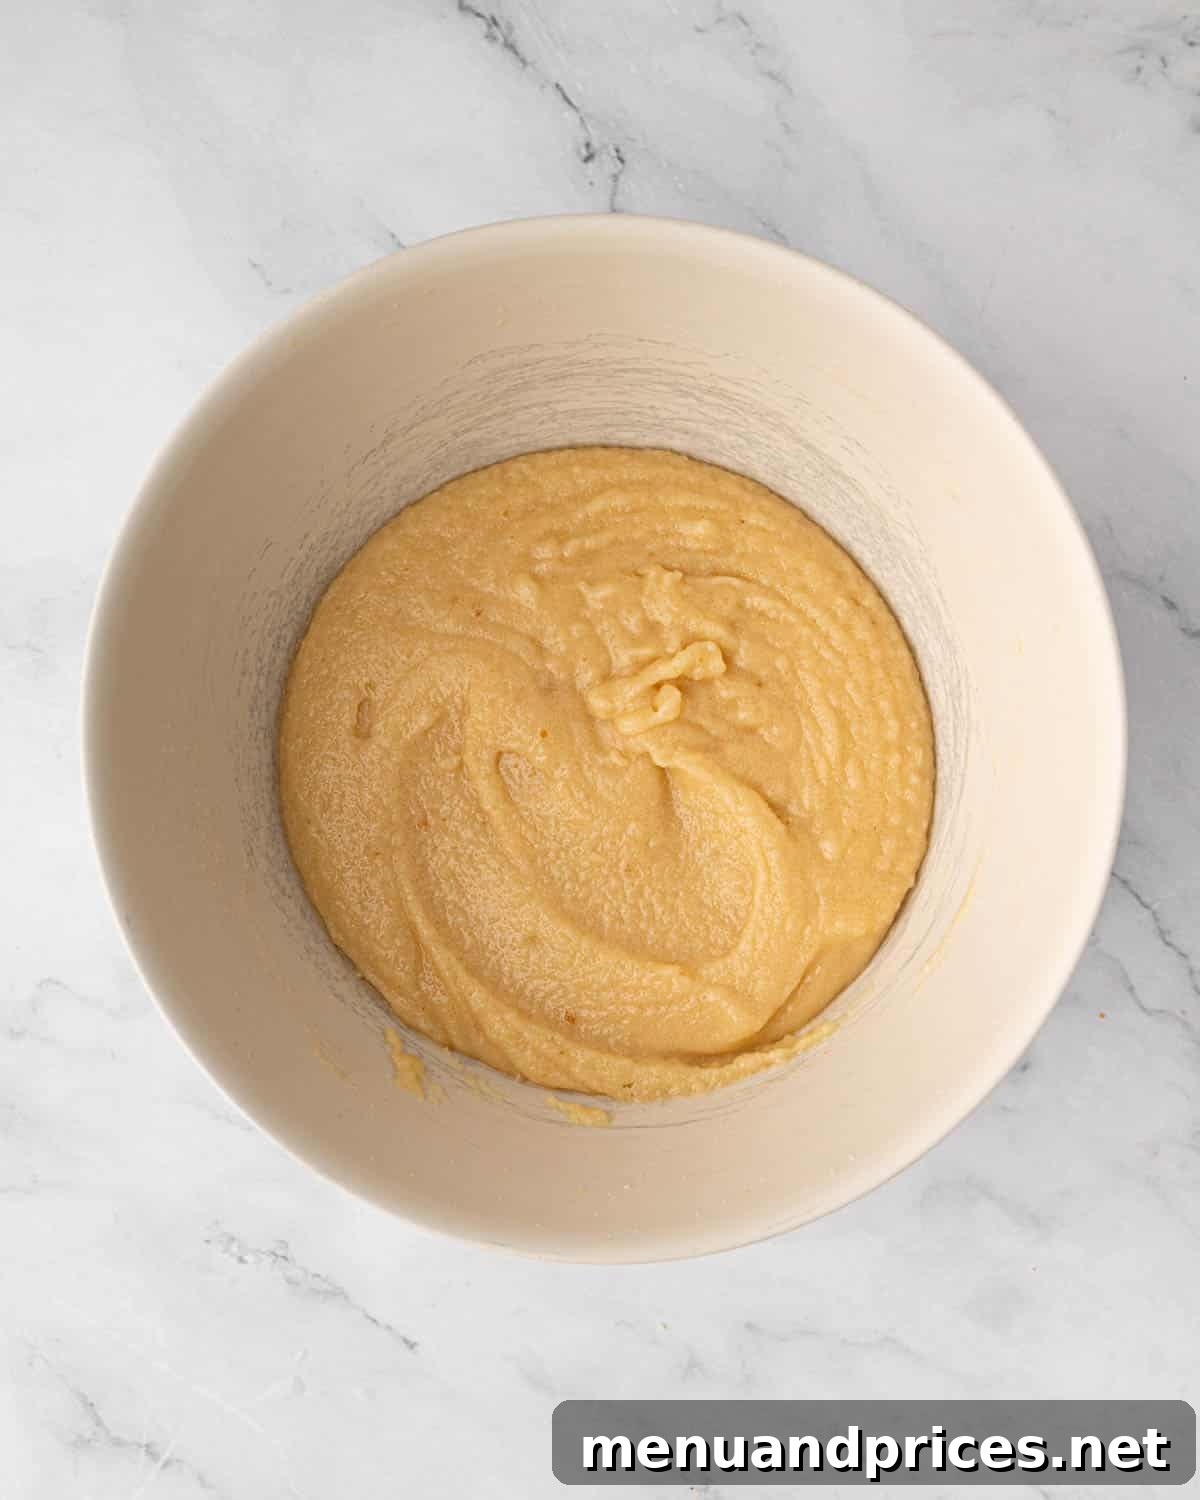
- Incorporate Eggs and Vanilla: Introduce the large eggs and vanilla extract to the mixture. Whisk again until all ingredients are perfectly combined and the mixture is smooth and uniform. Vanilla is essential for enhancing the overall flavor profile.
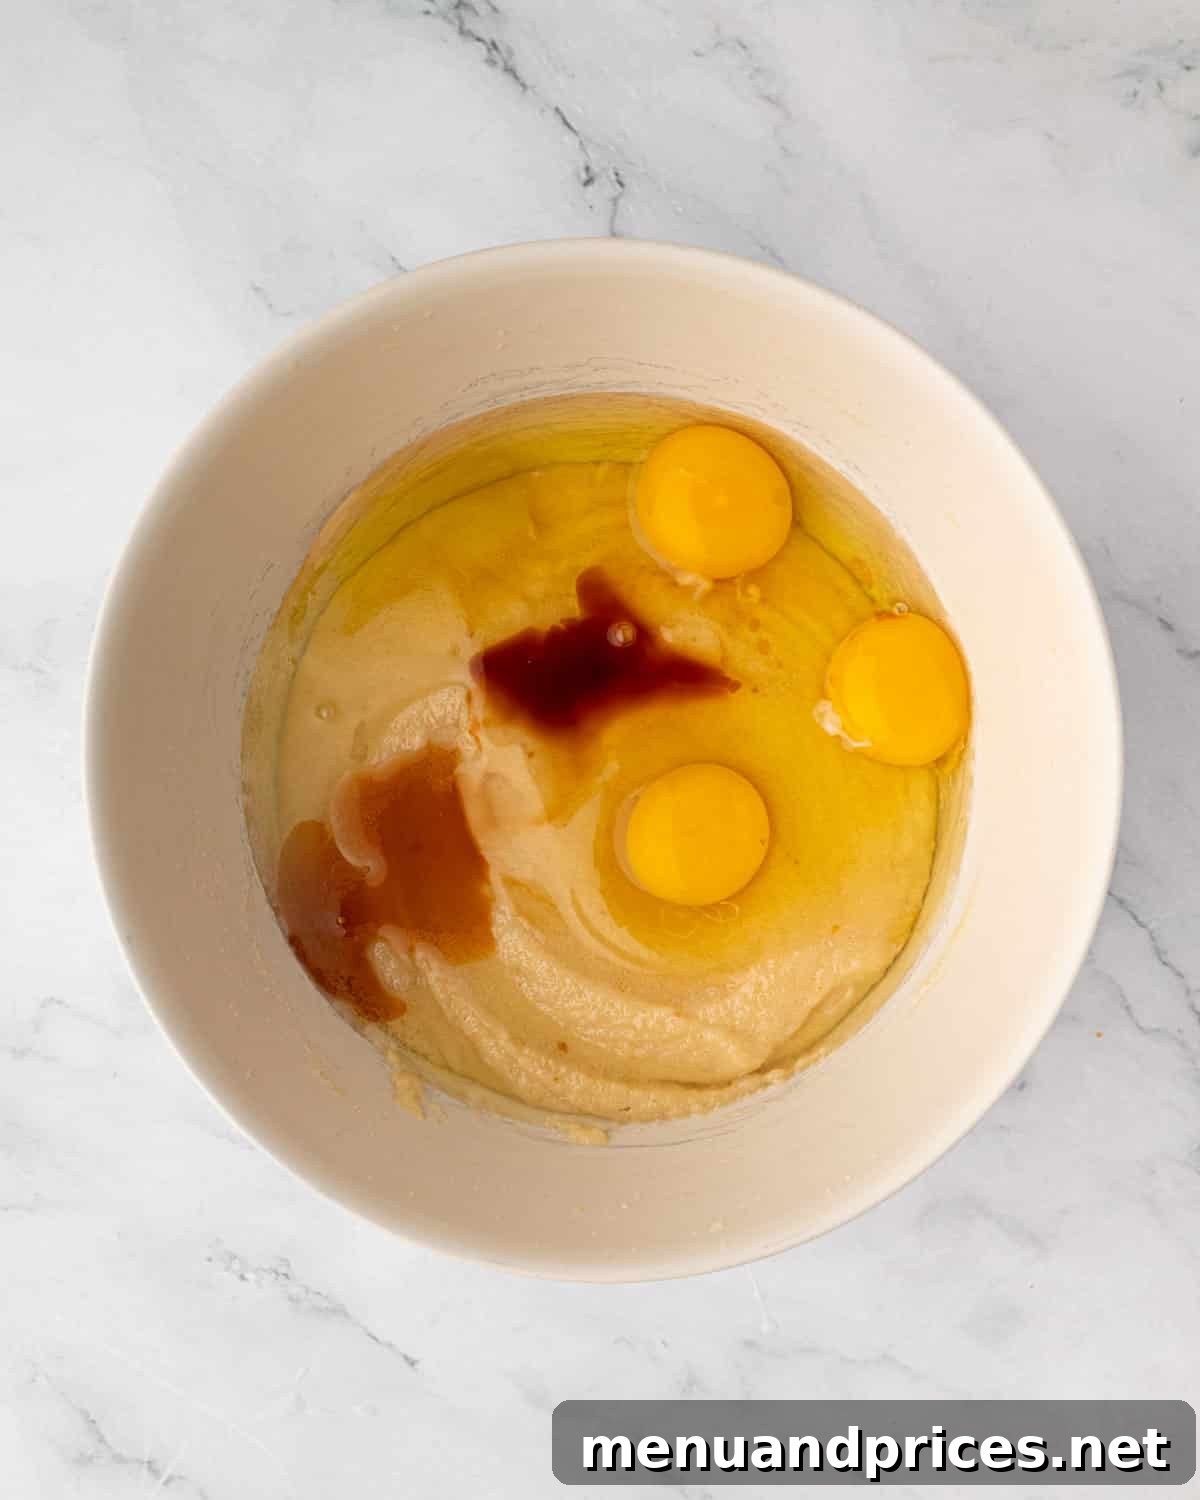
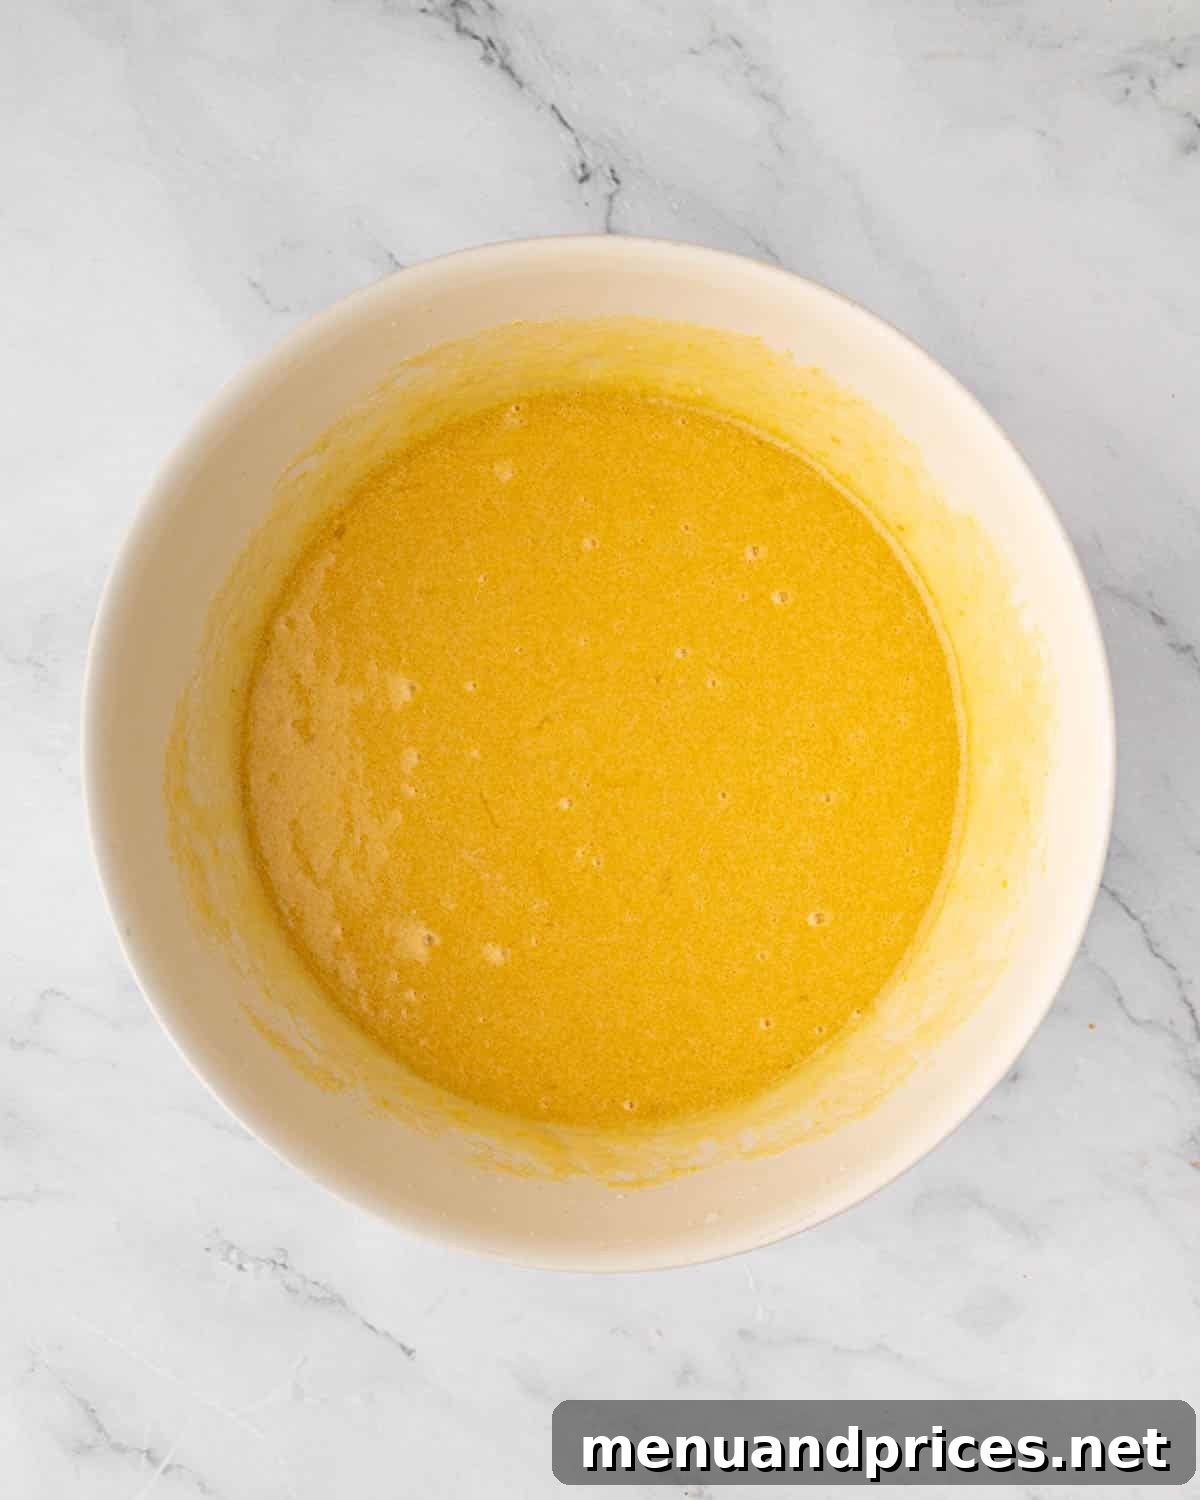
- Add Cocoa Powder: Gently whisk in the unsweetened cocoa powder. Mix just until the batter becomes smooth, evenly colored, and completely free from any dry streaks of cocoa powder. Be extremely careful not to overmix at this stage, as overmixing can lead to tougher brownies.
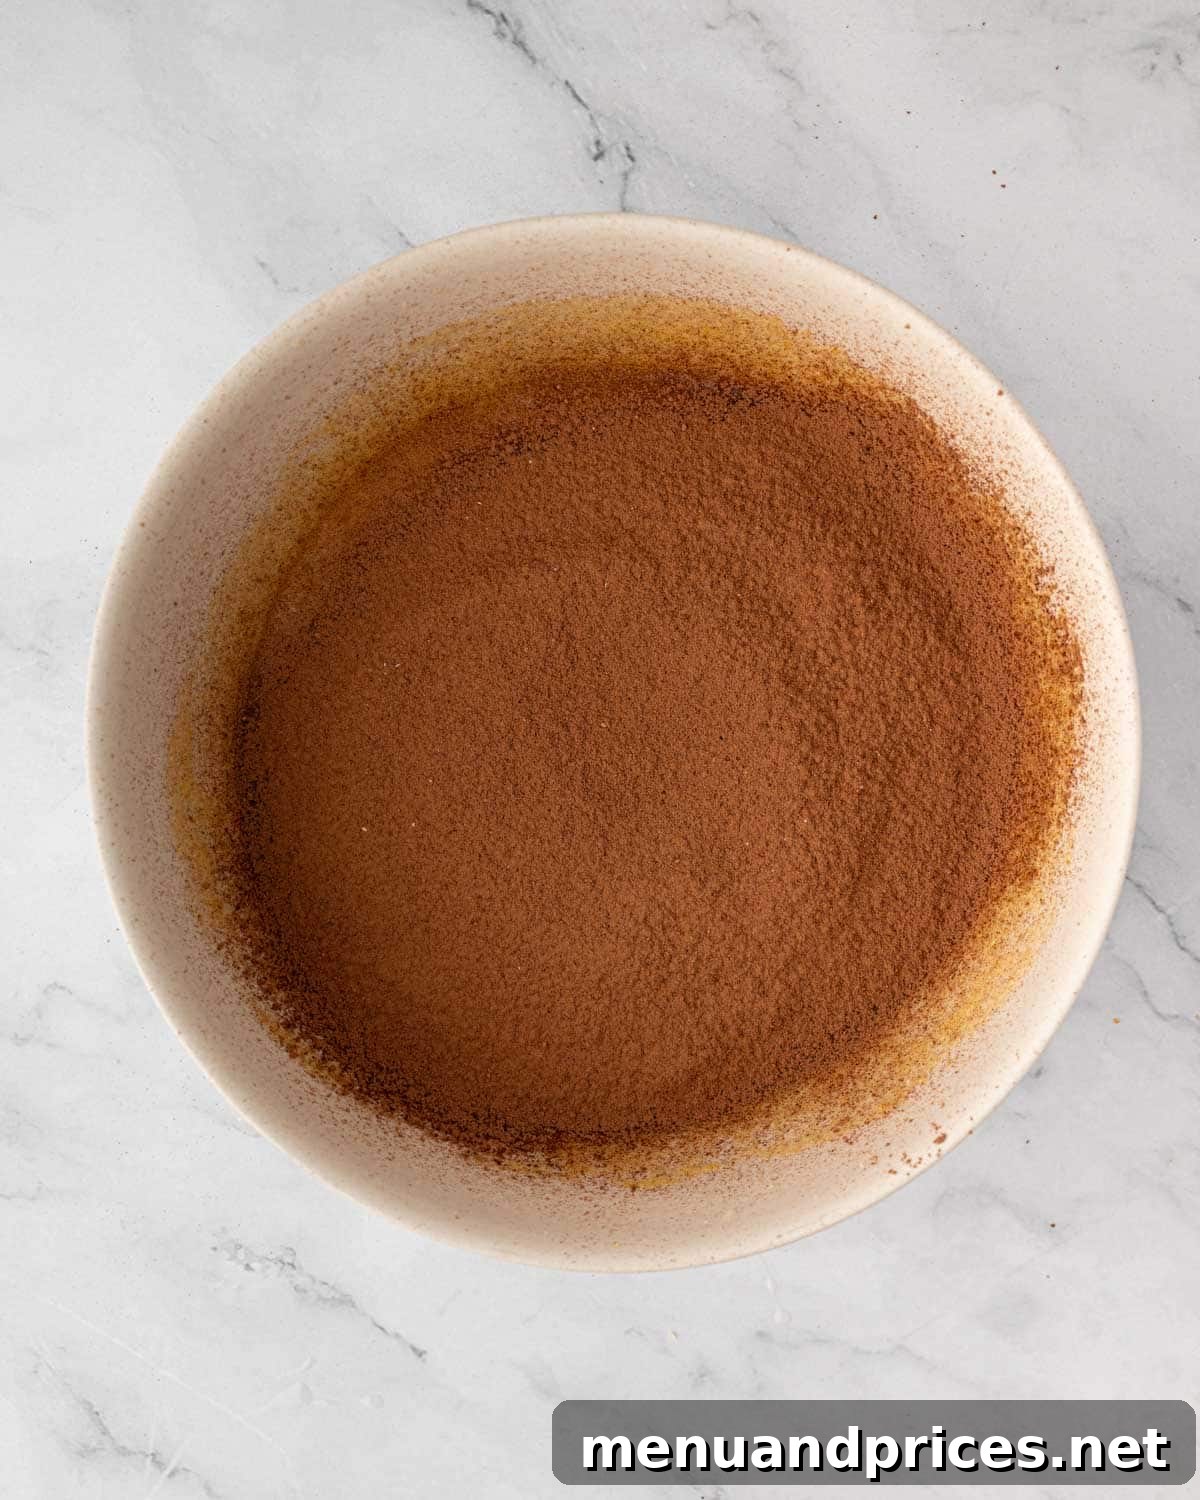
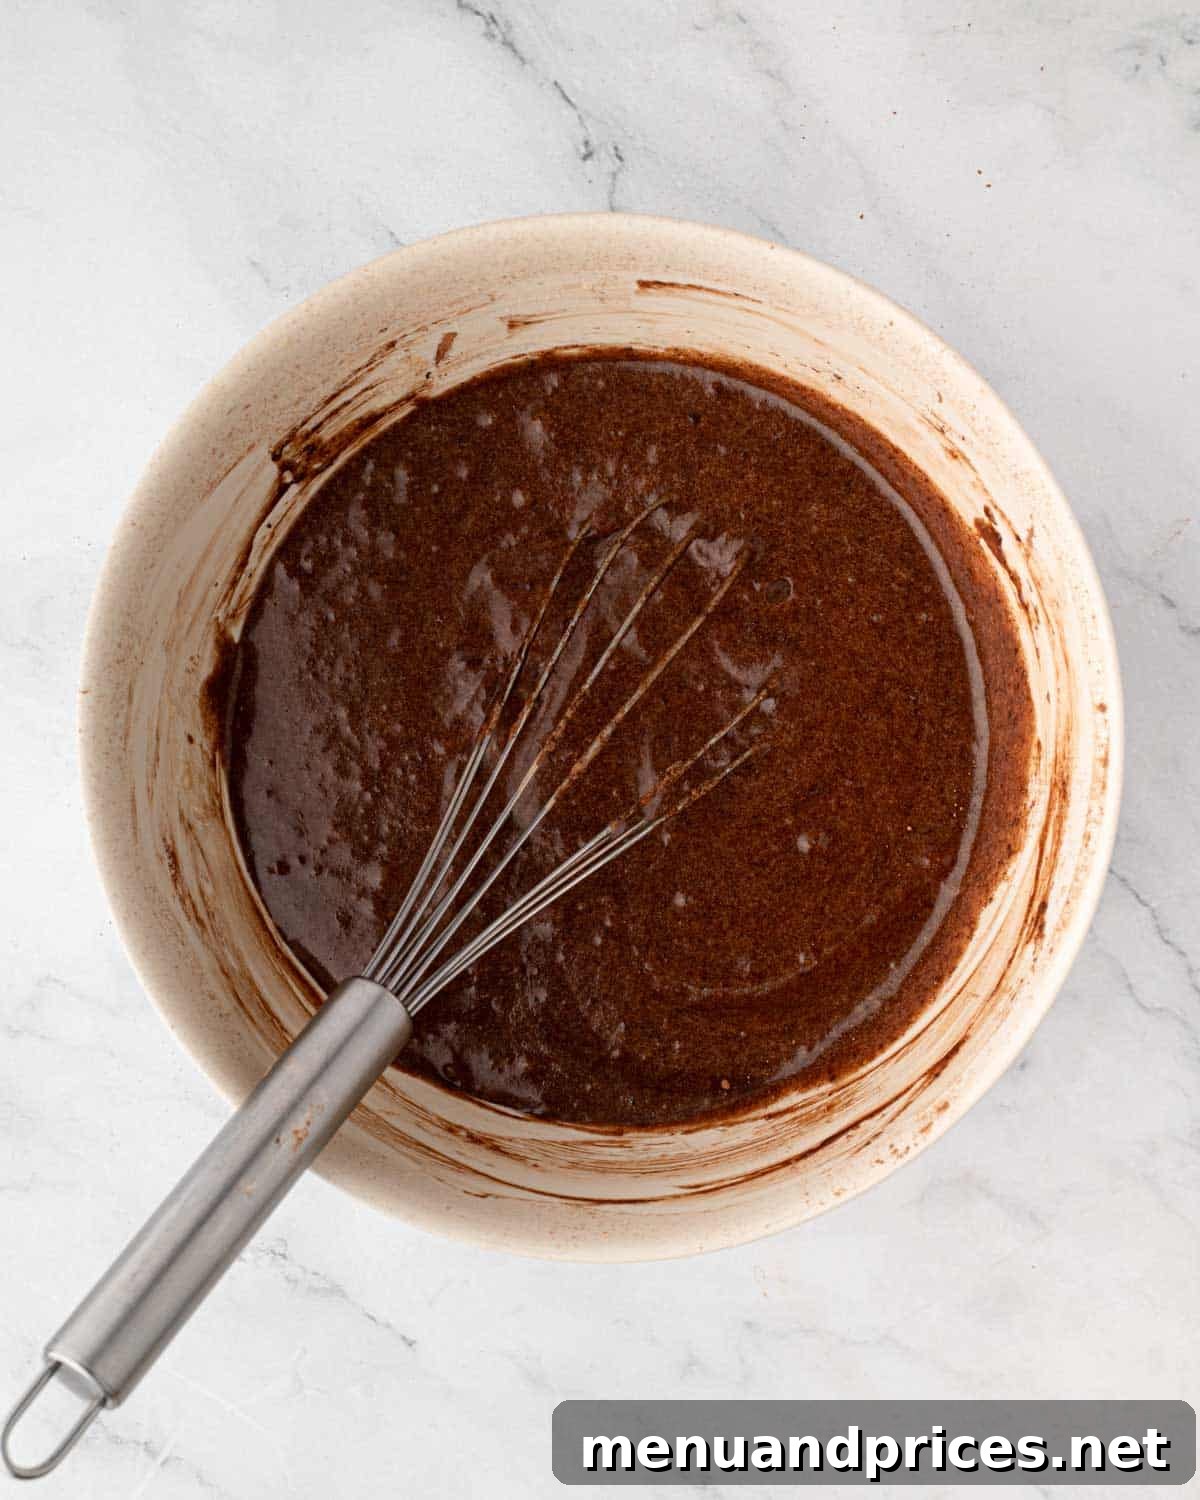
- Achieve Vibrant Red Color: Add the red gel food coloring to the batter. Mix diligently until the color is completely uniform and a rich, vibrant red hue is achieved throughout the brownie batter.
- Fold in Dry Ingredients: Using a rubber spatula, gently fold the all-purpose flour and salt into the batter. Mix just until no dry streaks of flour remain. Overmixing here can develop too much gluten, resulting in a cakey rather than fudgy brownie.
- Stir in Vinegar: Finally, stir in the distilled white vinegar until it is fully incorporated. This essential ingredient contributes to the classic red velvet tang and helps to enhance the deep red color.
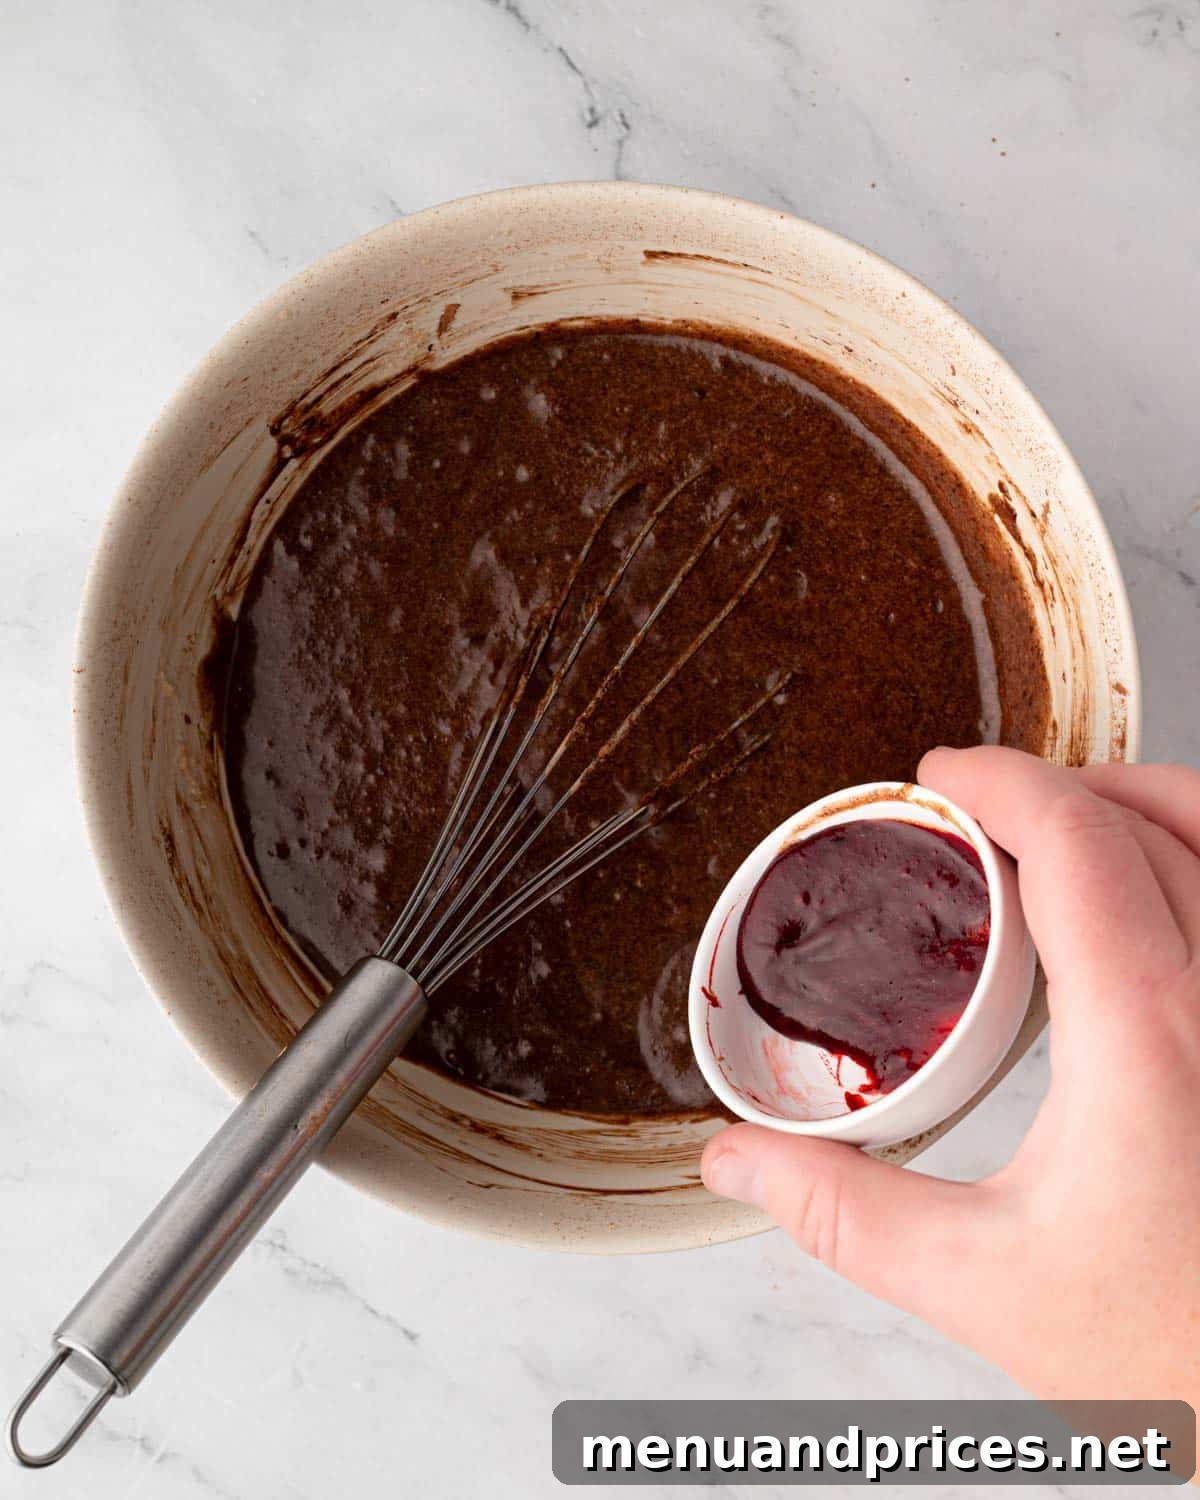
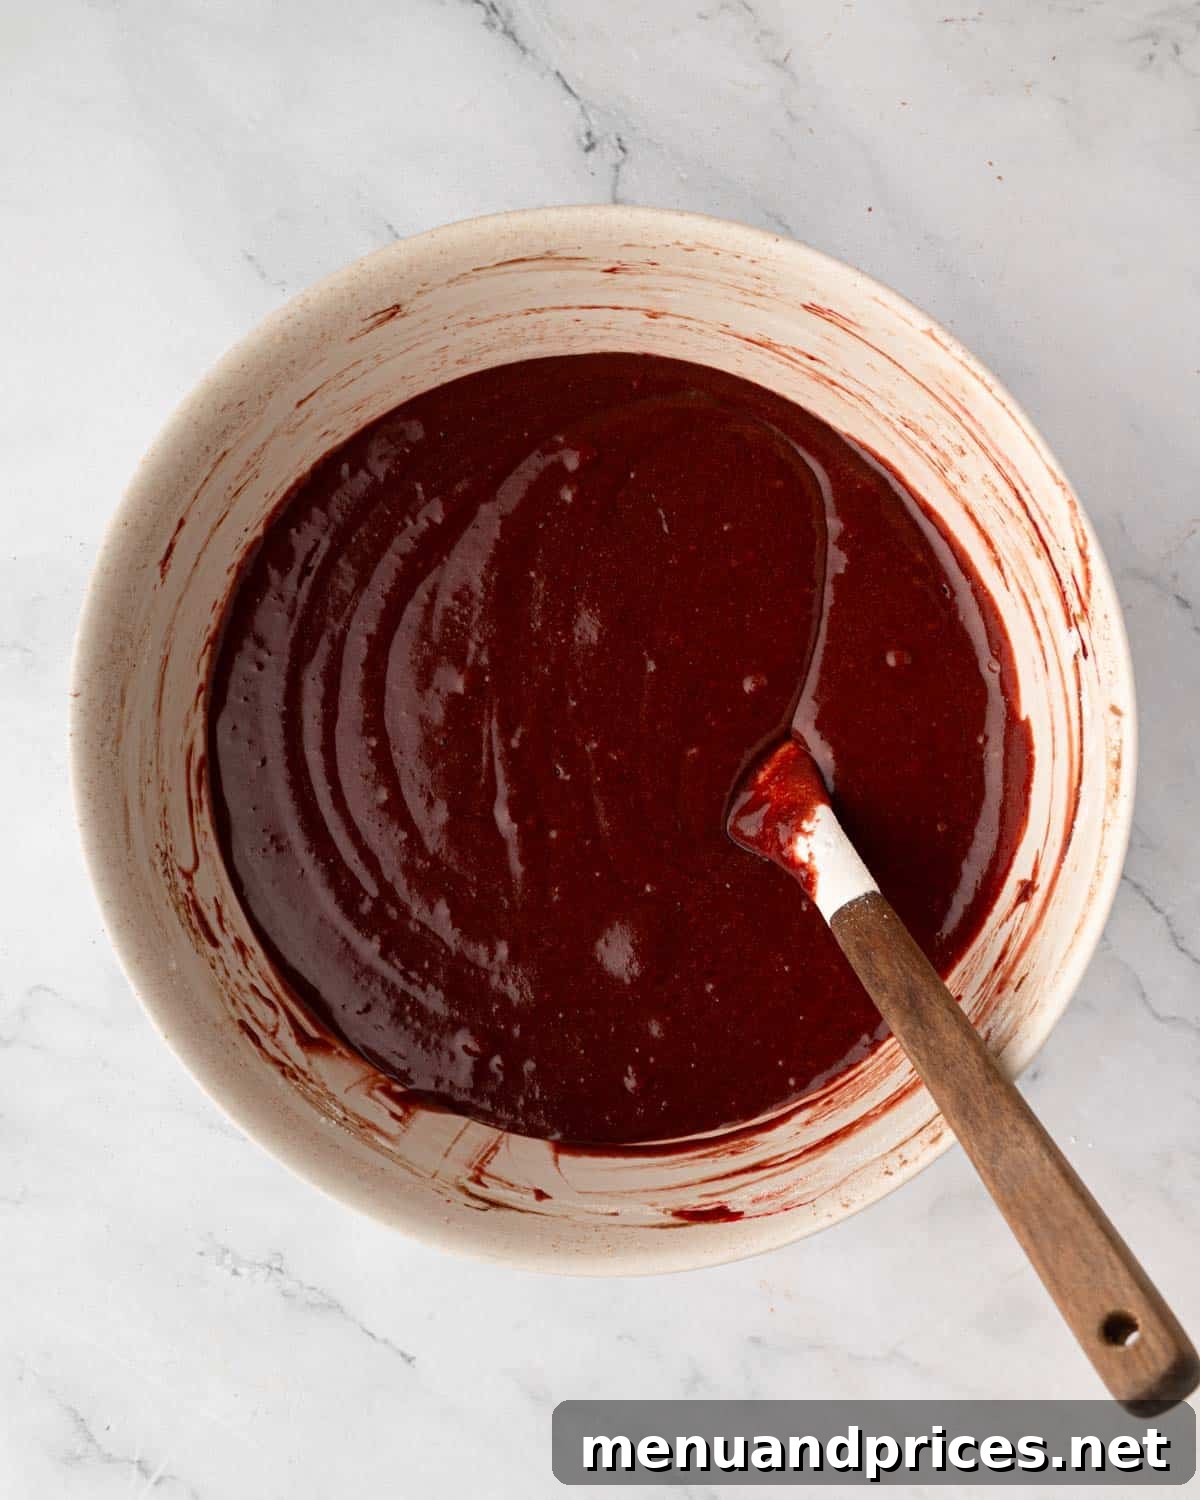
Advanced Tip: Ensuring Even Color Distribution
For an exceptionally even distribution of red food coloring, try this technique: transfer a few tablespoons of the brownie batter to a small separate bowl. Add the red gel coloring to this small portion and mix thoroughly until the color is vibrant and uniform. Then, fold this intensely tinted mixture back into the main batter. This method helps prevent streaky coloring and ensures a consistently beautiful red throughout your brownies.
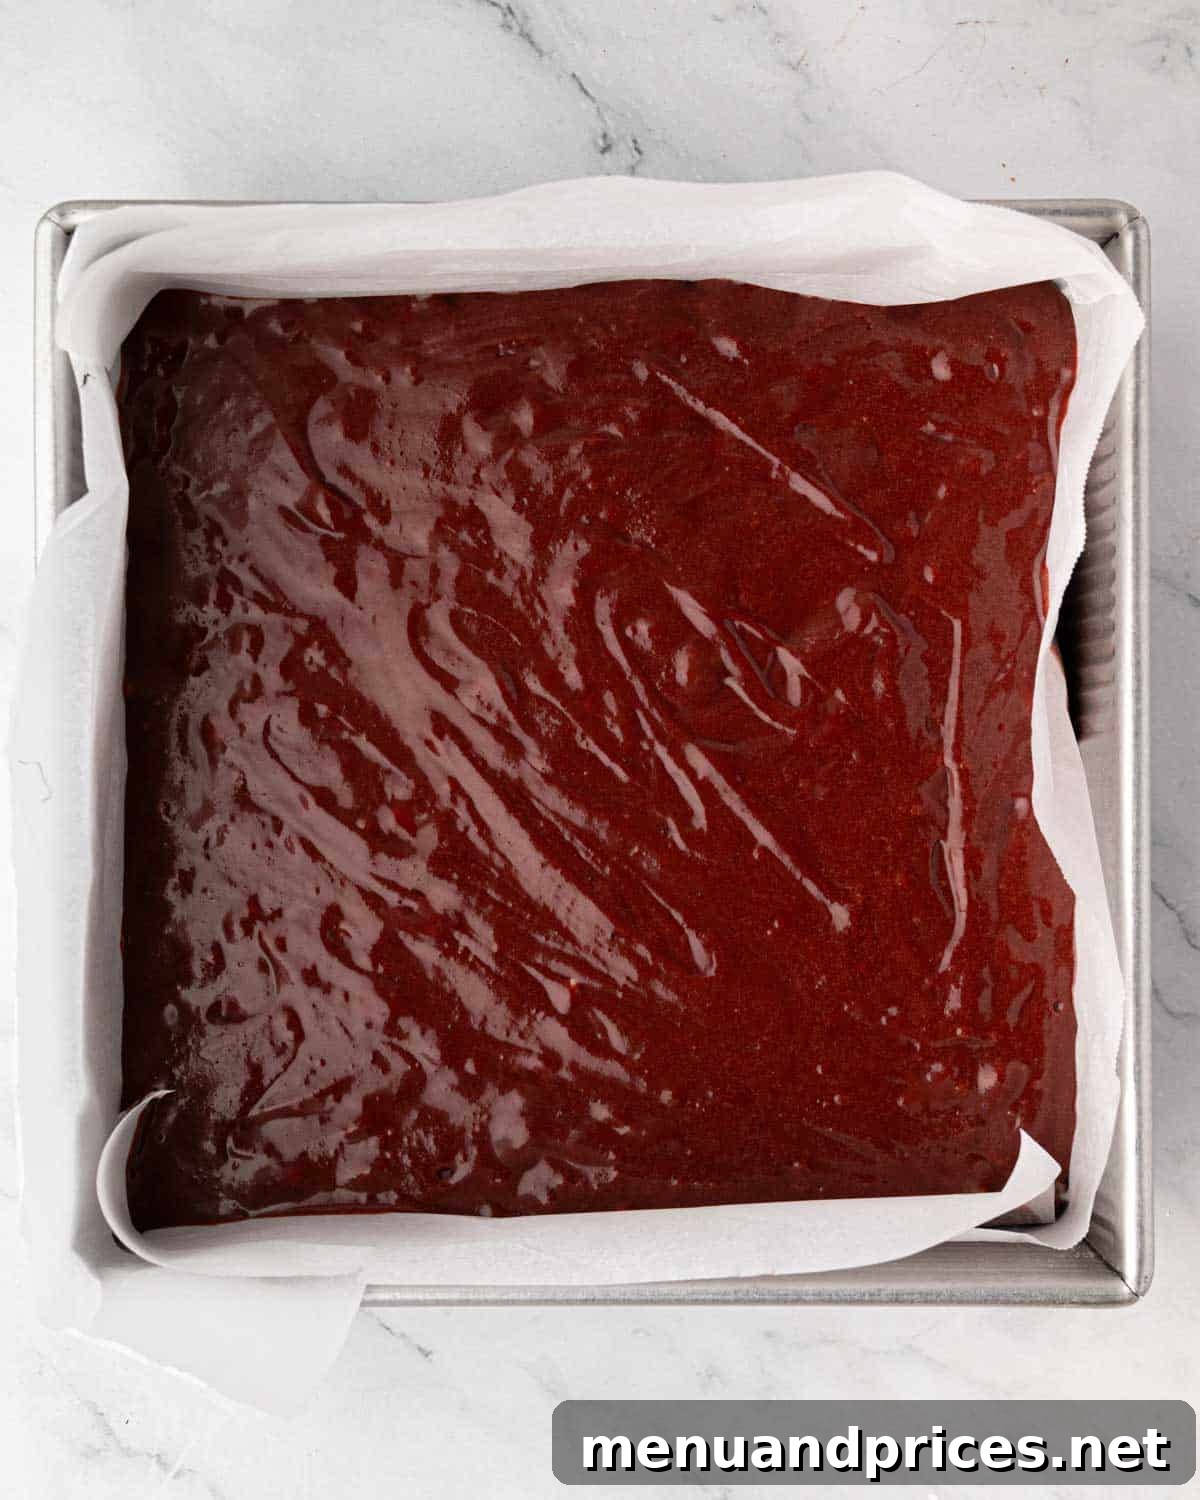
- Bake to Perfection: Pour the prepared red velvet batter into your parchment-lined baking pan, spreading it out evenly with your spatula to create a flat, smooth top.
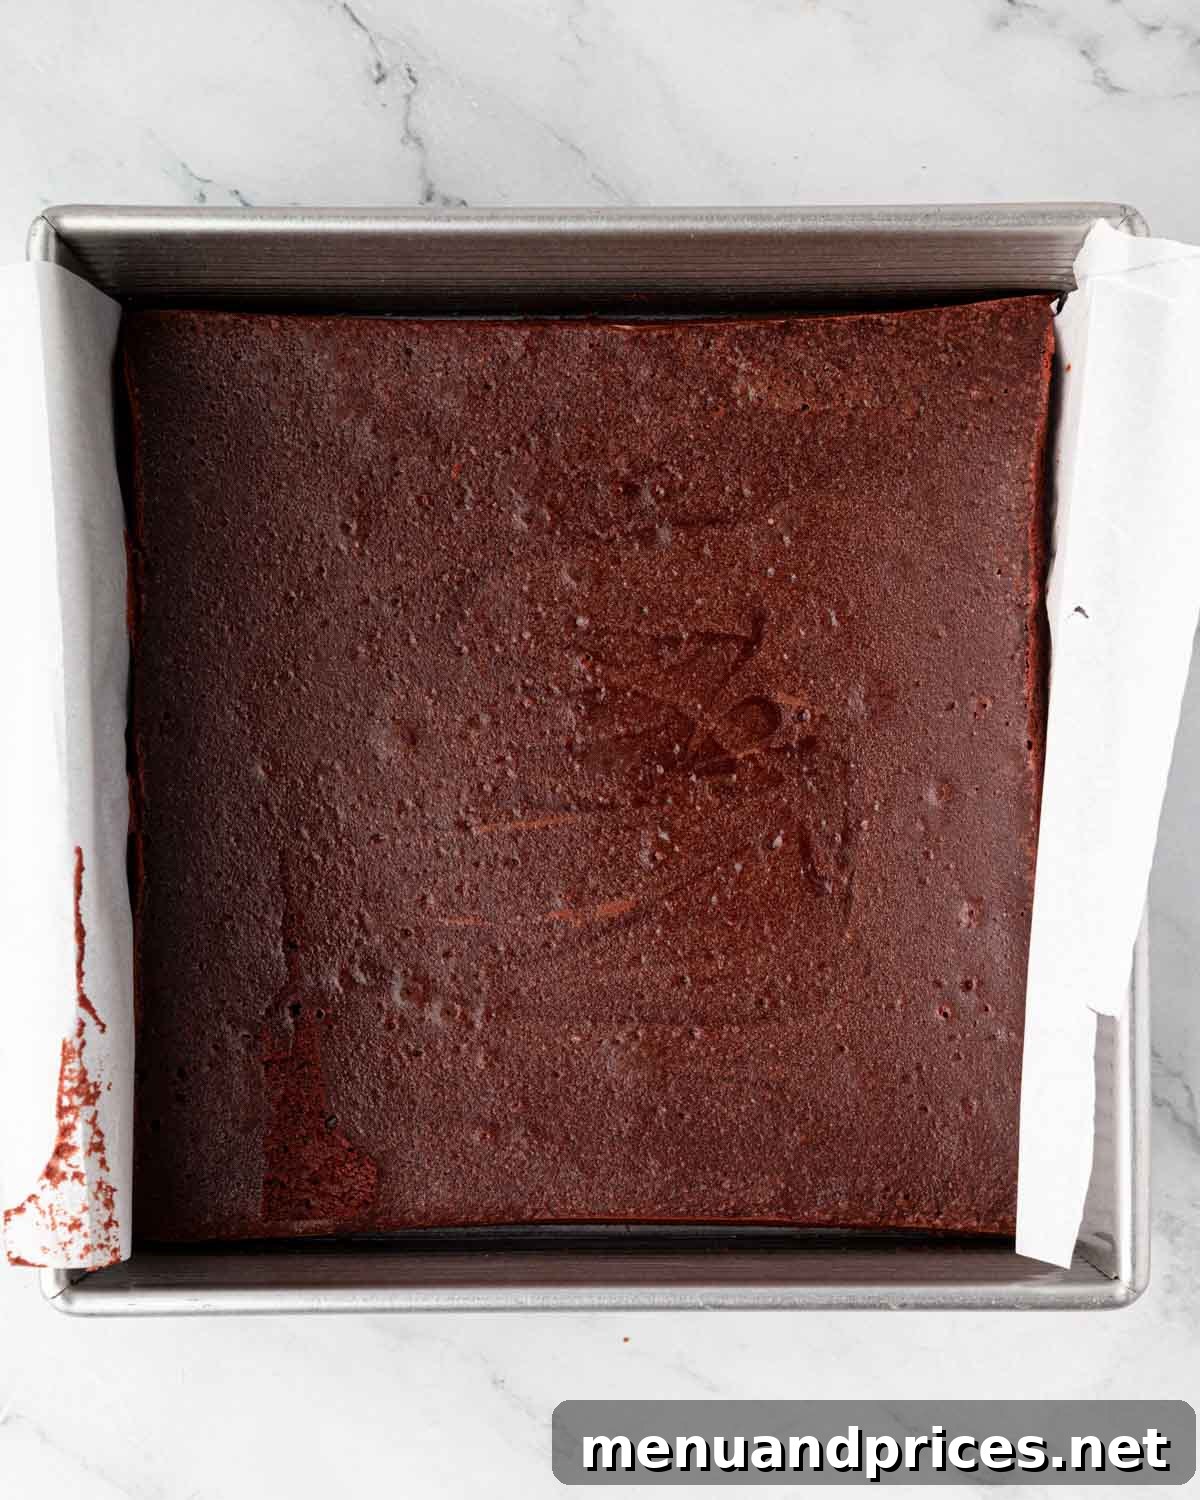
- Baking Process: Bake for approximately 32-38 minutes. You’ll know they’re done when the edges are visibly set, the top surface appears matte rather than shiny, and a toothpick inserted into the center comes out clean or with only a few moist crumbs attached – never wet batter. For ultimate precision, an instant-read thermometer should register an internal temperature between 188-192°F (87-89°C).
- Cool Completely: Remove the brownies from the oven and allow them to cool completely in the pan. Resist the urge to cut or frost warm brownies; they need to set fully for the best texture and to prevent the frosting from melting.
Part 2: Creating the Dreamy Cream Cheese Frosting
A true red velvet experience isn’t complete without a generous layer of tangy, sweet cream cheese frosting. Here’s how to whip it up:
- Cream the Cream Cheese: In a stand mixer fitted with a paddle attachment (or using a hand mixer), beat the full-fat cream cheese on medium speed until it is perfectly smooth. It should still be cool but softened. Scrape down the sides of the bowl and the paddle to ensure thorough creaming and no lumps remain.
- Add Softened Butter: Introduce the softened (but not warm!) unsalted butter to the cream cheese. Whip the mixture until it is completely blended, silky-smooth, and light in color. Remember to frequently scrape down the bowl to ensure uniform consistency.
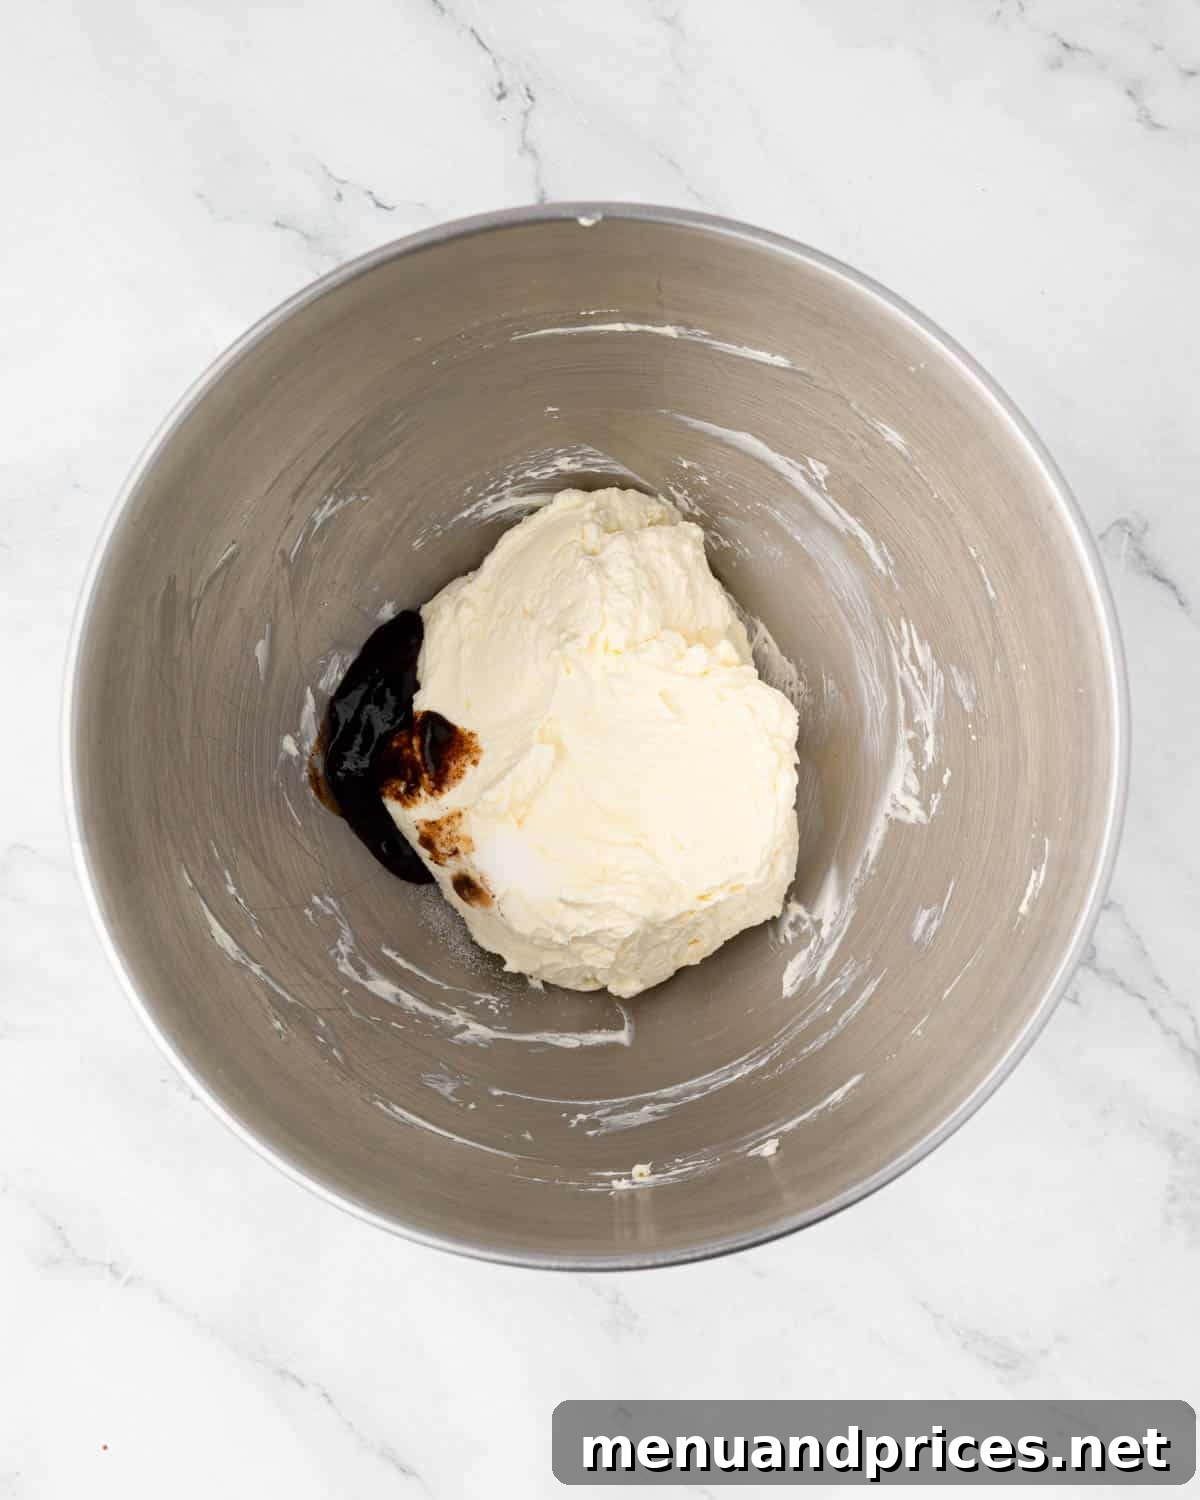
- Infuse Flavor: Add the vanilla extract (or vanilla bean paste for richer flavor) and a pinch of fine salt. Blend again just until these ingredients are fully combined.
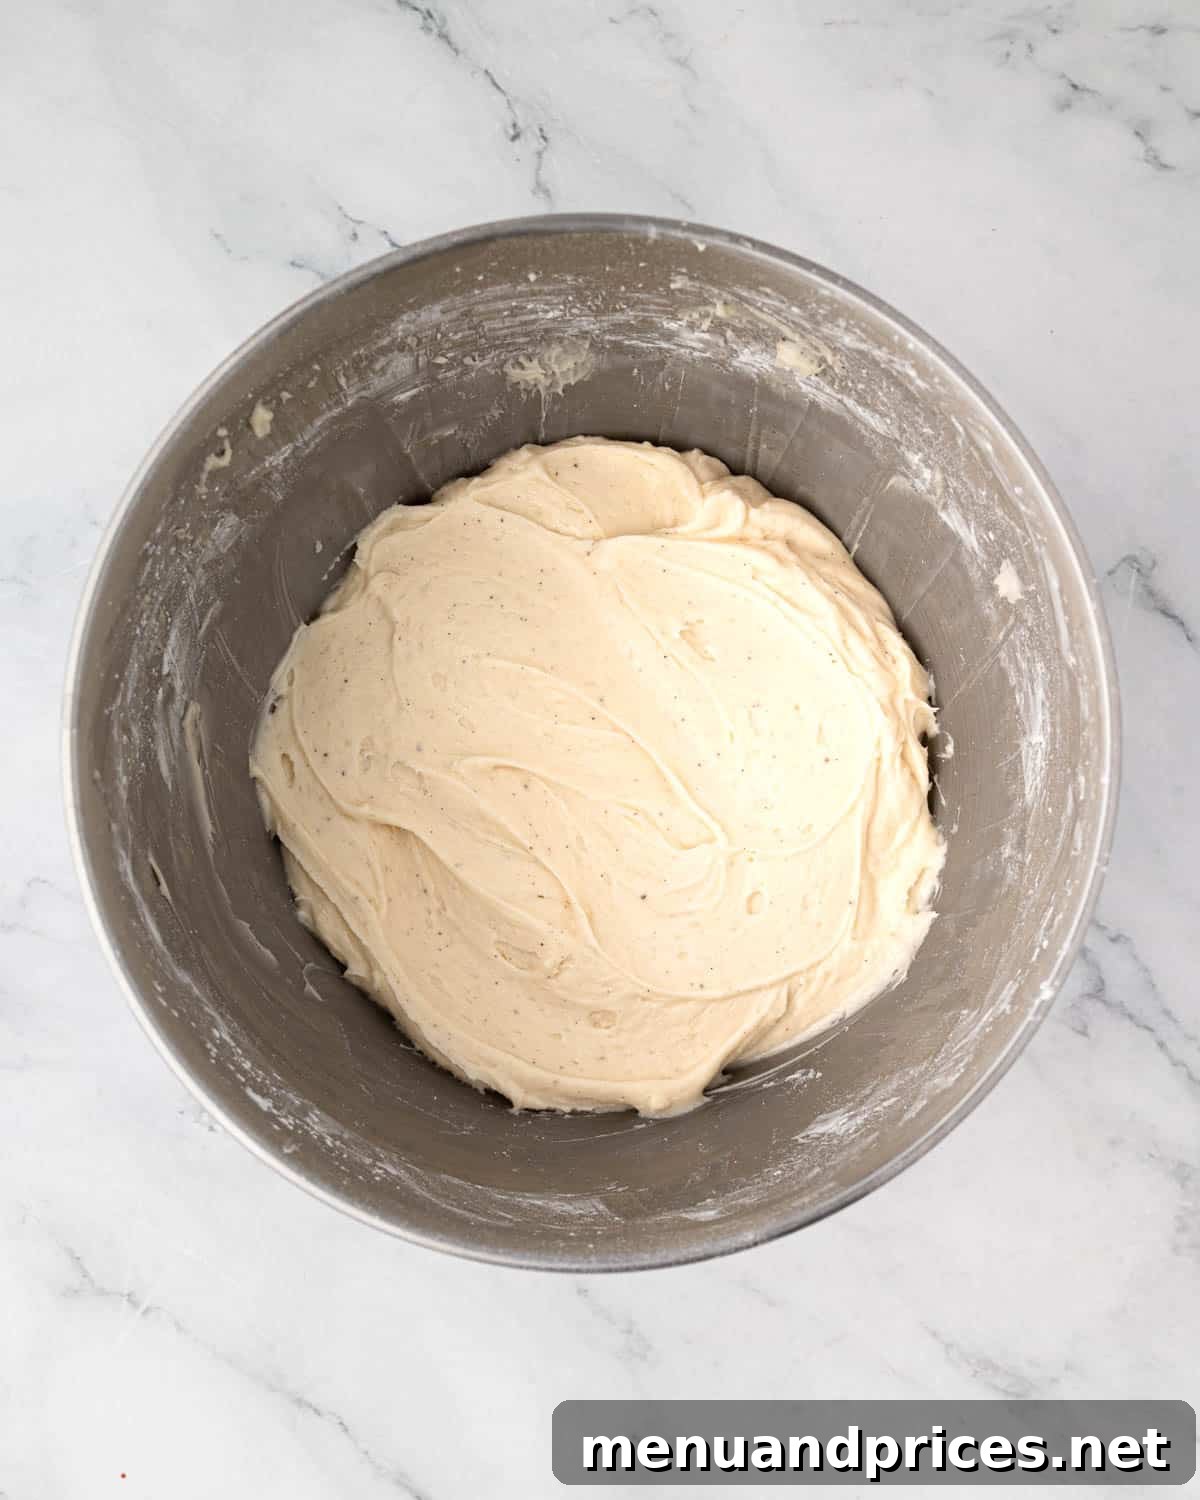
- Gradually Add Powdered Sugar: Add the powdered sugar in two slow batches, mixing on low speed to gently incorporate it without creating a cloud of sugar. Once combined, increase the speed very briefly if needed to achieve ultimate smoothness, but be very careful not to overwhip. Over-whipping can make the frosting runny. Stop the beaters as necessary to scrape down the sides of the bowl, ensuring everything is perfectly mixed.
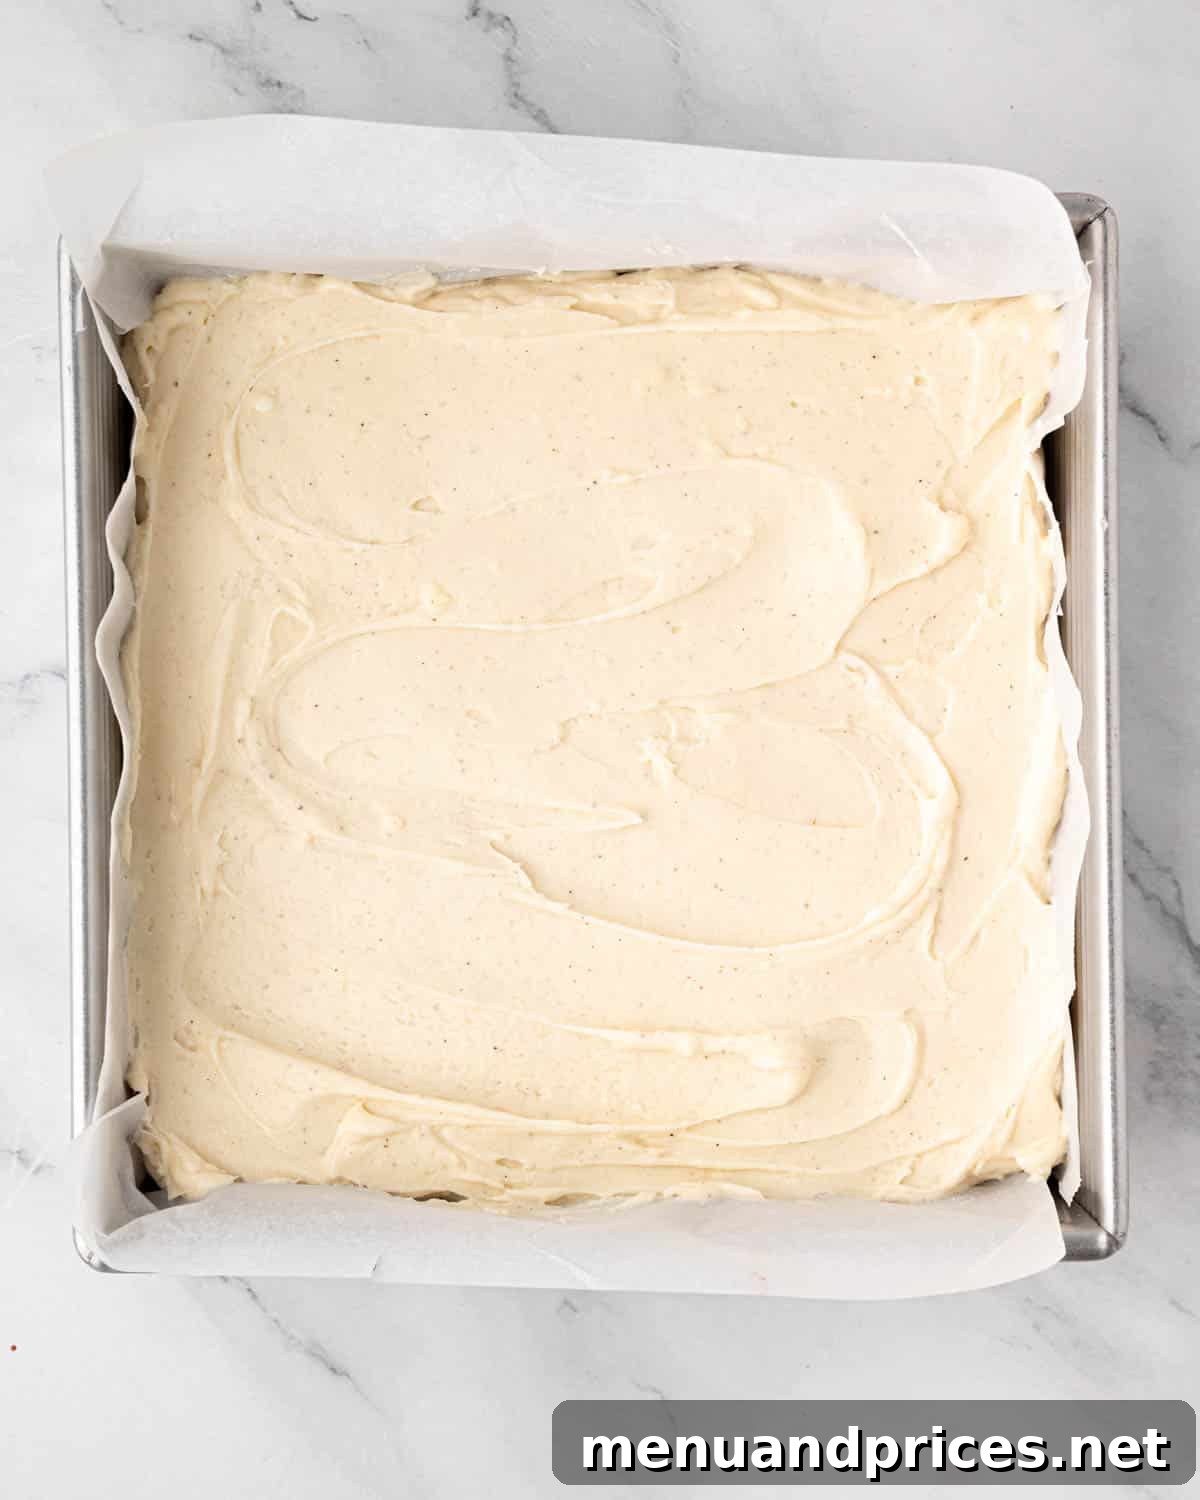
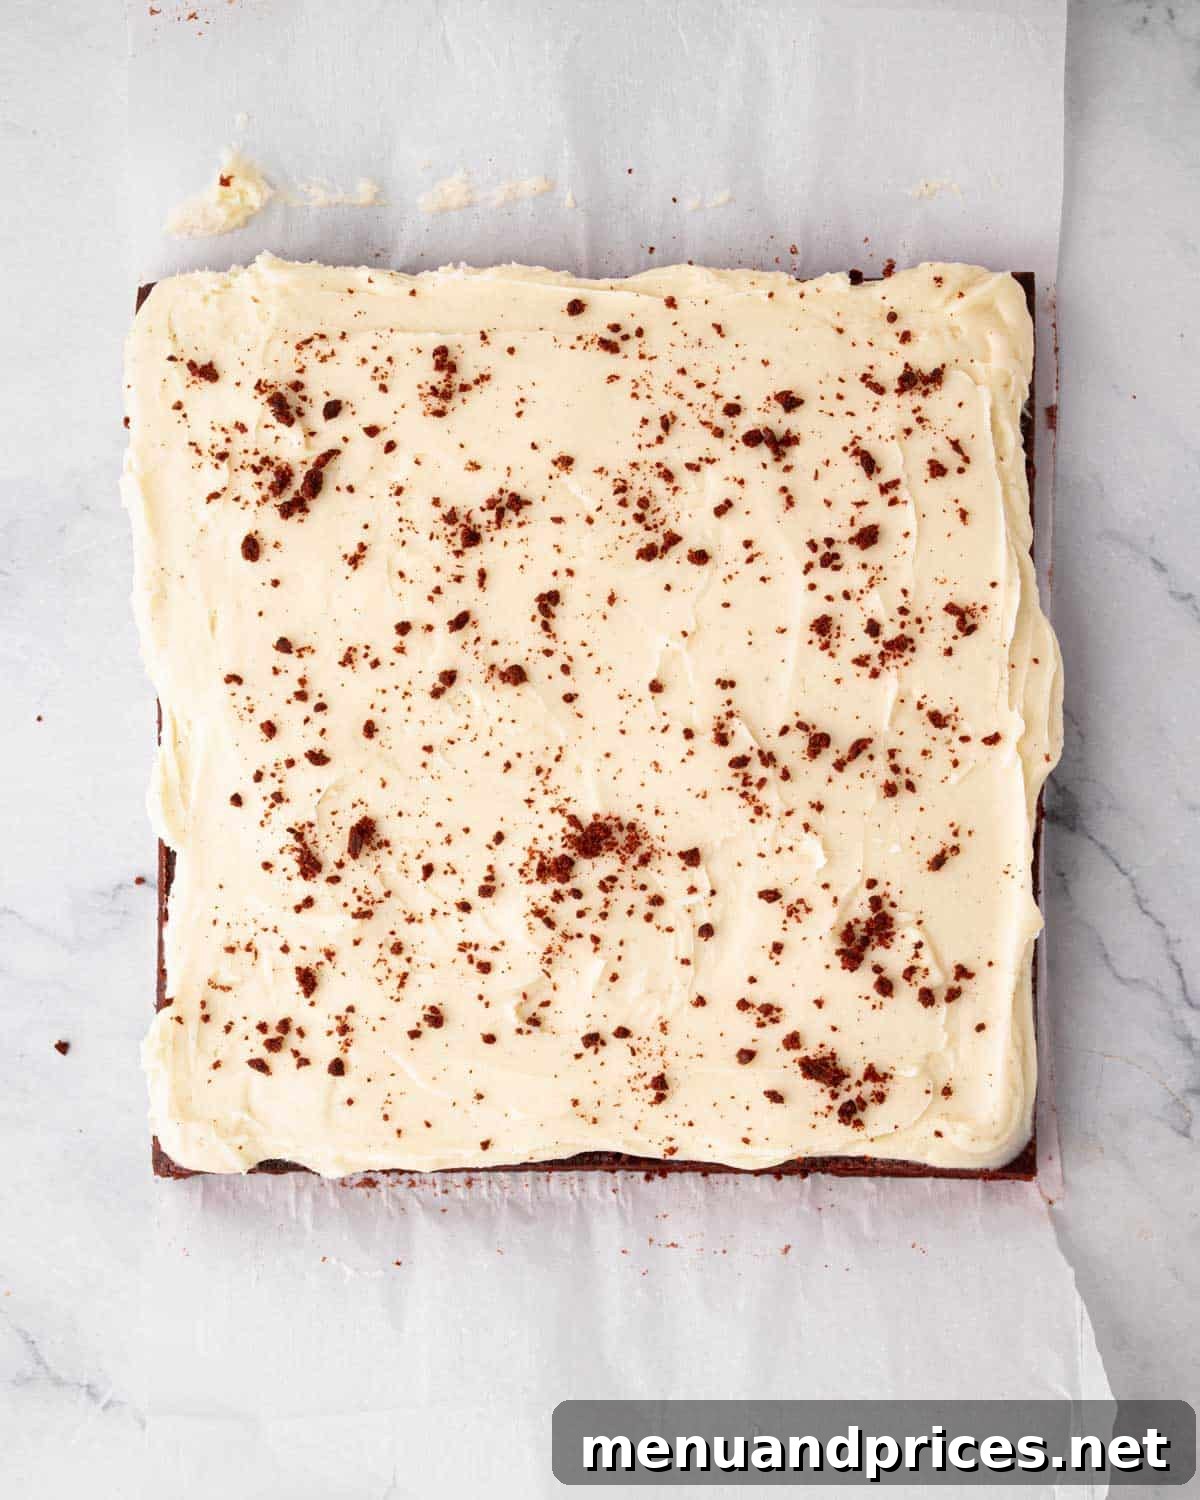
- Frost the Brownies: Once your red velvet brownies are completely cooled, spread the prepared cream cheese frosting evenly over their surface. Aim for a luscious layer, approximately ¼ inch thick, for that bakery-style finish.
- Garnish (Optional): If desired, sprinkle some reserved brownie crumbs or a dusting of cocoa powder over the frosting for an elegant touch.
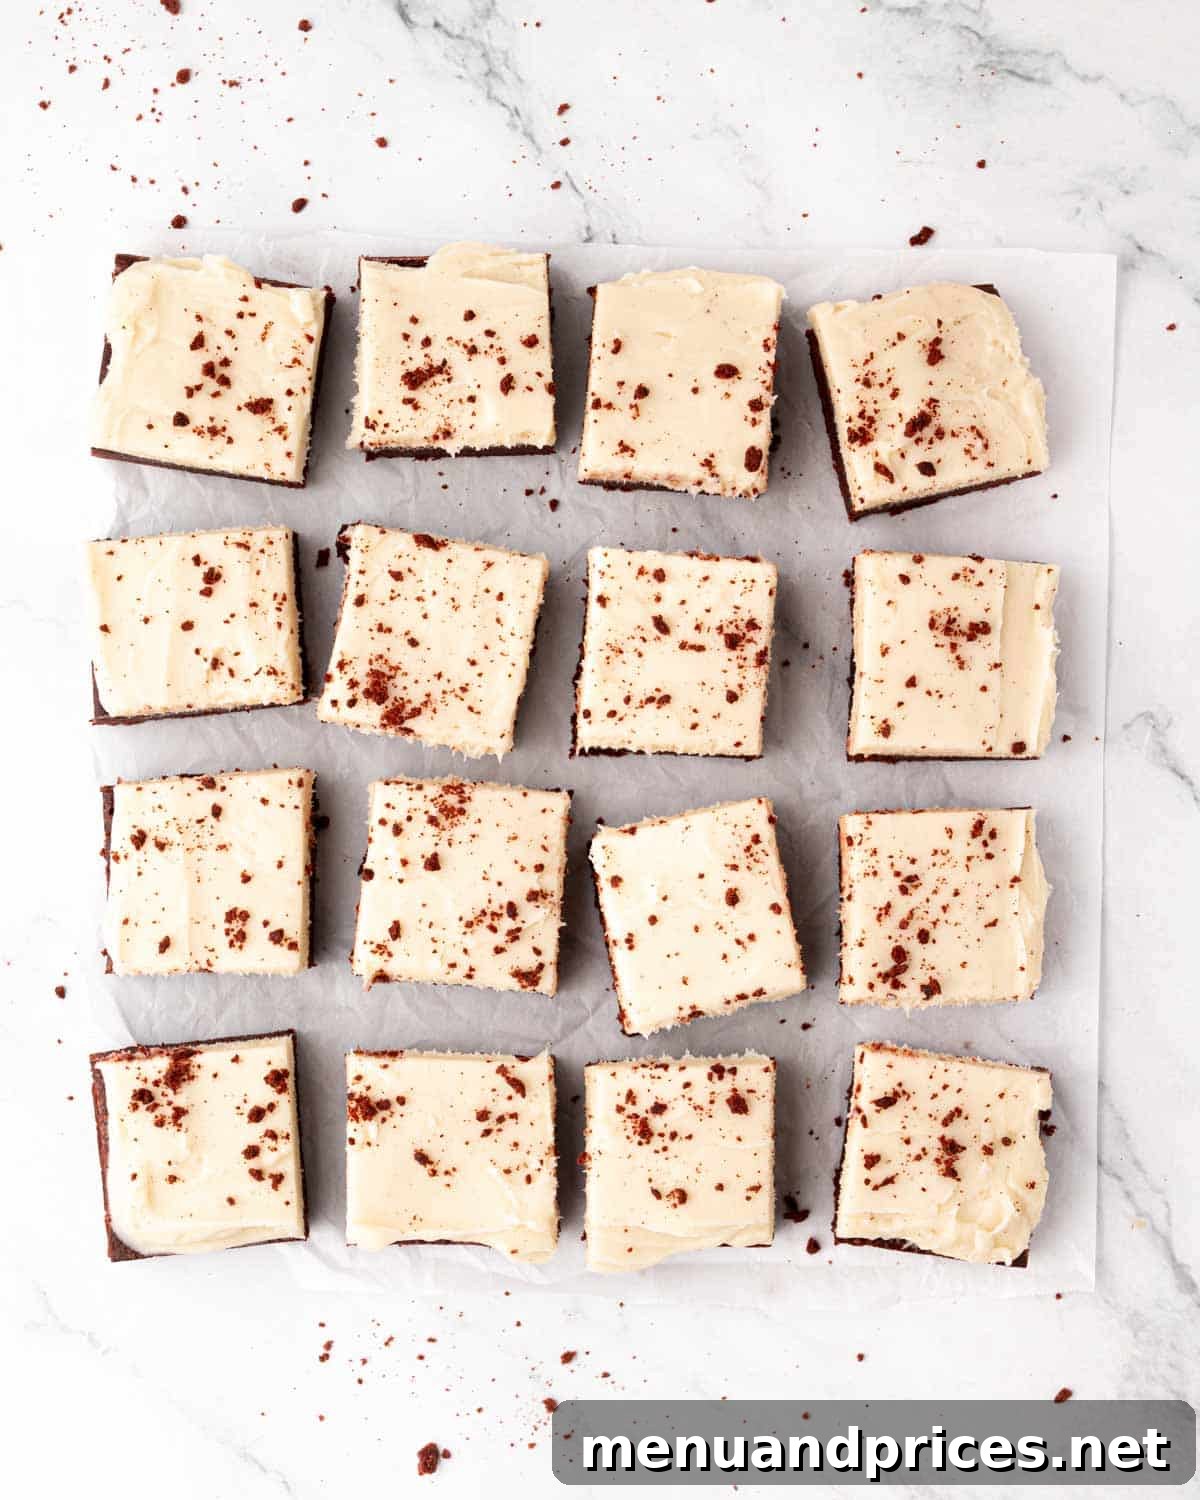
- Chill and Serve: For the cleanest cuts and for the frosting to set beautifully, chill the frosted brownies in the fridge for at least 20 minutes before slicing. Once chilled, slice into squares, serve, and prepare for rave reviews!
Expert Tips for Red Velvet Brownie Perfection
Achieving the perfect fudgy red velvet brownie with flawless frosting is easier with these insider tips:
- Opt for Gel Food Coloring: Always use gel food coloring instead of liquid. Gel provides a much more vibrant and intense red hue without adding excess moisture to your batter, which could alter the brownie’s delicate texture or increase baking time.
- Mix by Hand for Fudgy Texture: For the most incredibly dense and fudgy brownies, I highly recommend mixing the batter by hand with a whisk and spatula. This limits the amount of air incorporated into the batter, which is key to preventing a cakey texture and achieving that signature rich, chewy consistency.
- Avoid Overmixing After Flour: Once you add the flour, fold it in gently and only until no dry streaks remain. Overmixing the flour activates gluten development, which can result in tough, dry brownies rather than the soft, fudgy ones we’re aiming for.
- Bake Low and Slow: The slightly lower oven temperature of 335°F (168°C) is not a mistake. This “low and slow” baking method ensures that your brownies bake evenly throughout, maintaining their moisture and preventing the edges from becoming overly crispy or burnt while the center remains underbaked.
- Cool Brownies Completely Before Frosting: This step is non-negotiable! Applying frosting to warm brownies will inevitably lead to a melted, runny mess that slides right off. Allow the brownies to cool entirely in the pan – ideally for several hours or even overnight – for a stable surface that holds the frosting beautifully and allows for clean, neat slices.
- Keep Cream Cheese Cool for Frosting: When preparing your cream cheese frosting, ensure your cream cheese is softened but still cool to the touch, not warm or at room temperature for too long. Using cool-softened cream cheese helps create a stable, thick, and perfectly pipeable frosting, preventing it from becoming greasy or runny, and mimicking that desirable bakery-style consistency.
- Do Not Over-Whip the Frosting: Beat the frosting just until it is smooth, silky, and well-combined. Over-whipping introduces too much air, which can cause the frosting to become too light, unstable, and much harder to spread evenly and neatly over your brownies.
Storing & Freezing Your Red Velvet Brownies
To keep your delicious red velvet brownies fresh and delightful, follow these simple storage guidelines:
- Refrigeration: Frosted brownies should always be stored in an airtight container in the fridge. They will remain fresh and moist for up to 3 days. The cold temperature helps preserve the cream cheese frosting and prevents spoilage.
- Freezing for Longer Enjoyment: You can easily freeze red velvet brownies for up to 3 months! For best results, wrap each individual brownie tightly in plastic wrap to prevent freezer burn. Then, arrange the wrapped brownies in a single layer in a freezer-safe container or a heavy-duty sealable bag. When you’re ready to enjoy them, simply transfer the frozen brownies to the fridge and allow them to thaw slowly overnight. They’ll be as delicious as freshly baked!
Frequently Asked Questions About Red Velvet Brownies
Absolutely! While this recipe is perfectly balanced on its own, you can certainly customize your brownies. Feel free to add up to ½ cup of mix-ins such as white chocolate chips, semi-sweet chocolate chips, or even finely chopped nuts like pecans or walnuts. Be cautious not to add more than this, as excessive mix-ins can alter the brownie’s texture, potentially making them less fudgy and more cakey.
A common culprit for cakey brownies is too much air incorporated into the batter, or an excess of flour. To ensure a dense, fudgy texture, always mix your batter by hand with a whisk or spatula. Avoid overwhisking, especially after adding the flour, and fold in dry ingredients just until combined. These practices minimize gluten development and air pockets, resulting in that desirable fudgy consistency.
Runny cream cheese frosting typically occurs when either the cream cheese or the butter is too warm when mixed, or if the frosting has been overwhipped. To achieve a light, fluffy, and stable frosting, always use cream cheese that is cold but softened (not at room temperature for too long), and butter that is softened but still cool. Avoid beating the frosting on high speed for extended periods; mix just until smooth and combined.
While gel food coloring is highly recommended for its vibrant hue without altering batter consistency, you can use liquid red food coloring in a pinch. However, you will likely need to use a larger quantity of liquid coloring to achieve a similar vibrant red, which might slightly affect the batter’s consistency. If using liquid, try to use the smallest amount needed, or consider a natural alternative like beet powder, though it might yield a less intense red.
Absolutely! These red velvet brownies are an excellent make-ahead dessert. You can bake the brownies a day in advance, let them cool completely, and then frost them on the day of serving. Unfrosted brownies can be stored tightly covered at room temperature for up to 2 days, or in the fridge for up to 5 days. Frosted brownies must be refrigerated, as mentioned in the storage tips.
More Irresistible Brownie Recipes to Try
If you’ve loved these red velvet brownies, you’re sure to enjoy these other fudgy and flavorful brownie creations:
- Snickers Brownies: A chewy brownie base loaded with the classic candy bar flavors.
- Fudgy Raspberry Brownies: Rich chocolate brownies with a burst of sweet-tart raspberries.
- German Chocolate Brownies: All the beloved flavors of German chocolate cake, in a convenient brownie form.
- Extra Fudgy KitKat Brownies: Indulgent brownies packed with crunchy KitKat pieces for an irresistible treat.
Red Velvet Cake Brownies
Shinee Davaakhuu
15 mins
38 mins
53 mins
16 -24 brownies
16-24 brownies
Comment
Print Recipe
Ingredients
Red Velvet Brownies:
- 1 cup (200 g) granulated sugar
- 6 tablespoons (85 g) unsalted butter, melted
- ¼ cup (60 ml) neutral vegetable oil
- ¼ cup (50 g) packed light brown sugar
- 3 large eggs
- 1 ½ teaspoons vanilla extract
- ⅓ cup (40 g) unsweetened cocoa powder
- 1 teaspoon red gel food coloring (Note 1)
- 1 ¼ cups (156 g) all-purpose flour
- ½ teaspoon salt
- 1 tablespoon distilled white vinegar
Cream Cheese Bakery Style Frosting:
- 8 oz (225 g) full-fat cream cheese, cold-but-softened
- 6 tablespoons (85 g) unsalted butter, softened (but not warm)
- 1½ teaspoons vanilla bean paste or extract
- ¼ teaspoon fine salt
- 2 cups (260 g) powdered sugar
Instructions
To make the brownies:
- Preheat the oven to 335°F (168°C). Line a 9×9-inch square baking pan with parchment paper, leaving an overhang on two sides to create a “sling” for easy removal. Set aside.
- In a large mixing bowl, whisk together the granulated sugar, melted butter, vegetable oil, and brown sugar until the mixture is glossy and cohesive.
- Add the eggs and vanilla extract. Mix thoroughly until smooth and well combined.
- Whisk in the cocoa powder until the batter becomes smooth, evenly colored, and free of any dry cocoa streaks. Avoid overmixing.
- Add the red gel coloring, and mix until the color is completely uniform. (TIP: For a more even distribution, transfer a few tablespoons of batter to a small bowl, mix with the red gel coloring until vibrant, then fold this tinted mixture back into the main batter.)
- Use a rubber spatula to gently fold in the all-purpose flour and salt until the batter is uniform and no dry streaks of flour remain. Stir in the distilled white vinegar until fully incorporated.
- Pour the batter evenly into the prepared baking pan, smoothing the top with your spatula.
- Bake for 32–38 minutes, or until the edges are set, the top is matte, and a toothpick inserted into the center comes out with moist crumbs (not wet batter). An internal temperature of about 188–192°F (87-89°C) is ideal when measured with an instant-read thermometer.
- Allow the brownies to cool completely in the pan before attempting to slice or frost them. This is crucial for structure and texture.
To make the cream cheese frosting:
- Beat the cold-but-softened full-fat cream cheese on medium speed using a stand mixer with a paddle attachment (or a hand mixer) until smooth. Scrape down the paddle and bowl to ensure thorough creaming.
- Add the softened (but not warm) unsalted butter and whip until the mixture is completely blended and silky. Scrape down the bowl frequently to prevent lumps and ensure even mixing.
- Add the vanilla extract (or paste) and fine salt, blending just until combined.
- Gradually add the powdered sugar in two slow additions, mixing on low speed until fully incorporated. Increase speed very briefly at the end if needed for extra smoothness, but avoid over-whipping to maintain frosting stability. Scrape down the sides of the bowl as needed.
- Spread the finished, luscious frosting evenly over the fully cooled brownies in a smooth layer, aiming for about ¼ inch thick for that perfect bakery-style finish.
- If desired, sprinkle with reserved brownie crumbs for garnish. For the cleanest, most precise cuts, chill the frosted brownies in the refrigerator for at least 20 minutes before slicing and serving.
⭐️ Did you make this recipe?
Please leave a review and let us know how you liked it!
Tips & Notes
Additional Tips:
– I highly recommend using an instant-read thermometer to check the internal temperature of the brownies. It eliminates guesswork and ensures perfectly baked results every time.
– Cooling completely is absolutely essential before frosting. This allows the brownie crumb to fully set, ensuring clean slices and preventing the frosting from melting. At this point, before frosting, the brownies can also be frozen for later use.
– The optional topping of brownie crumbs can be made by gently slicing and crumbling a very thin layer from one edge of the baked brownies before frosting the main batch.
Storage: Store frosted brownies in an airtight container in the fridge for up to 3 days. For longer storage, freeze individual brownies wrapped in plastic wrap in a freezer-safe container for up to 3 months. Thaw in the fridge before serving.
Nutrition
1 serving
332 kcal
40 g
4 g
18 g
31 g
170 mg
Dessert
American
Did you make this?
Leave a rating and your feedback. Thank you!